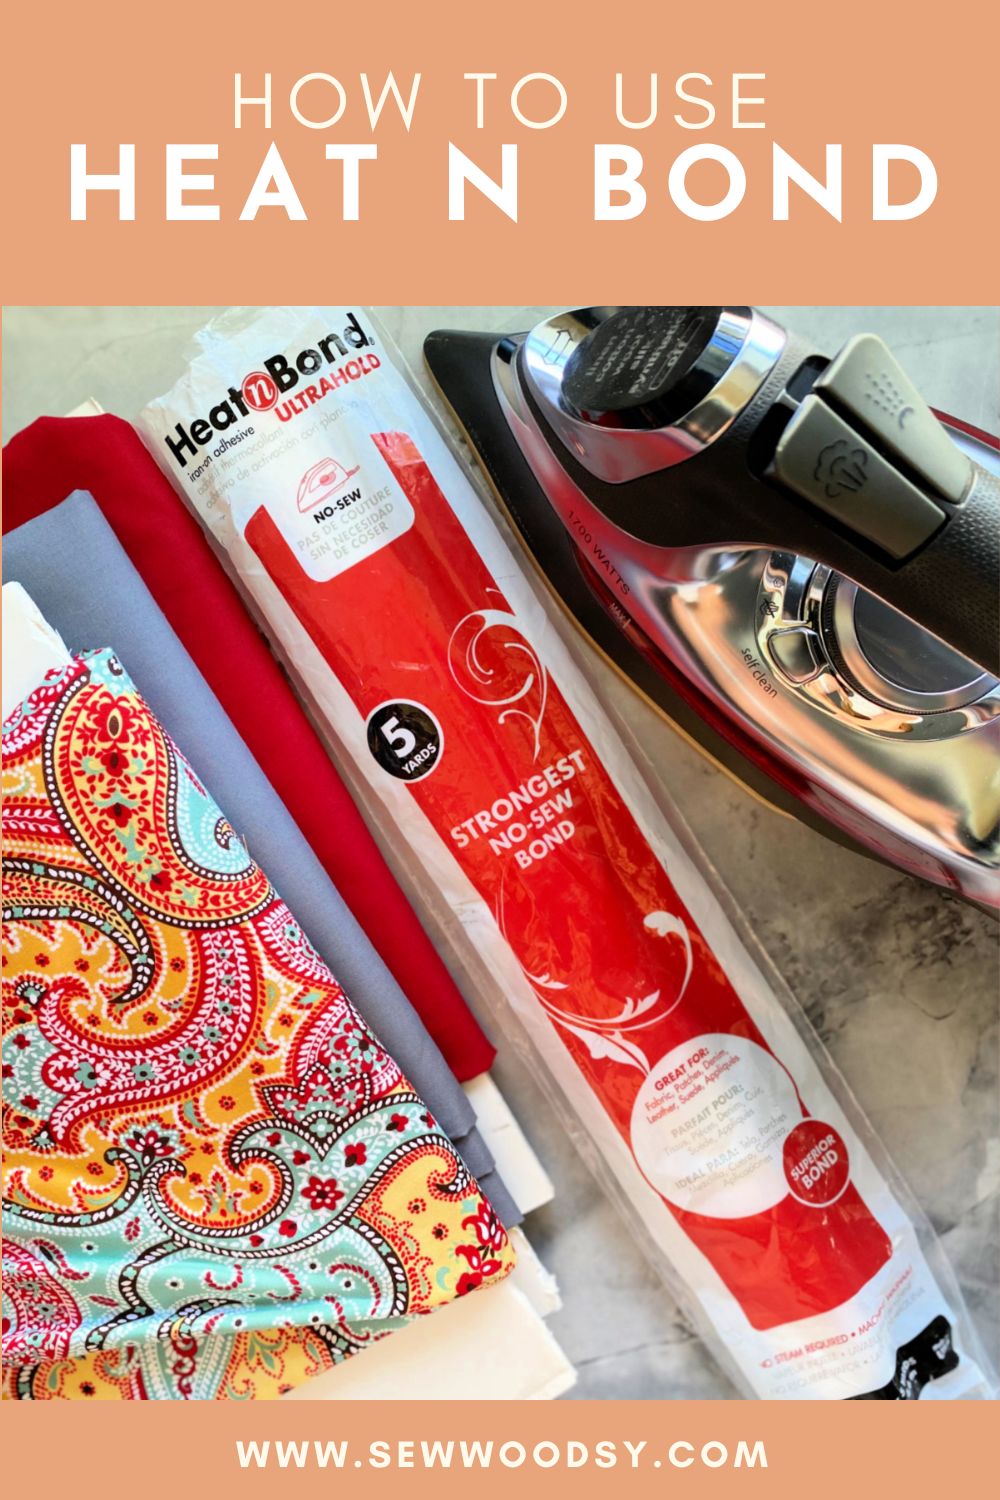
Have you ever wondered how to use heat n bond? I’m here to share with you all about Heat-N-Bond which is a double-sided adhesive used for bonding fabric together using an iron without the need for pinning or sewing.
I’ve been using Heat and Bond for almost two decades now. Heat-n-bond was what I used before I really honed in on my sewing skills. I would use it to adhere fabric together as a “no sew” option. However, this no sew bond can do so much more then that. When I first started Sew Woodsy in 2010 I had a few craft readers ask How to Use Heat n Bond. I had answered there questions; however, I never shared much more information then what they asked for.
Thanks to my experience using heat n bond and the internet I’m here to share with you a complete guide that will answer all your Heat and Bond questions.
Table of contents
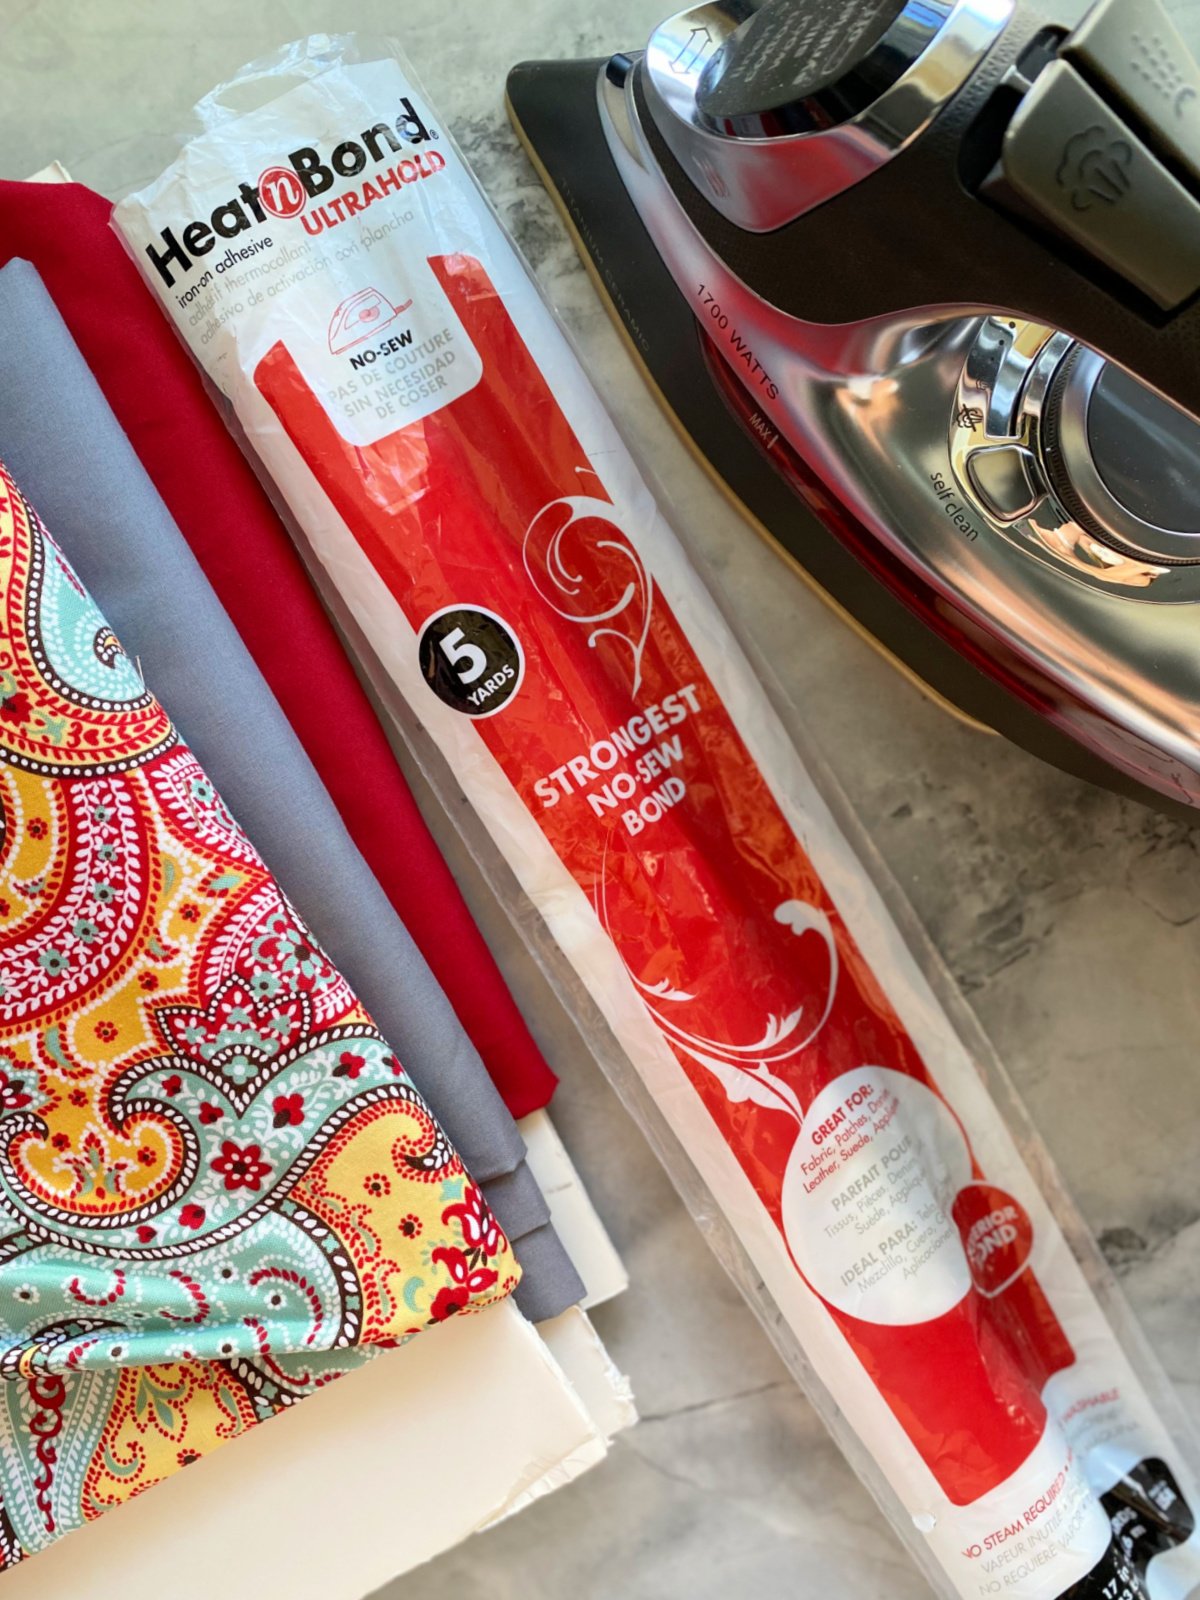
Heat n Bond Strongest No-Sew Bond
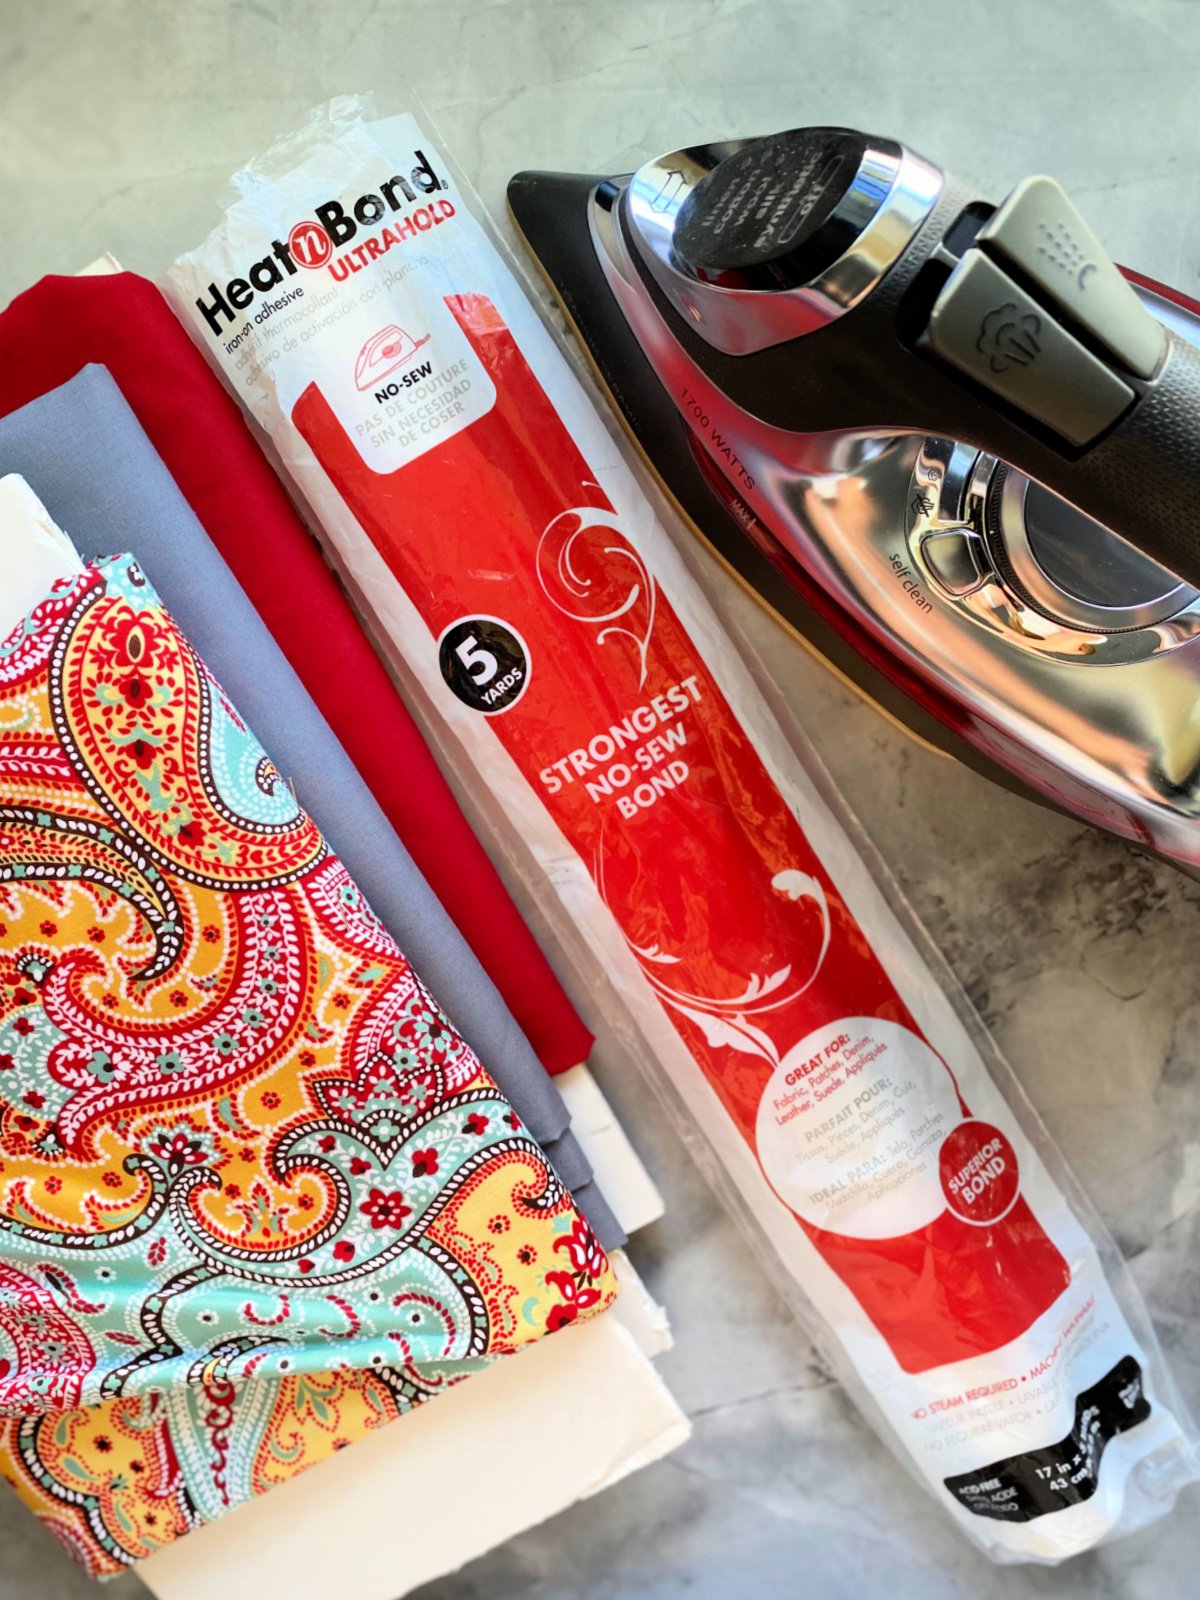
Heat n Bond Strongest No-Sew Bond is a double-sided adhesive that is used for bonding fabric without the need for pinning or sewing. This is what I use whenever I use cut out bonded fabric on my Cricut and want to adhere it to my design. Like when I made this adorable Easter onesie for my son. When I sew I love being able to match my fabric with a design which is why I like to cut out shapes on my Cricut.
If you are wondering if this will stay on your clothing after a wash the answer is yes. This no-sew bond is three times stronger than traditional fusible webs. The solid sheet adhesive means edge to edge coverage for appliqué shapes on quilts, wall hangings and attire without puckering or bunching if applied correctly. Which by the way it is very easy to apply.
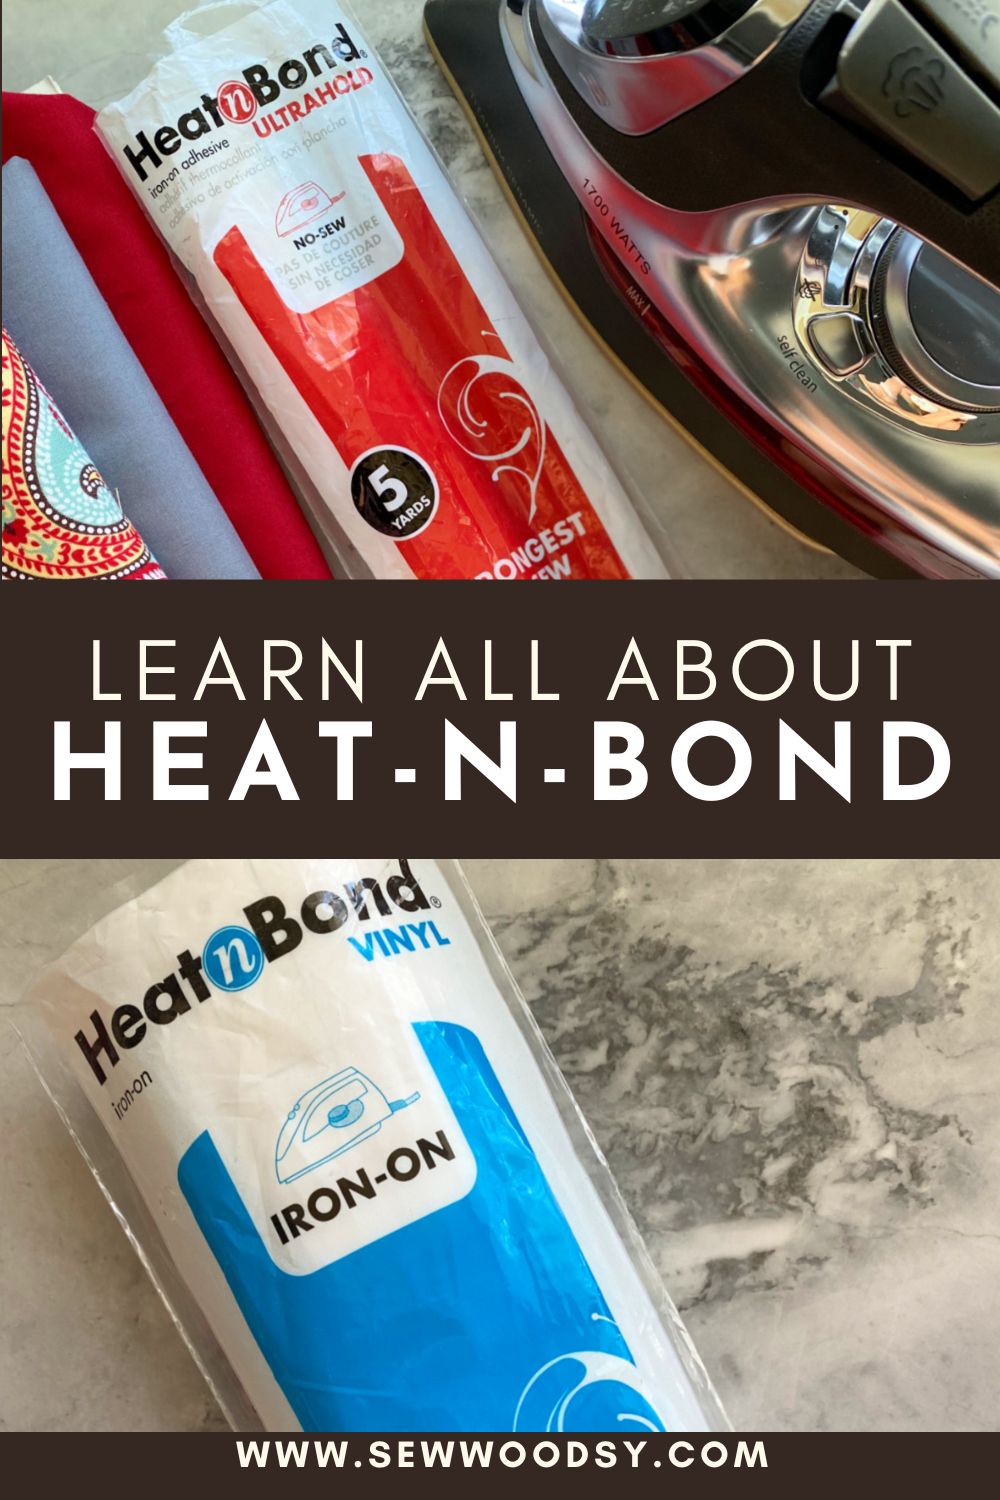
Heat n Bond Iron-On Vinyl
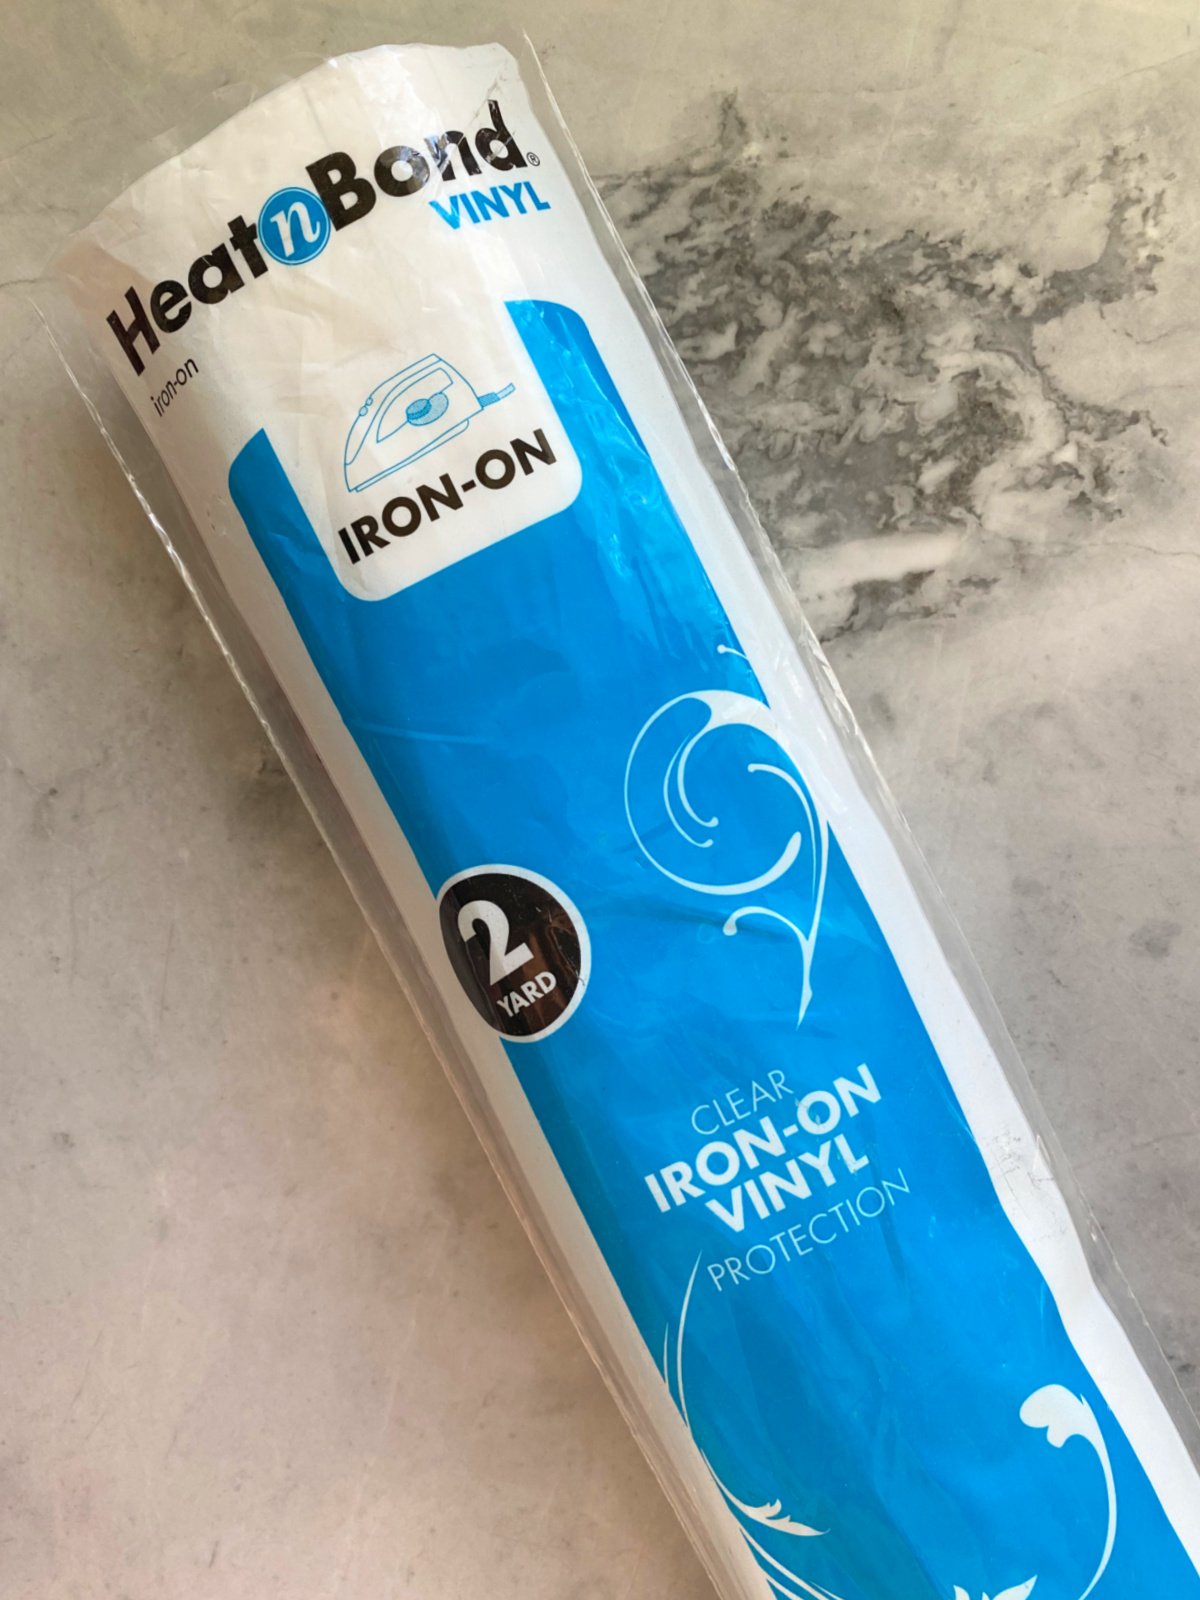
Years ago HeatnBond Iron-On Vinyl to make reusable snack bags. Those snack bags became highly controversial on the internet, so I took down the tutorial; however, this iron-on vinyl is not like Cricut Iron-On Vinly. You use the HeatnBond Iron-On Vinyl to iron on to fabric. This material is flexible and according to the Thermoweb website it is a water resistant coating that you iron onto the top of your fabrics to protect them.
This product is ideal for laminated fabrics to create items like fabric place mats, the inside liner to a water resistant tote bag. Other ideas on how to use this product would be a highchair seat cover, wrist wallets using candy wrappers, art smock or even an apron.
Heat and Bond Iron-On Vinyl is not meant to be used as an adhesive. It is simply used to be placed on top of items. If you need an adhesive that can bind fabric together you will want to use HeatnBond Lite or UltraHold.
How to Cut Heat n Bond on a Cricut
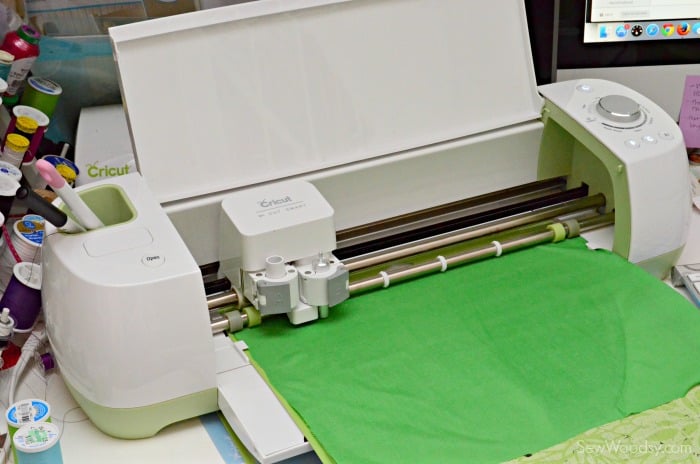
Before Cricut had a FabricGrip mat I would use a StandardGrip mat which still works. However, the FabricGrip mats are specially designed to secure fabrics for cutting, with easy release.
Now that their are different types of blades for cutting fabric you can use the Bonded fabric blade or Rotary blade for the Cricut.
When cutting with a Cricut make sure you select “bonded fabric” in Cricut Design Space. This will ensure that both layers will get cut.
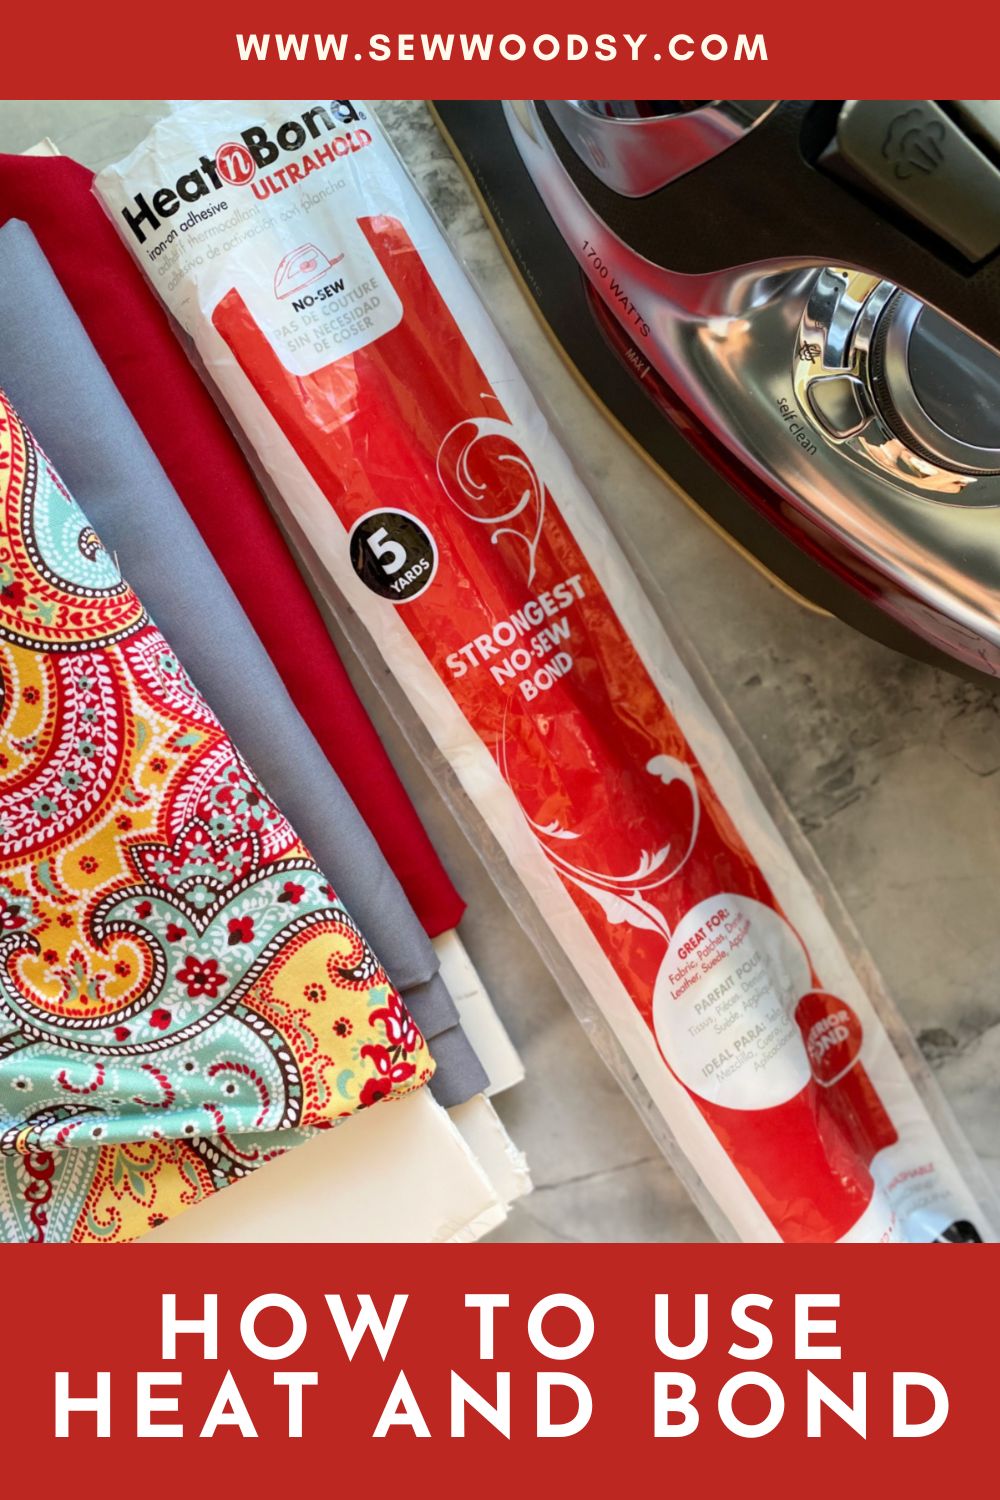
How to Apply Heat N Bond
You will need an iron, fabric, and Heat N Bond to apply the fabric to your garment of choice.
First, make sure you always pre-wash all materials without fabric softeners. Pretest adhesive on materials before starting project. I like to use a tiny little piece of both fusible webbing and fabric to test to ensure the fabric adheres on well to the HeatnBond.
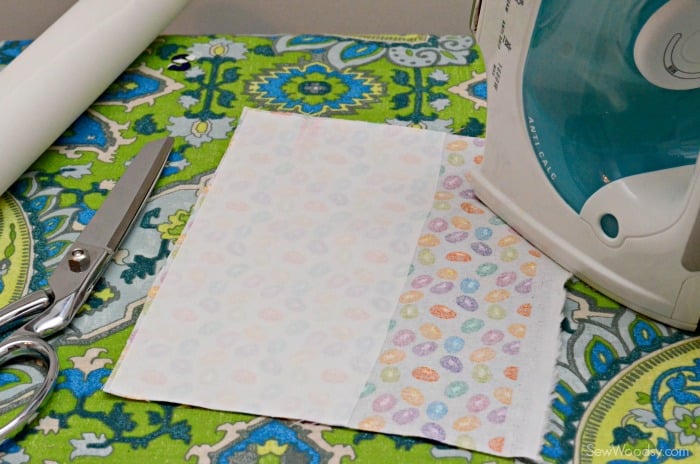
Preheat iron to medium heat, no steam. Place adhesive on the (wrong side) back of material to be bonded (paper liner should face up). Place and hold iron on the paper liner for 2 seconds. Repeat until entire surface is bonded. Allow to cool.
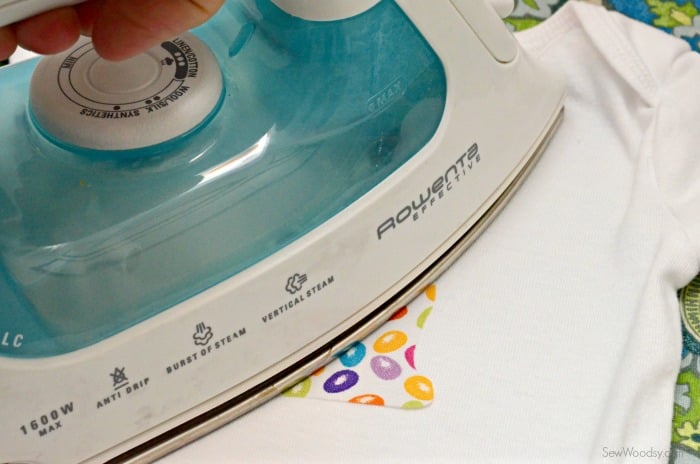
Hand cut to size or shape needed or use your Cricut. Peel off paper liner. Place material, adhesive side down, on top of project. Press the iron on the fabric (shirt, blanket, quilt, etc) with firm pressure for 8 seconds on each section until entire piece is bonded.
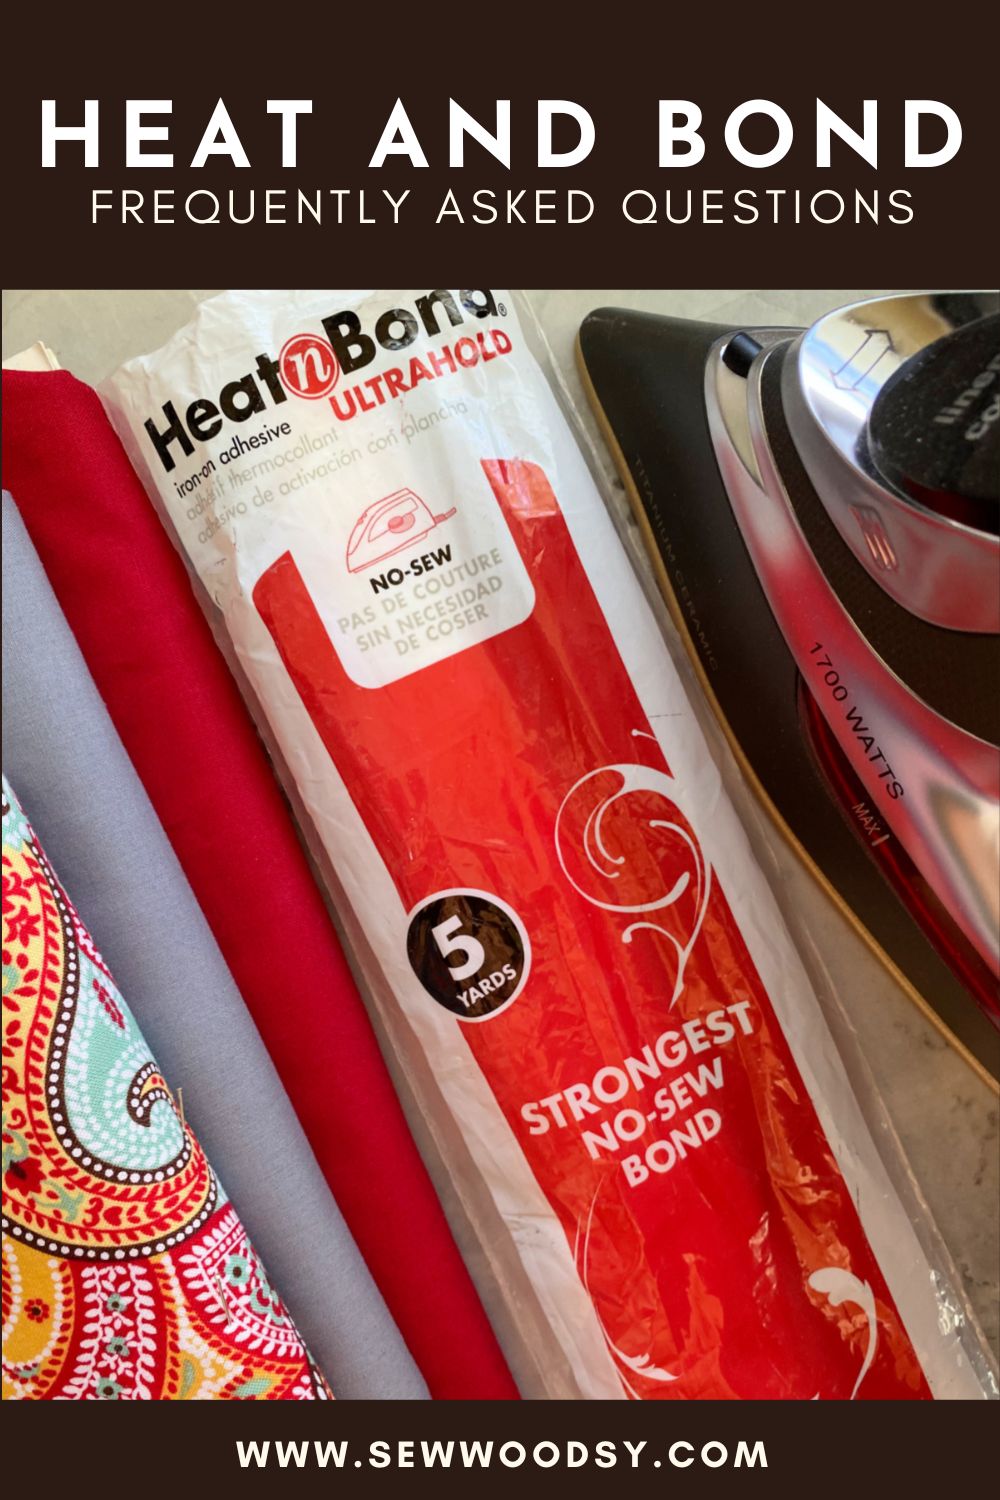
Heat n Bond FAQs
Here are some of the most frequently asked questions that have to do with Heat n Bond.
A Heat n Bond Lite is for bonding fabric without the worry of extra weight or stiffness as when sewing on any extra fabric to certain material it can feel heavier. Ironing or sewing with the lite can make the material seem “light”.
Heat n Bond is machine washable. However, it can come off after quite a few washes. For best results use the delicate cycle and warm water. Heat N’ Bond is not recommended for projects or items that require dry cleaning.
Heat n Bond is made of a roll of iron on paper fabric which is a double-sided adhesive for removing the need to sew or pin.
I keep a bottle of clear nail polish in my craft room. It’s my craft polish. I will paint the edges of fabric with clear nail polish to help ensure the edges do not fray.
The beauty of heat n bond is that you do not need to sew it on. It is adhered by heat from an iron. If stitching is required, you will want to use HeatnBond Lite in the purple package.
Tips & Tricks
Here are a few of my favorite heat and bond tips and tricks.
- Pre-Wash: Like with any craft project that has to do with fabric you should always pre-wash all clothing and fabrics before using Heat N’ Bond Iron-On Adhesive. Do not use fabric softeners.
- Heat – Don’t overheat Heat N’ Bond; this will cause an insufficient bonding.
- Iron – Don’t iron over the plastic instruction sheet.
- Sewing – The people at Therm-o-web recommend to not sew the fabric once the heat-n-bond has been applied. This is due to the unique thickness of Heat N’ Bond’s adhesive. Therefore, machine stitching is not recommended.
- Washing – It is machine washable. For best results use the delicate cycle and warm water. Heat N’ Bond is not recommended for projects or items that require dry cleaning.
