Transform ab ordinary onesies into adorable Easter Bunny creations with personalized flair – discover how to craft your own DIY Easter Bunny Onesie with Name!
Two weeks ago, in the midst of first birthday craziness I decided I needed to make Ryder an Easter onesie. Not want… but a need. This was the first time I had cut fabric using my new Cricut Explore. I have cut fabric for years now on past Cricut machines, but I was always having to battle with figuring out the perfect number settings. Well, not any more my friends. If you cut fabric often on your Cricut and still haven’t upgraded your machine this is the time. The Cricut Explore cuts fabric with ease and takes all the guess work out! I made this shirt in just 15 minutes! It would have been even quicker had I not agonized over which font to use!
If you have never worked with heat n bond I highly advise you to read how to use heat n bond before starting on this project. Hope that I can inspire you to make a customized bunny onesie for the little bunny in your life.
Table of contents
Supplies
- Easter Fabric
- Solid Fabric
- Heat ‘n Bond
- Iron & Ironing Board
- Cricut Explore
- Cricut Design Space™
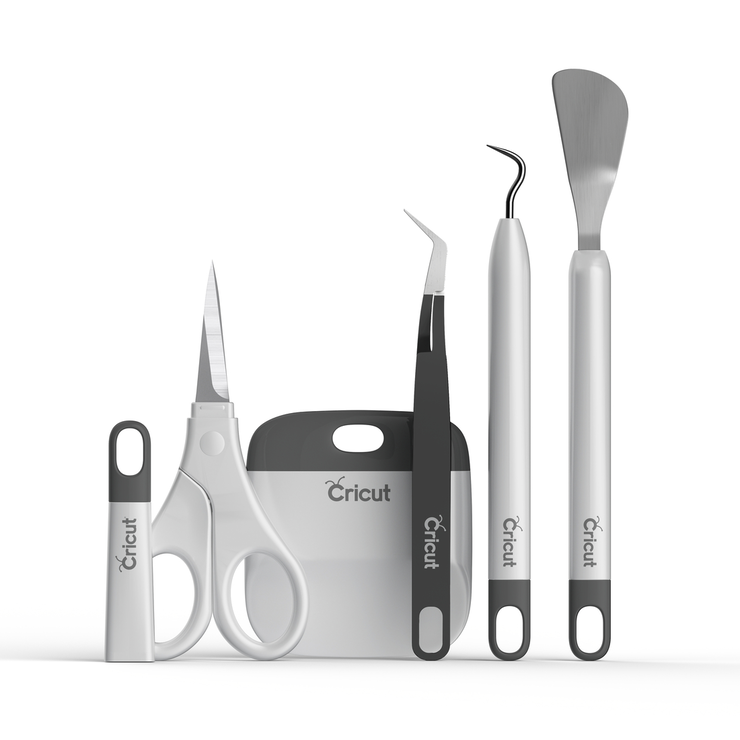
- Cricut Tools
- Hot Glue
- 1 White Pom-Pom
Directions
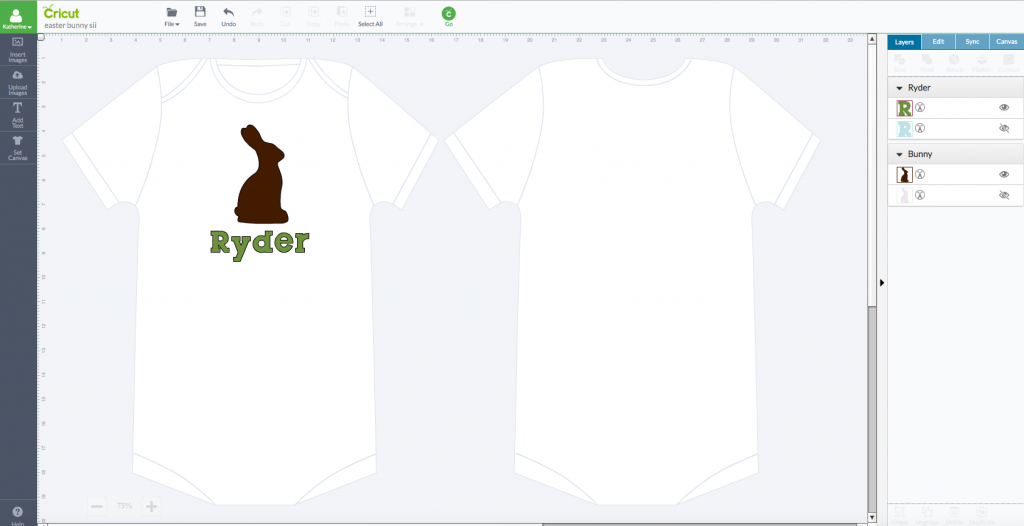
I designed the onesie usingCricut Design Space™. I found the bunny from the Teresa Collins Bunnies and Chicks Digital cartridge. I used Birthday Bash font for his name. I selected two different colors on the Design Space interface so that the machine new I wanted to cut two different colors.
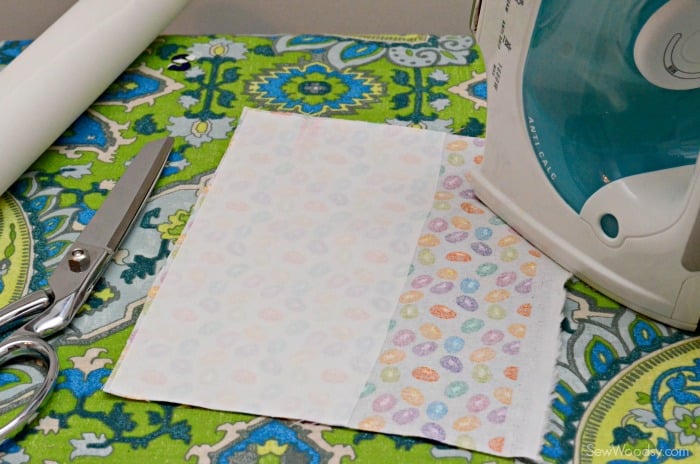
Next up, cut the fabric and heat-n-bond and iron it together. You will want to iron on the sticky side to the back of the fabric for just a few seconds. Once it’s adhered on the fabric it will pull of easy. NO STEAM!!!
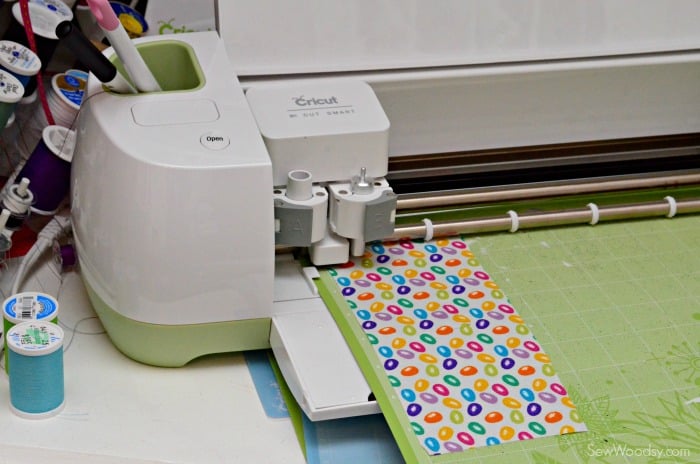
Then place the sticky side down on a standard strength grip mat. Set the dial to “fabric” and press “cut”.

Next, remove the cut out and place it on the shirt.
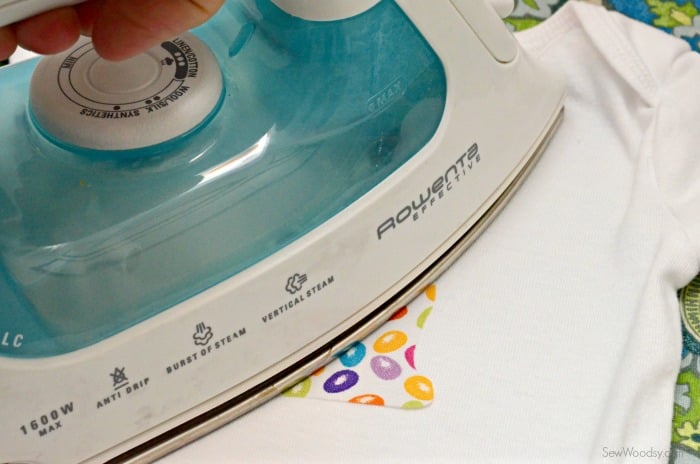
Set your iron to high heat and begin to carefully iron on the fabric bunny.
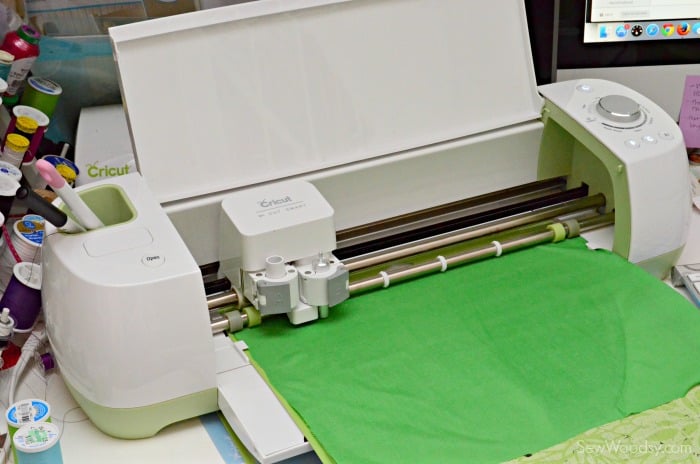
Repeat and do the same with the name, by cutting it on fabric that has been backed with heat-n-bond, and then iron it on.
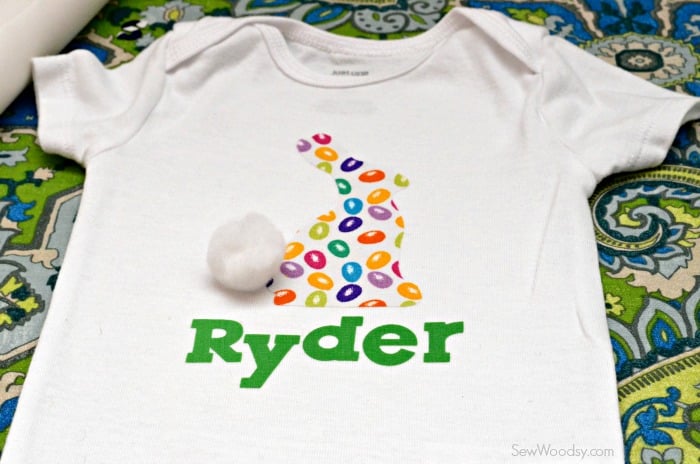
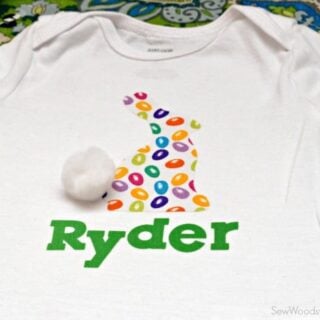
This is what my onesie looked like once the bunny and name were ironed on. I added the pom-pom just to see what it would look like. Not pictured: I simply placed a dot of hot glue on the end of the bunny tale then stuck the pom-pom to the shirt. I’ve washed and dried this shirt already once and it stayed on without any issues.

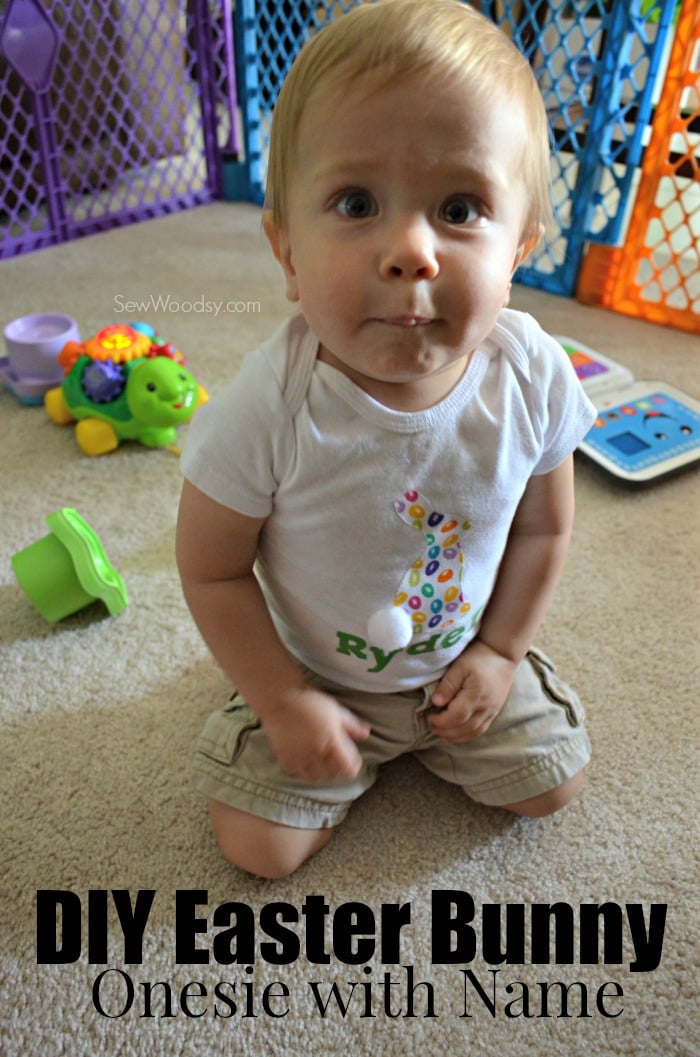
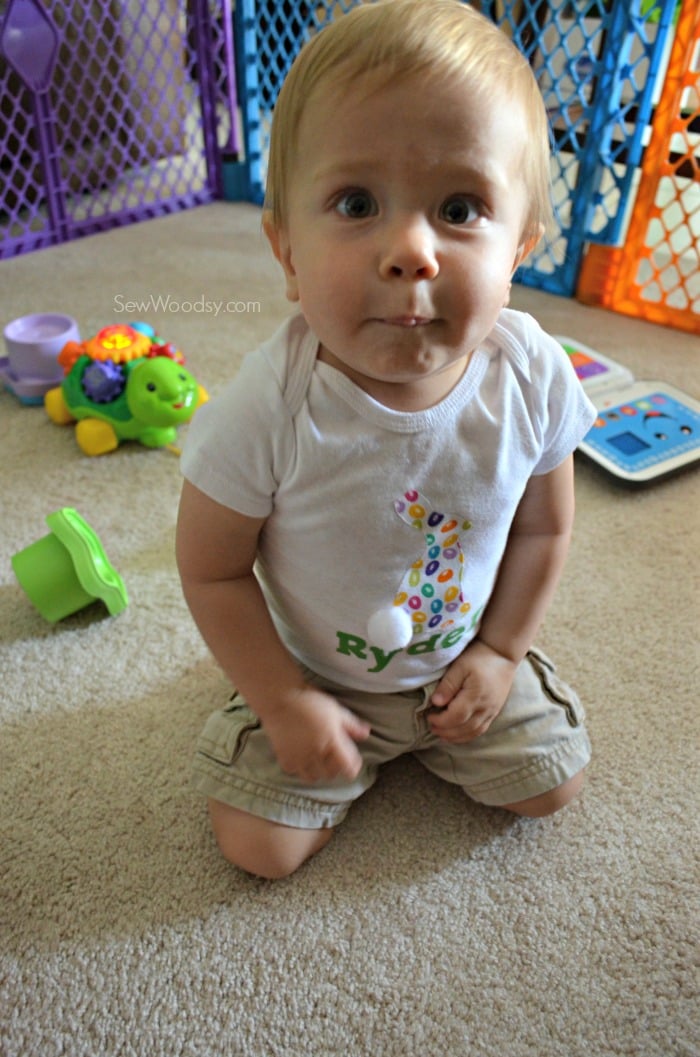
My cute little model… modeling his new DIY Easter Bunny Onesie with his name on it!
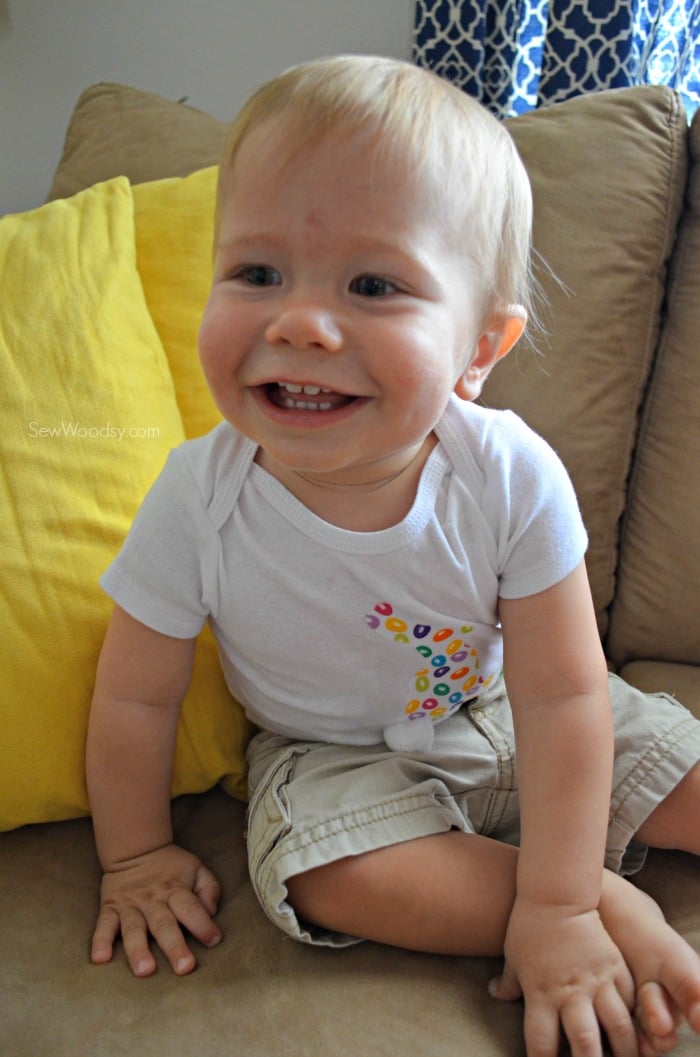
Taking pictures of him these days are almost impossible!
It took him almost 15 minutes before he even noticed the pom-pom attached to his shirt and even then he really didn’t play with it!
Tips and Tricks
Here are a few more tips and tricks when making this Easter onesie.
- Choose Your Fabric: Select a fabric that is suitable for adhering to the onesie or shirt. Cotton or fleece fabric works well for this type of project. Consider using pastel colors or patterns that evoke the Easter theme.
- Prep Your Fabric: Before cutting out the bunny shape, adhere the fabric to the heat n bond following the manufacturer’s instructions. This will ensure that the fabric stays in place and doesn’t fray when cut.
- Placement is Key: Carefully position the bunny shape and any additional elements (such as the name) on the onesie before adhering them in place. Use pins or fabric chalk to mark the desired placement to ensure everything is centered and aligned correctly.
- Iron Carefully: Once you’re satisfied with the placement, carefully iron the fabric onto the onesie following the heat n bond instructions. Use a pressing cloth to protect the fabric and ensure the adhesive bonds properly.
- Add Embellishments: Get creative and add embellishments such as ribbon, buttons, or fabric paint to further enhance the design of your Easter Bunny Onesie. Just be sure to securely attach them to the fabric to prevent them from falling off.
Bunny Crafts
Looking for more inspiration? Check out a few more of my favorite bunny crafts.
DIY Easter Bunny Onesie With Name
Transform an ordinary onesies into adorable Easter Bunny creations with personalized flair - discover how to craft your own DIY Easter Bunny Onesie with Name!
Materials
- Easter Fabric
- Solid Fabric
- 1 White Pom-Pom
- Hot Glue
Tools
- Heat ‘n Bond
- Iron & Ironing Board
- Cricut Explore
- Cricut Design Space™
- Cricut Tools
Instructions
- Using your Cricut Design Space, find the bunny from the Teresa Collins Bunnies and Chicks Digital cartridge.
- Use Birthday Bash font for the baby's name.
- Select two different colors on the Design Space interface so that the machine knows to cut two different colors.
- Cut the fabric and heat-n-bond and iron it together.
- Iron on the sticky side to the back of the fabric for just a few seconds. Once it’s adhered to the fabric it will pull off easily.
- Then place the sticky side down on a standard strength grip mat.
- Set the dial to “fabric” and press “cut”.
- Next, remove the cut-out and place it on the shirt.
- Set your iron to high heat and begin to carefully iron on the fabric bunny.
- Repeat and do the same with the name, by cutting it on fabric that has been backed with heat-n-bond, and then iron it on.
Notes
Adding Pom-Pom - After ironing on the bunny, I simply placed a dot of hot glue on the end of the bunny tale then stuck the pom-pom to the shirt. I’ve washed and dried this shirt already once and it stayed on without any issues.
Recommended Products
As an Amazon Associate and member of other affiliate programs, I earn from qualifying purchases.