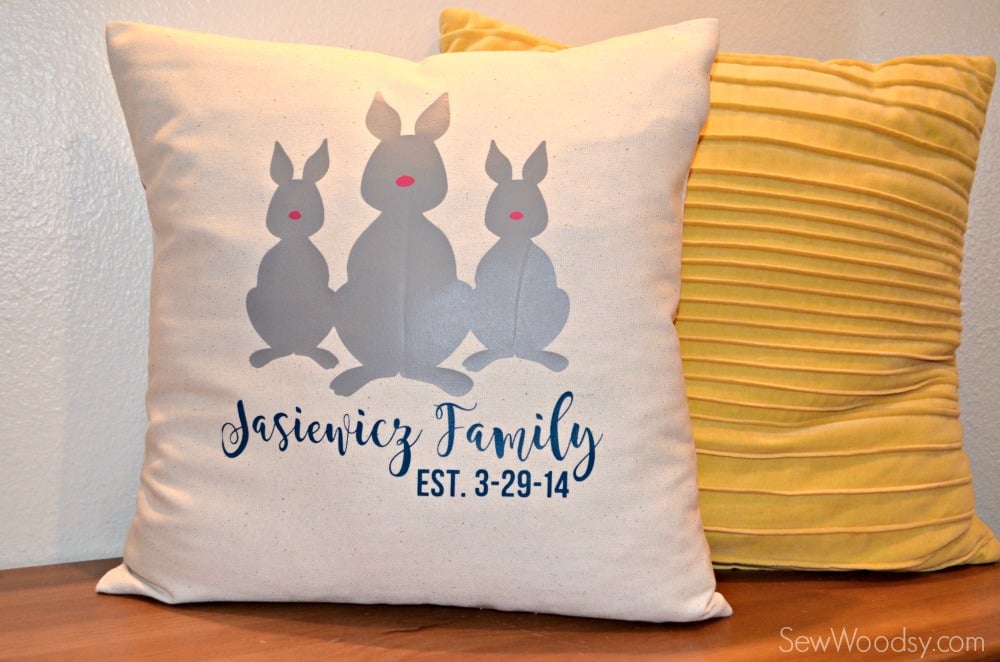
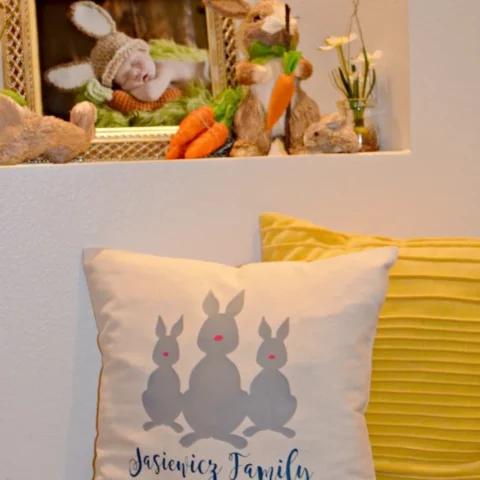
Create a personalized bunny pillow with your families name and year established using a blank pillow case cover, Iron-on vinyl and a Cricut. I share all the steps to make this customized pillowcase in under a half hours time.
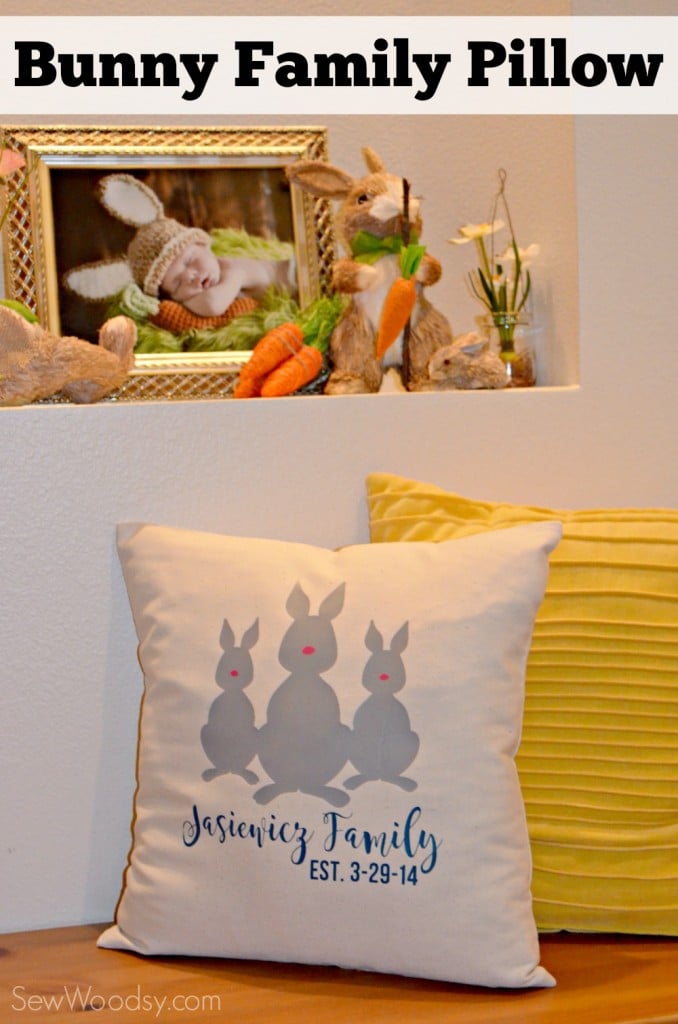
Ever since I made the deer family photo I’ve been dreaming about what other “family” style holiday pillows I can make. And an Easter bunny pillow was at the top of my list! I’m in love with this pillow almost as much as the deer family pillow! I have a secret to finally share… I bought a heat press. Not to start a shirt business but to make my projects more permanent. I know, I’m officially crazy, but at least I have this to use for many years to come!
Table of contents
Supplies
Here are the supplies you’ll need to create this pillow.
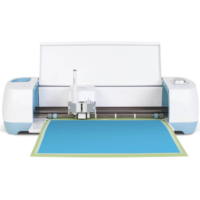
- Cricut Explore
- Cricut Design Space™
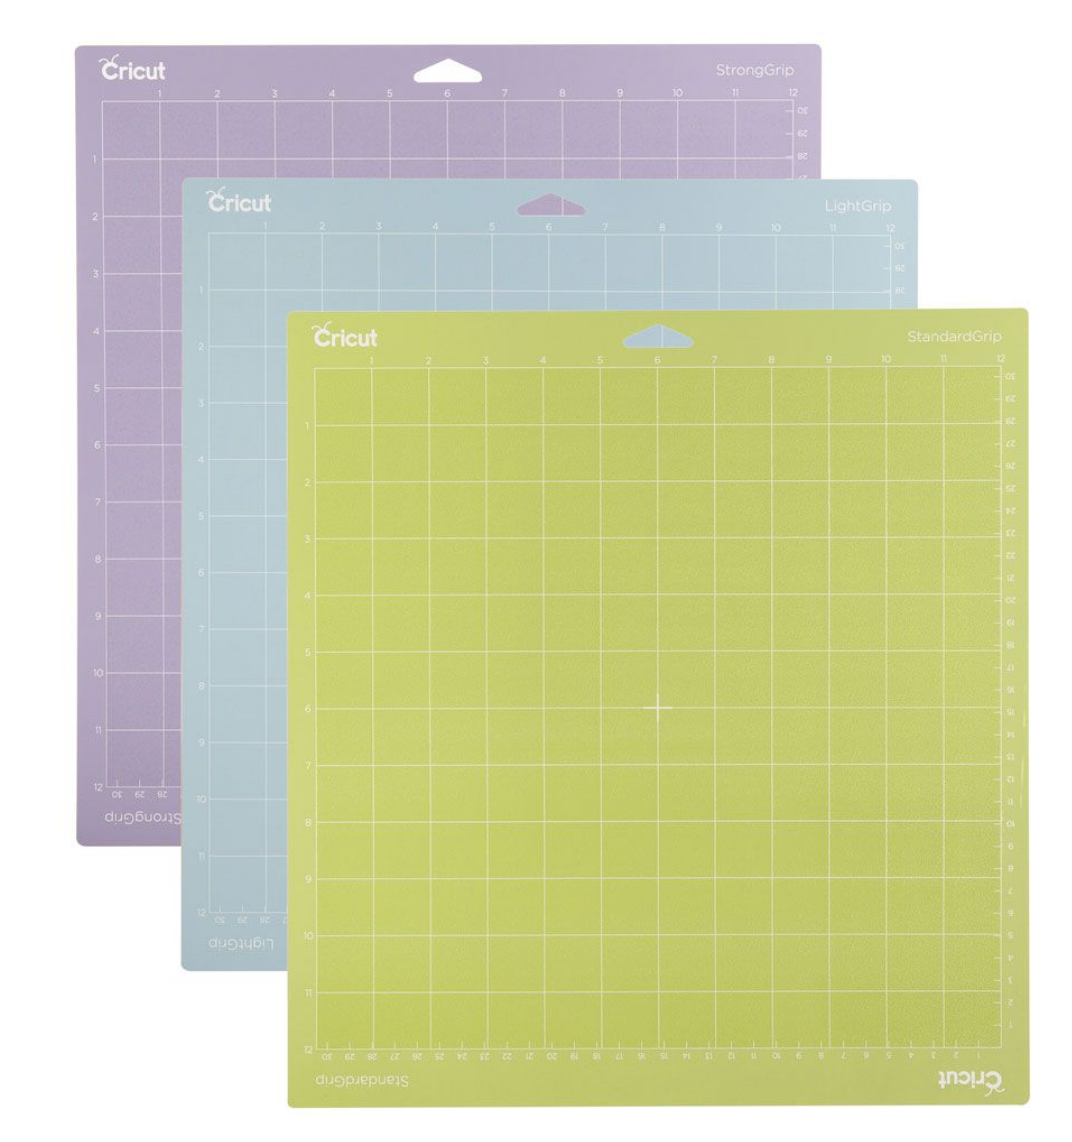
- Cricut Mat
- Cricut Iron-On Vinyl: Gray, Pink, and Turquoise
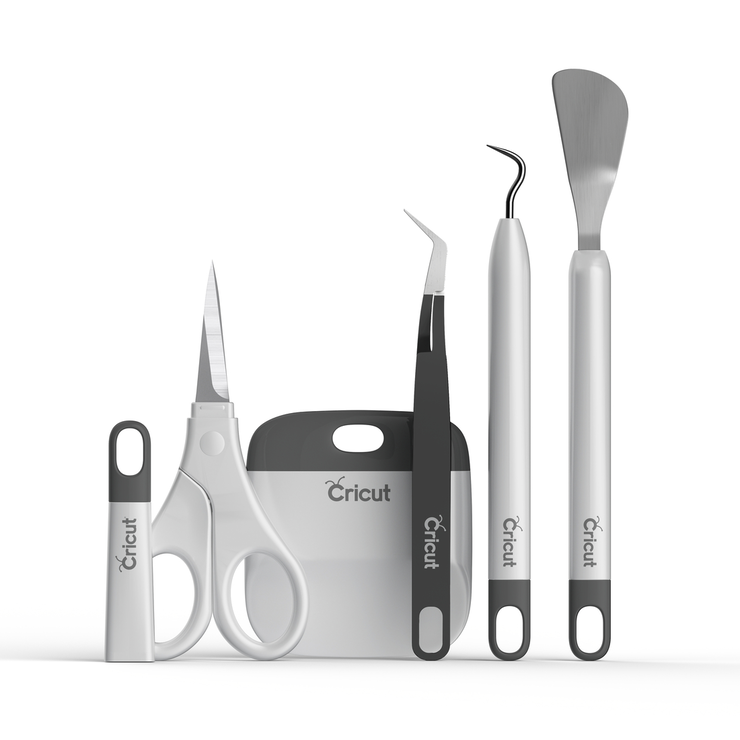
- Cricut Tools
- 16 x 16 Canvas Pillow Cover
- Iron or Heat Press
- Muslin Cloth
Directions
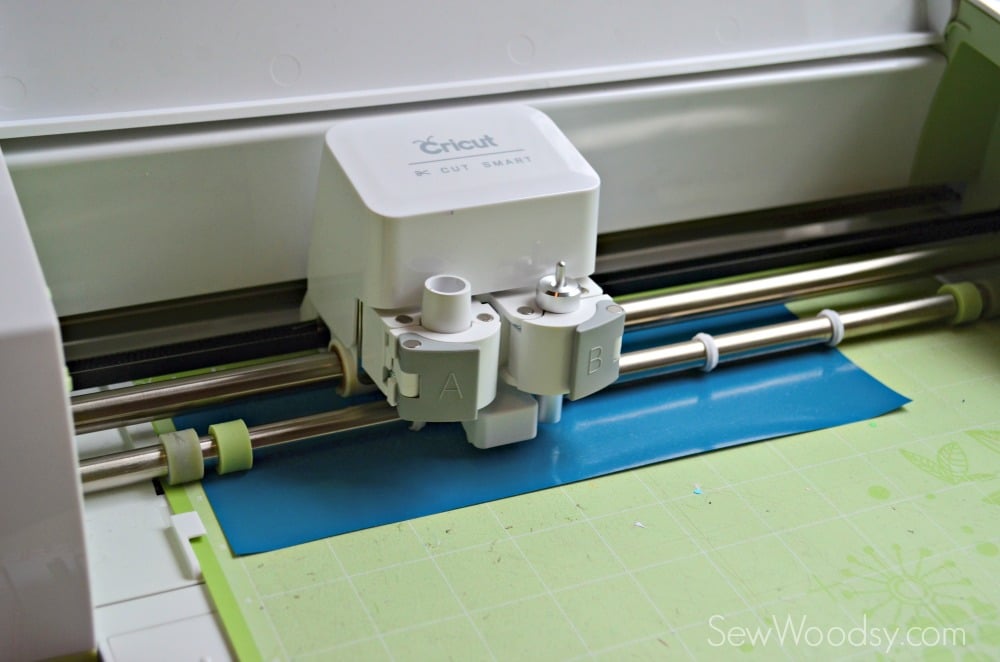
First up, cut out the design on your Cricut Explore. You can pick any style of bunny whether it’s multiple or just one. Pick your favorite font and make sure to add the established date if you want that on the pillow, too.
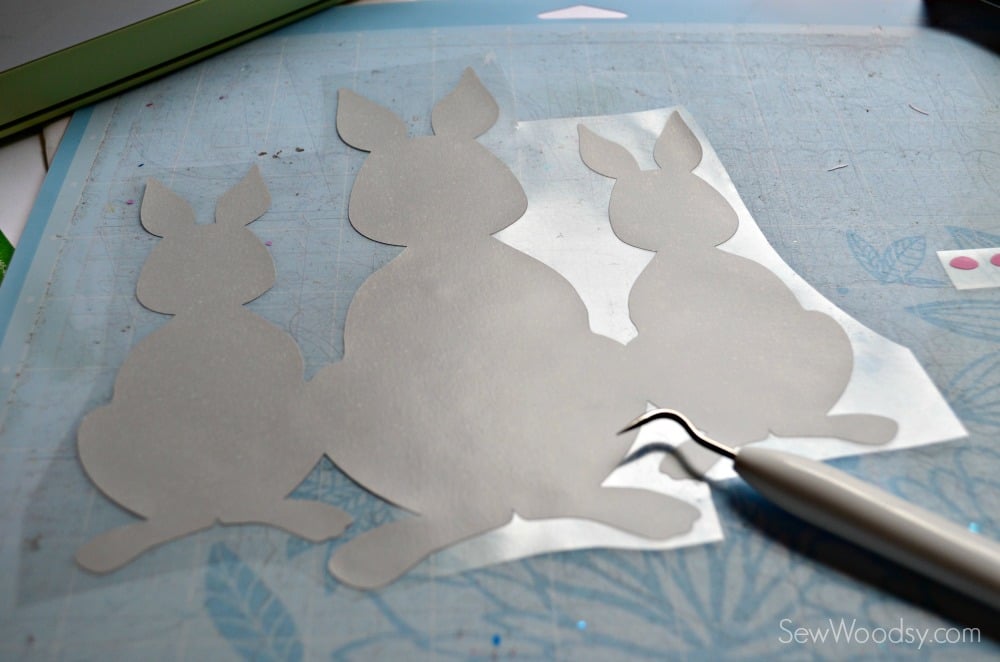
Once your design is cut. You will need to weed the negative from the Iron-On Vinyl.
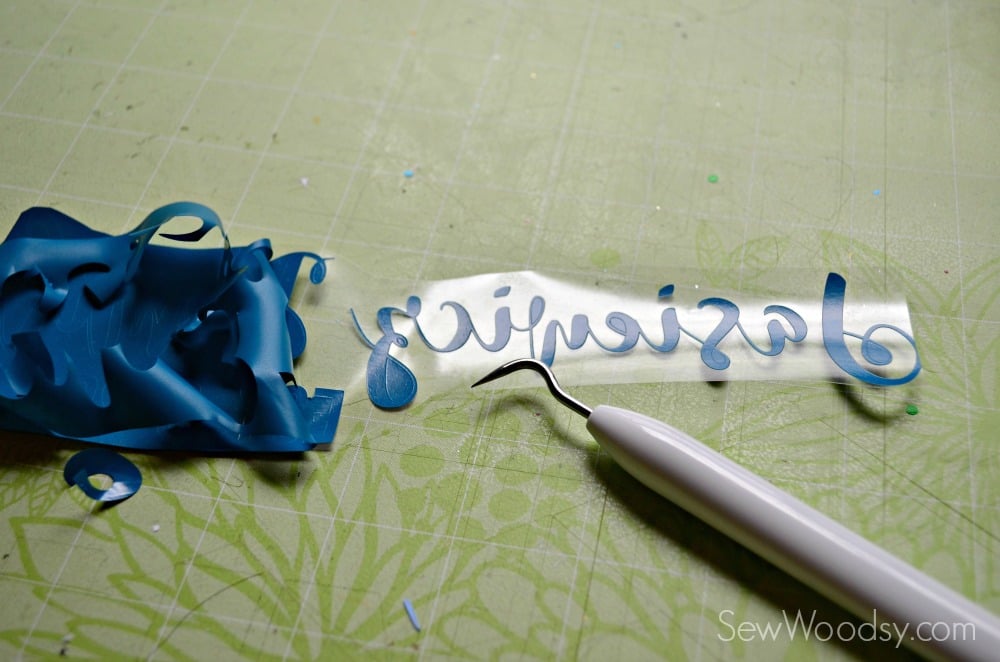
Make sure if you are using a cursive font that you get all the tiny details using the weeding tool.
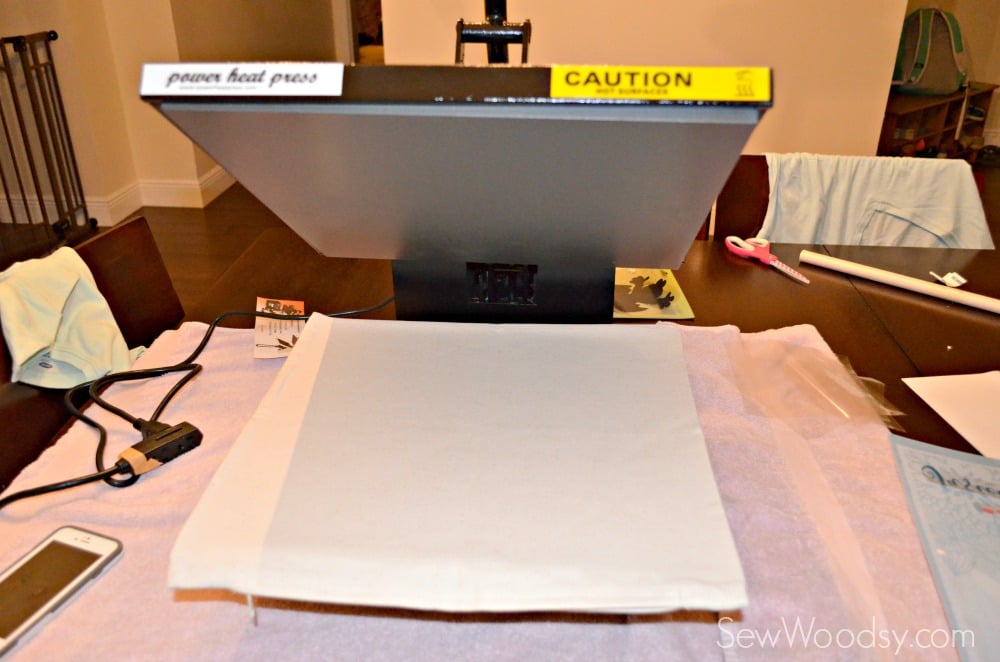
Set your heat press to 350 degrees or pre-heat your iron on high heat. I like to press the garment first whether it’s with a heat press or an iron.
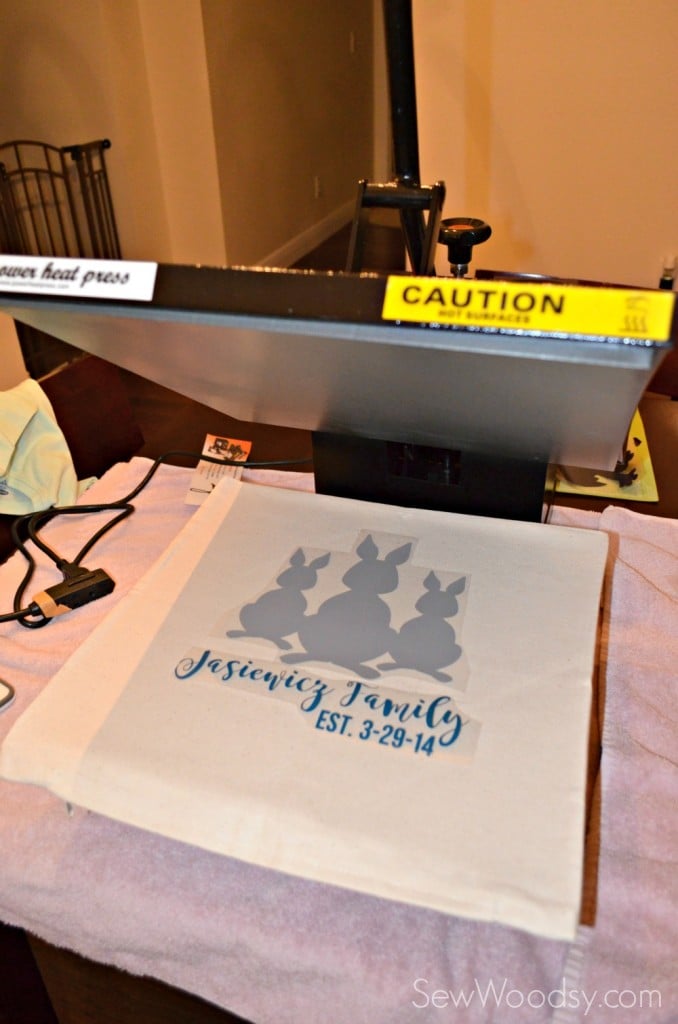
Align the rabbits and the name then press for 10 seconds. If you have an iron press for 15-20 seconds.

Remove the film and then add the noses. Make sure you place a light weight cloth on top so that the vinyl doesn’t melt.
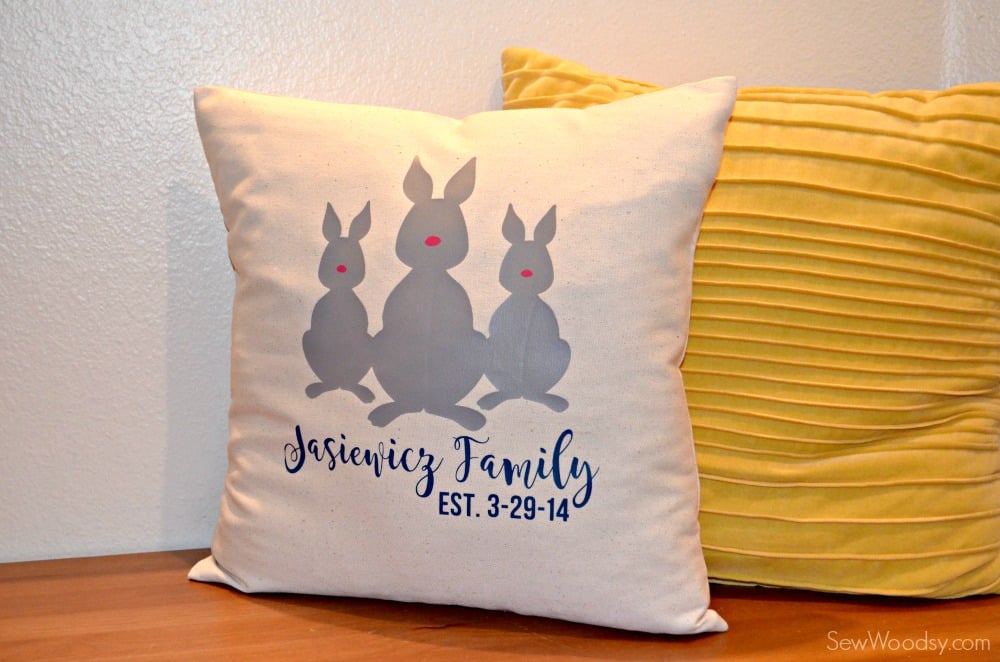
Just as easy as that, I have a super cute festive pillow for Easter!
Tips and Tricks
Here are a few of my favorite tips and tricks when making a pillow cover.
- Experiment with Pastel Colors: Opt for pastel-colored iron-on vinyl to capture the essence of Easter and infuse your pillow cover with a soft, festive vibe.
- Layer and Mix Designs: Get creative by layering different iron-on vinyl designs to add depth and dimension to your pillow cover. Experiment with mixing patterns and textures to achieve a unique and visually appealing result.
- Practice Precision Cutting: Take your time when cutting out intricate designs with your Cricut machine to ensure precision and accuracy. Use the machine’s fine-point blade and adjust settings as needed to achieve clean edges, resulting in professional-looking Easter-themed pillow covers.
- Ensure Proper Adhesion: Prioritize proper heat settings and firm pressure when applying the iron-on vinyl to ensure a secure bond to the fabric. Follow manufacturer instructions carefully to guarantee longevity and durability of your Easter-themed pillow cover.
Easter Crafts
Looking for more Easter crafts to make? Here are a few more of my favorite projects.
- DIY Follow the Bunny Pillow Cover
- Kids Easter Basket Ideas
- 17 Easter Crafts to Make
- 25 Easter Basket Ideas for Toddlers
Easter Pillow
Create a personalized bunny pillow with your families name and year established using a blank pillow case cover, Iron-on vinyl and a Cricut. I share all the steps to make this customized pillowcase in under a half hours time.
Materials
- Muslin Cloth
- 16 x 16 Canvas Pillow Cover
- Cricut Mat
Tools
- Cricut Explore
- Cricut Design Space™
- Cricut Tools
- Iron or Heat Press
Instructions
- First, cut out the design on your Cricut Explore.
- Weed the negative from the Iron-On Vinyl.
- Set your heat press to 350 degrees or pre-heat your iron on high heat.
- Align the rabbits and the name then press for 10 seconds. If you have an iron press for 15-20 seconds.
- Remove the film and then add the noses. Ensure you place a lightweight cloth on top so the vinyl doesn’t melt.
Notes
Wedding Tool - Make sure if you are using a cursive font that you get all the tiny details using the weeding tool.
Heat Pressing - I like to press the garment first, whether with a heat press or an iron.
Recommended Products
As an Amazon Associate and member of other affiliate programs, I earn from qualifying purchases.
Leave A Reply!