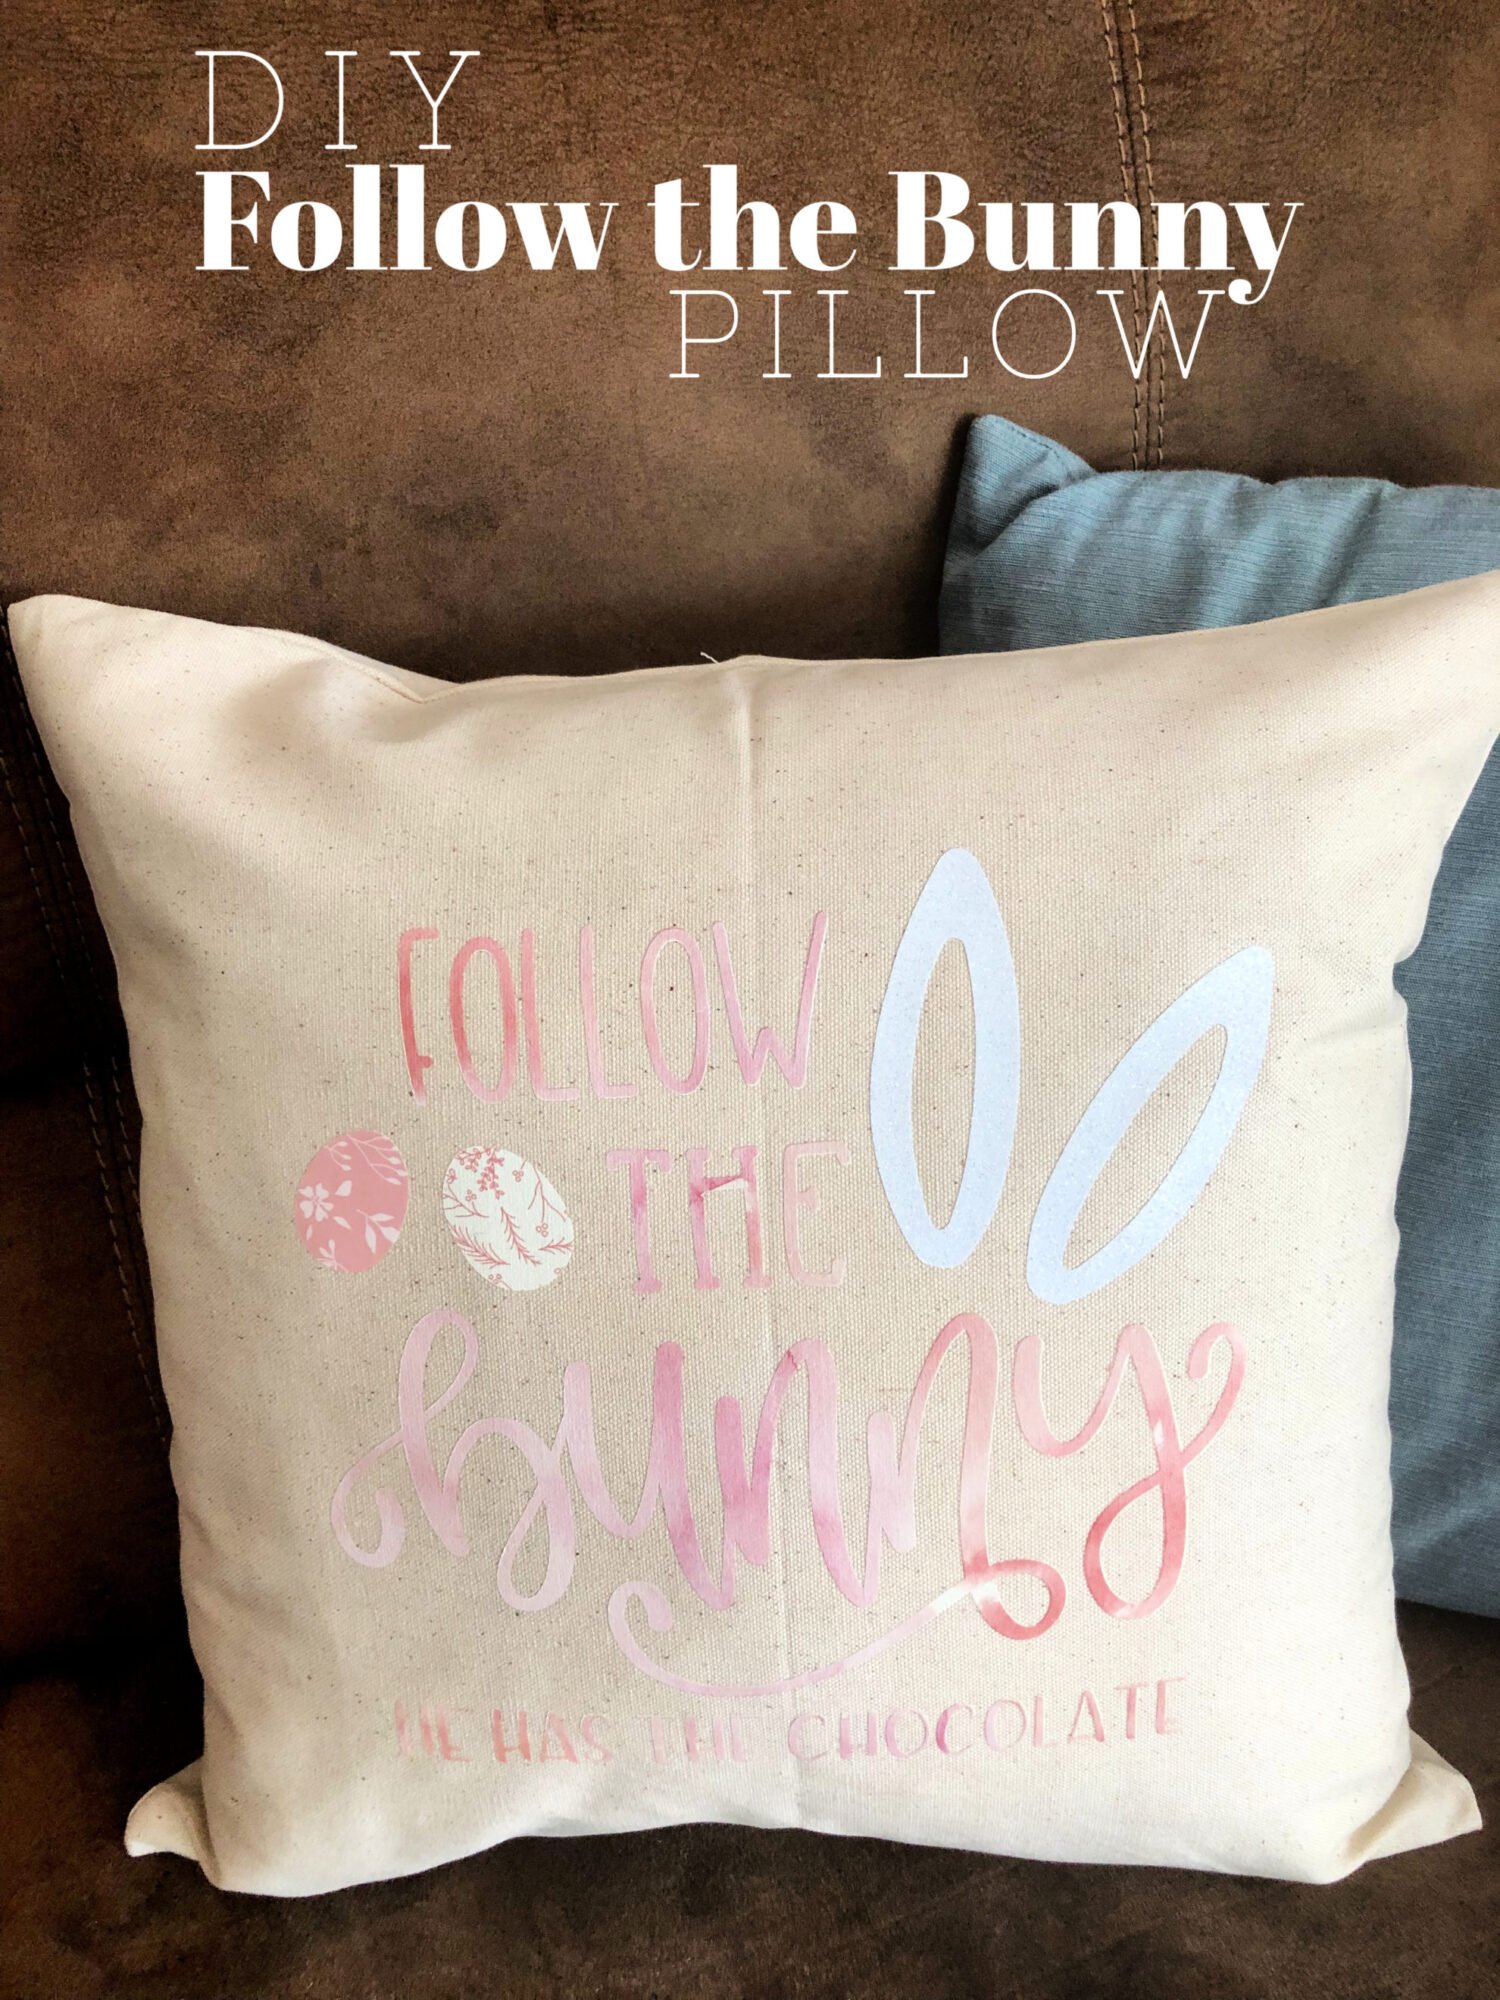
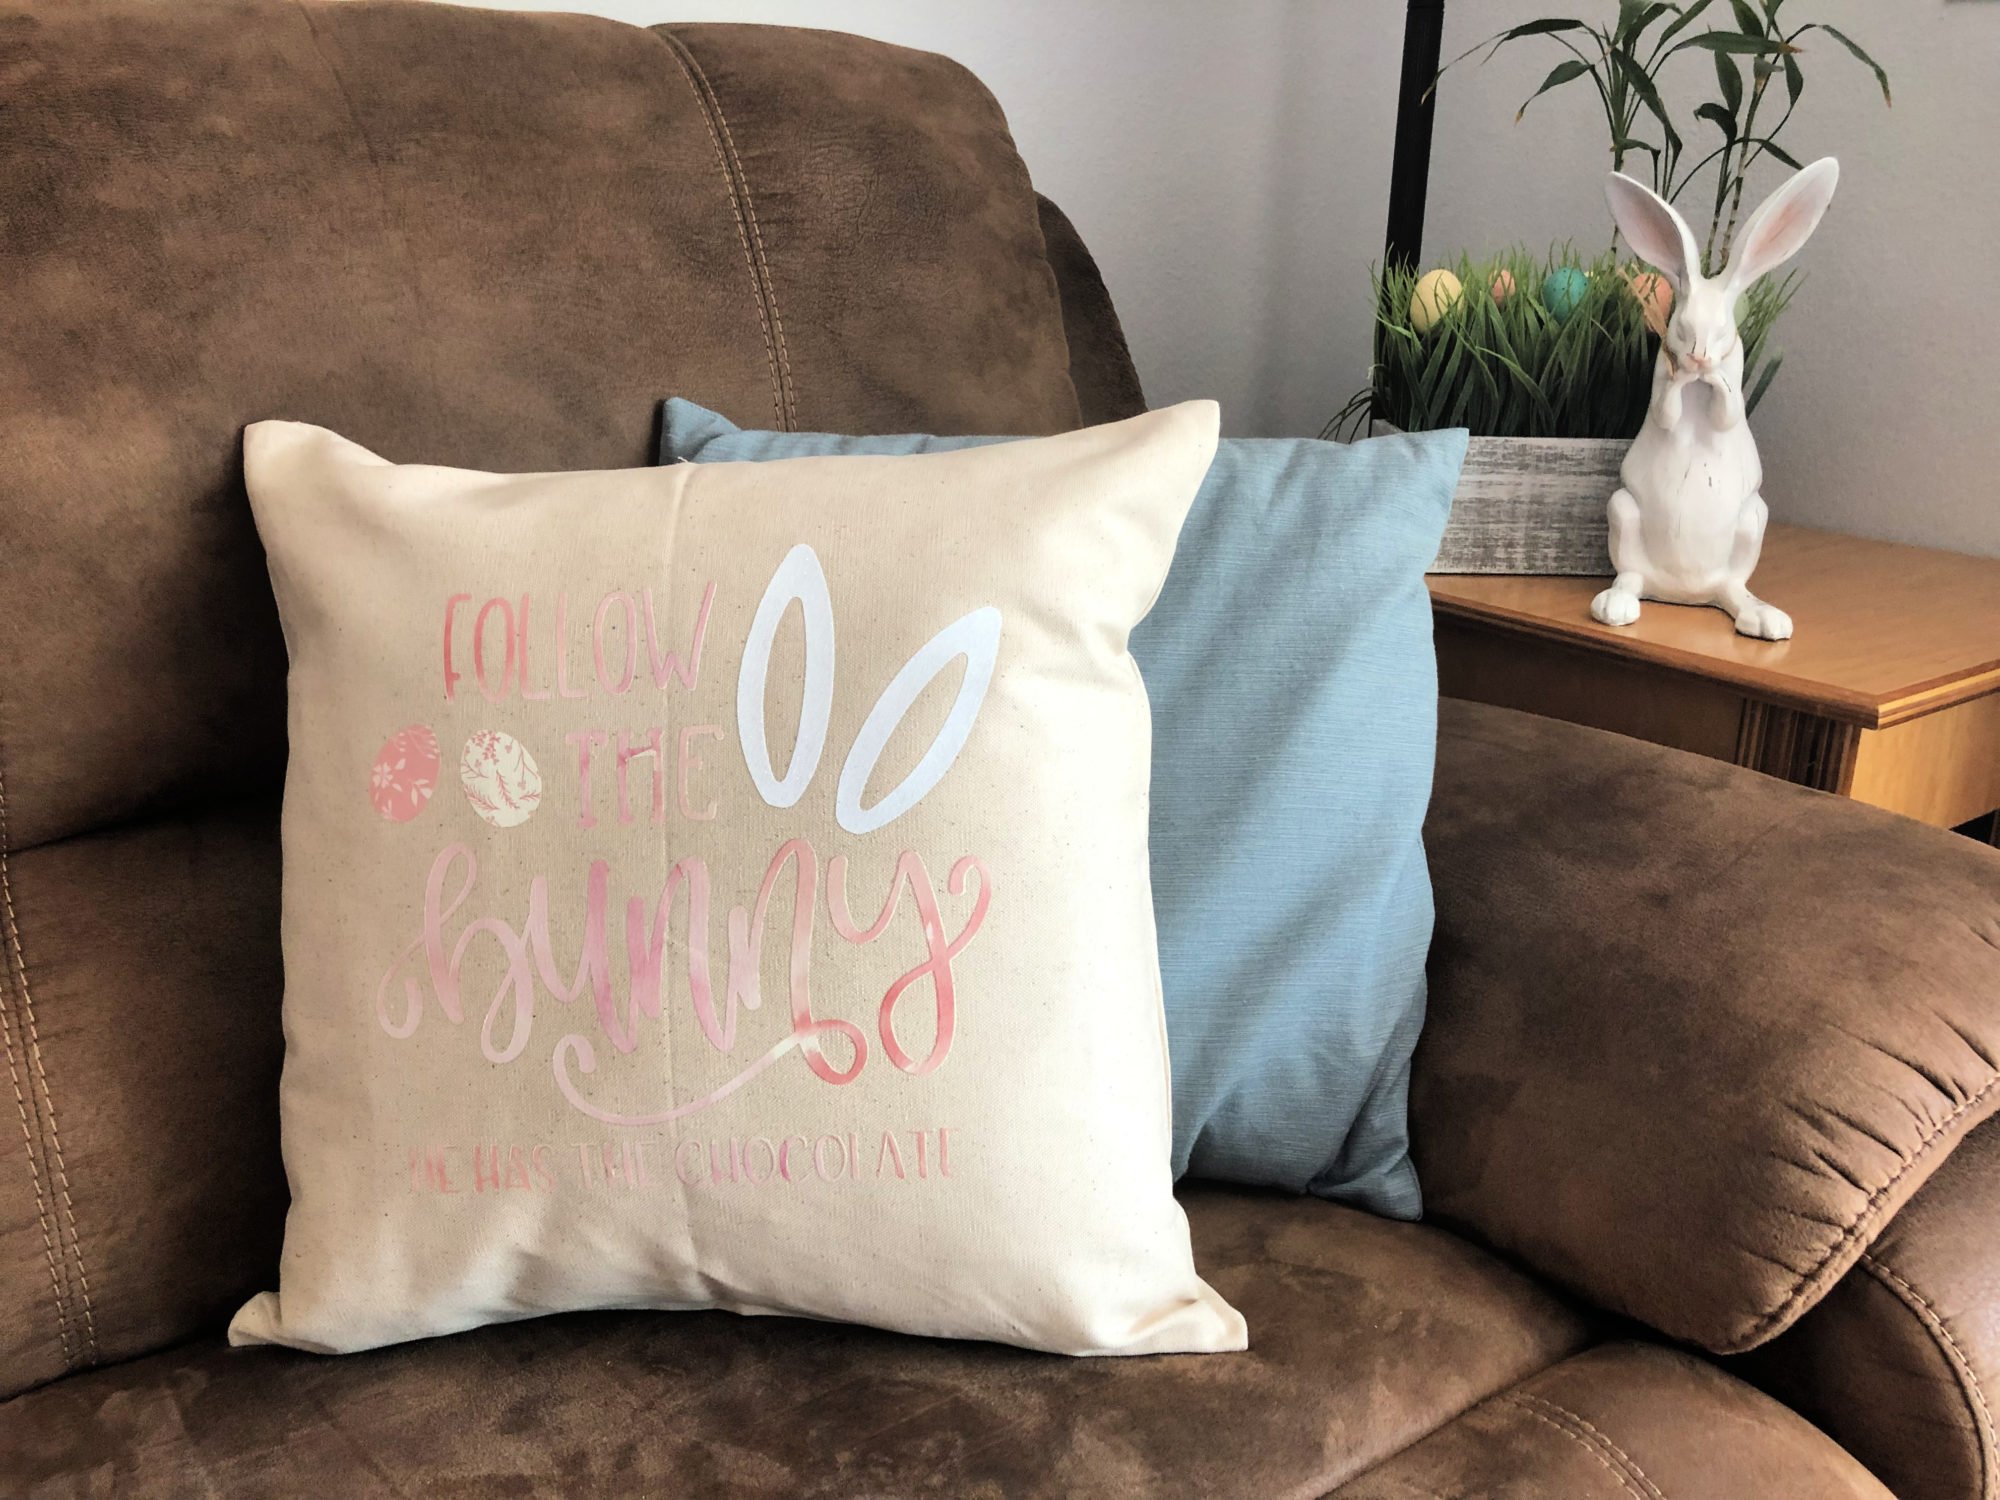
Make this adorable festive DIY Follow the Bunny Pillow Cover using the Cricut Maker, BrightPad, and Cricut EasyPress!
How is it possible that Easter is next weekend! Eek! I’m just finishing up on my decorating. Did you see the cute garden flag I shared last week? However, I have nothing for Easter baskets! Time to look back at my 25 ideas for toddler Easter Baskets and order a few items for the baskets!
Today, I’m excited to share with you this adorable DIY Follow the Bunny Pillow Cover. I originally intended to press this on a burlap garden flag; however, after reading the instructions to the patterned Iron-On Vinyl I realized it wasn’t recommended. So, that’s when I decided to press it on a pillow cover. Had I read directions prior (not a strong point of mine–I’ll be the first to admit that) I would have chosen the dark purple pattered Iron-On vinyl to use. This is a nice pastel pillow perfect for spring and Easter!
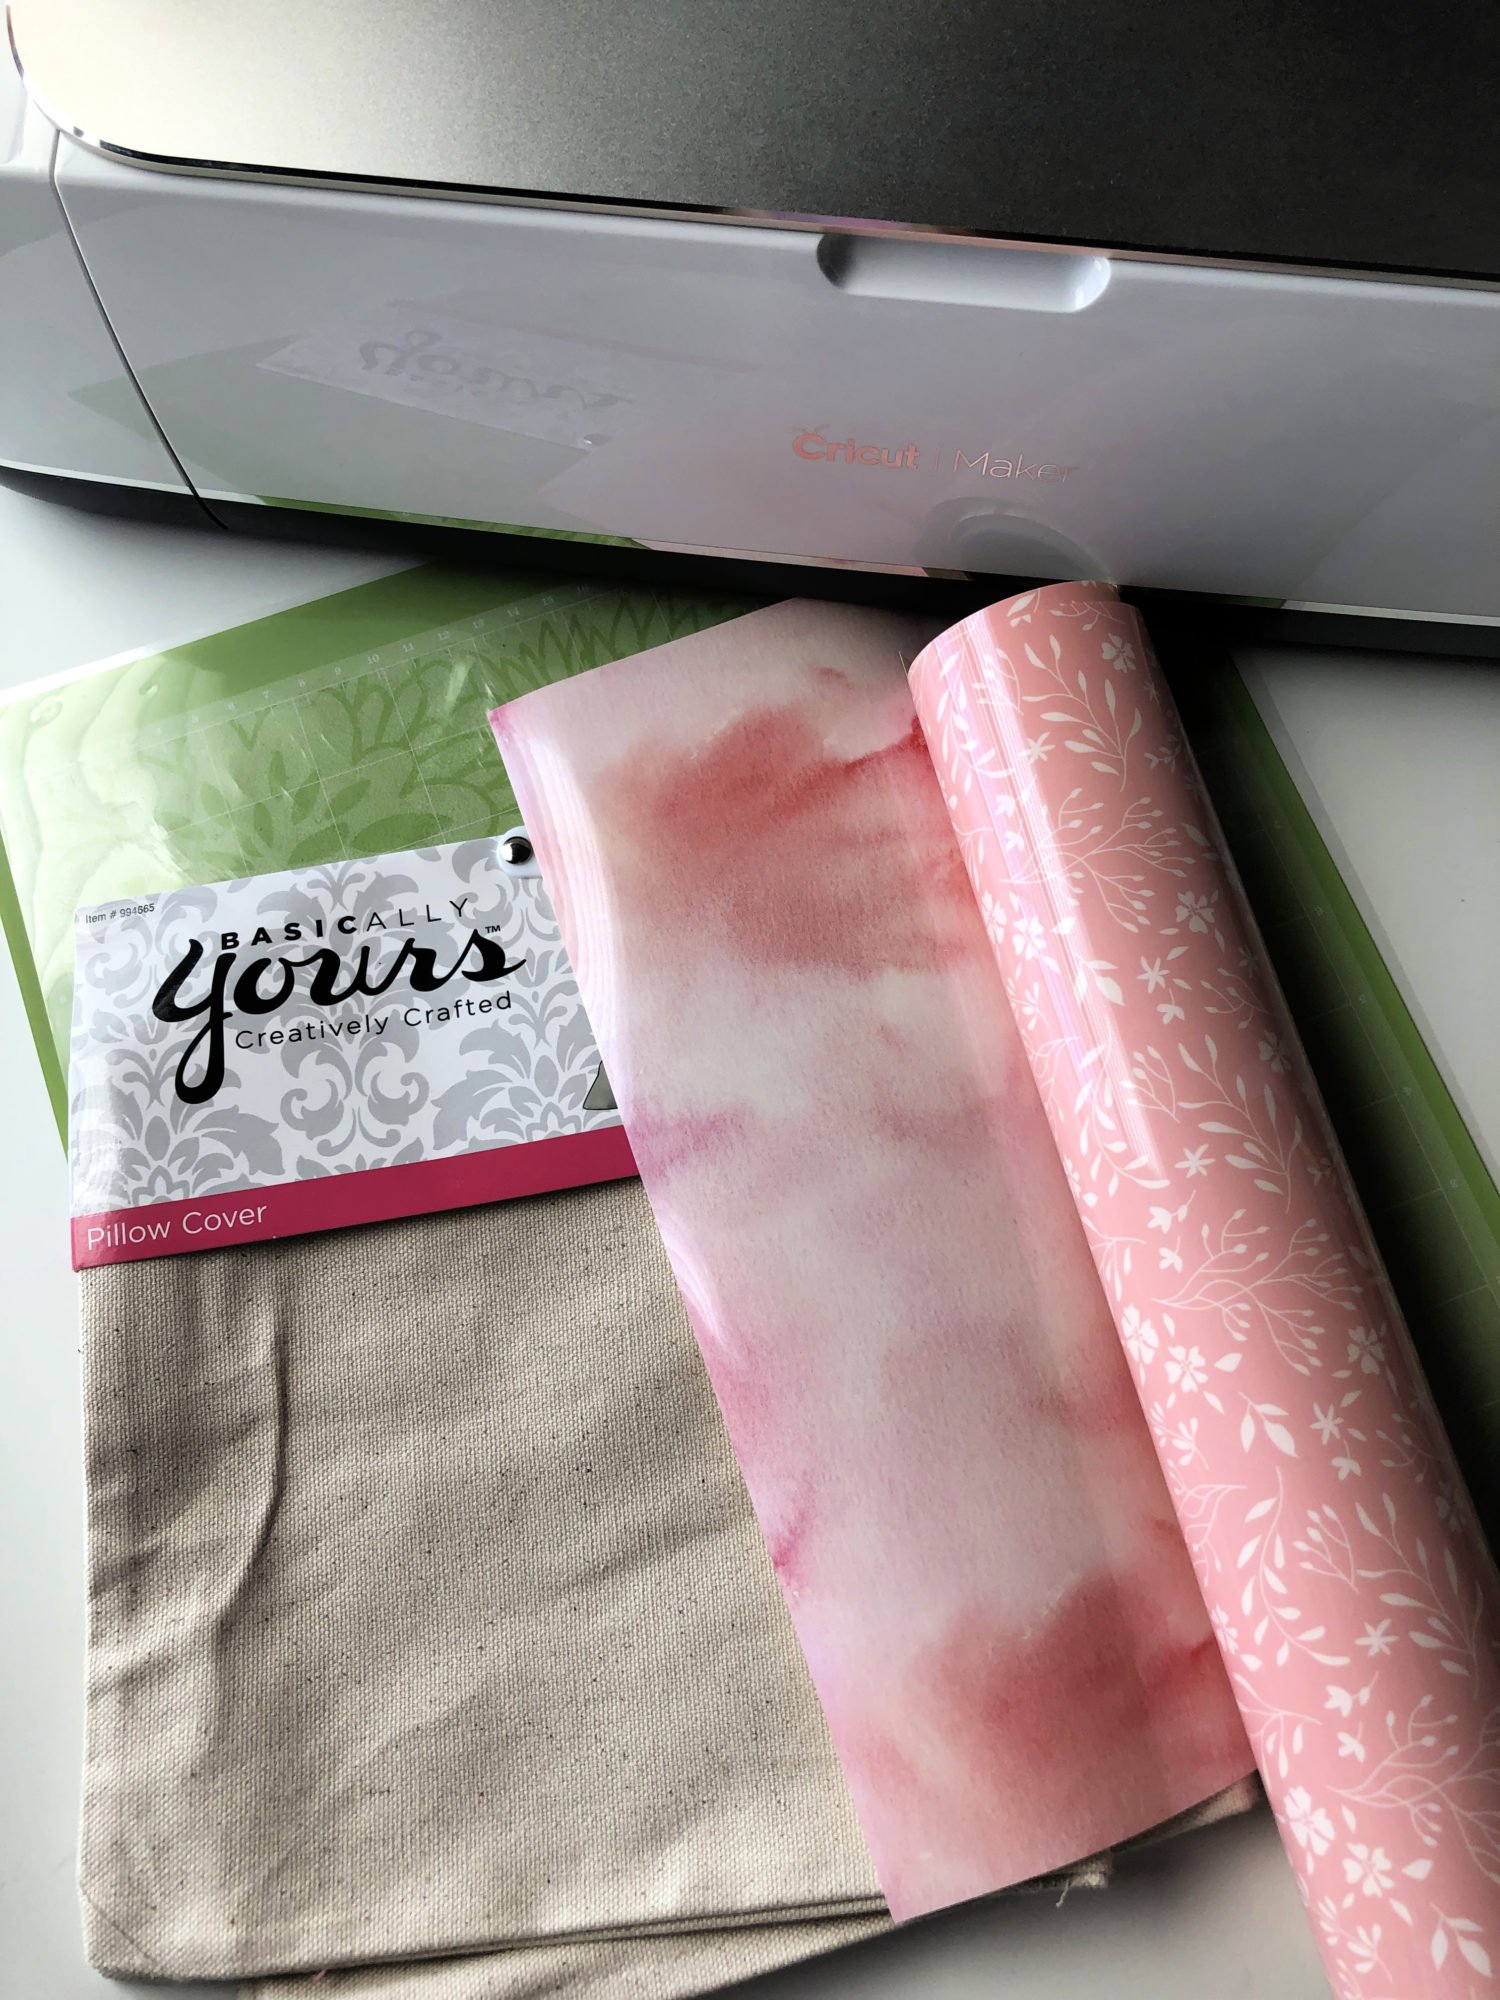
Supplies to make a pillow cover:
- Cricut Maker
- DIY Follow the Bunny Pillow Cover File on Cricut Design Space
- Cricut Mat
- Cricut Iron-On Vinyl; Patterned and White Glitter
- Cricut Tools
- Cricut BrightPad
- Cricut EasyPress Tote
- Cricut EasyPress
- Cricut EasyPress™ Mat (optional)
- 18 x 18 Pillow Cover
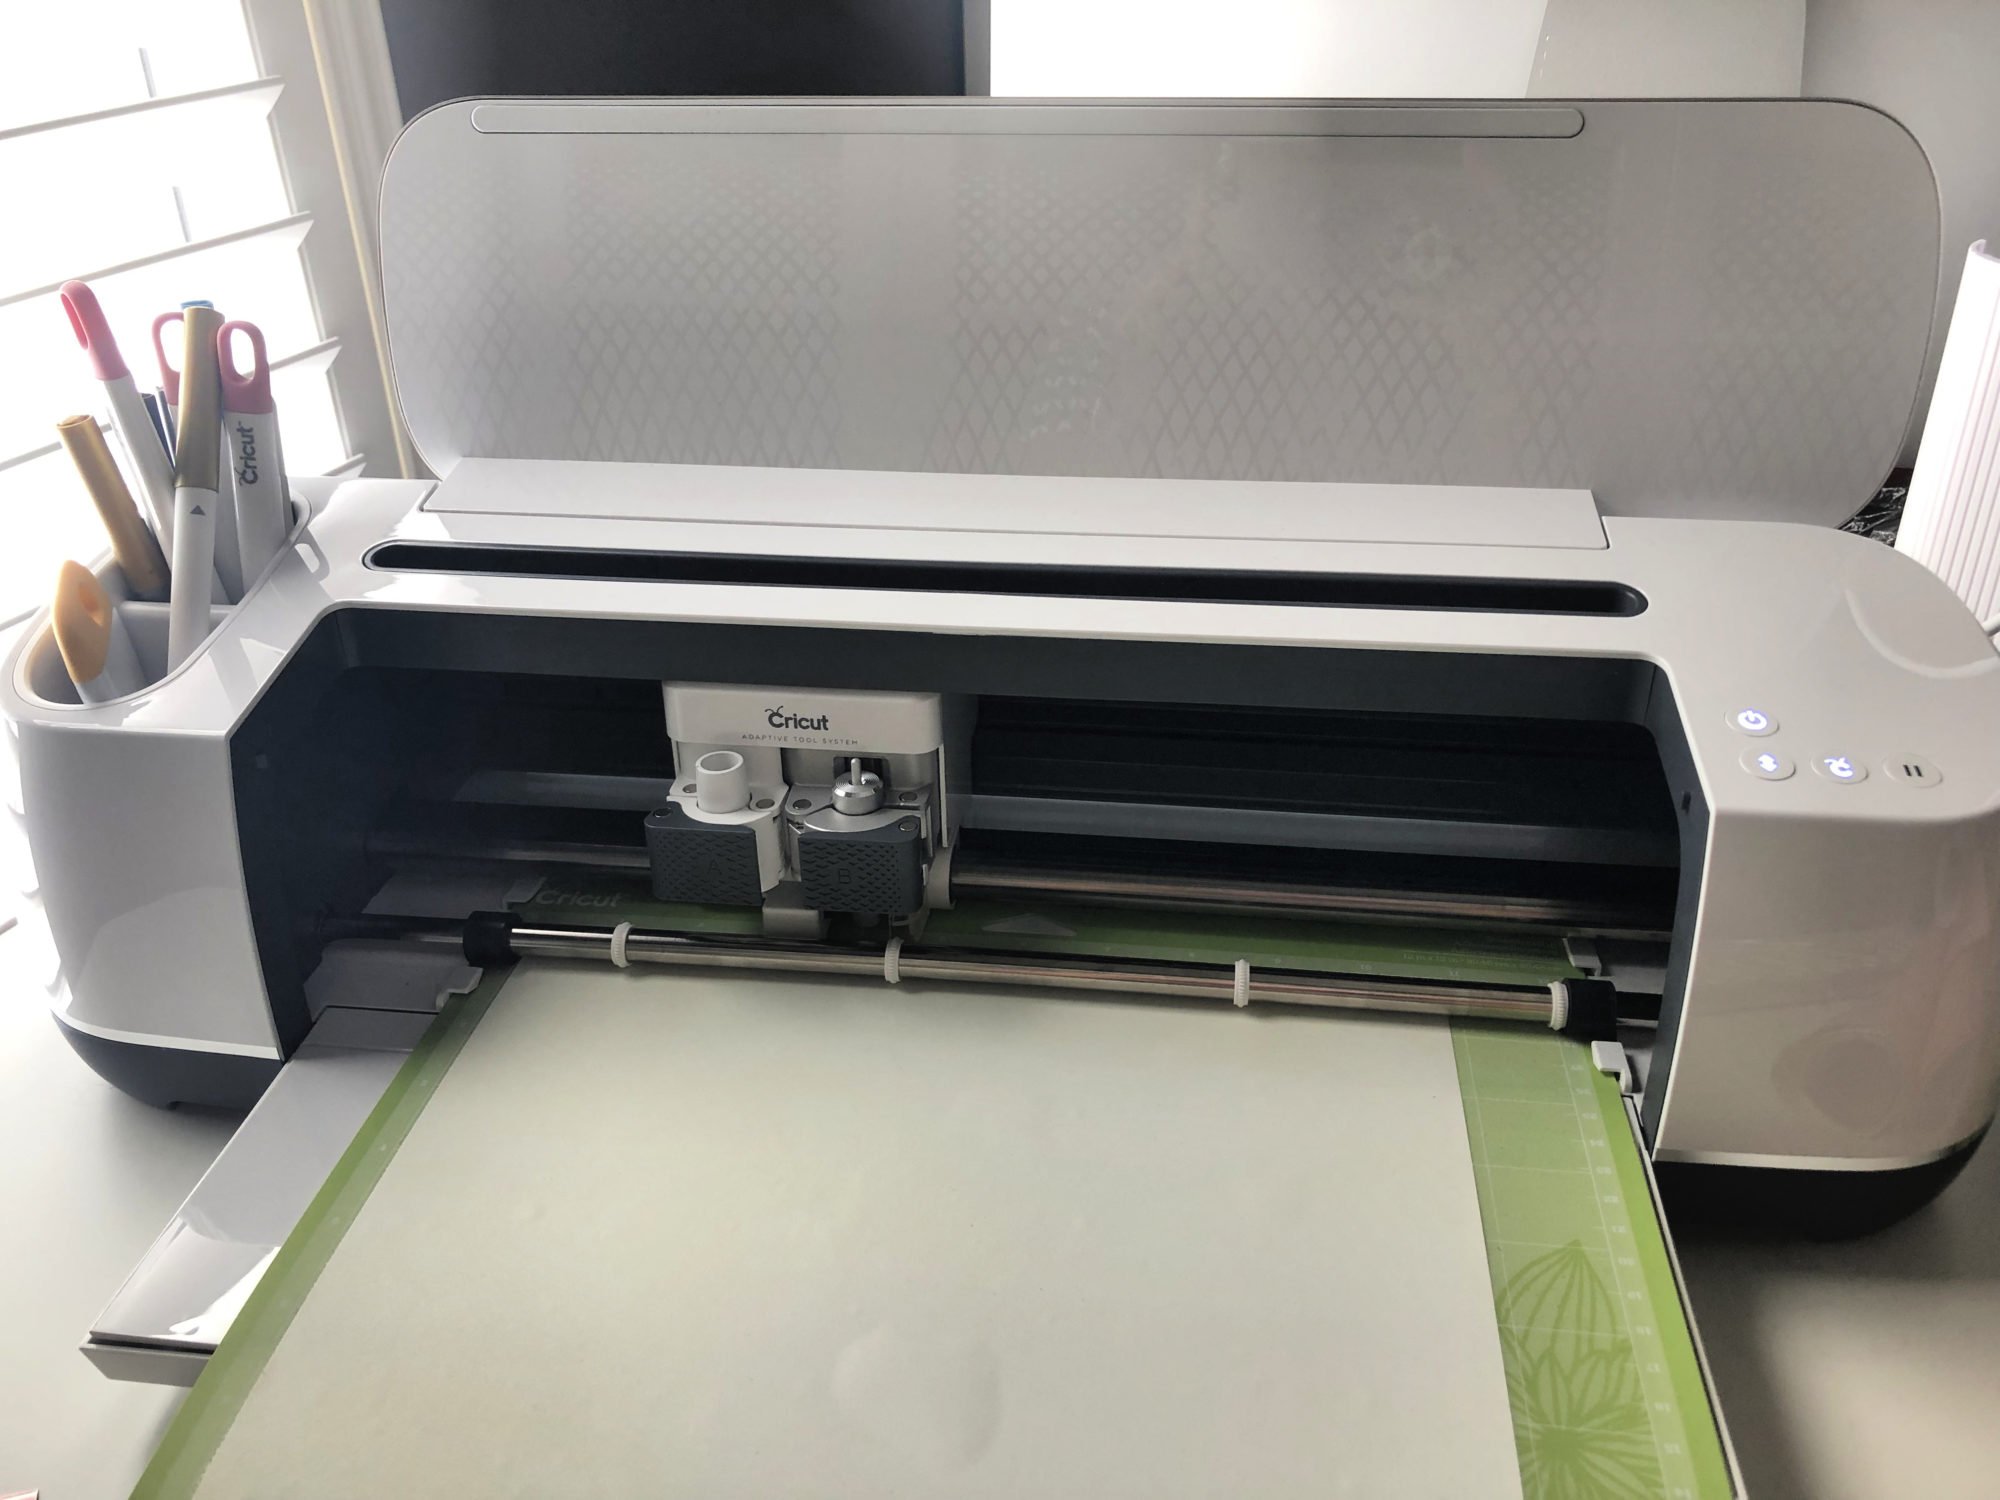
First, open up Cricut Design Space and open up the DIY Follow the Bunny Pillow Cover File. Place the patterned side down on the mat and make your cuts. You will have 4 different layers for this project requiring 4 different colors.
**MAKE SURE TO MIRROR THE DESIGN BEFORE CUTTING!!**
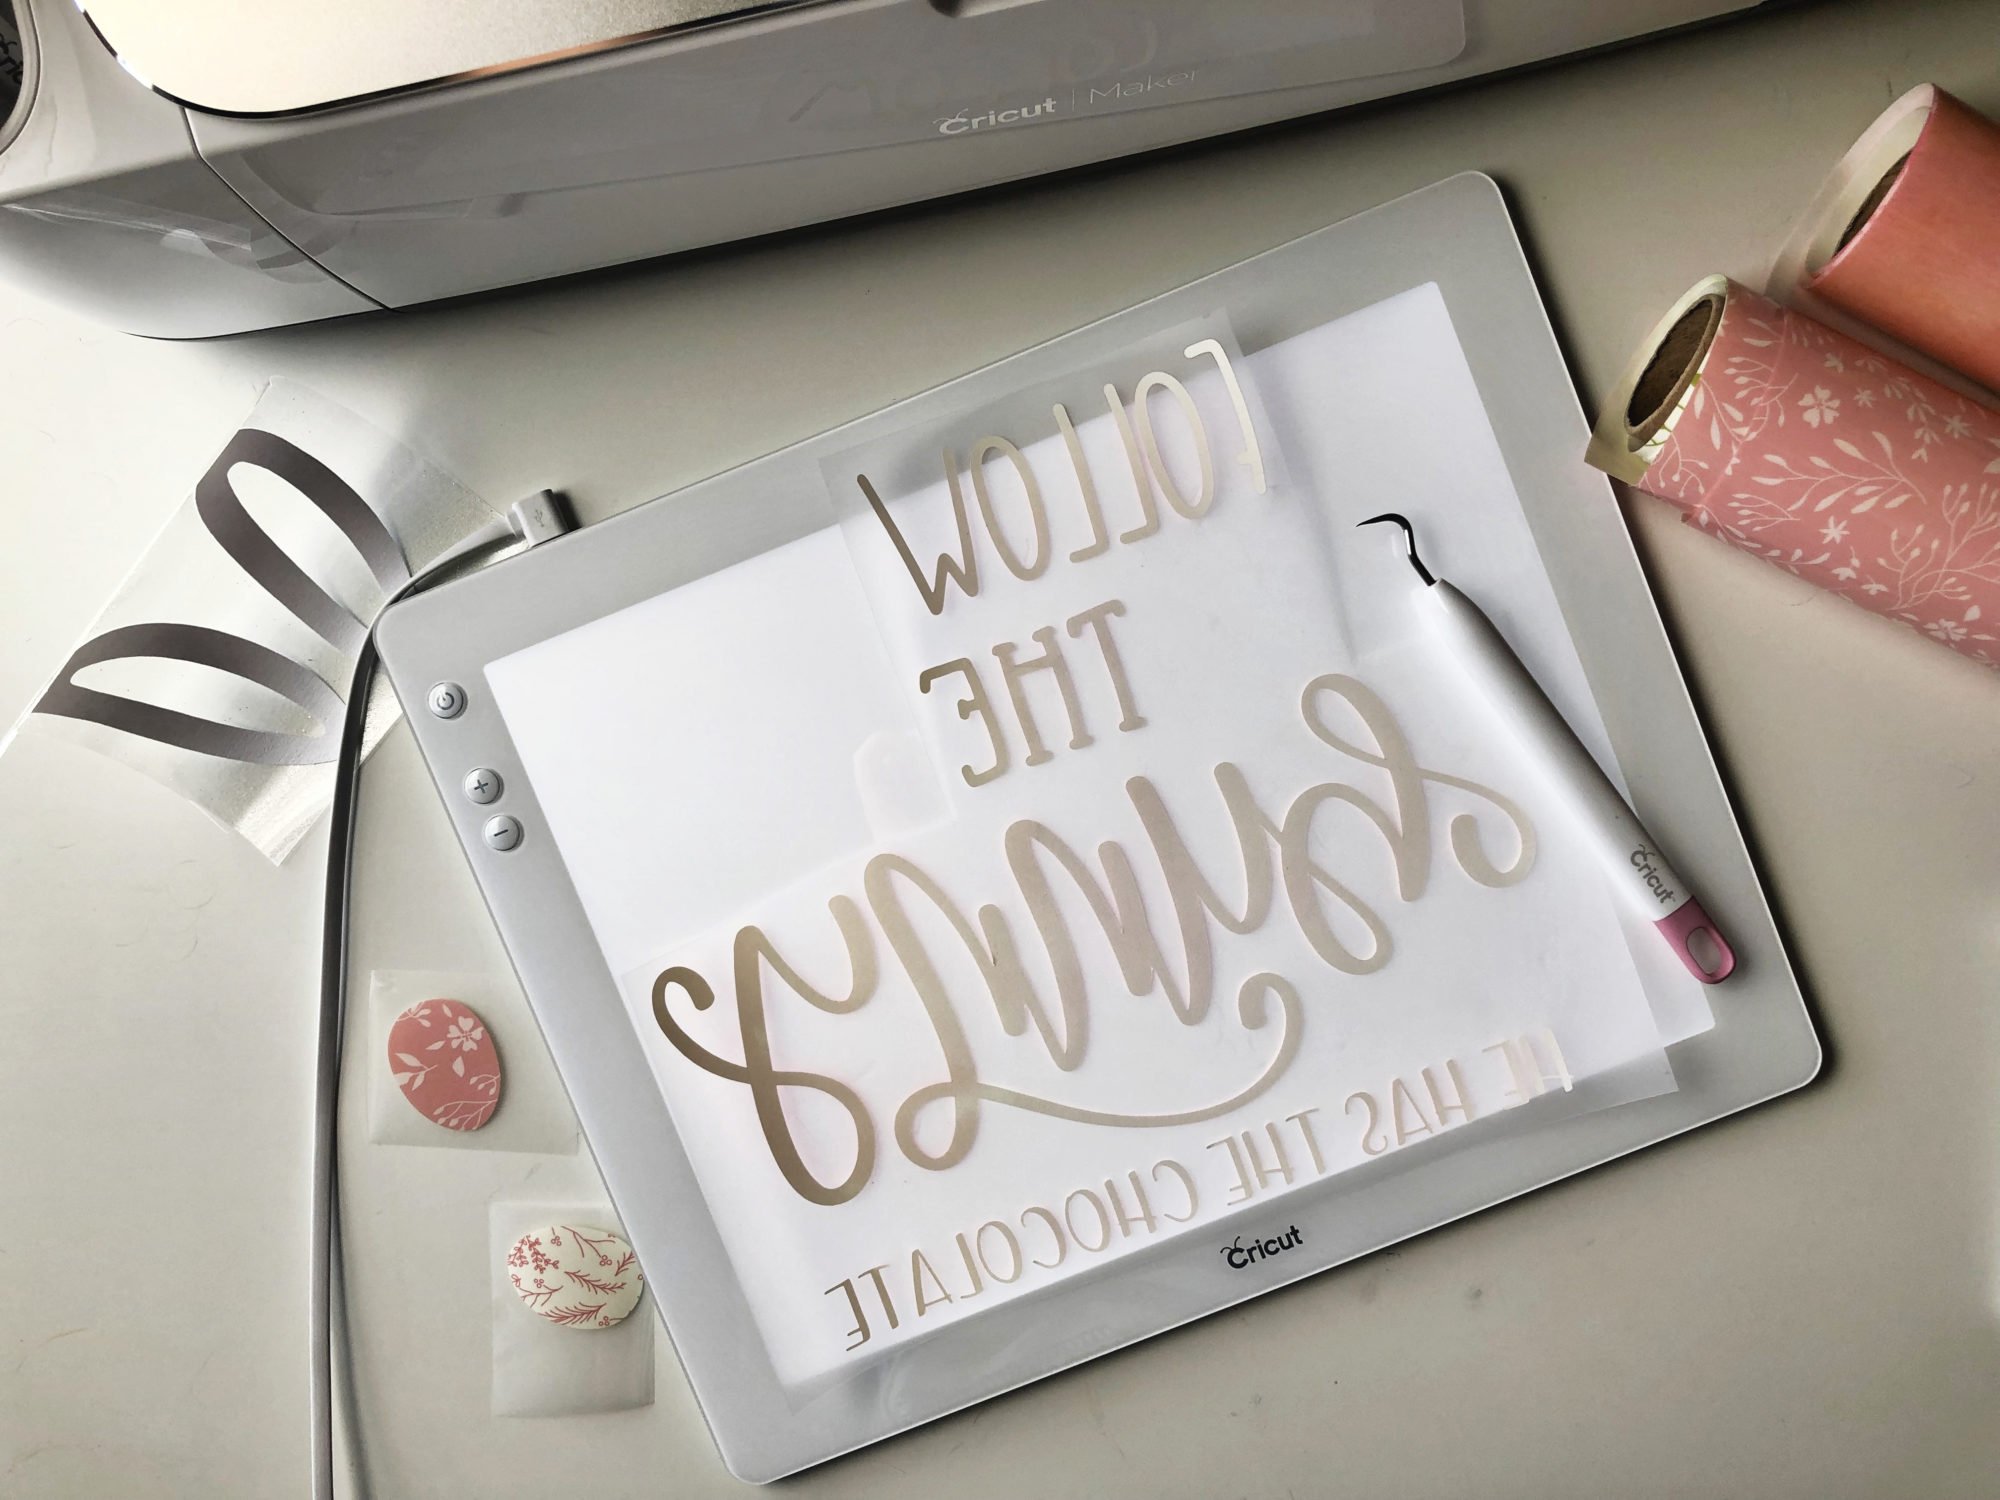
Next, grab your Cricut weeding Tools and the Cricut BrightPad and weed the negative from the design.
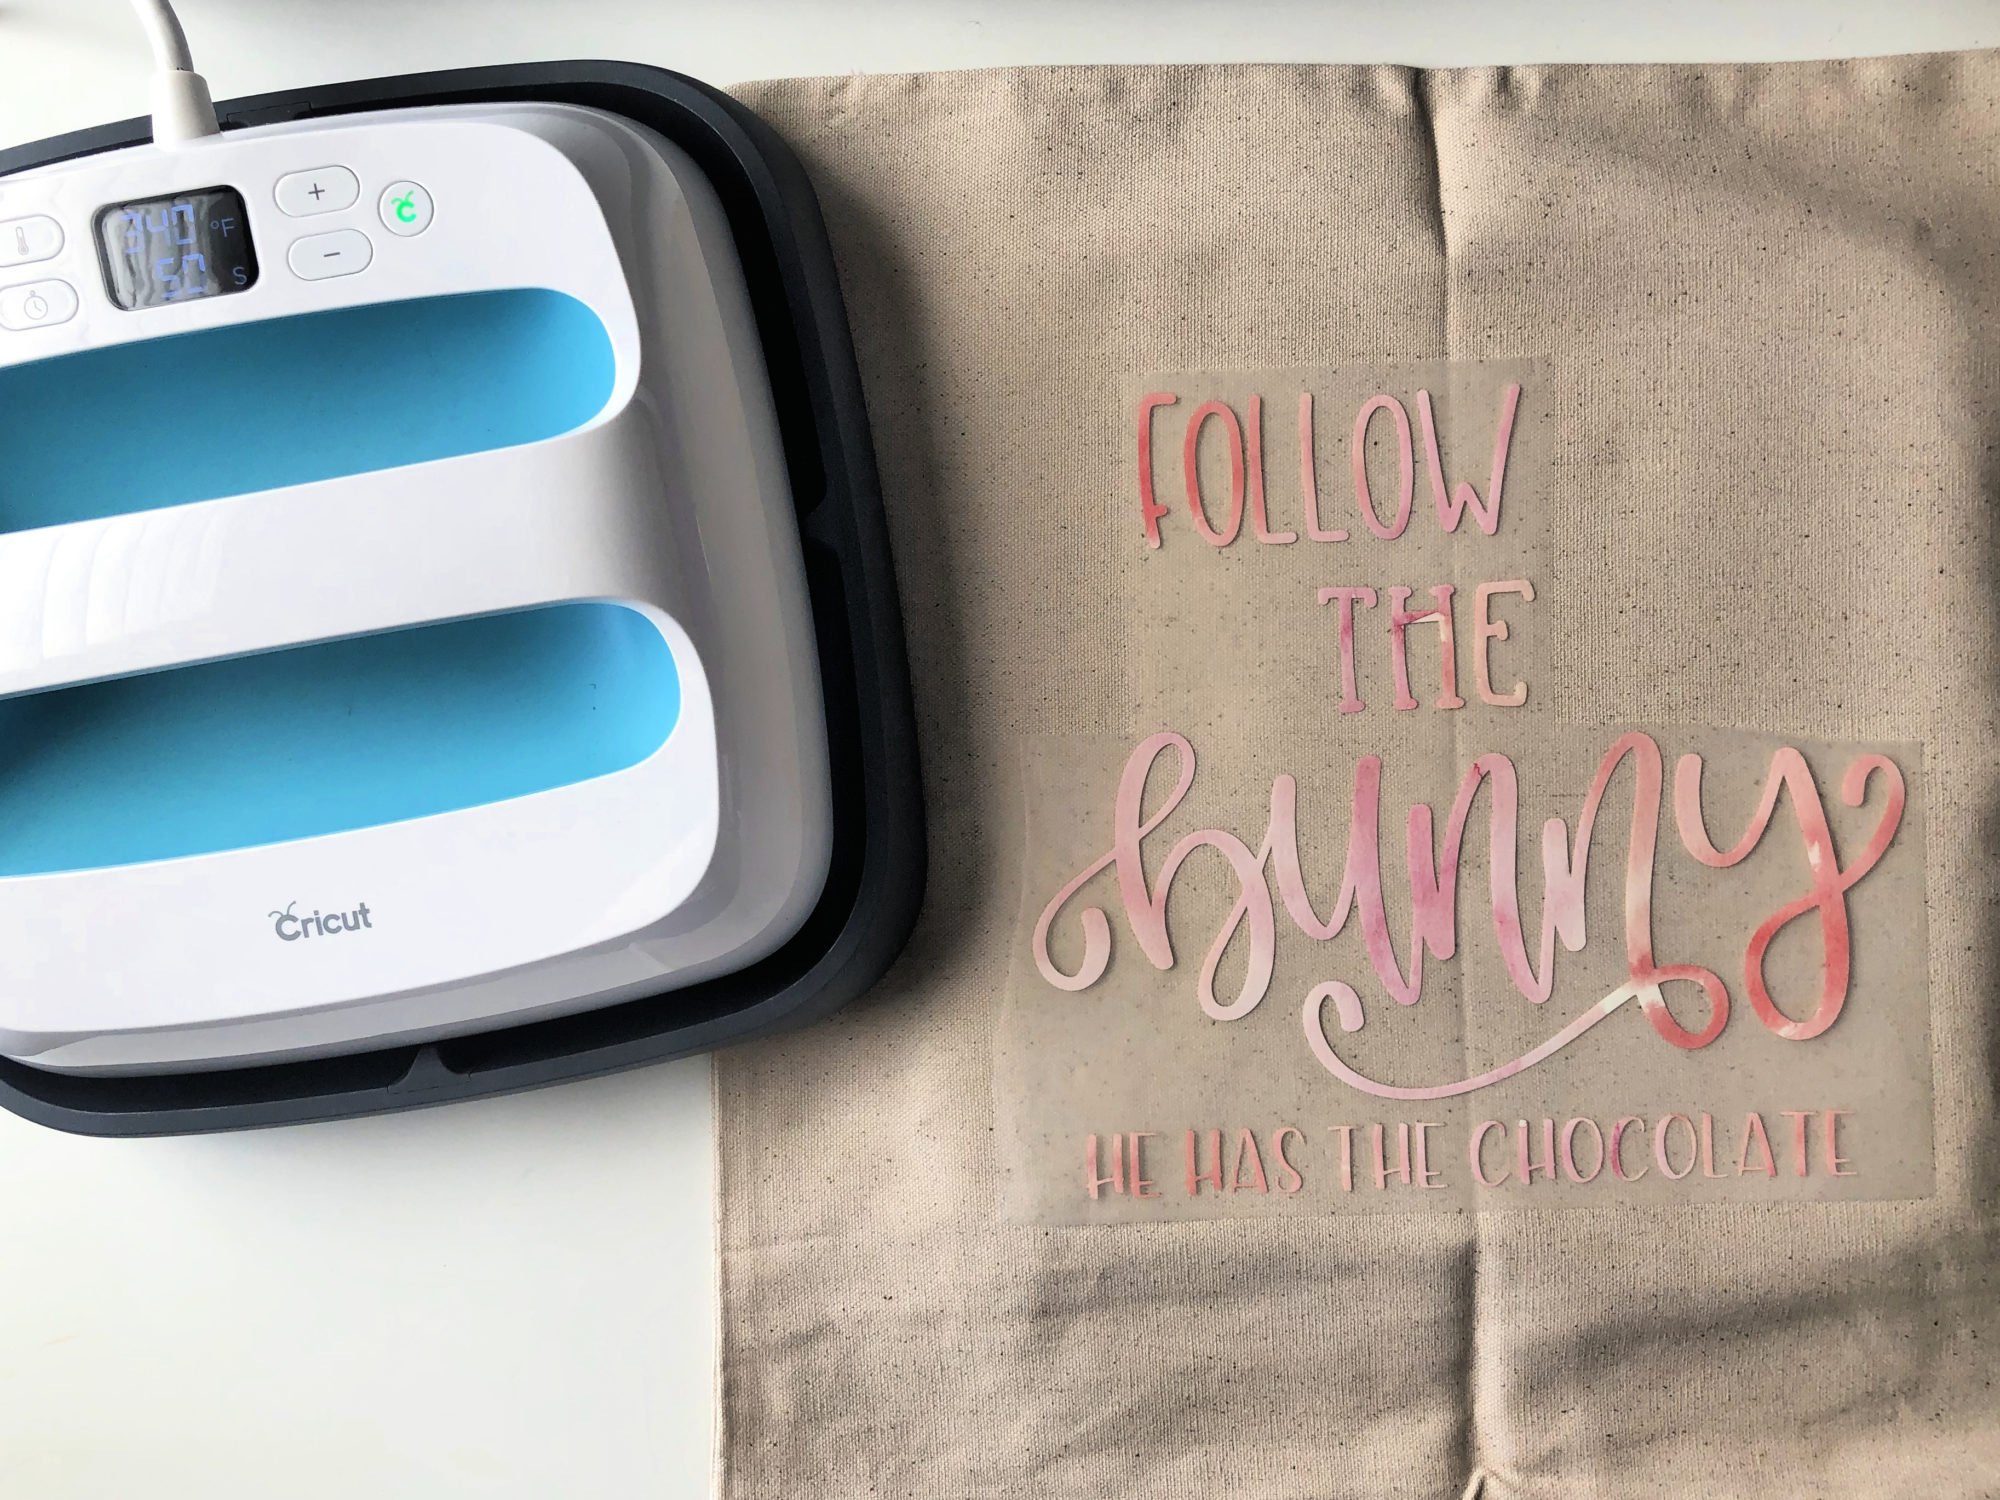
Next, fire up the EasyPress. Follow the recommended EasyPress settings. It’s an awesome interactive guide that you plug in your materials + vinyl of choice.
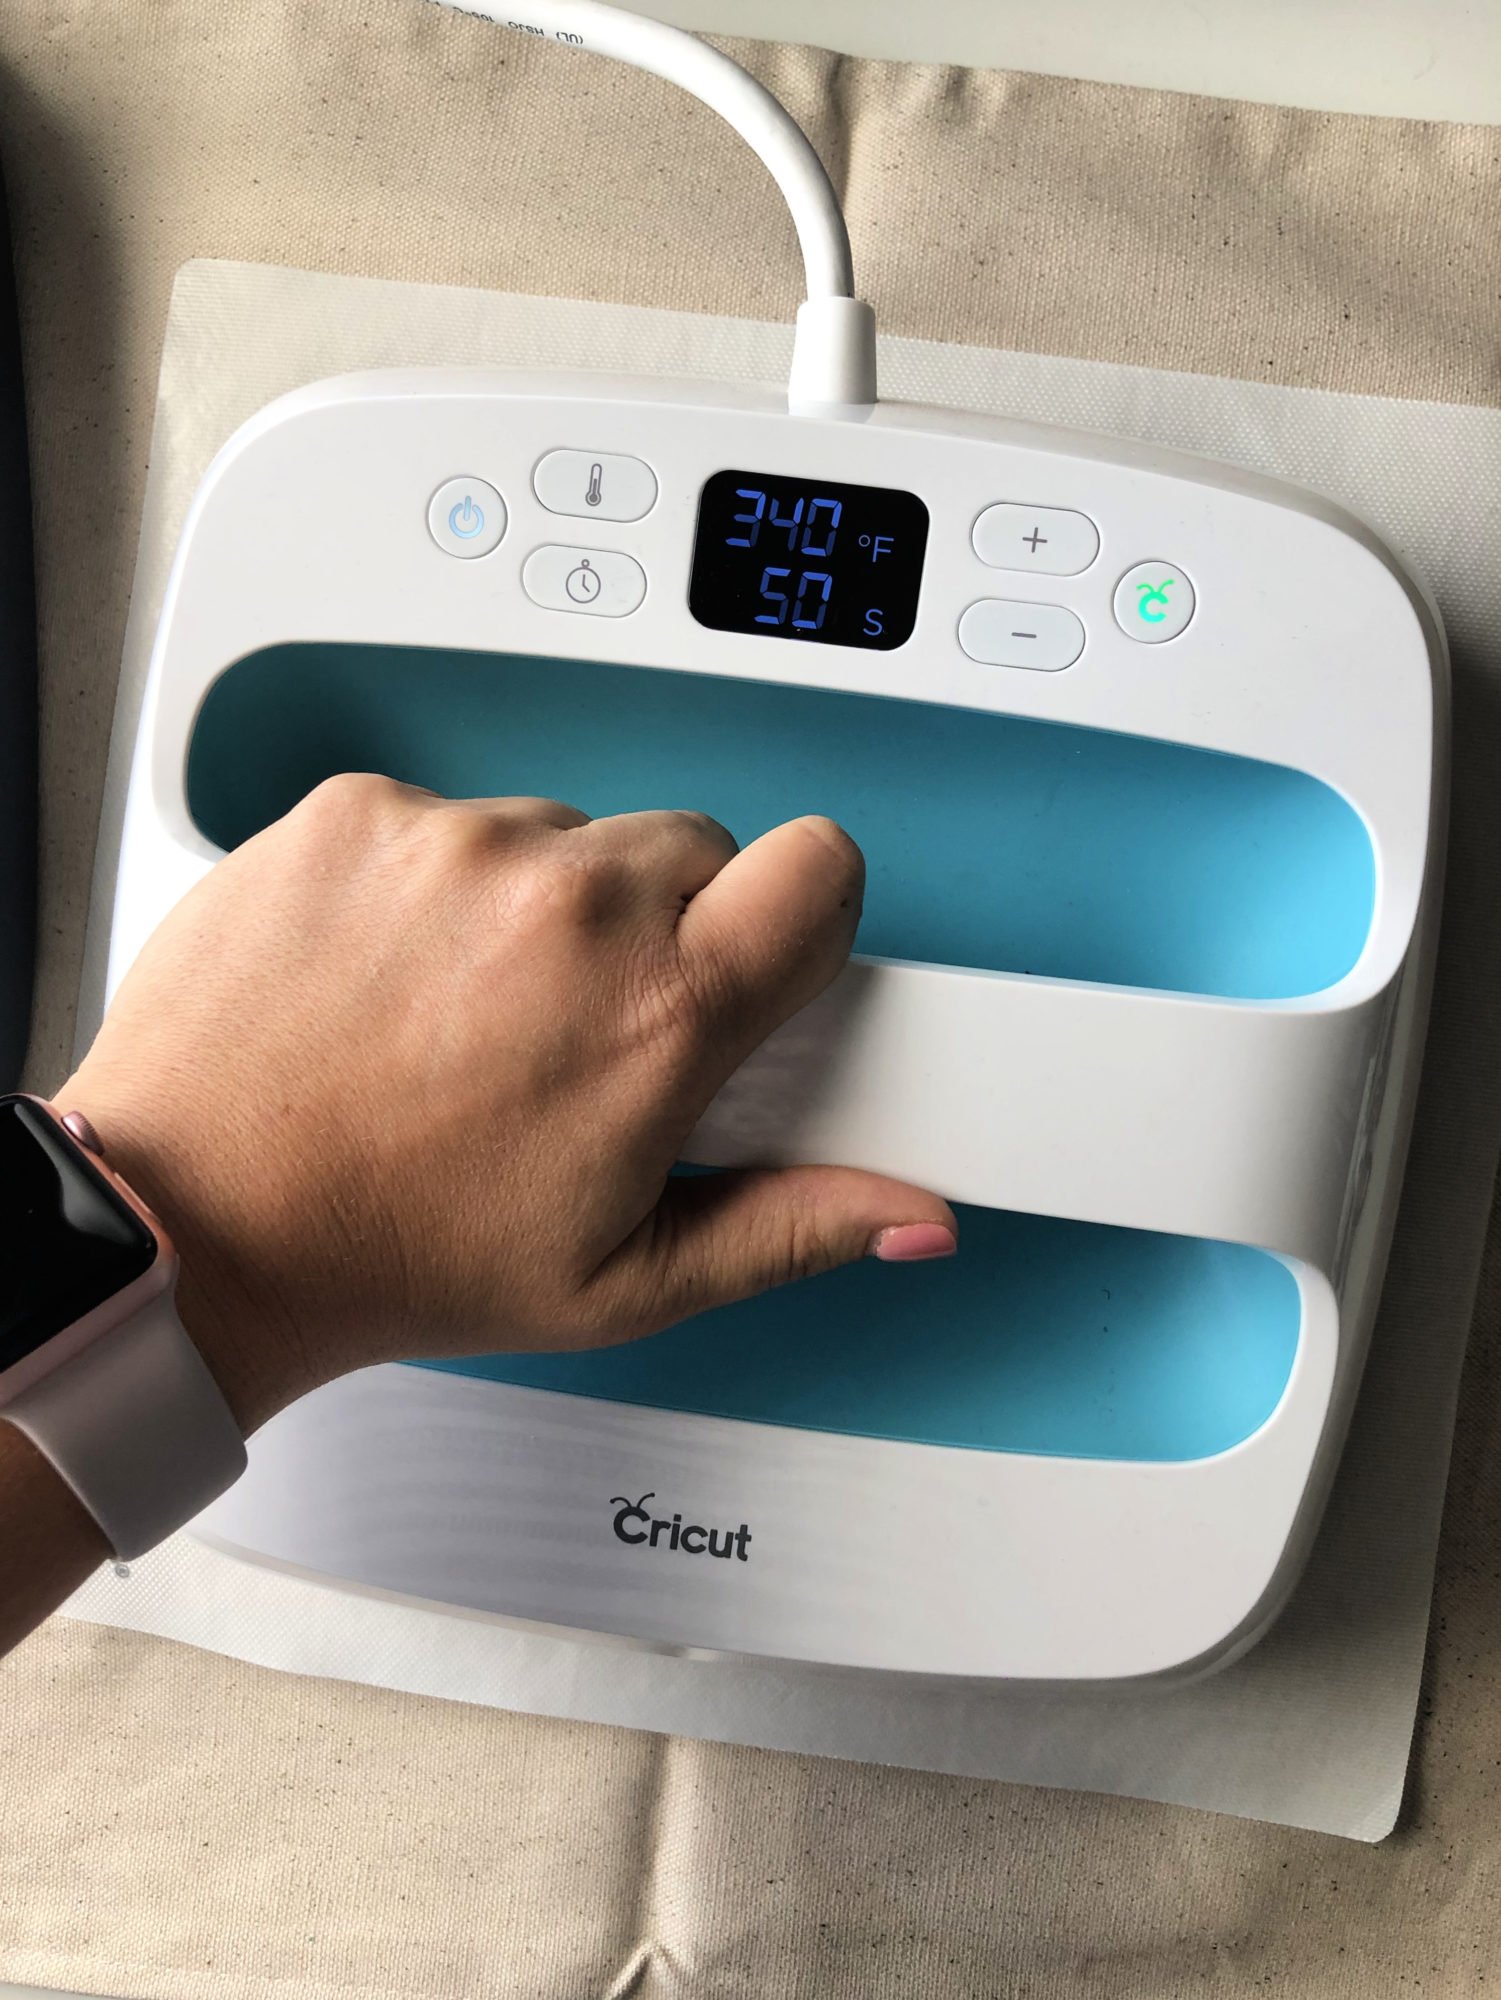
This was my first time using patterned Iron-On Vinyl. Total disclaimer, I found I needed to press twice. Then, let the Iron-On Vinyl cool almost completely before peeling off the plastic covering.
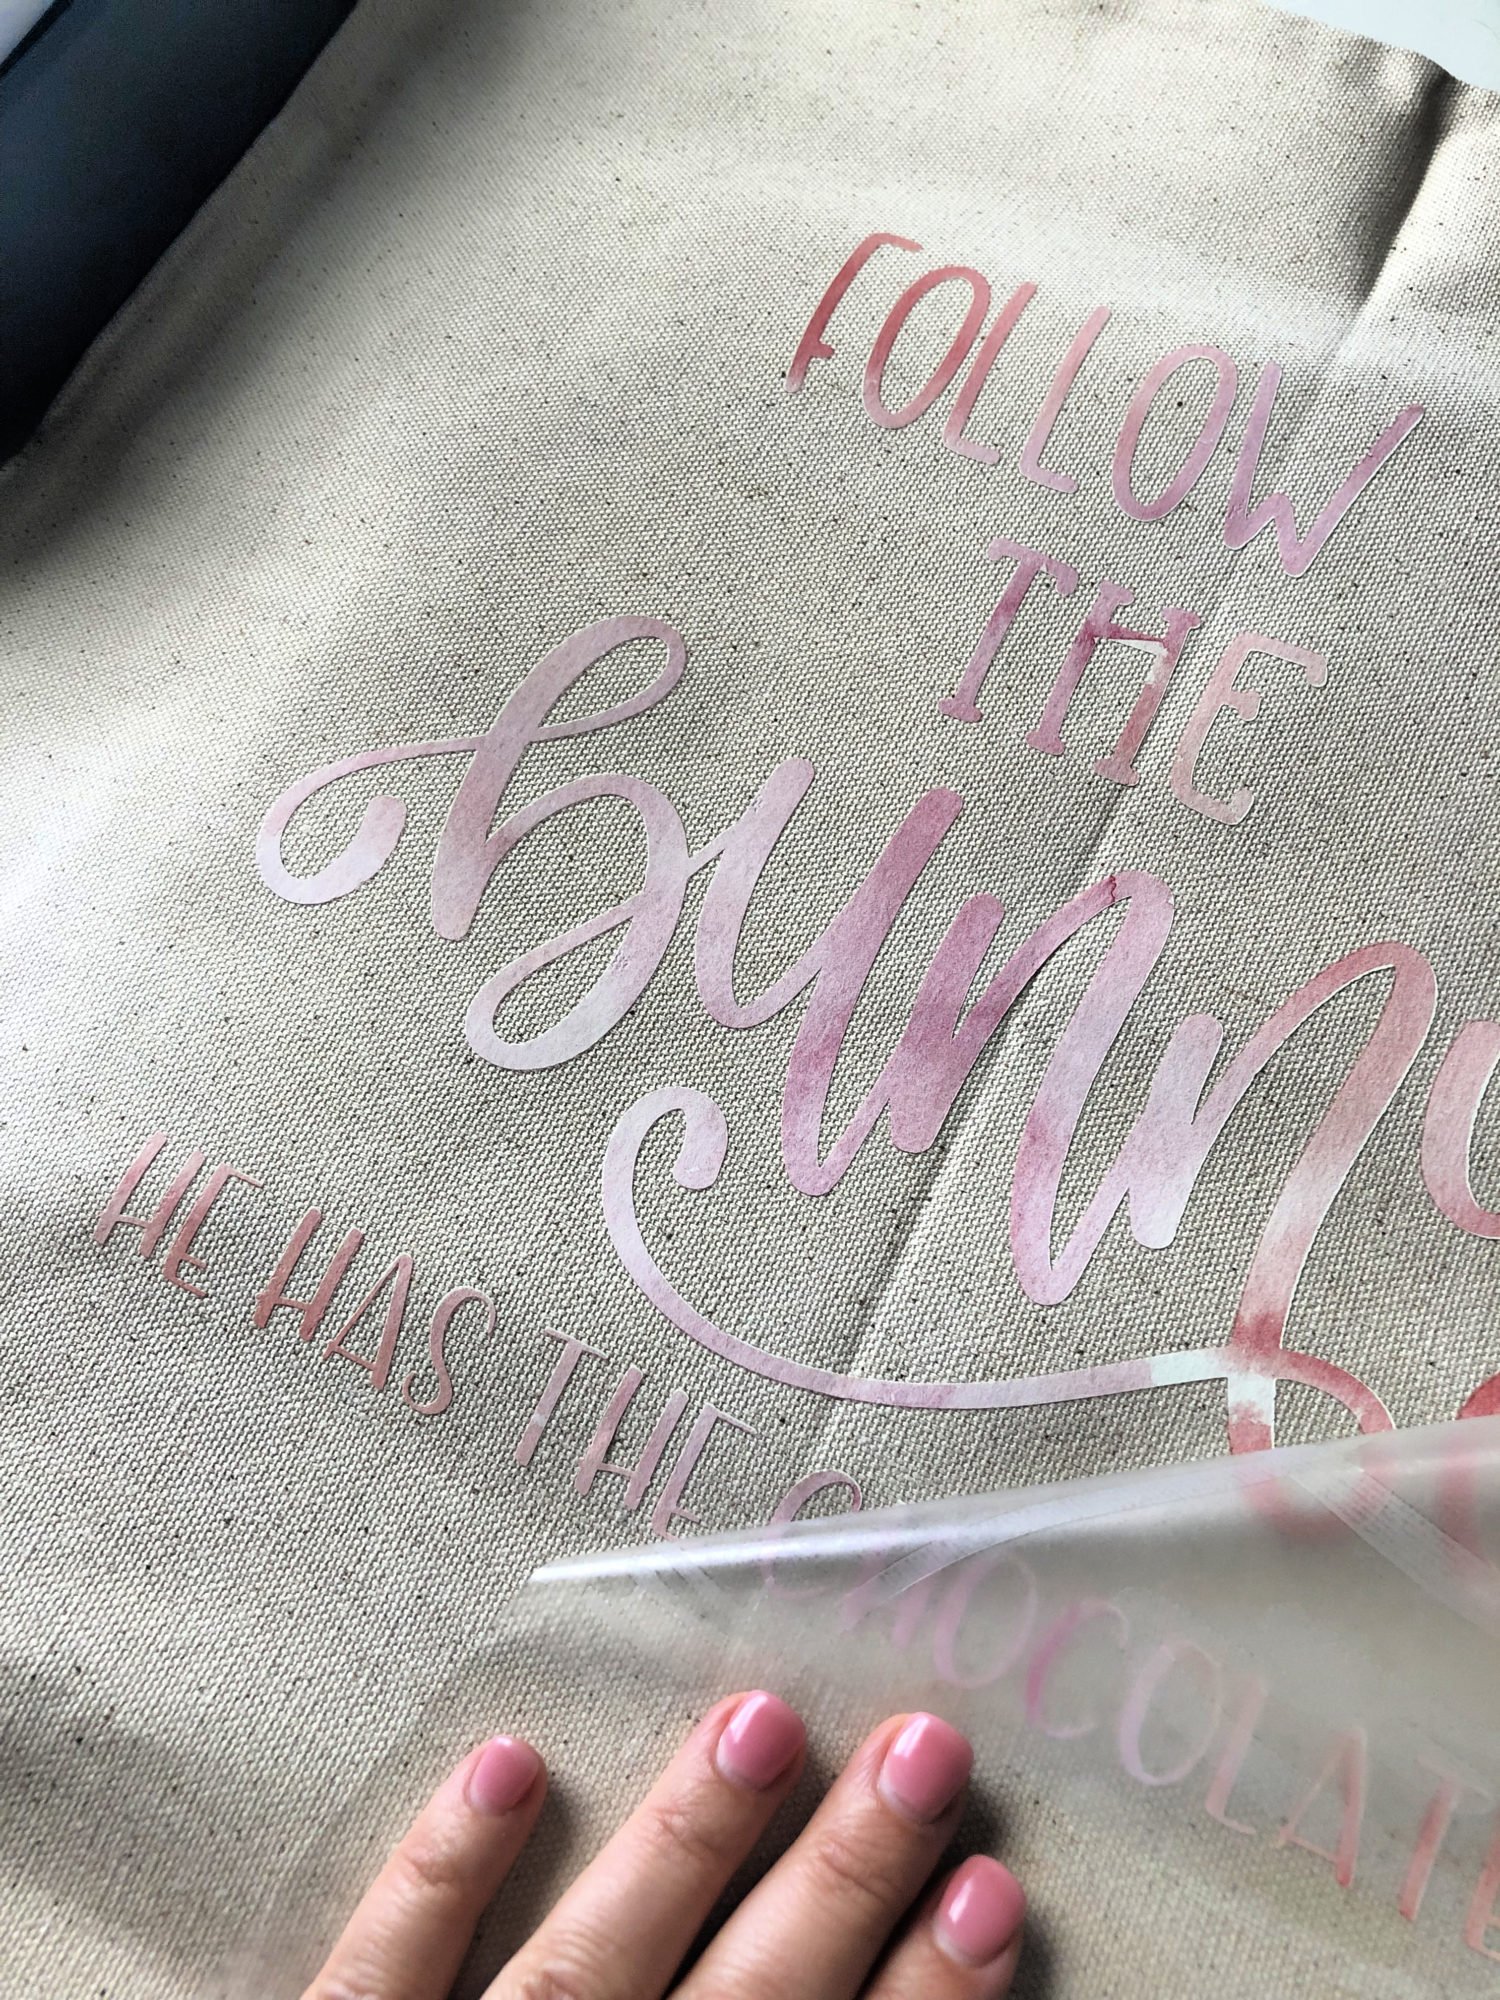
I pressed the main text first. Once, the Iron-On vinyl cooled completely then I began to carefully peel it back away from the design.
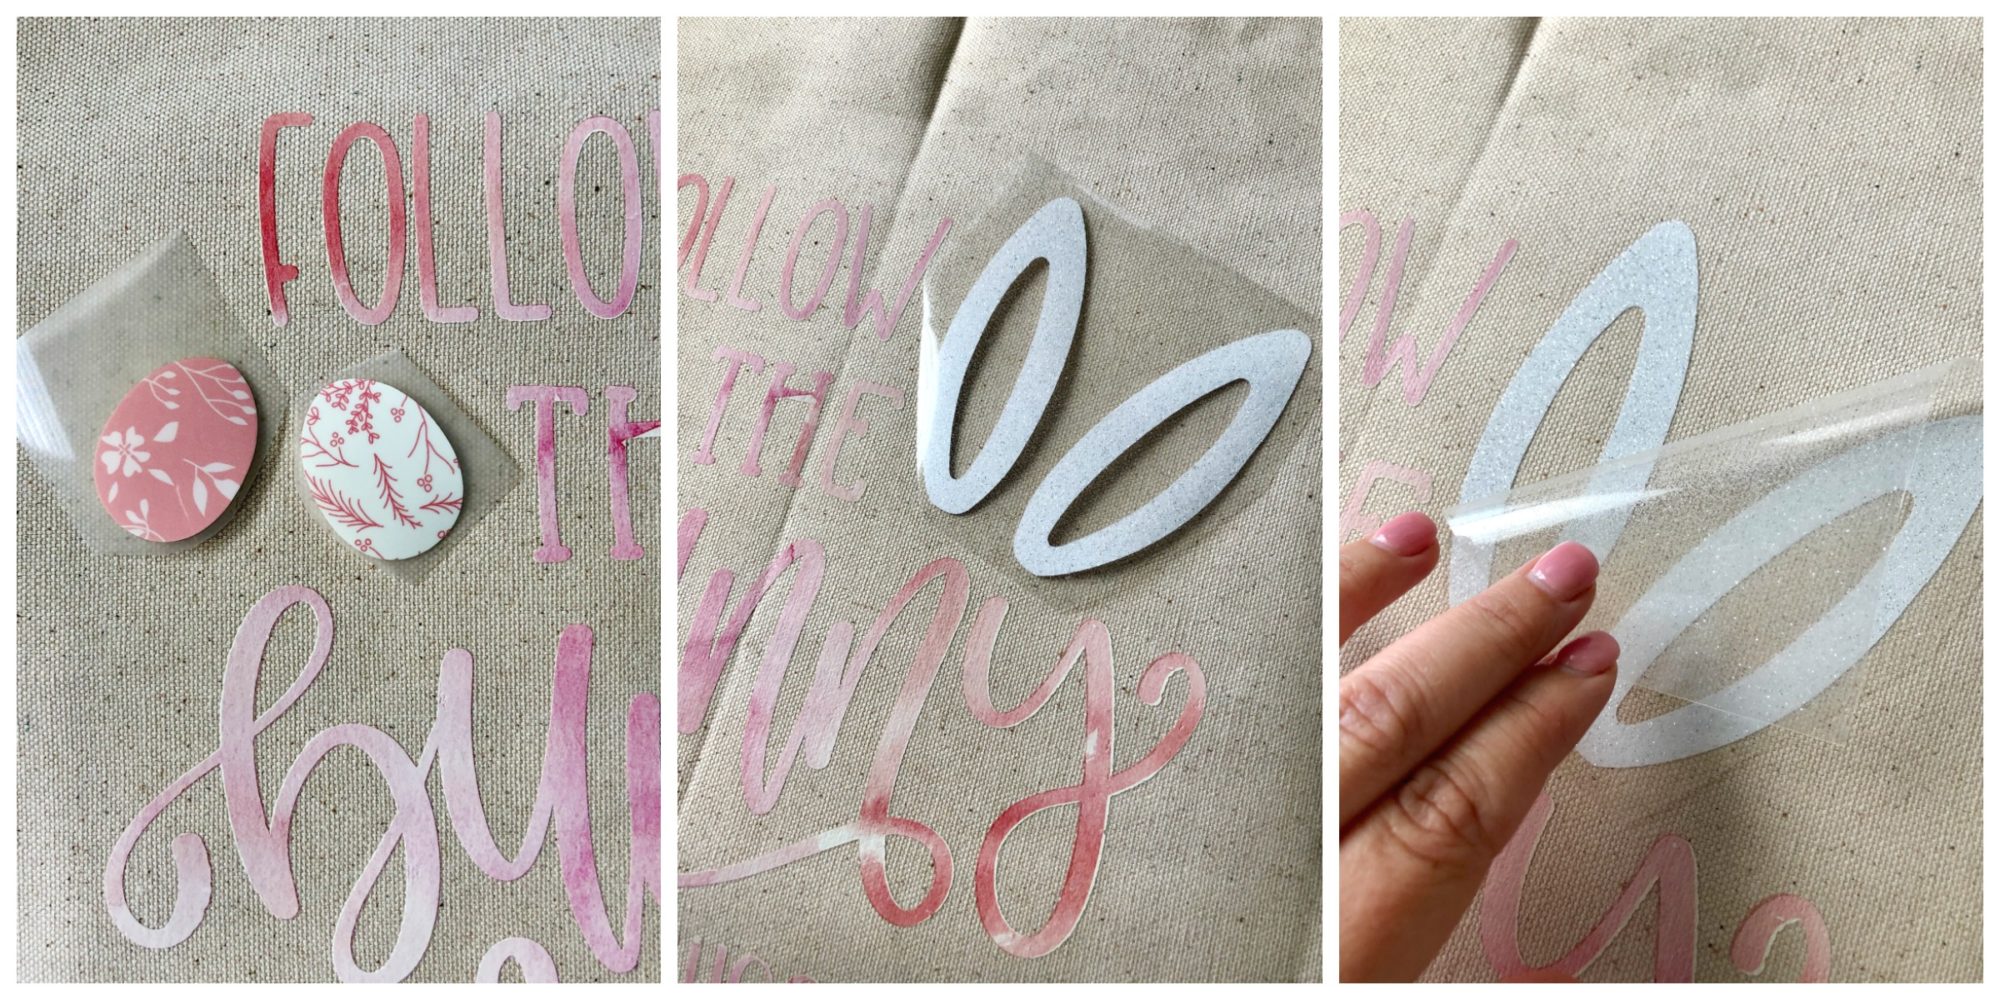
Next, press the eggs and the bunny ears! Remember, if you decide to use a different style of Iron-On vinyl like I did you will have to adjust your temp and press time!
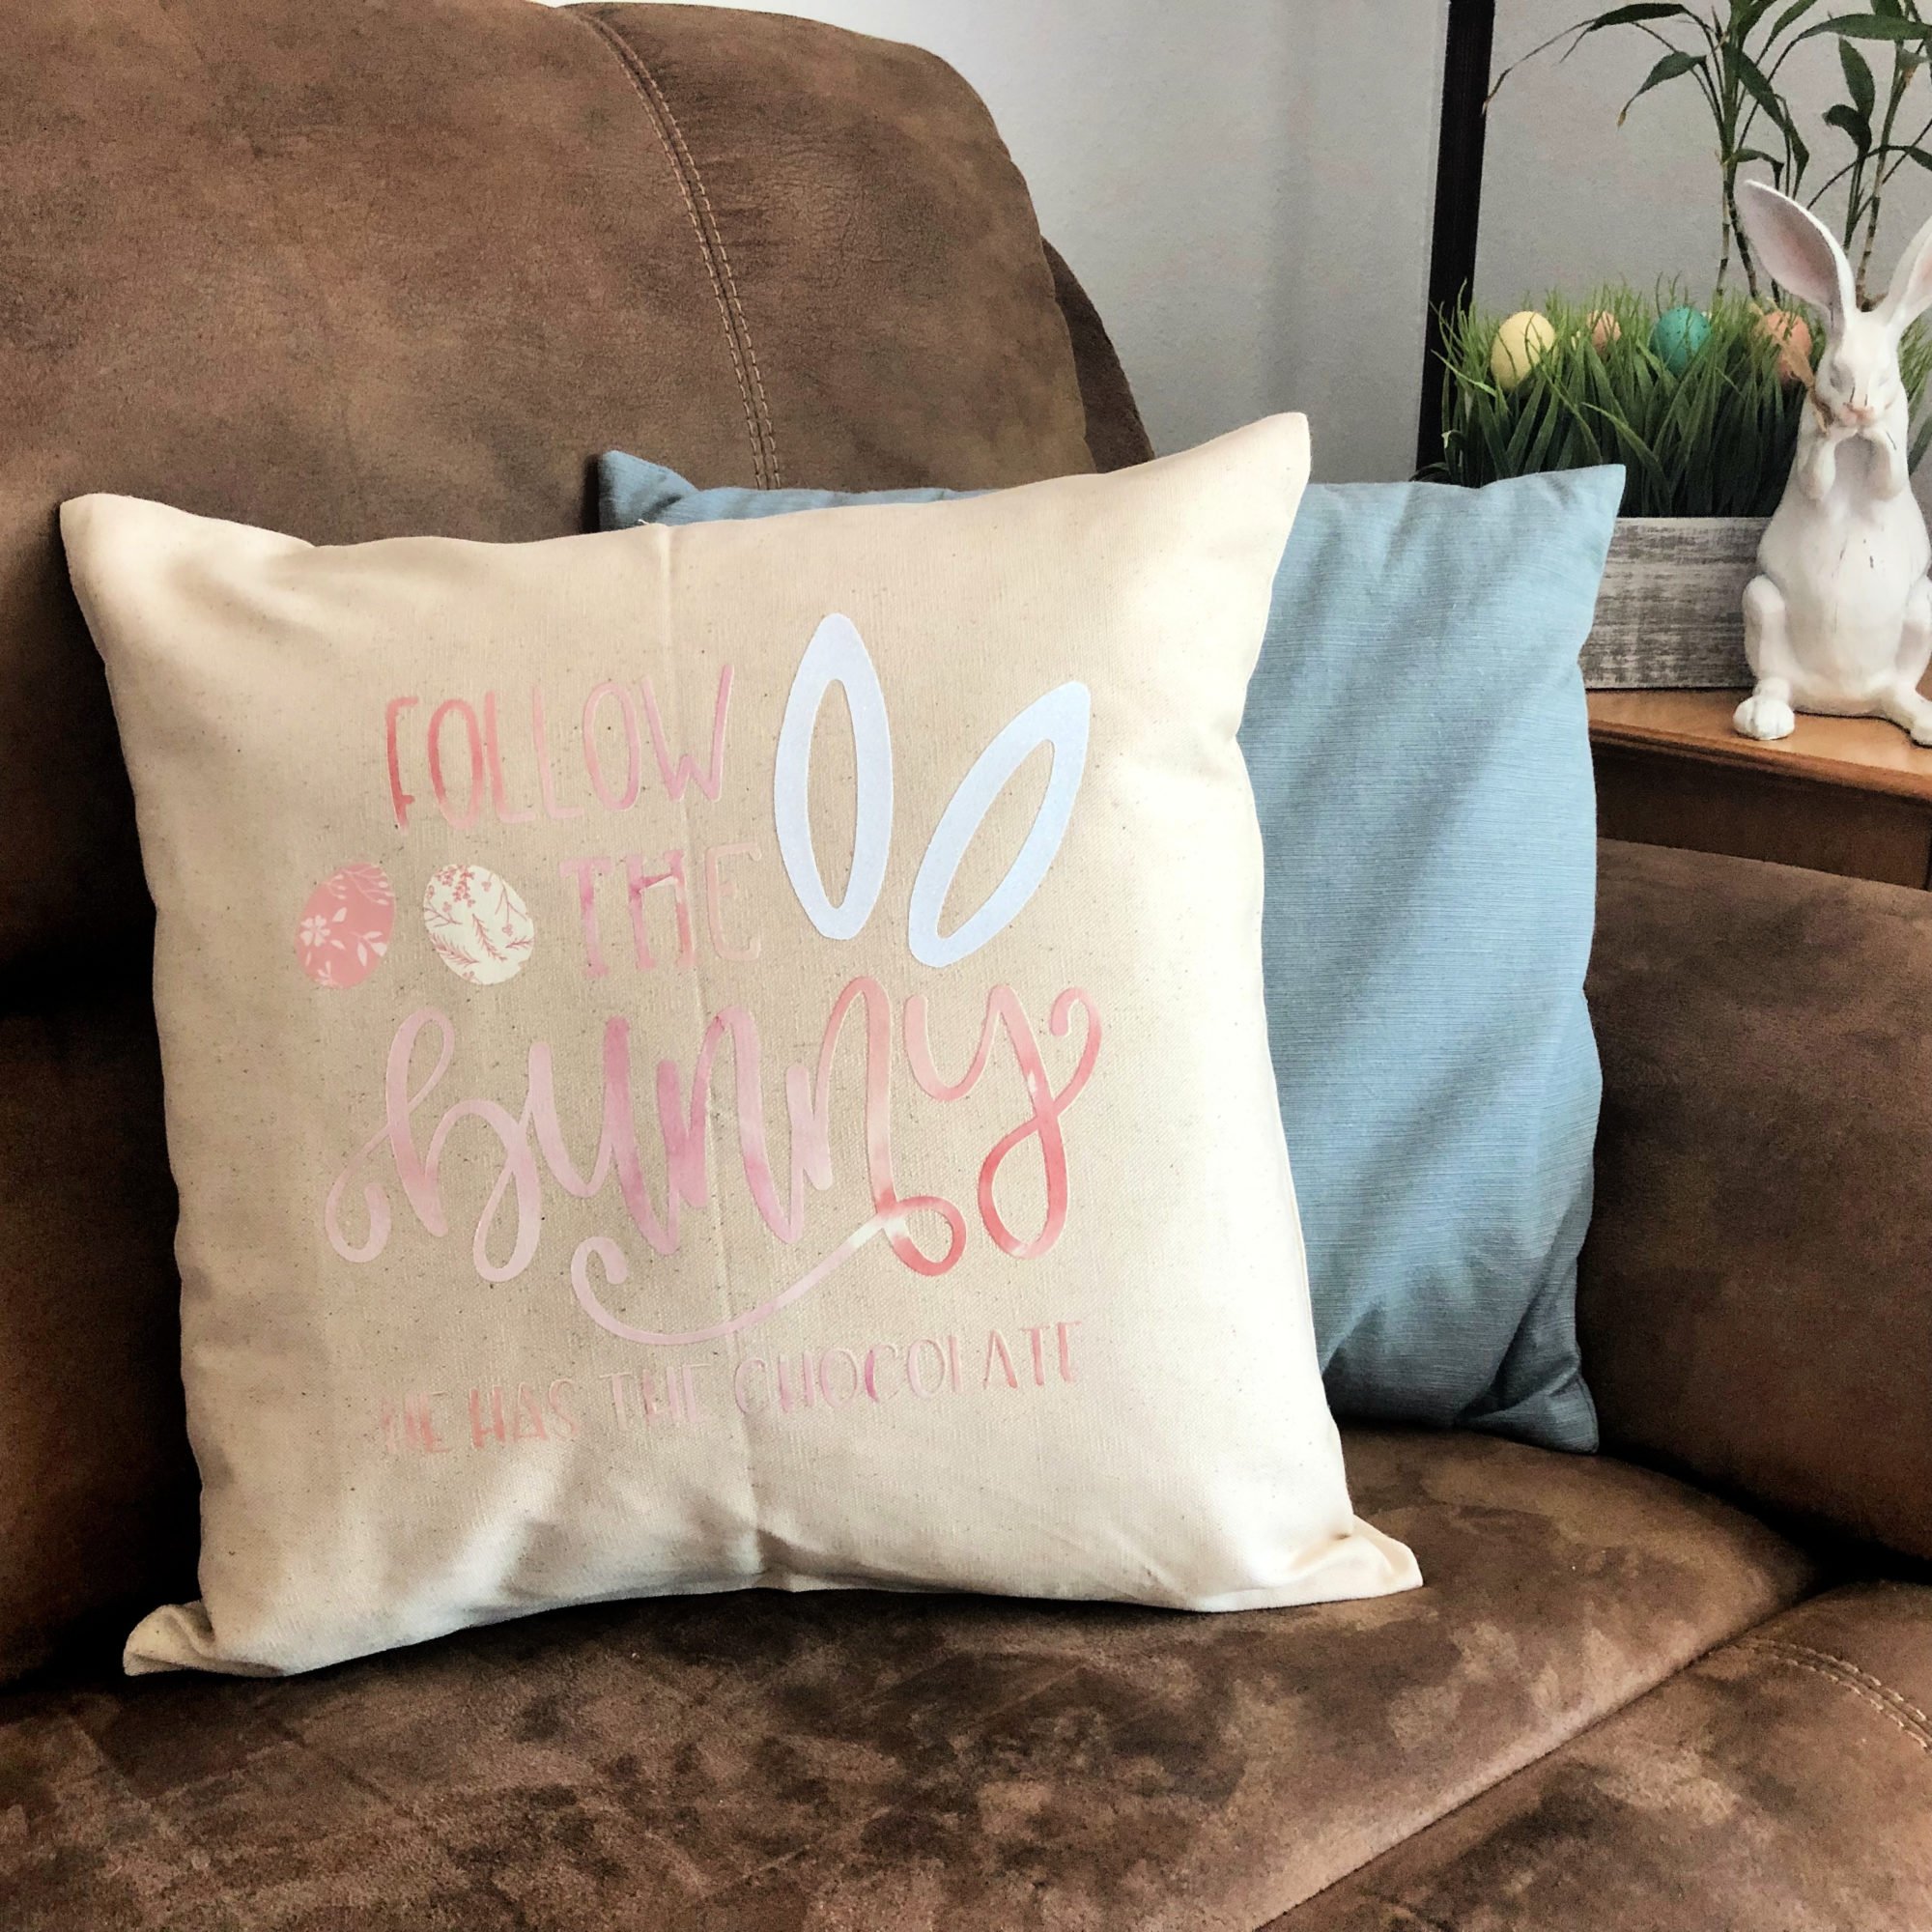
Super cute and simple pillow that was done within a half hour from start to finish!
Cricut Easter Projects
Here are a few of my favorite Easter projects I’ve created using my Cricut Maker!
- Bunny Kisses & Easter Wishes Burlap Garden Flag
- Easter Bunny Family Pillow Cover
- DIY Easter Bunny Onesie with Name
Current Cricut Deals:
- Cricut EasyPress bundles starting at $159. Valid through 4/16.
- Cricut Maker bundles as low as $419. Valid through 4/16.
- Save up to 30% off machine mats. Valid through 4/16.
- FREE Economy Shipping on orders $99+ to US and Canada. Use code APRSHIP. Valid through 4/30/19
Leave A Reply!