This is a sponsored conversation written by me on behalf of Cricut. The opinions and text are all mine.
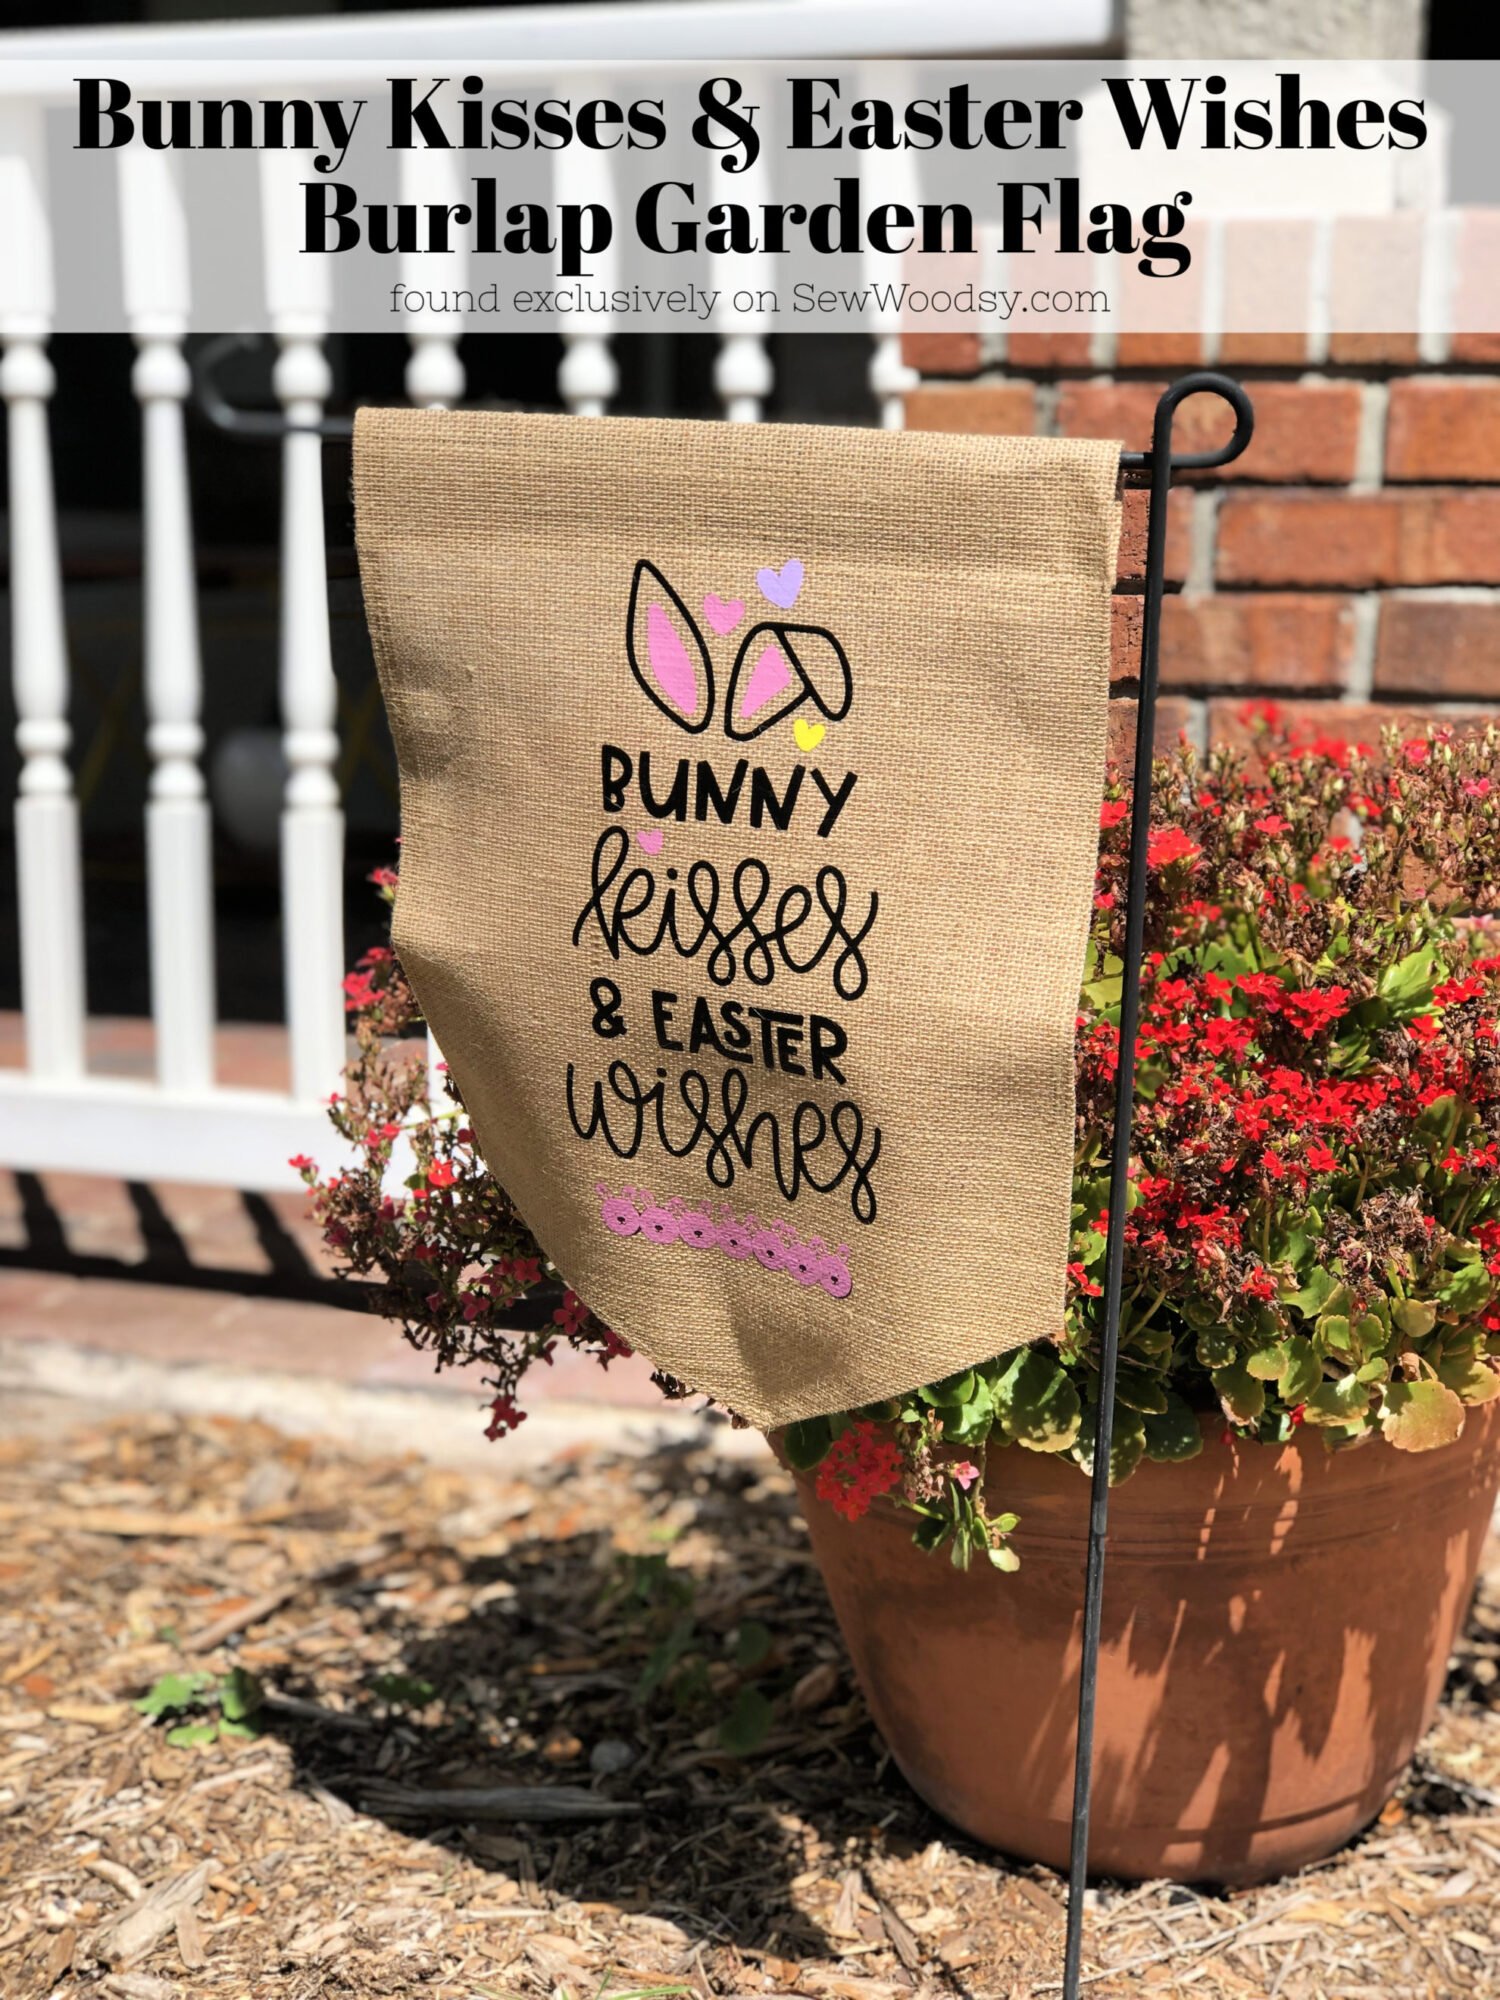
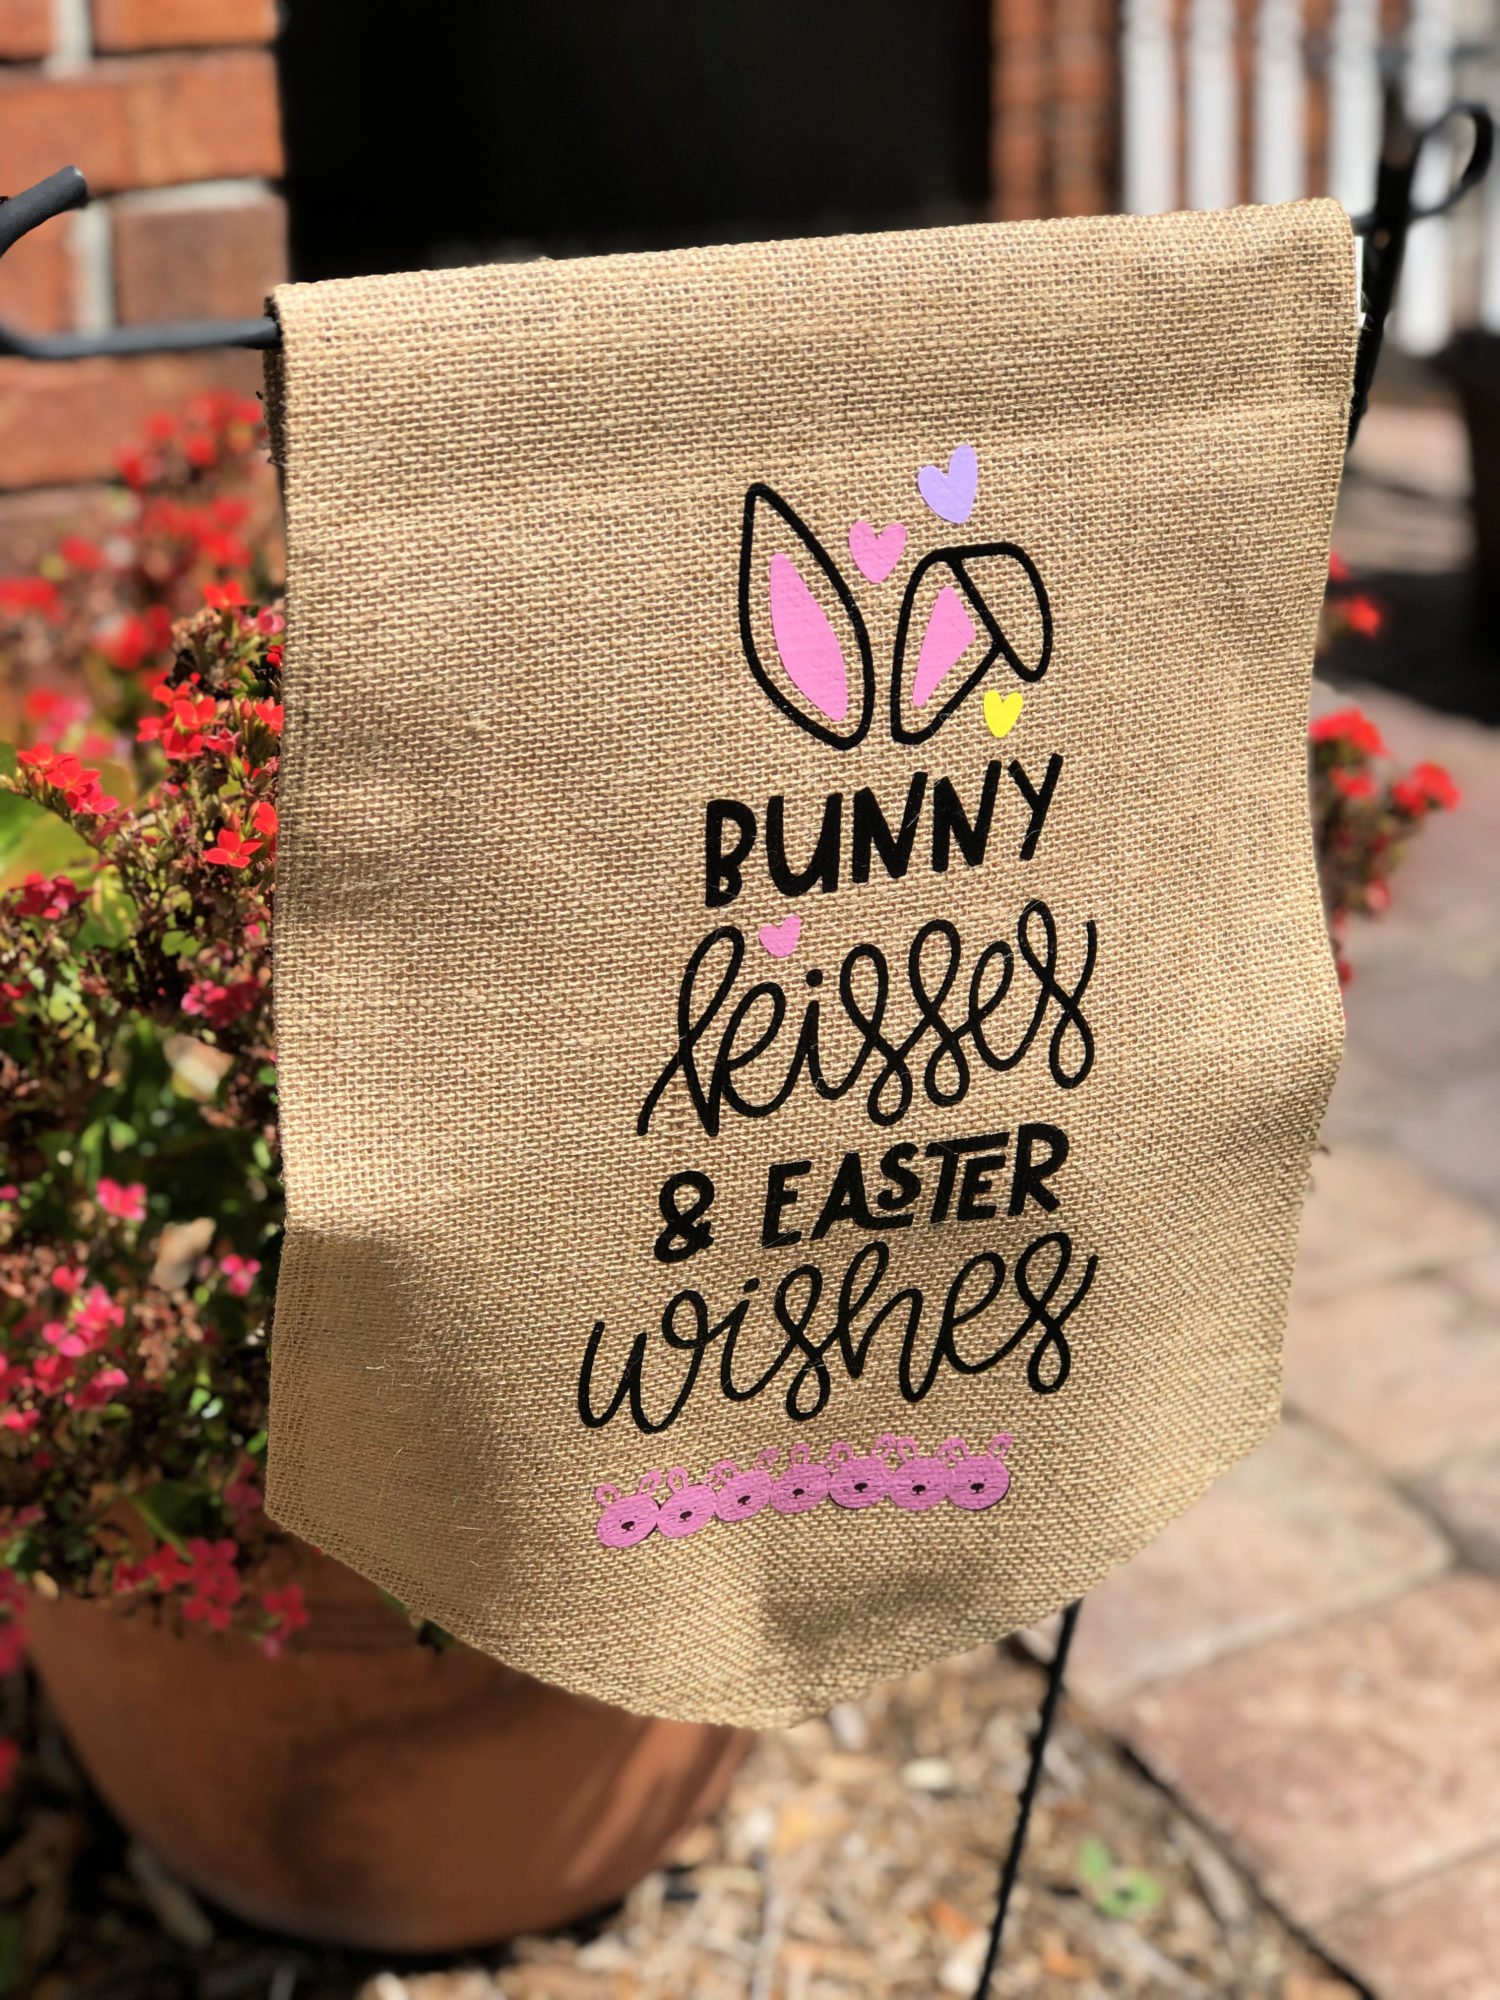
Learn how to make this adorable Bunny Kisses & Easter Wishes Burlap Garden Flag using the Cricut Maker and Cricut EasyPress!
Easter is just a few weeks away. I feel like it’s a holiday that always seems to sneak up on me. I’m finalizing my Easter decor and my menu and adding a few last minute decor pieces like this DIY Bunny Kisses & Easter Wishes Burlap Garden Flag. Thanks to my Cricut Maker and Cricut Iron-On vinyl this project is done from start to finish in 30 minutes. It’s a quick and easy craft that you can do during naptime or even after work in the evening!
Supplies to make burlap garden flag:
- Cricut Maker
- Bunny Kisses & Easter Wishes Burlap Garden Flag File on Cricut Design Space
- Cricut Mat
- Cricut Iron-On Vinyl; black, brown, medium pink, yellow, and light purple
- Cricut Tools
- Cricut BrightPad
- Cricut EasyPress Tote
- Cricut EasyPress
- Cricut EasyPress™ Mat (optional)
- Burlap Garden Flag
- Cricut Iron On Protective Sheet (optional) or Muslin Cloth
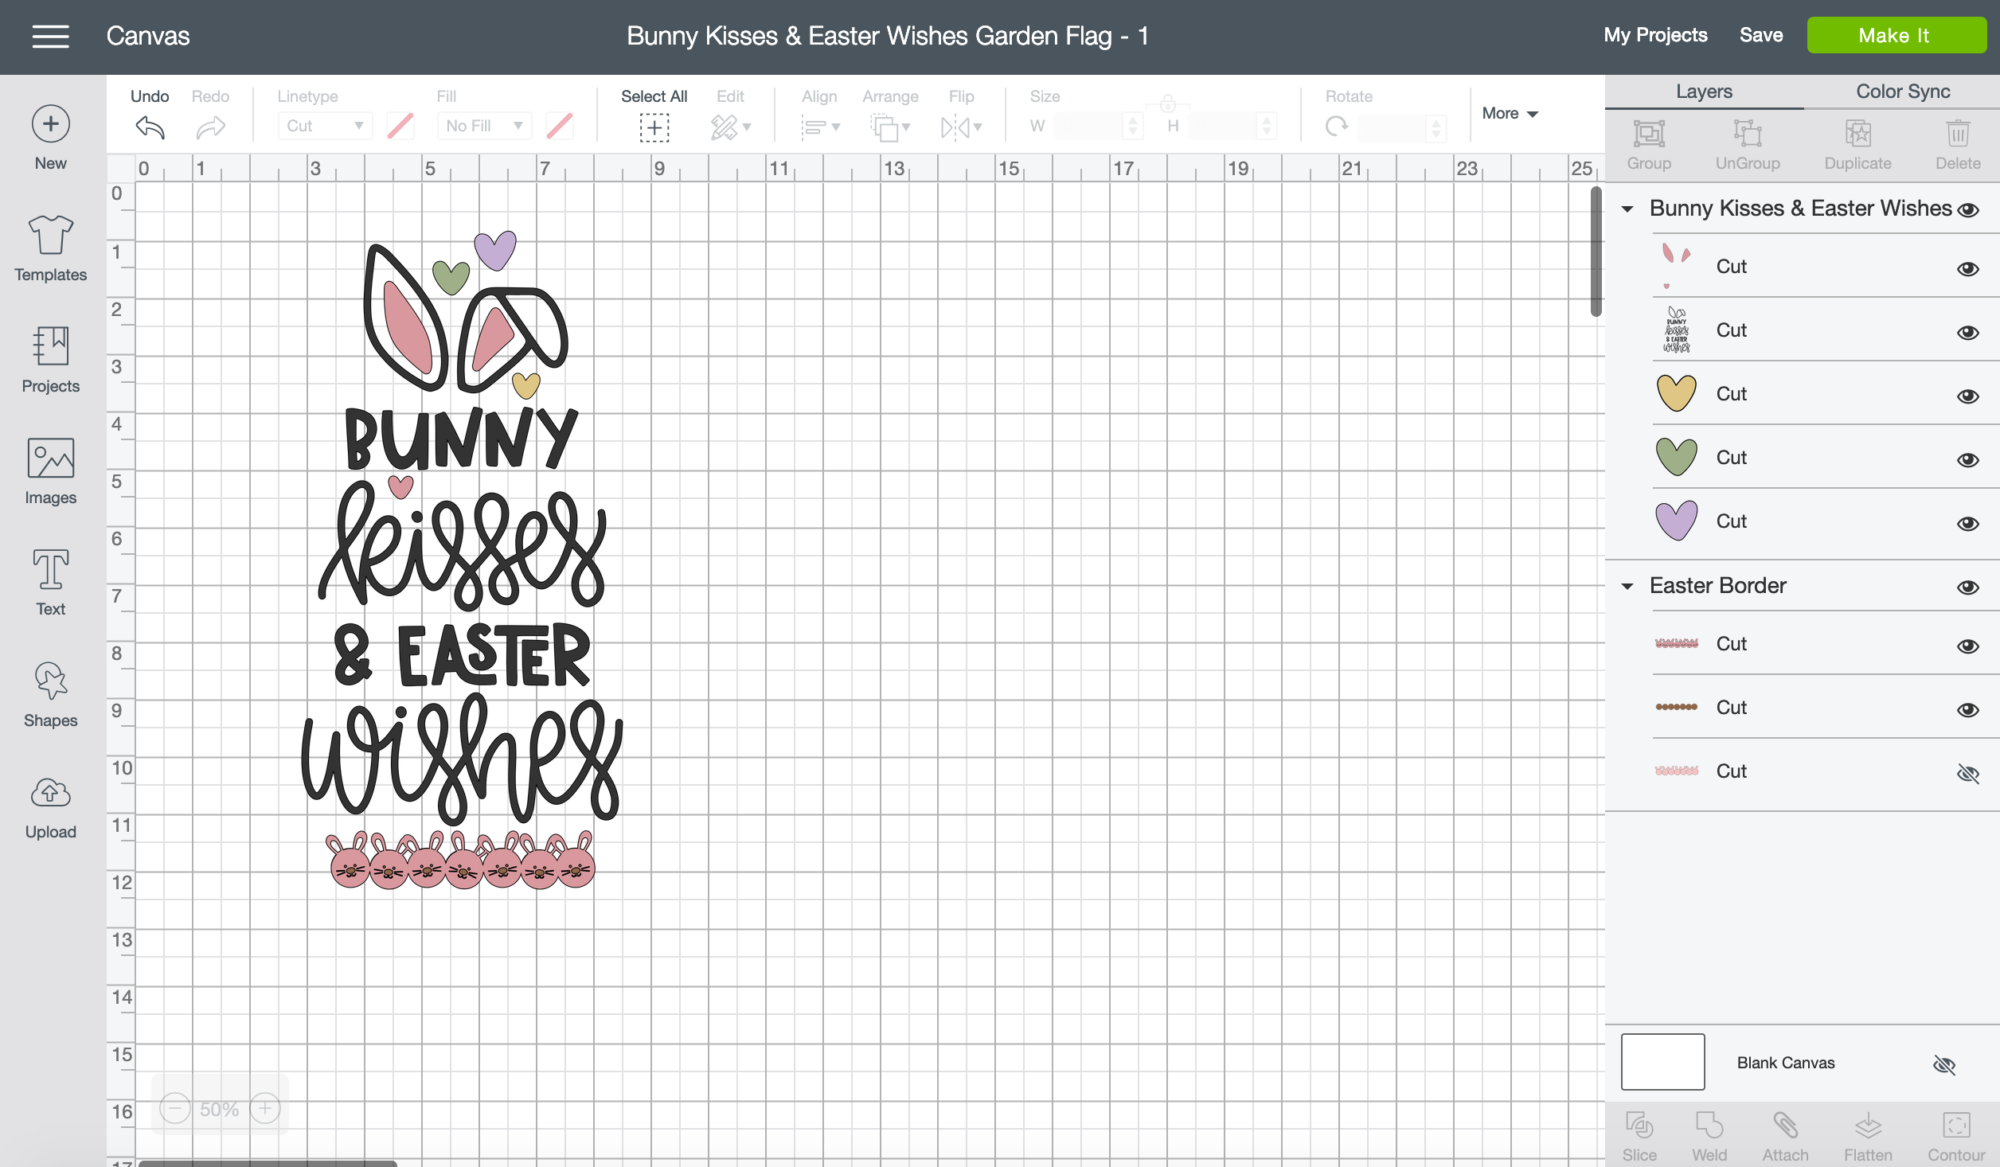
Step 1: Load the Design in Cricut Design Space
Hop on your computer and click on this link to the Bunny Kisses & Easter Wishes Burlap Garden Flag File on Cricut Design Space. Make sure you “select all” and size the image to how large you want it on your garden flag.
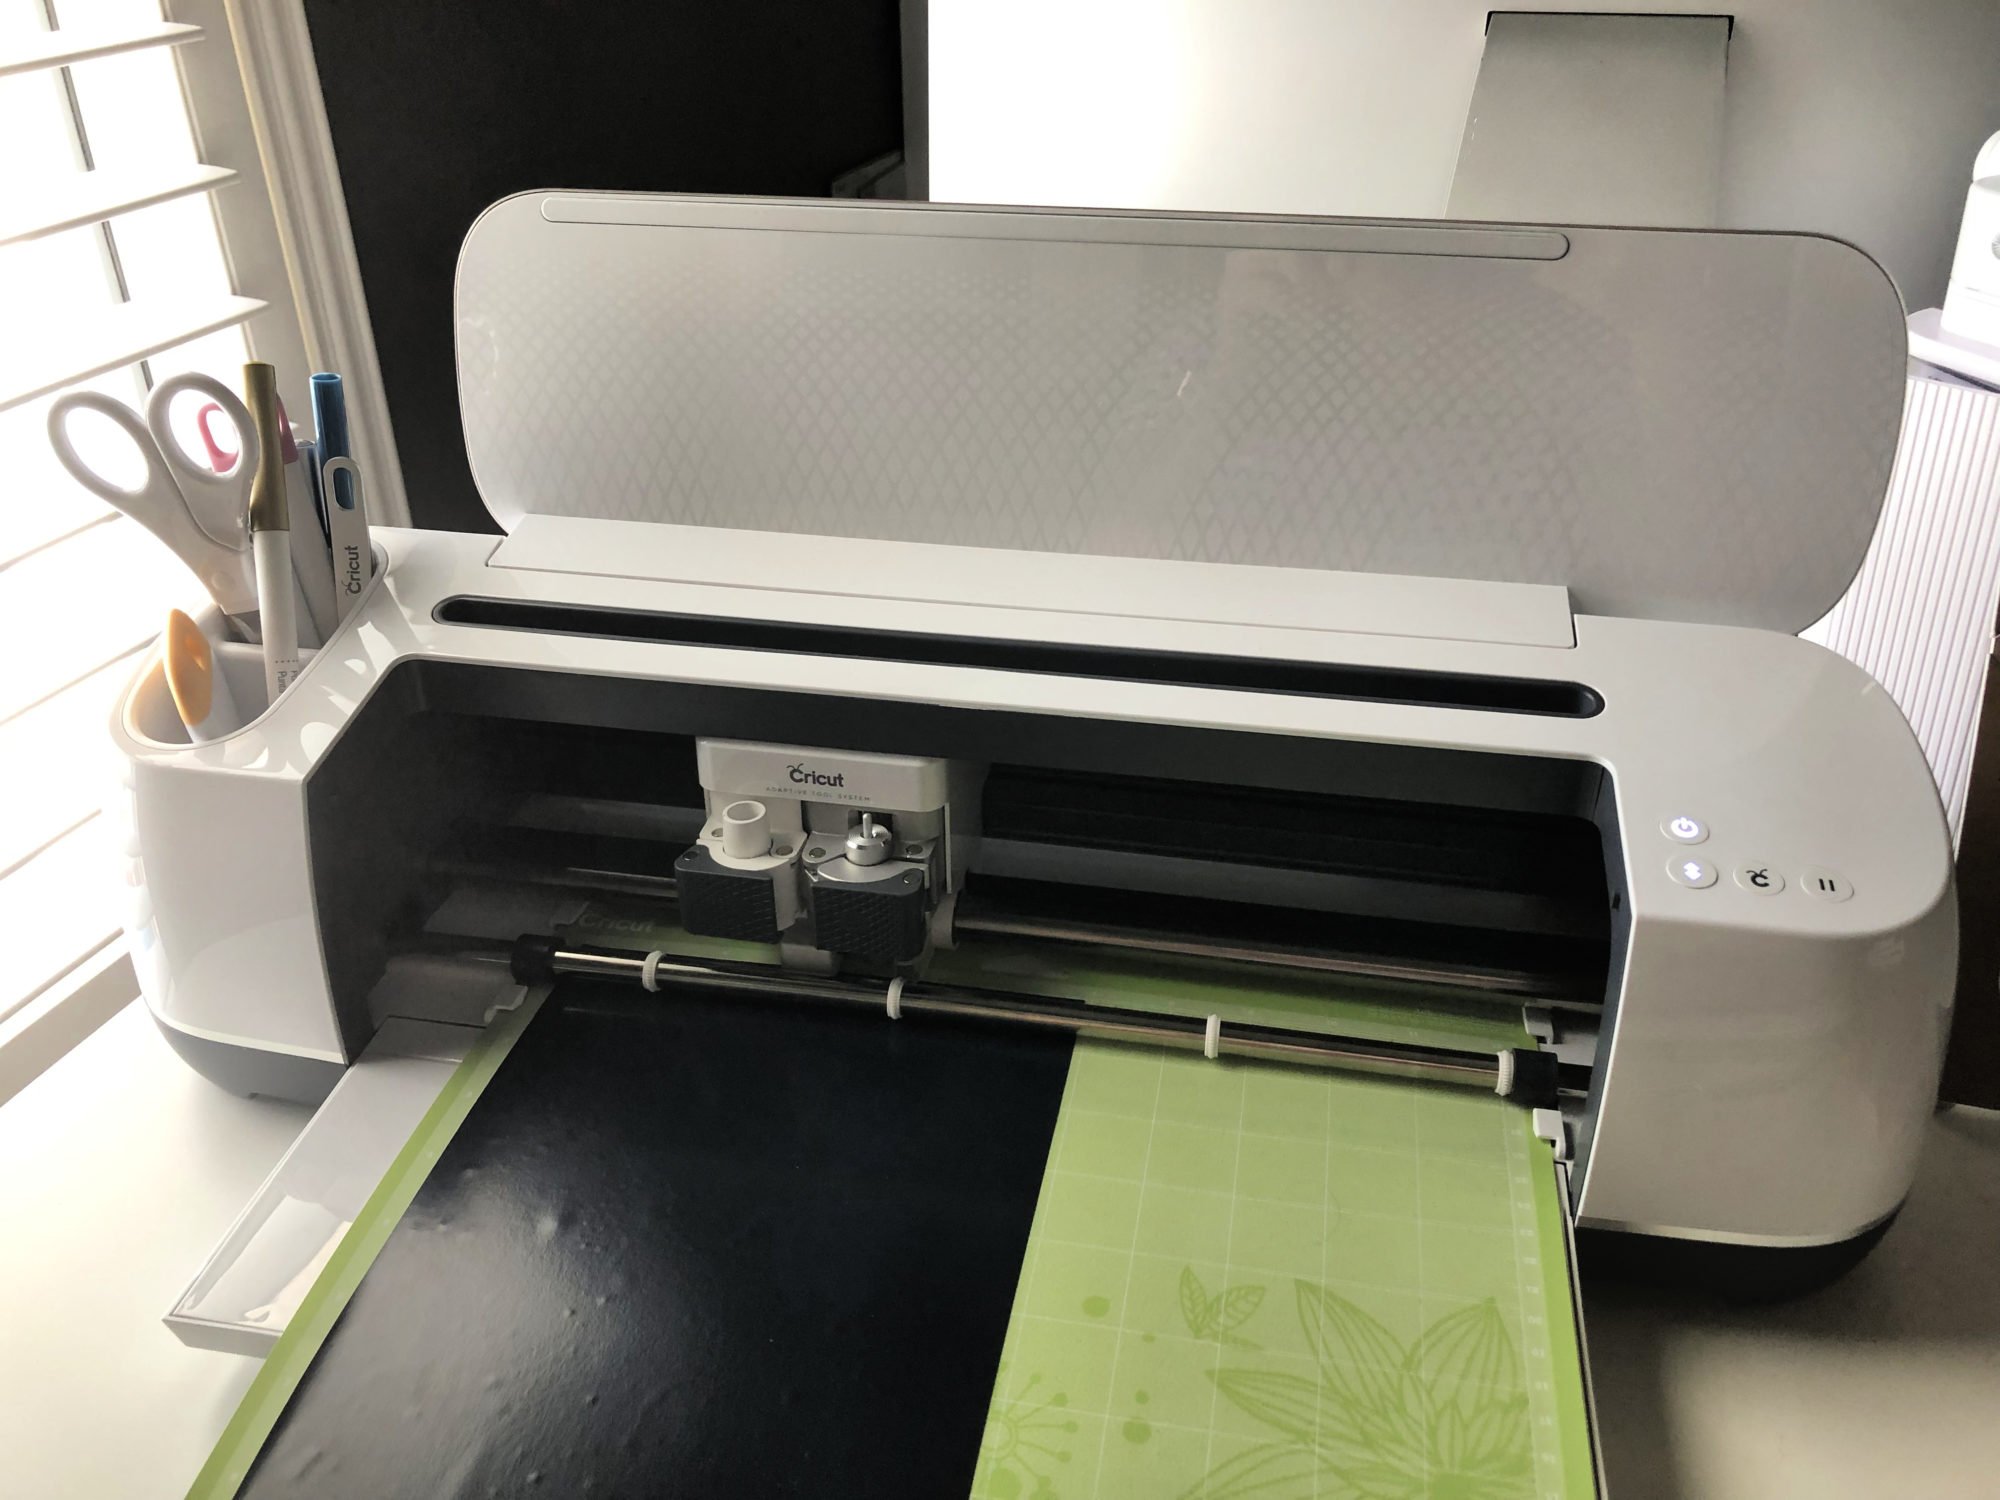
Step 2: Cut the Iron-On Vinyl Out
Using your Cricut Maker (or any other Cricut Explore Air 2) cut out your Iron-On Vinyl sheets. For this project you will notice multiple colors which means you will need to cut out multiple colors of Iron-On Vinyl. Make sure you MIRROR all the layers in the file.
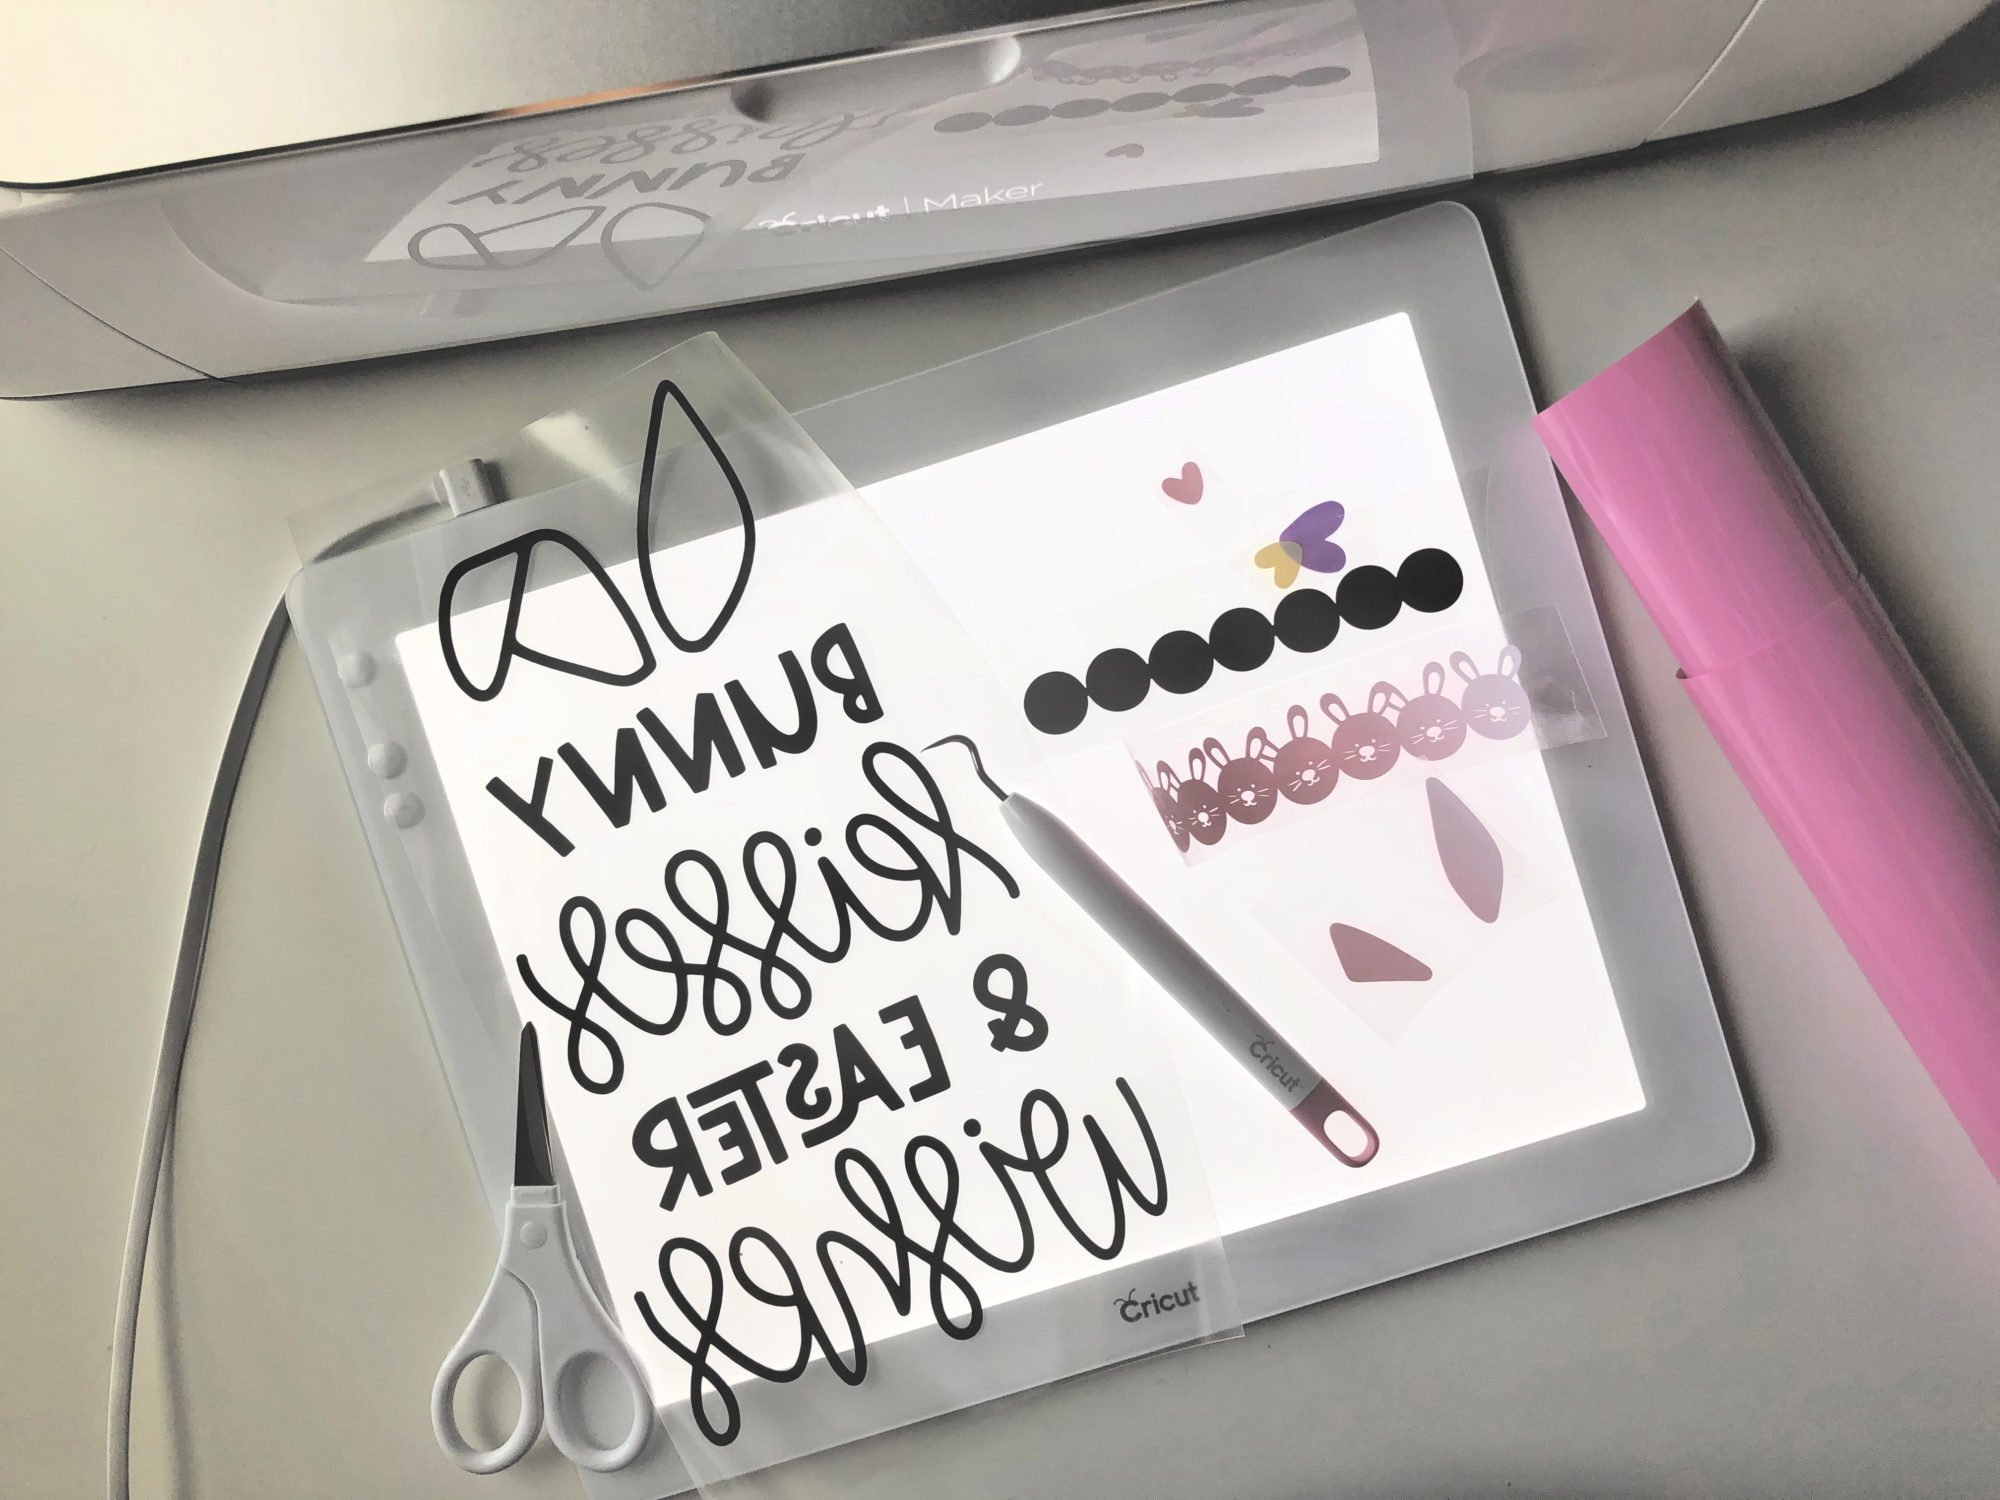
Step 3: Weed the Iron-On Vinyl
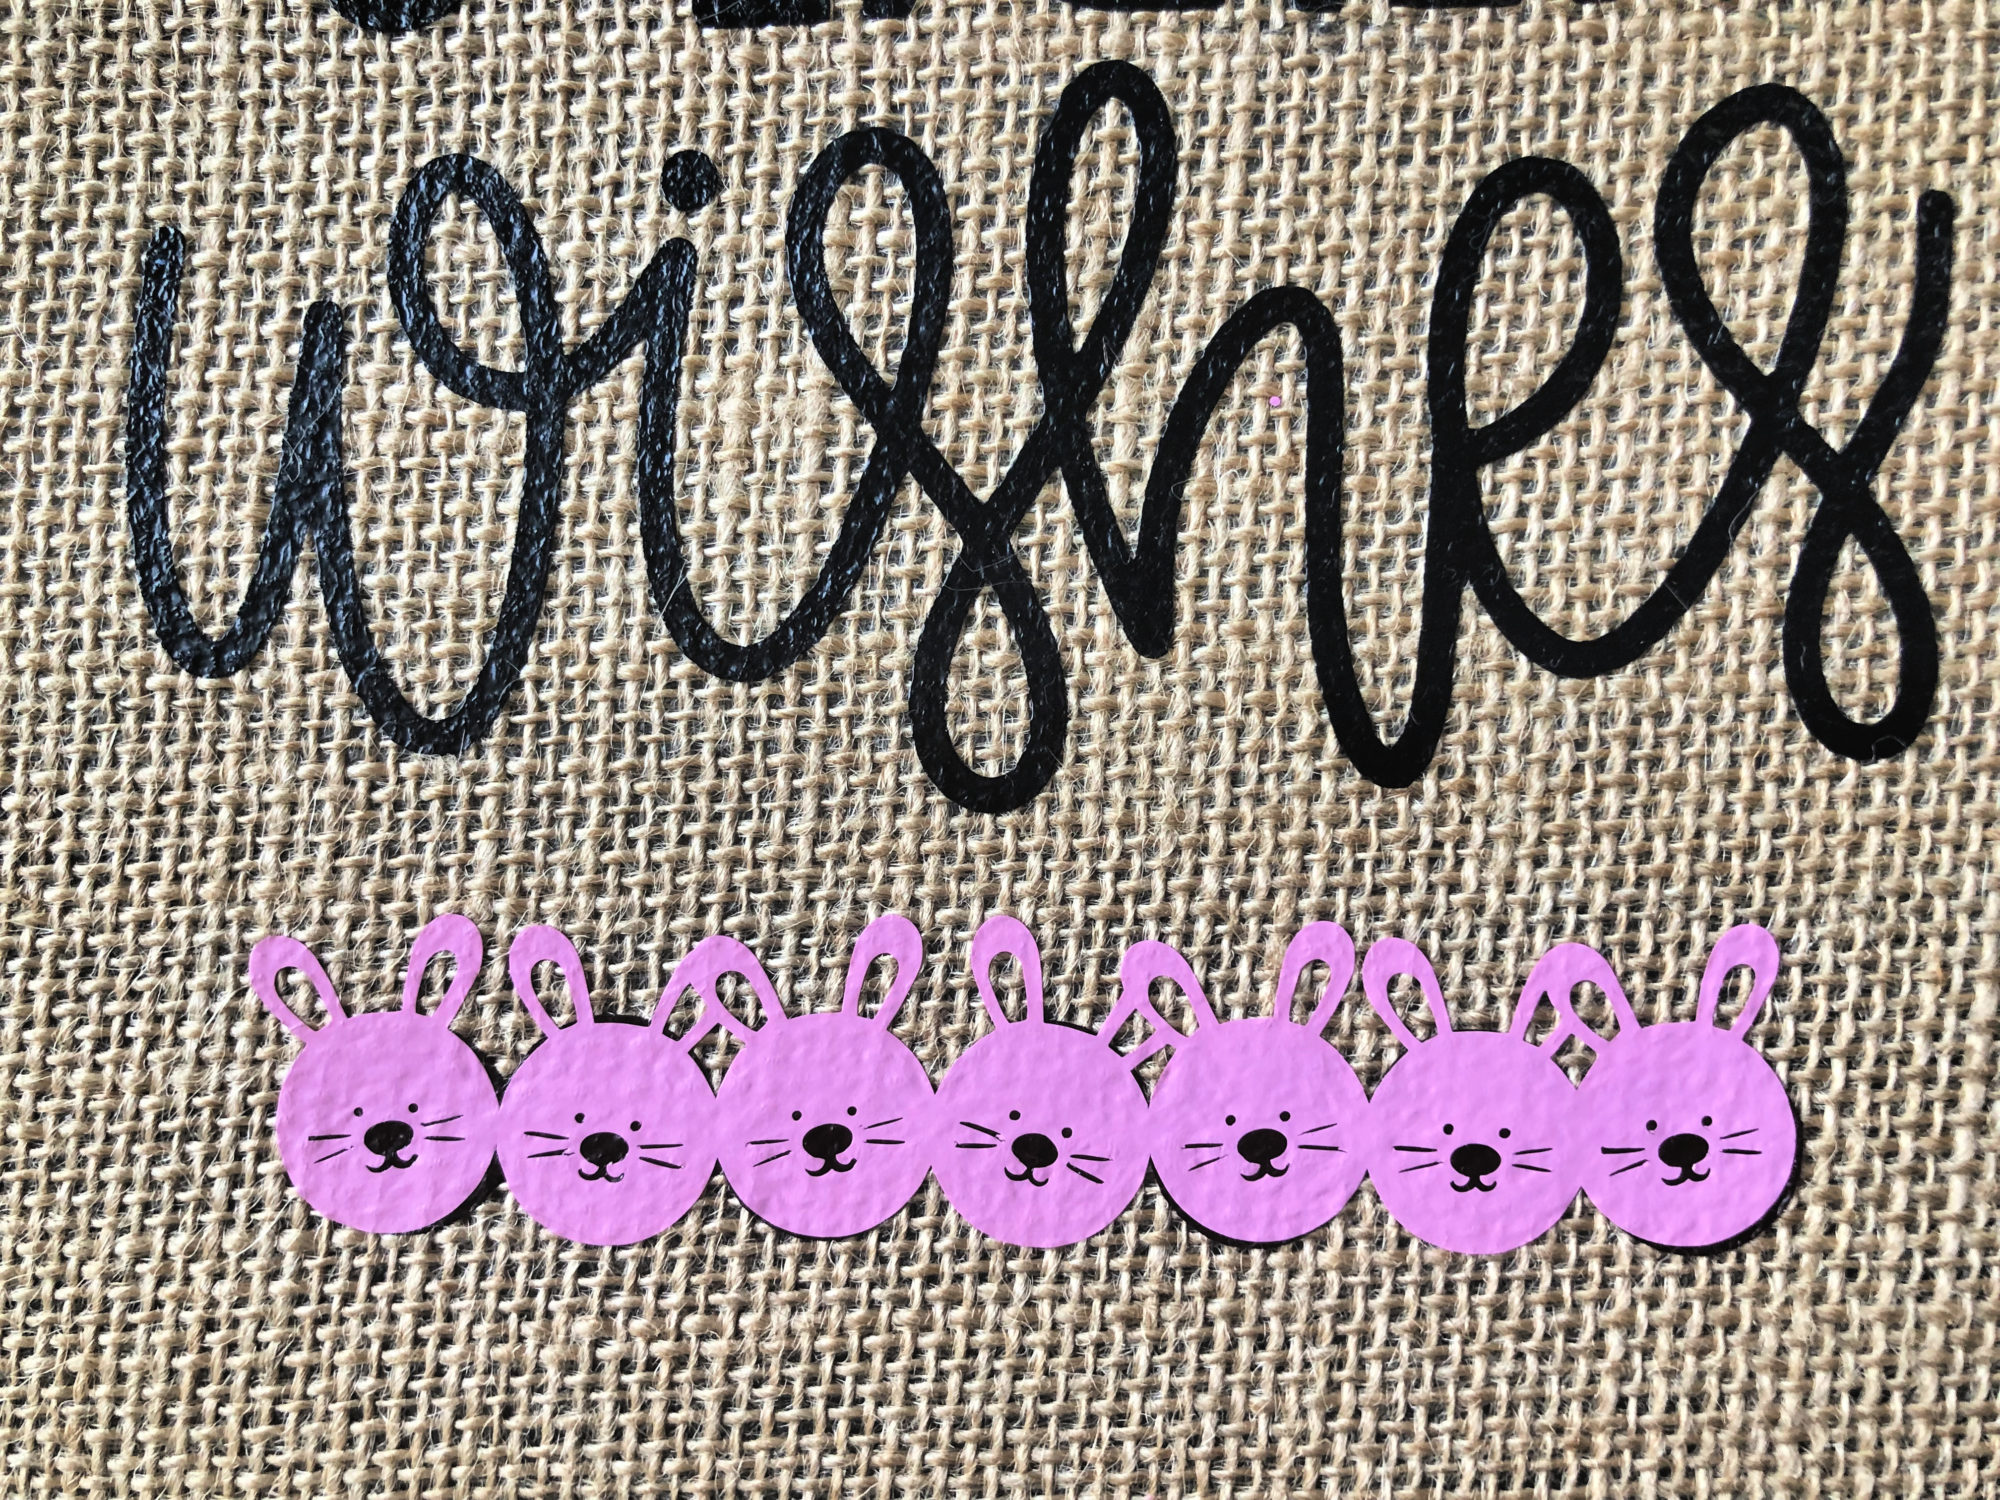
Once your project is cut, you can begin weeding out the negative from the Iron-On Vinyl. I always use the Cricut Weeding Tools along with my Cricut BrightPad. The little bunnies on the bottom of the flag took me the longest to weed since they have quite a bit of detail.
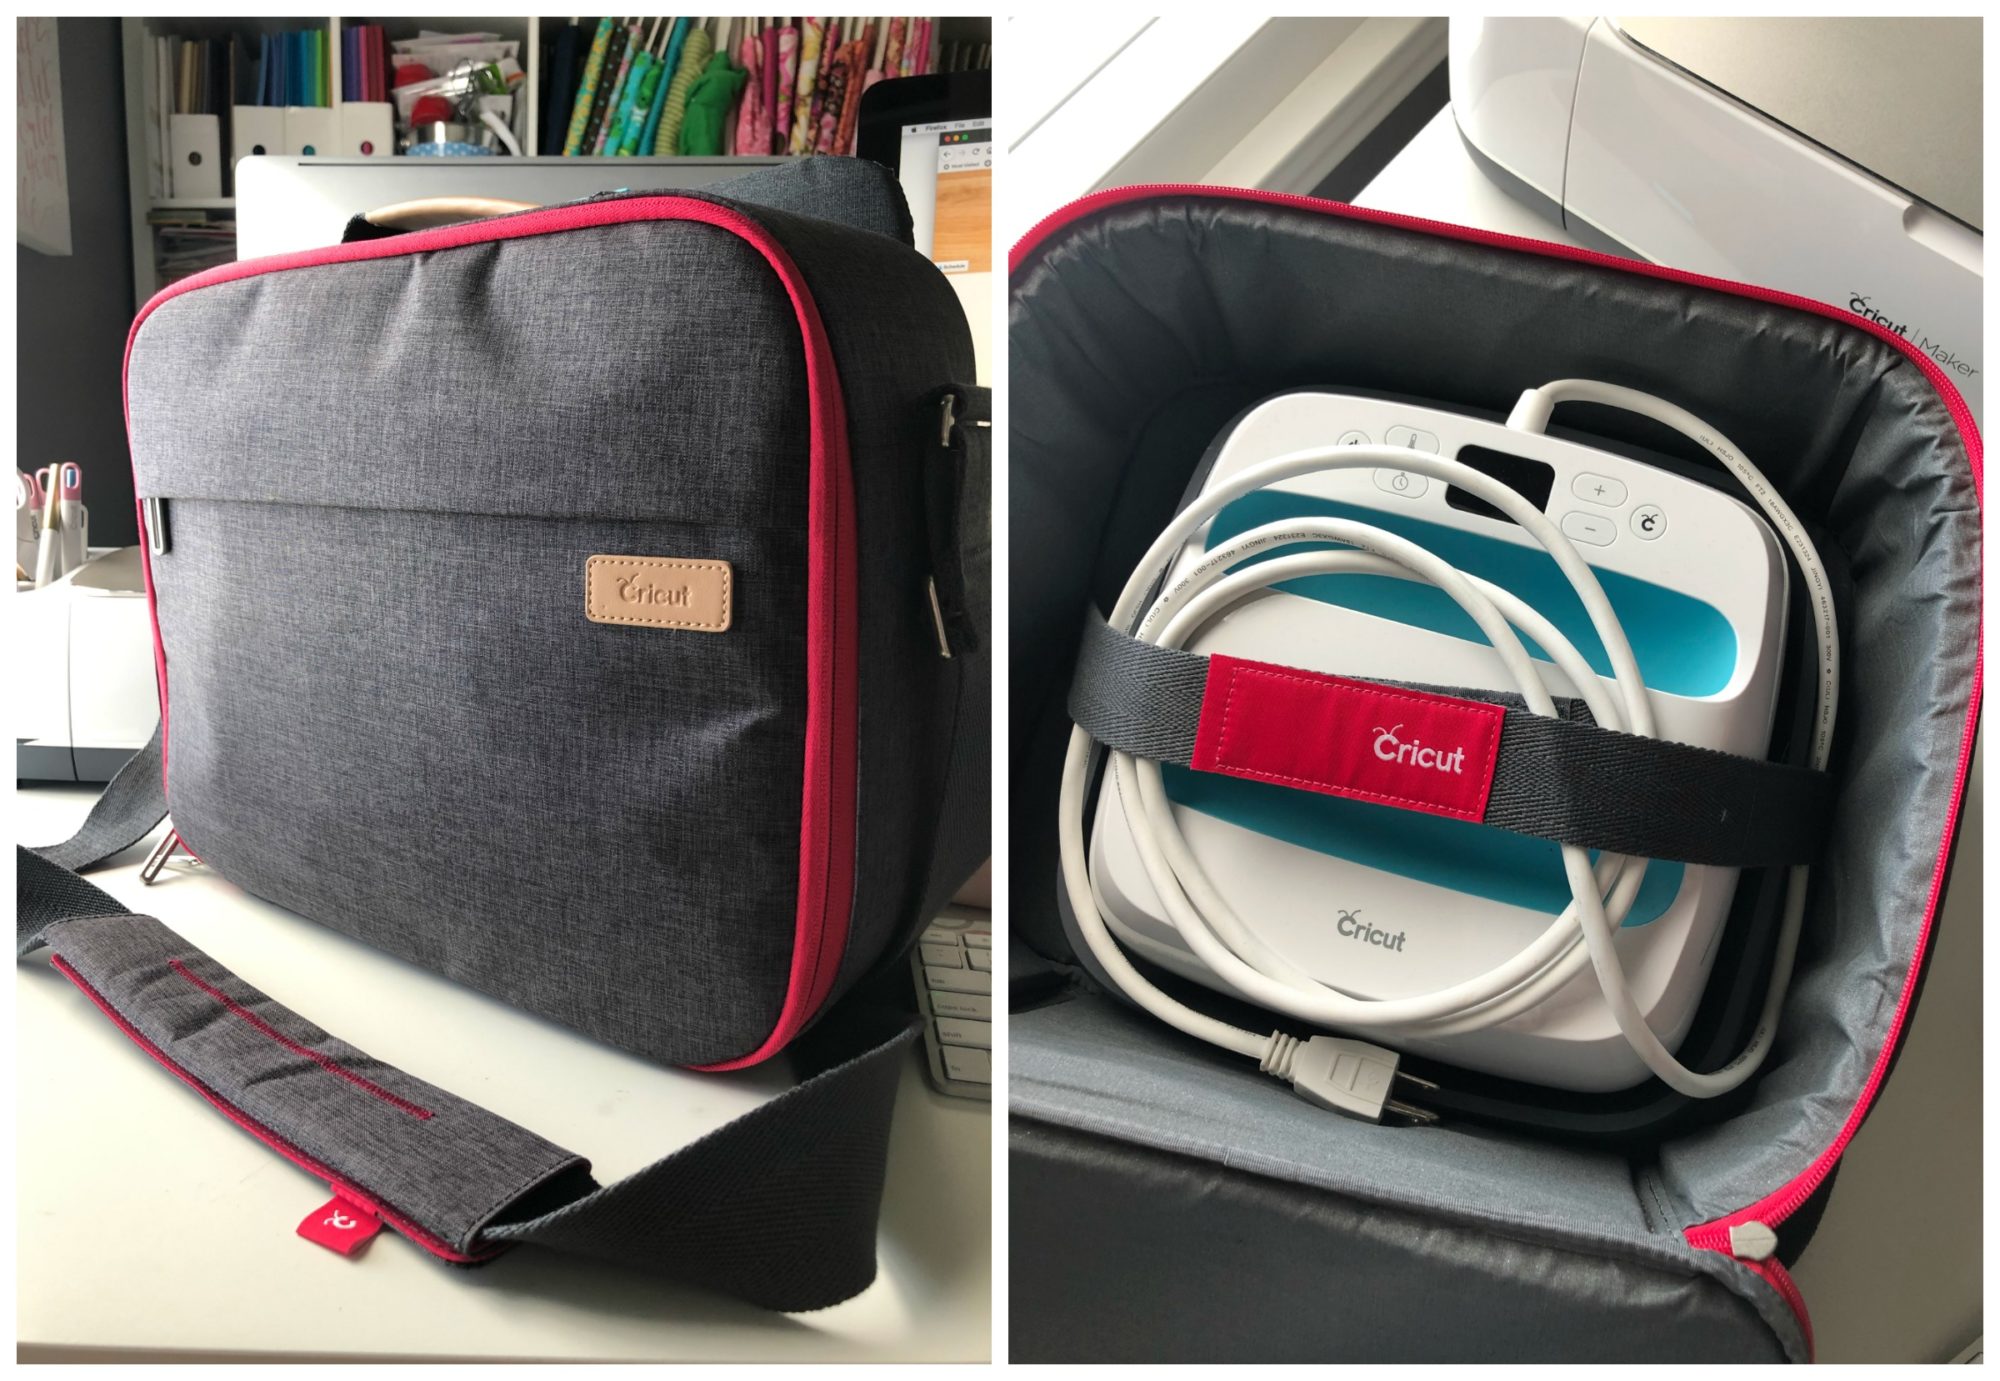
Step 4: Remove your Cricut EasyPress from the Cricut EasyPress Tote
Once you are ready to press it’s time to grab your Cricut EasyPress Tote. *For this project I used my 9×9 Cricut EasyPress. The original EasyPress has to be stored in the new EasyPress Tote 10×12.
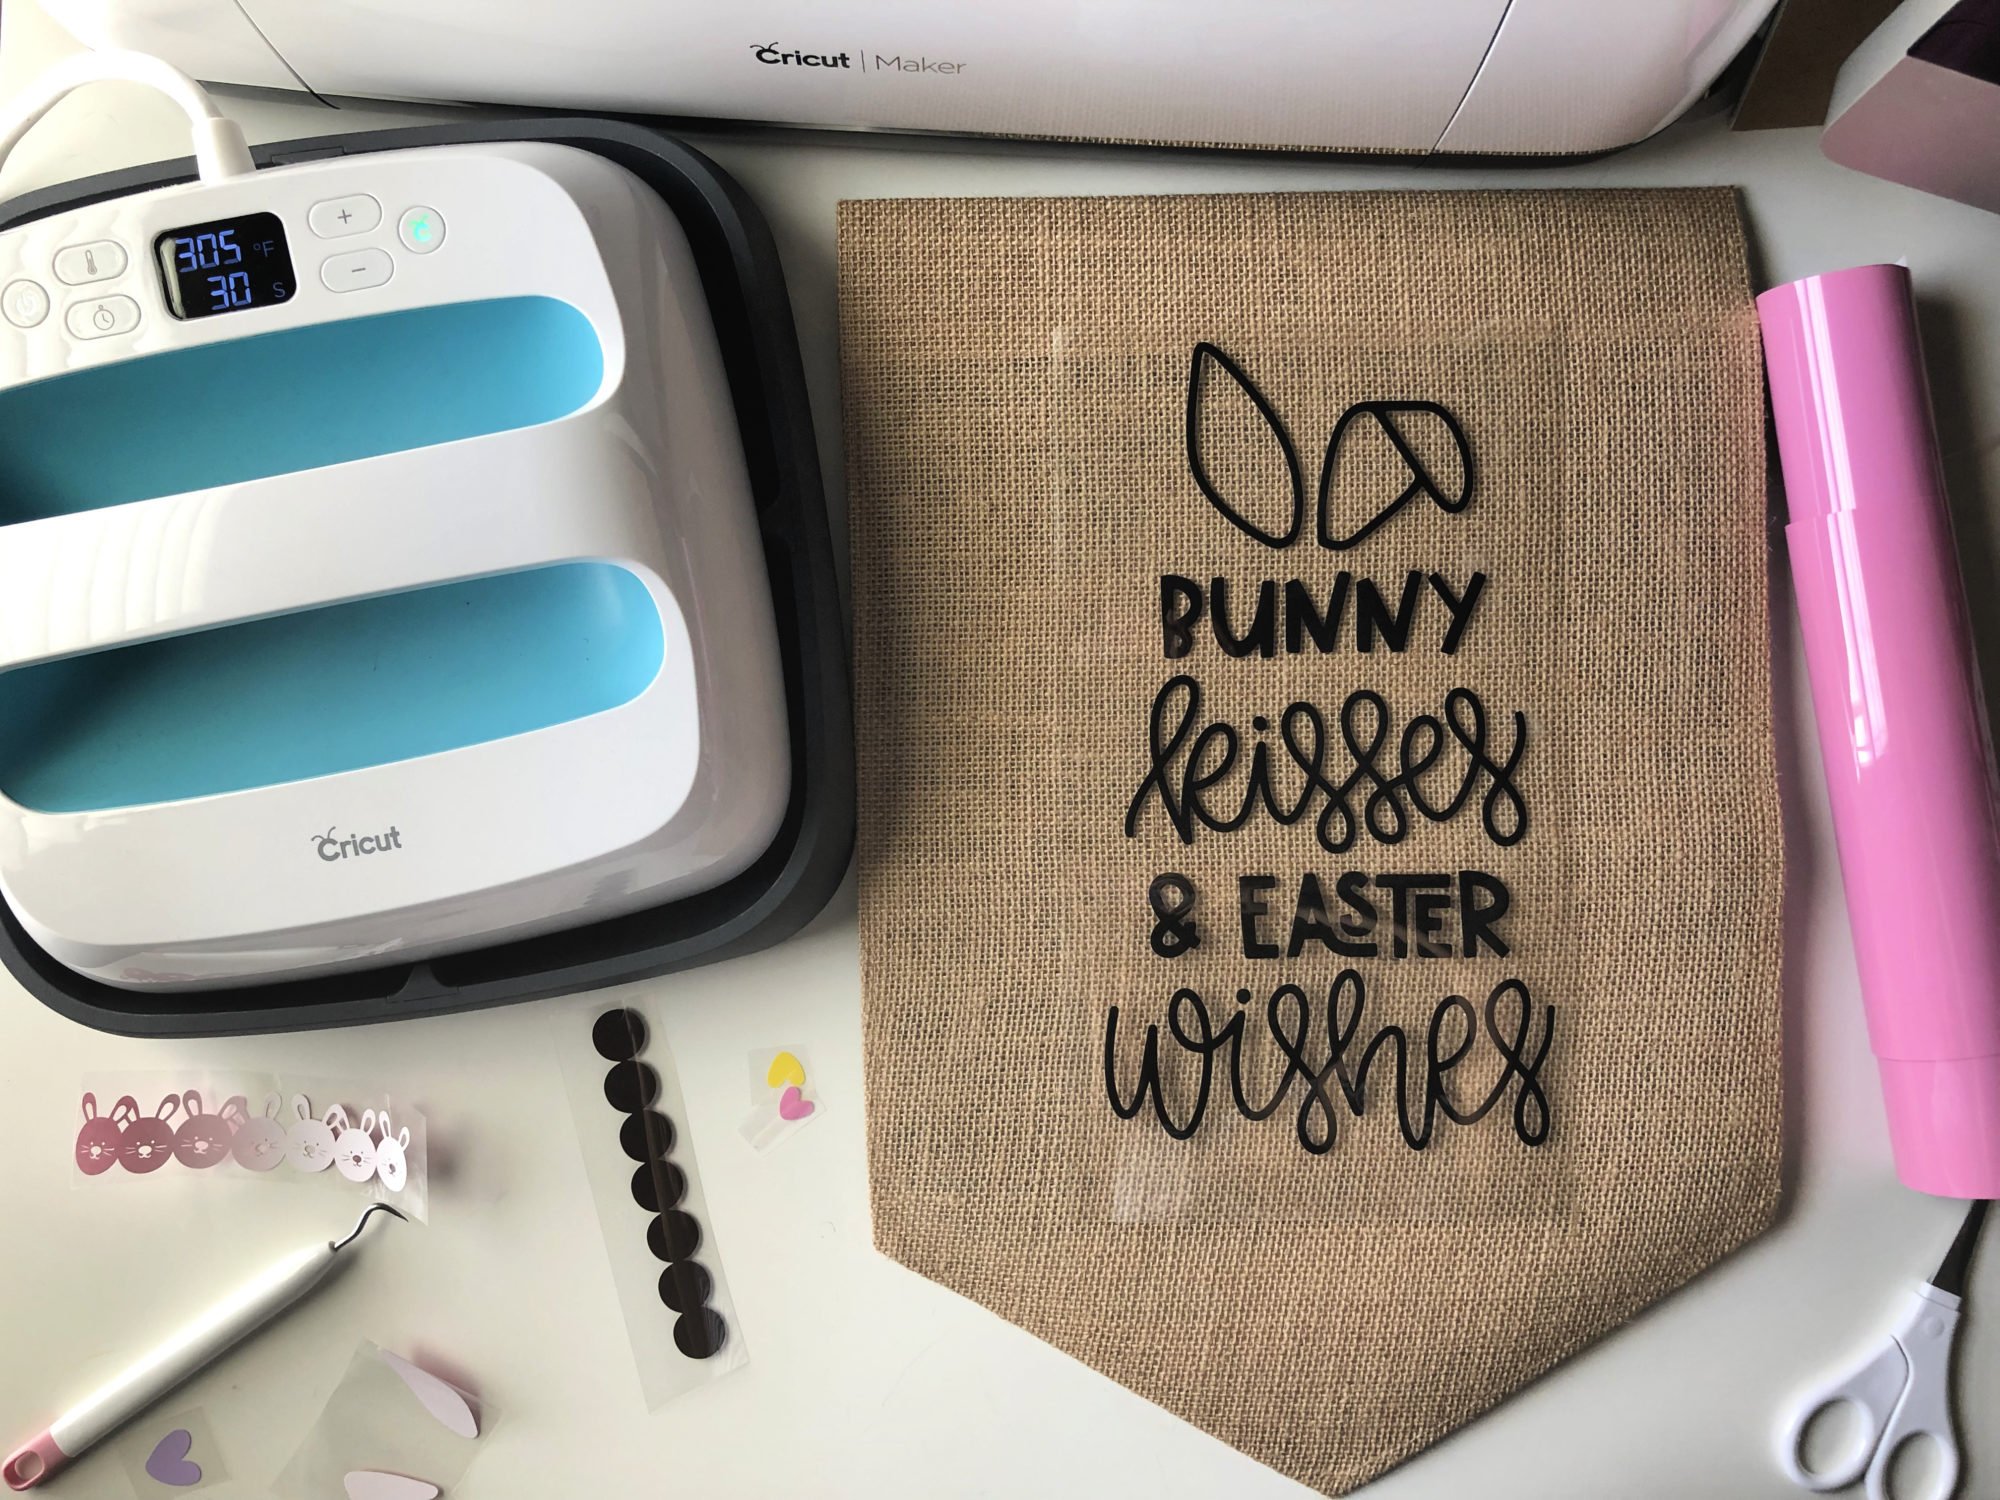
Step 5: Preheat the Cricut EasyPress & Press!
Remove the Cricut EasyPress from the tote, plug it in, and preheat the press to 305 degrees Fahrenheit. **Always reference the Cricut Interactive EasyPress Settings Guide.

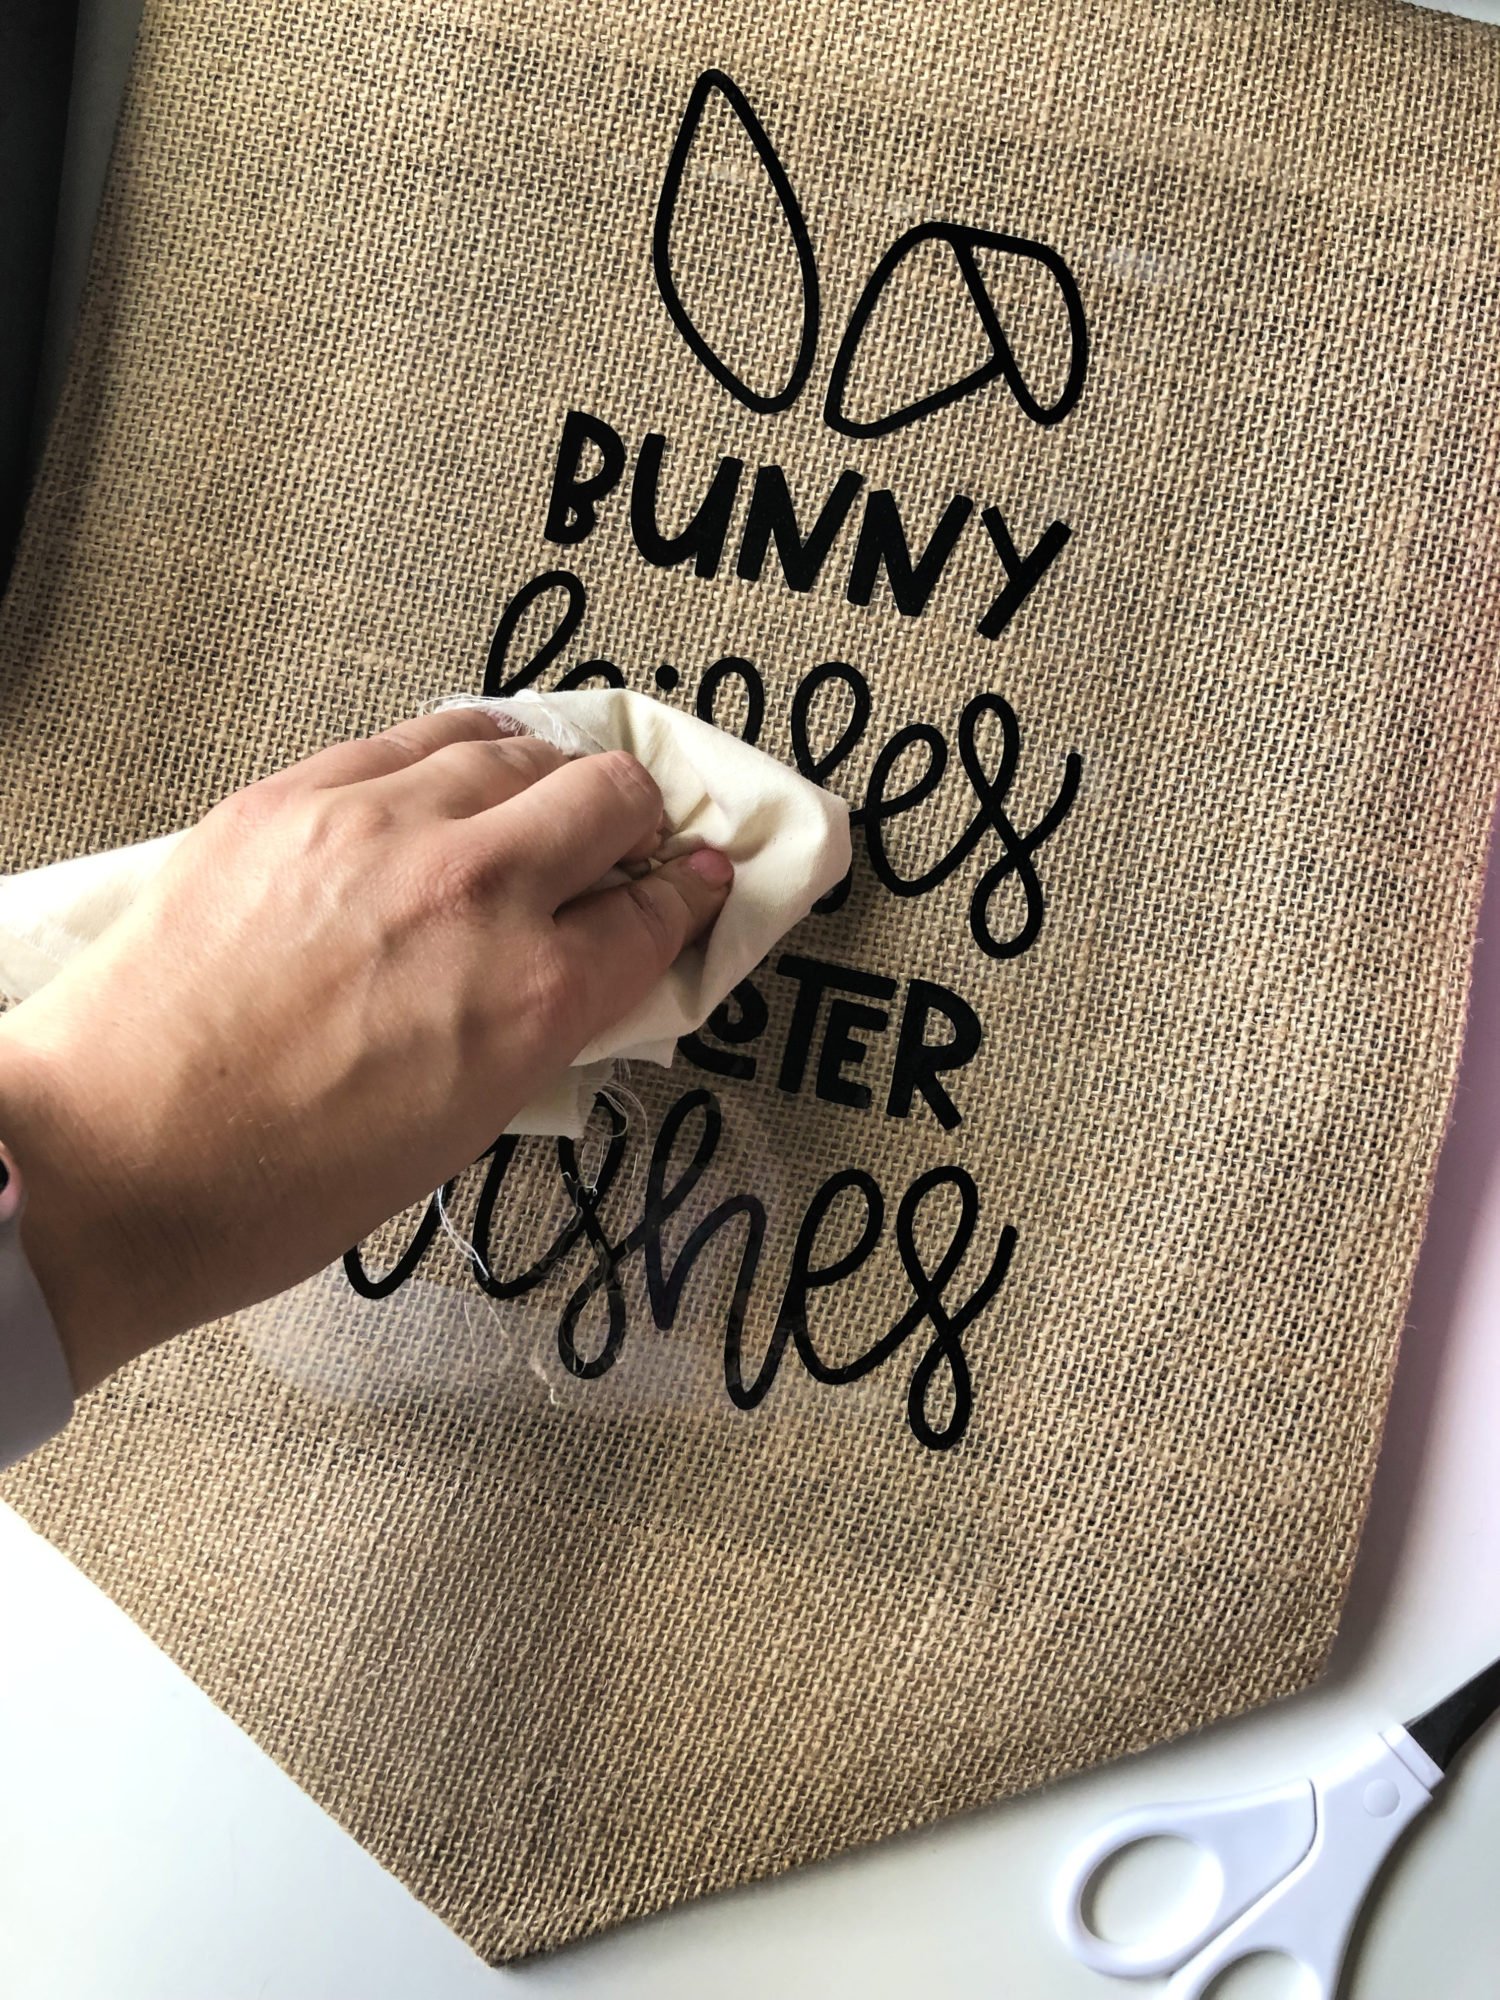
First start by pressing the black text for 30 seconds. Then, flip over, and press for an additional 15 seconds.
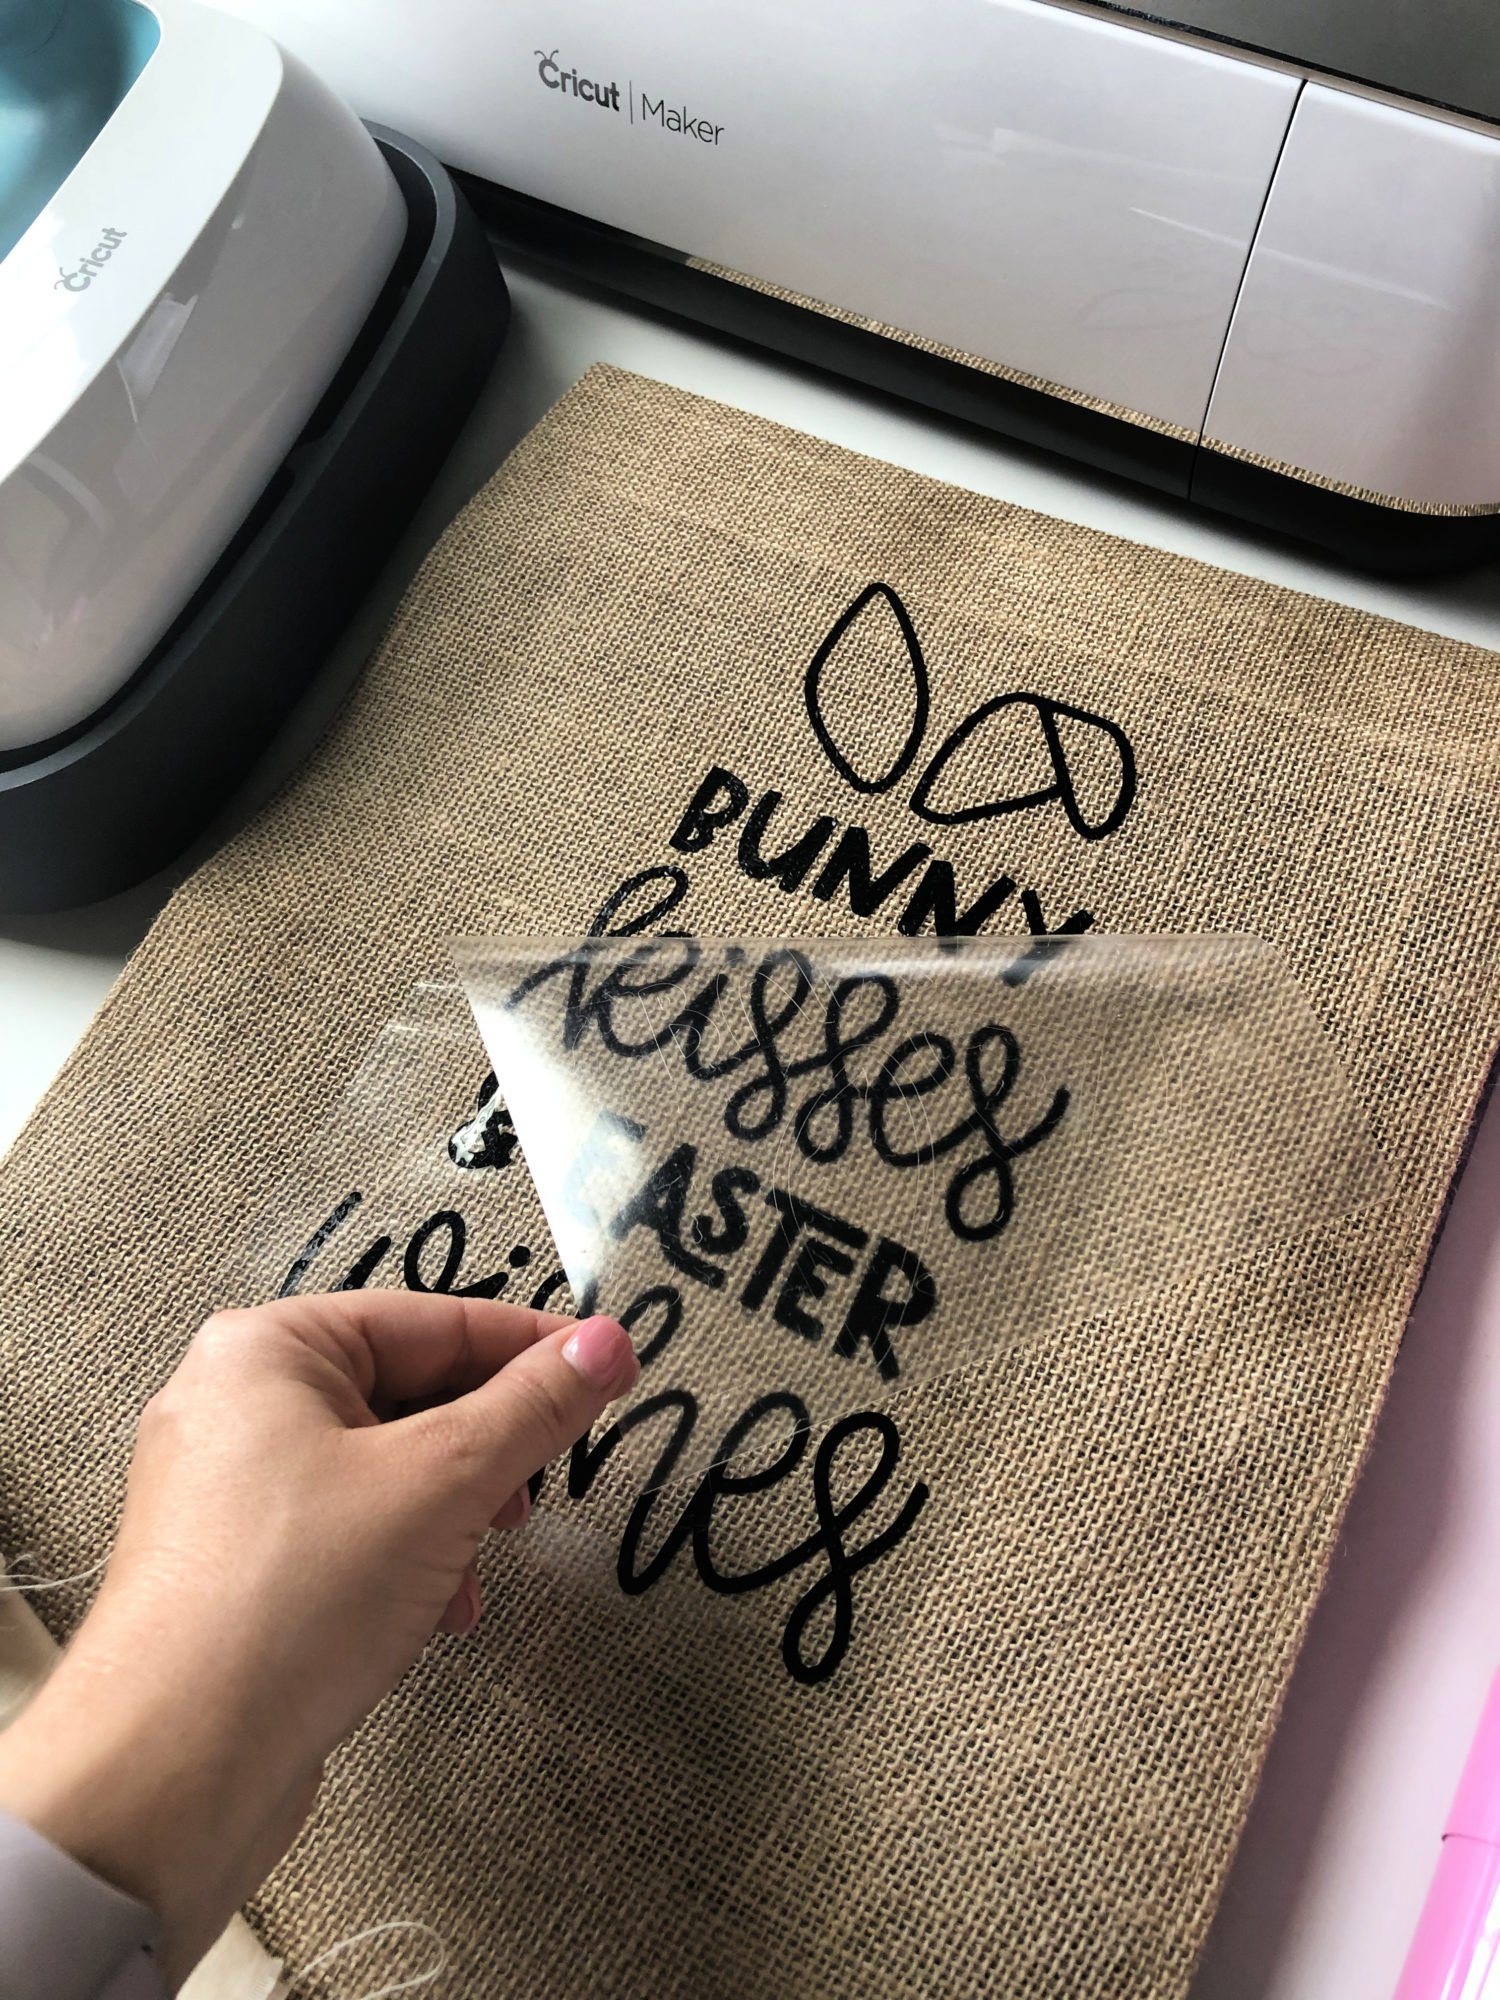
Let the flag cool for a few seconds and warm peel off the plastic.
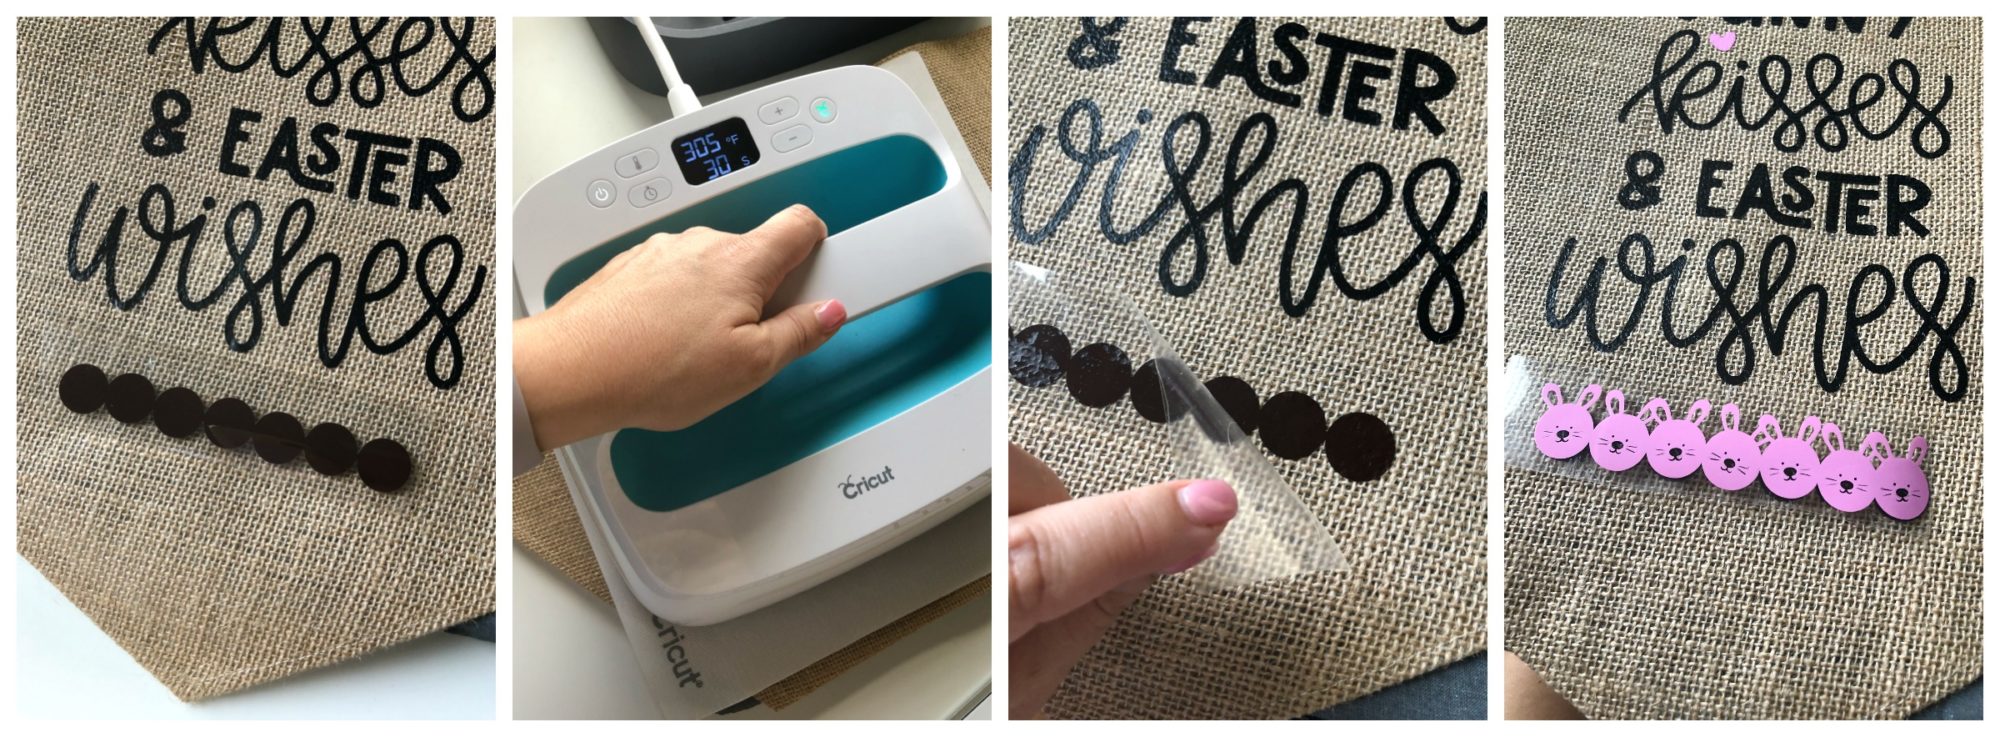
Then repeat steps above by adding on the hearts and the brown circles.
**MAKE SURE you place the circles to match the bunnies. They are not equal and because of that you will notice you can see some brown on my bunnies. That’s because I didn’t realize that I had placed it on upside down until after I pressed it and went to line up the bunnies!
Lastly, place the the pink bunnies on top of the brown circles that have been ironed on to the garden flag. Press those bunnies like above. I always like to give the entire project one more press before I use it.
Step 6: Hang and Enjoy!
Now, all you have to do is hang your new garden flag and enjoy it! If you’ve never made a garden flag or pressed on burlap before I hope you will give it a try!
Tips for Pressing Burlap Material
This isn’t my first project where I’ve pressed Cricut Iron-On Vinyl on to burlap material. Here are a few tips and tricks I have for you that will make your life so much easier.
- Press on a solid steady surface. This seems like a no brainer, but helps when using Iron-on vinyl.
- After you press burlap I like to use a cloth while the plastic is hot to press the vinyl even more into the grooves of the burlap.
- Let your project cool down until the plastic is warm to touch. Then carefully begin to remove the plastic. If for some reason you see your iron-on vinyl is lifting. Press again for 15-30 seconds. Let cool and try to remove the plastic.
Current Cricut Deals:
- Essential tools 30% off! Valid through 4/9/19
- Save up to 30% off Versatile vinyl! Valid through 4/9/19
- Cricut EasyPress 2 as low as $119. Valid through 4/9/19
- Cricut Explore Air 2 machines as low as $229. Valid through 4/9/19
- FREE Economy Shipping on orders $99+ to US and Canada. Use code APRSHIP. Valid through 4/30/19
Leave A Reply!