Thank you Cricut for sponsoring our Craft Night last month! As always all opinions are my own.
I’m so excited to share today’s post. Last month, I hosted my first ever Cricut Craft Night. First off, I need to share why I hosted this fun craft night out. I belong to Baby Bootcamp Orlando. We exercise together and do bootcamp style workouts with our babies. The babies stay in the stroller and the mom’s get a killer workout. This group of amazing women do more than just workout together, we have play dates together, we chat in our private Facebook together, bounce ideas and questions off one another and are really a support system for one another. I joined BBC (Baby Bootcamp) when Ryder was just 8 weeks old. I was suffering from ppd and my midwife suggested I get out, exercise, and meet some mamas. I did just that, and although the first few weeks were beyond rough, I made it a point to get out at least 3 days a week. As Ryder grew older, I started participating in play dates and making more friends. Almost 2 years later and I’m still hanging strong with these moms. So let’s get to why I hosted a craft night. We like to have what we call “Mom’s Night Out” (MNO) where we get together without the babies and enjoy some girl time. It’s so needed when you are a stay-at-home/work-at-home mama. You need that “me” time. So a few of the mom’s started getting Cricut’s. And then a few more, and then they asked me if I would host a night and we could all craft together. I said YES! And then I contacted my friends at Cricut, because that’s what bloggers do. You use the resources you’ve been blessed with. And oh man did my friends from Cricut come through.
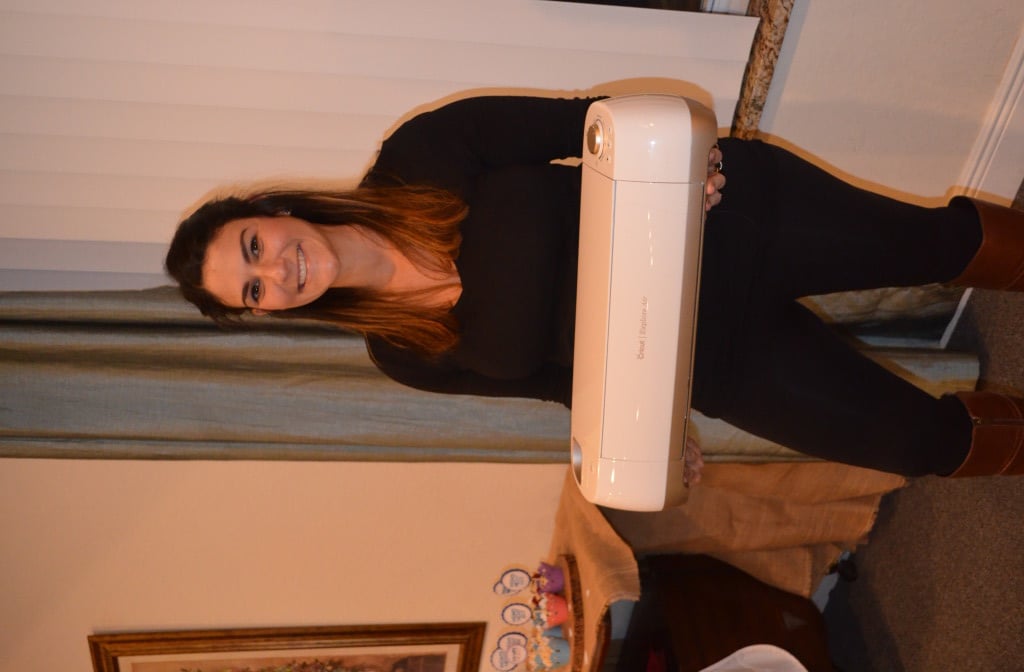
And all the mom’s had the chance to win the exclusive Cricut Explore Air in Gold. Jessica was our lucky winner! 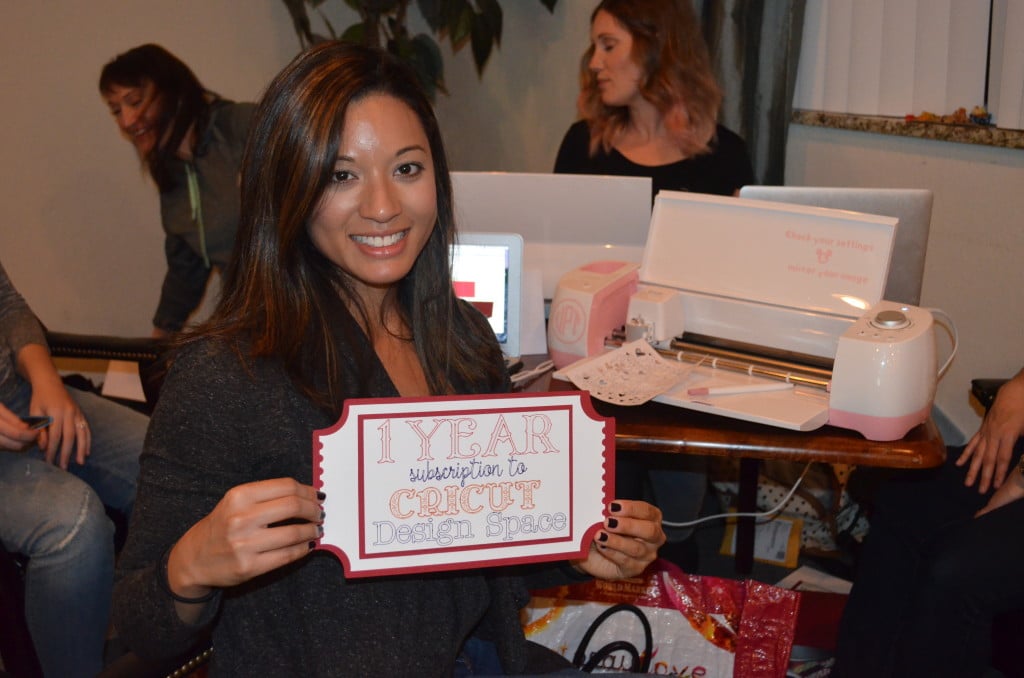
We couldn’t let our Cricut mom’s miss out on winning something. Veronica one a 1 year subscription to Cricut Access!
Here is what I learned about hosting a Cricut Craft Night…
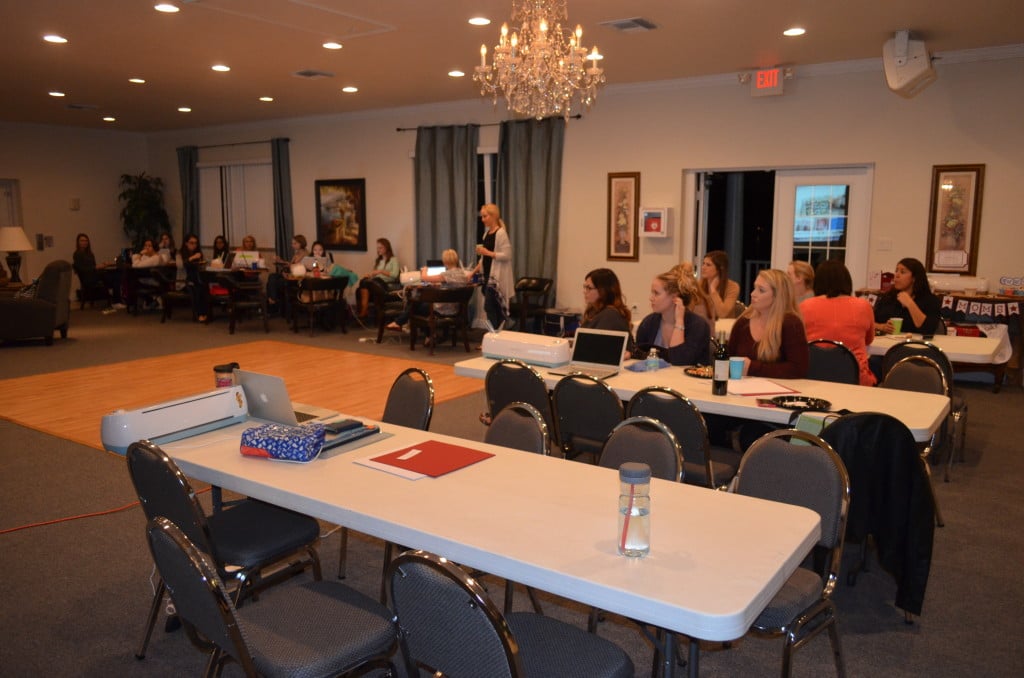
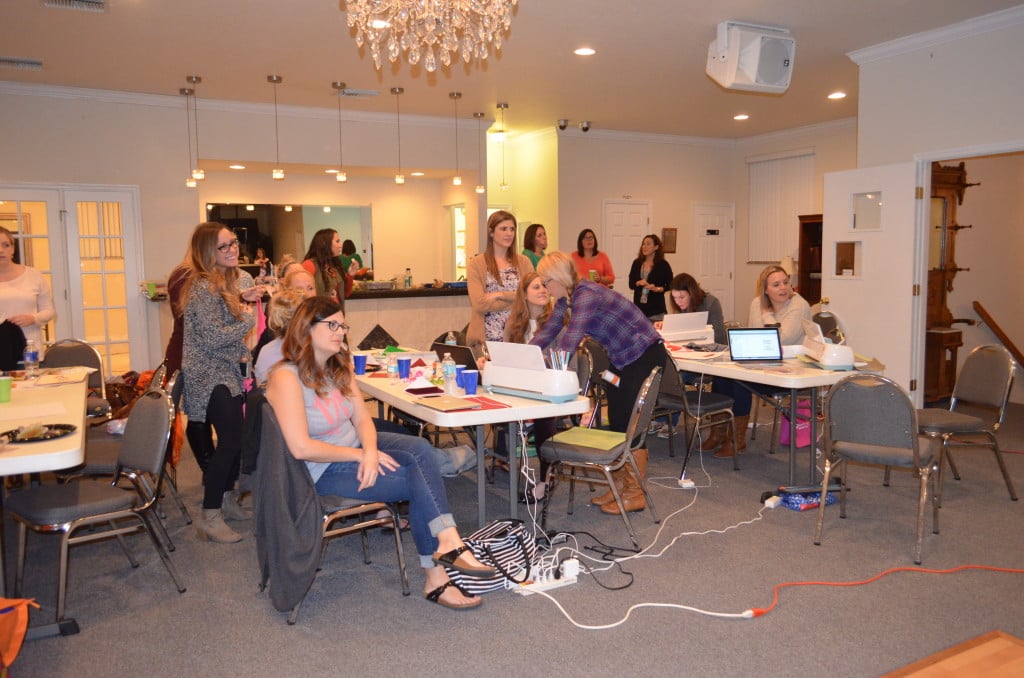
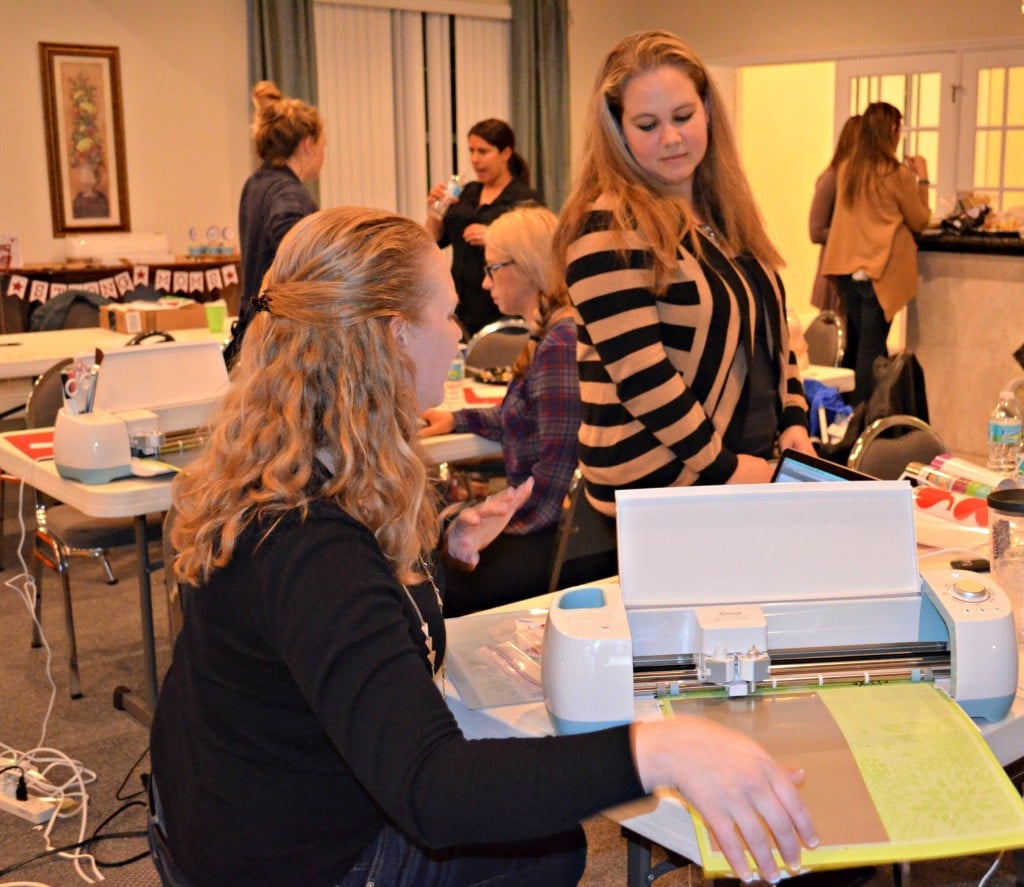
1. Keep the size of your craft night small. It’s best if everyone can own a machine. However, I realize that doesn’t always work. And these craft nights are a great time for others to get to try a machine out before buying one. I would say a good rule of thumb is 1 machine to 2 crafters. I think that makes it the most feasible. We had 3-5 mom’s per machine and our what was suppose to be small group of 12 turned into over 40 mom’s joining us!
2. Online Invite. We used a closed Facebook invite to invite our mom’s. This was great because this gave us a place to communicate with our mom’s. Even if it’s just a group of 10 this is ideal.
3. Expectations. We knew that with 40+ mom’s crafting we would need to be realistic. We planned out 3 projects. A card, window clings, and shirts. We tried to keep mom’s in the loop so that they knew what to expect. The only problem is that with a group this large someone is bound to not read everything. Also, another expectation you should have is that if you are a Cricut mom you might not be doing all the projects. Because we had one machine to 3-5 mom’s there were some mom’s that only helped to craft for other mom’s. They used their own machines and some of their own supplies like mats, blades, and pens. Mom’s who don’t have Cricut’s don’t necessarily realize how much time, resources, and money goes into what they just provided those without. Keep an open line of communication with the Cricut owners and the crafters who will be paired with a Cricut owner.
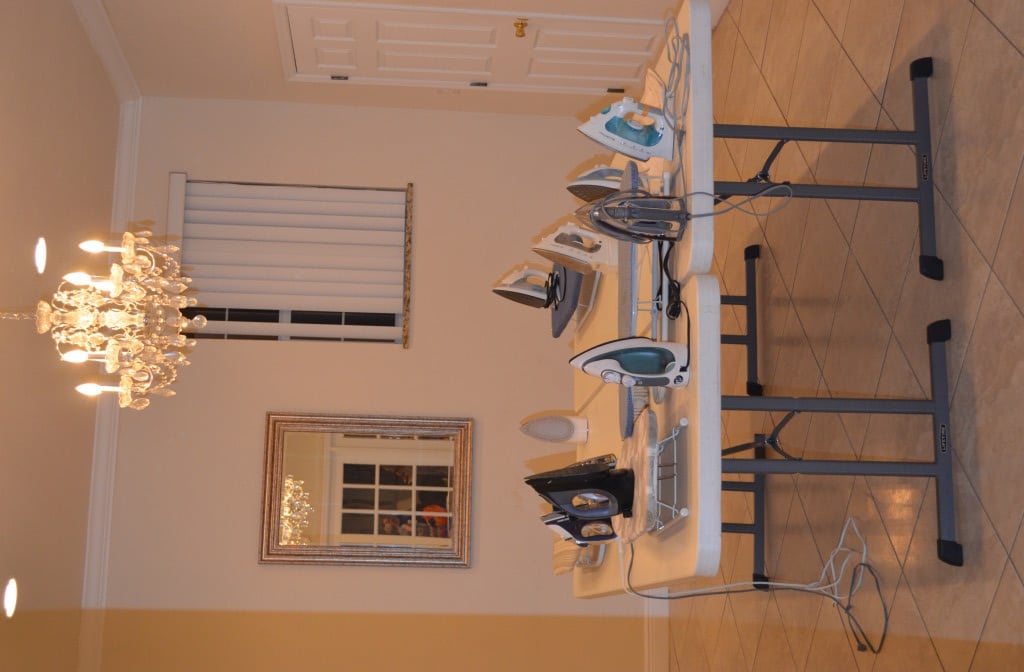
4. Supplies. Although Cricut supplied all of our supplies for the evening we still needed extension cords, irons, ironing boards, scissors, glue, and more. Make sure you delegate the supply list and for those who don’t have a Cricut these are perfect items for them to pitch in and bring. Now if you aren’t as lucky to have Cricut sponsor your craft night you can delegate purchasing supplies by having each person attending bring supplies or purchase all the supplies and have each person chip-in on the dollar amount it cost. The option is up to you.
Here is the supply list we used for our craft night. Hope this helps you in planning yours:
- Cricut Explore/Air/One
- Laptop
- Extension Cord
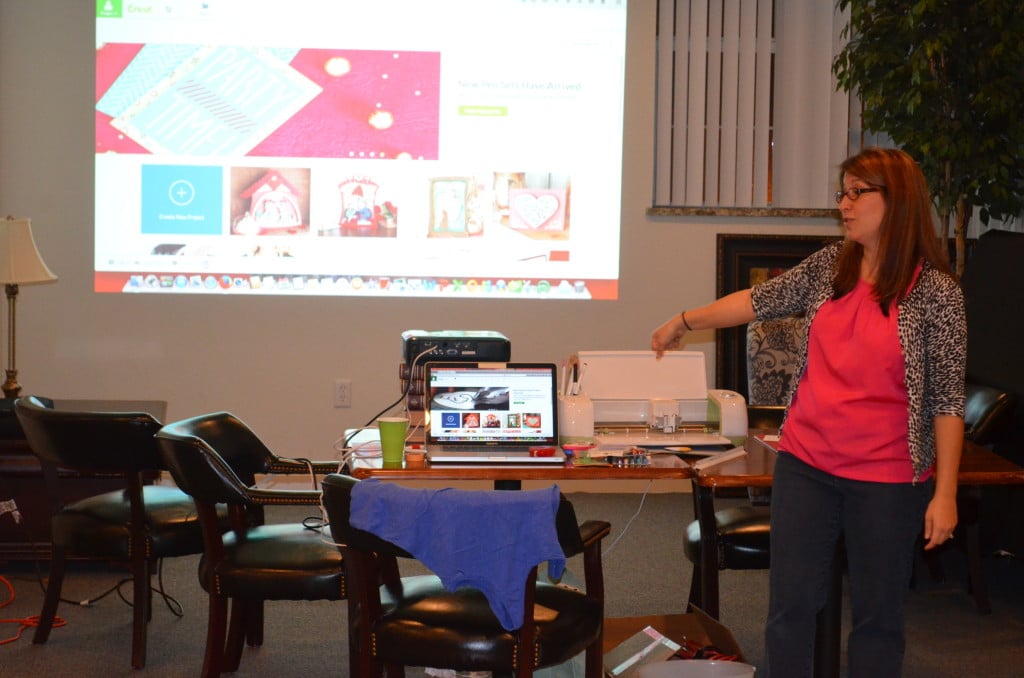
- Projector (I used one so I could keep everyone on track)
- Wifi (you need a reliable source since Cricut Design Space is web based)
- Cardstock
- Scissors
- Glue
- Cricut Pens
- Cricut Scoring Stylus
- Cricut Mats
- Window Cling
- Iron-On Vinyl
- T-shirts
- Iron
- Ironing Board
- Trash Cans and Trash Bags

5. Time Management. Because we knew we had a lot of mom’s attending we kept our projects realistic. We also knew we had a limited number of supplies. And we knew that getting 40+ women together in the same room would bring on lots of chatting. It’s good to have a leader to keep track of time (if you are under time restraints) and also to guide and help the other crafters through each projects.
6. Choose projects in Advance. This helped save time even with such a large group. We had the Cricut mom’s create a few designs each in Cricut Design Space. We also created one account so that we could all log-in and use the same account so that we could all see all the designs created. Because a lot of mom’s did not own a Cricut, we wanted to have a variety of projects. We choose:
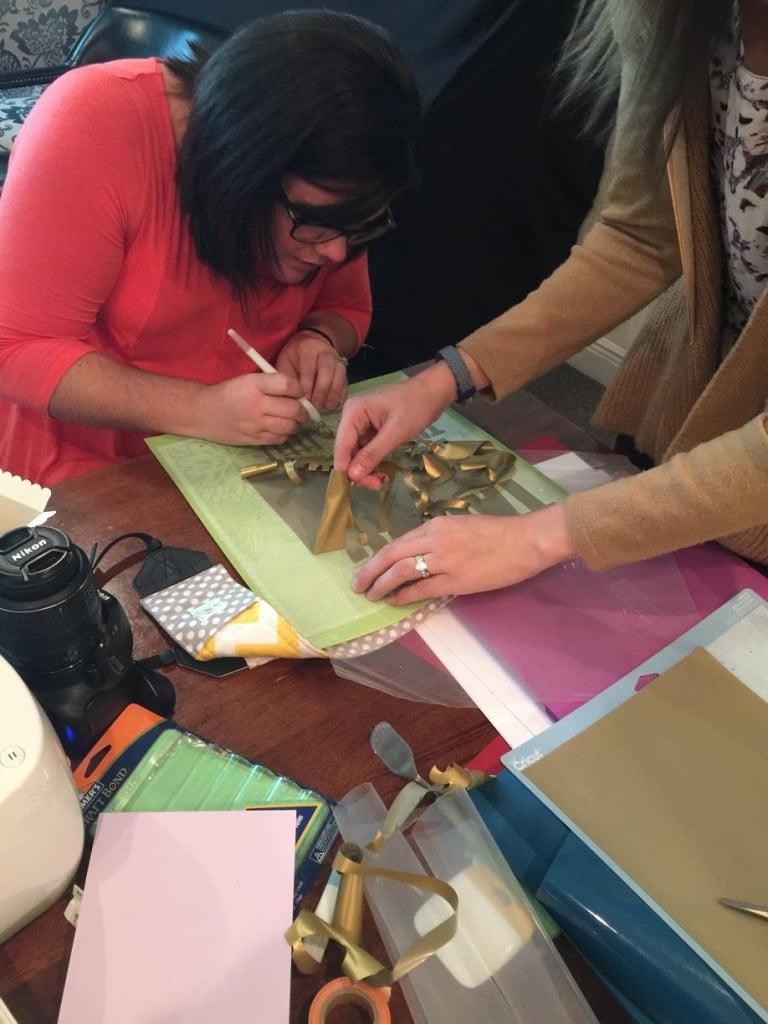
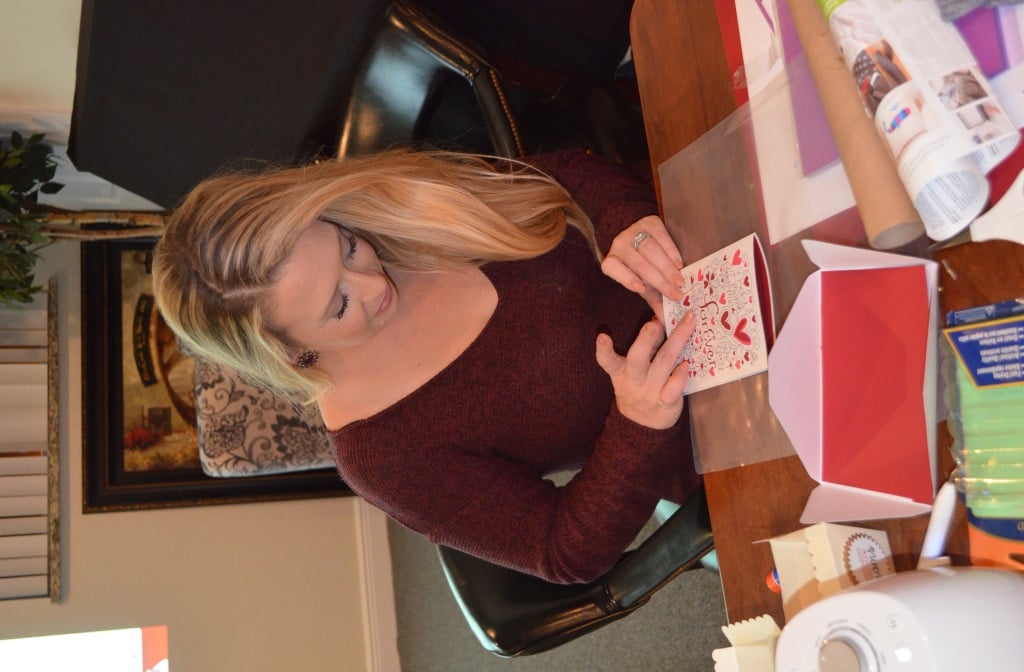
- Card – perfect example and way to show the Scoring Stylus and the Pens in action. This was really cool to watch the mom’s who don’t own a Cricut really see what the machine can do. And a lot of the Cricut owners had never made a card. They were scared. We choose a free card project so that way everyone could access it.
- Window Clings – since we all have young children I figured this would be fun, it wouldn’t take up a lot of time, and would introduce mom’s to a new medium to cut. I had two designs pre-made in Cricut Design Space. I had a Valentine’s Day theme and St. Patrick’s Day theme.
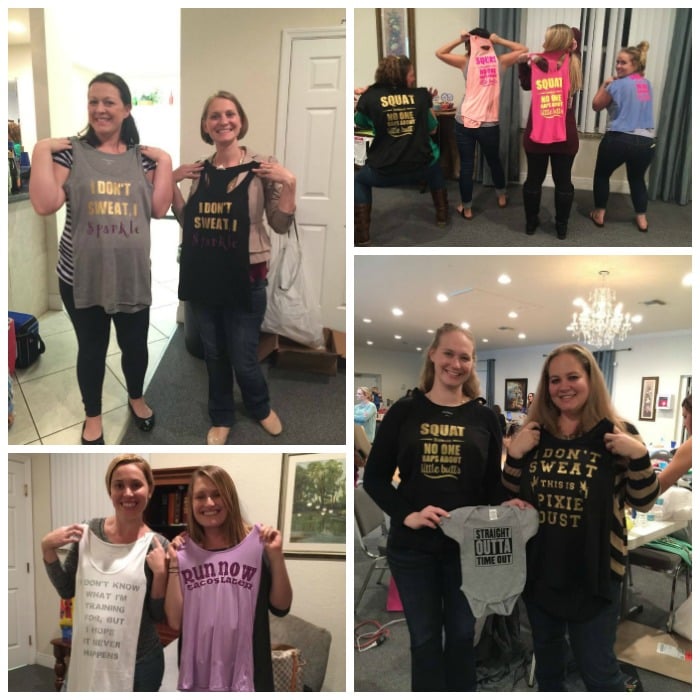
- Shirts using Iron-On Vinyl – we each brought one blank workout tank or t-shirt to embellish using Iron-On Vinyl. We stressed to our mom’s that we needed to keep it to one shirt maximum since we wanted to make sure we had enough supplies for all mom’s. We still ended up running out of Iron-On Vinyl because some mom’s still made multiple shirts for kiddos. Just know that things will not always go as planned and that’s ok.
7. Food & Drinks. We all chipped in money for pizza and ordered pizza out. Then other mom’s brought appetizers, sides, and desserts, and lots and lots of wine. Because after all we were kid free. And what goes better with crafting than a side of wine?
8. Set-Up in Advance. Create designated areas to craft. One large or multiple tables where you will set-up the computers and machines. One area will irons will be set-up, and one area where you have a clear work space where you can weed and put together cards/materials/projects. This is where the extra extension cords come in handy. Also, extra weeding tools were helpful, too!
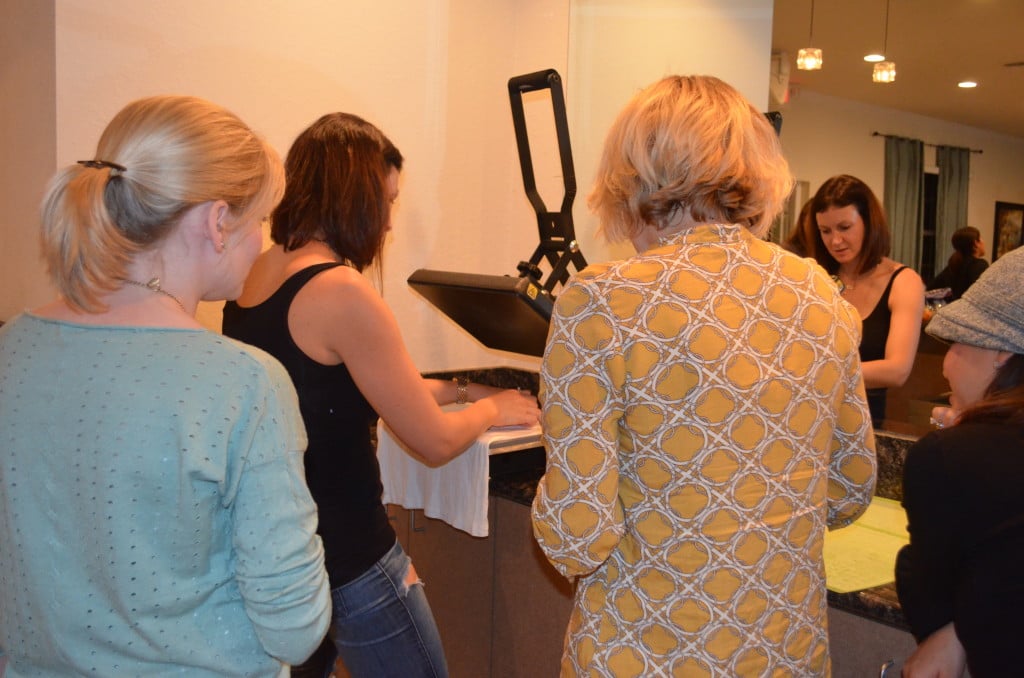
We had tons of irons’ (as you can see from the photo above) and ended up using the heat press that one of the girls owns. And because I loved it so much I bought one for myself… and can’t wait until Mid-March is here so I can start to play with it!
9. Internet. You have to have Internet to use Cricut Design Space. Make sure that your internet can handle 5+ machines. We were so lucky and we didn’t have any issues, and we had close to 12-ish machines? We also printed off the Cricut Design Space and Internet password in advance.
10. Have Fun! That’s why you love to craft, right? It’s to have fun. And what better way to have fun is to share the love and craft with friends.
So if your looking to host a Cricut Craft Night (or day) I hope these tips help you host a successful craft meet-up! My friends at Cricut are giving my readers a sweet deal. Take an extra 10% off your Cricut.com purchase plus free standard shipping (Cricut Access excluded) with code HAPPYCRAFTING. This deal expires 3/2/2016
 Disclaimer: Cricut provided the products for this craft night. It was my idea and as always all opinions are my own. There are affiliate links in this post. That means if you click on the link and purchase I will make a small percentage of the sale.
