This is a sponsored post for Homes.com. As always all opinions are our own.

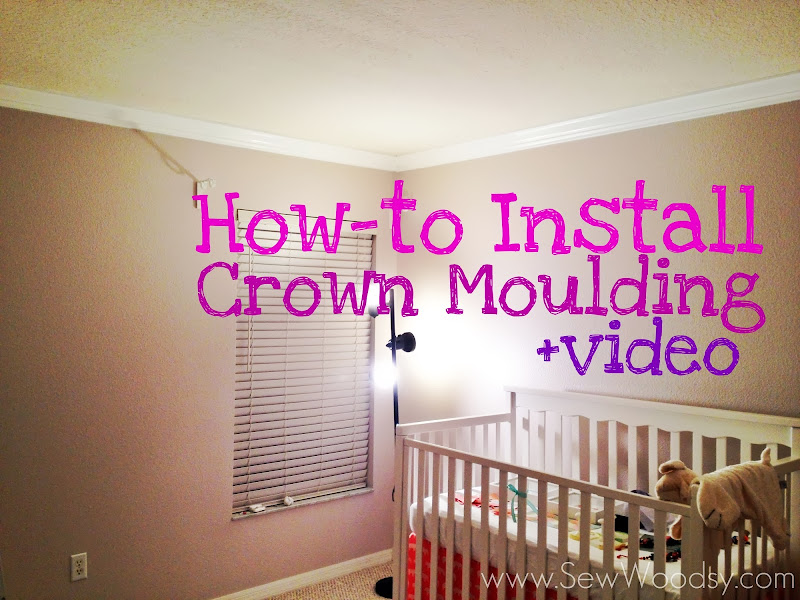
A few weeks ago we shared how-to install crown moulding over on the Homes.com blog! Installing crown moulding is much easier than one may think. It’s all able angles and cutting with a chop saw! Earlier this year, our good friends asked us to install crown moulding for their baby’s room. We of course did not hesitate to say, “yes”. When we brainstormed with Homes.com it only made sense to share with our readers and their readers how to install crown moulding. It was a win-win for all parties involved! We invite you to watch our video and learn just how easy-it-is to install crown moulding in your home!
So what do you think? You think you can install crown moulding in your home, now? Of course you can!

It does take a little practice and I highly suggest you make the crown moulding guides like Jon shows in the video.
Our friend’s room had all sorts of wacky angles so it took much longer than normal to do crown moulding. We pretty much took over their home for a full day, and it just so happened to be the day before my birthday–no “birthday weekend” for me! But honestly, I’m so glad we were able to help out and make their baby’s room extra special.

I’m not sure if we were filming or talking about what we were about to film–either way it looks like serious business!

We spent some of our time outside cutting the crown moulding!

Here Jon is… explaining how the corners come together!
A big thanks to our friend Ricardo for taking all the behind the scenes (and final) photos for us! It’s a nice change to get someone to take photos of both of us in action! Over the next few weeks we will share a glider foot stool I helped recover as well as how their baby’s room turned out (it’s amazing and I can’t wait to share)!
Linked to: My Repurposed Life
Disclosure: We have a working relationship with Homes.com and are video brand ambassadors for 2013 (thus we are compensated). As always all opinions are our own.