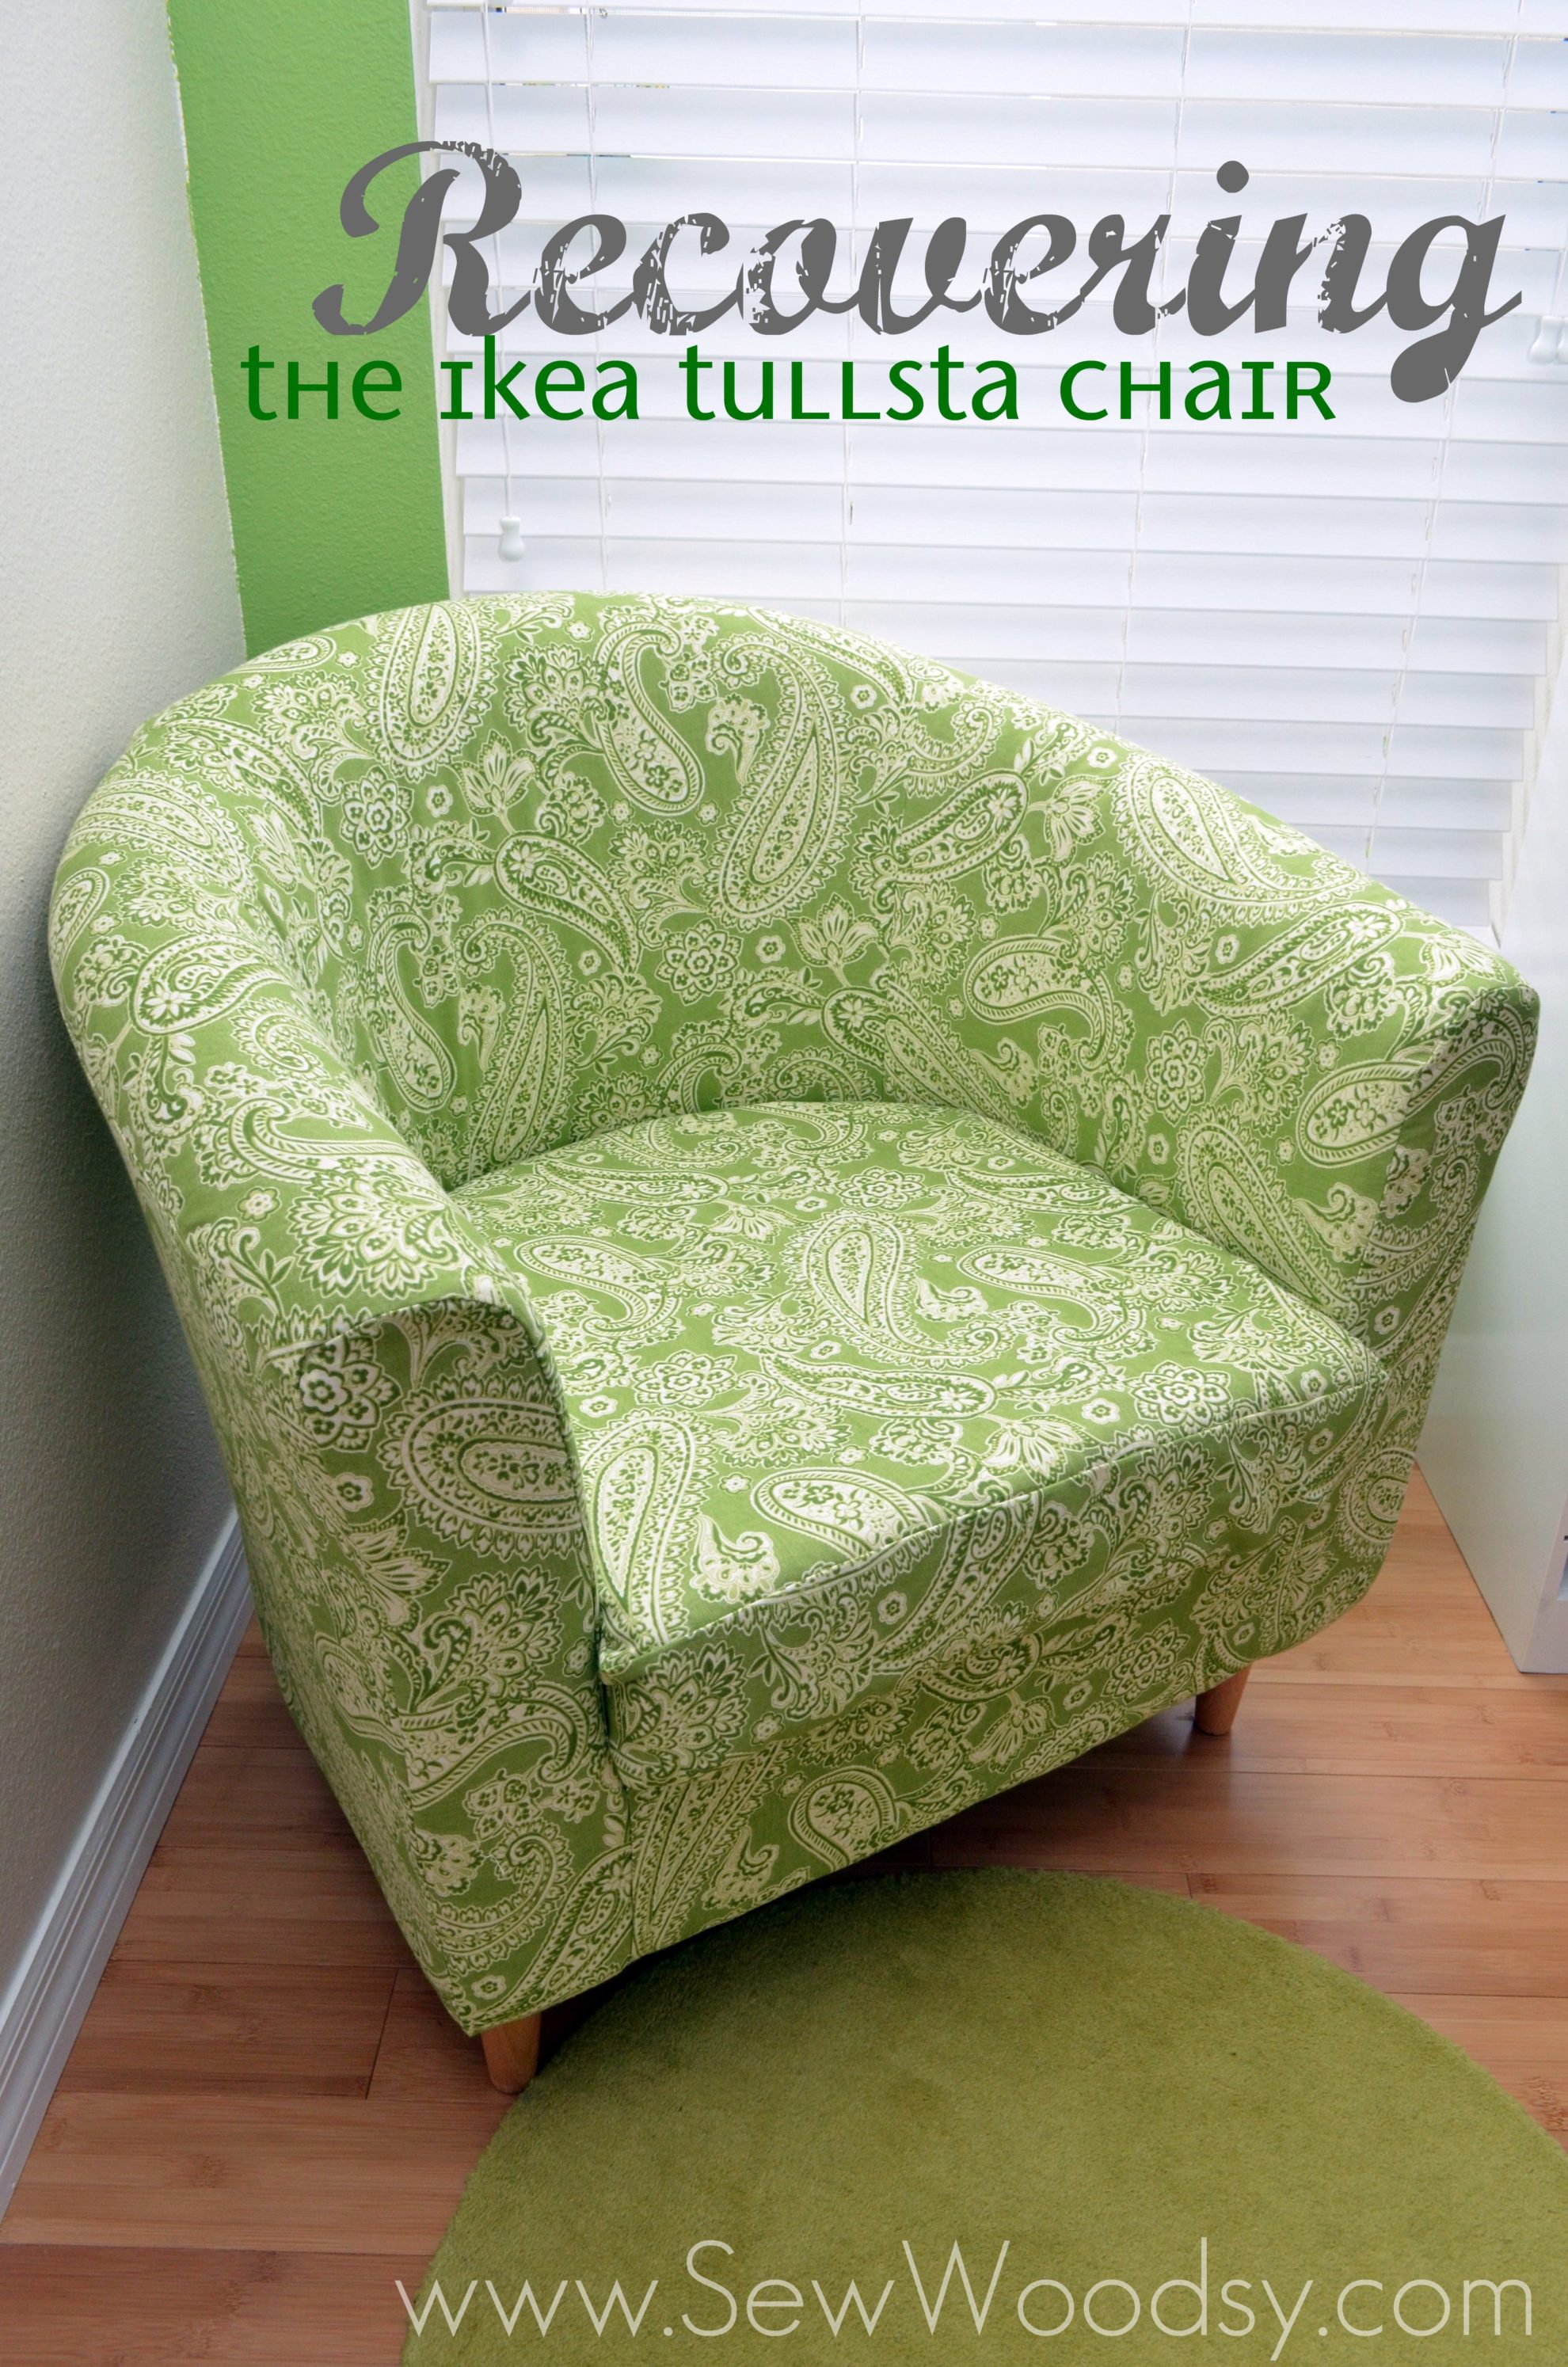
This project has been a labor of love for sadly over two and a half years now! I finally finished the chair in September before we left for our vacation. I was determined to finish it because frankly I’m tired of hearing Mr. Woodsy complain about it not being done. We bought this chair used from a friend who was moving out of town for a whopping $25! The Tullsta chair retails at ikea for new for $200! I knew how good of deal we got; however, our friend had cats and the chair was a little beat up. I had been looking for a chair for the craft room for a while and figured we could easily recover this chair with a fabric that matched the color scheme I had planned in the craft room. Shortly, after buying the chair I fell in love with inexpensive canvas fabric for a whopping $3 a yard. I bought 5 yards praying that it would be enough to cover the chair. Thankfully, it was!
Please keep in mind that these pictures were taken over 2 years ago. My photography has improved immensely since then.
Supplies:
5 yards of fabric
Invisible Ink Pen
Ruler
Sewing Machine
Pins/Pin Cushion
Scissors
Staple Gun / Hammer

The first thing we did was remove the existing clawed-up covering from the chair. We used the covering as our pattern to recreate the new cover. I would like to make note that I think the chair sat like this in our pool table room for a good 6 months!
We laid out the fabric I chose and began tracing around each panel. This was Mr. Woodsy’s job in the project. I have no patience for this and got confused in less than a second. He did an amazing job tracing/cutting out to ensure all pieces fit together.
Mr. Woodsy would trace around the existing cover, and would cut out each piece as he drew it.
This is what it would like after he traced around the existing cover.
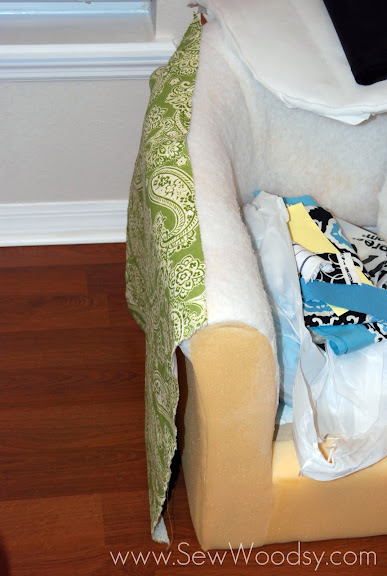
The first piece of fabric was cut! He would lay each piece of fabric on the chair where it belonged.
Then he cut out the two front arm pieces.

Next up, it was my turn to finally start sewing some of the chair. Mr. Woodsy traced, cut, and placed the fabric where I needed to sew it.
Almost, one year later and I finally began to sew the actual cover together.
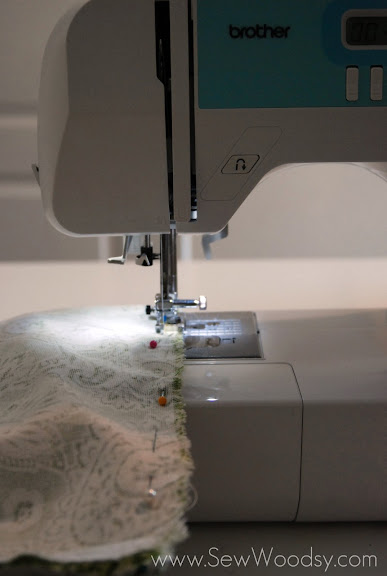
Pins galore… I found myself constantly stopping and checking where I needed to sew next.
This is what it looked like as I sewed each part of the cover.
We semi-completed the chair back in May. That was until I attempted to finish off the last part of the chair. The cushion. Mr. Woodsy left it to me to cut out the cloth and sew it. MAJOR FAIL on my behalf. I put the zipper on the flat slide not the curved side and well… the rest was history. This is the only picture I’m showing of the cushion because I had made an epic fail. So I tucked in slip cover for the cushion into the chair and left it like that for a few months. In August/September, I finally tackled my fears. Well, Mr. Woodsy took apart what I needed to fix and well, it actually came out pretty good. Including the zipper on the curved back end.
Going back to the chair cover. This is what it looked like before we began stapling it to the frame.
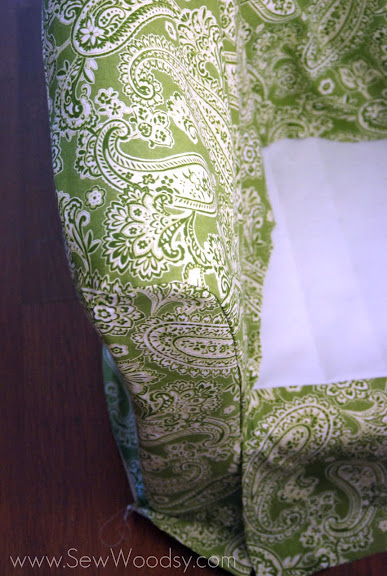
Not gonna lie. I’ve impressed myself with this complex re-upholstering job!
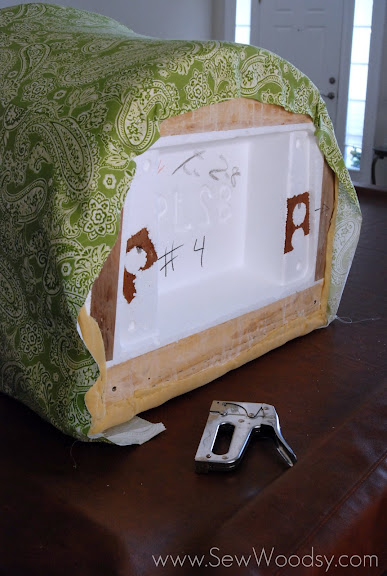 The first thing we did was staple the cover to the bottom of the chair frame.
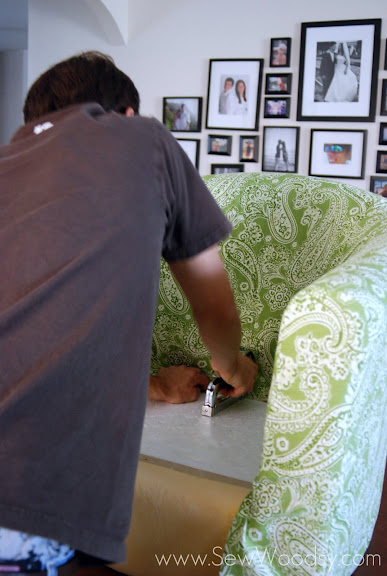
Next up, staple the inside of the cover to the inside of the chair.
This is how it looked almost complete.
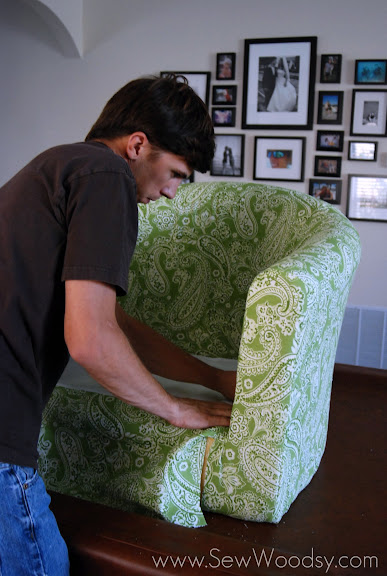
Adding the bottom half to the chair made it almost complete!
Close up of all the staples. It was after this project when we wished we had a pneumatic staple gun.
Mr. Woodsy added the backing to the bottom of the chair. This is one thing we salvaged from the old chair.
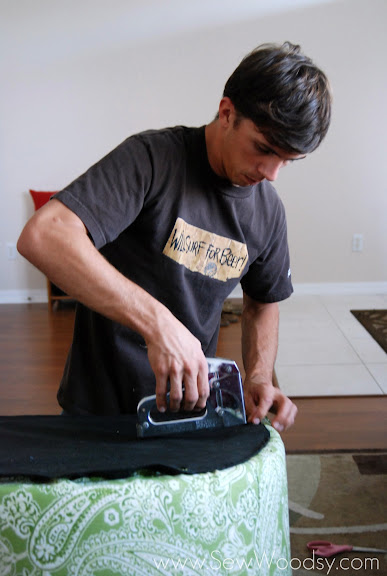
Last of the staples!
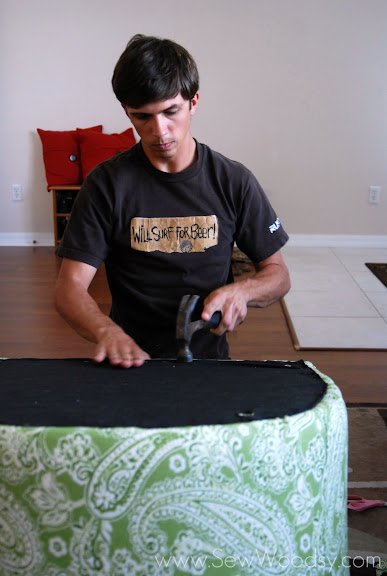
We found that for some reason the staples were not going all the way into the chair. So after every few staples, Mr. Woodsy would use a hammer to push them down into the chair.

Place the legs on the chair.

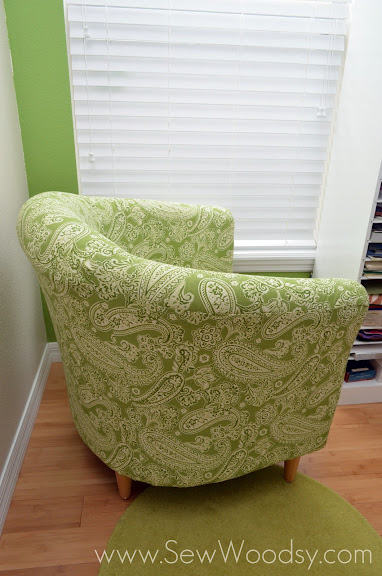


So, what do you think? I don’t think most people who see the chair even realize that we re-upholstered it.
Have you ever re-upholstered a piece of furniture? Did it take you over 2 years like us?