This is a sponsored post on behalf of Homes.com.
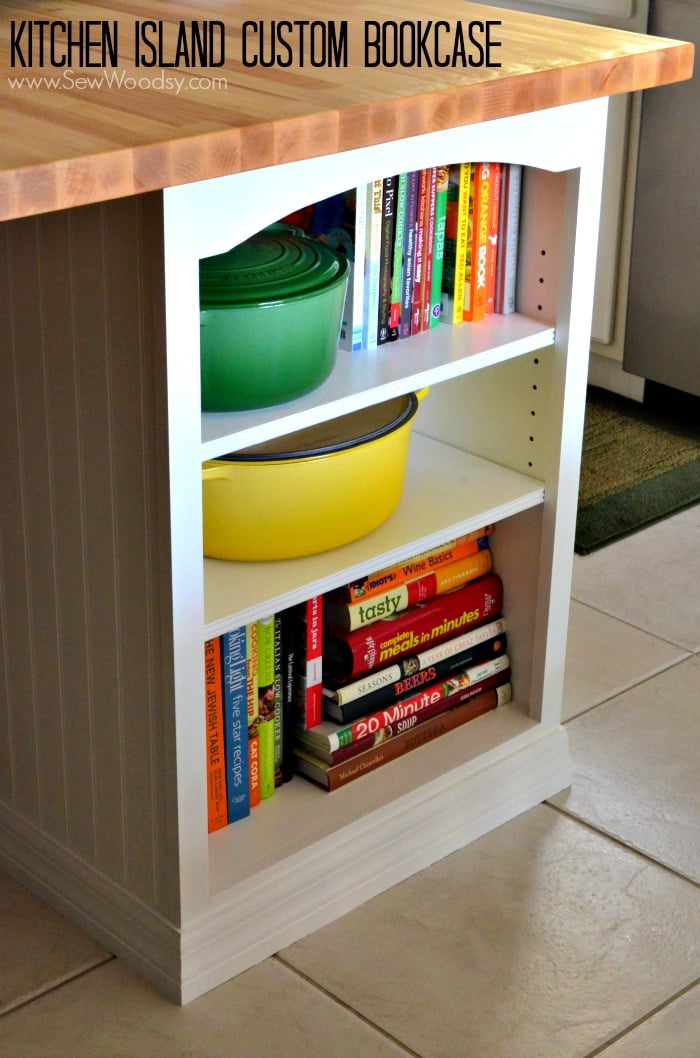
Here we go… the first of many kitchen projects. I’m so excited to share our Kitchen Island Custom Bookcase today!
When we first started talking about what we wanted to change in our kitchen I knew I wanted to extend our kitchen island. While we were extending the island I knew I wanted more storage. That is where the kitchen island custom bookcase came into play. I dreamed of having a few shelves to access a few more of my cookbooks. Earlier this year, we added a floating shelf in our kitchen that houses some of my cookbooks, but not all of them. So this extra storage is more than welcomed!
There were a lot of steps we had to take before we could get to the finish project.
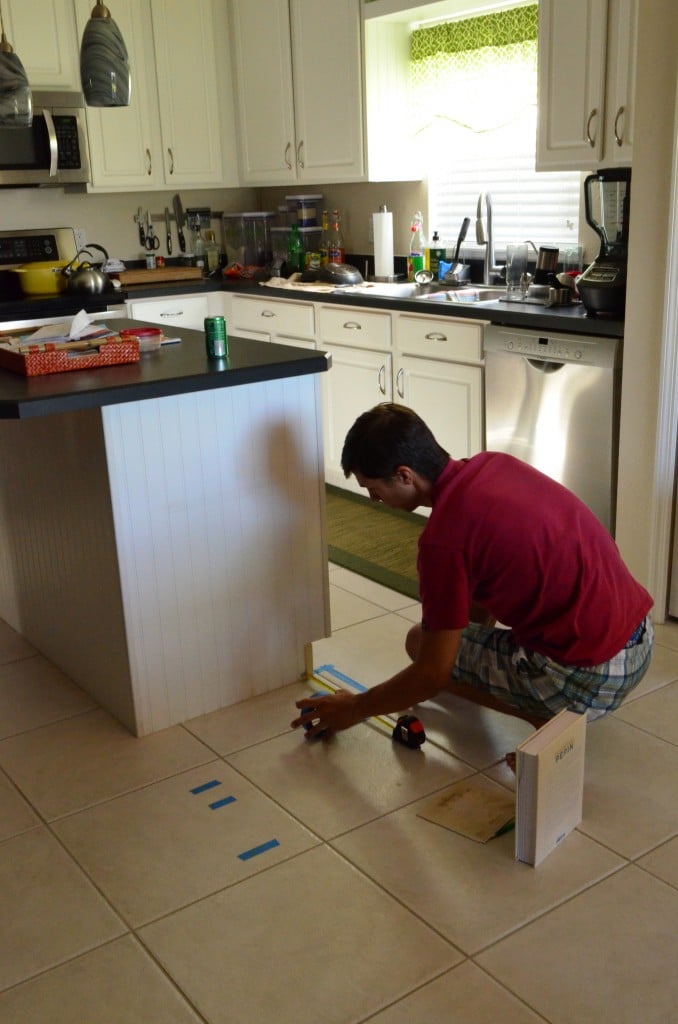
Using painters tape, Jon mapped out where the bookshelf would go.
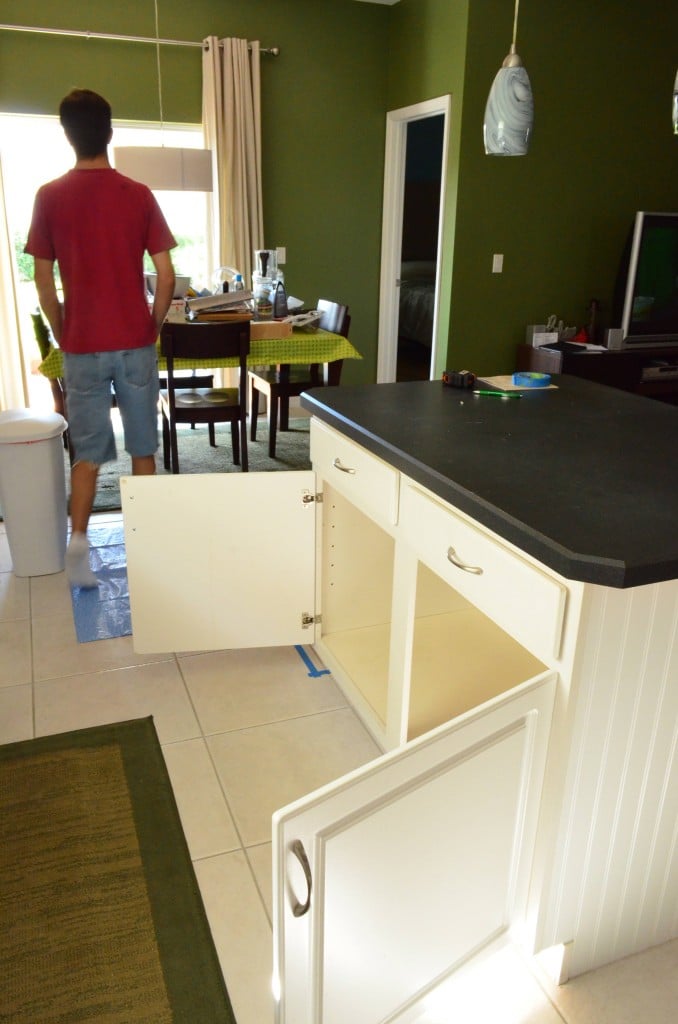
And then it was time to empty out the entire island. I placed a padded table cloth on our kitchen table and emptied everything on to it. Needless to say we did not eat at the kitchen table for a good week or two.
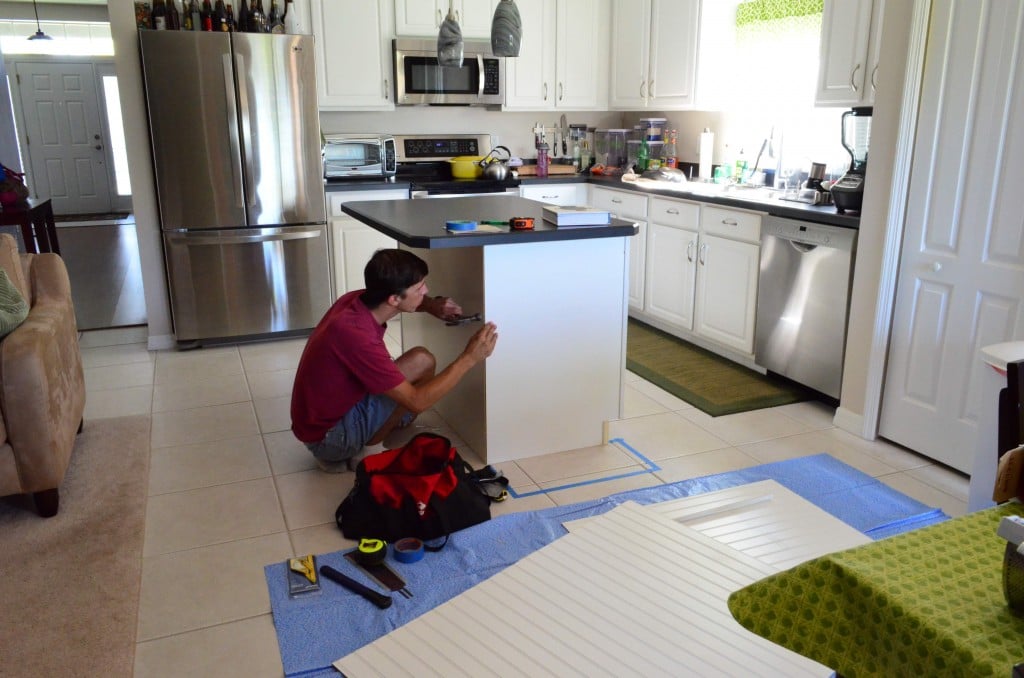
Then, Jon began removing all the old bead board we installed 4 years ago.
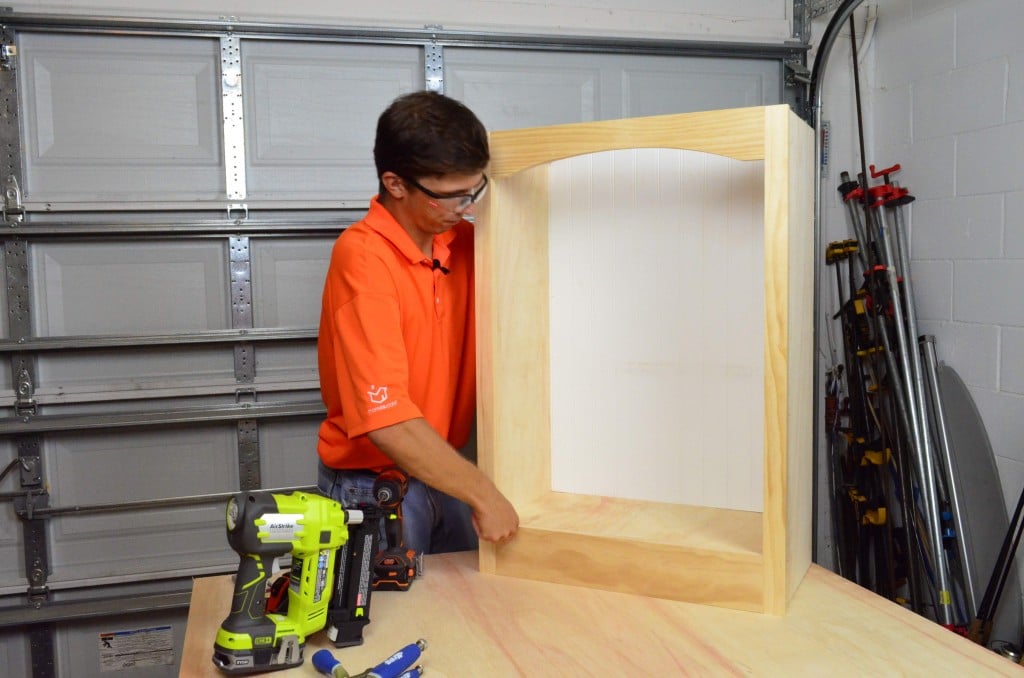 Then it was into the garage where Jon build the bookcase.
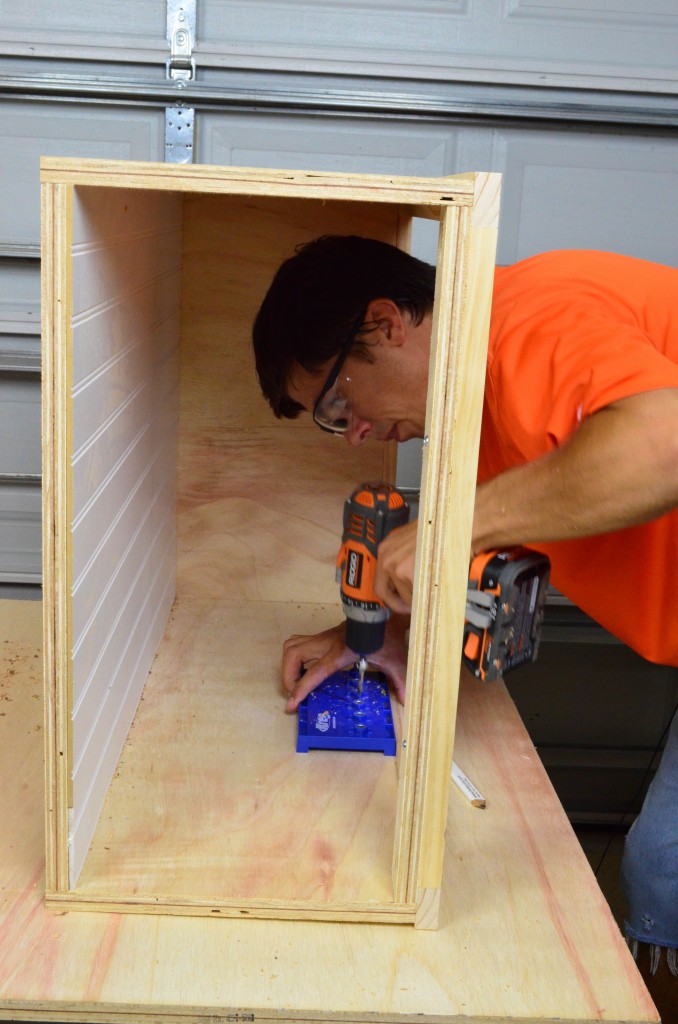
He also finally had the chance to use the Kreg Pin Jig system. It works great and a much easier way to drill holes for shelves!
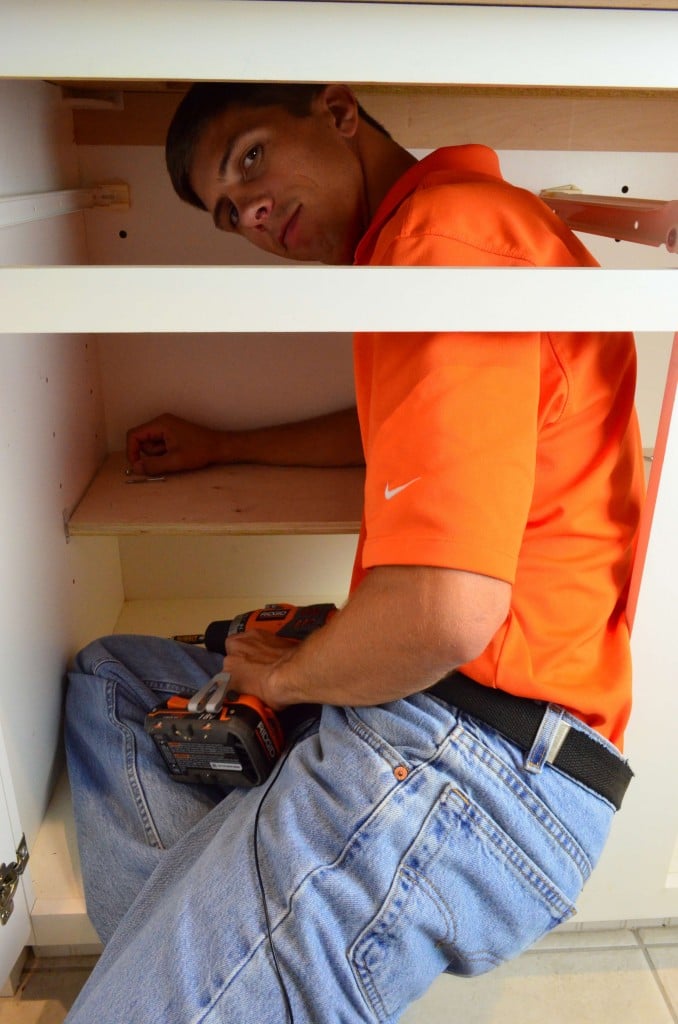
Once the shelf was ready he secured it from the inside and out. This was another good reason why having the kitchen island emptied came in handy!
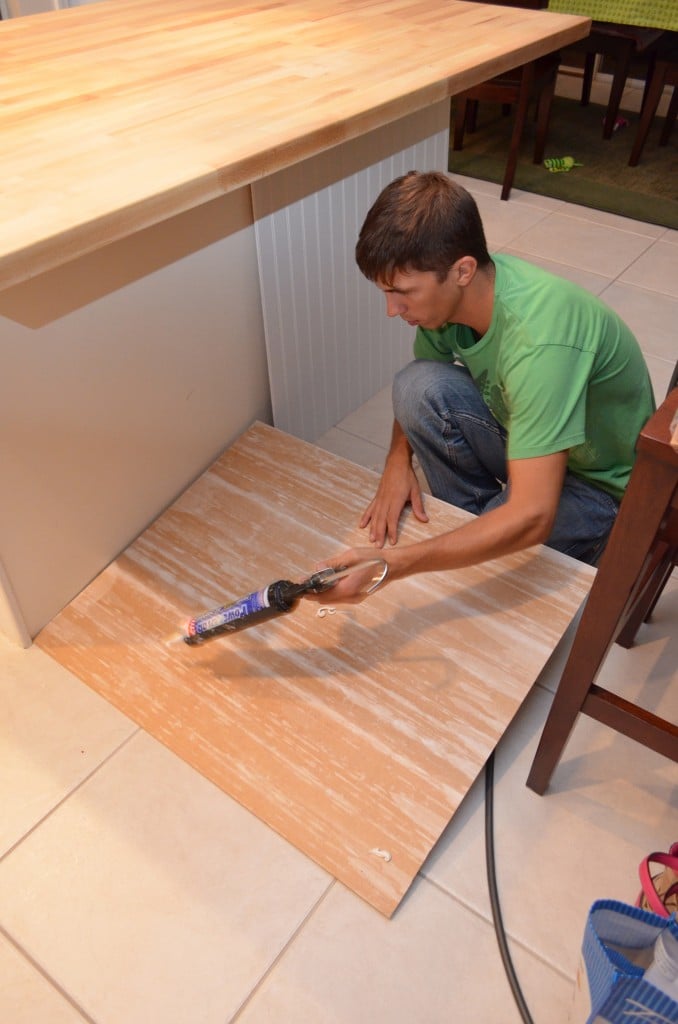 After it was installed it was time to add new bead board back to the island. Jon added a little adhesive to the back of the bead board.
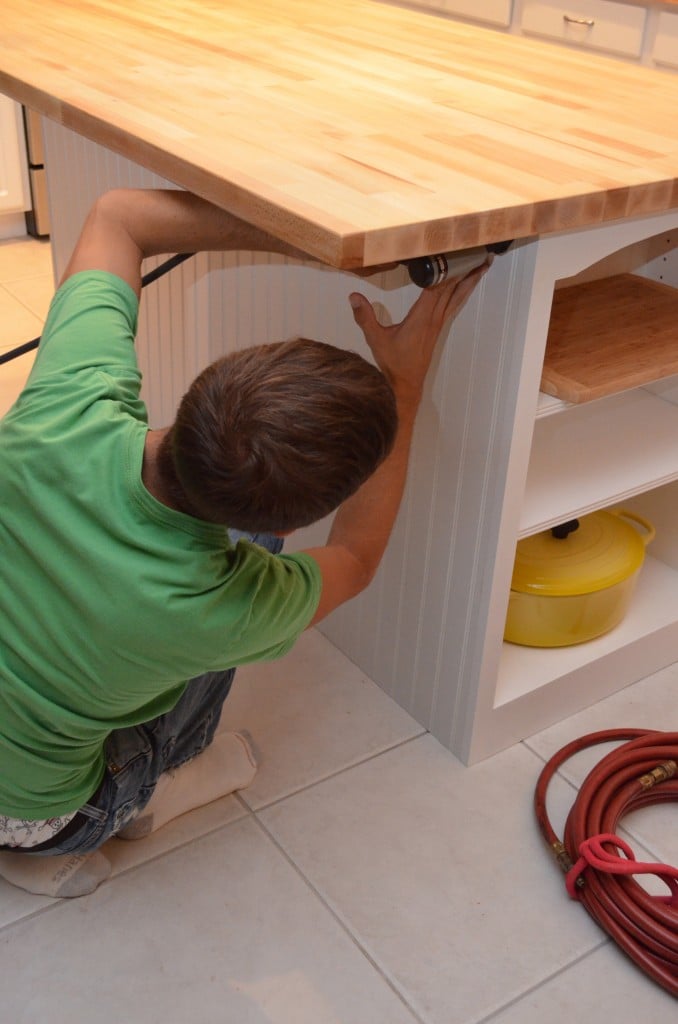 Then used the nail gun to secure it in place. We received the RYOBI AirStrike a few days after he installed the bead board.
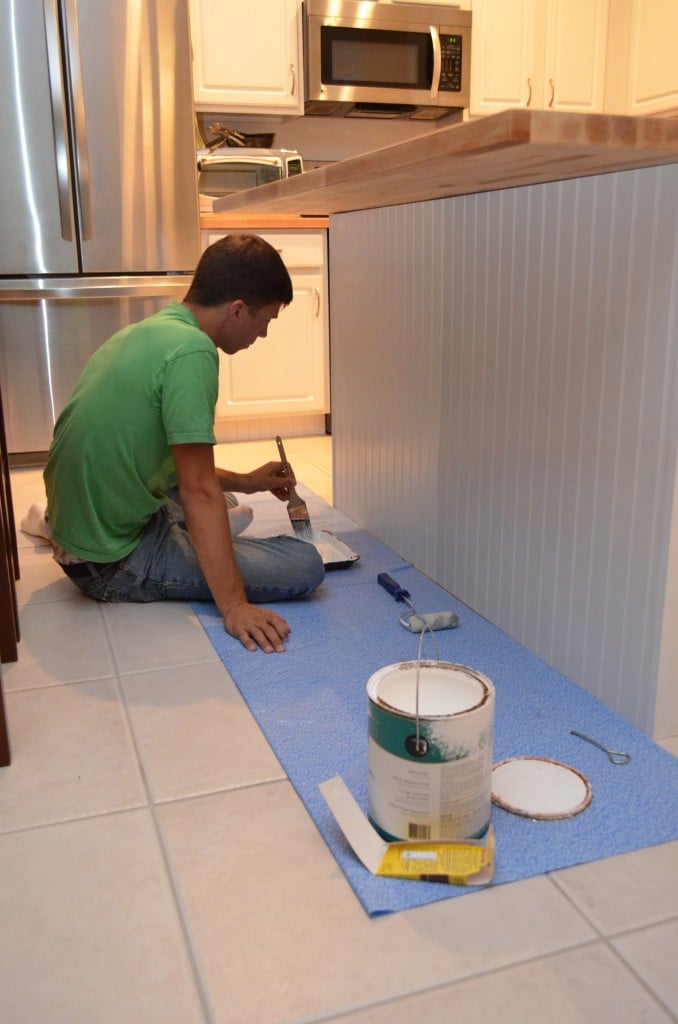 Then he painted the bead board. He decided to paint the bead board once it was installed verse before it was installed.
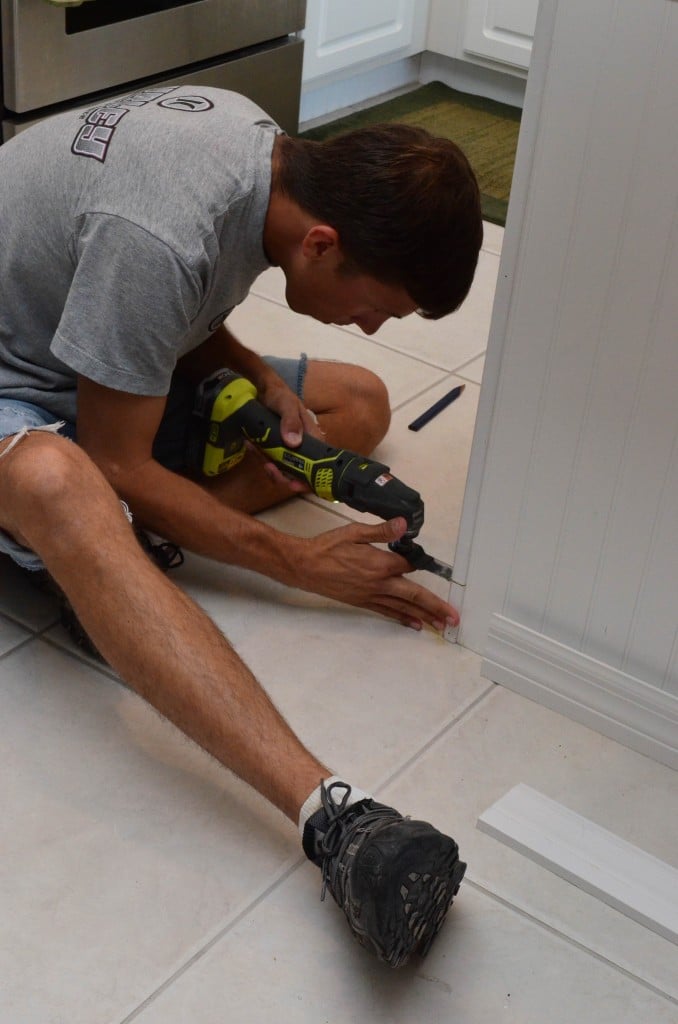 A few weeks later (that’s how we really roll here), he added the trim to the bottom of the island. Using the RYOBI JobPlus multi-tool he had to cut out a portion of the corner trim on the island.
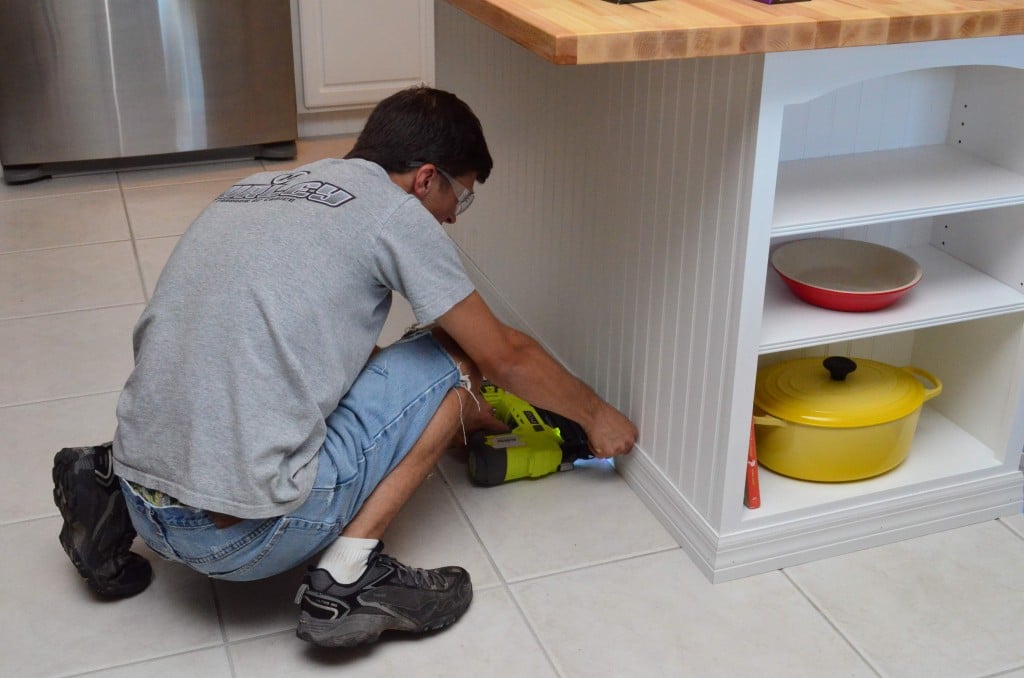
Then, using the RYOBI AirStrike Cordless Brad Nailer Jon behan to secure the moulding in place.
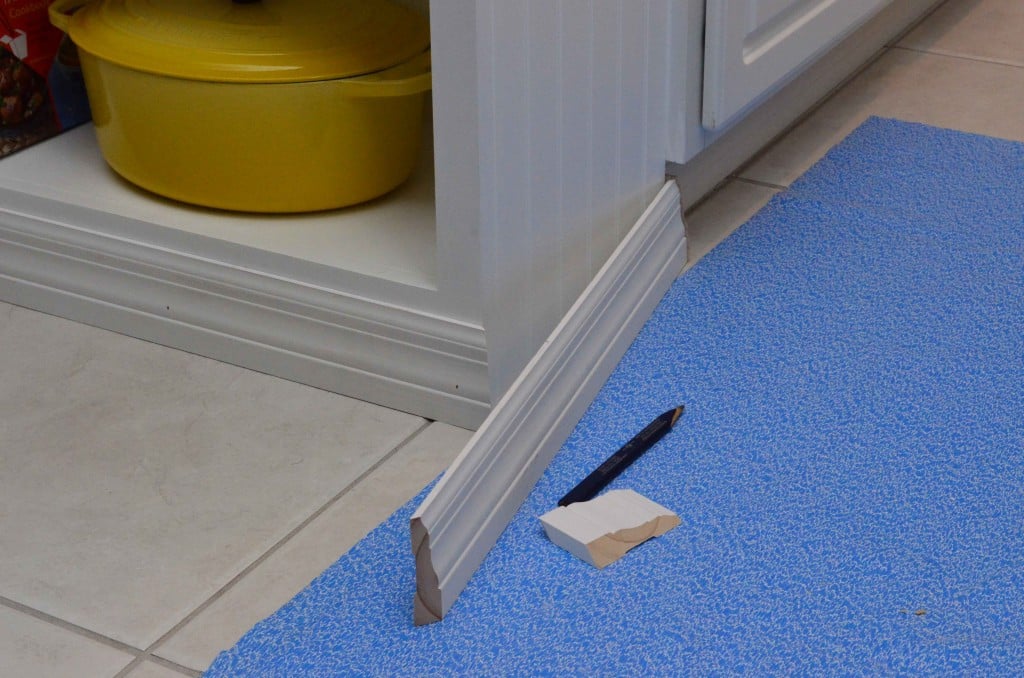
He made sure to have the moulding completely wrap around the island.
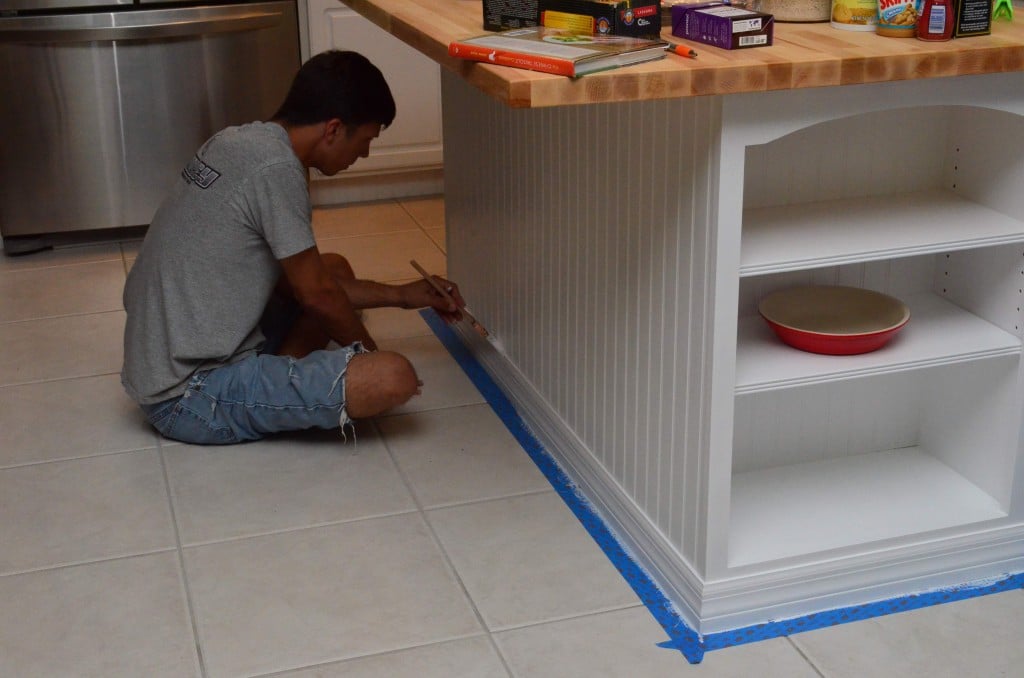 Lastly, it was time to paint the moulding! By adding a layer of painters tape it made it super easy to paint. And that’s that… We took our time and completed this project on the weekends and nights we had available. In the end it turned out great!
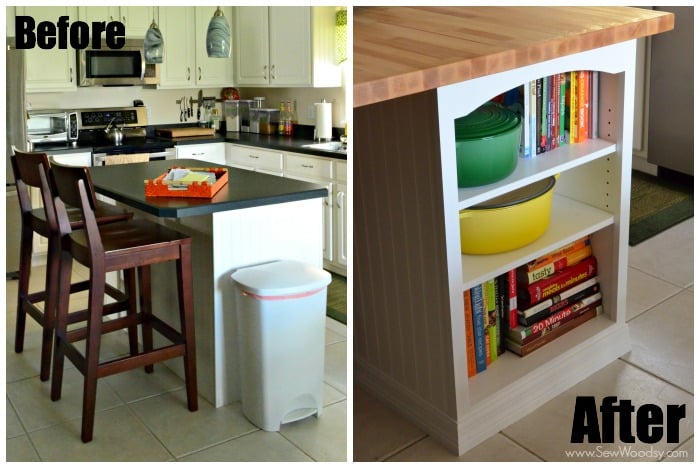
Here is the before and after… pretty drastic, right?
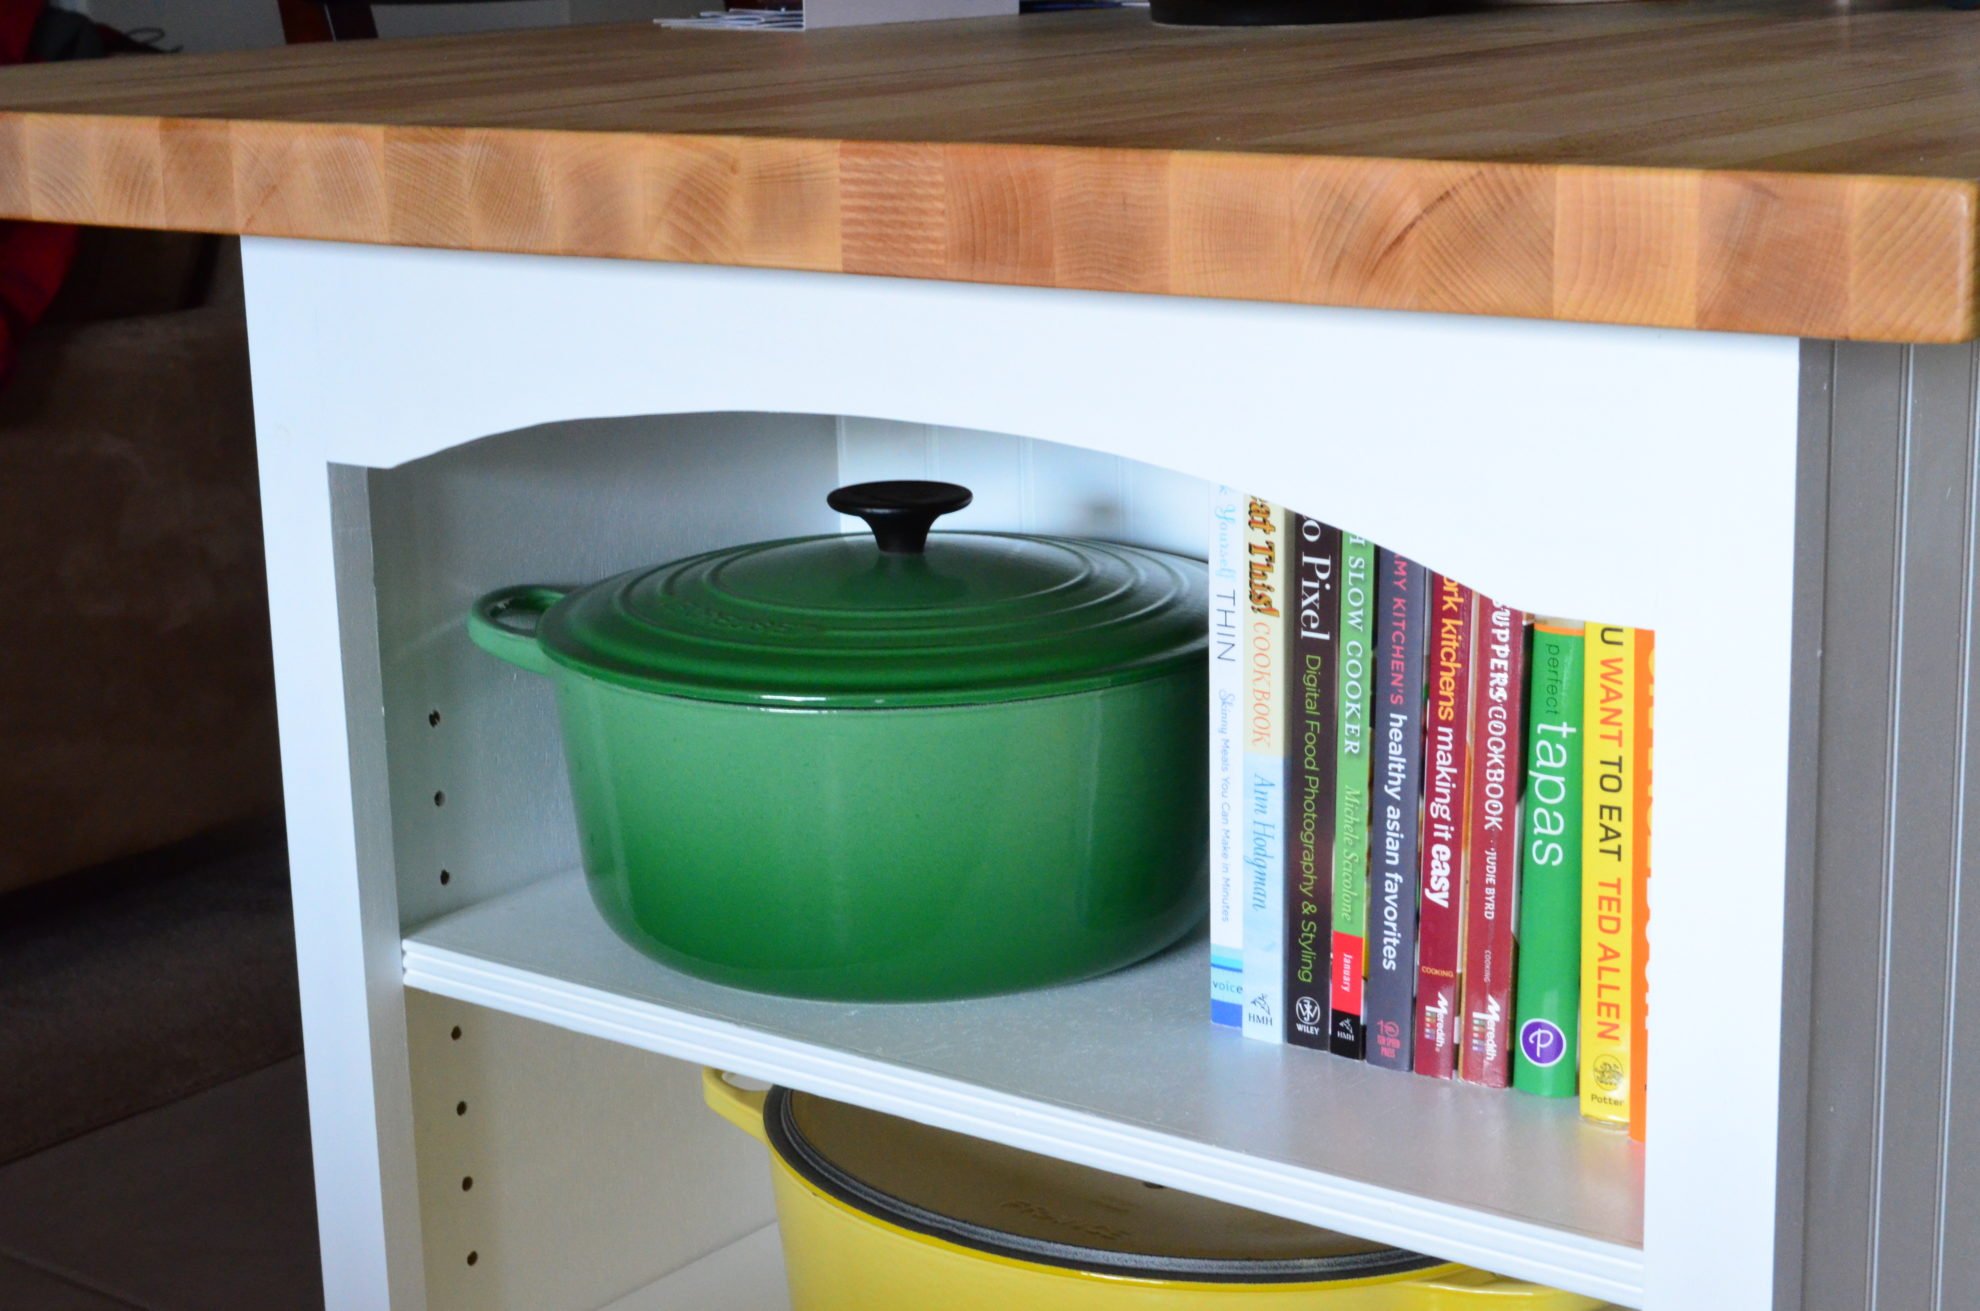
Here is a close up of the top part of the bookcase.
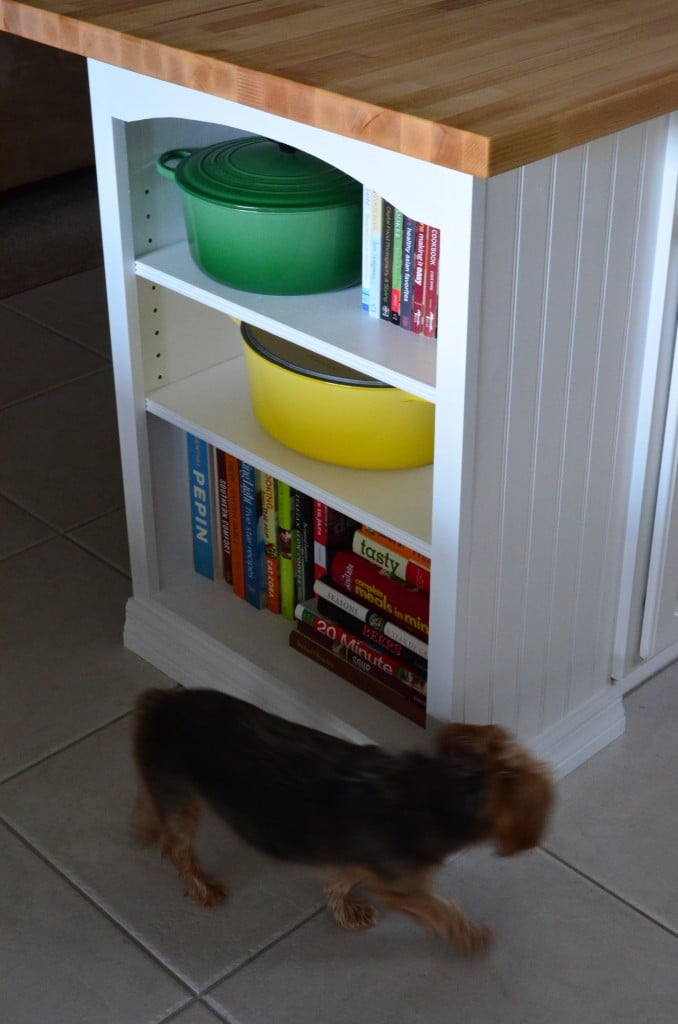
And here is what it looks like from the other side. And for good measure I had to share the photo that was photo bombed by our four-legged friend, Lola.
Disclosure: We have a working relationship with Homes.com and are video brand ambassadors for 2013 (thus we are compensated). As always all opinions are our own.