This is a sponsored post on behalf of Homes.com
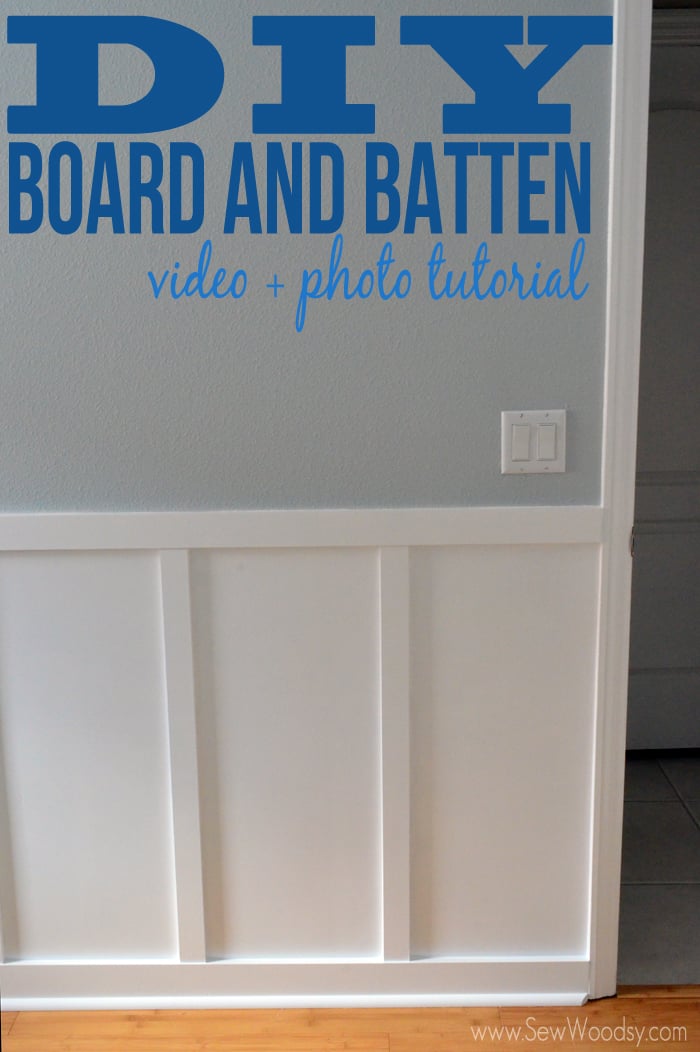
Oh man, am I excited to finally share our video on how to install board and batten. I swear this feels like it has been our longest project to date. I know it hasn’t, but it feels like it. After we found out we were expecting we started brainstorming some ideas for the nursery. We both knew we wanted to install board and batten in the nursery. It’s a project we’ve been wanting to tackle and it was the perfect room for it. Little did we realize it would take us forever to install it and paint it. And let’s face it–working on labor intensive DIY projects at 7 and 8 months pregnant is really what most pregnant women want to do. Watch our video and see just how we installed the board and batten!
Here are a few photo collages below that will walk you through a very abbreviated version of our board and batten video.
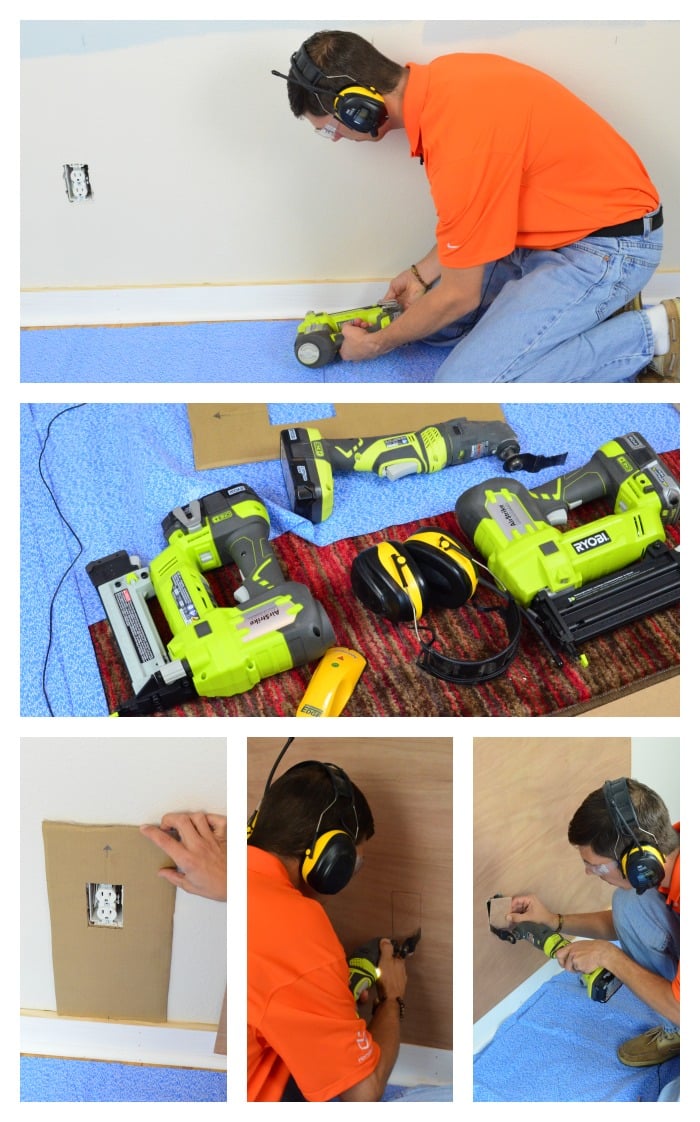
We removed the baseboards and used 1×4. Then he made a template using a piece of cardboard to cut out the outlets. He secured the 1/8 inch paneling with a the RYOBI AirStrike Narrow Crown Stapler. Using the RYOBI multi-tool he cut out the outlet openings. 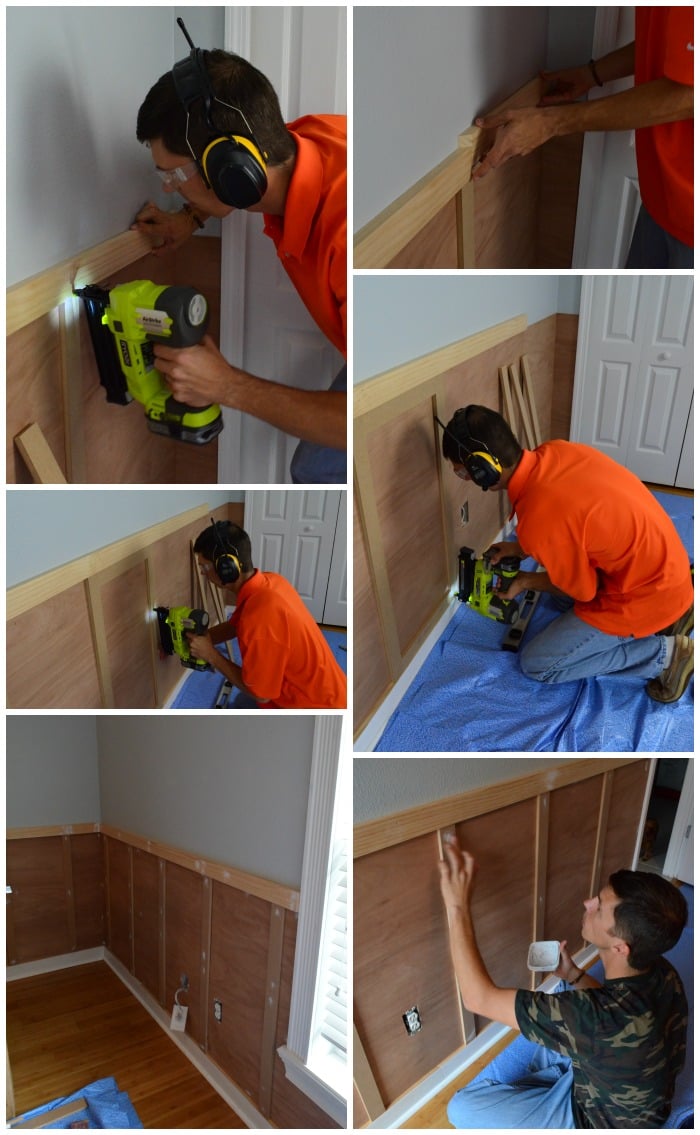
Next up, install the top railing (also 1 x 4) to the top of the wood paneling. Jon cut 2-inch pieces of MDF and placed them 14 inches a part. He attached all of this using the RYOBI Brad Nailer. This is totally up to you. This is just what we liked. He secured each of the pieces of wood with a brad nail gun. Then, using patch plus primer he filled in all the holes. 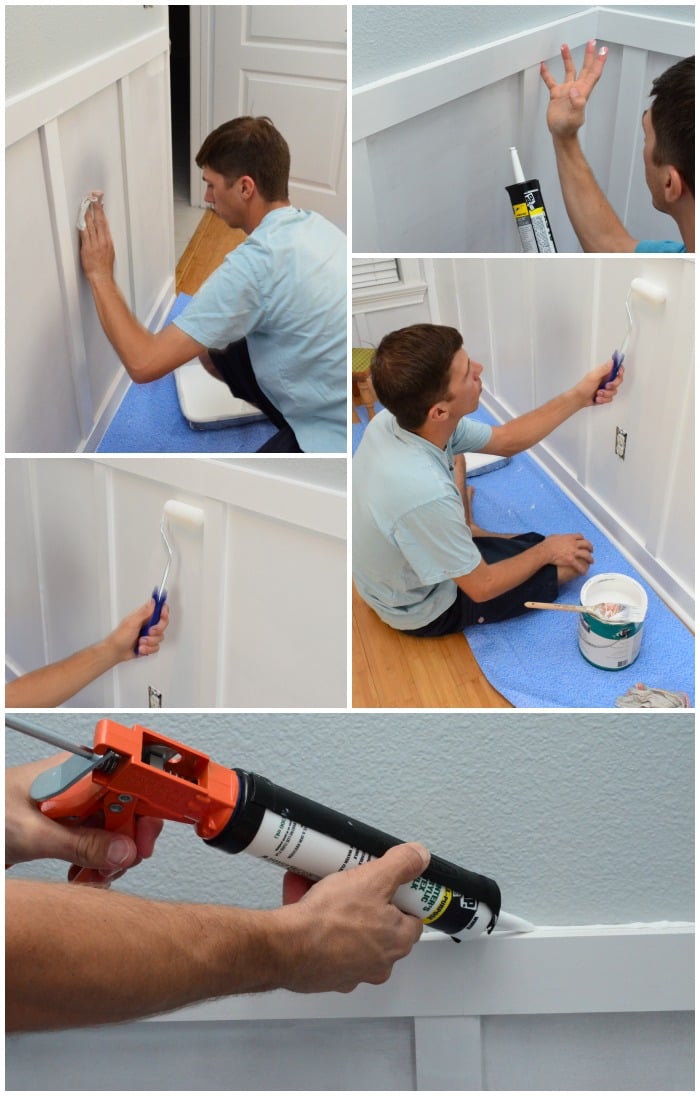 Lastly, once you’ve primed the board and batten give it a light sanding. Jon used 150 grit sand paper. Then, he did all the caulking before painting the semi-gloss white paint to the board and batten.
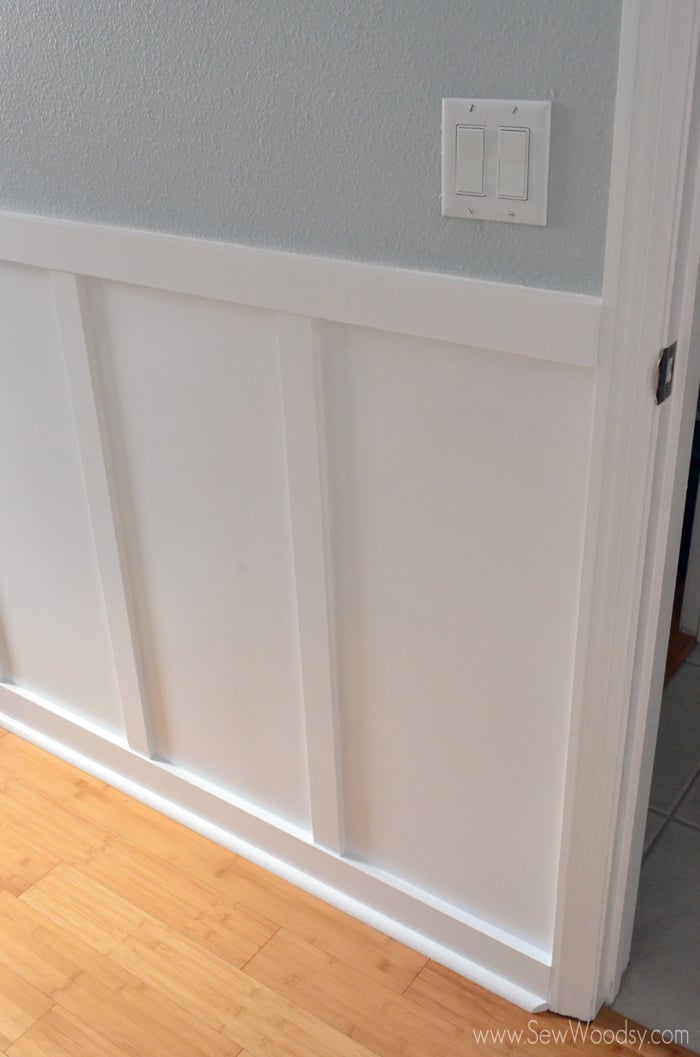
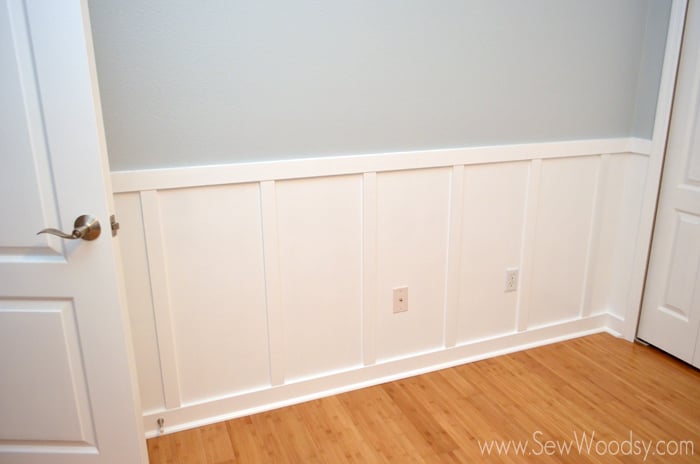
Here is a peak at how it turned out. I love it. It looks like it’s straight from a magazine!!!
Disclosure: We have a working relationship with Homes.com and are video brand ambassadors for 2013-2014 (thus we are compensated). As always all opinions are our own.