• About
  • Contact

Sew Woodsy

Husband & Wife DIY Team

  • Crafts
  • Cricut
  • DIY
  • Travel
  • Holiday

DIY Santa’s Cookie and Milk Placemat

Crafts | Cricut | Holiday

DIY Santa's Cookie and Milk Placemat #cricutdesignspacestar #imadeit #christmas

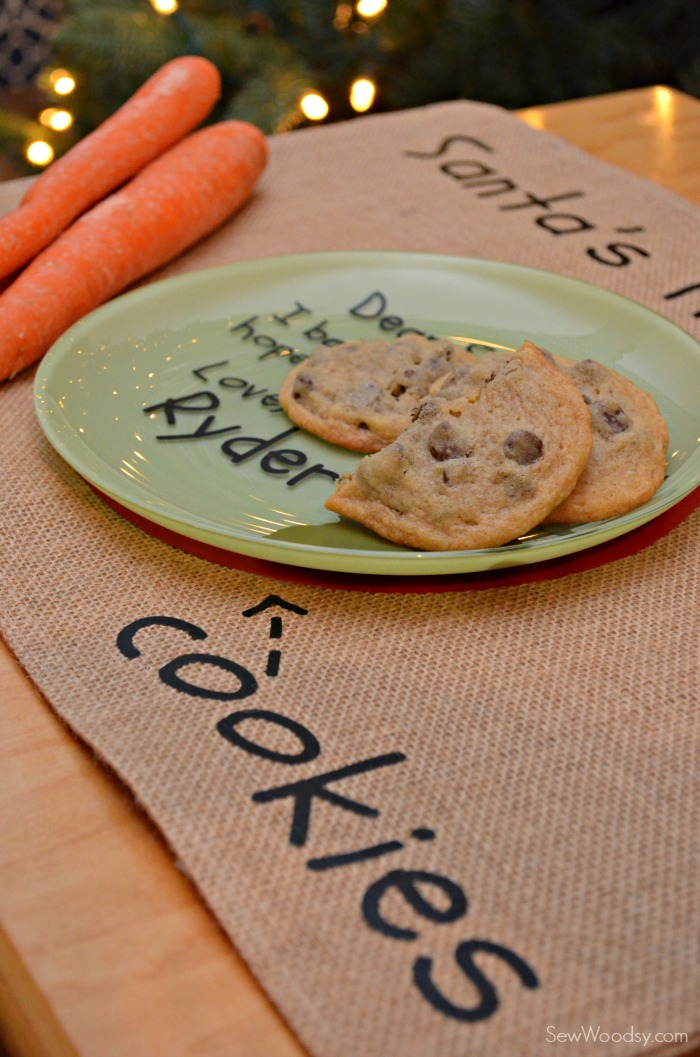
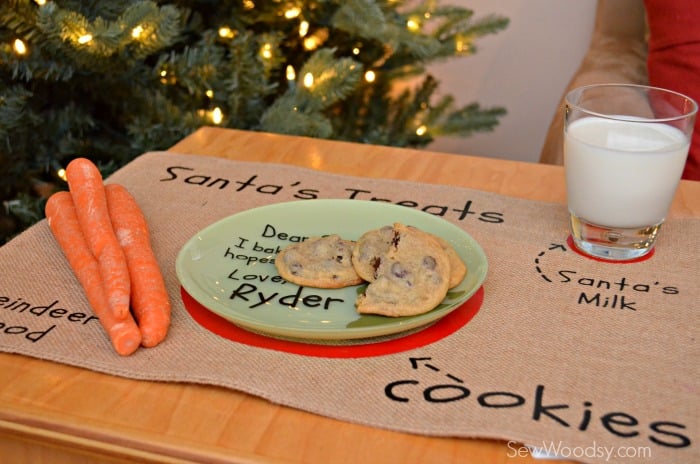
I shared with you my super cute DIY Personalized Santa Cookie Plate yesterday. Today, I’m sharing this super cute Santa’s Cookie and Milk Placemat I made. I must say its felt great to be back in the craft room crafting again. Although, my craft room is still a mess (even with my efforts of cleaning it up). I’m so incredibly proud of this placemat and can’t wait to make more for family and friends! The ideal gift combo set for Christmas. This is another project I’ve submitted into the Cricut Design Space Star contest. Our teams theme is holiday cheer. This placemat brings tons of holiday cheer to my home and I know it will bring it to your home too!

Supplies:

  • Cricut Explore
  • Cricut Design Space
  • Iron-On Vinyl
  • Cricut Tools
  • Iron & Ironing Board
  • Remnant Fabric
  • Burlap Placemat

diy santa's cookie and milk placemat 1

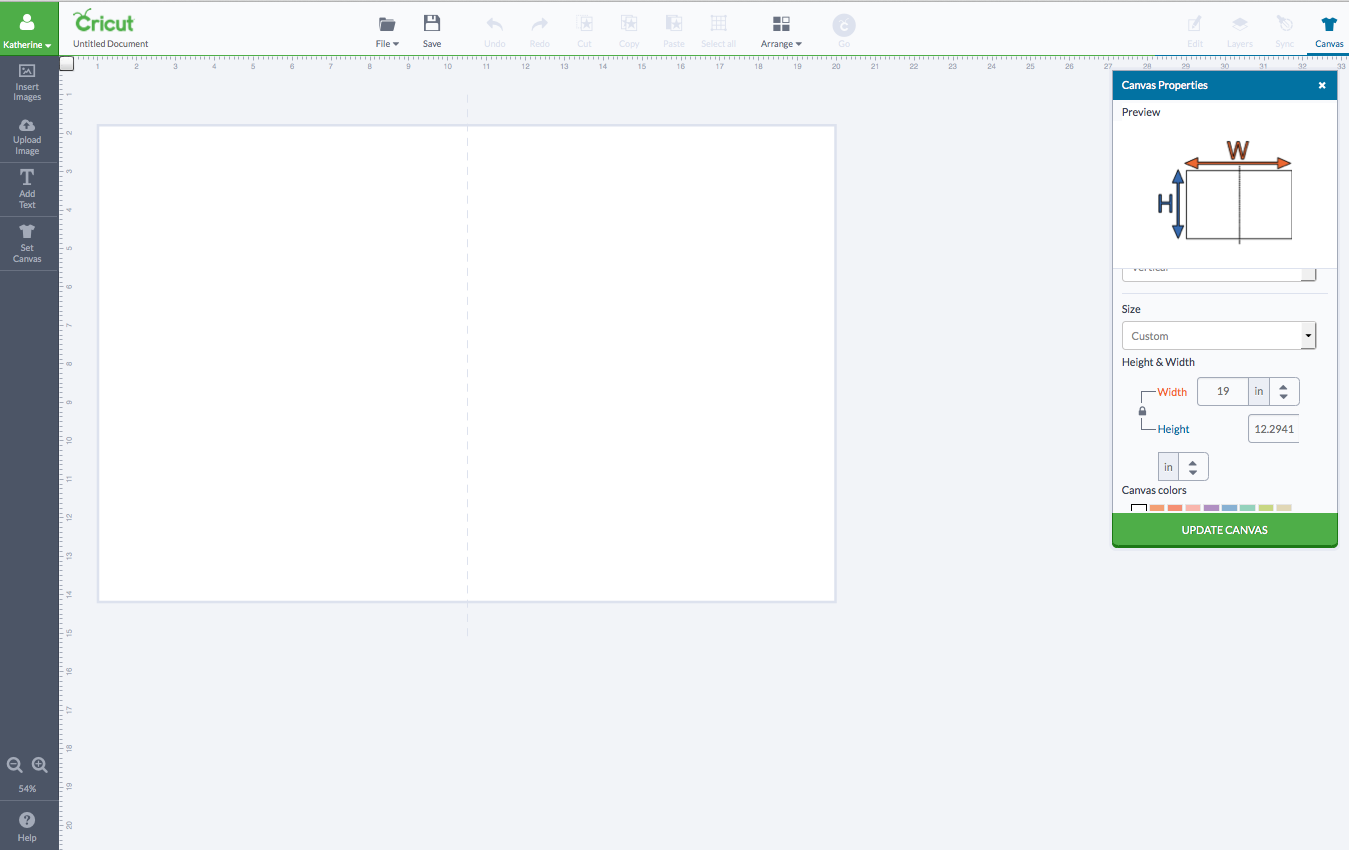
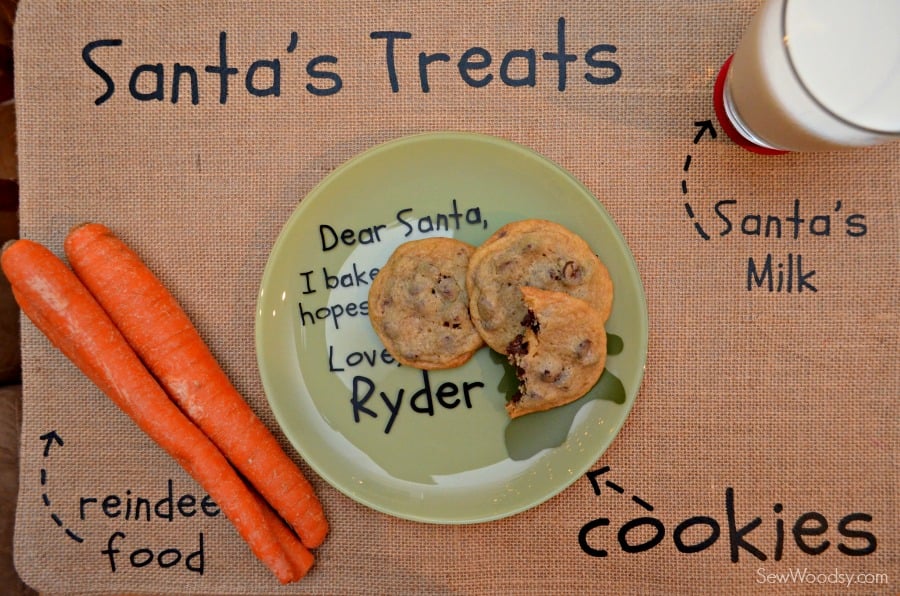
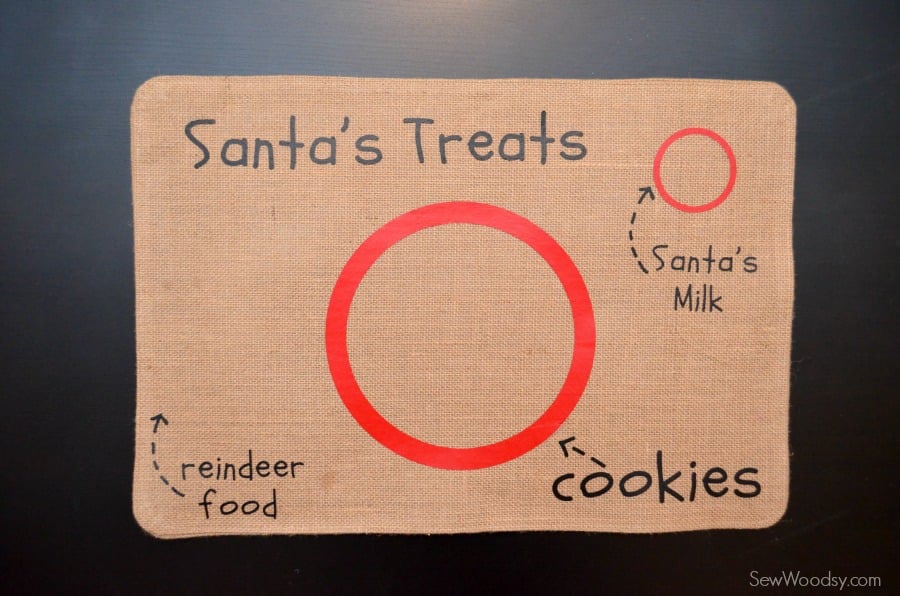
There is not a “placemat” setting in Cricut Design Space. So I opted for a rectangular card as my canvas. I typed in the exact dimensions of my placemat so I knew I was scaling all the text and images to the correct size. diy santa's cookie and milk placemat 2

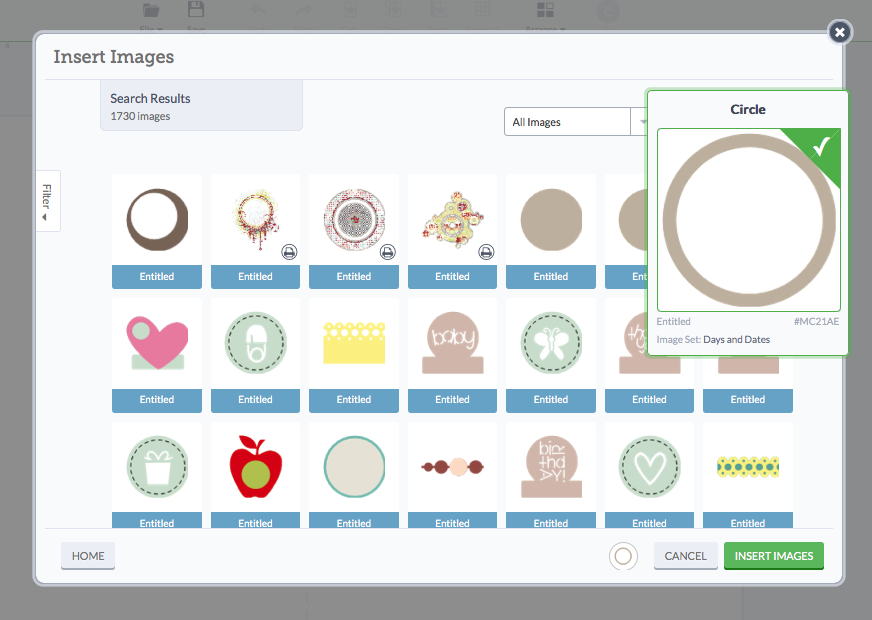
Next up I choose this circle for the plate and cup.

diy santa's cookie and milk placemat 4

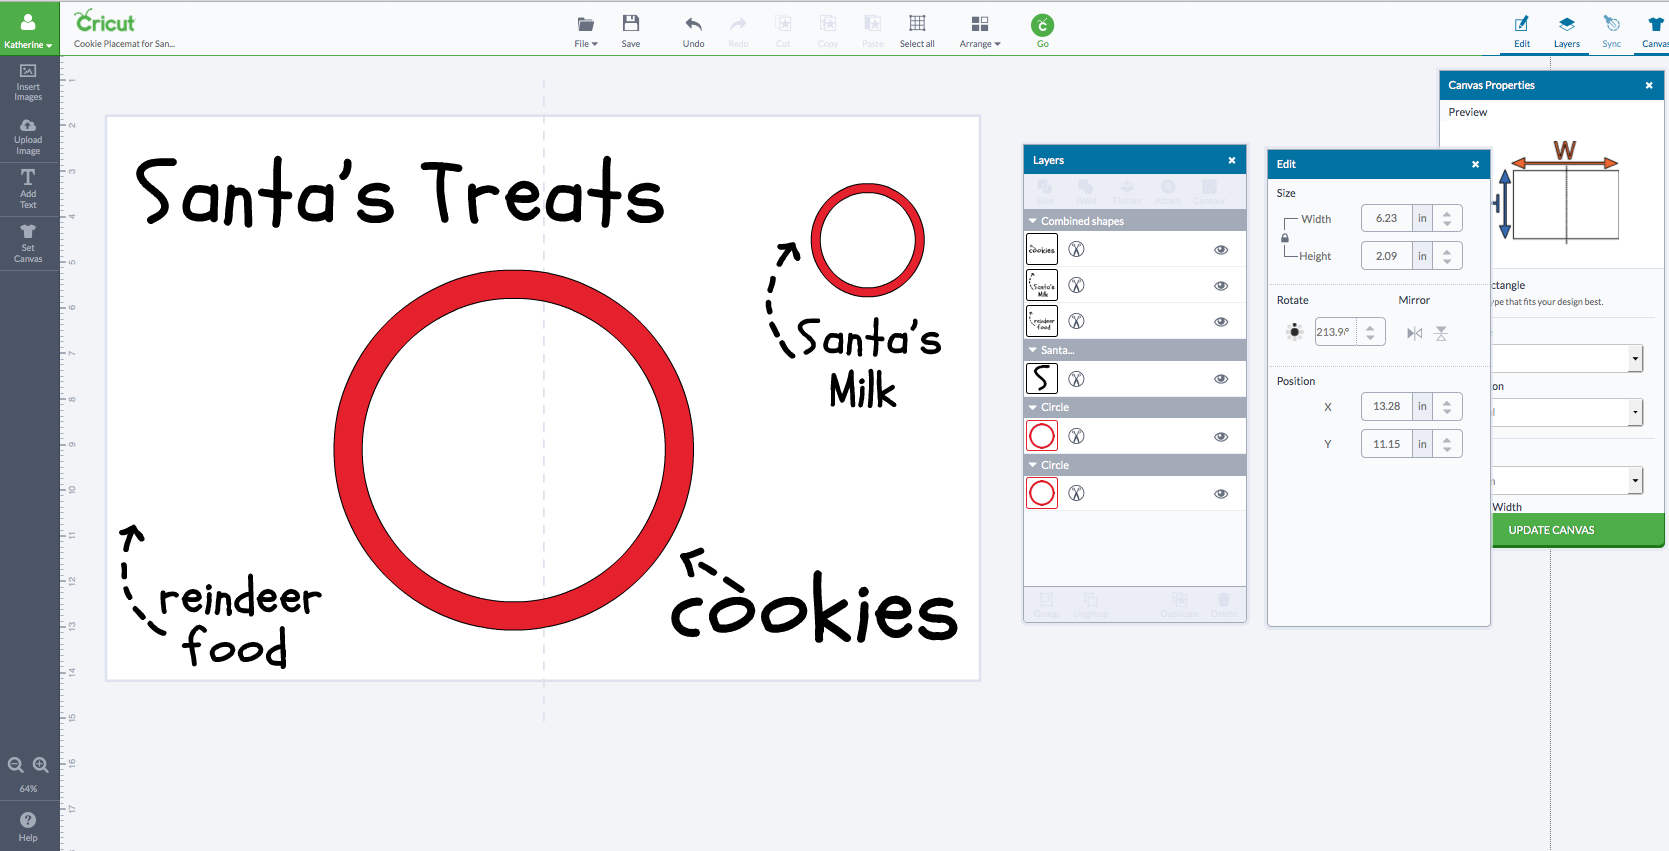
Once I placed the circles on the placemat I typed the text and added in the arrows. The text font is Schoolbell and the arrow font is Austie Bost Arrows. I also welded the font and arrows together so that they would stay in place (less work for me as I applied them on). diy santa's cookie and milk placemat 5

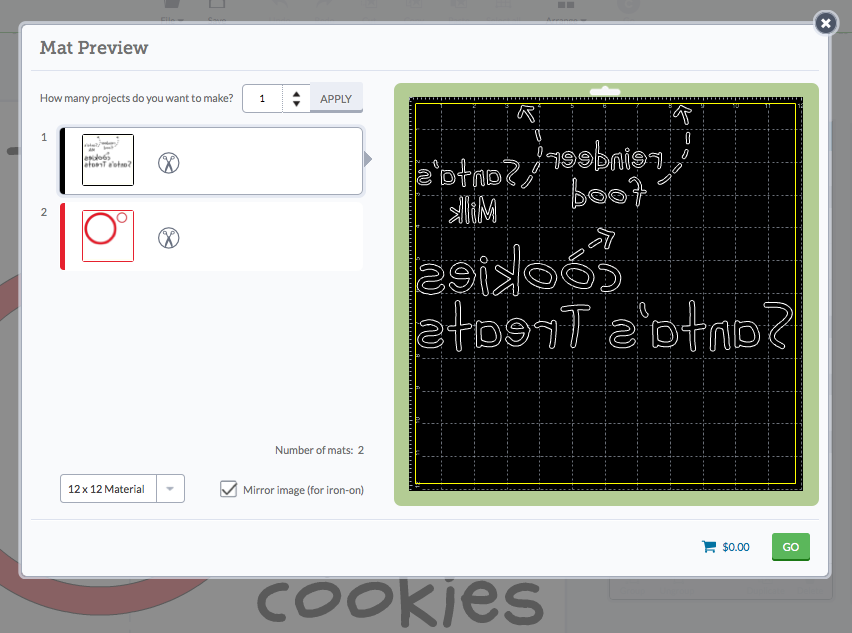
Remember to click “mirror image” before cutting. Remember you are cutting iron-on vinyl. You have to mirror the text or it will be cut incorrectly.

DIY Santa's Cookie and Milk Placemat 1

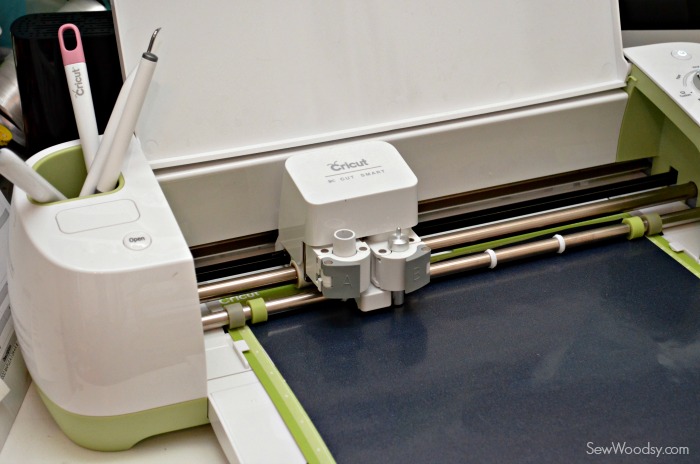
Cut the Iron-On Vinyl with the Cricut Explore.

DIY Santa's Cookie and Milk Placemat 2

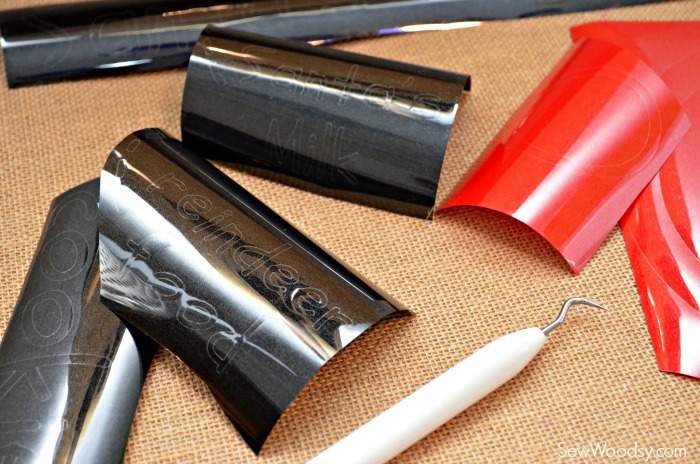
I like to cut out each individual text / image so I can weed them. It’s so much easier this way.

DIY Santa's Cookie and Milk Placemat 3

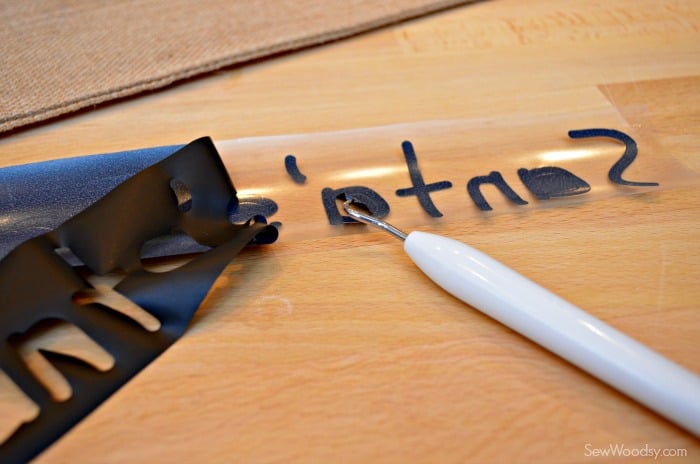
Weed out the negative Iron-on Vinyl.

DIY Santa's Cookie and Milk Placemat 4
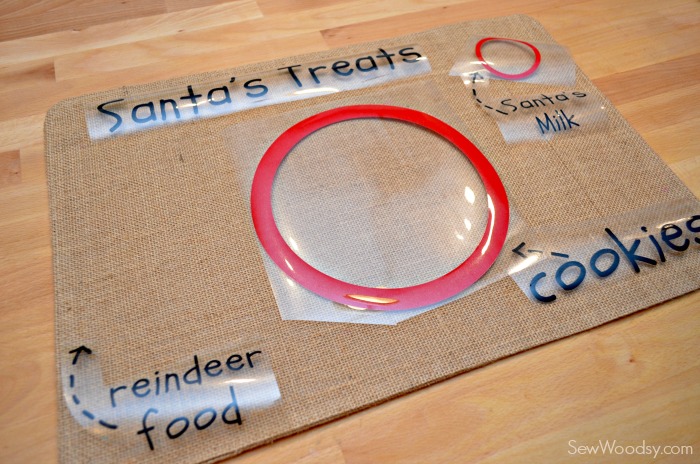
Place the text and circles on the placemat.


DIY Santa's Cookie and Milk Placemat 5

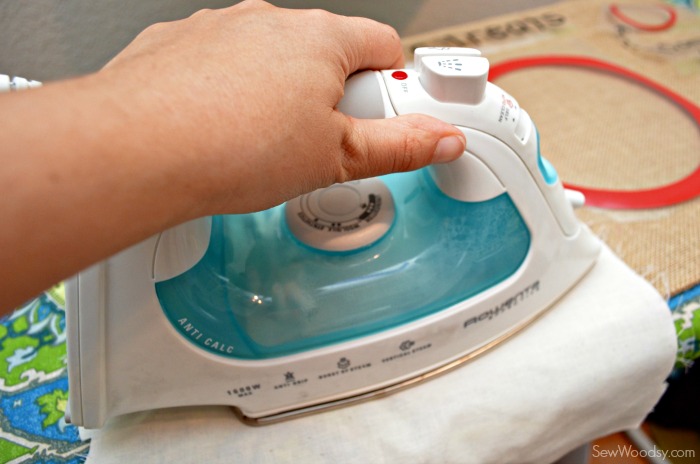
Iron-on the text and circles. Because I used a burlap placemat I had to iron-on the text and circles for at least 40 seconds. I always use a scrap piece of thin fabric as a buffer between the Iron-On Vinyl and iron (to protect my iron incase something goes wrong).

DIY Santa's Cookie and Milk Placemat 6

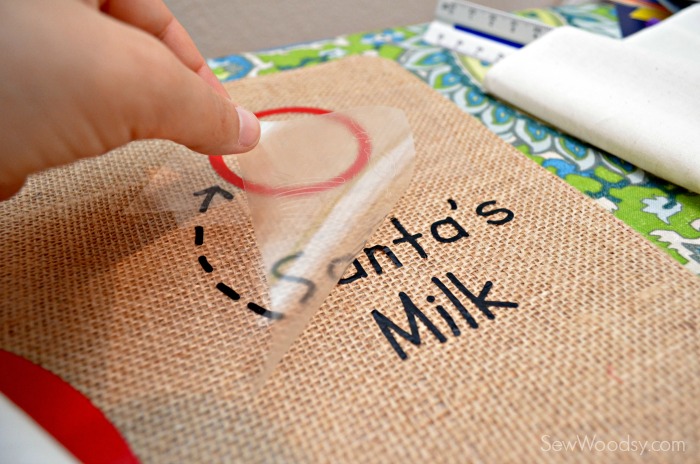
Remove the plastic once the Iron-On vinyl has been applied.

DIY Santa's Cookie and Milk Placemat 7
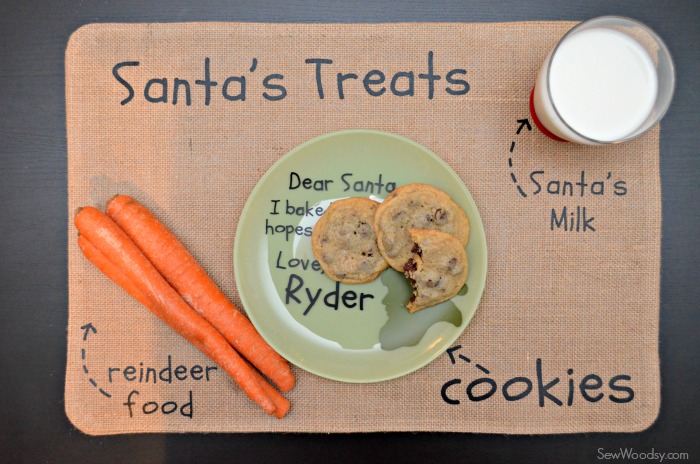
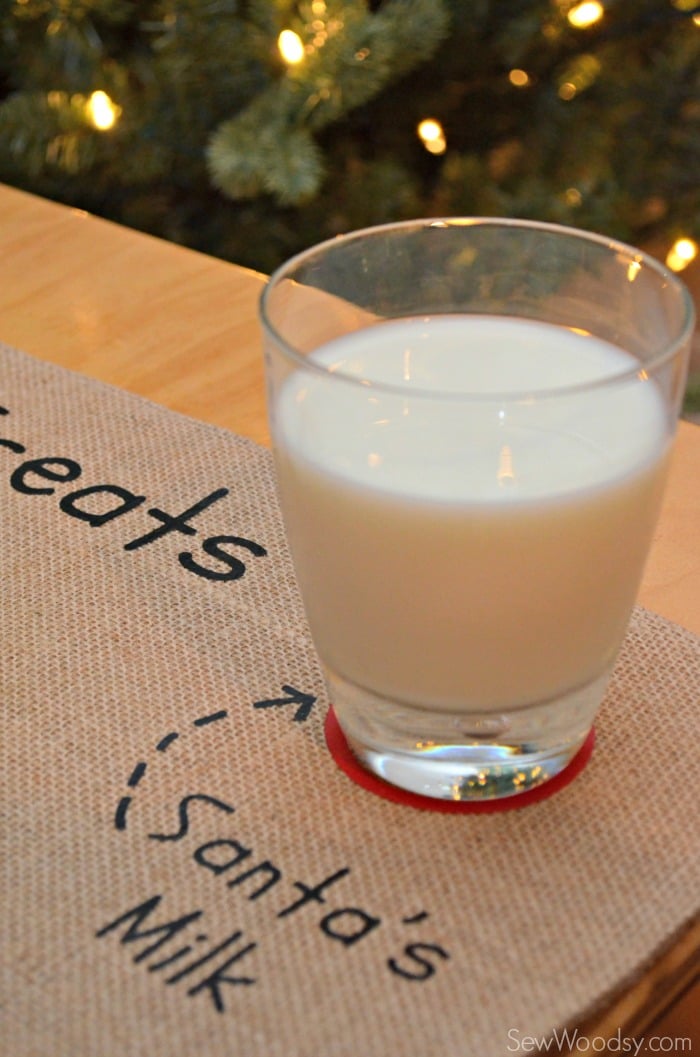
Once all of the pieces and parts are ironed on the placemat is complete.

DIY Santa's Cookie and Milk Placemat 8

DIY Santa's Cookie and Milk Placemat 9

DIY Santa's Cookie and Milk Placemat 10

DIY Santa's Cookie and Milk Placemat 11

DIY Santa's Cookie and Milk Placemat 12

DIY Santa's Cookie and Milk Placemat 13

DIY Santa's Cookie and Milk Placemat 14

DIY Personalized Santa Cookie Plate 9

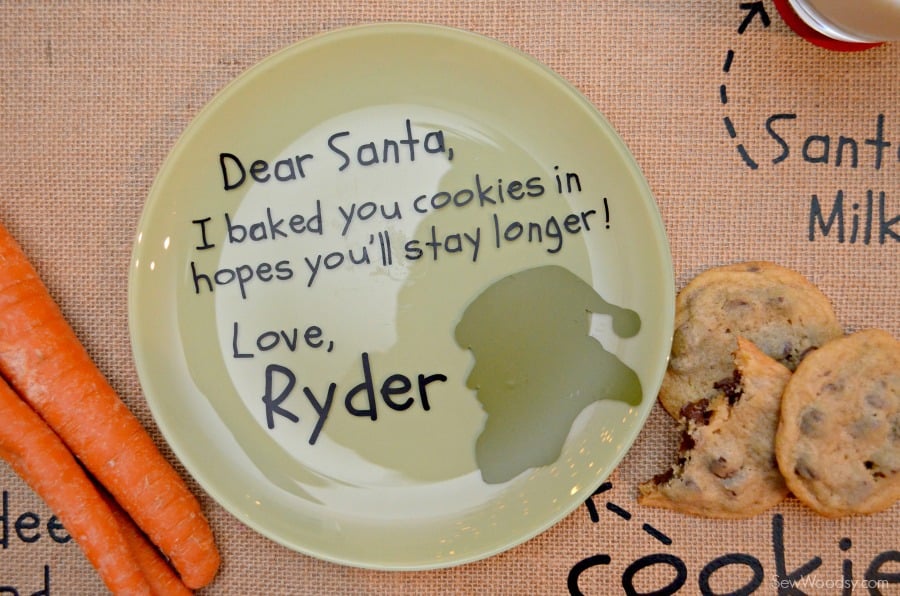
CLICK HERE to get the full tutorial on how to make the DIY Personalized Santa Cookie Plate. 

Disclaimer: This project is entered in the Cricut Design Space contest. If my project is chosen I will win a cash prize. There are affiliate links in this post. As always all opinions are my own.

Share
November 20, 2014

Comments

  1. Kelly Hedgespeth of Simply Kelly Designs says

    December 22, 2014 at 7:51 am

    This is too adorable Katie! I think Santa will be impressed and little Ryder will get lots of great gifts! Pinning!

    Reply
    • Katie says

      December 23, 2014 at 7:57 am

      Thanks Kelly! I LOVED how this and the cookie plate turned out!!!

      Reply
  2. Cathy says

    May 23, 2015 at 7:37 am

    Absolutely adorable! Thank you so much for sharing. Where did you get your placemat…love all things burlap.

    Reply
    • Katie says

      May 26, 2015 at 9:50 am

      Hi Cathy. Thank you. I found the burlap placemat at Hobby Lobby.

      Reply

Leave a Reply Cancel reply

Your email address will not be published. Required fields are marked *

This site uses Akismet to reduce spam. Learn how your comment data is processed.

Hi! Welcome to our home away from home. Sew Woodsy is a lifestyle blog focusing on crafts, home diy projects, family, travel and all things life. Get comfy and join us on our adventure!

Subscribe To Our Monthly Newsletter

Search The Blog


Browse

Sew Woodsy
  • you're my main squeeze You’re My Main...
  • How To Upload an Image in Cricut Design Space from SewWoodsy.com How To Upload an Ima...
  • How to Build an Extra Wide Simple Dresser (knockoff PBK Kendall Dresser) How to Build an Extr...
  • ad Im so so excited to finally share my daughters
  • Ad Whats for breakfast tomorrow morning? Why not give my
  • Indulge in my Cajun shrimp and andouille sausage skillet Quick
  • You guys seemed to love the breakfast recipe I posted
  • Last weekend I made a huge southern breakfast for my
  • Interrupting all the food post with a family post Happy
  • Facebook
  • Twitter
  • Instagram
  • Pinterest
  • YouTube
  • Subscribe
  • Feed

© 2019 Sew Woodsy | Privacy Policy | Designed & Developed by Jelly Design Studio