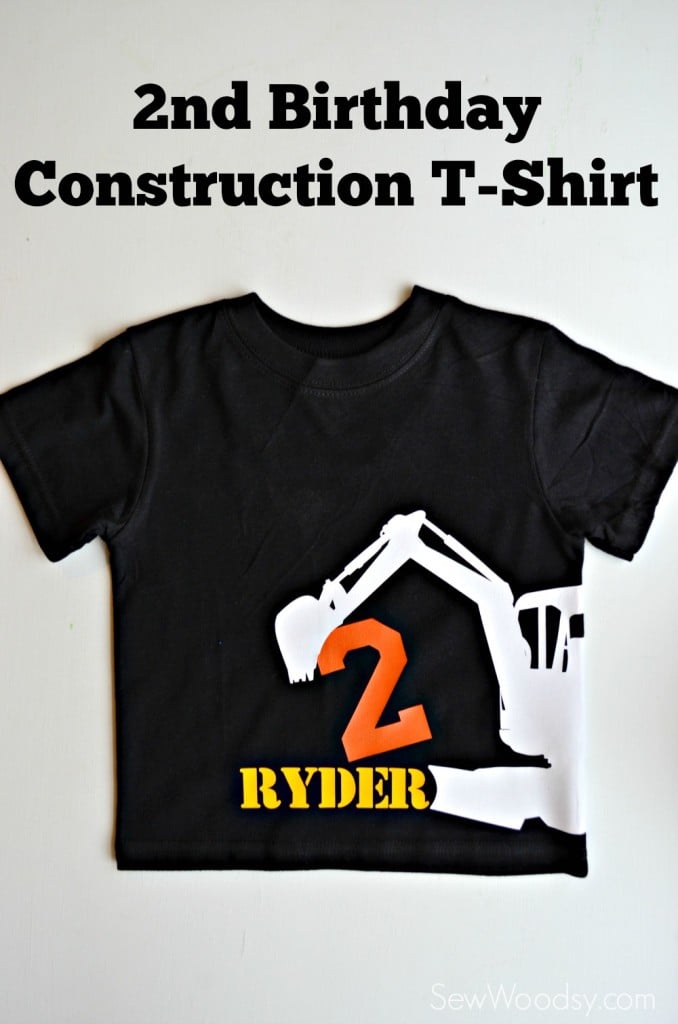
Over the next two week’s I’ll be sharing some cute things that I DIY’ed for Ryder’s 2nd Birthday party. Last week, I shared the amazing invitations and thank you notes we got printed from Minted. Today, I’m sharing a cute shirt that I made for Ryder to wear to his birthday party. We took the chance of having his birthday party outside at a playground. This is a big chance since the weather is so unpredictable in March/April in Florida. And boy did the weather suck the day of his party. Sadly, I wasn’t able to do half the stuff I had planned and his party was cut an hour short due to a nasty thunderstorm. But overall the kids had a blast, and as Jon continues to remind me—that’s what is most important. Not all the decorations and details. That the kids had fun! And that they did. I knew I wanted to make Ryder a birthday shirt. I made him a Birthday shirt last year and knew I wanted to continue the tradition. This year I opted for all iron-on vinyl material. I had a little design input from daddy and we went with the excavator (image found on Graphic Stock). I made it look like the bucket was scooping up the number “2” and added his name in a stencil font found on Cricut Design Space. I love how his shirt turned out—the only beef that Jon had with it was that I should have done the machine in yellow and his name in white. Because that would have been more true to the machine coloring. Oh-well. I think it turned out great!
Supplies:
- Cricut Explore
- Cricut Design Space™
- Cricut Mat
- Graphic from Graphic Stock
- Cricut Iron-On Lite Vinyl; white, sunshine yellow, and pumpkin
- Cricut Tools
- T-shirt
- Iron or Heat Press
- Muslin Cloth
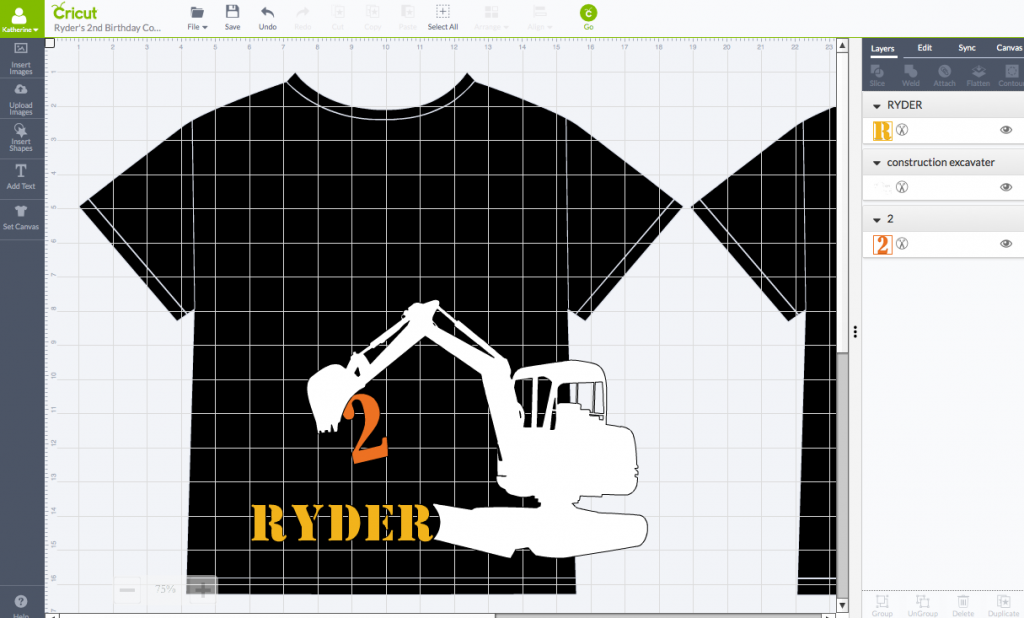
First you’ll want to design the shirt in Cricut Design Space™. I got the excavator image off of Graphic Stock—they have thousands of royalty free images. I used the “stencil” font in design space.
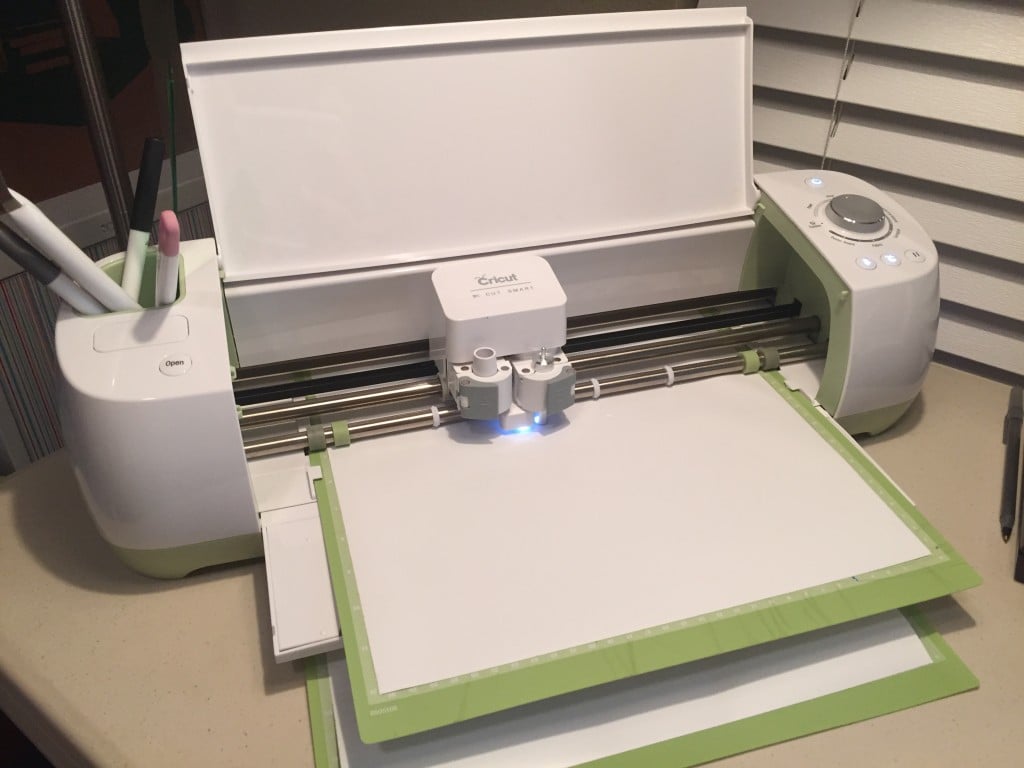
Next, make your three color cuts. Make sure you mirror the image before you cut.
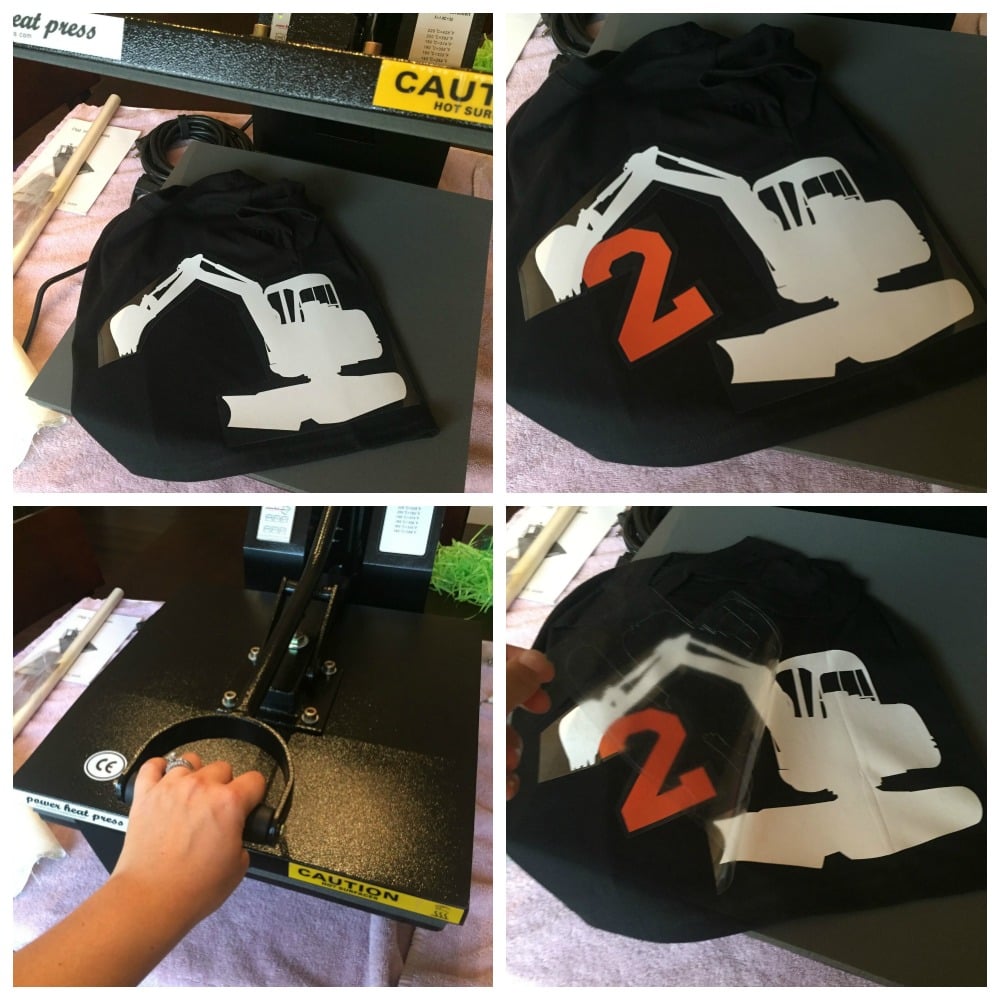
Next up, (not pictured) but you’ll need to weed the image and texts with the weeding tool. Then fire up the Iron or Heat Press and begin to layer. I laid the shirt almost in half since I wrapped the excavator around the shirt so that some of the machinery was on the back. You’ll want to first add the 2 (placing the excavator on top of the 2 to make sure the placement is good). Heat press or iron that then add the excavator and add a thin muslin cloth on top then heat press. Remove the plastic film.
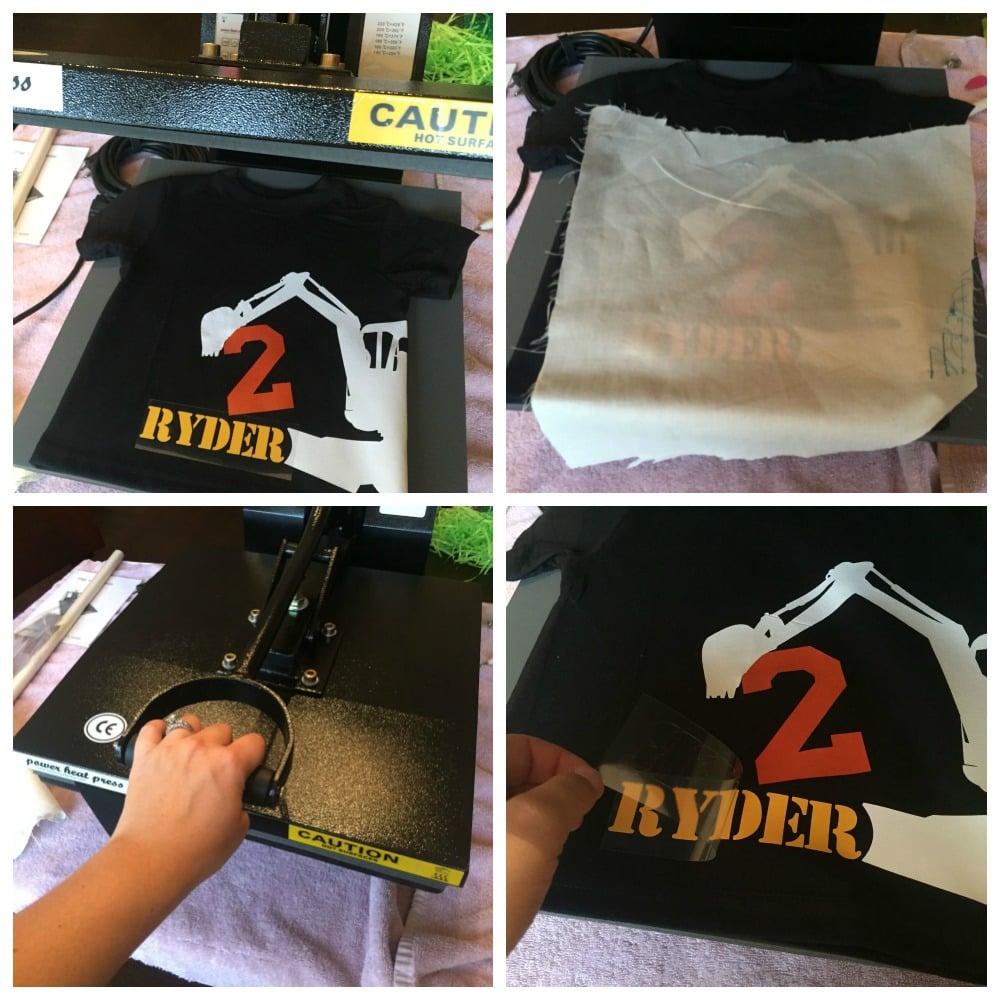
Then add the name. Add a muslin cloth on top and heat press again. Remove the plastic then lay the shirt flat on the heat press or iron and iron lightly just to make sure everything is secured.
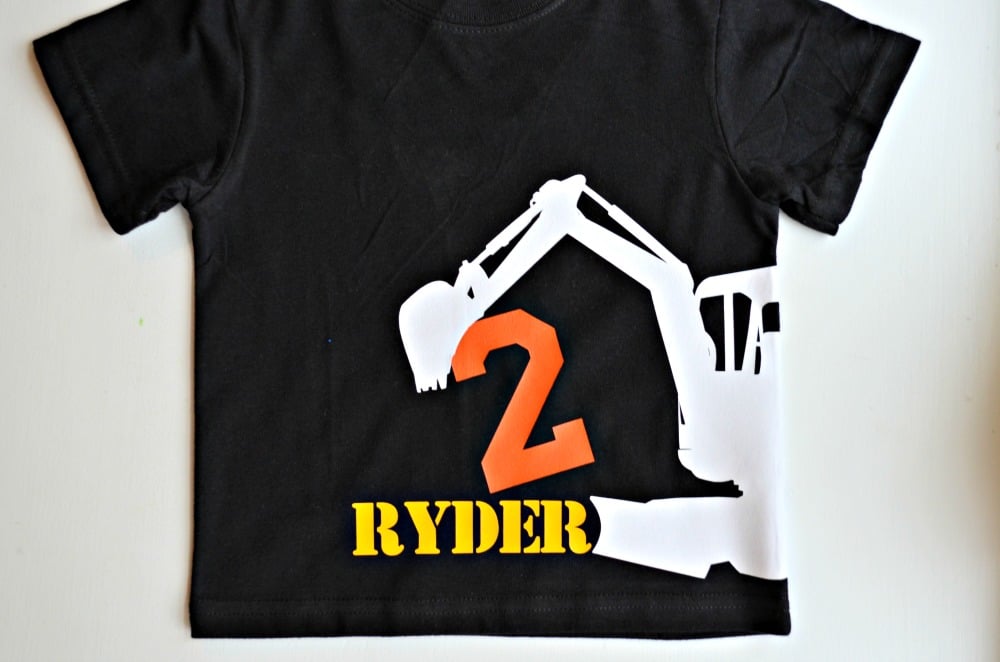
That’s it… awesome construction personalized shirt for my son’s 2nd birthday! This was the first shirt I’ve ever wrapped an image on to the back. It wasn’t too difficult and I loved how it turned out!
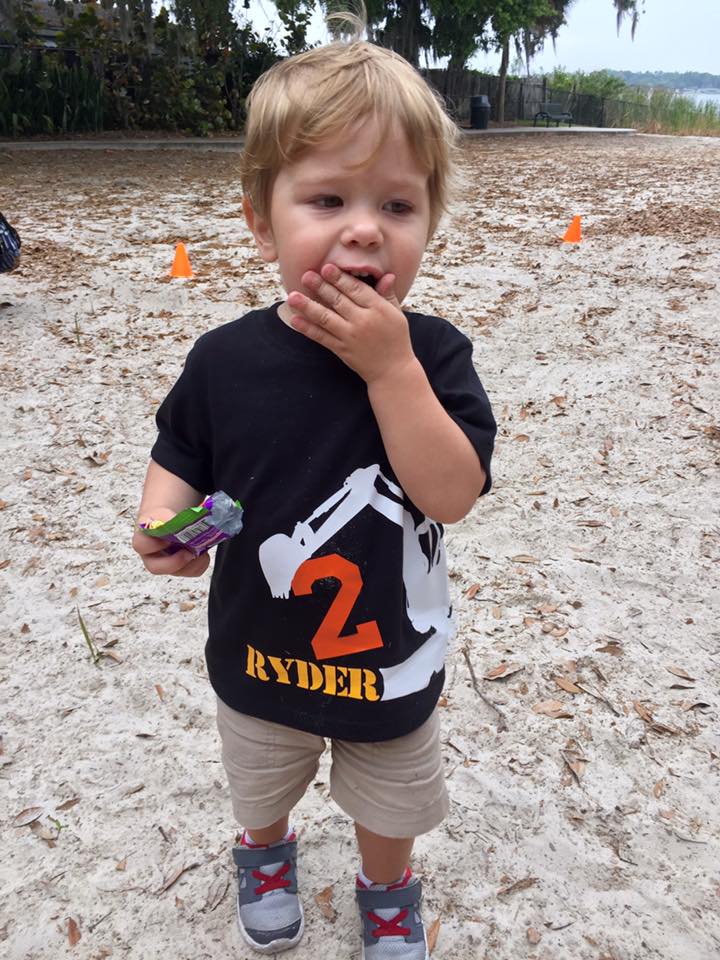
And here is the Birthday boy in action! Eating fruit snacks with sandy hands. Clearly it was his party and he wanted to do what he wanted to do!
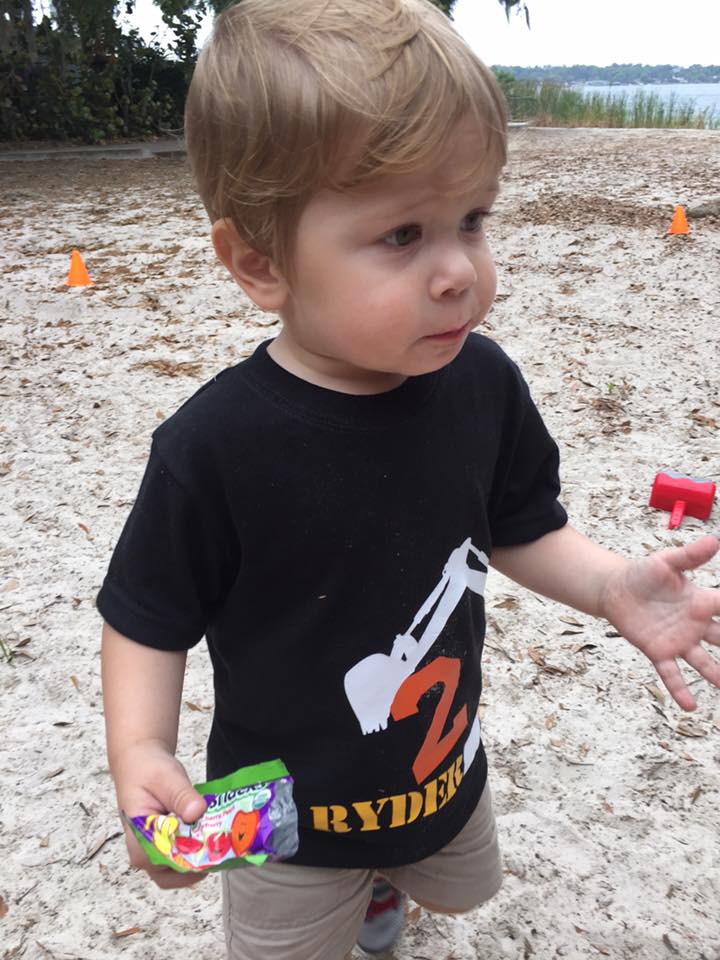
The best photos I could get of his cute construction shirt!
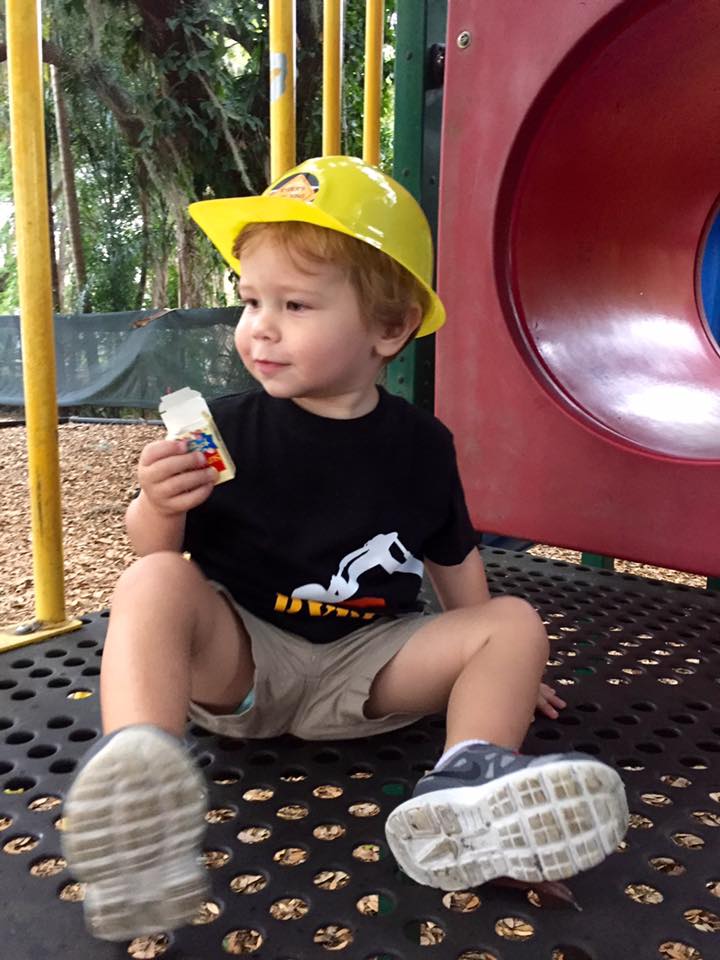
On the playground eating more snacks!
Disclaimer: There are affiliate links in this post. As always all opinions are my own.
Leave A Reply!