• Skip to primary navigation
  • Skip to main content
  • Skip to primary sidebar

Sew Woodsy logo

  • Patriotic
  • DIY
  • Crafts
  • Cricut
  • Travel
  • About
menu icon
go to homepage
search icon
Homepage link
  • Home
  • Patriotic
  • DIY
  • Cricut
  • Travel
  • About Us
    • Email
    • Facebook
    • Instagram
    • Pinterest
    • RSS
    • Twitter
    • YouTube
  • ×

    Sew Woodsy » Cricut

    Published: Nov 25, 2013 · Modified: Jan 29, 2019 by Katie · This post may contain affiliate links.

    Buck Silhouette Envelope Pillow Tutorial

    Sharing is caring!

    3 shares
    • Facebook
    • Twitter

    Buck Silhouette Envelope Pillow Tutorial from SewWoodsy.com

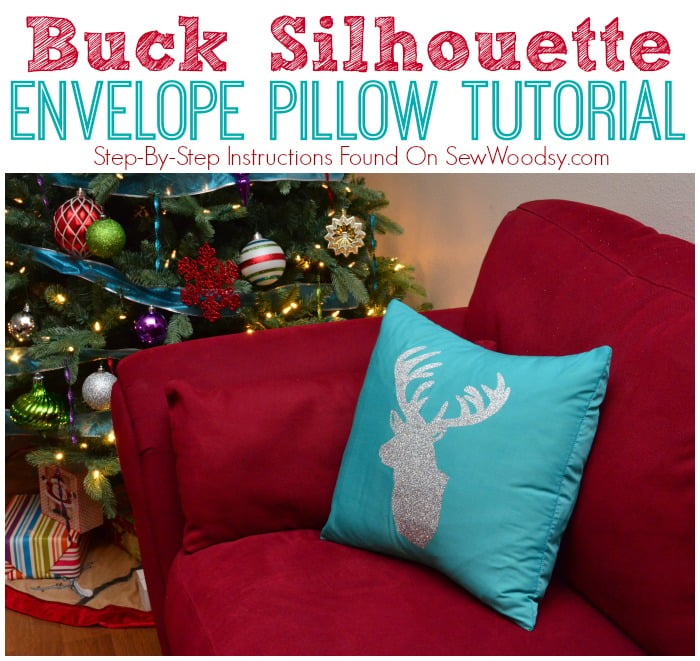
    Yesterday, I shared with you our Jingle Brights Inspired Christmas Tree. Today, I’m sharing with you a super easy tutorial on how to create this Buck Silhouette Envelope Pillow! Using basic sewing skills, a Cricut, and Iron-On Vinyl you can achieve this pillow in less than 30 minutes! Oh and before I forget to tell you, all iron-on vinyl is on sale right now!!! Run don’t walk and buy some!

    Normally, I’m all for traditional Christmas colors, but this year, we are going bold with bright vibrant colors and some colors that might not always be associated with Christmas like teal, lime green, and purple!

    Supplies:

    • Fabric (I used a teal linen fabric)
    • Ruler
    • Chalk Line
    • Scissors
    • Straight Pins
    • Sewing Machine
    • Cricut Mini
    • Cricut Craft Room
    • Holiday Silhouettes Cartridge by Teresa Collins
    • Cutting Mat
    • Cricut Tools
    • Silver Iron-On Vinyl
    • Iron
    • Ironing Board

    Buck Silhouette Envelope Pillow Tutorial from SewWoodsy.com

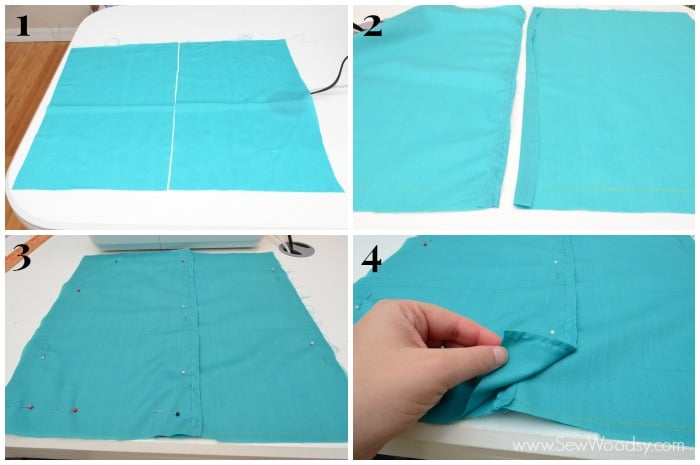
    1. Cut three pieces of fabric. The pillow I made was 16×16 (inches). I cut one piece 16-½ inches and the other two pieces 10 inches each. The two 10-inch pieces will be used for the envelope fold.
    2. Using an iron, iron the two 10-inch pieces so they have a ½ inch inseam then sew using a straight stitch.
    3. Pin the three pieces together.
    4. You’ll want the nice sewed side of the envelope strips facing down on the fabric.

    Buck Silhouette Envelope Pillow Tutorial from SewWoodsy.com

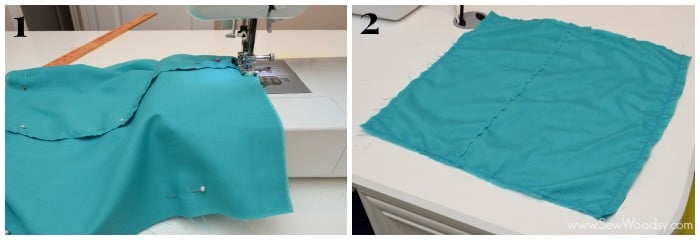
    1. Begin sewing around the perimeter of the pillow, back stitch on the two middle pieces where the envelope fold is. 
    2. This is what your pillow will look like sewn. If you have too much excess fabric on the sides, feel free to trim it up. Then turn it right-side out. Use the back of a pen to poke the corners out.

    Buck Silhouette Envelope Pillow Tutorial from SewWoodsy.com

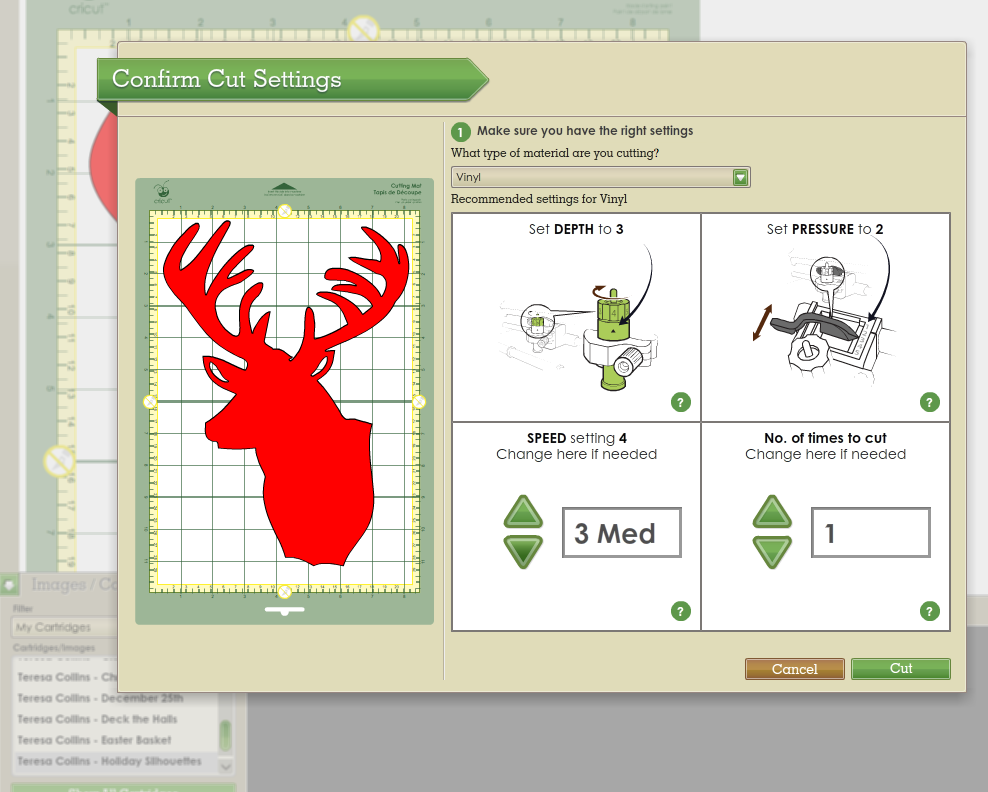
    Next up, using your Cricut Craft Room chose the Holiday Silhouettes Cartridge by Teresa Collins. Make the buck as large or as small as you’d like. Remember if you chose writing you must flip it before you go to cut.

    Buck Silhouette Envelope Pillow Tutorial from SewWoodsy.com

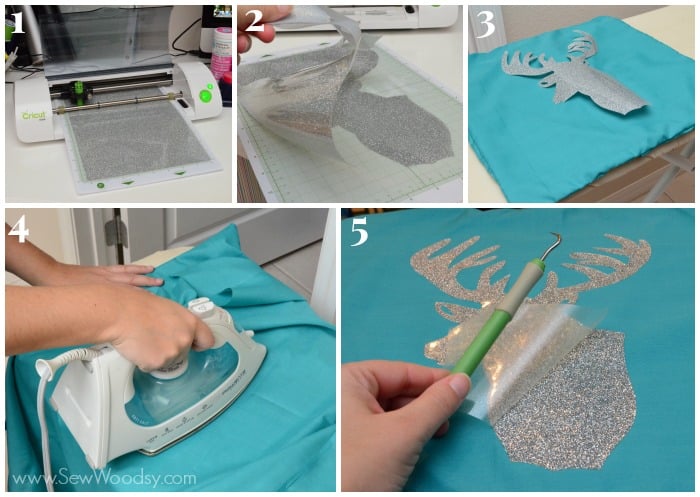
    1. Cut your iron-on vinyl on the vinyl setting. 
    2. Remove the negative Iron-On film from the mat and weed out any areas you don’t want to show on your pillow.
    3. Place the iron-on vinyl on the pillow (plastic shiny side up).
    4. On a cotton setting iron the vinyl onto the pillow. I always use a thin layer of fabric to protect my iron from the plastic. Iron per Iron-On vinyl instructions
    5. Carefully remove the clear plastic once the transfer is complete.

    Buck Silhouette Envelope Pillow Tutorial from SewWoodsy.com

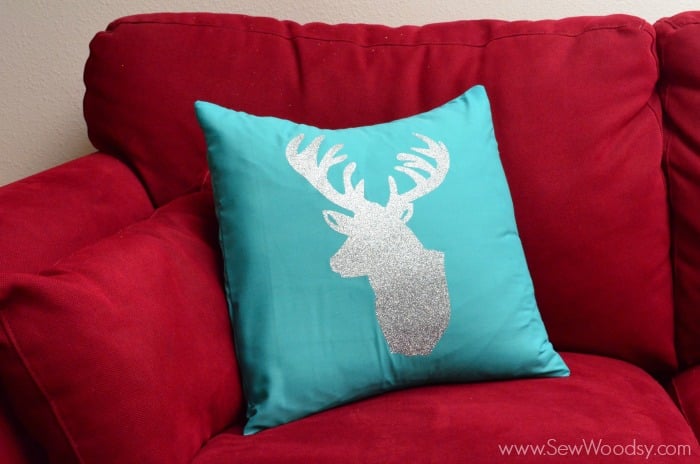
    There you have it. In just 30 minutes you’ll have a designer pillow to compliment your holiday decorations!

    Disclaimer: There are affiliate links in this post. I was provided Iron-On Vinyl to create a project, but I was not compensated. I simply love the product and continue to support it. As always all opinions are my own.

    « Jingle Brights Inspired Christmas Tree
    Wood Pallet Wreath Art »

    Reader Interactions

    Comments

    1. Krista @ the happy housie says

      November 27, 2013 at 10:35 am

      I love how your pillow turned out – blue at Christmas is so fun. I wish I had access to a machine like that! Oh, what I could create- fabulous job…and thanks for the great tutorial!

      Reply
      • Katie says

        November 27, 2013 at 5:30 pm

        Thanks Krista! Stay tuned on Sunday–we have a Cricut giveaway prize pack in store for one lucky reader! 😉

        Reply

    Leave a Reply Cancel reply

    Your email address will not be published. Required fields are marked *

    Primary Sidebar

    • Facebook
    • Instagram
    • Pinterest
    • RSS
    • Twitter
    • YouTube
    Male and female hugging on each other in the woods.

    Hi, we're Katie & Jon! Welcome to our home away from home!

    Sew Woodsy is a lifestyle blog focusing on crafts, home DIY projects, family, travel and all things life. Get comfy and join us on our adventure!

    More About Us →

    Featured On

    9 different logos from various media outlets where Sew Woodsy has been featured on.

    Patriotic Projects

    • 30+ Patriotic Crafts
    • Patriotic Coloring Pages
    • “Home of the Brave” Patriotic Cake Topper
    • USA Mini Bunting Banner

    Trending

    • How To Grow Green Onions
    • How to Host a Baby Shower at Work
    • Tips & Tricks on Installing Butcher Block Countertops
    • How to Create a Natural Log Pathway + Video

    Footer

    ↑ back to top

    9 different logos from various media outlets where Sew Woodsy has been featured on.

    About

    • About Us
    • Privacy Policy
    • Accessibility Statement

    Newsletter

    • Sign Up! for emails and updates

    Contact

    • Contact
    • Work with us
    • Advertise

    Copyright © 2010 - 2022 Sew Woodsy