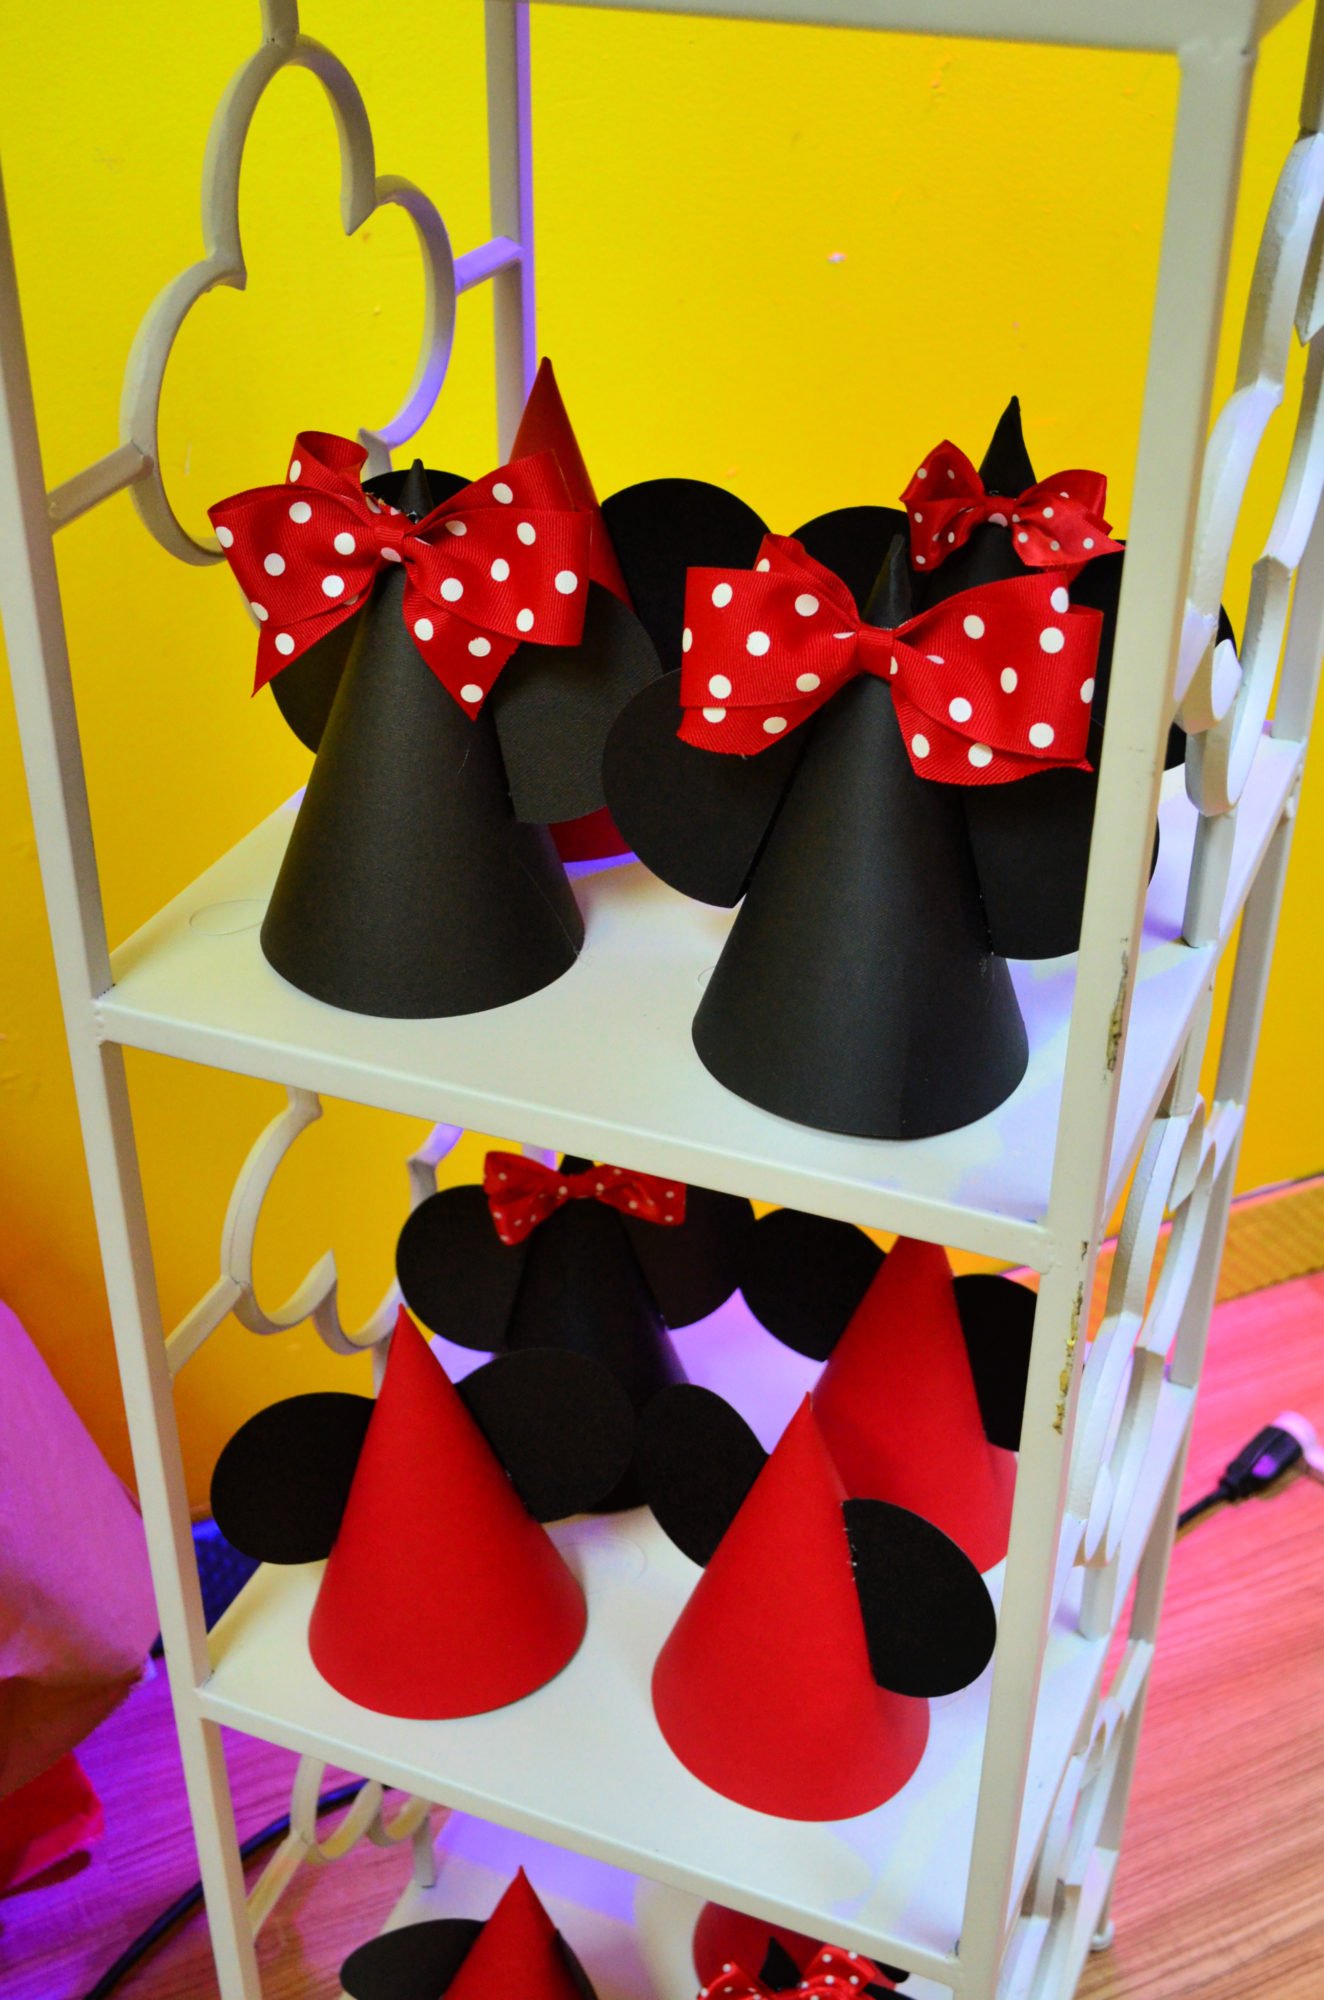
Throwing a Mickey and/or Minnie Mouse Birthday Party? I’m here to share how easy it is to make your own DIY Minnie and Mickey Mouse Party Hats.
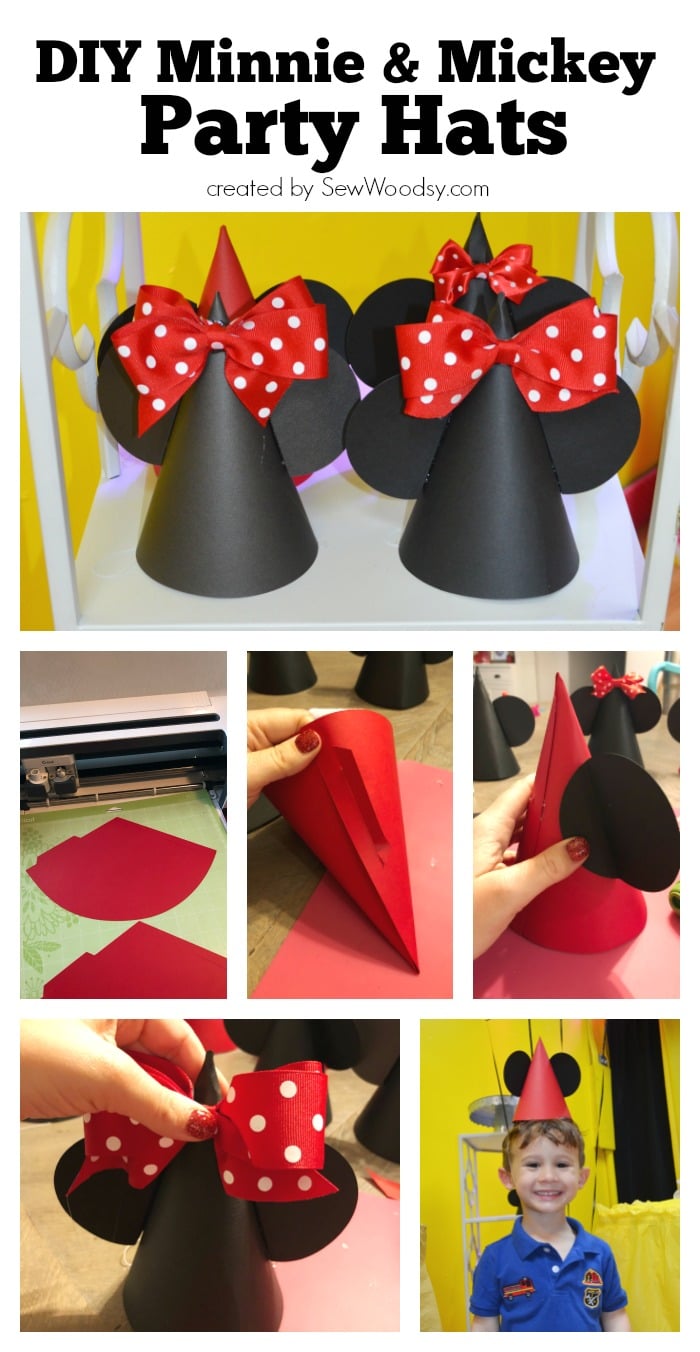
I knew when I started working on my daughter’s Minnie Mouse Themed Birthday Party I wanted to create Minnie and Mickey Mouse Party Hats. As well as DIY Mickey & Minnie Mouse Favor Bags and super cute and easy-to-make DIY Minnie Mouse Paper Plates.
At first, I thought I would just use a solid black and red hat and add on a fabric bow and a few buttons. However, that was not the case. Not one manufacturer on this planet makes solid black (or even red) party hat. Trust me, I scoured the Internet (and stores)!
Because of that I made both Mickey and Minnie hats using my Cricut Maker. I will say I had all intentions to add white buttons to the red Mickey hats, but time and (my lack of) memory left me, and I never added them. Even with out the white buttons I think they still turned out great!
Supplies
- Cricut Maker
- Cricut Design Space® + DIY Minnie and Mickey Mouse Party Hats file
- Cricut Mat
- Cricut Scoring Wheel or Scoring Stylus
- Cricut Cardstock
- Hot Glue Gun
- Elastic
- Red & White Polka Dot Ribbon
- Fishing Line
Step 1: Cut the Cardstock
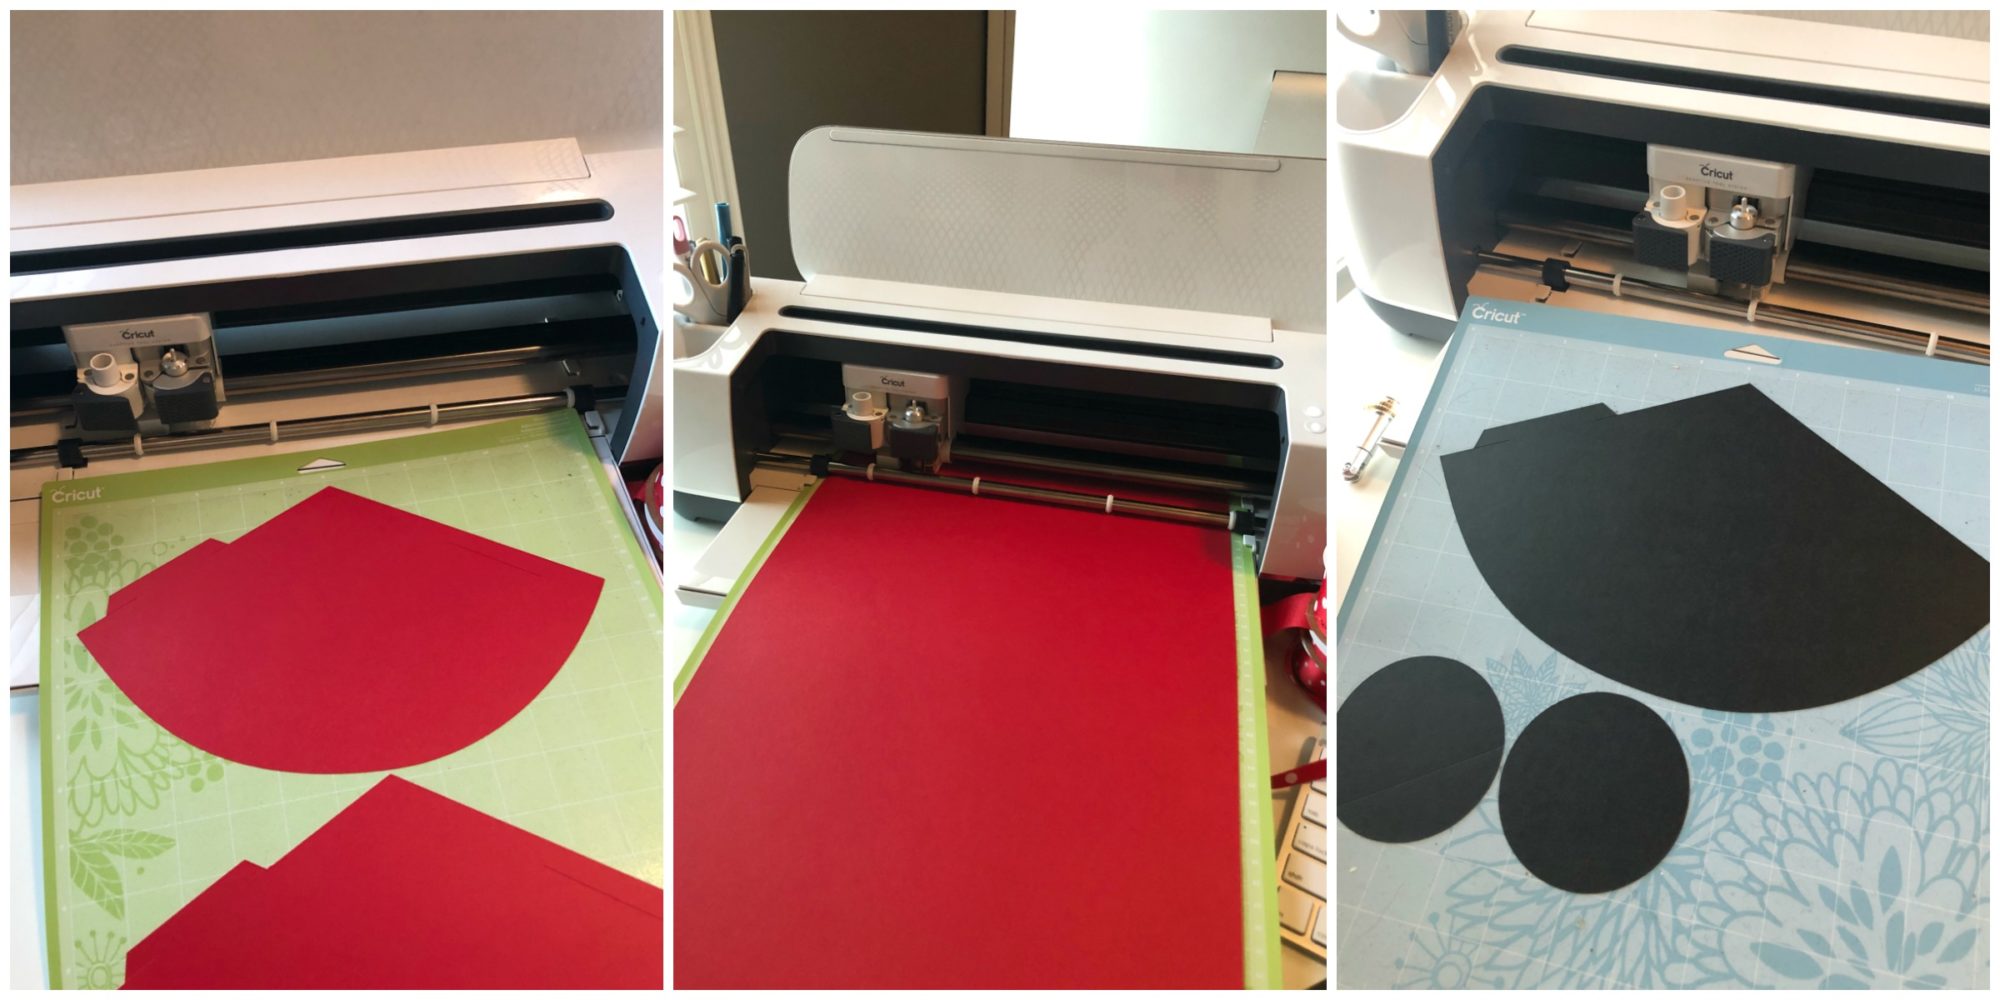
First, you need to cut all the hats using the Cricut Maker. You can find the
Cricut Design Space® DIY Minnie and Mickey Mouse Party Hats file here. You will need to stay near your Cricut as you will have to change out the Cricut Scoring Wheel for the blade. This step is needed since you need to score a portion of the party hat and half the ears!
Step 2: Create the Cone
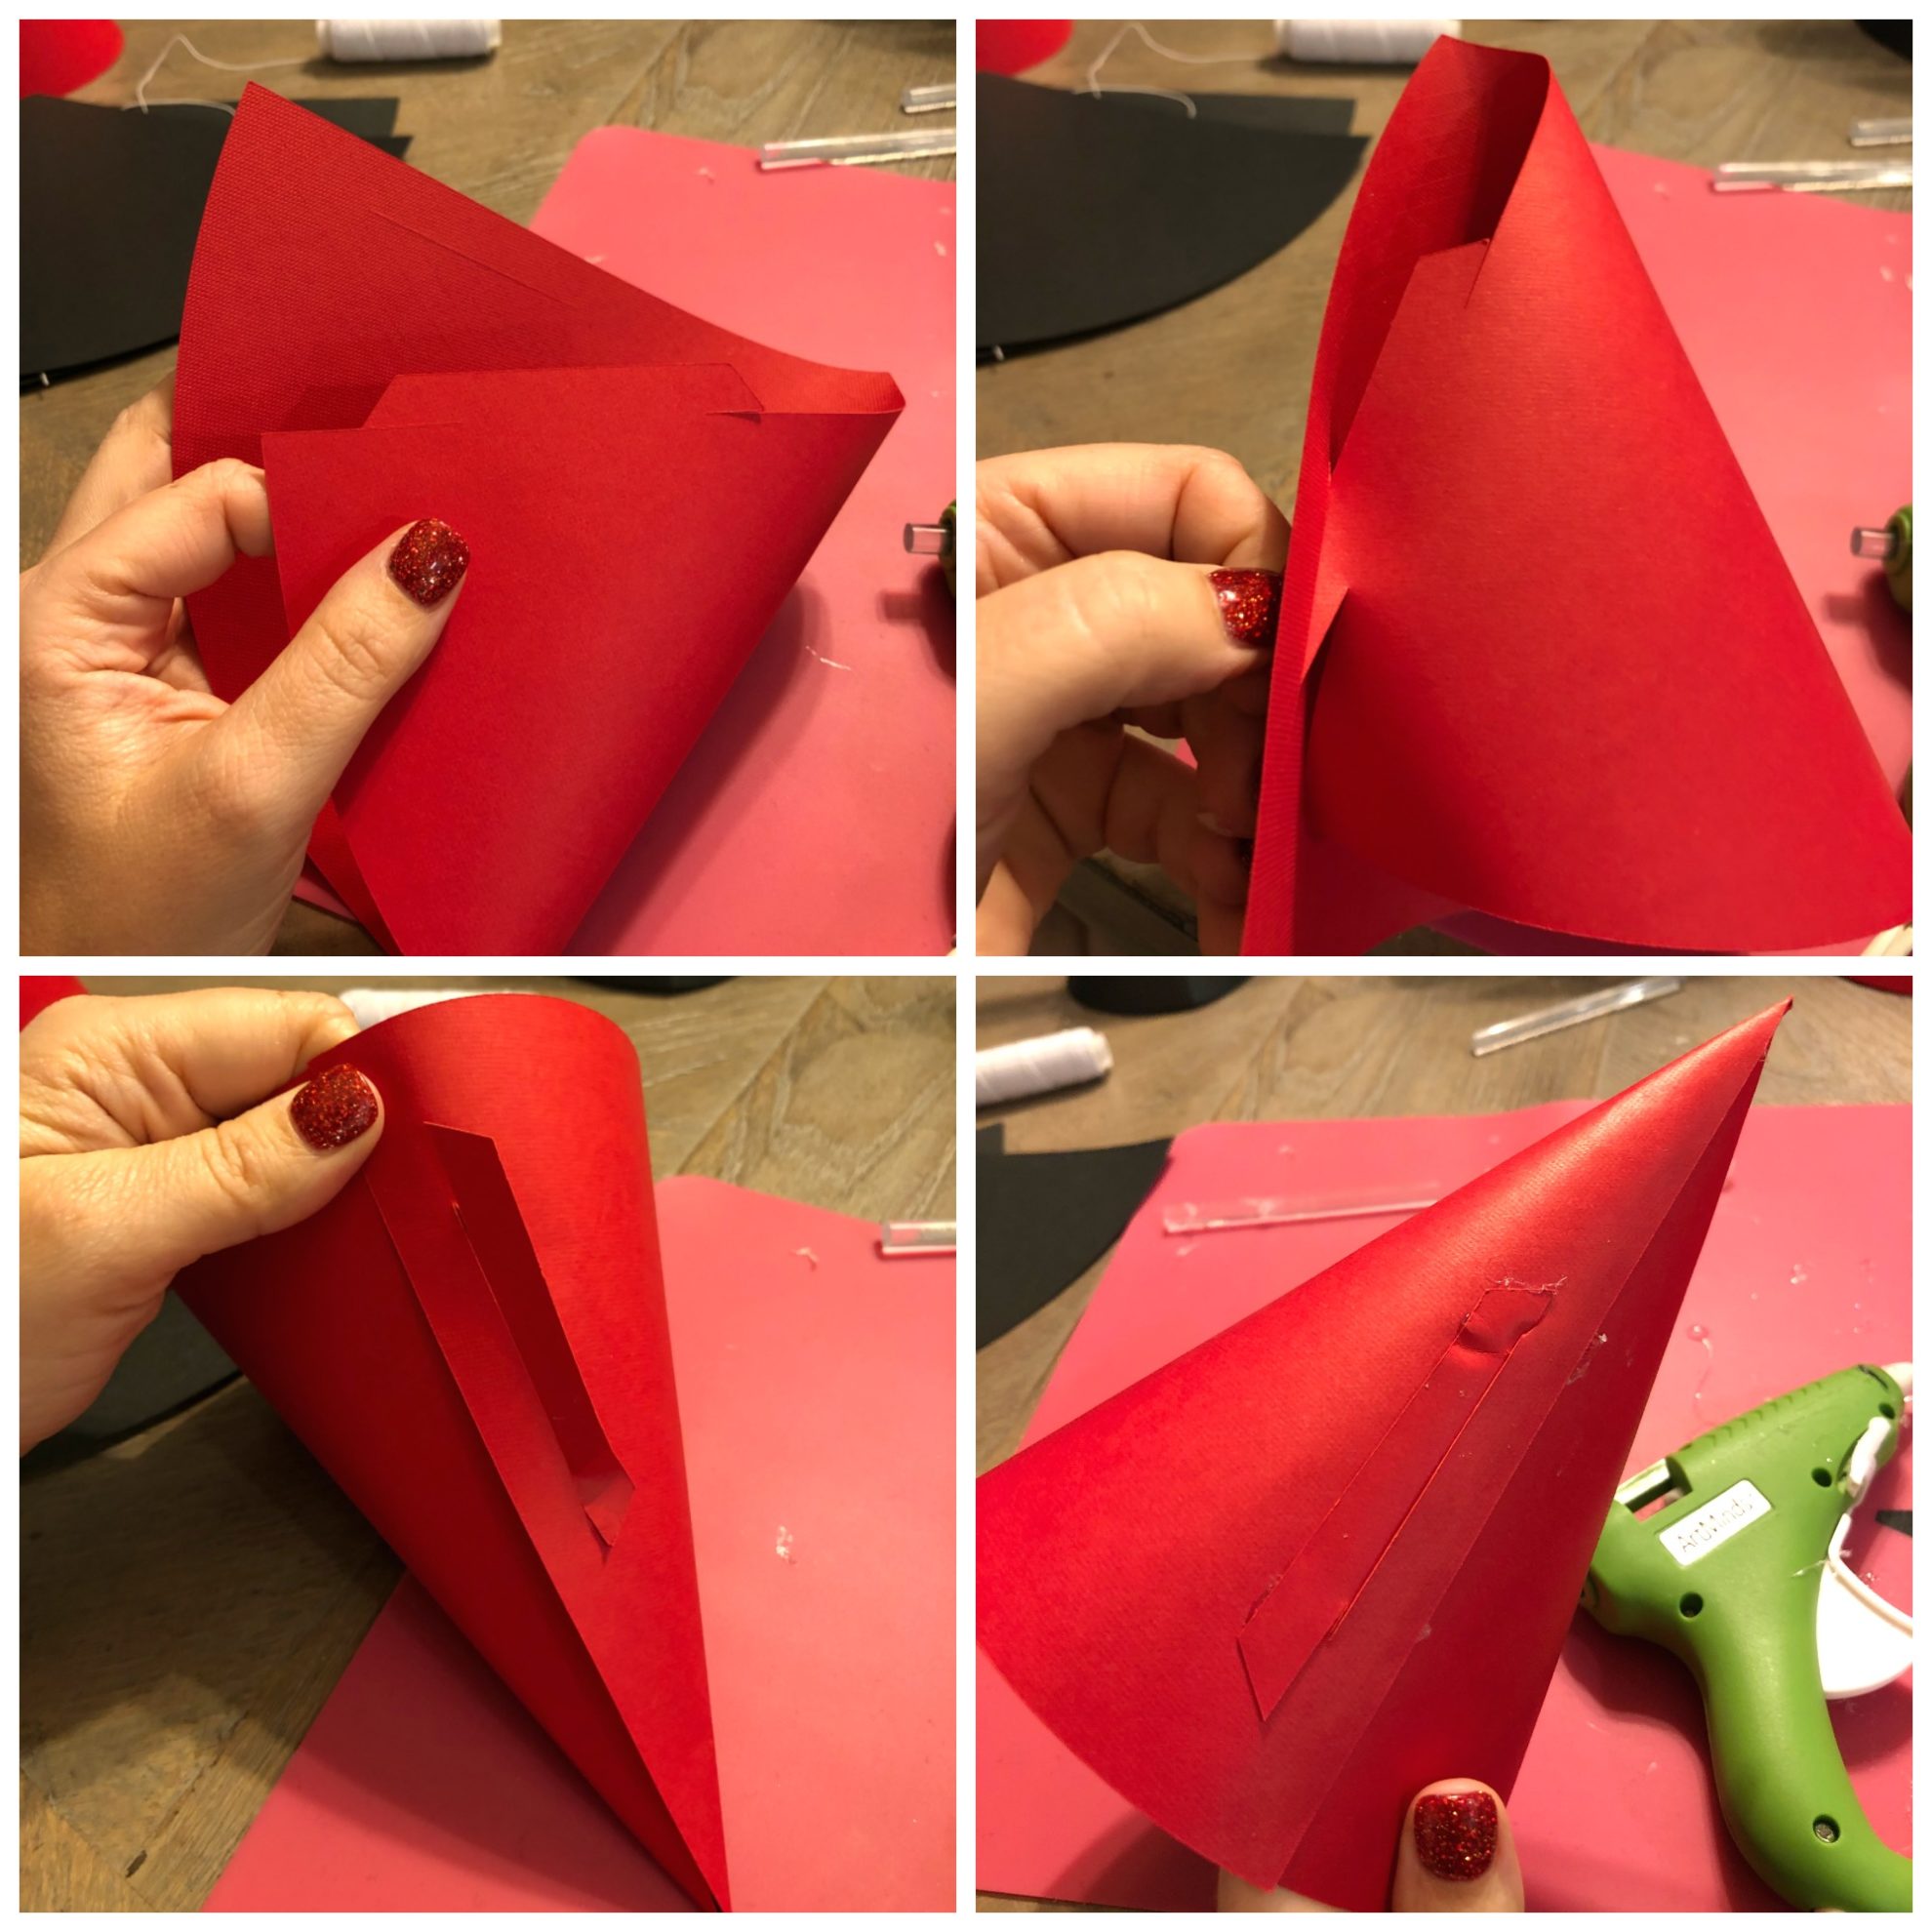
Next, it’s time to construct your hat. Depending on the card stock you use will depend on how easily it rolls into the cone. A little thicker cardstock definitely will not give you as crisp of a roll. Trust me, I learned this the hard way!
Once you have the cone rolled, you’ll slip the tab through the opening. This is a preliminary hold. Next, you hot glue the entire edge down the cone. *Careful, as you will burn yourself–I suggest glueing then turning the cone over and pressing down using a pen or something that you won’t burn yourself on.
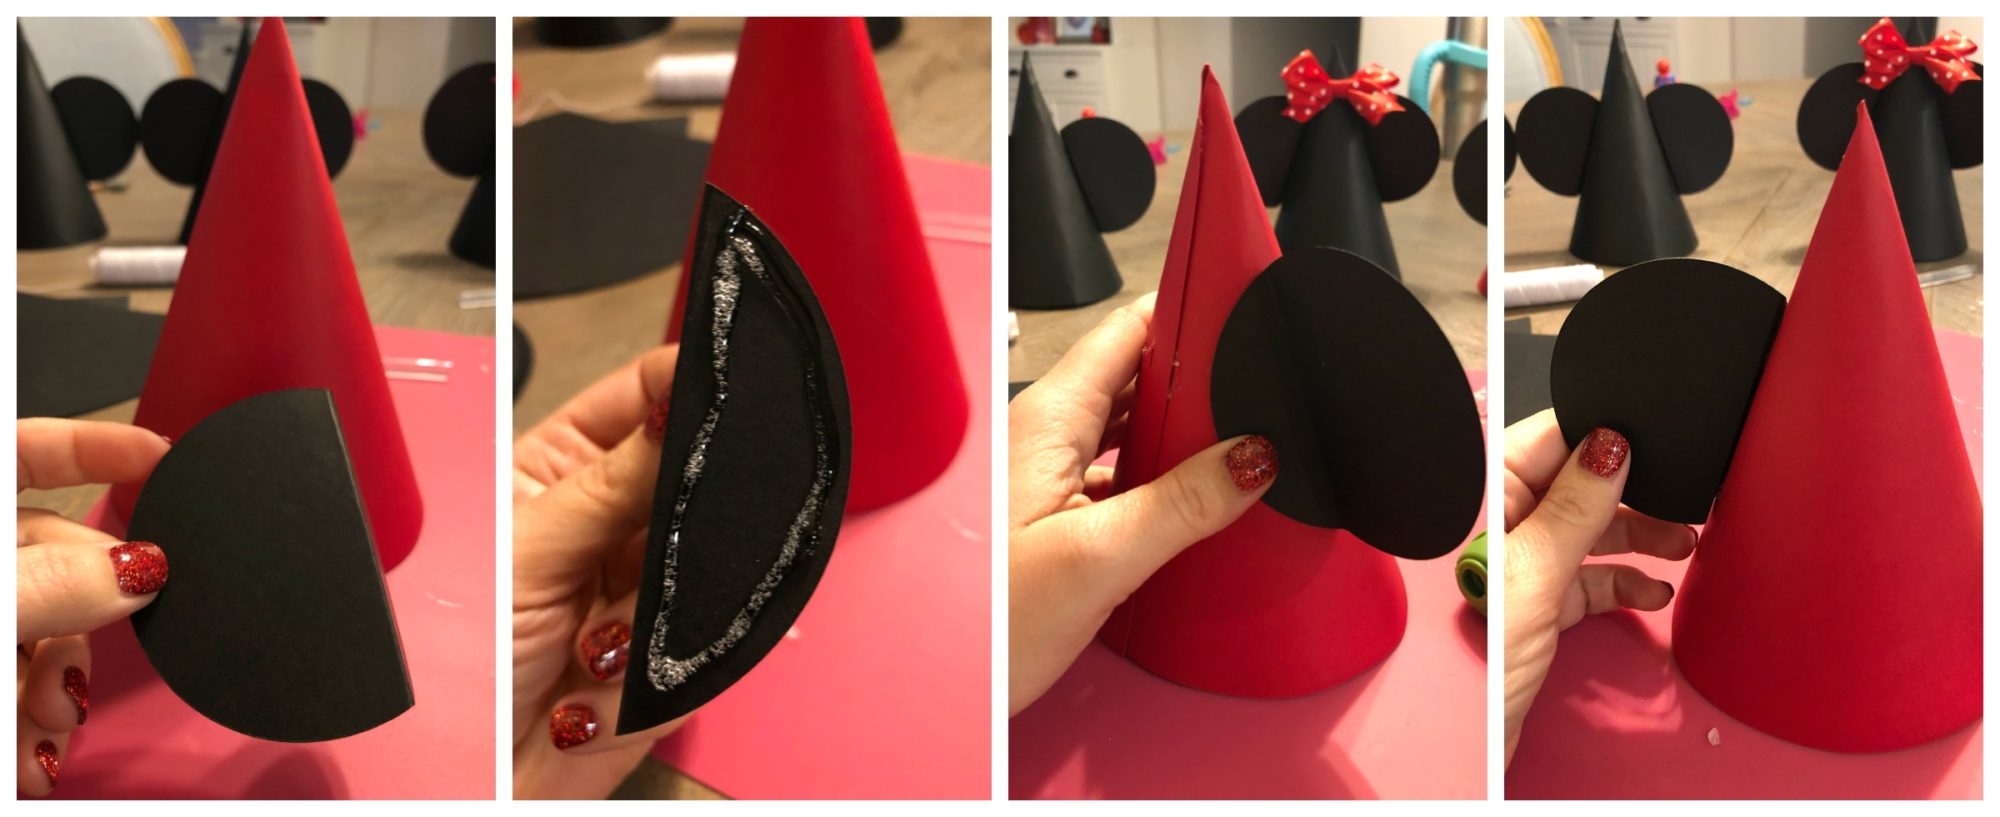
Step 3: Add the ears!
Next, it’s time to adhere the ears on to the hat. I used hot glue again. Make sure you keep the seam of the hat in the back. Then center the ears on each side of the hat, and adhere. Repeat until all your ears are glued on to your hats.
Step 4: Add the Elastic
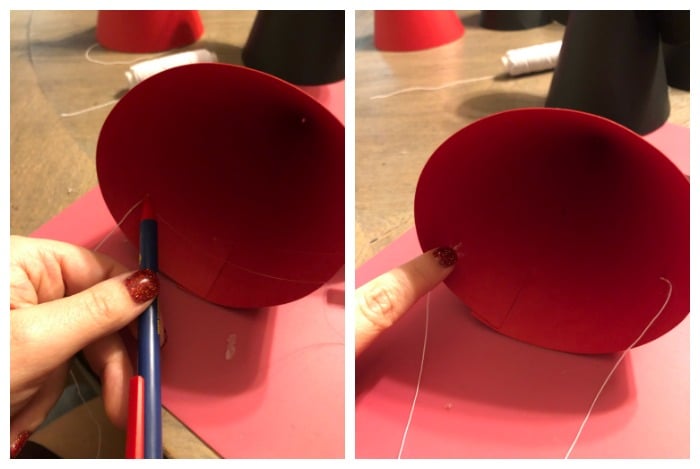
Next, add the elastic band to the inside of the hat. I measured the elastic off my daughters head and cut from there, so your size will vary on how much you need. I used hot glue to secure each side of the elastic. Since you put such a small dot of hot glue I used a pen to guide the elastic to the glue to prevent burning my finger. Once the hot glue cools a little I used my finger to push the elastic down just a little more.
Step 5: Add the bow!
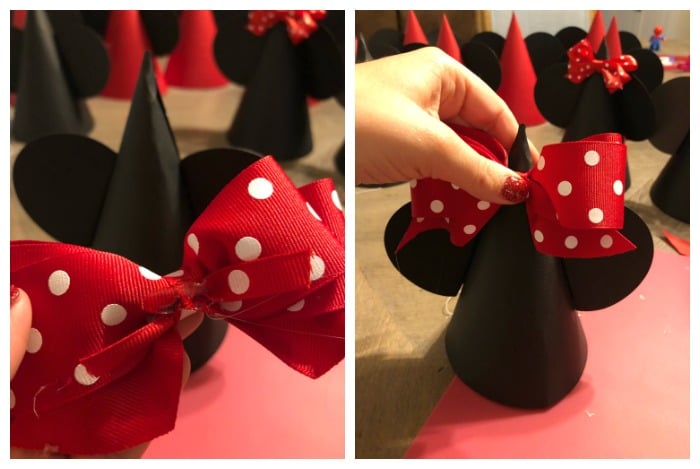
Last step, is to make the bows! I followed this tutorial from my friend Kelsey on how to make boutique style bows. It definitely takes practice making bows. I feel like I’m two years into having a little girl and I’m just now starting to get decent at making them.
I used 1.5 inch ribbon for these hats; however, I did run out of the ribbon and used a 1-inch ribbon. I kind of did my own thing as you can see on the left side. I used 1/4-inch piece of red with white polka dot fabric to secure the middle (and don’t tell anyone but I hot glued it together). Hot glue fixes everything in my book.
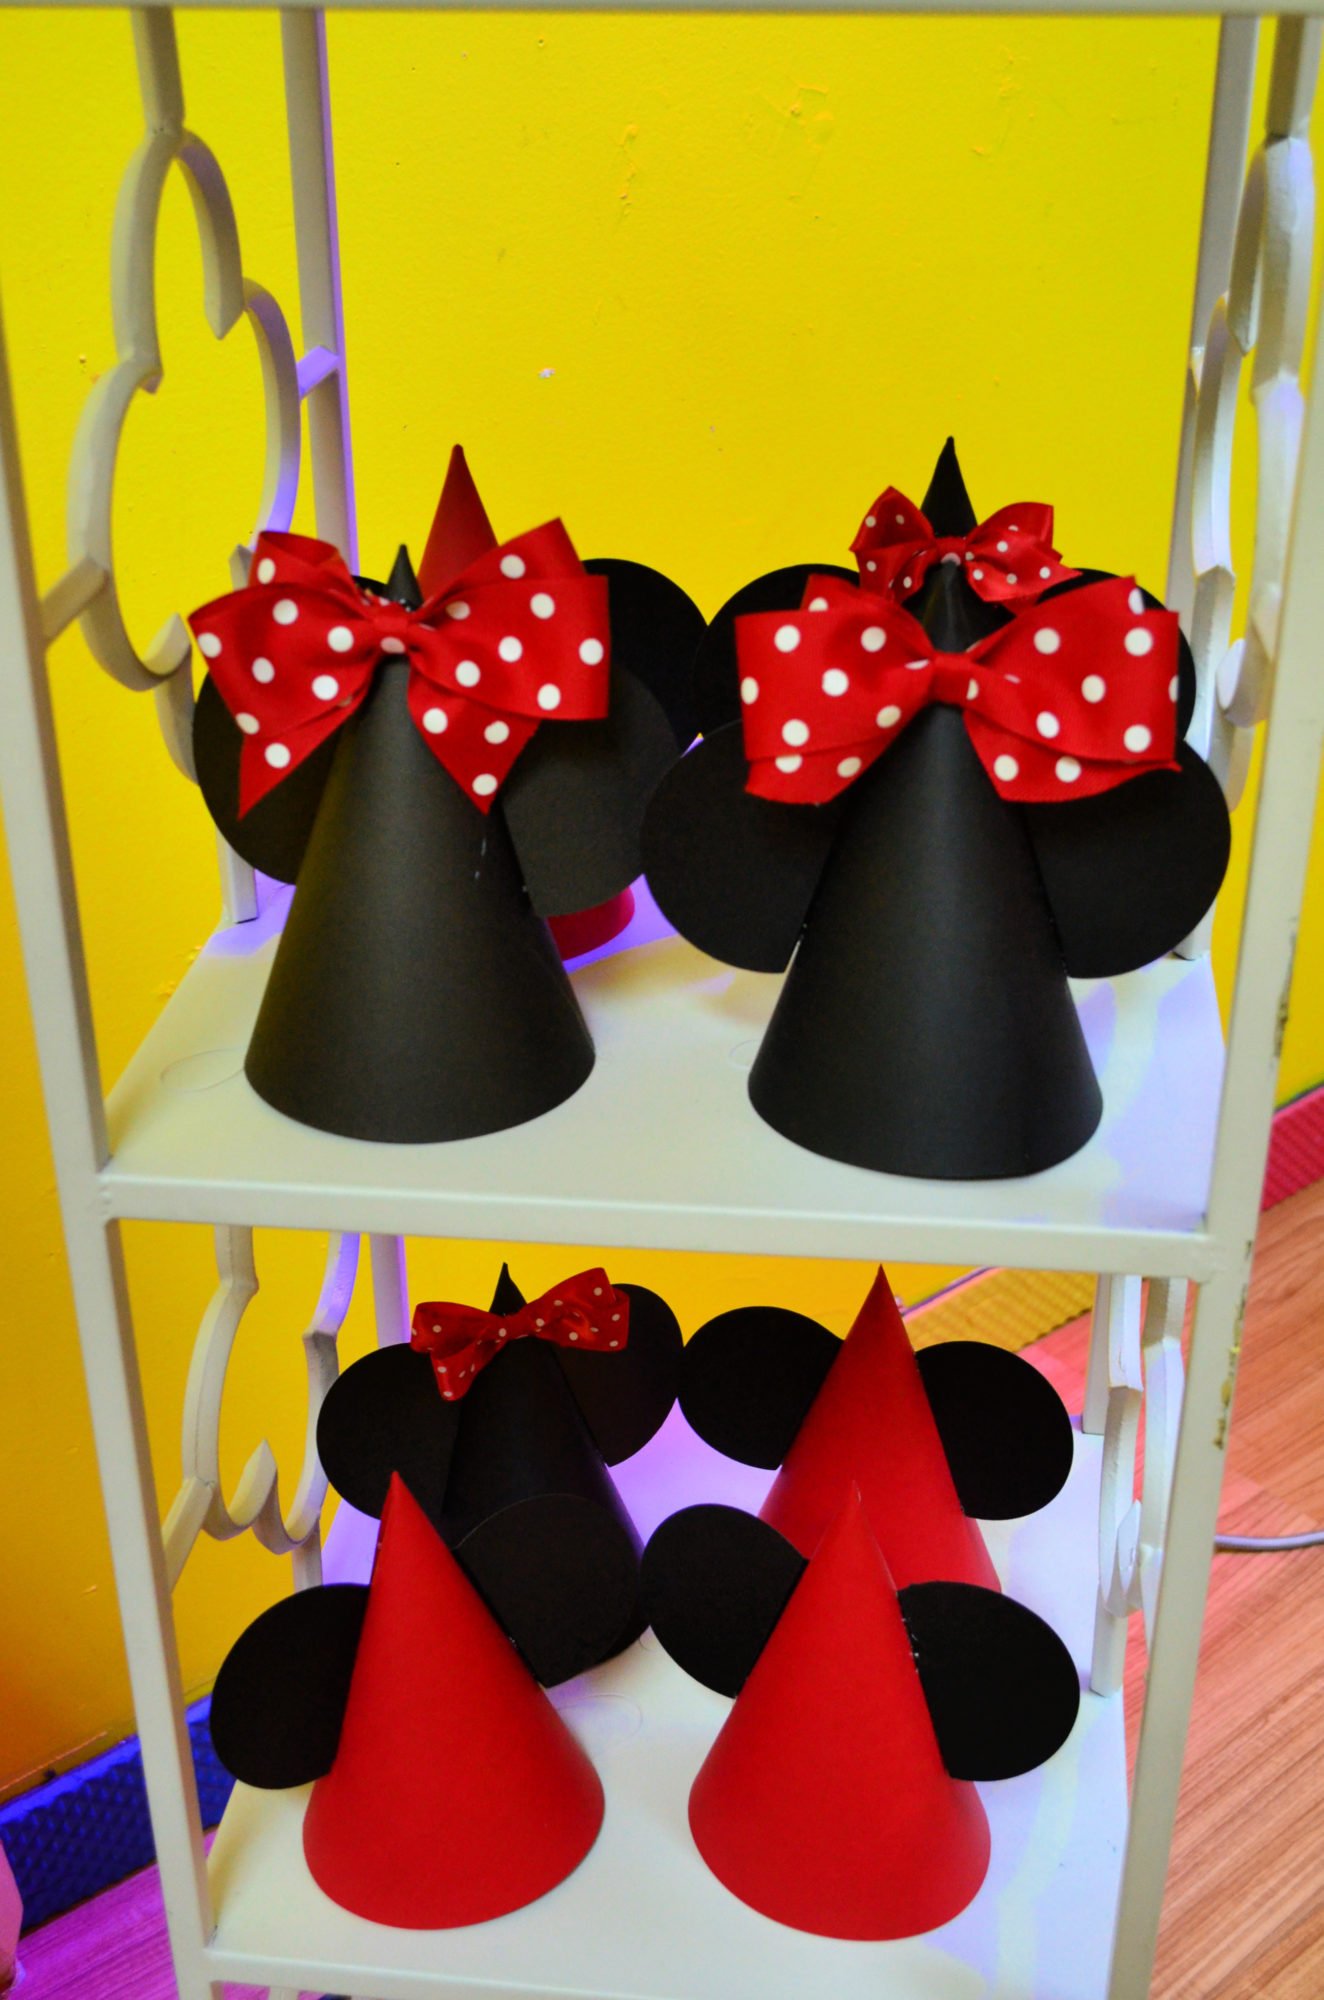
Thankfully, I only had 5 little girls at our party, so I only had to make 5 Minnie Mouse party hats! Once all the bows were made I hot glued each bow onto the black hats. I loved the mix of paper and fabric ribbon! Made the party hats stand out.
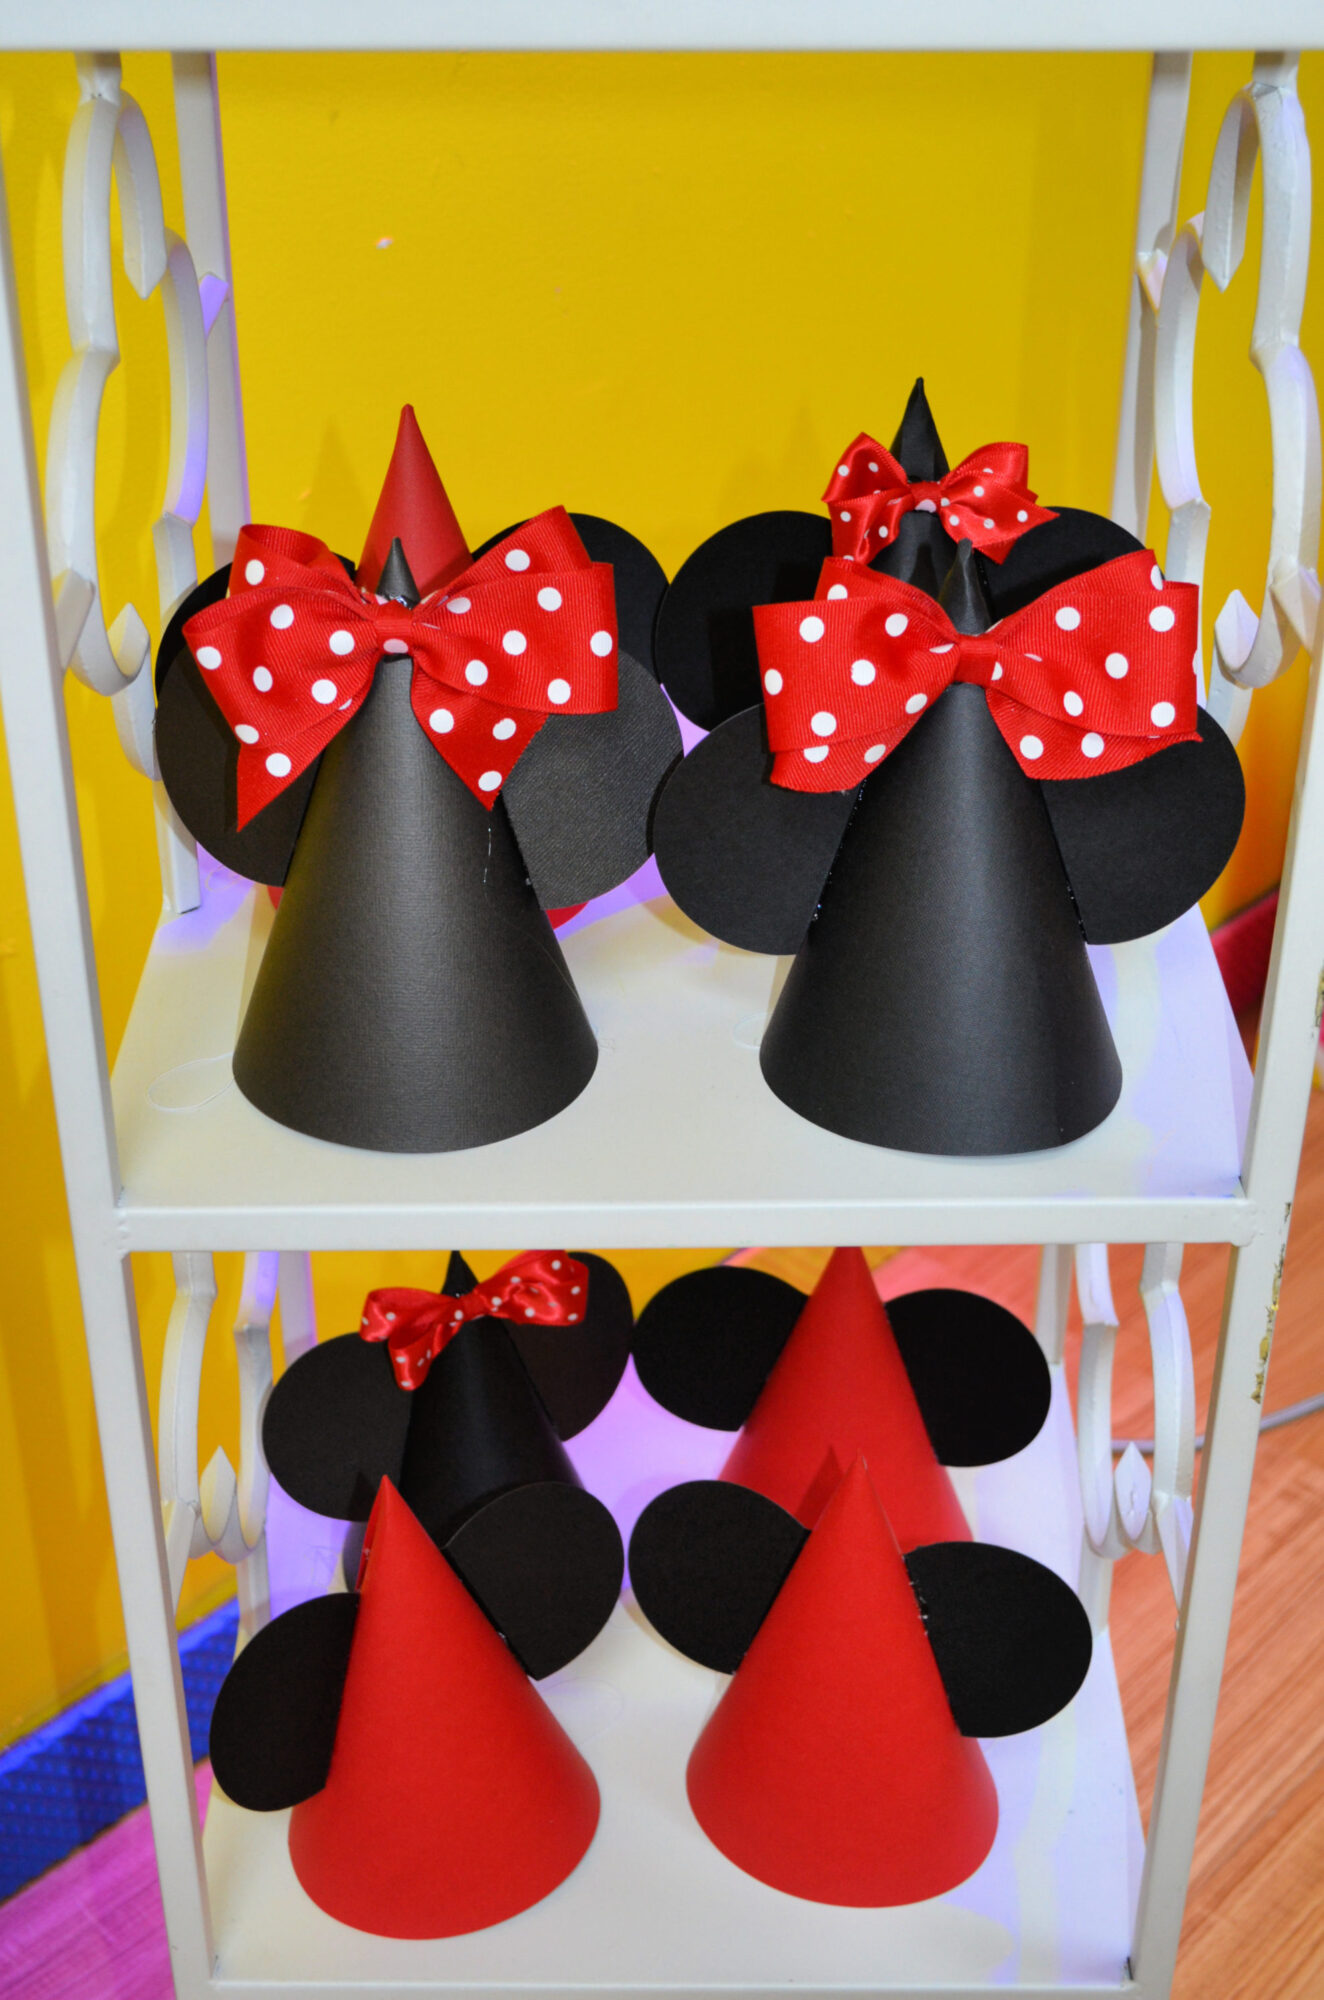
Whether you need to make 4 or 40 I hope that my easy tutorial on how to make these Minnie and Mickey Mouse Party Hats is helpful! If you own a Cricut you can whip these up in no-time with a little card stock, hot glue, elastic, and ribbon!
Other Party Decor
Looking for more party decor and/or favors or games? Here are some more ideas!
If you make these Mickey Mouse Party Hats, I would be honored and love for you to take the time to leave a star rating and comment! I spend hours developing and testing these projects, and always love to hear feedback and user experience!
Don’t forget to FOLLOW ME on Facebook, Pinterest, and Instagram, and subscribe to my email list!