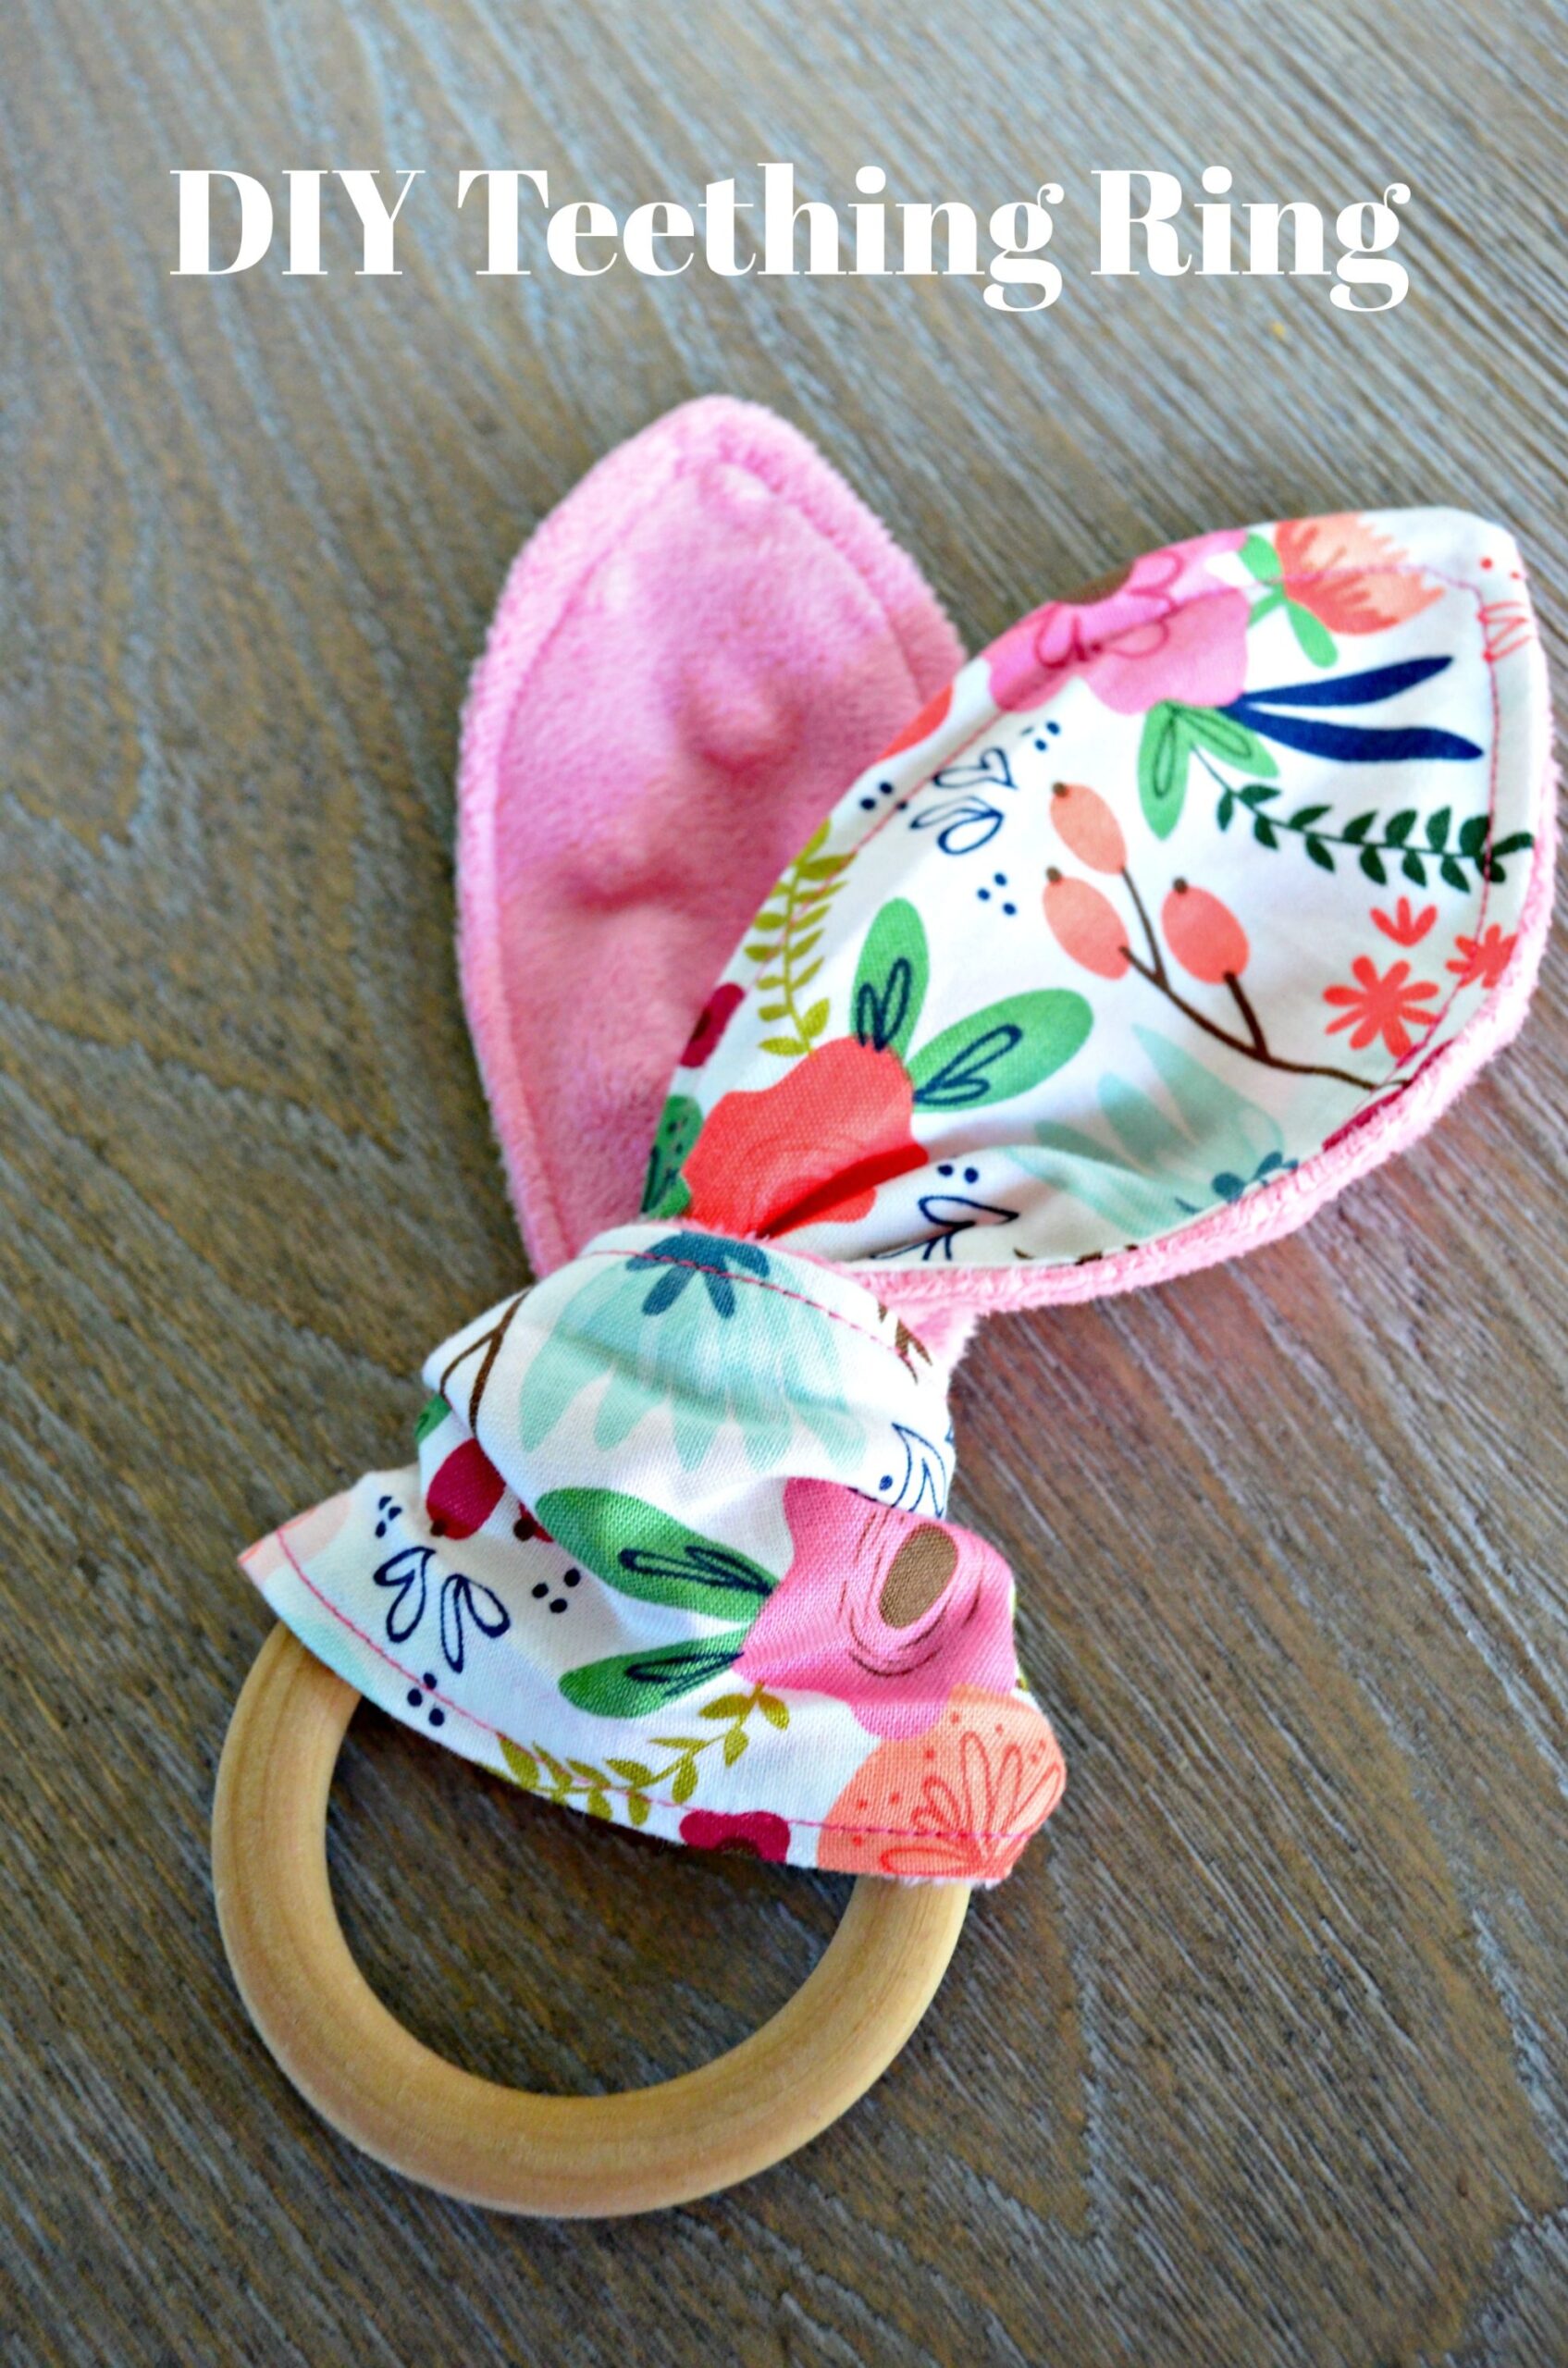
Using the Cricut maker, this guide will help you construct a DIY wooden teething ring perfect for babies in the teething stage. Everything you need to make a teething ring under just half-an-hour is here for you to make your baby happy.
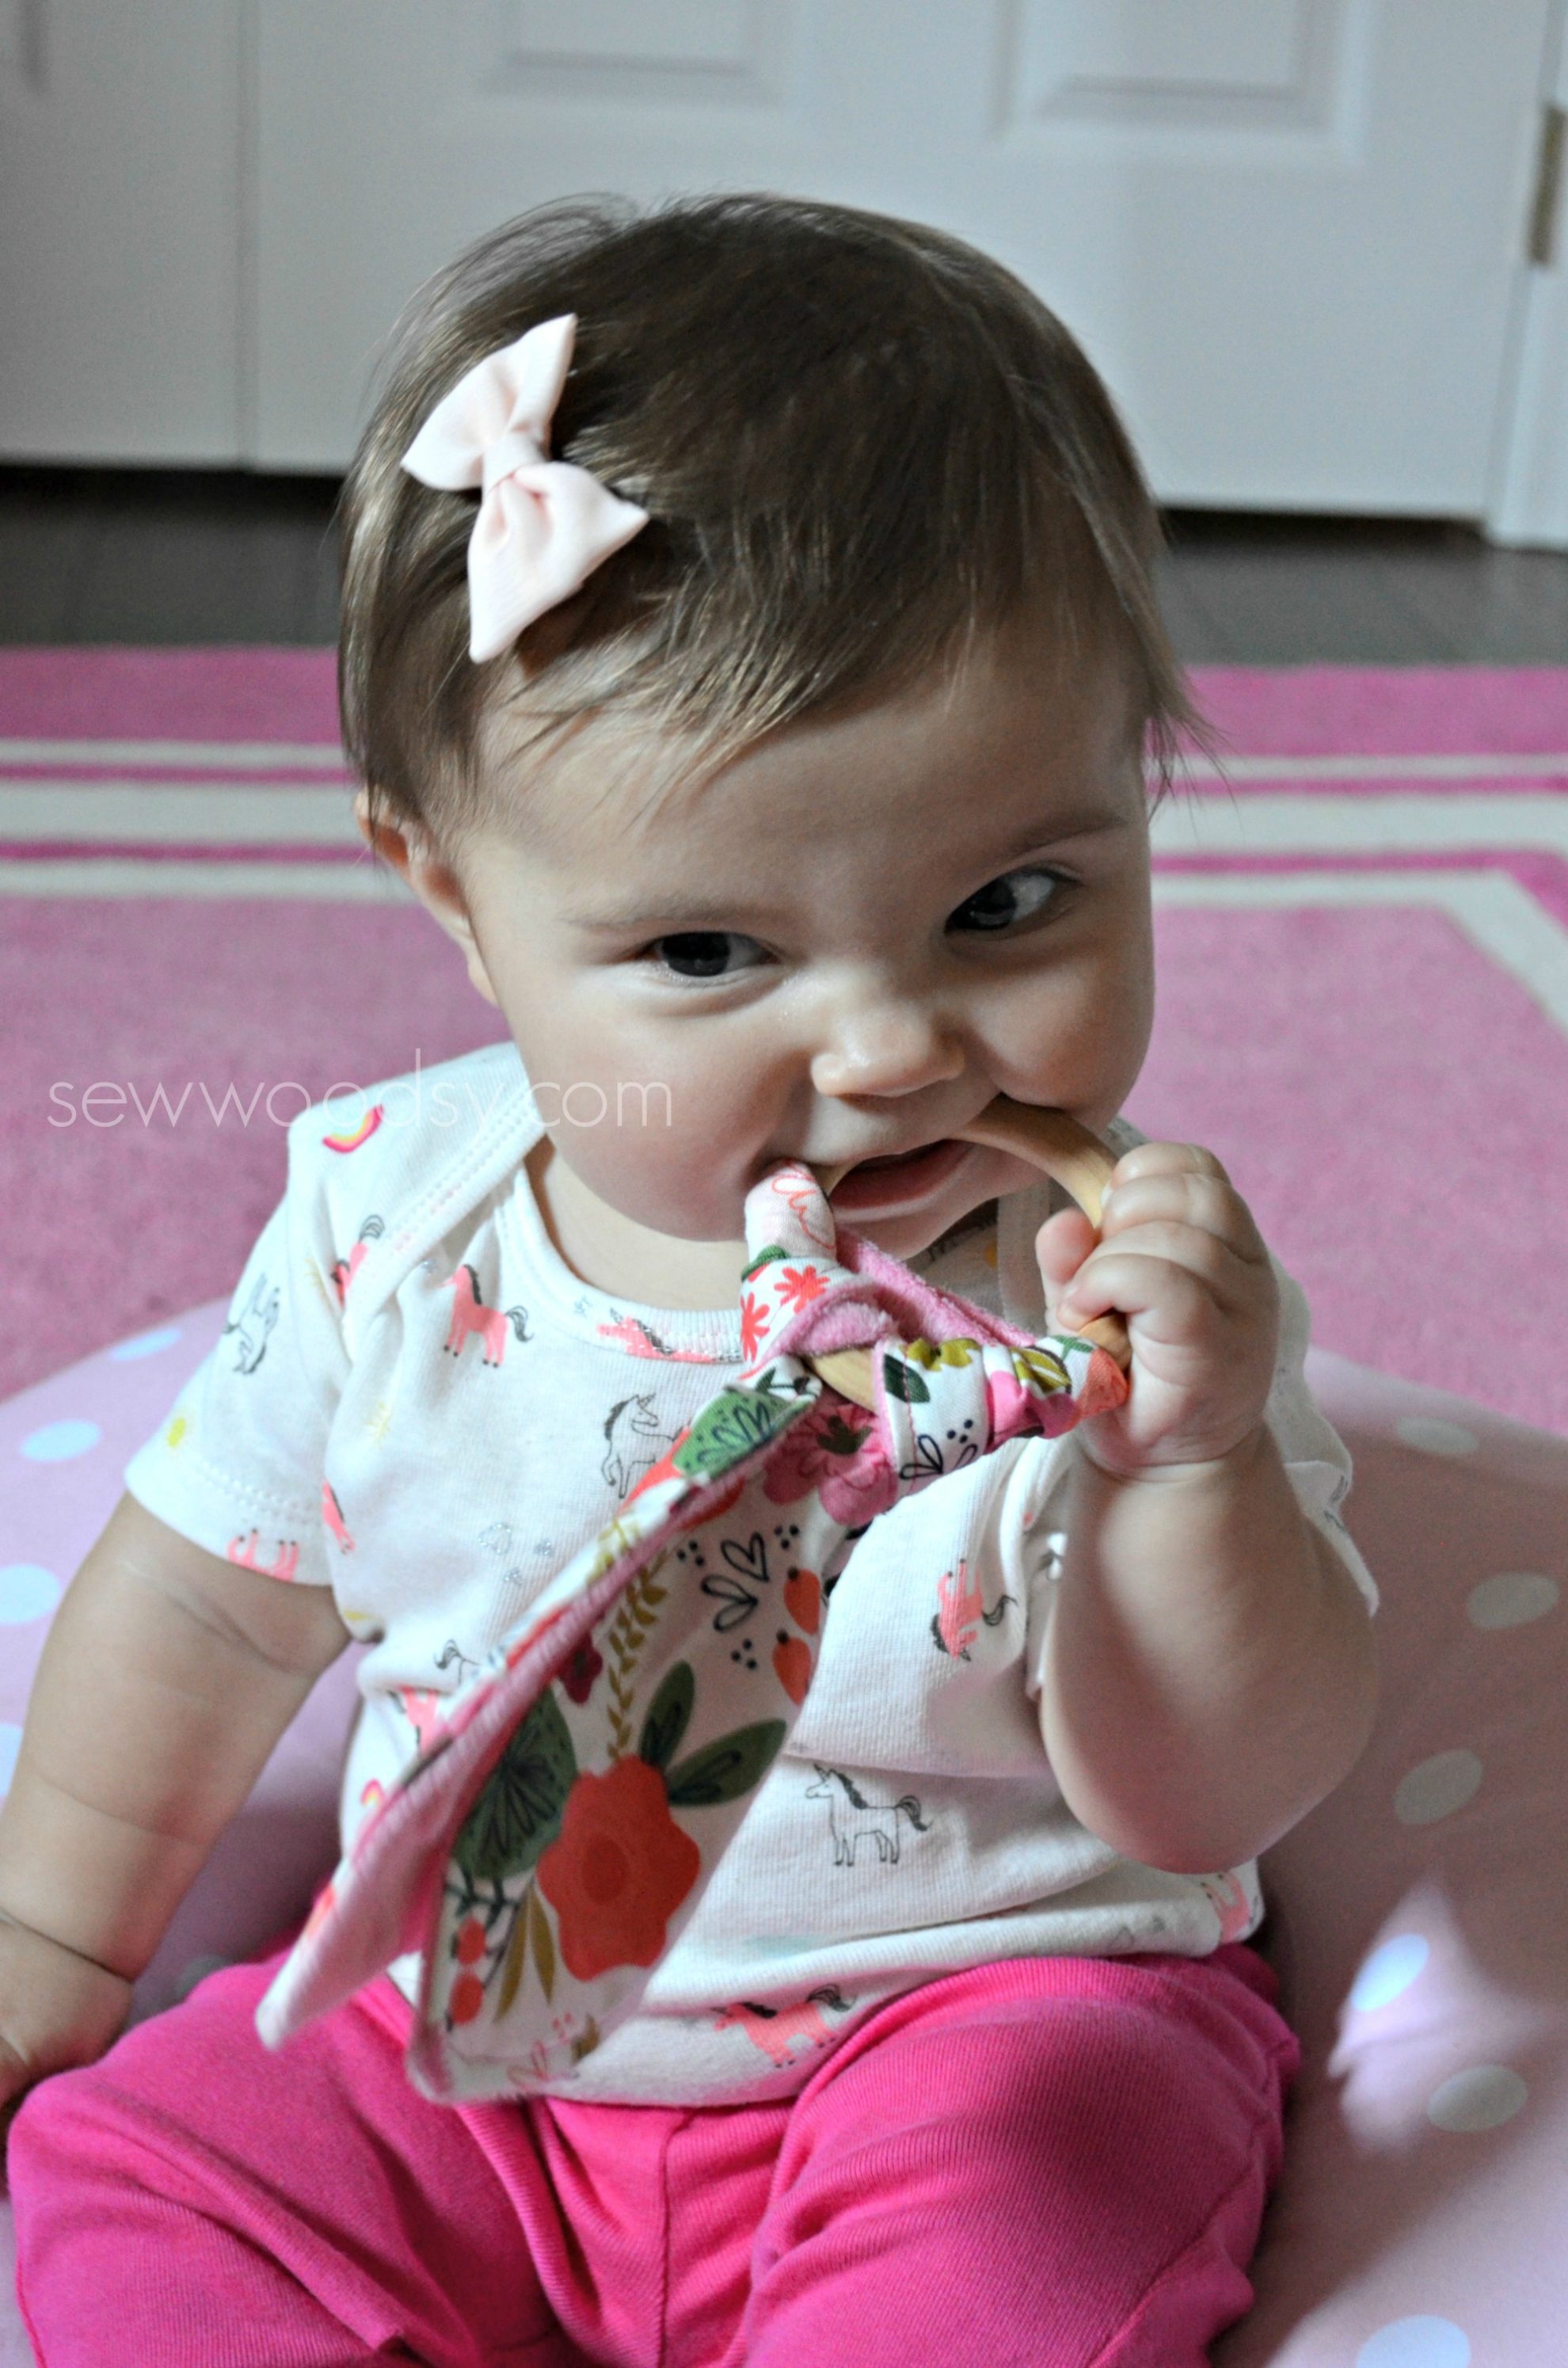
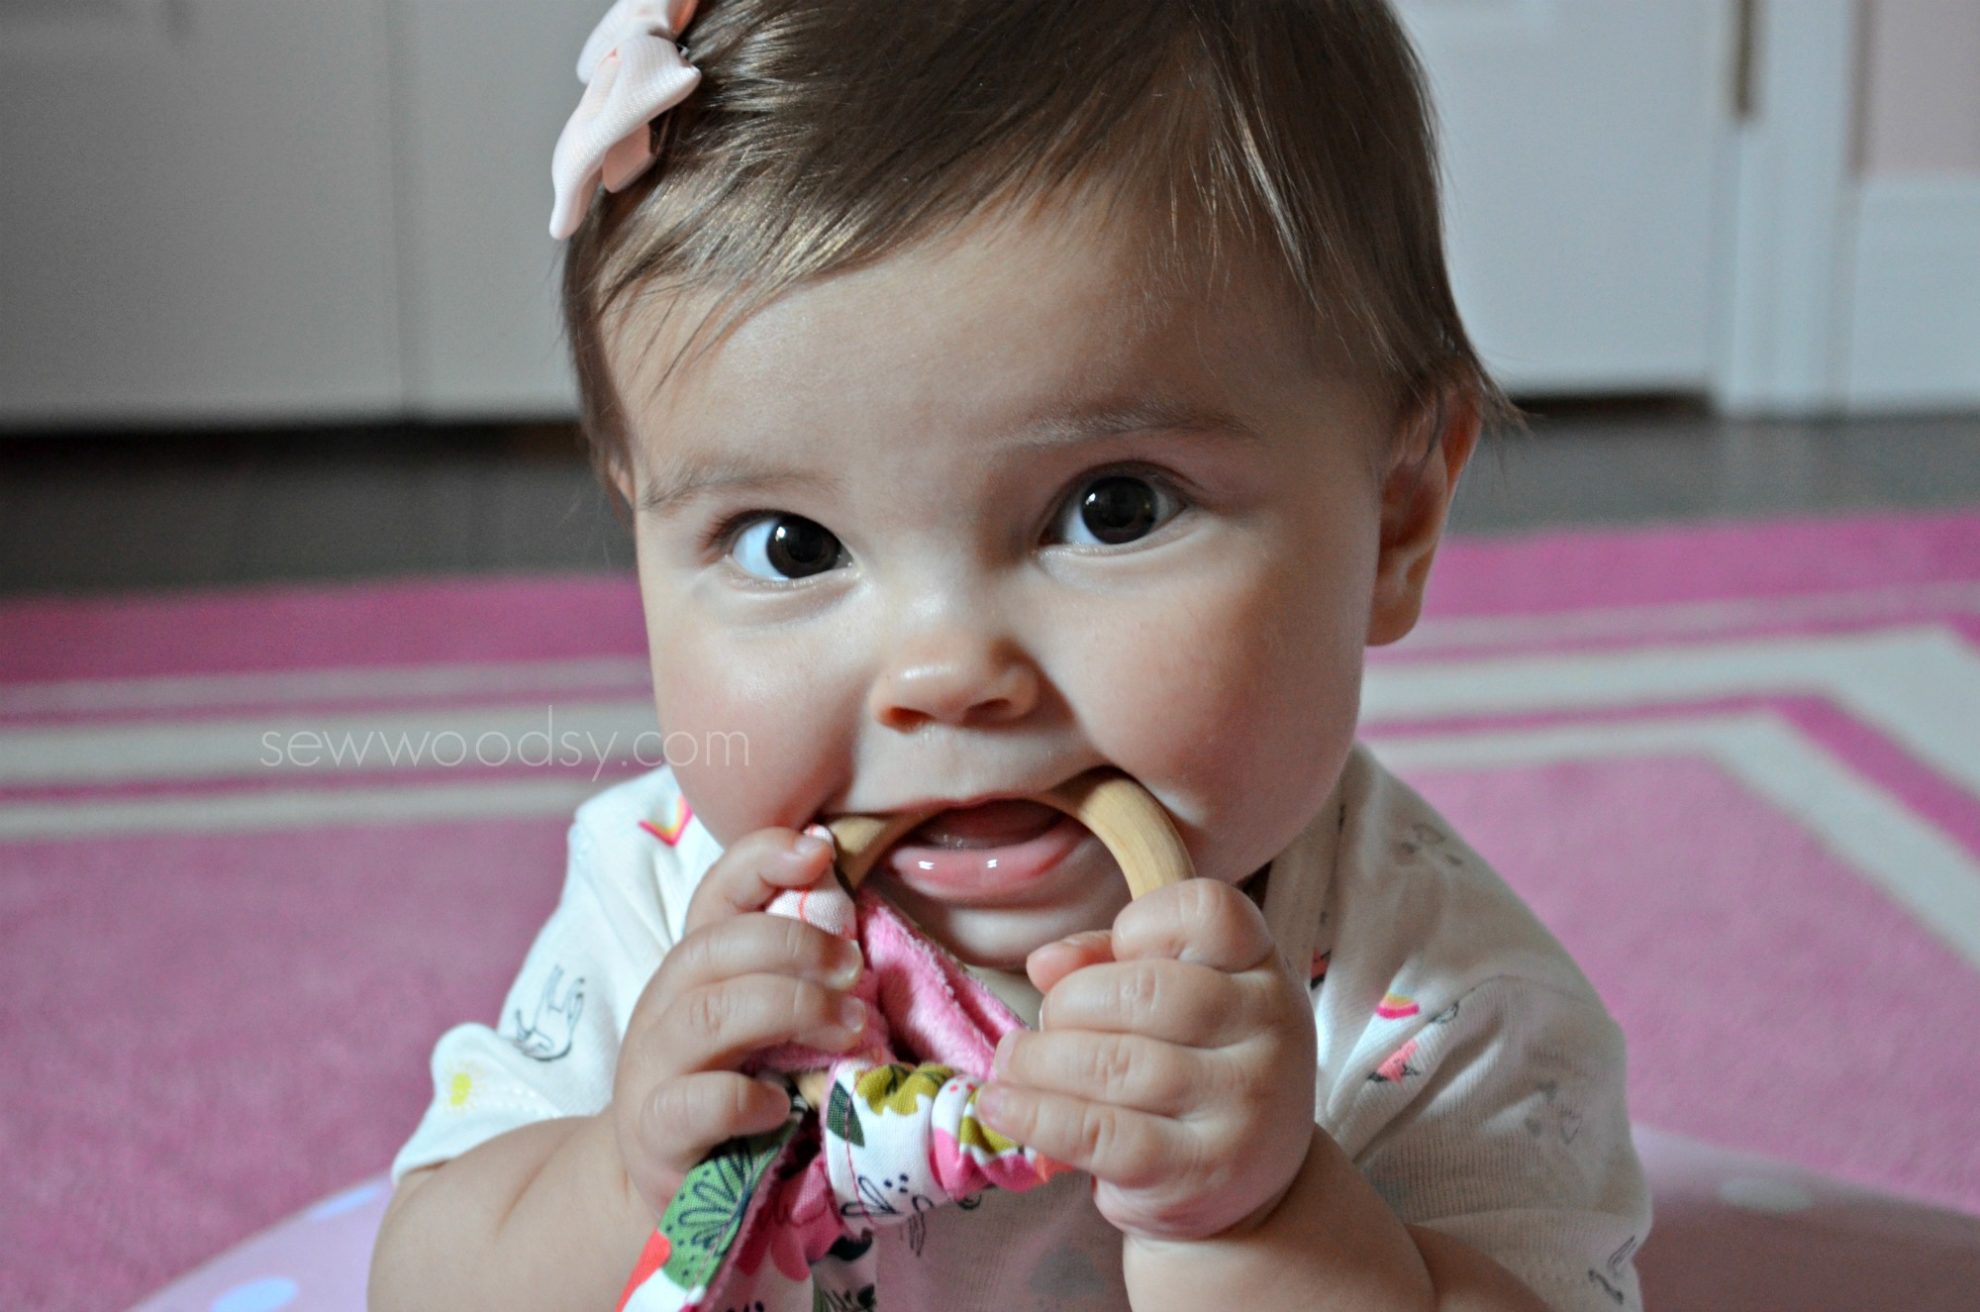
As an experienced parent like myself know, the dreaded teeth stage is no joke. Teething toys, like this DIY wooden teething ring is a great tool for babies to bite on to relax their gums when they start to hurt.
Babies need something safe to chew on because the pressure on their gums as their teeth start to grow can be very graining for them. Of course, we want our babies to feel as comfortable as possible during this process. Even if you don’t have a baby yourself, you can still make one of these to give it to a parent who does. They would love this surprise as it works wonders. Thanks to the Cricut maker and a sewing machine, a DIY wooden teething ring is possible and easy too!
Supplies
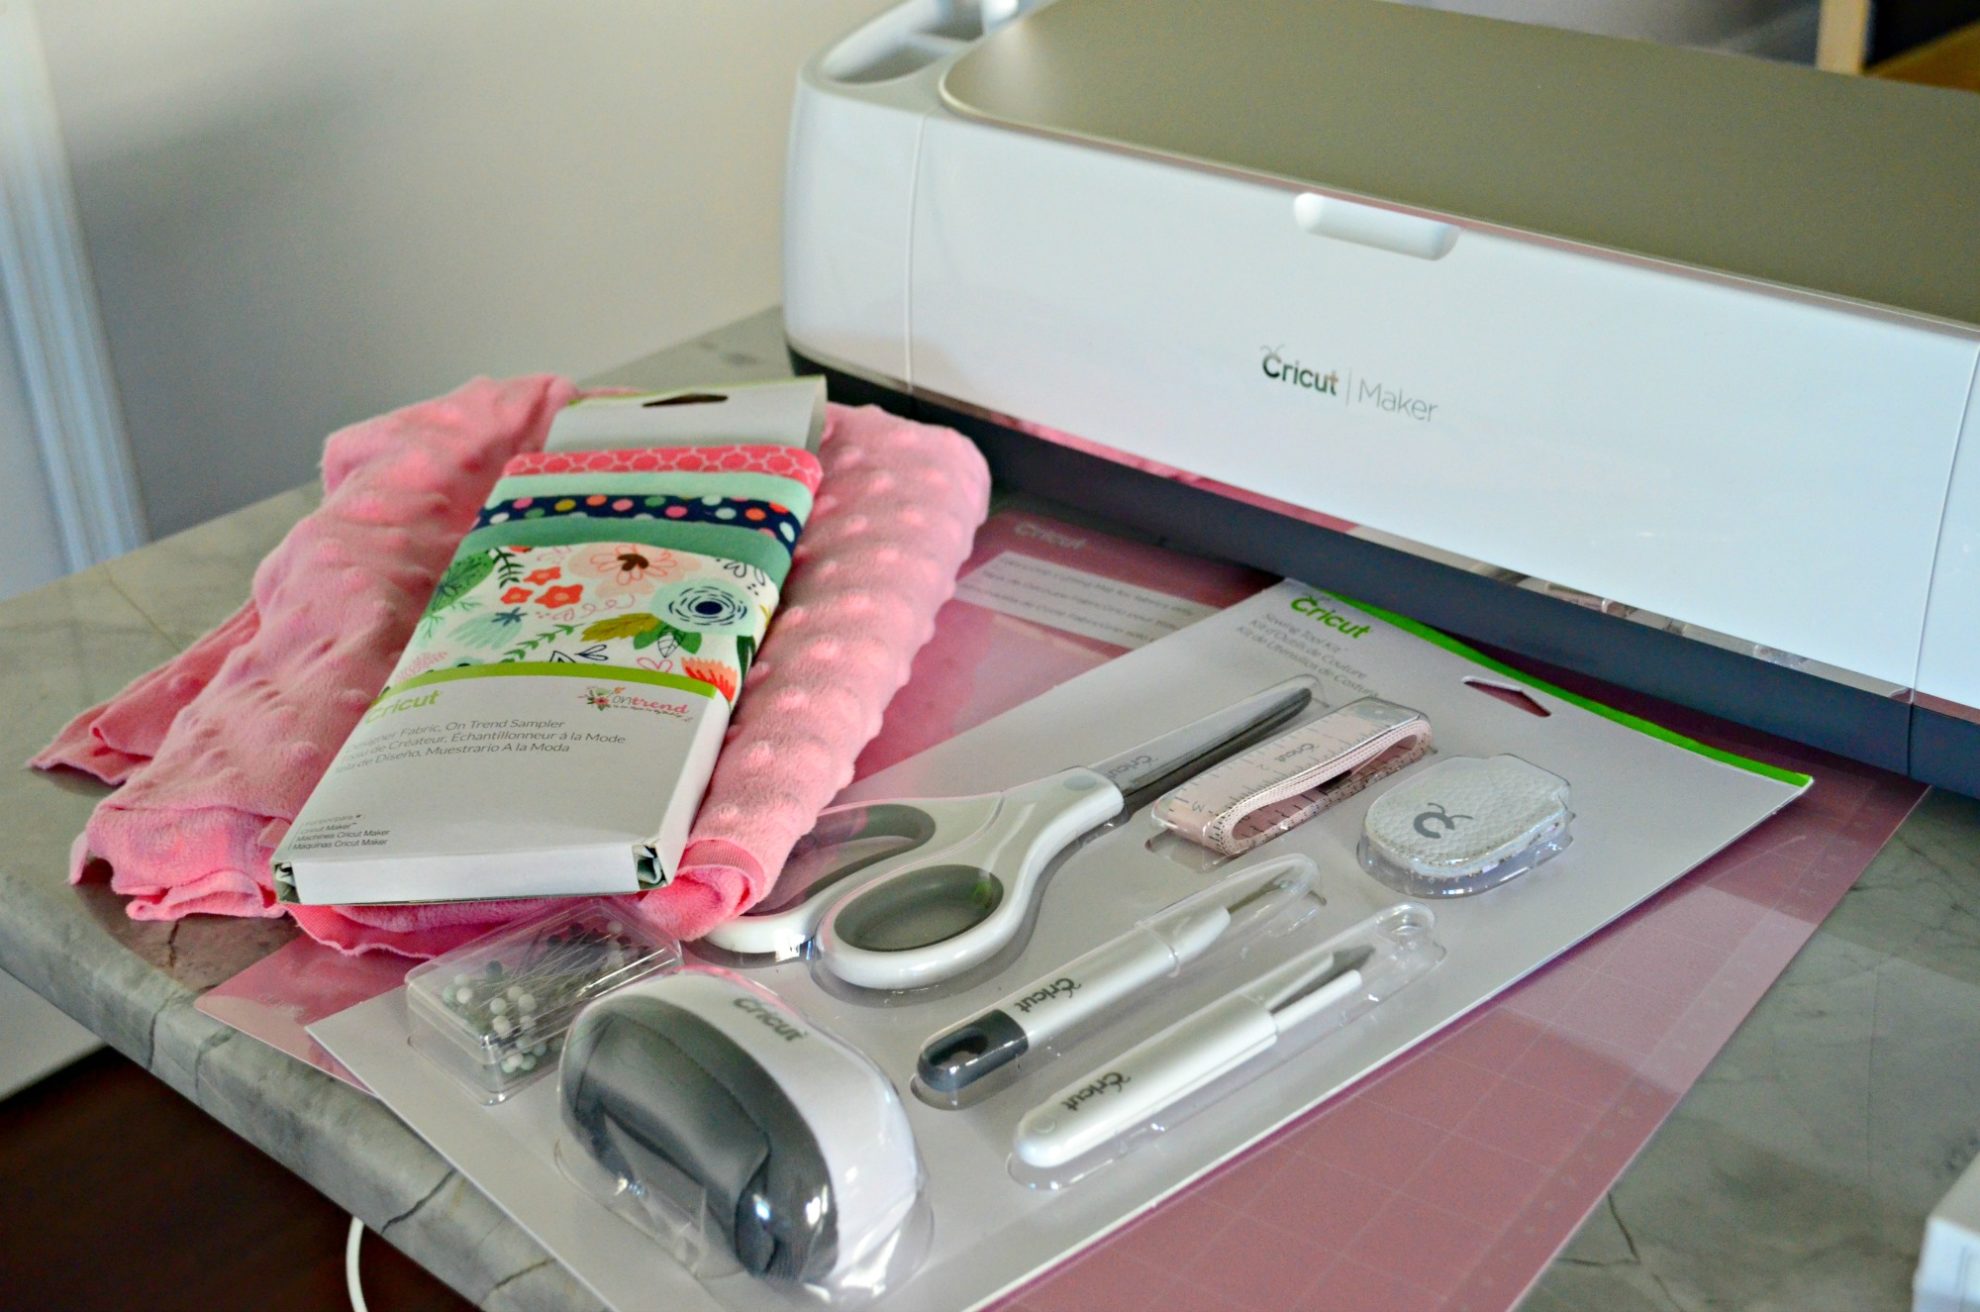
- Teething Ring pattern in Cricut Design Space
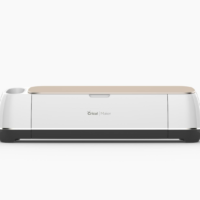
- Cricut Maker
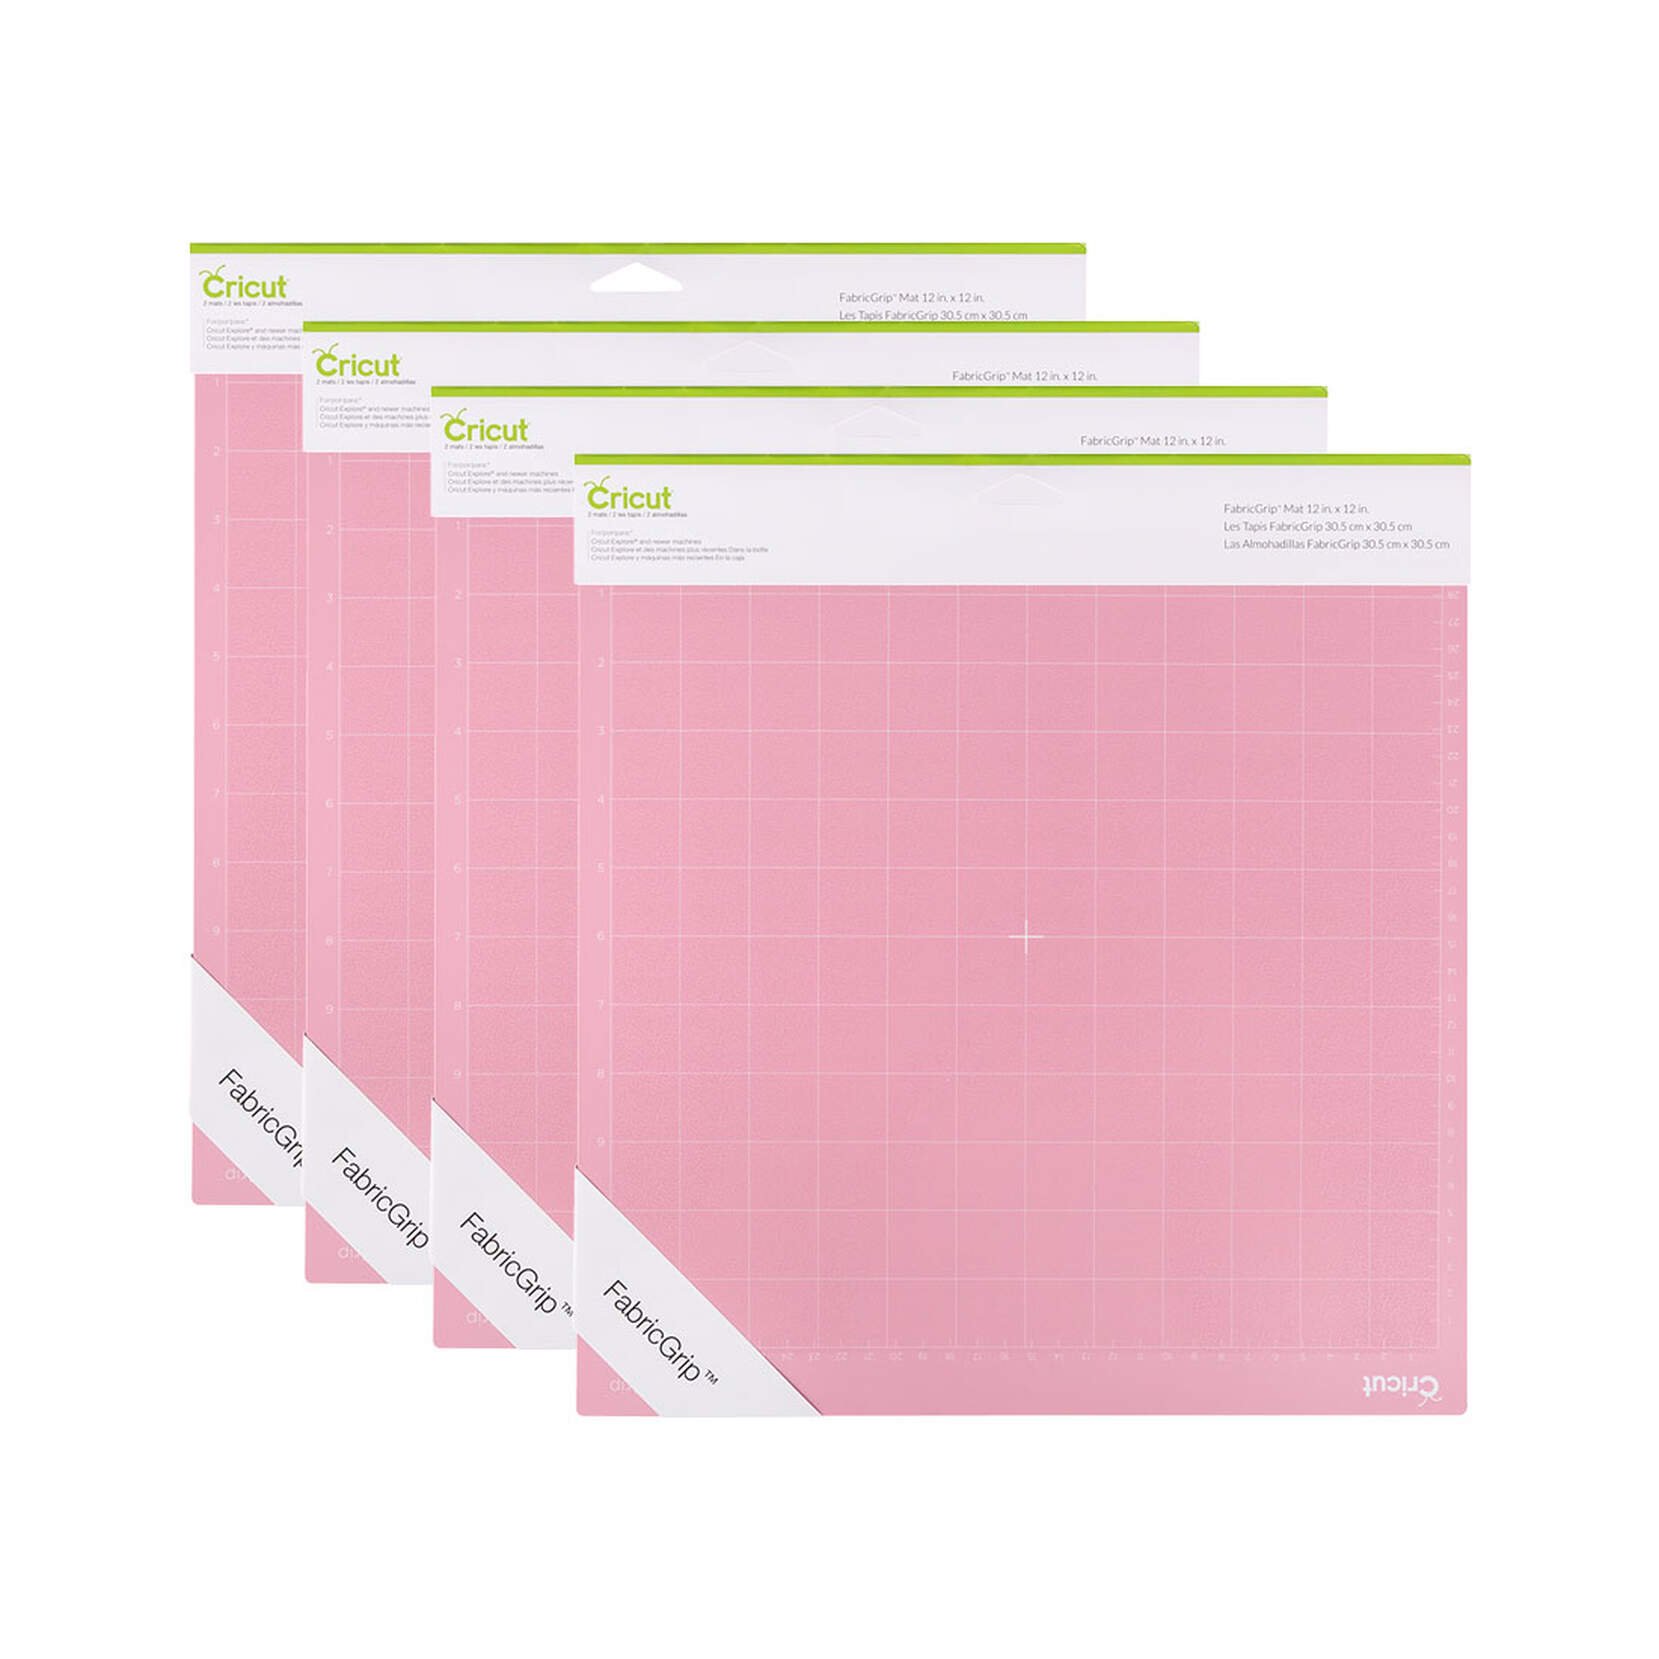
- Cricut 12 in. x24in.FabricGrip™ Mat
- 6 x 22 in. Cotton Fabric
- 6 x 22 in. Minky Fabric
- Cricut Sewing Kit
- Sewing Machine
- 3-inch wood teething ring
Directions
First step is to get your Cricut maker out and make sure you have all the supplies needed listed above.
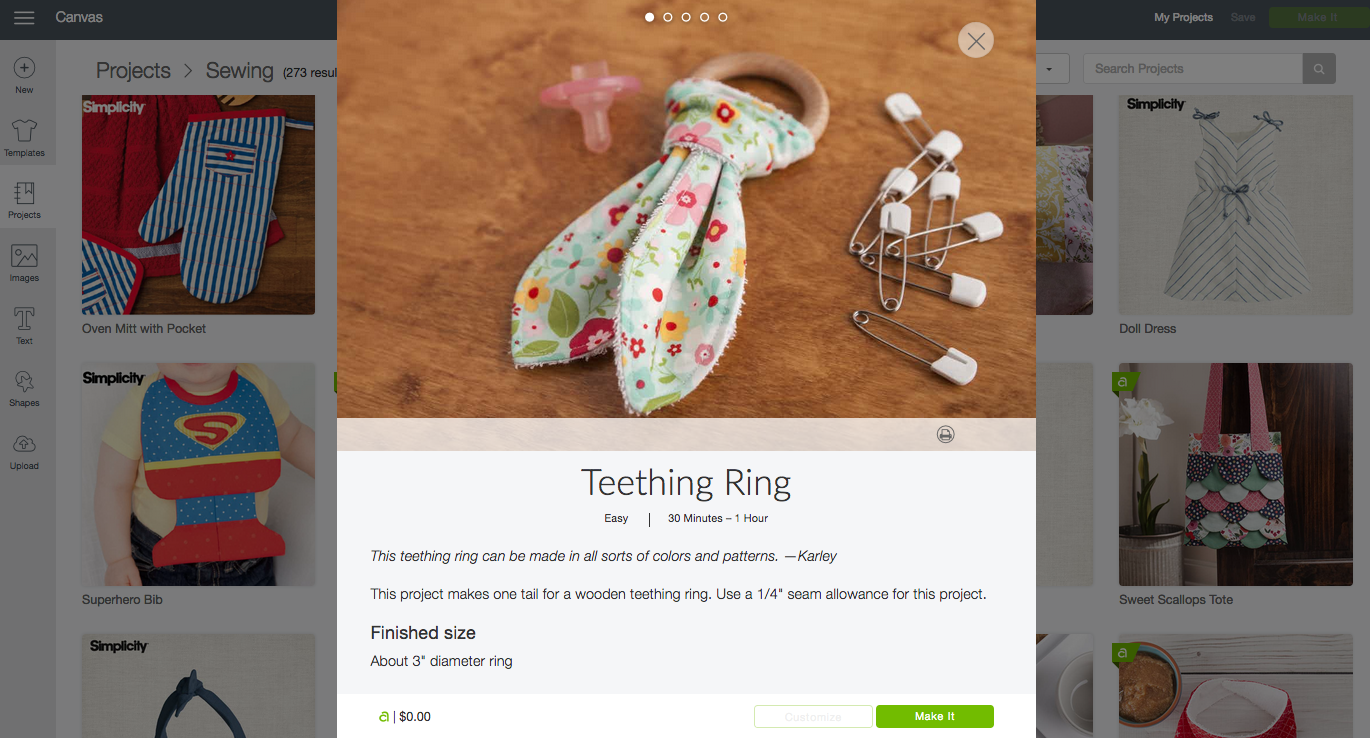
Next, follow the prompt for the Teething Ring pattern in Cricut Design Space. Every sewing project comes with a supply list, a cut list, and directions.
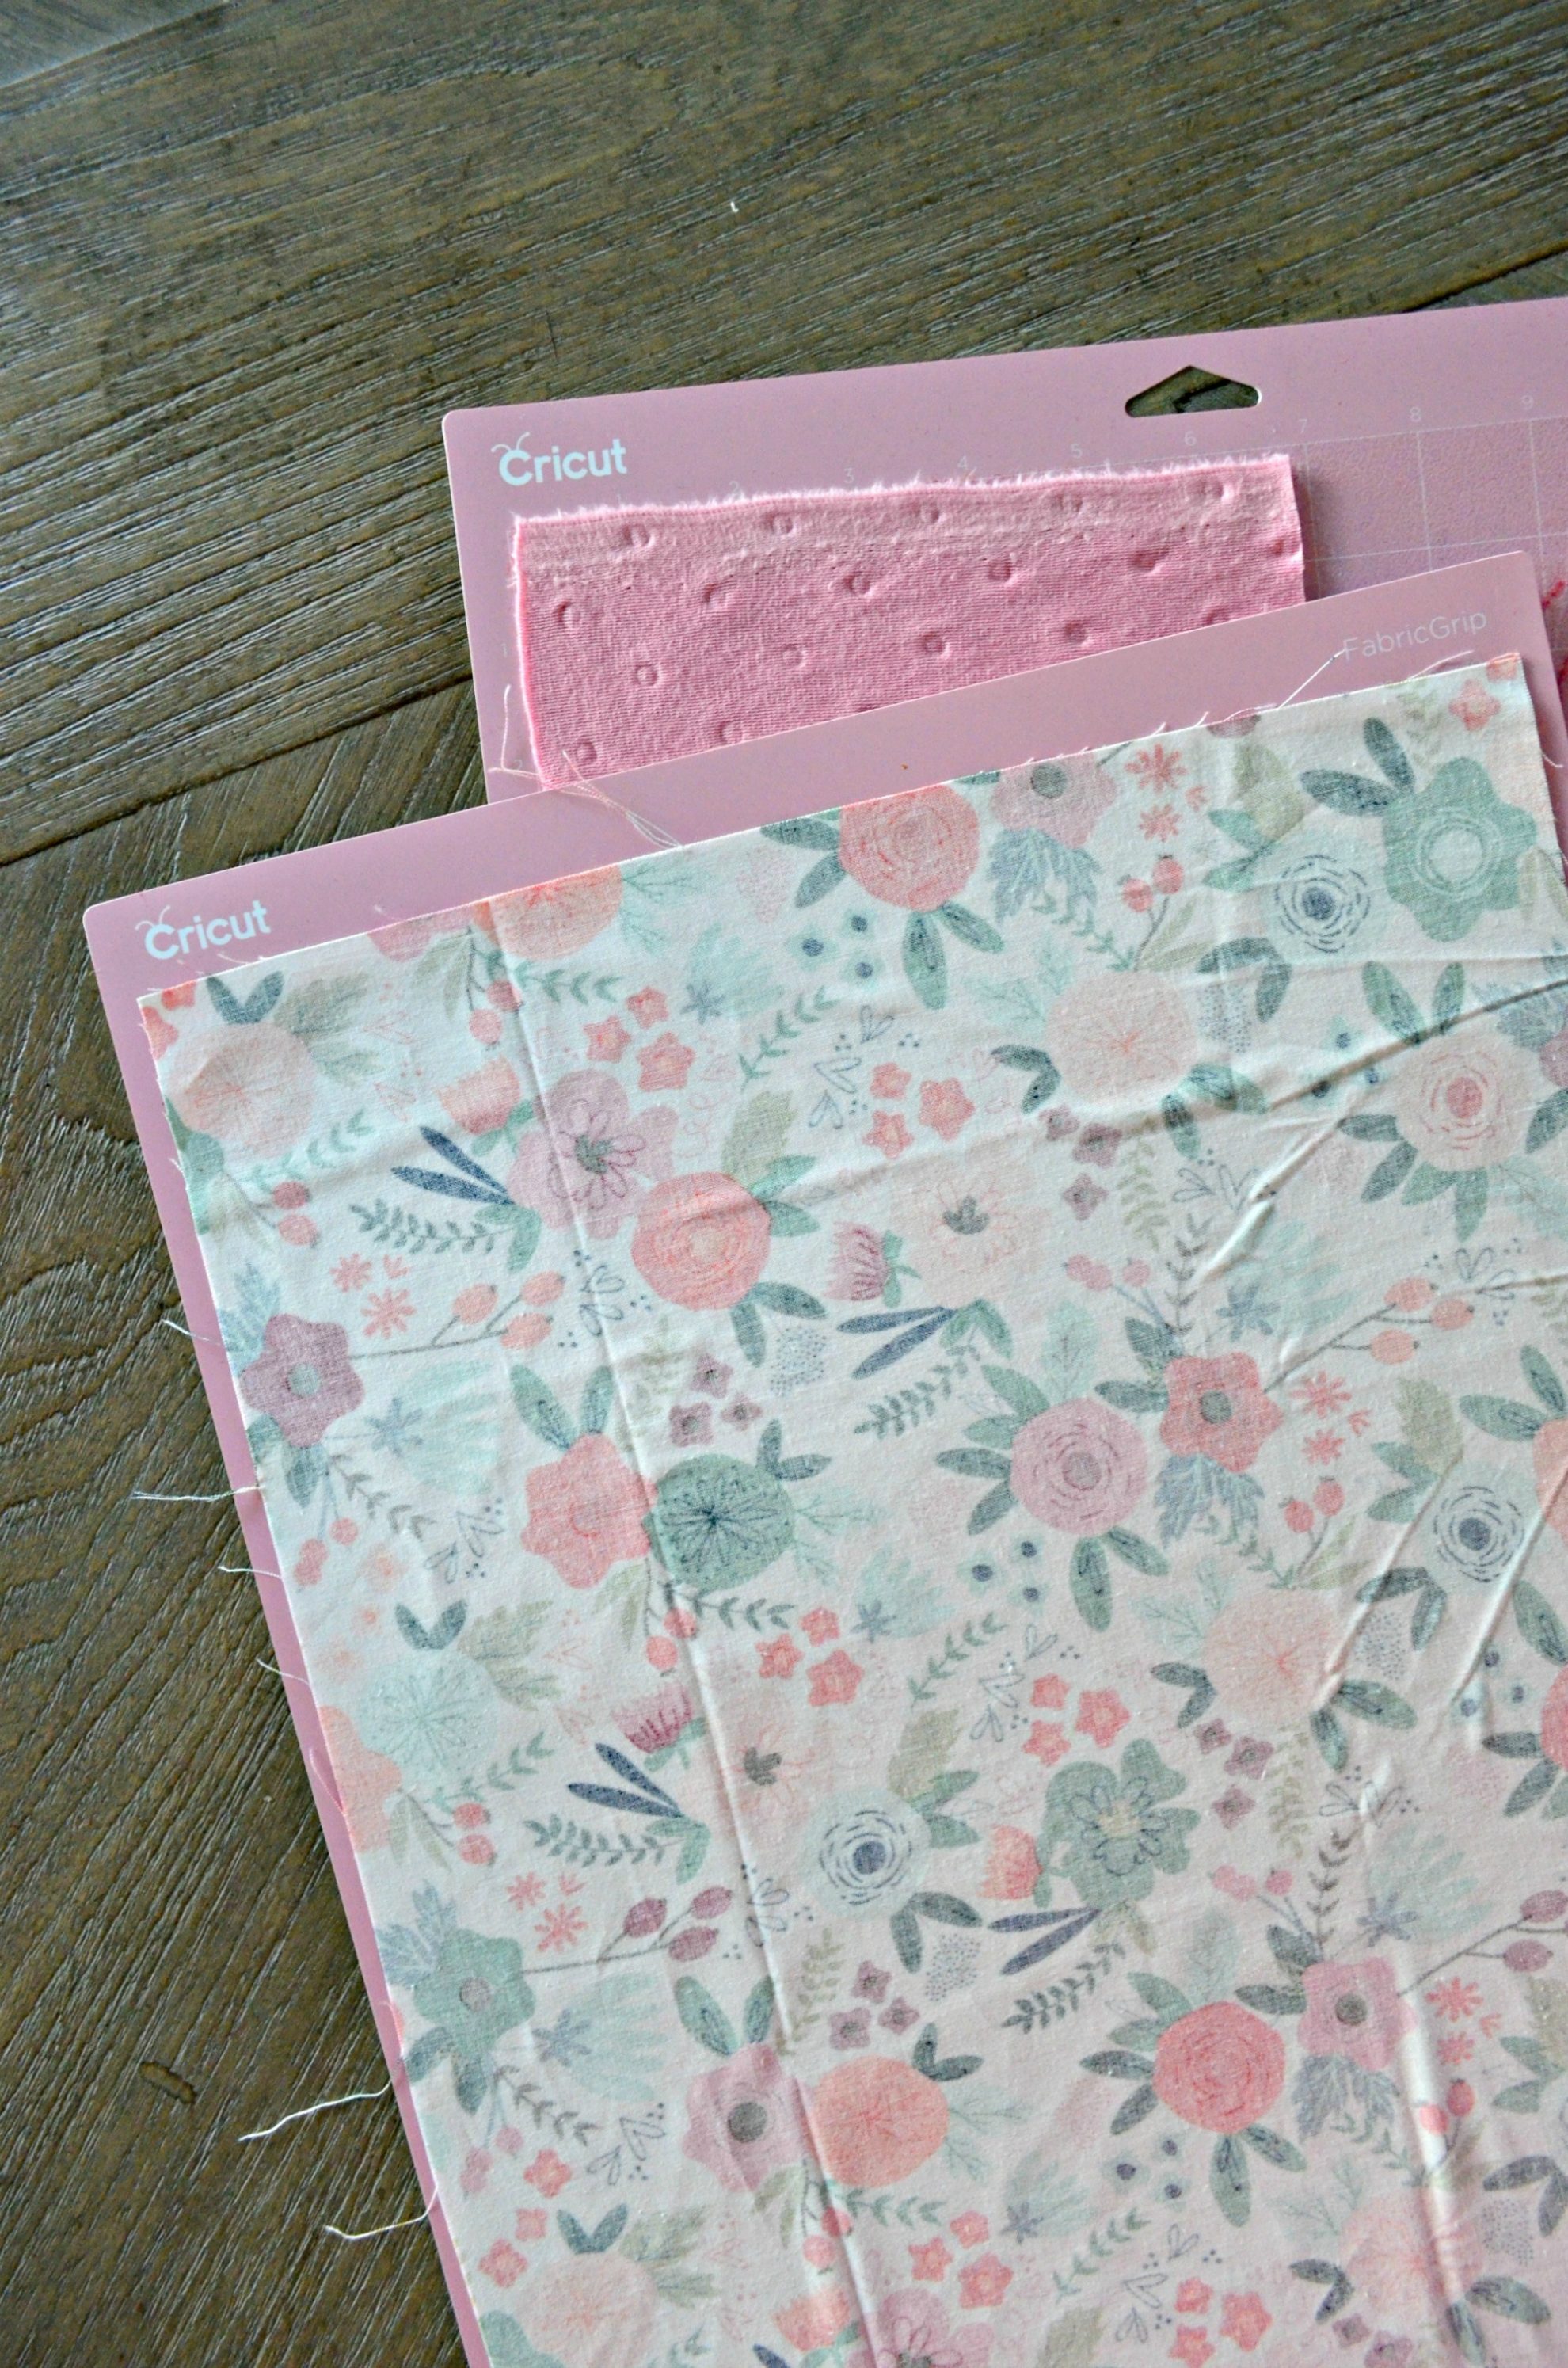
Cut the fabric to the size of the Cricut 12 in. x24in.FabricGrip™ Mat.
How to Use Cricut Rotary Blade
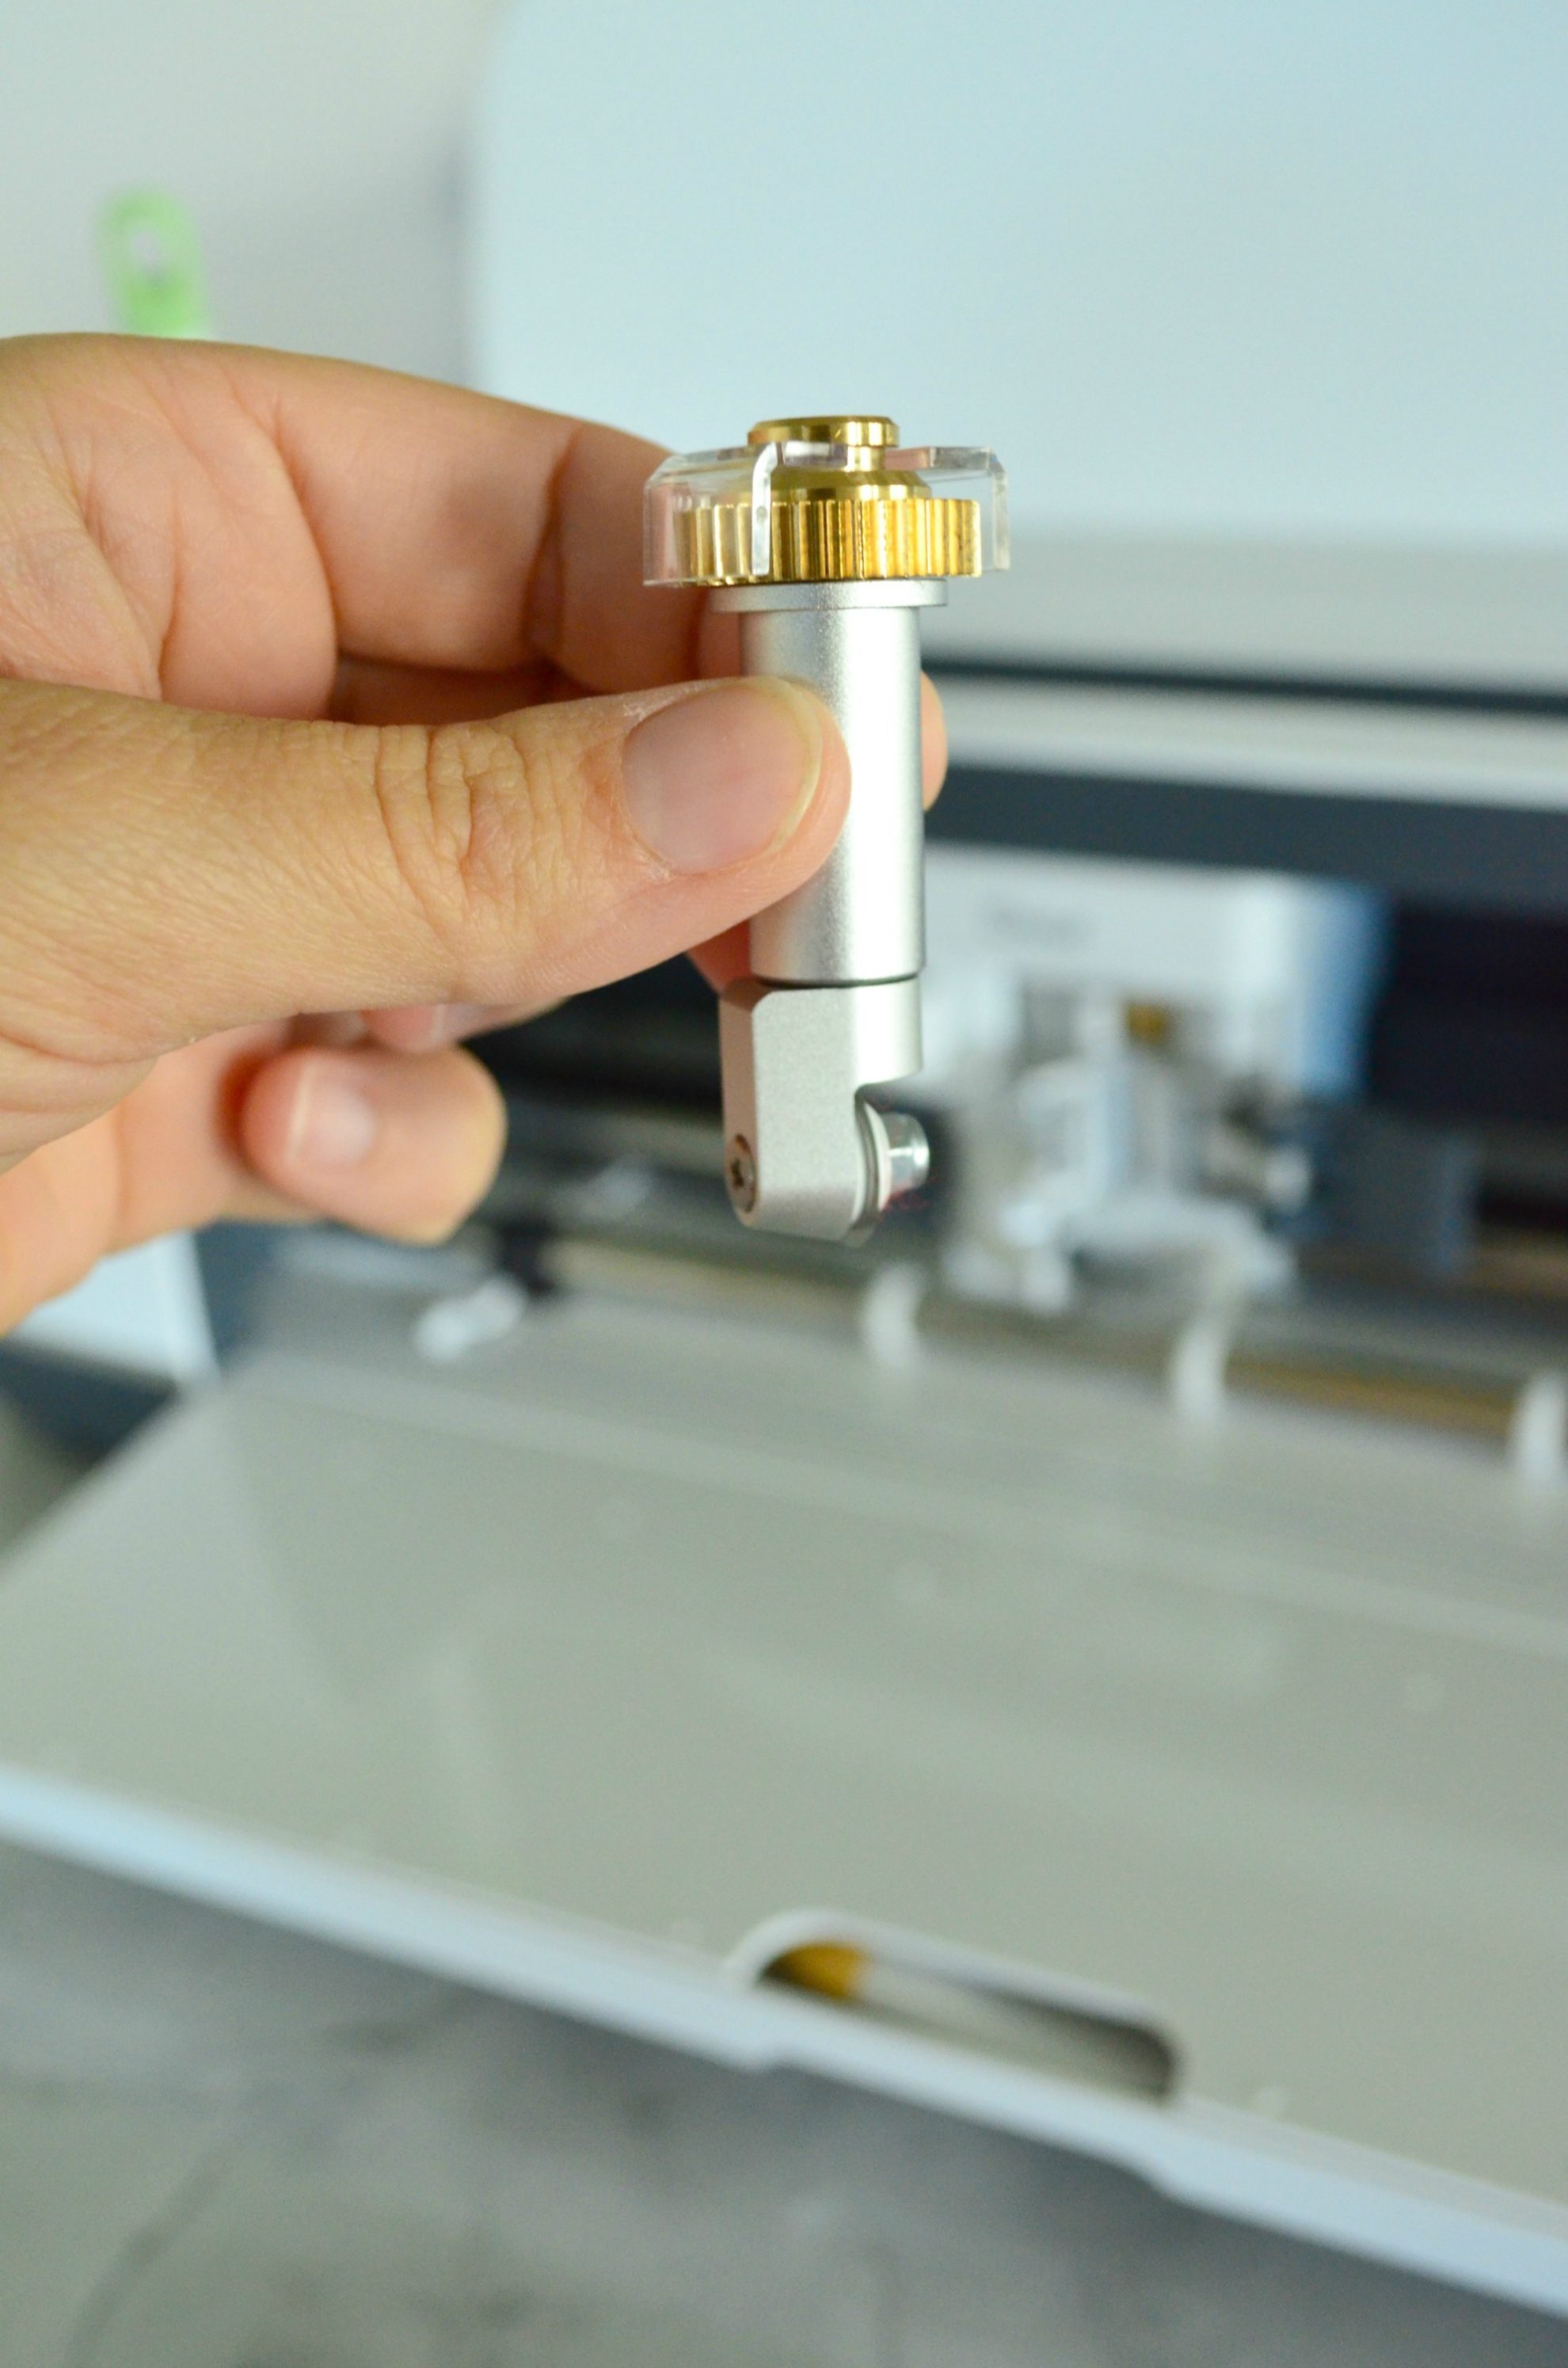
Place the rotary blade in the Cricut Maker.
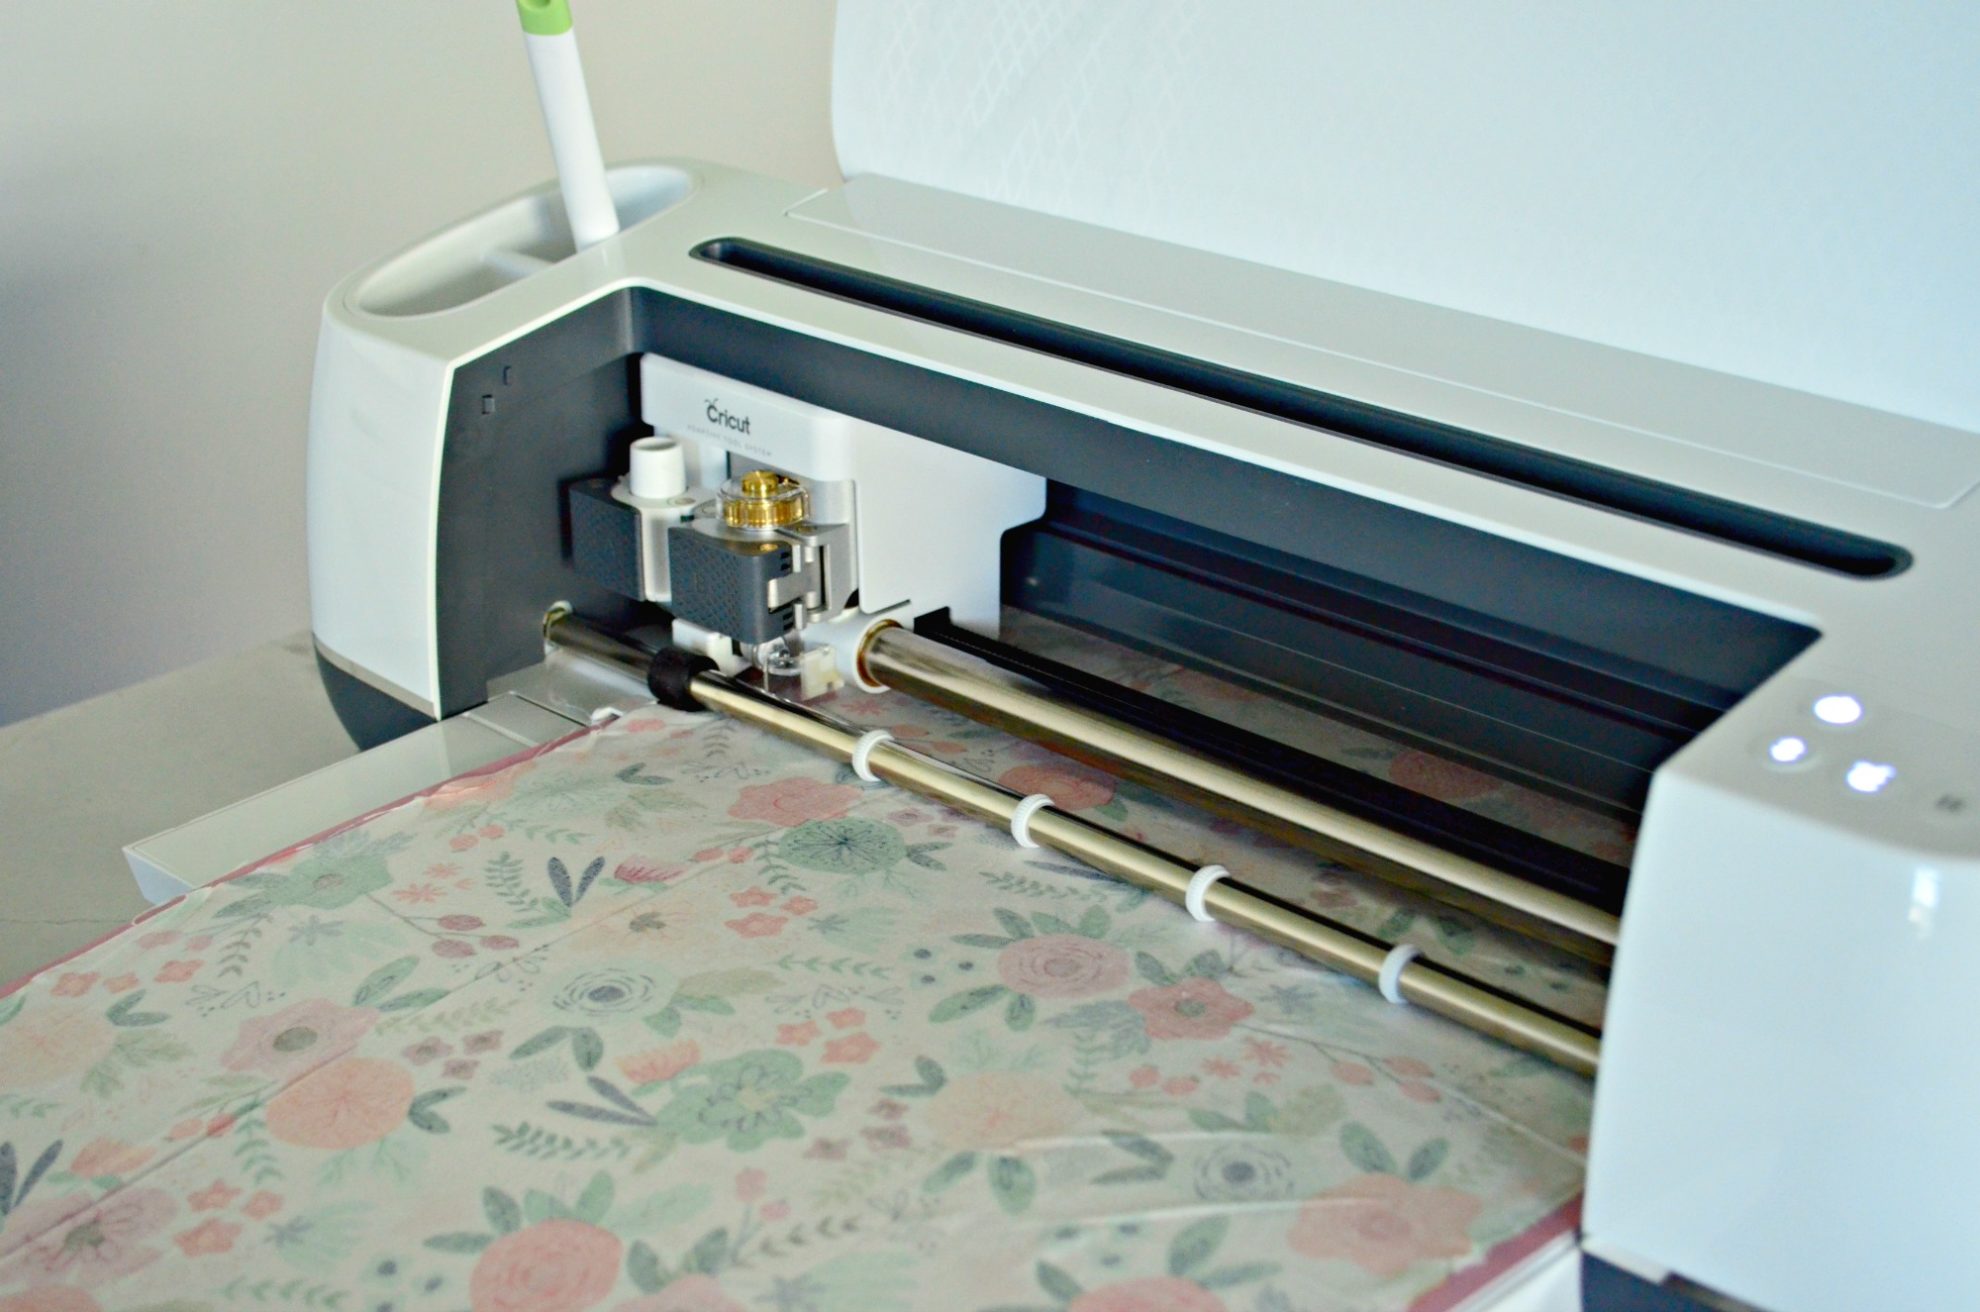
Then, cut the two pieces of fabric using your Cricut Maker.
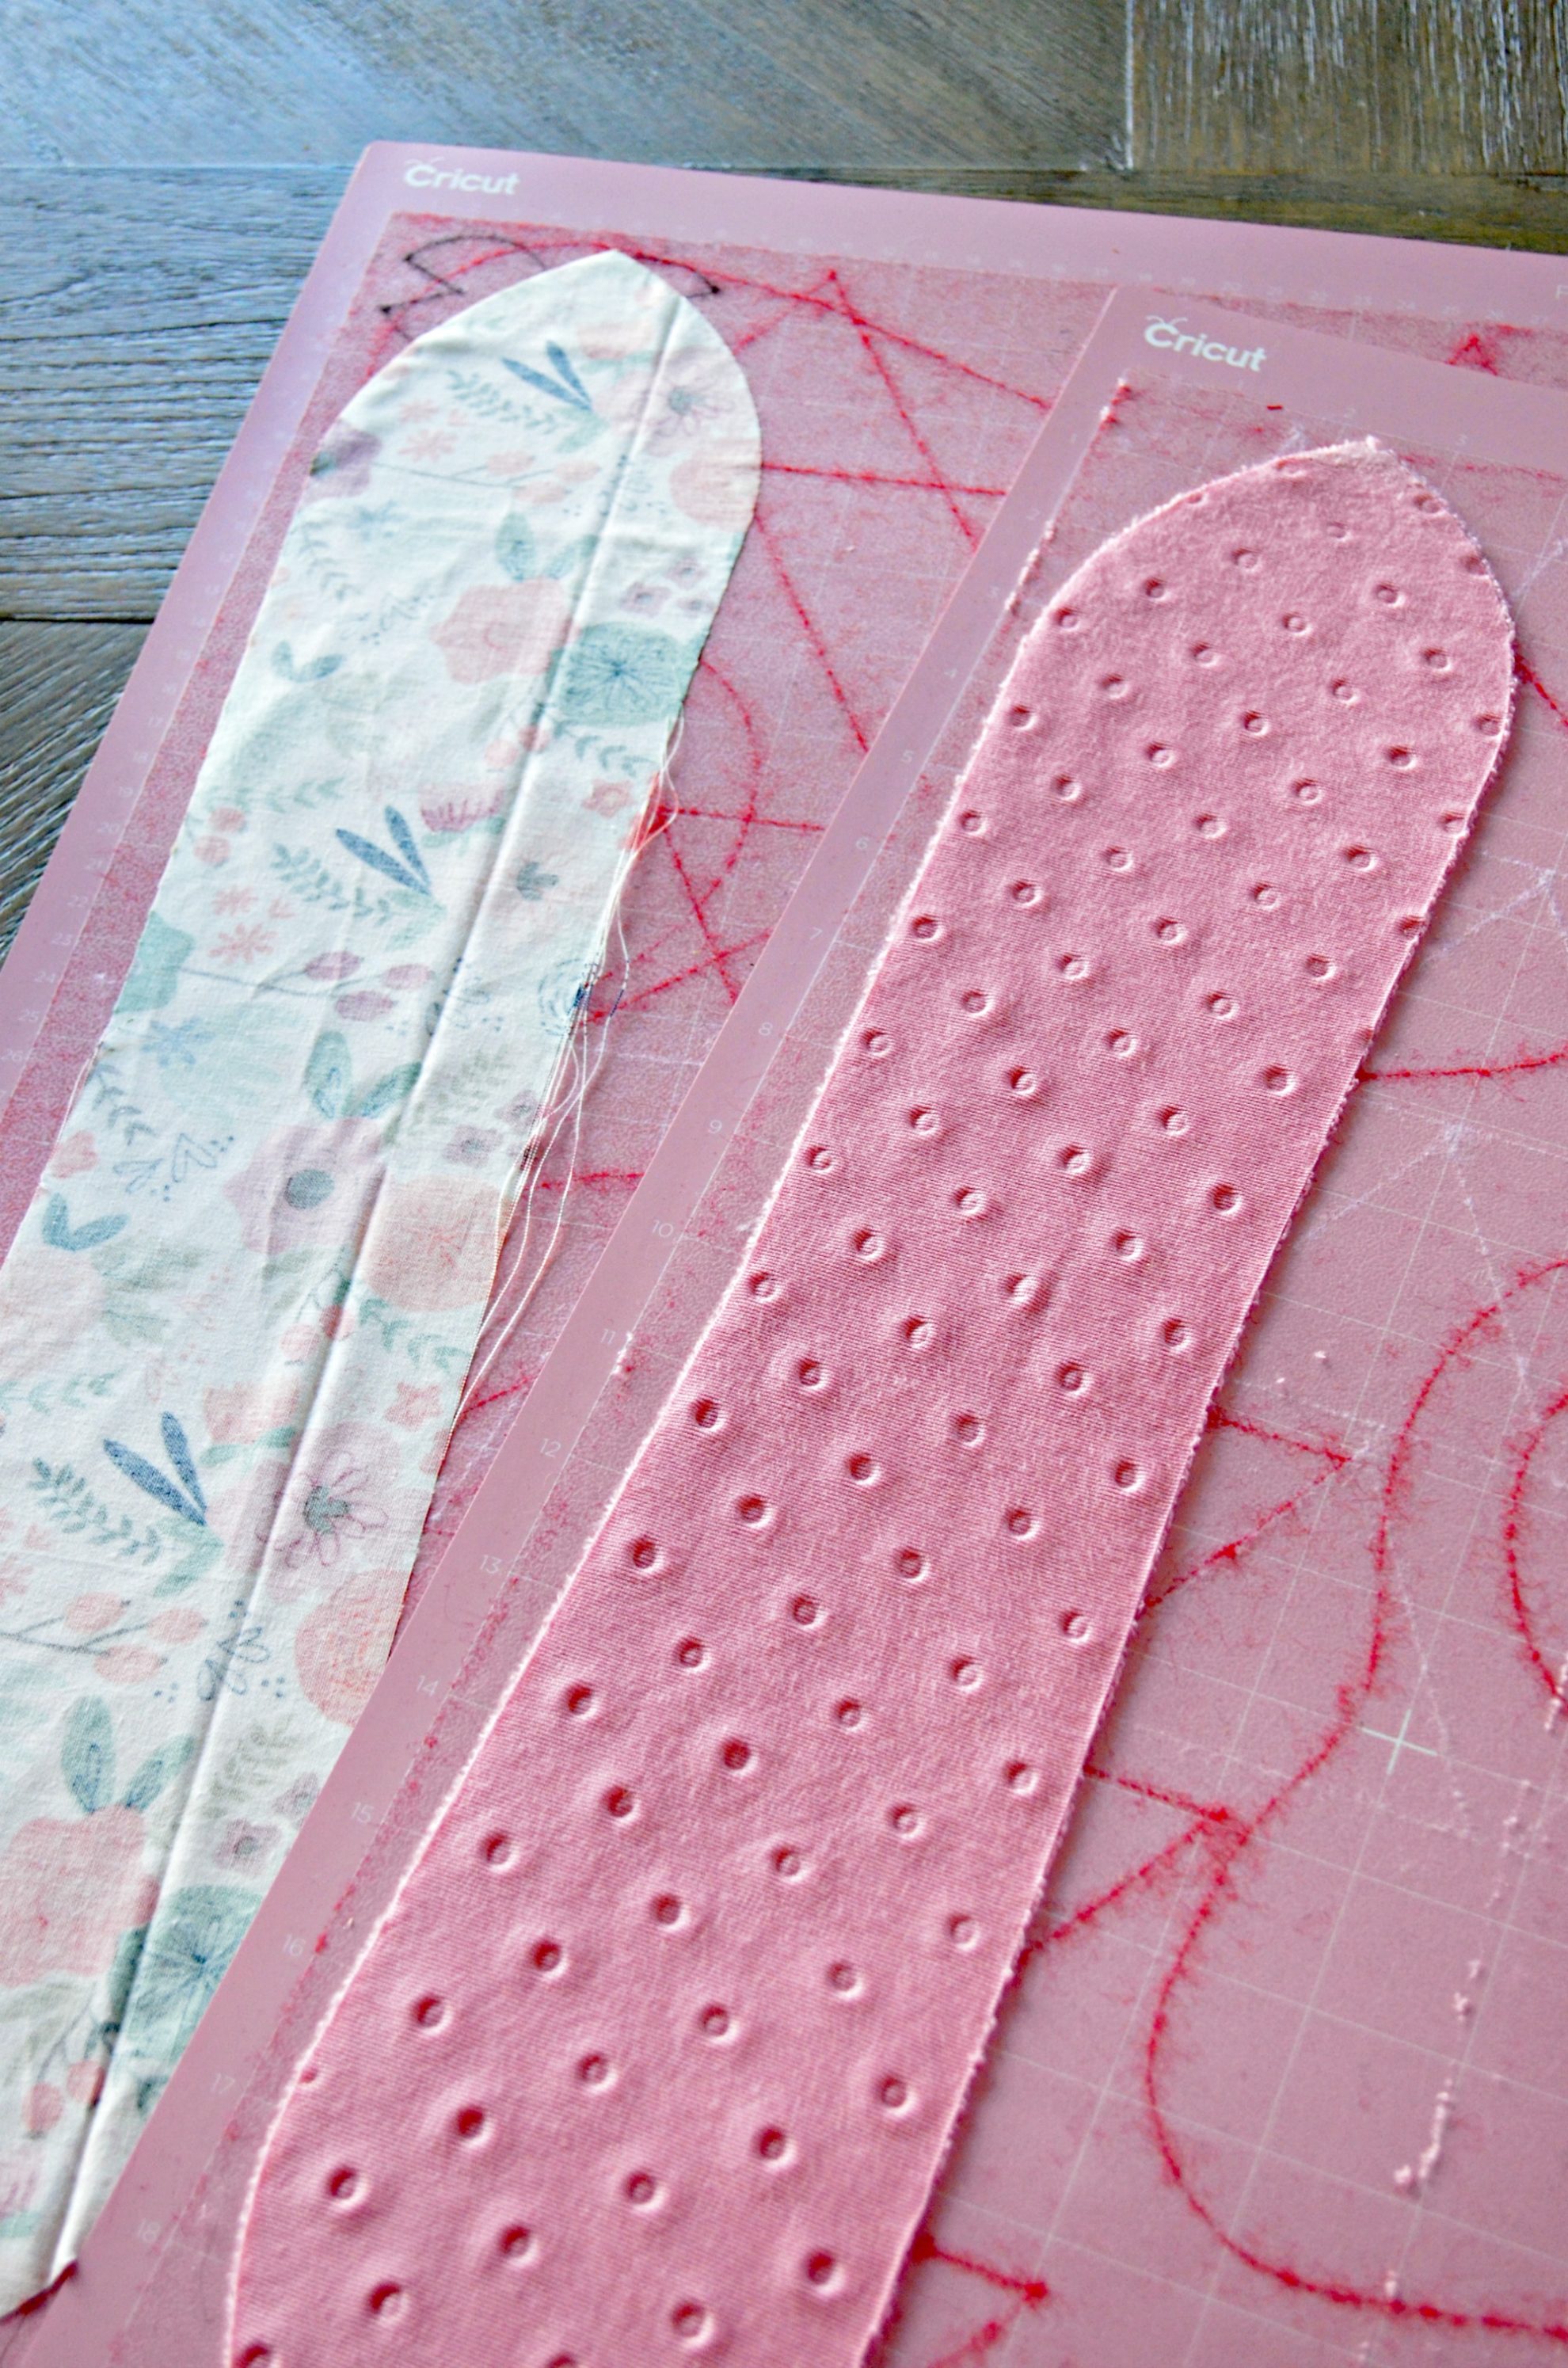
Remove the fabric from the mat.
How to Sew Minky Fabric
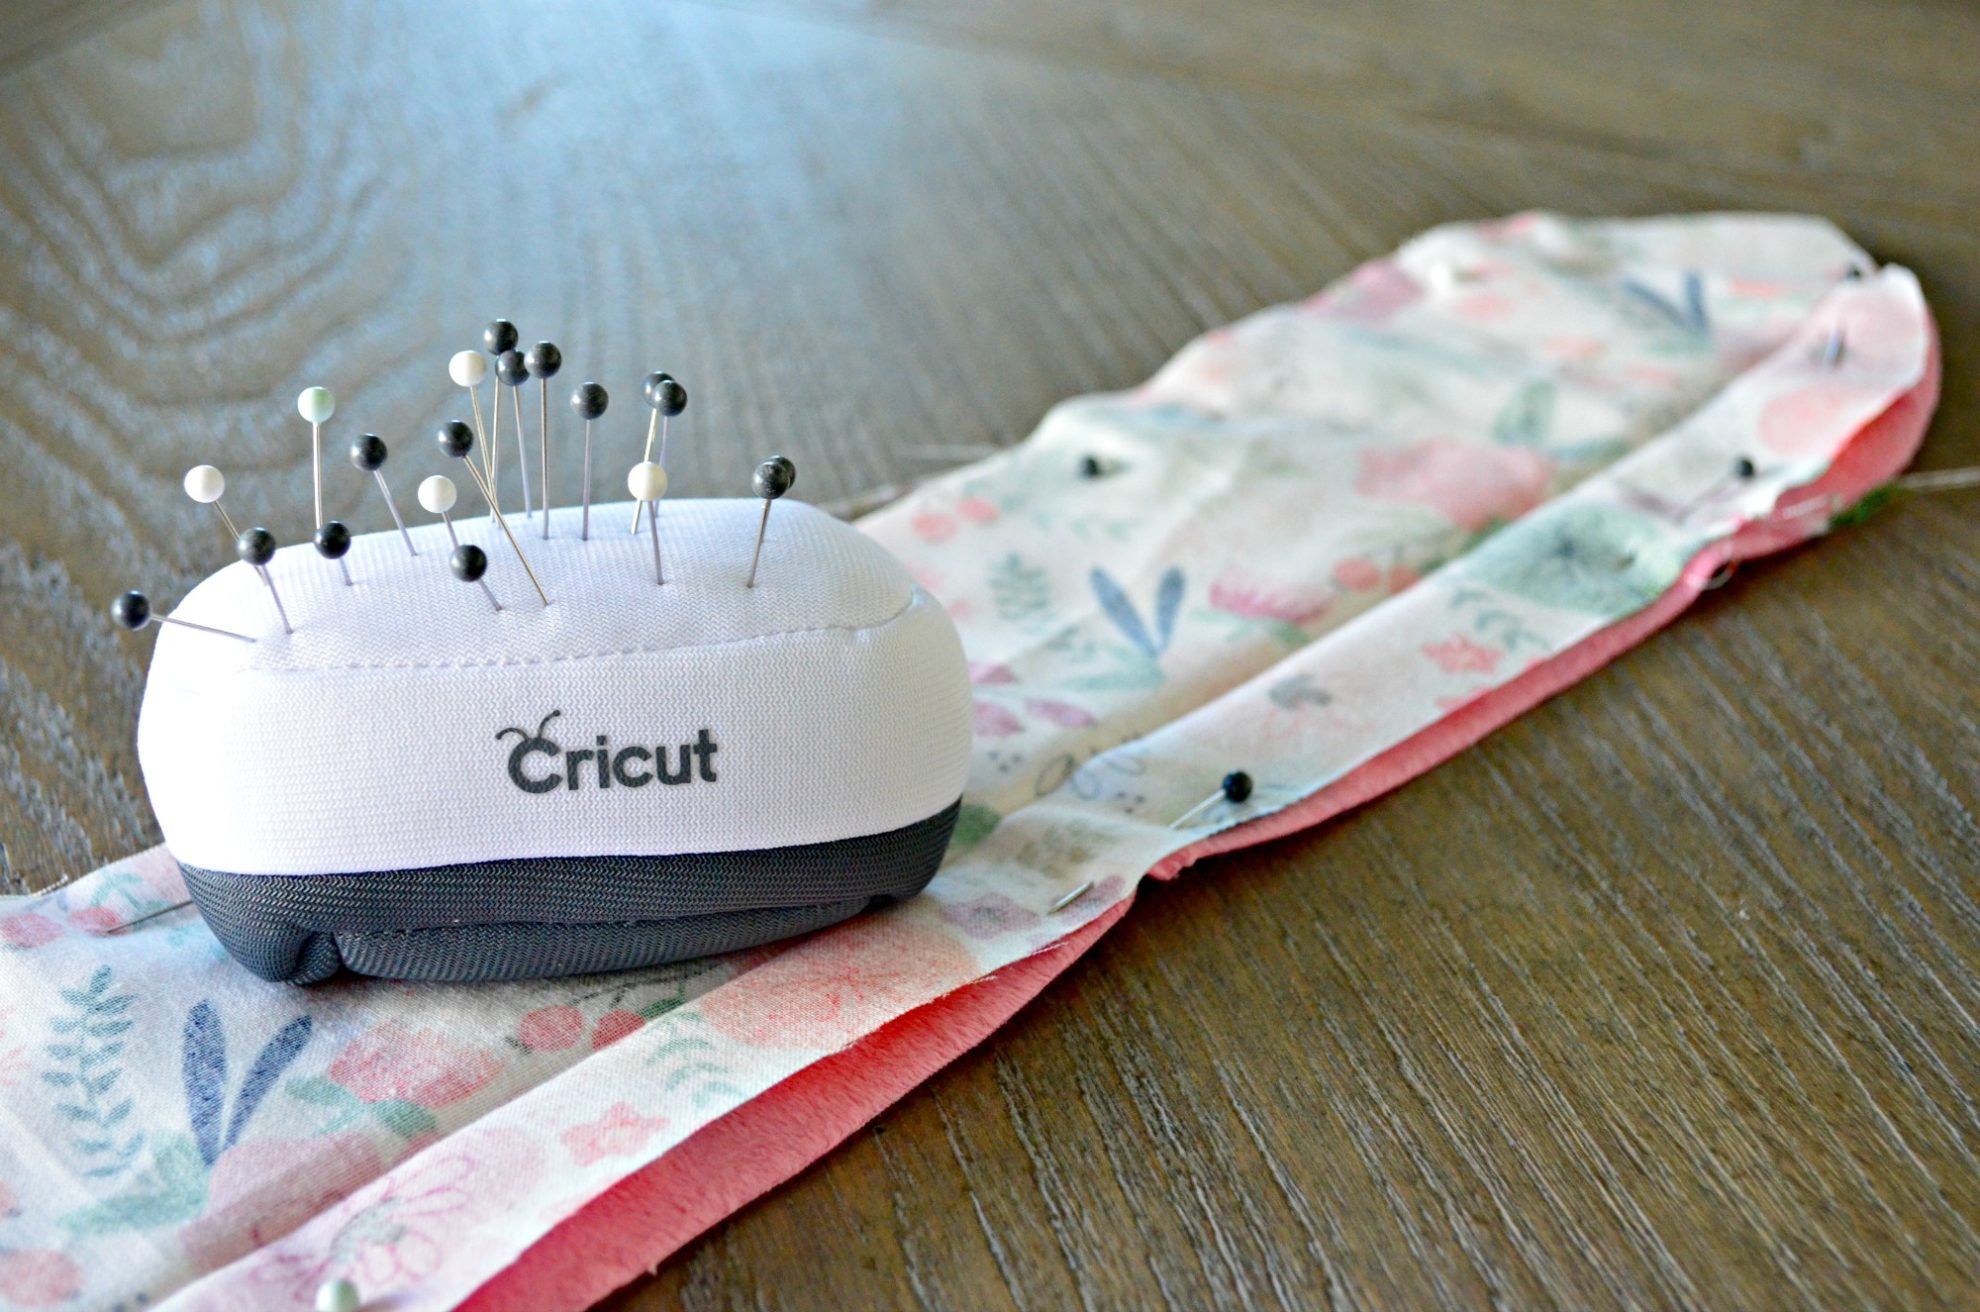
Next, pin the right sides together.
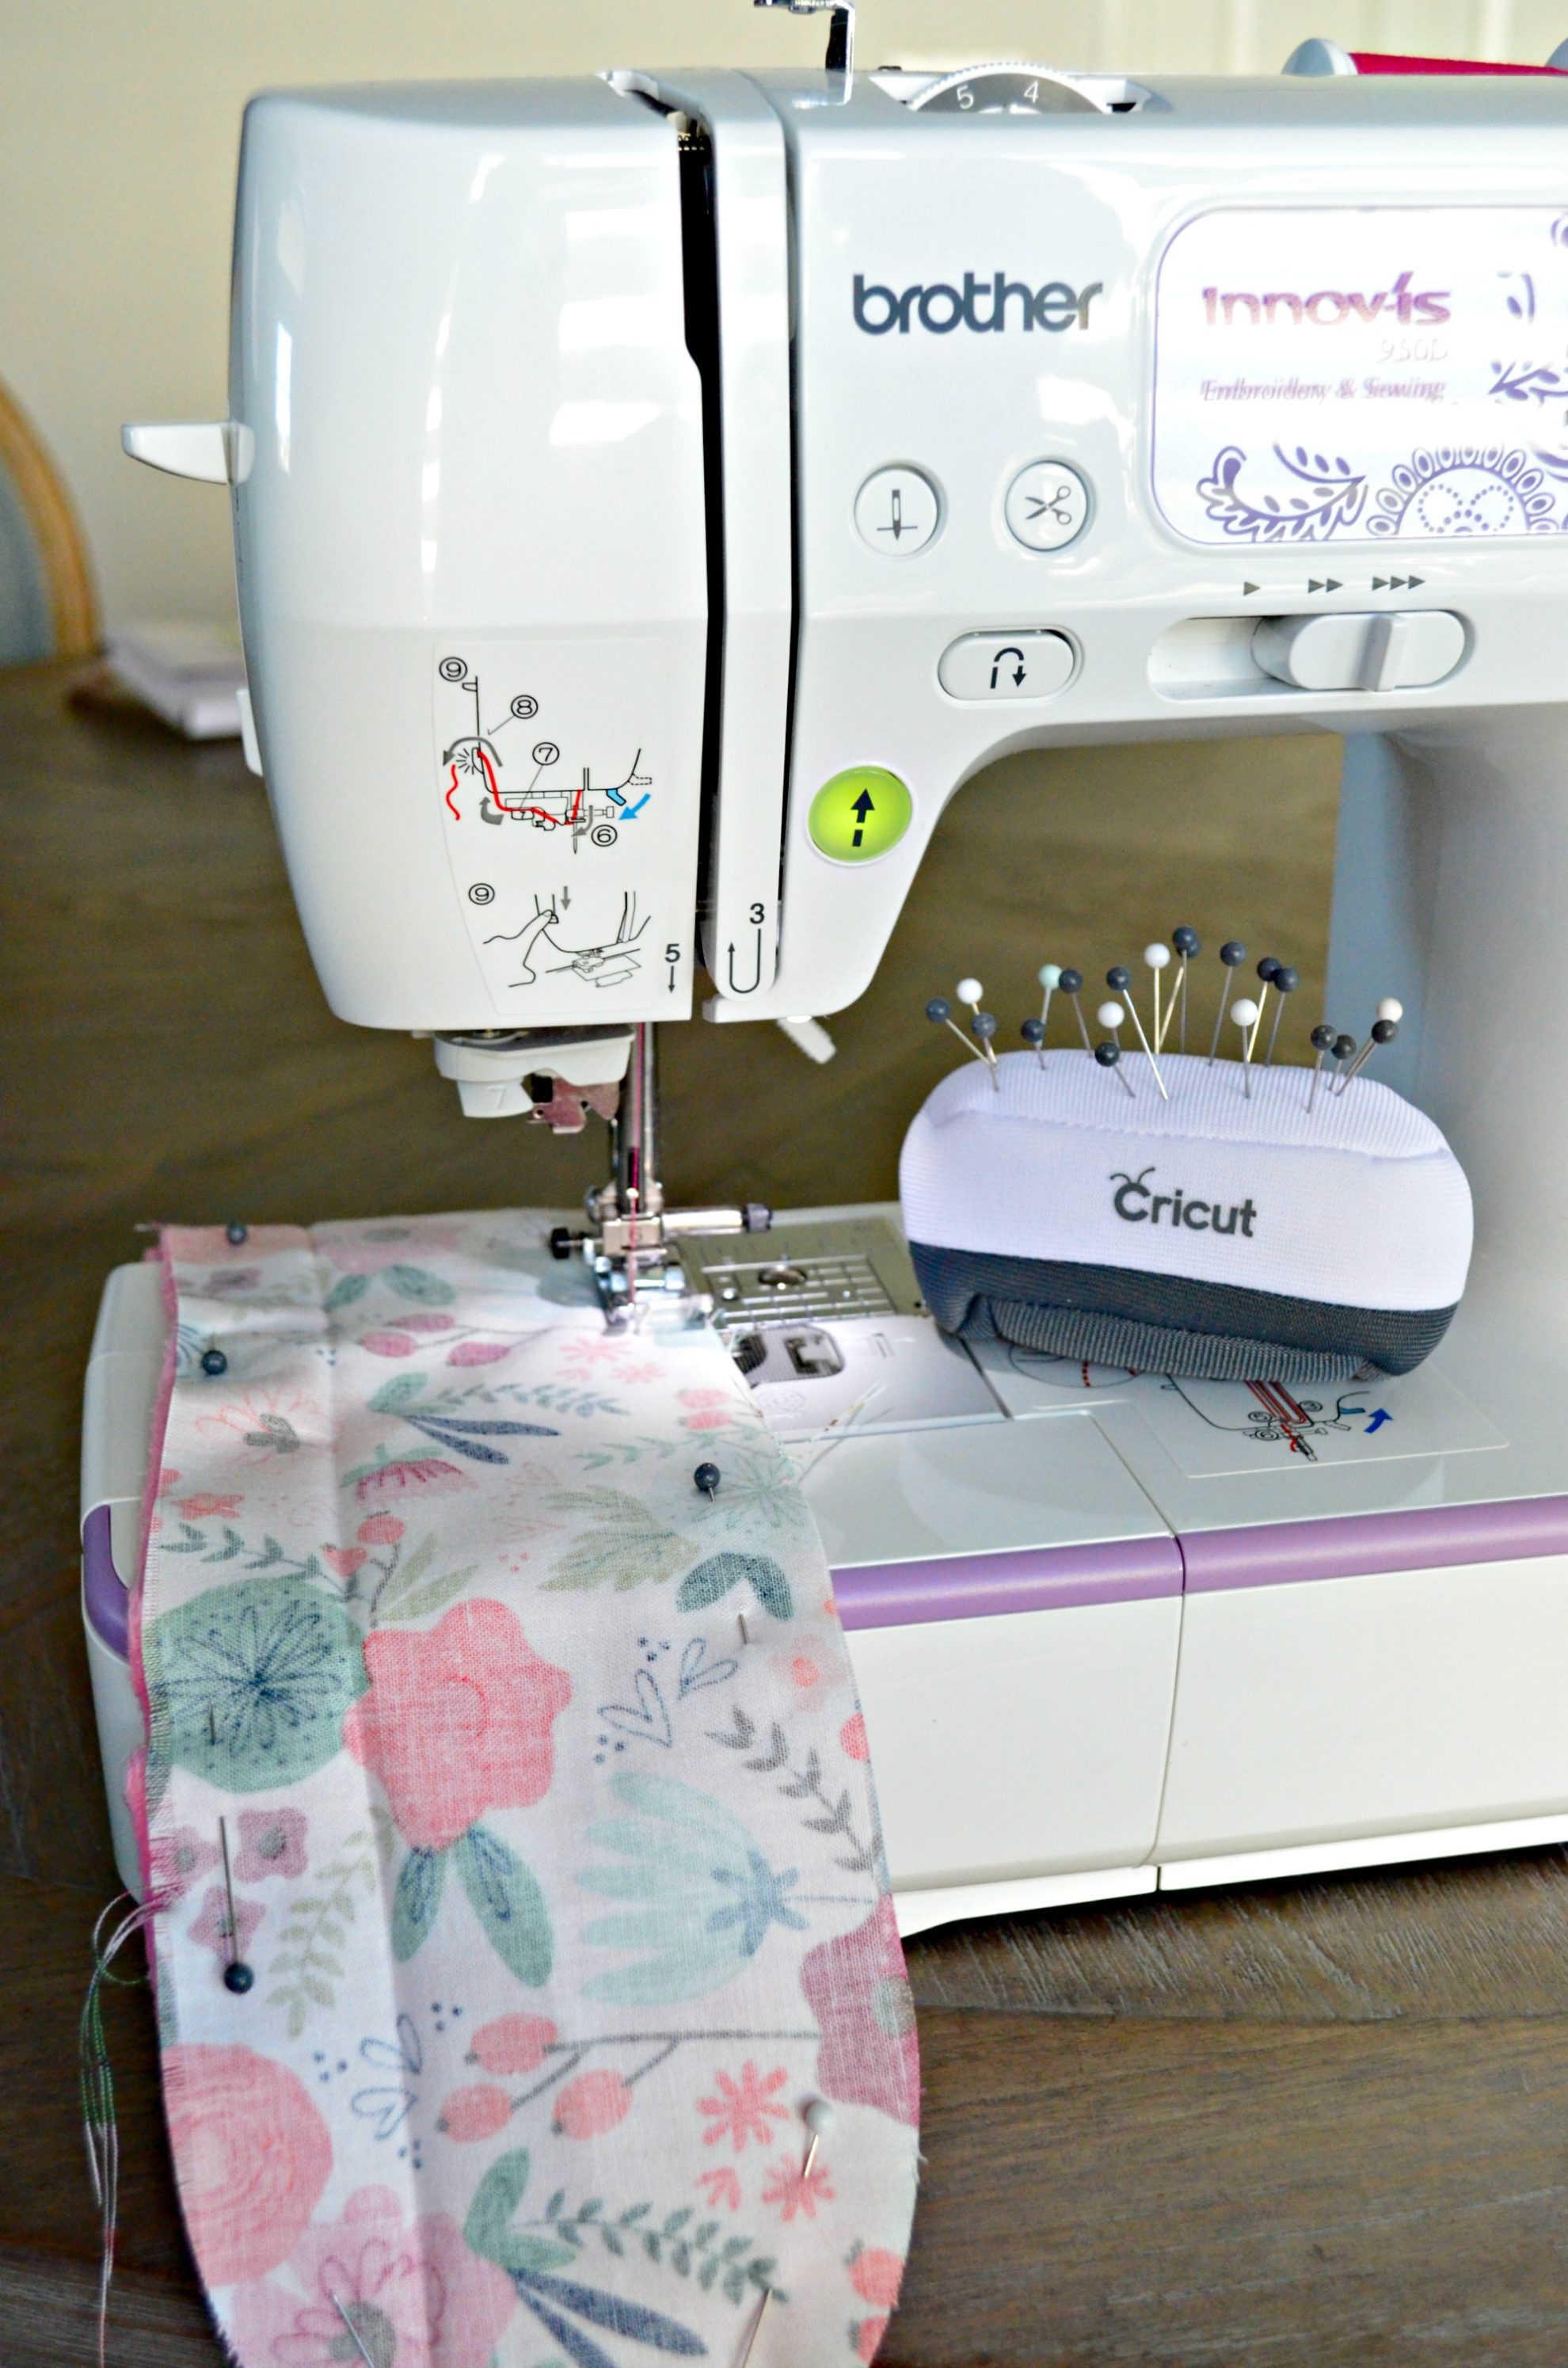
Begin sewing around the edge of the fabric using a ¼″ seam allowance. Leave a 2-3″ opening on one long side for turning.
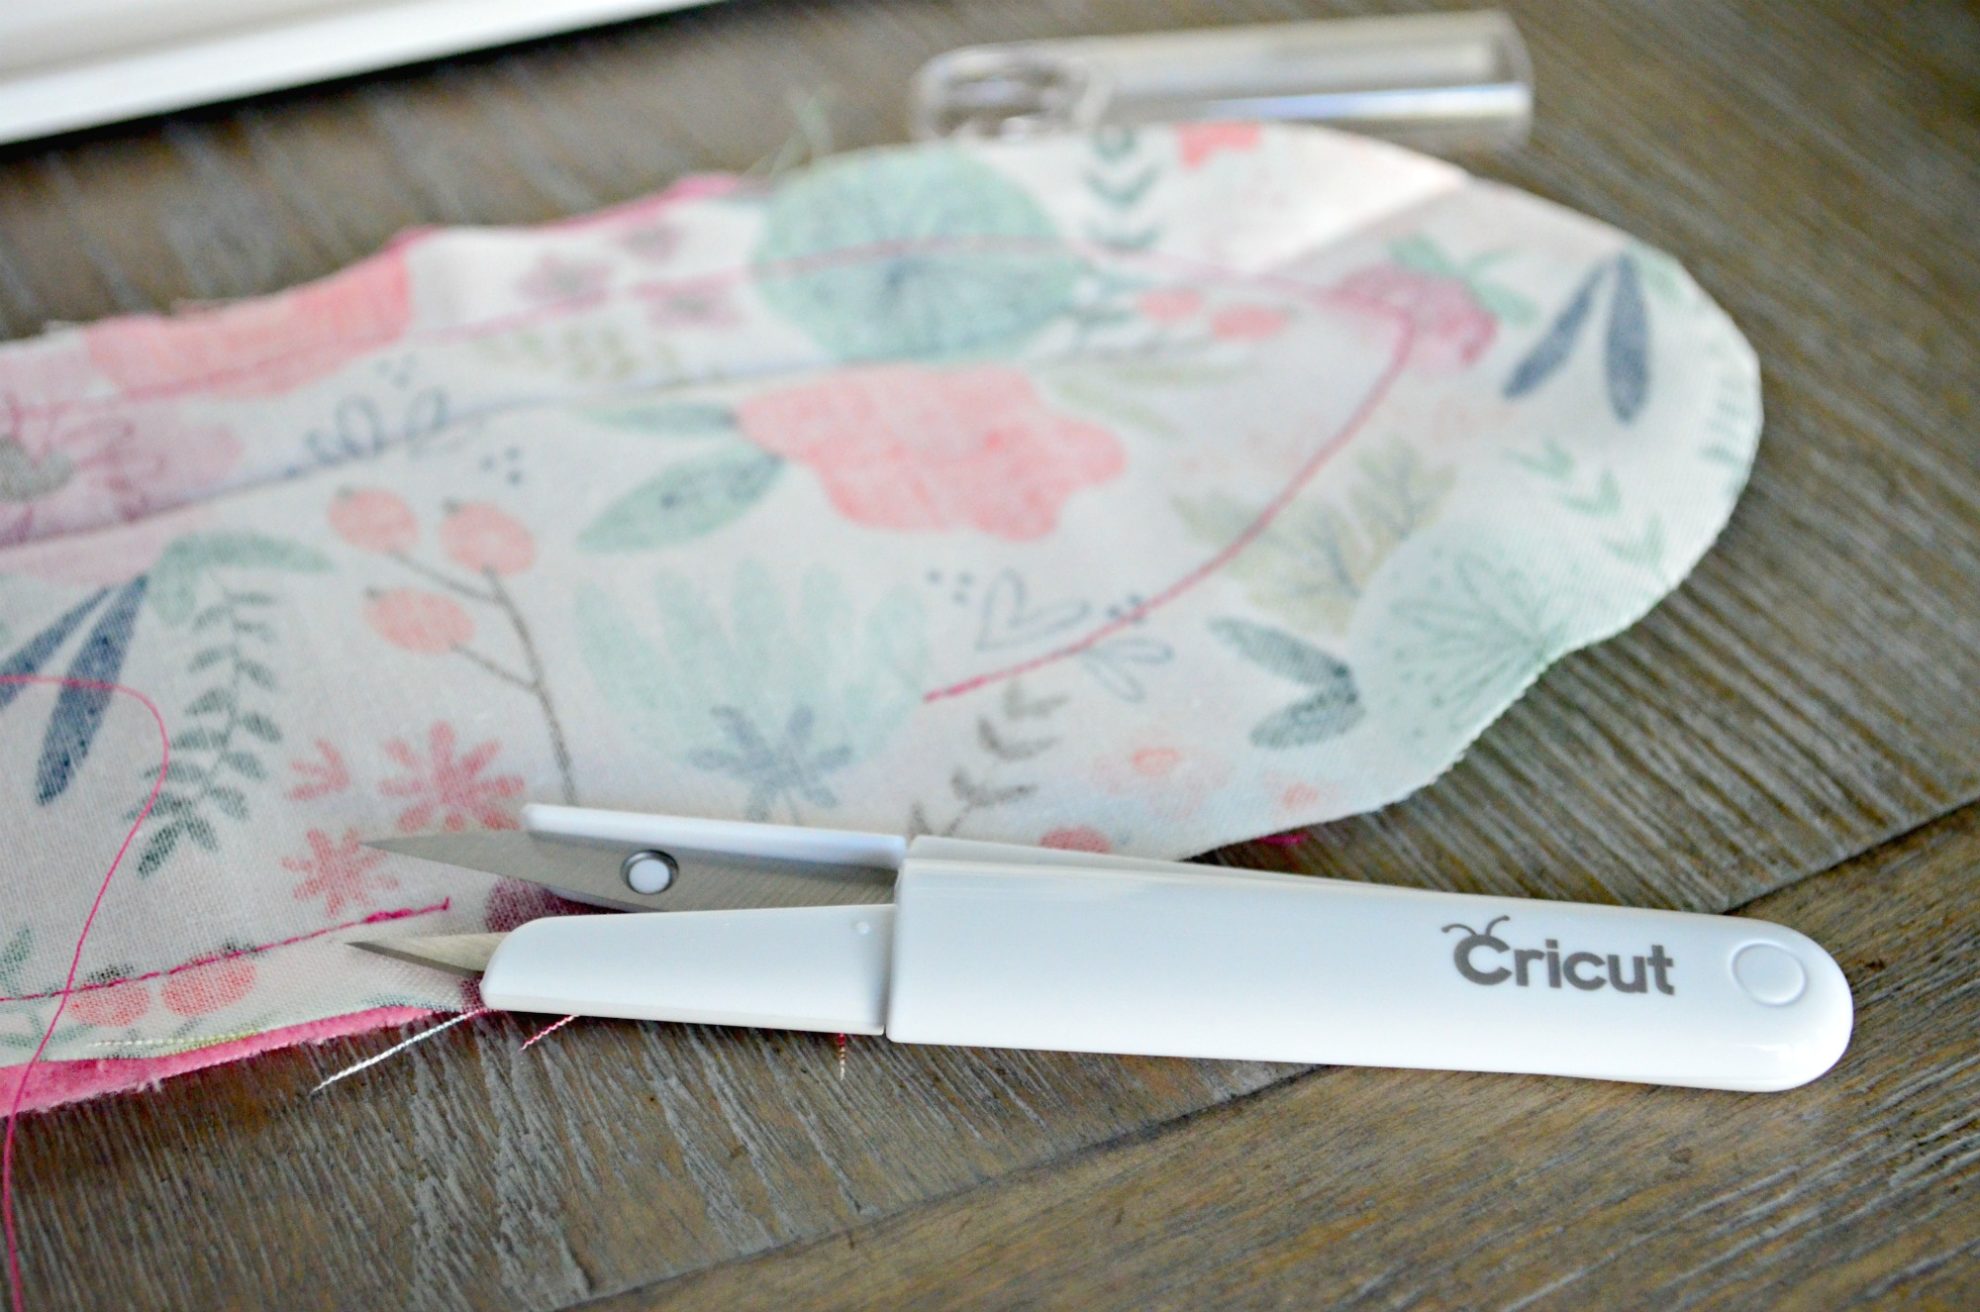
Use thread snips to remove the excess thread.
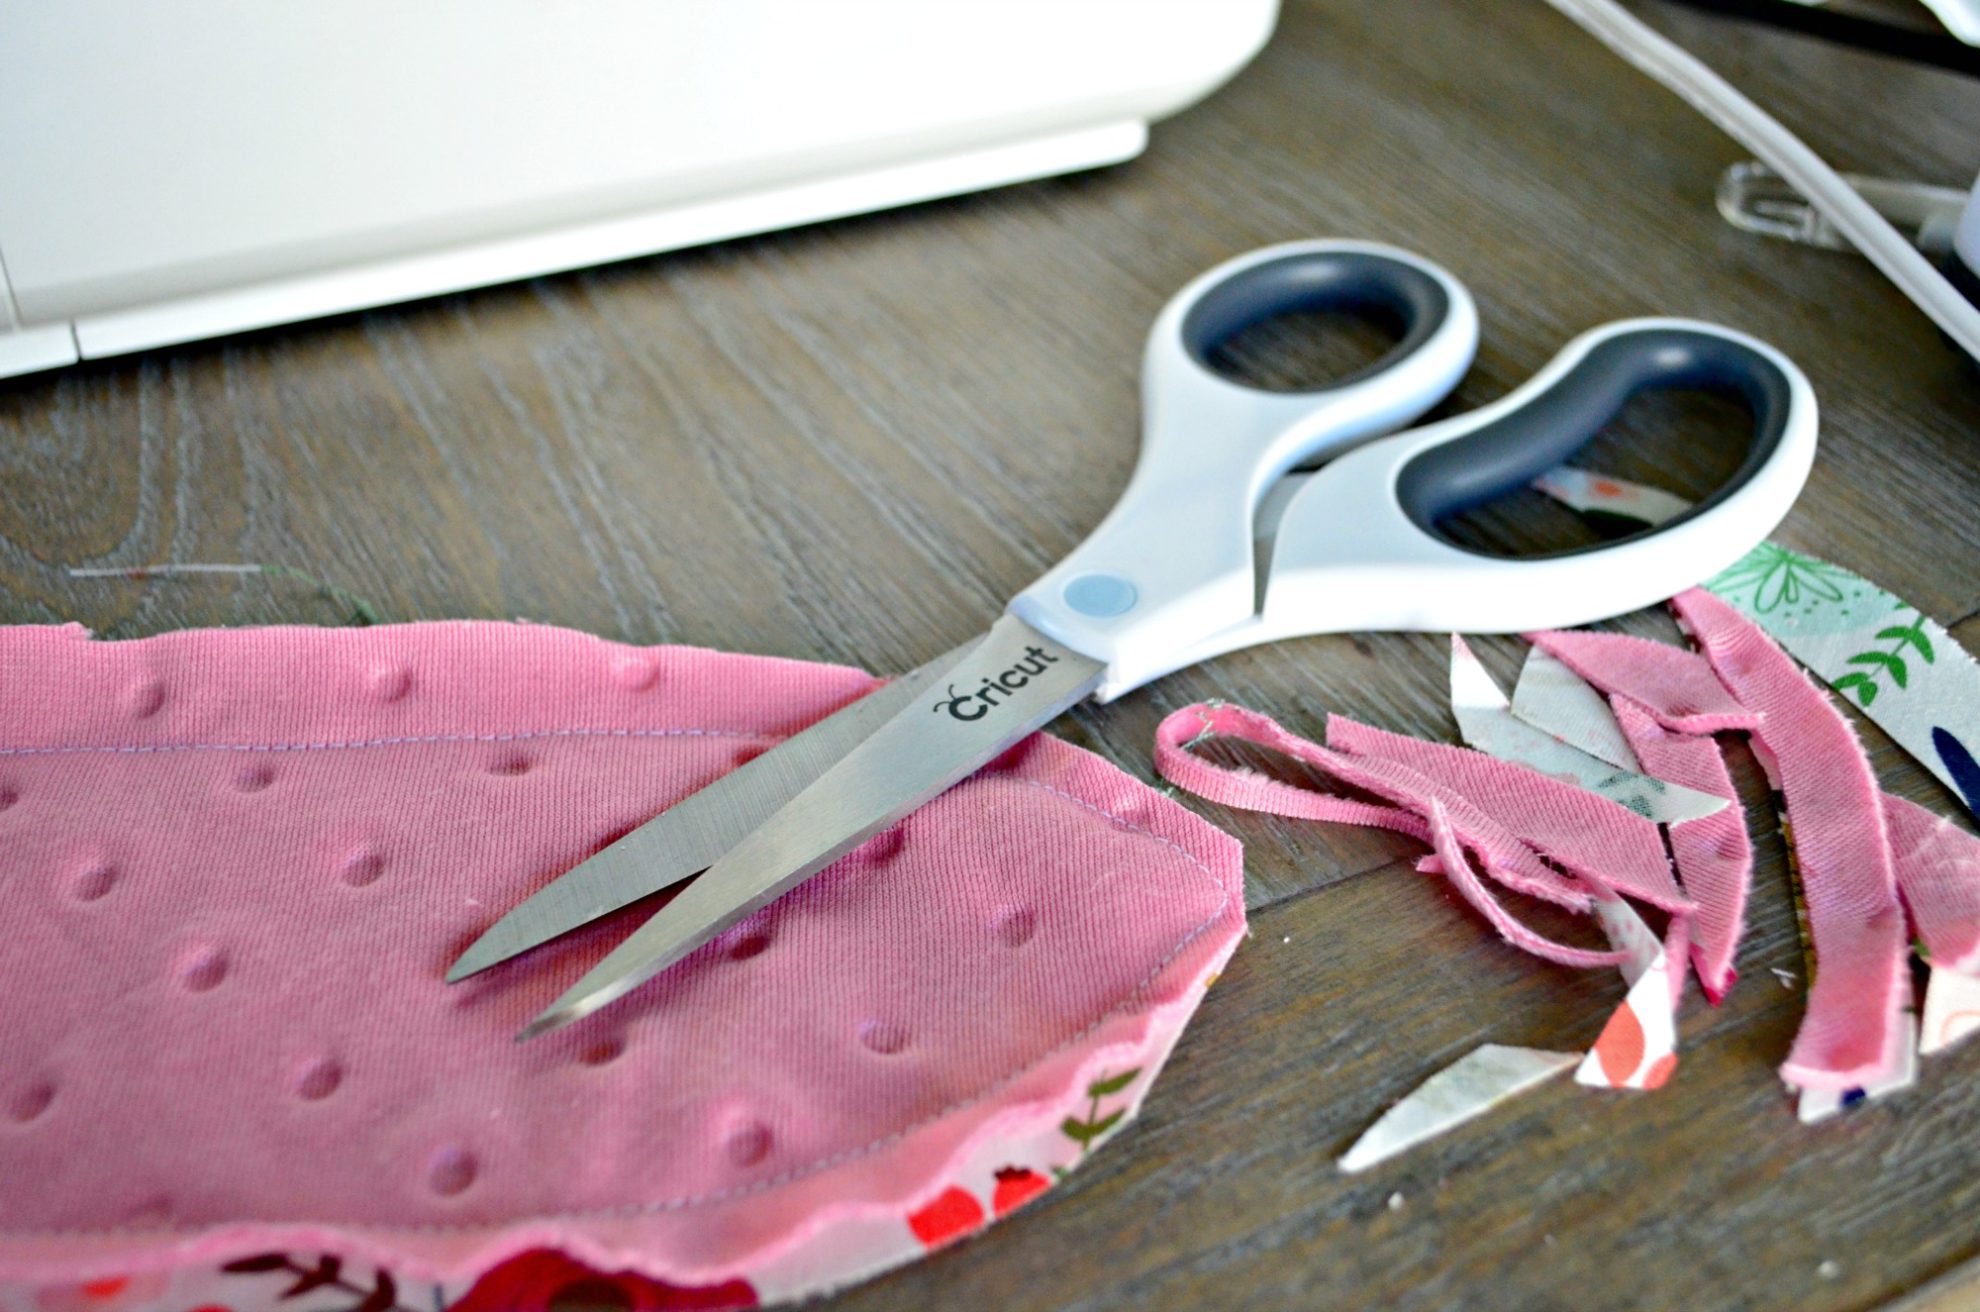
Using the fabric scissors, cut around the curves to make turning the fabric inside out easier.
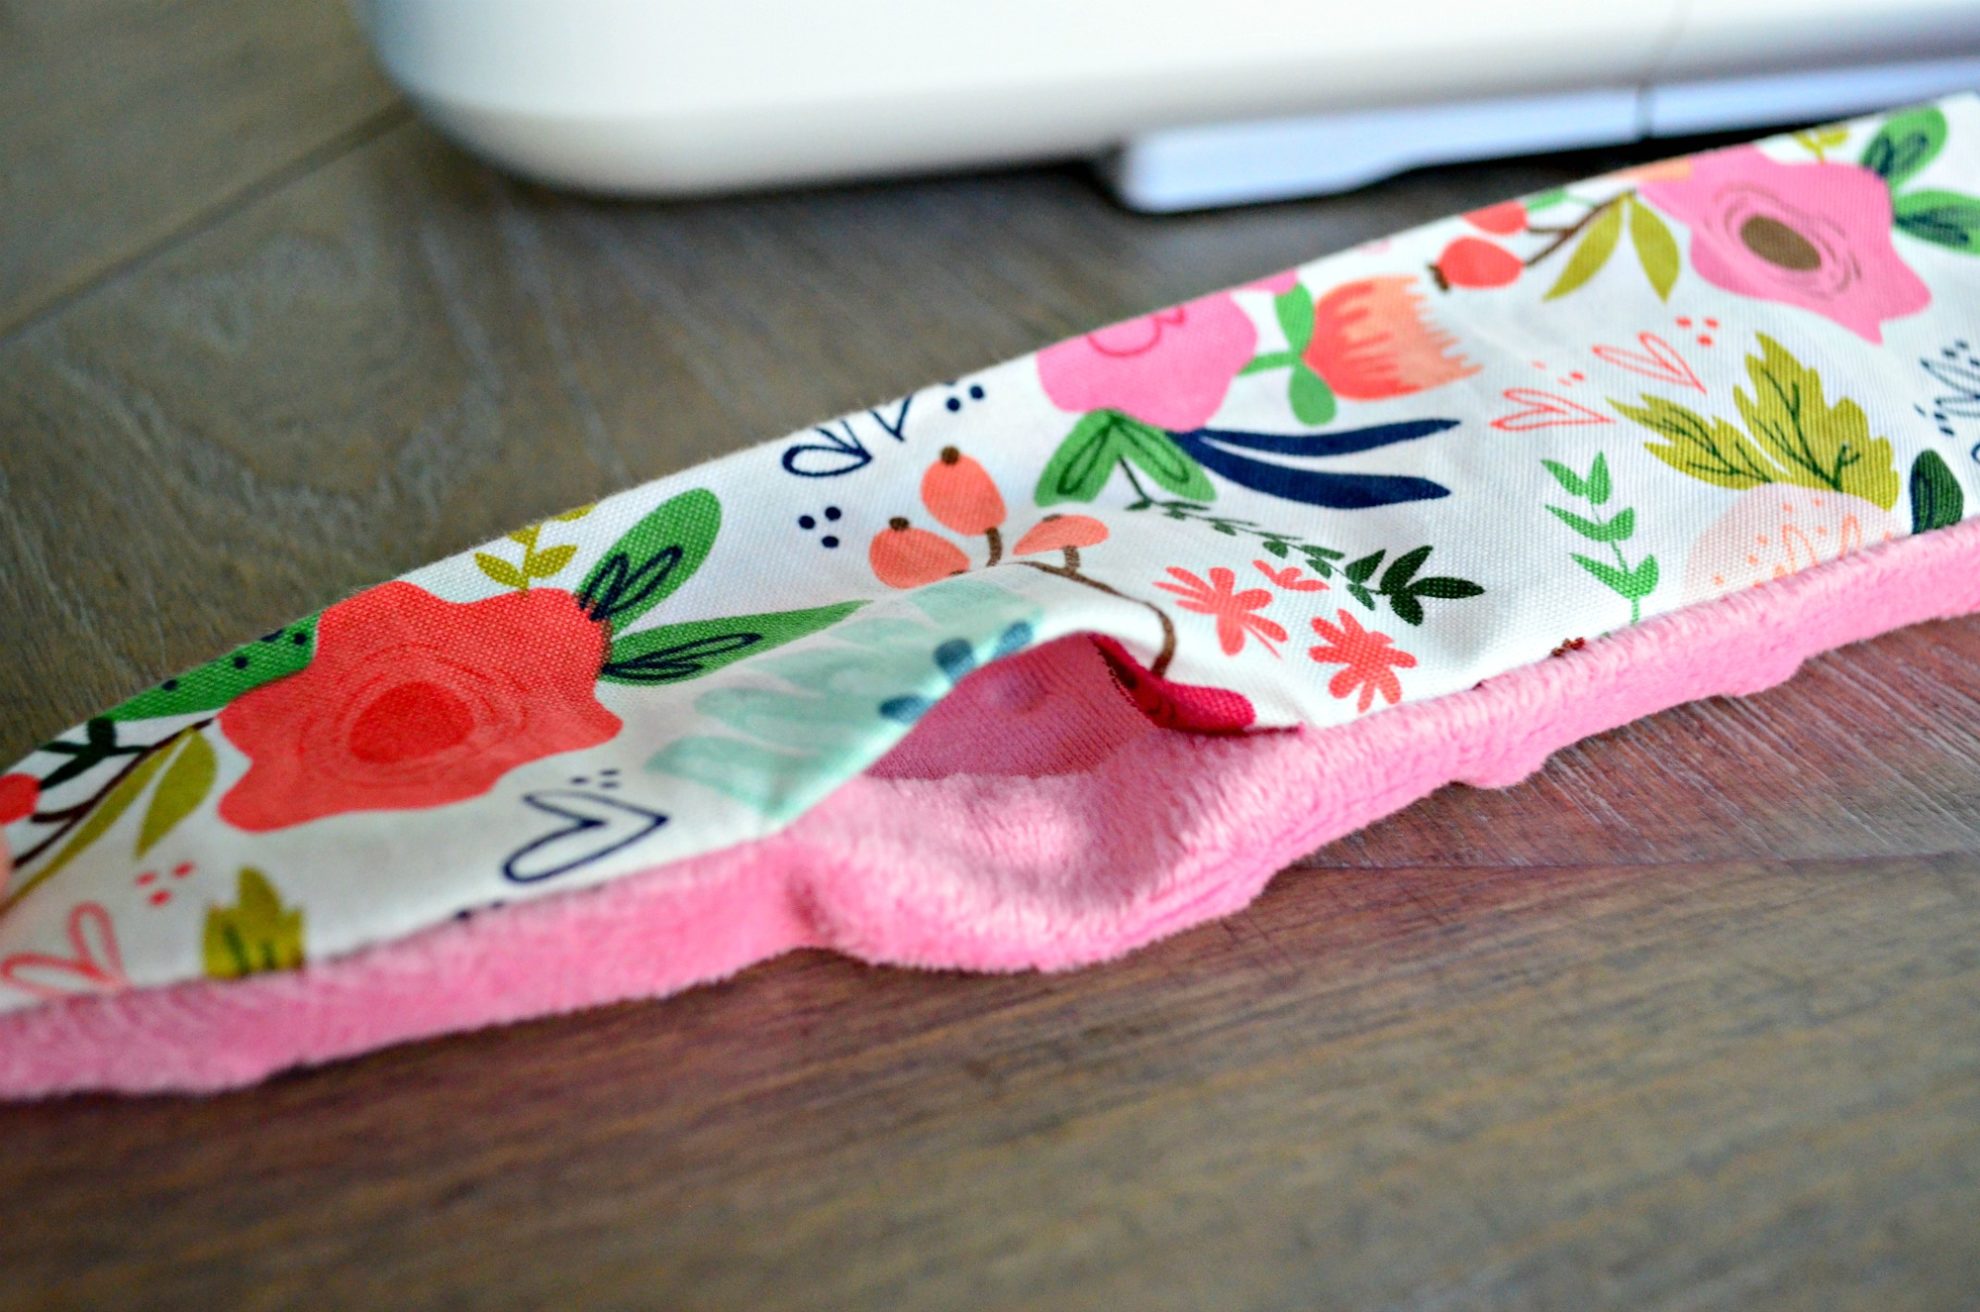
Turn the tail right side out, and press into shape.
TIP: Use chopsticks or a pencil to push the corners out.
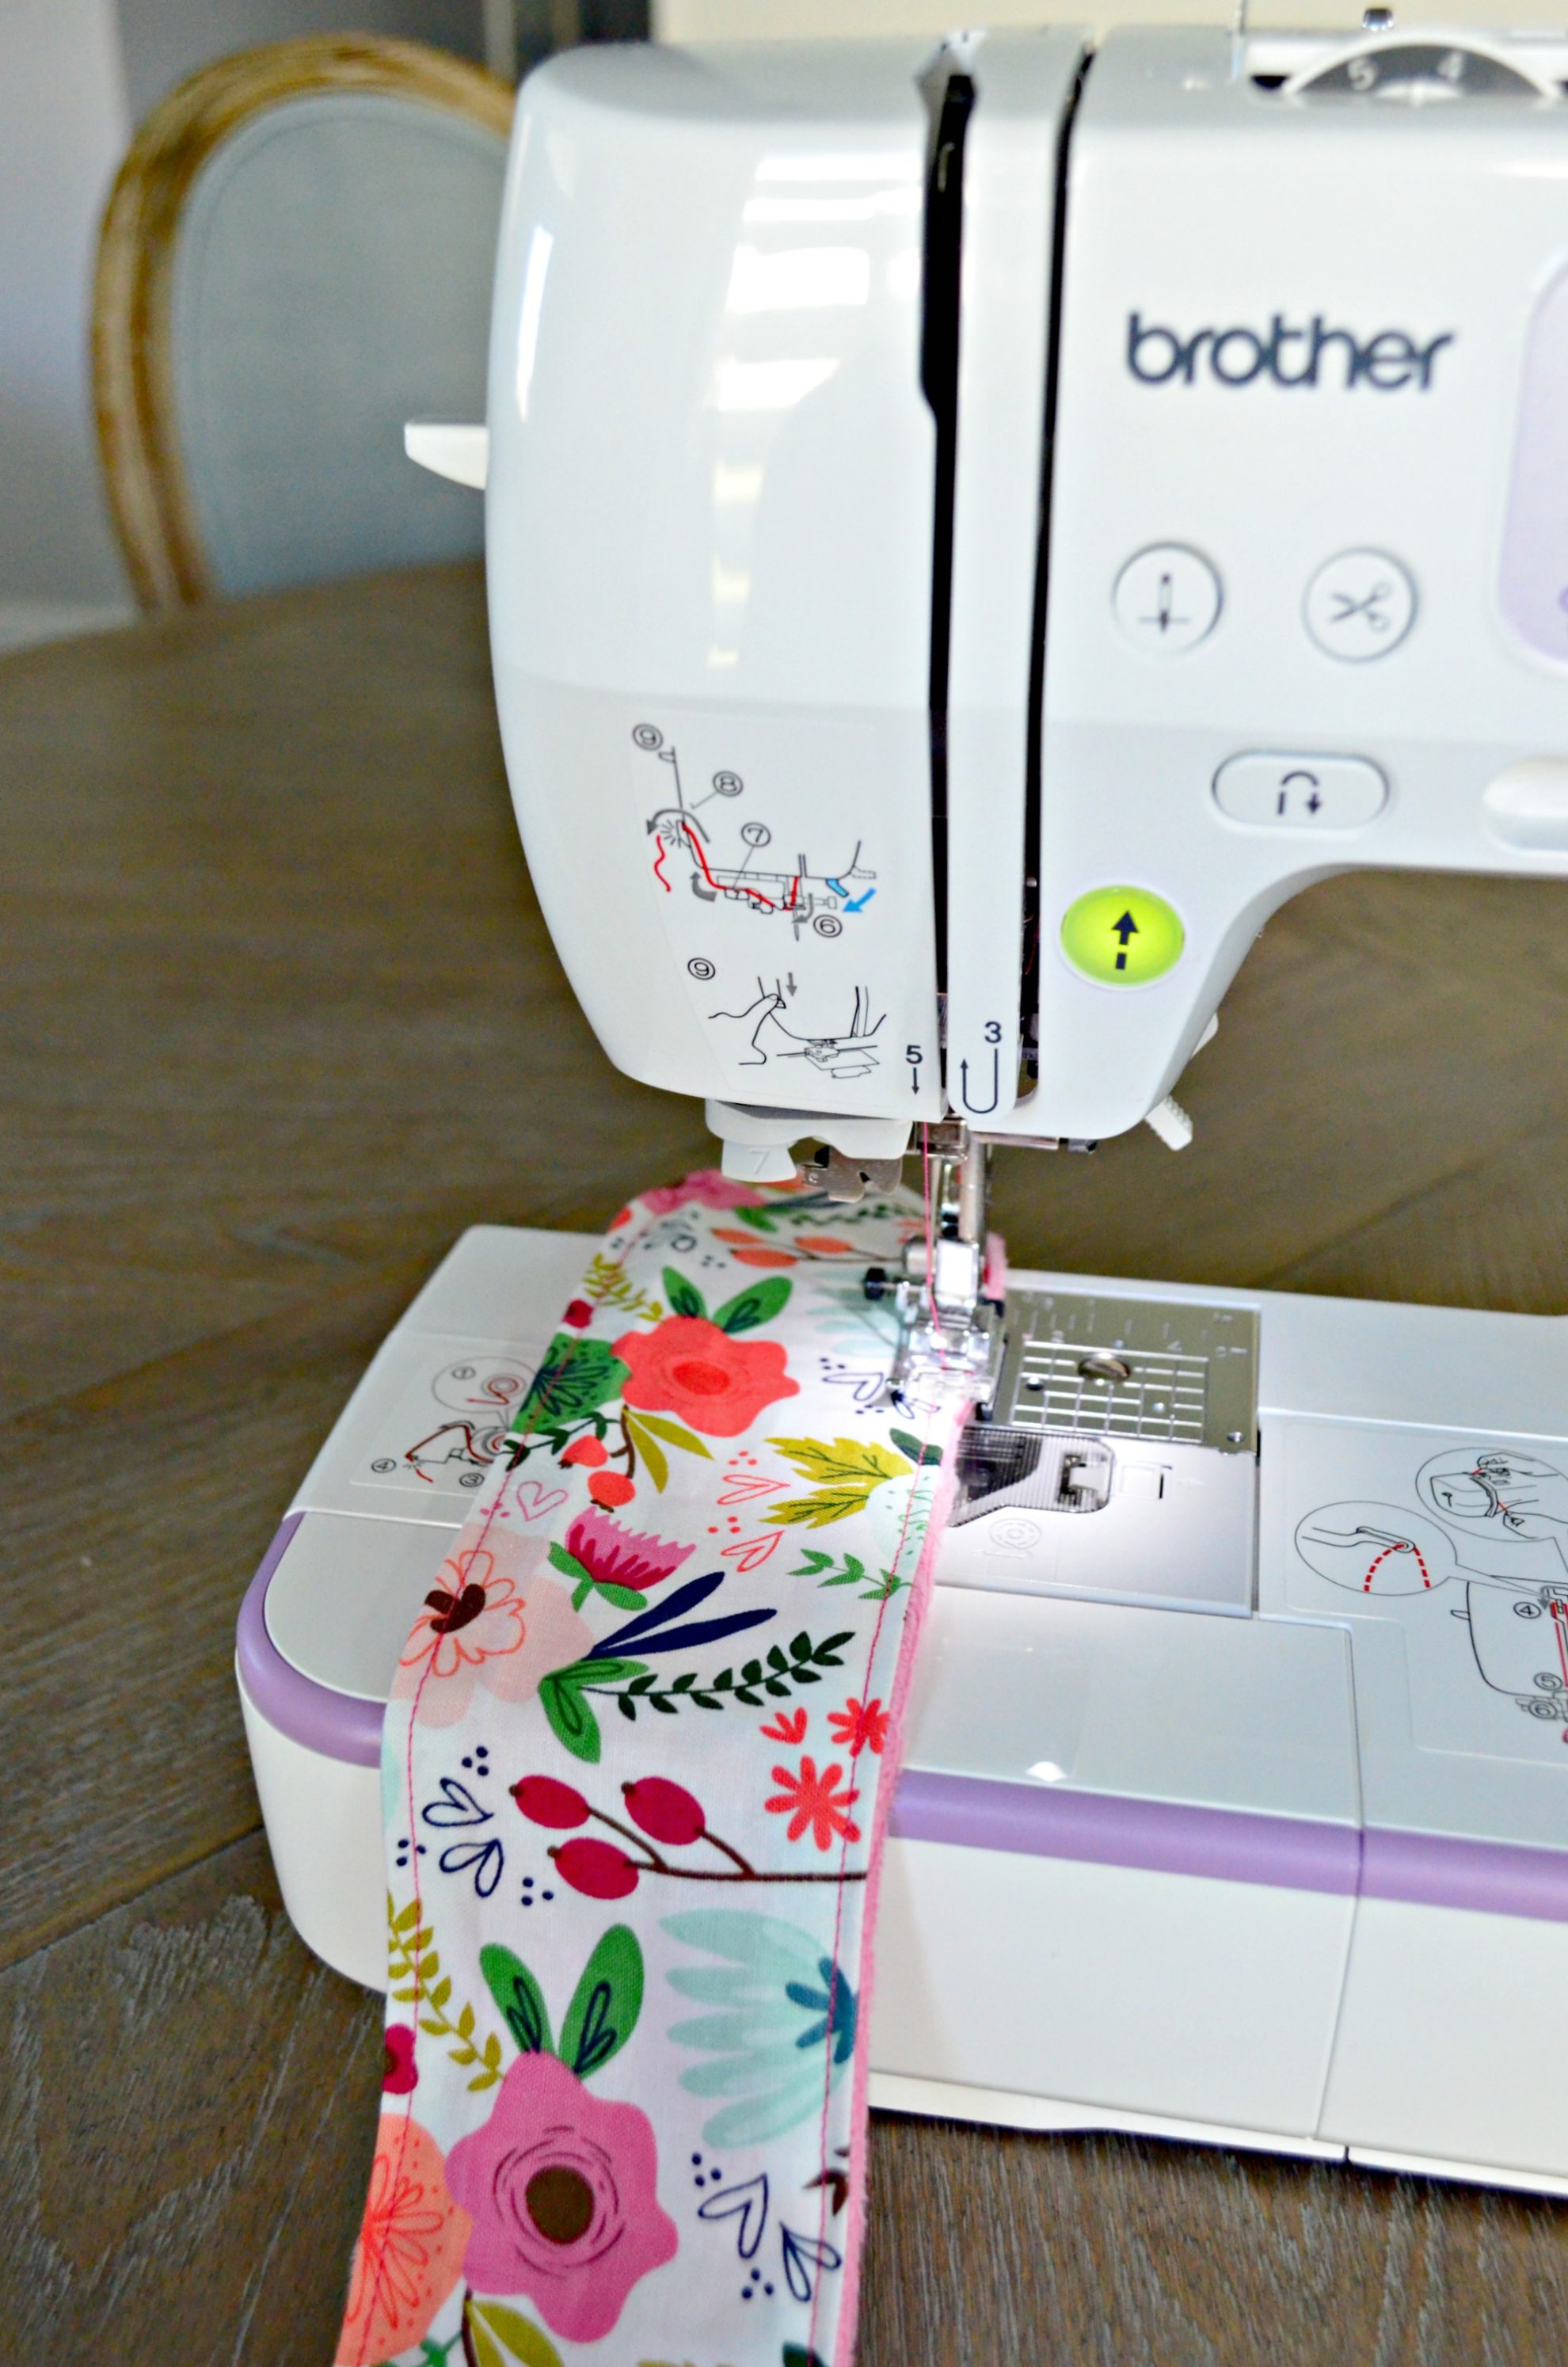
Close the turning hole by sewing around the edge of the tail.
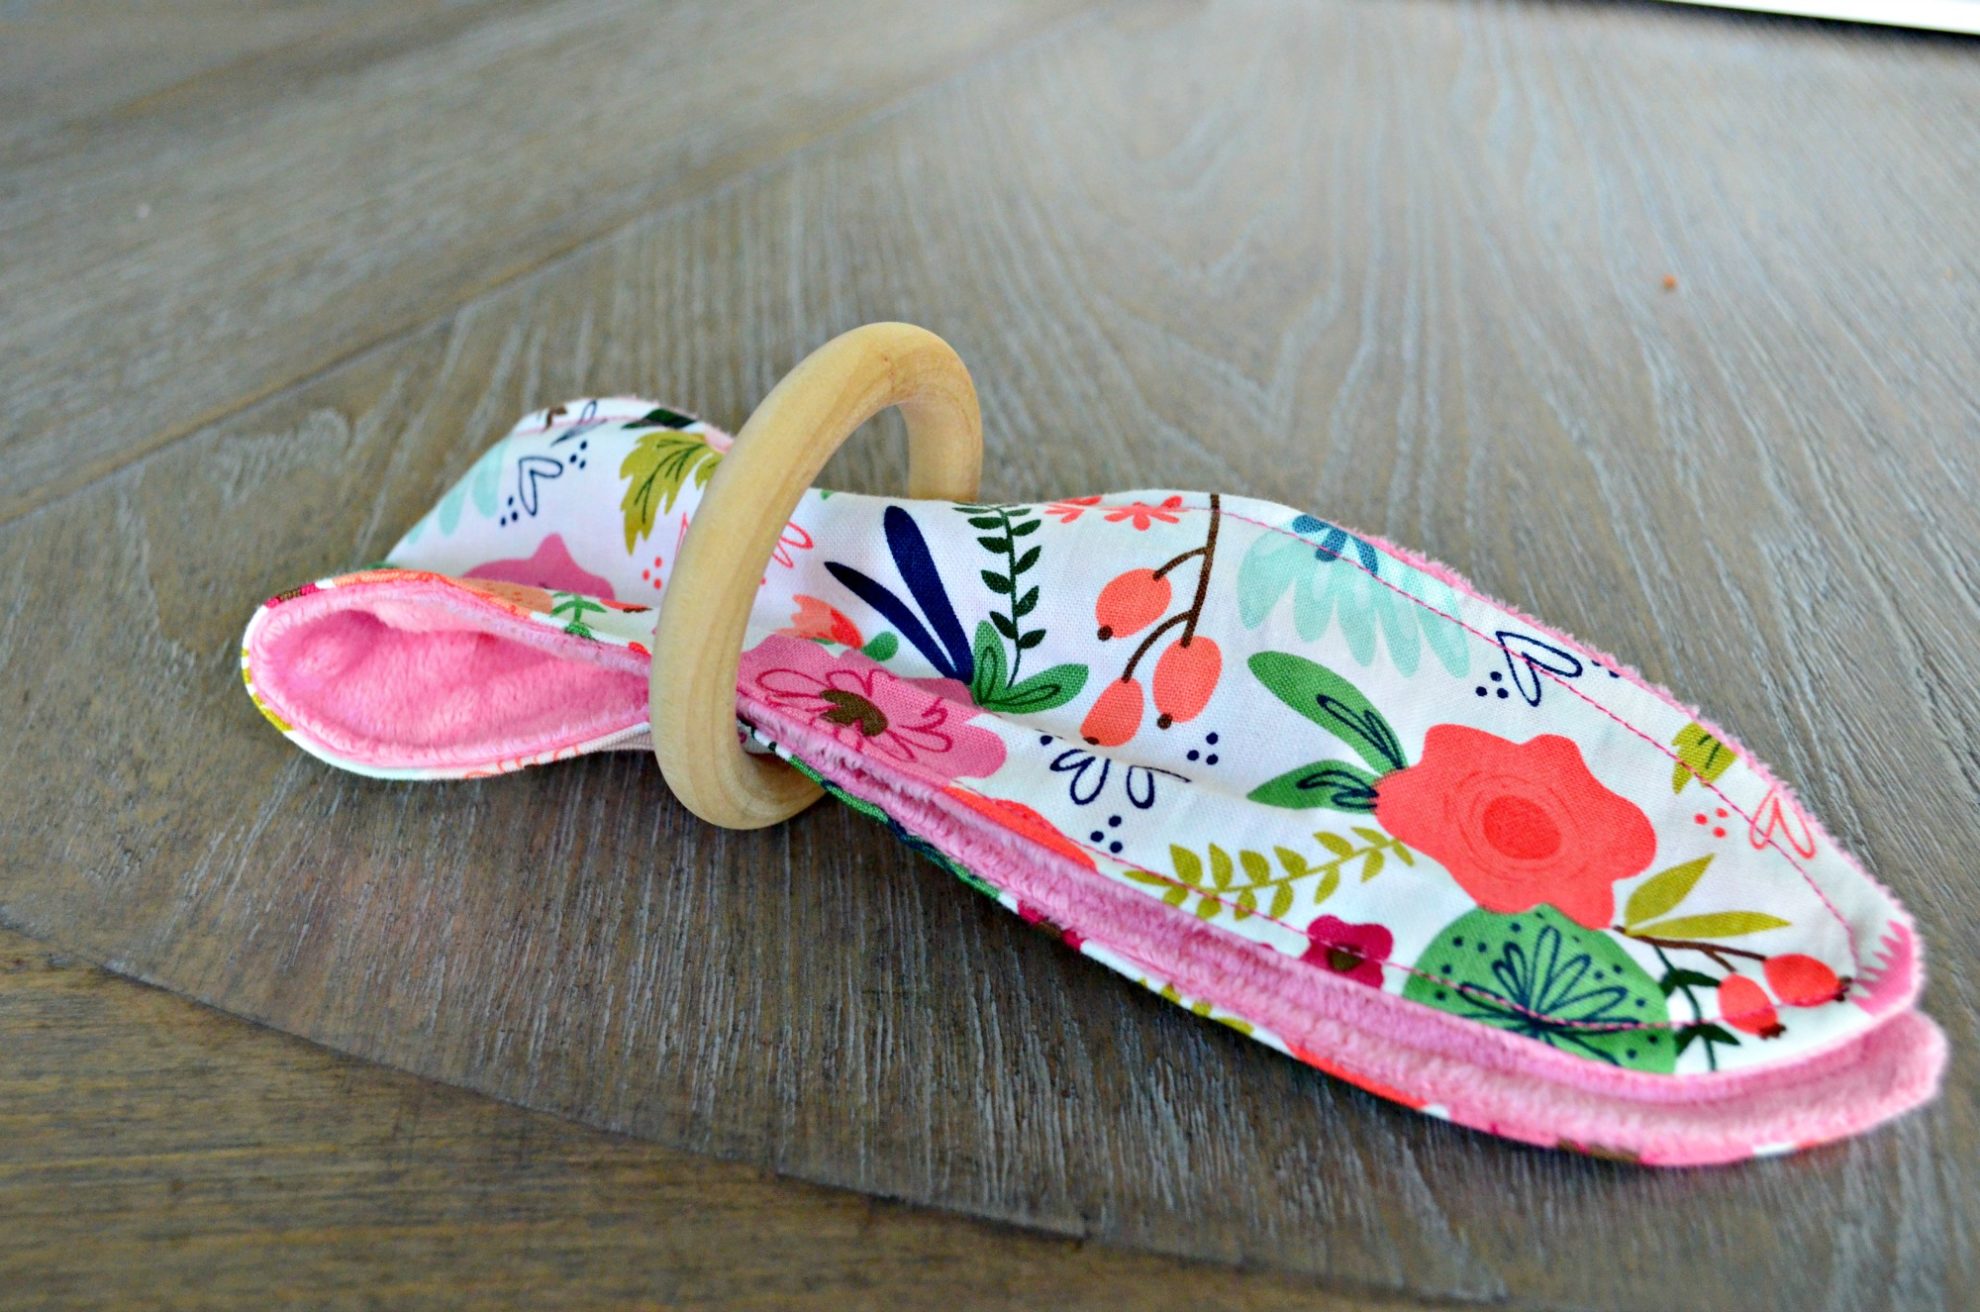
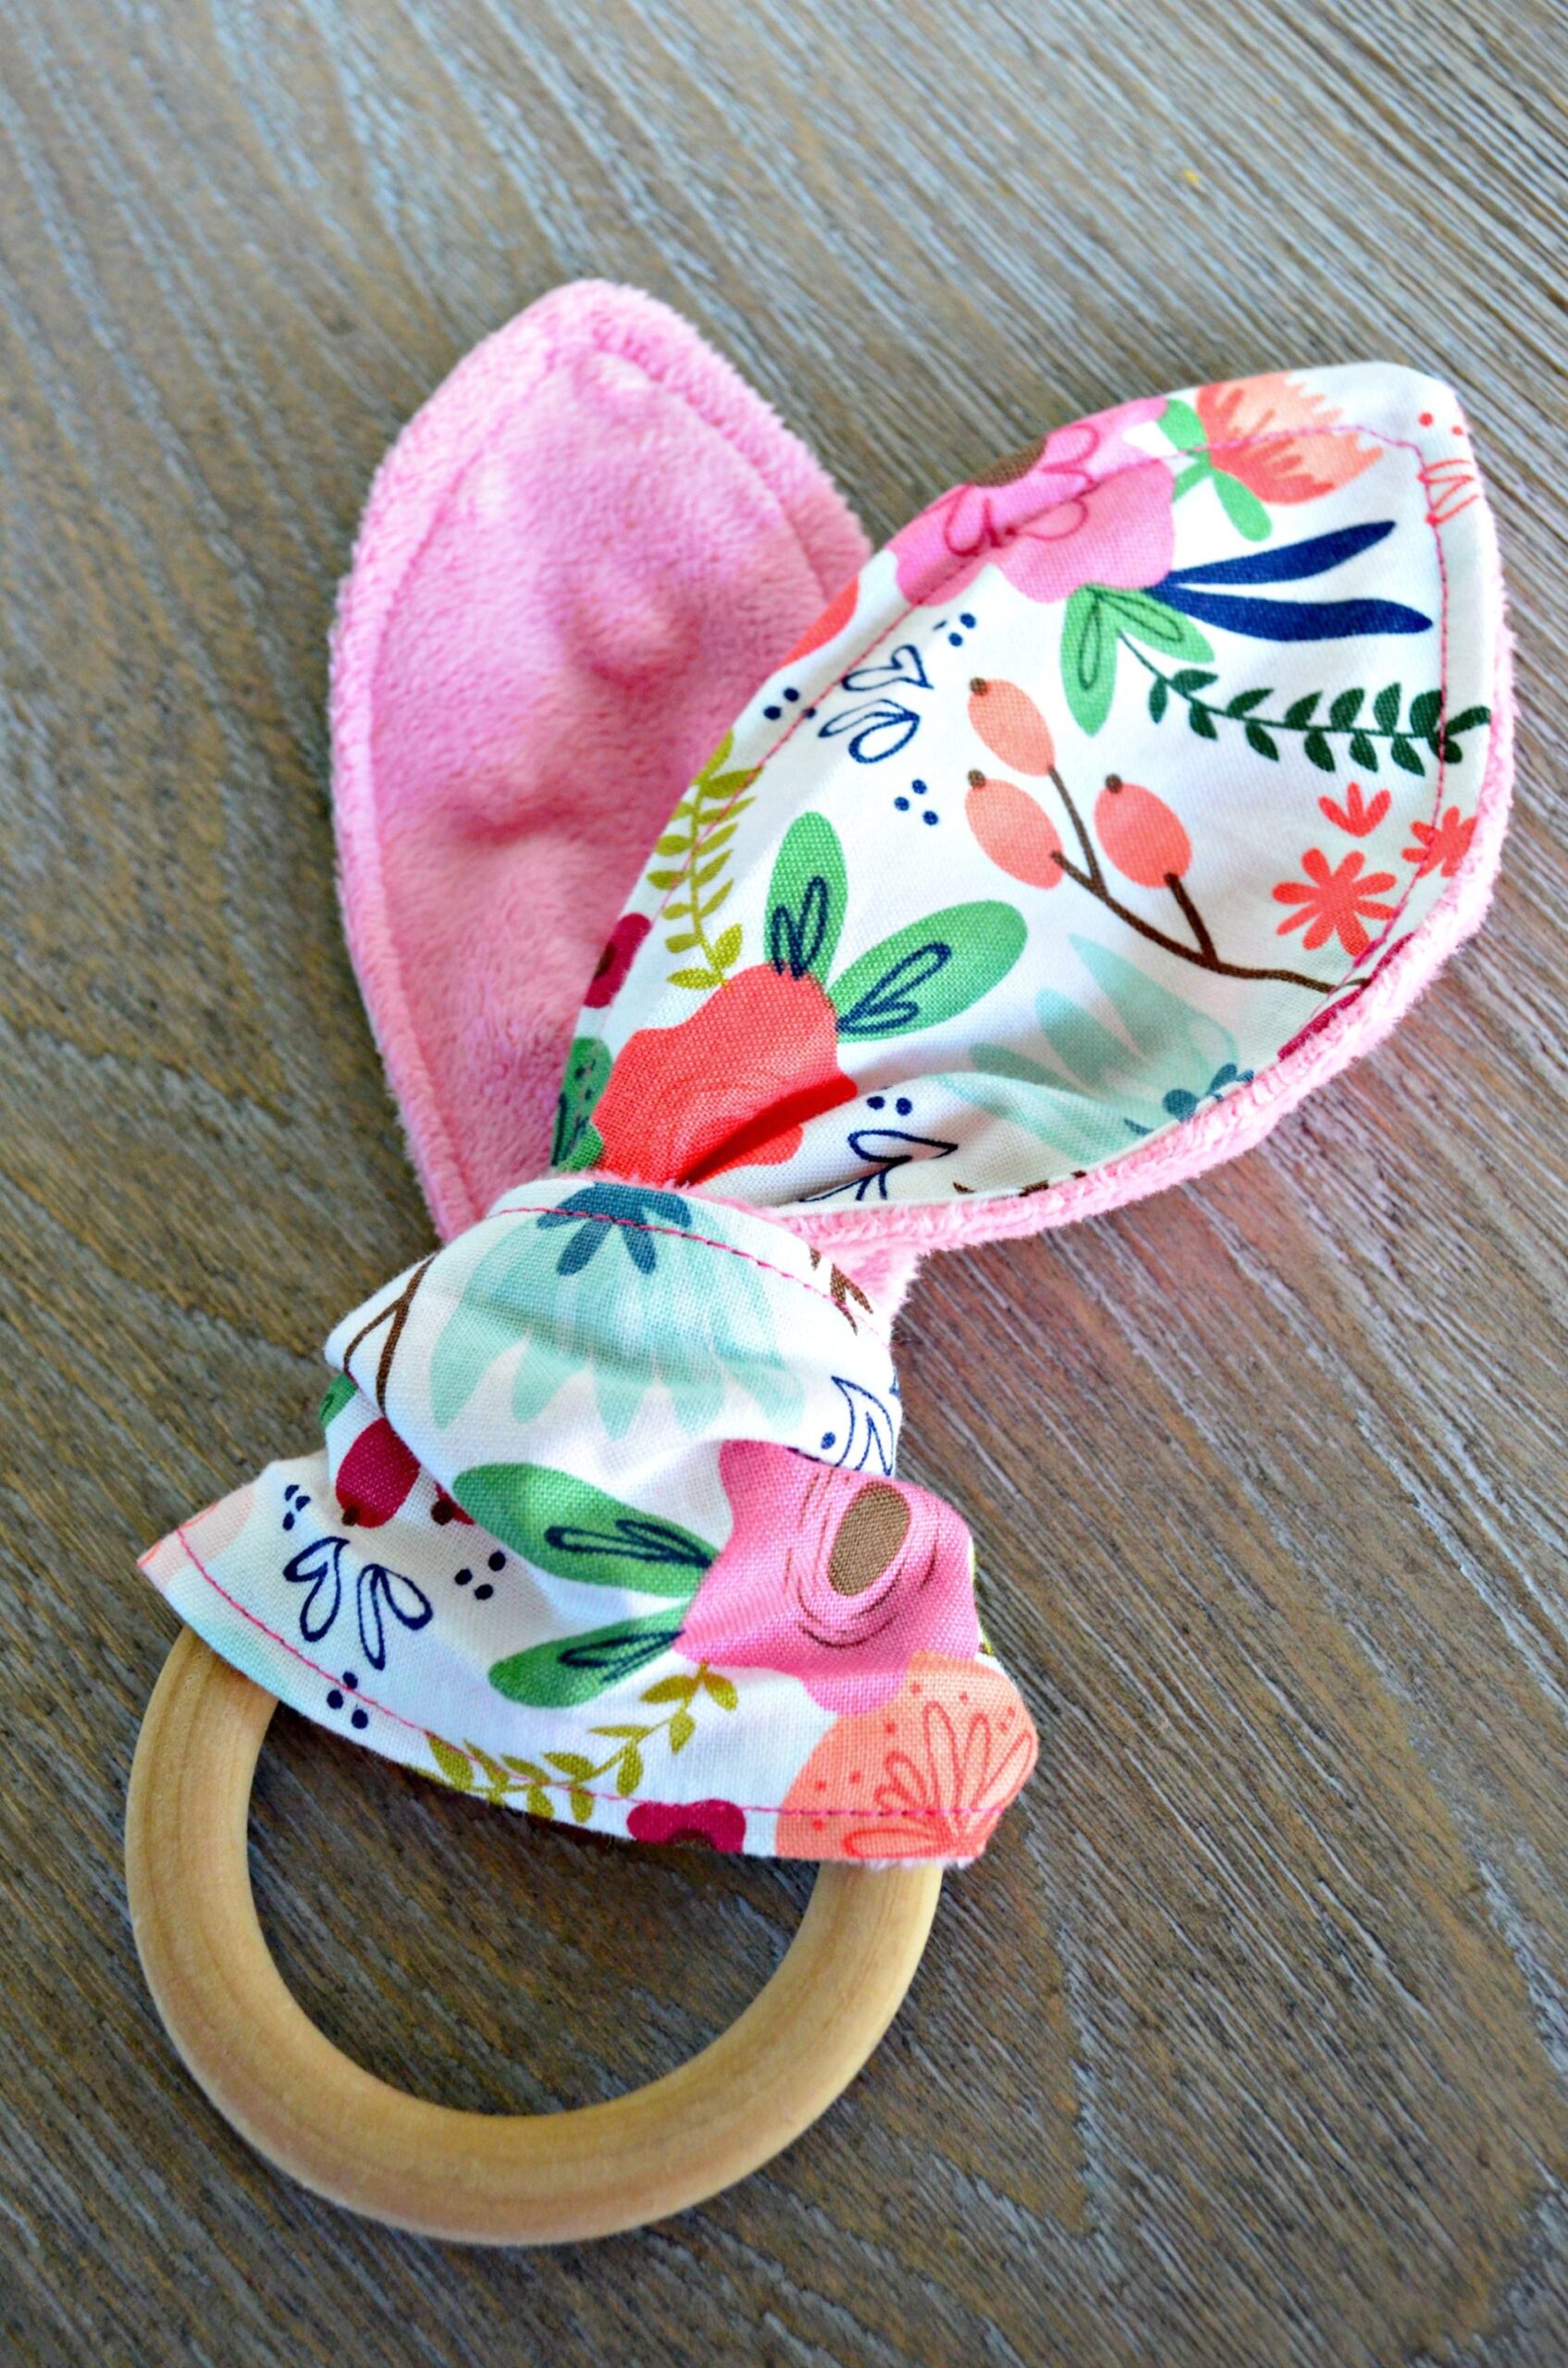
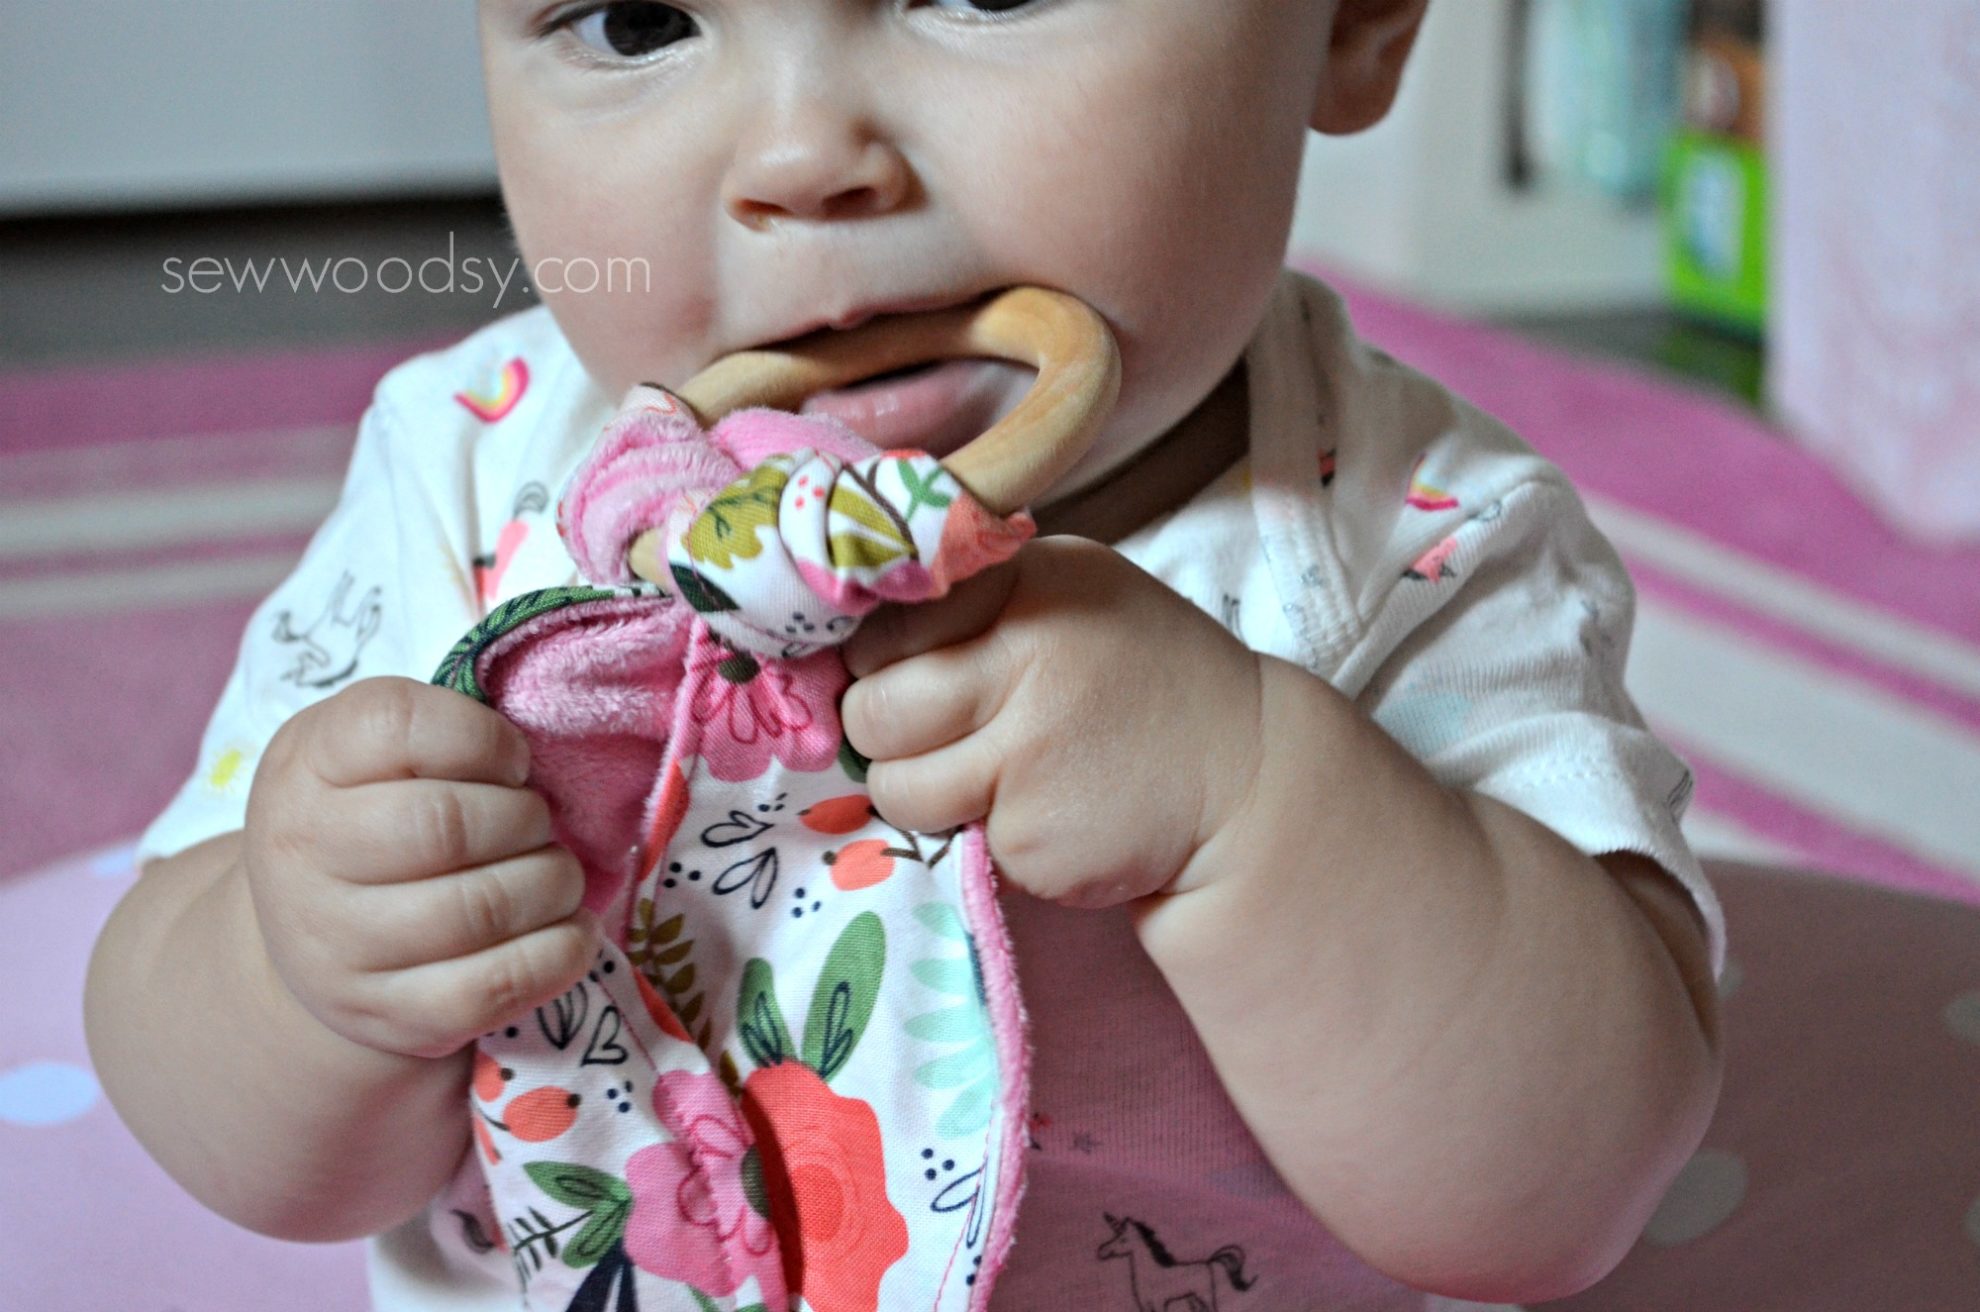
Pull fabric tail tight, and arrange into a lark’s head knot on the wood teething ring.
And within a half hours time my wooden teething ring was finished and ready for my sweetie.
FAQs
As long as you are frequently washing the teething ring and making sure it is sanitized, the wooden teething ring is safe. Having the teething ring be wooden instead of plastic helps avoid it of chemicals.
According to BabeBasics.com, benchwood has antibacterial and antimicrobial properties that keep it splinter-free while also keeping away harmful germs that can infect a child.
A good way to make sure your wooden teether is clean and safe for your baby, is using White vinegar or Apple Cider vinegar, apply to a brush or soft cloth and sanitize teether thoroughly. Do not dampen the teether with water too much as it can diminish the wood causing the ring to break.
Project Tips & Tricks
- Wood – Always rely on wood for your teething toys as said before they are healthier for the baby keeping the germs away and splinter free when taken care of consistently.
- Sand if Needed – If wooden teething ring is too rough, use 220-400 grit sandpaper to rub the surface of the teether. This only requires to rub the surface 2-3 times as to restore the smoothness of the wood.
- Do Not Submerge – Remember to never submerge the wood fully as it will deteriorate the wood and cause it to break easily.
- Oil – I like to rub the wood ring with organic coconut oil.

Loving the fabric combo and I can’t wait to make more!
Whether you have a teething baby or need to make a gift to give. This DIY teething ring is the project for you! Heck, since making this teething ring I’ve made four more to give as gifts.
If you make this wooden teething ring craft, I would be honored and love for you to take the time to leave a star rating and comment! I spend hours developing and testing these projects, and always love to hear feedback and user experience!
Don’t forget to FOLLOW ME on Facebook, Pinterest, and Instagram, and subscribe to my email list!

DIY Wooden Teething Ring
Materials
- Cricut 12 in. x24in. FabricGrip™ Mat
- 6 x 22 in Cotton Fabric
- 6 x 22 in. Minky Fabric
Tools
- Cricut Maker
- Teething Ring pattern
- Cricut Sewing Kit
- Sewing Machine
- 3-inch wood teething ring
Instructions
- The first step is to get your Cricut maker out and make sure you have all the supplies needed listing above.
- Next, follow the prompt for the Teething Ring pattern in Cricut Design Space. Every sewing project comes with a supply list, a cut list, and directions.
- The more intricate projects have downloadable PDF instructions.
- Cut the fabric to the size of the Cricut 12 in. x24in.FabricGrip™ Mat.
- Place the rotary blade in the Cricut Maker.
- Then, cut the two pieces of fabric using your Cricut Maker.
- Remove the fabric from the mat.
- Next, pin the right sides together.
- Begin sewing around the edge of the fabric using a ¼″ seam allowance.
- Leave a 2-3″ opening on one long side for turning.
- Use thread snips to remove the excess thread.
- Using the fabric scissors, cut around the curves to make turning the fabric inside out easier.
- Turn the tail right side out, and press into shape. Tip: Use chopsticks or a pencil to push the corners out.
- Close the turning hole by sewing around the edge of the tail.
- Pull the fabric tail tight, and arrange into a lark’s head knot on the wood teething ring.
- And within a half hour's time, my wooden teething ring was finished and ready for my sweetie.
Notes
- Always rely on wood for your teething toys as said before they are healthier for the baby keeping the germs away and splinter free when taken care of consistently.
- If wooden teething ring is too rough, use 220-400 grit sandpaper to rub the surface of the teether. This only requires to rub the surface 2-3 times as to restore the smoothness of the wood.
- Remember to never submerge the wood fully as it will deteriorate the wood and cause it to break easily.
Recommended Products
As an Amazon Associate and member of other affiliate programs, I earn from qualifying purchases.