• Skip to primary navigation
  • Skip to main content
  • Skip to primary sidebar

Sew Woodsy logo

  • DIY
  • Crafts
  • Cricut
  • Travel
  • About
menu icon
go to homepage
search icon
Homepage link
  • Home
  • Thanksgiving
  • DIY
  • Cricut
  • Travel
  • About Us
    • Email
    • Facebook
    • Instagram
    • Pinterest
    • Twitter
    • YouTube
  • ×

    Sew Woodsy » Holiday » Christmas

    Published: Dec 1, 2016 · Modified: Oct 17, 2022 by Katie · This post may contain affiliate links.

    DIY Toddler-Friendly Snowman Window Clings

    Sharing is caring!

    63 shares
    • Facebook
    • Twitter

    DIY Toddler-Friendly Snowman Window Clings

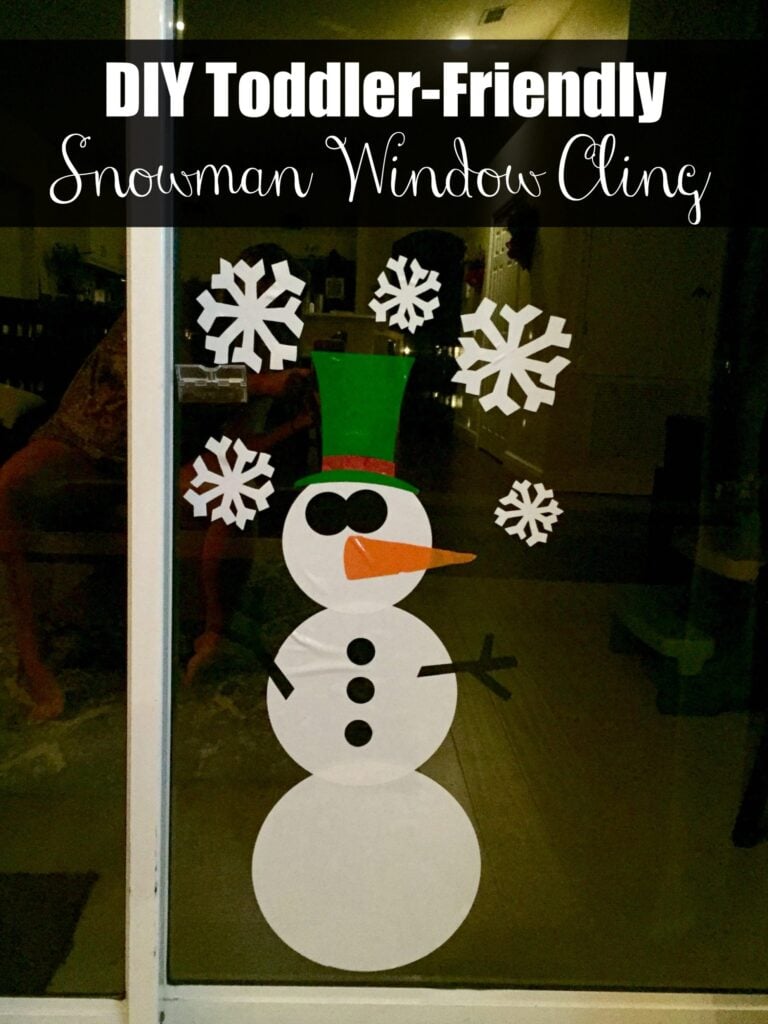
    I’m so excited to share this easy holiday craft with you today. If you have a Cricut your in luck because you can make these DIY Toddler-Friendly Snowman Window Clings in under 30 minutes. Last year, I posted about Halloween window clings I made Ryder, and last year I wanted to make Christmas ones but never got around to it. Now that he is older I knew I really wanted to make some sort of fun holiday inspired window cling. I was inspired from the felt tree I made him last year–but I wanted to make a snowman in the window cling form. So far–he has had fun putting it up and plays with the eyes and carrot nose.

    Supplies:

    • Cricut Explore Air 2
    • Cricut Design Space™
    • 12 x 24 Cricut Mat
    • 12 x 12 Cricut Mat
    • White, Black, Green, Red, and Orange Window Cling
    • Cricut Tools
    • Cricut Snowman Window Cling Cut File

    DIY Toddler-Friendly Snowman Window Clings Cricut Design Space Screen Shot

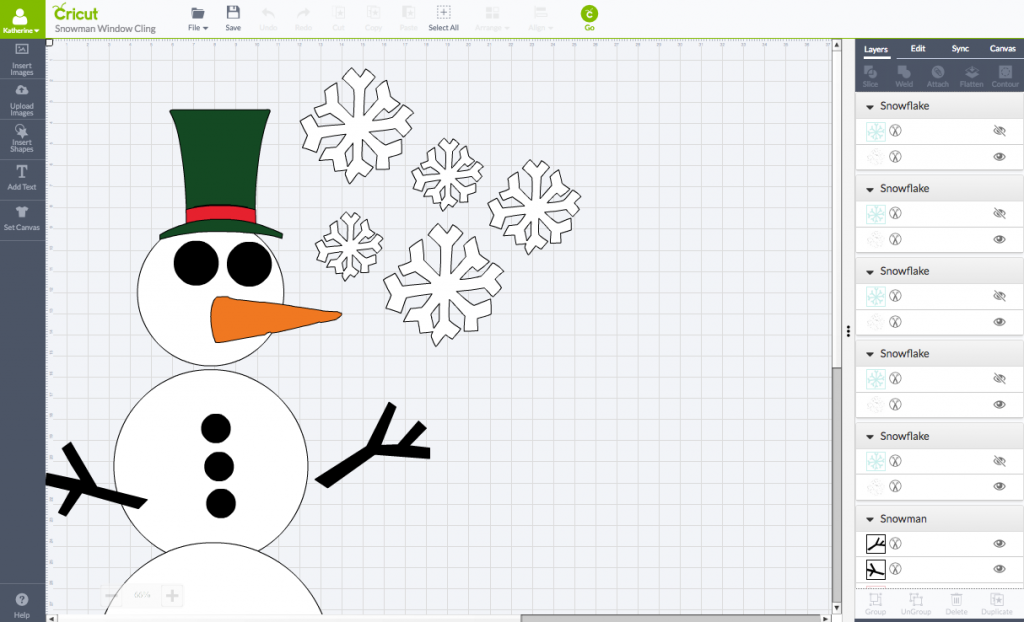
    First up, I designed the snowman window cling using Cricut Design Space™ I used basic circles and then found the branches, carrot nose, and hat from another cartridge. You can use my cut file here.

    Cricut Window Cling

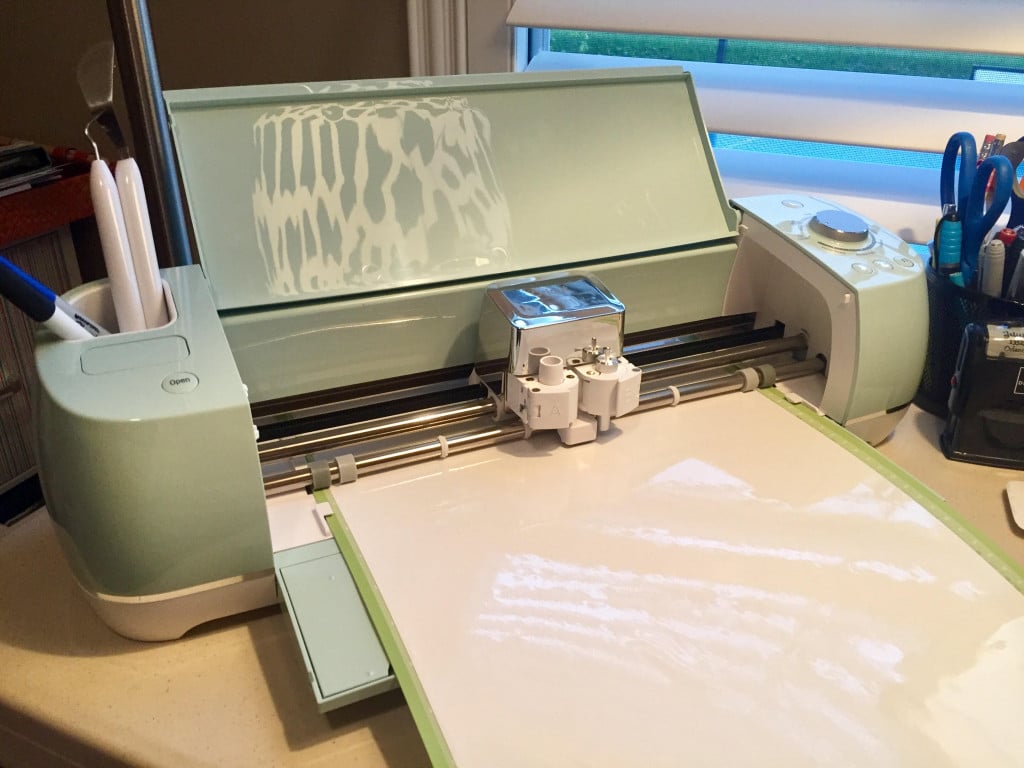
    Next up, it’s time to cut your window cling. You DO NOT need to mirror the image when using window cling material. You place the paper side down on the mat and the shiny window cling side facing up! Select the CUSTOM SETTING and then scroll down on the computer screen and select “Window Cling”. **Just a side note: If your using a Cricut Explore Air 2 you won’t be able to select the “2x faster” button. It doesn’t allow you on the custom setting!

    cricut-window-cling-buttons-and-arms

    Once all the window clings are cut–start peeling back the excess window cling. cricut-window-cling-buttons-and-arms

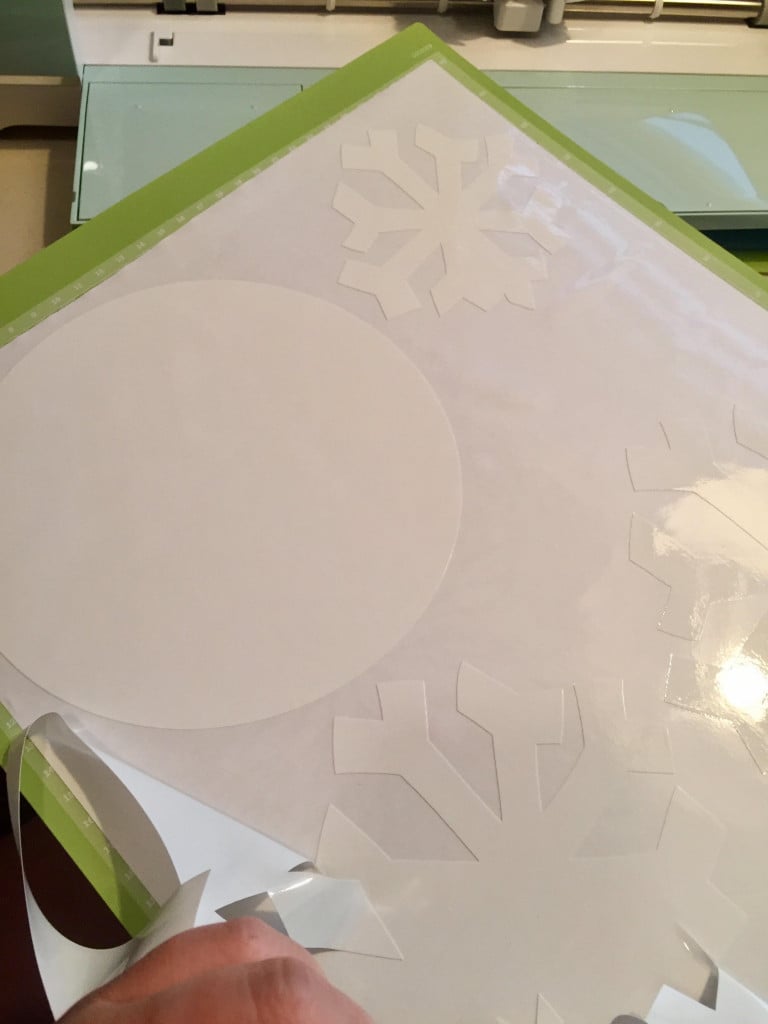
    You’ll have quite a few sheets to remove the window cling from. I found in order to maximize window cling material you’ll want to use a 12 x 24 Cricut Mat for the white window cling. You’ll use almost a full roll of white window cling. Just a heads up now!

    cricut-window-cling-buttons-and-arms

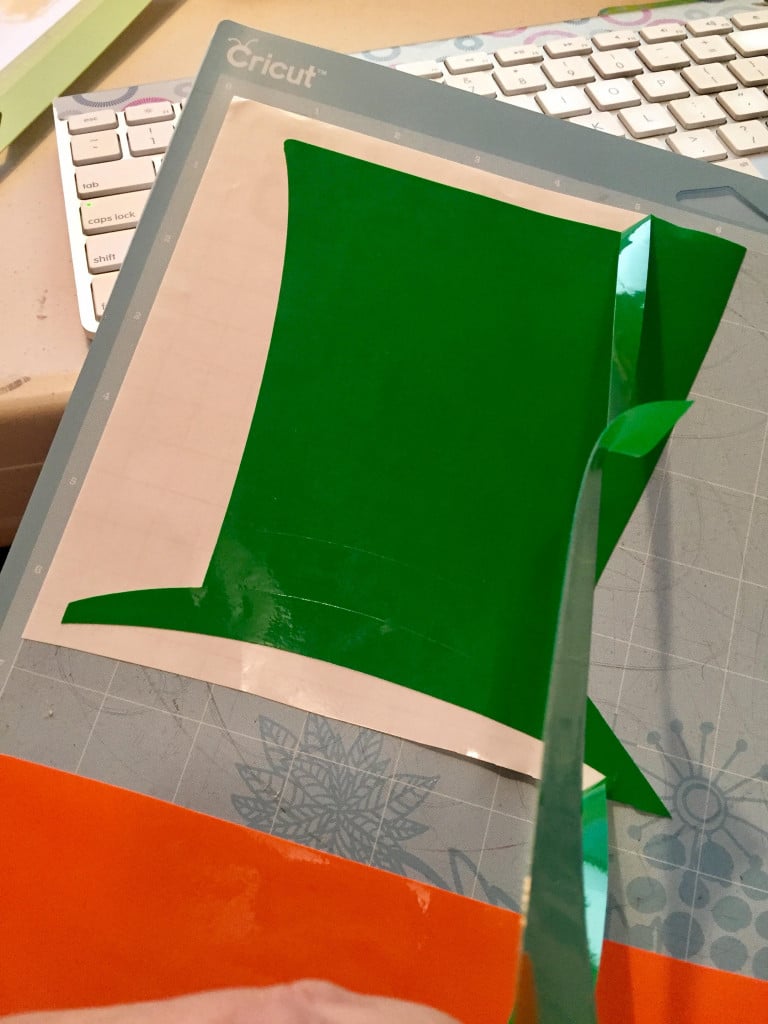
    If you don’t have green window cling it’s ok–you can improvise and use black, red, or whatever color you have!

    DIY Toddler-Friendly Snowman Window Clings

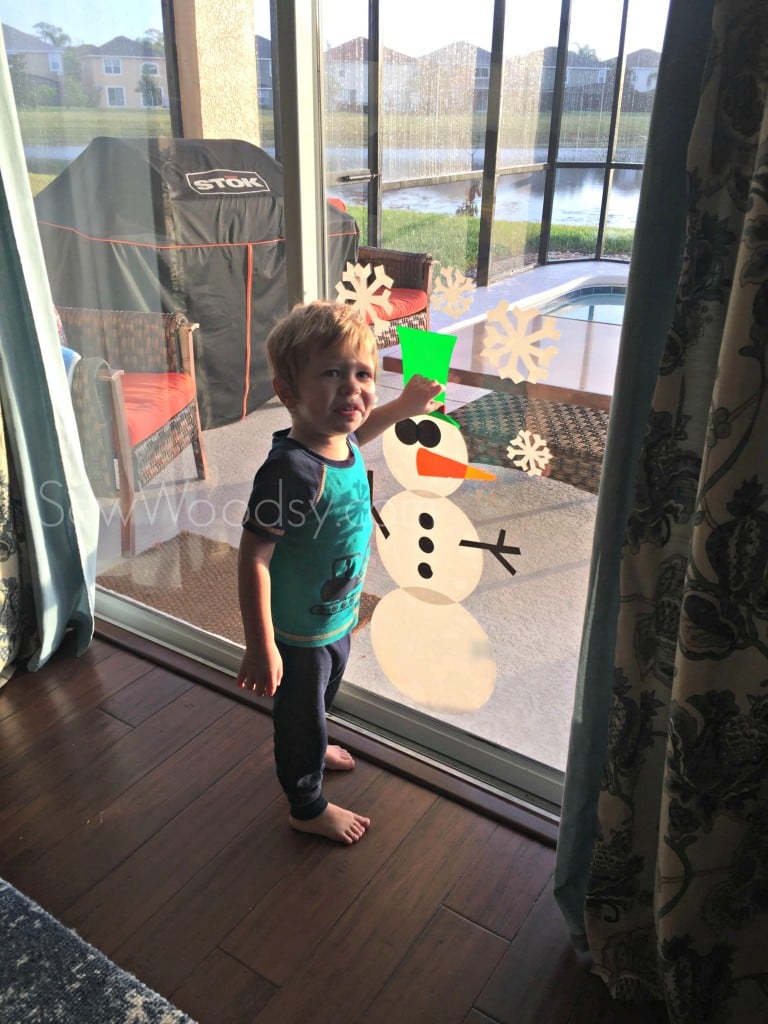
    And this was the best photo I would get with my still pajama-clad toddler as he was playing with the snowman window clings after he woke up! DIY Toddler-Friendly Snowman Window Clings

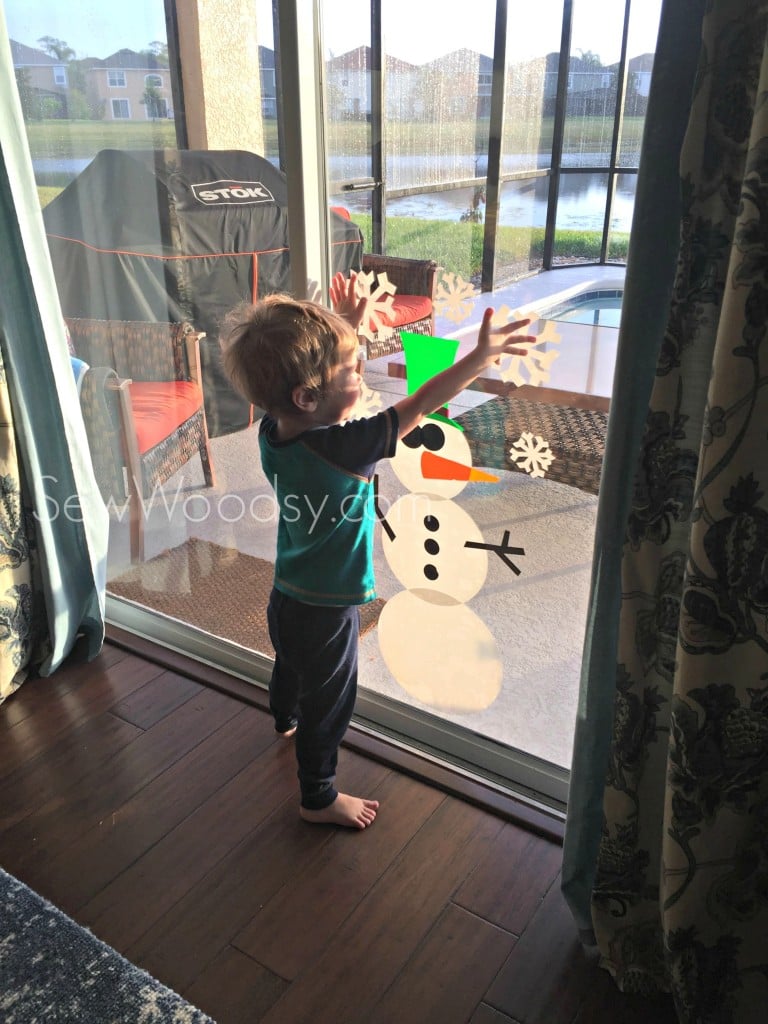
    The snowflakes are a little tricky for their little fingers but everything else works great!

    DIY Toddler-Friendly Snowman Window Clings

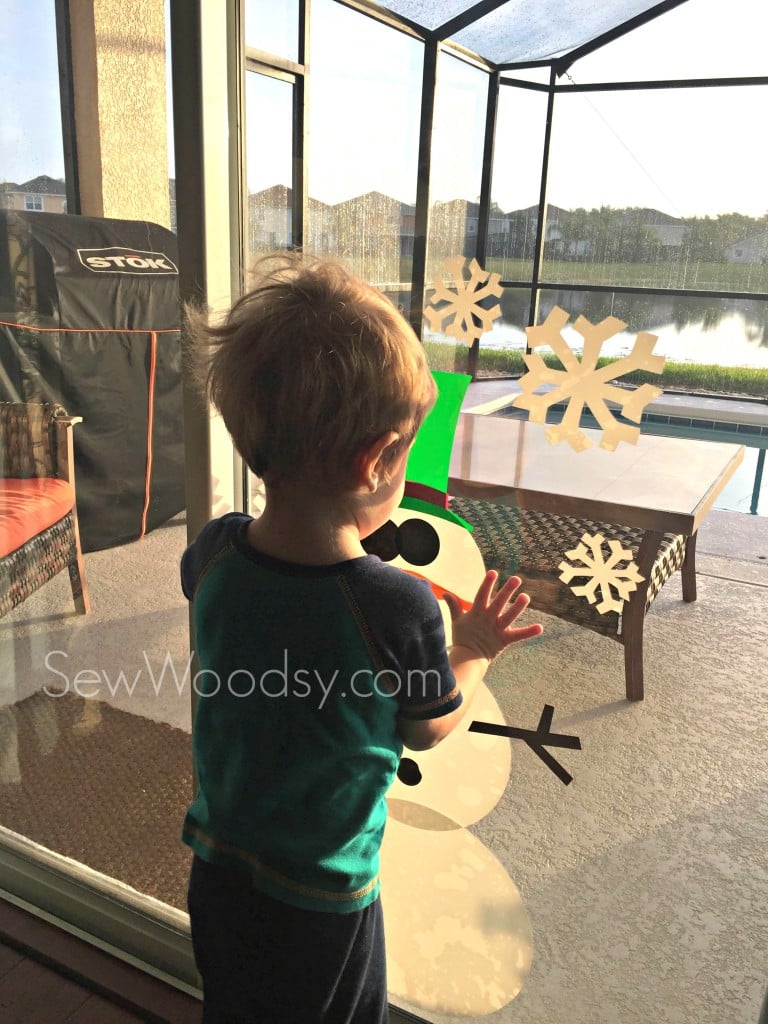
    Placing the nose on the snowman!

    So there you have it–a simply holiday craft that you can have done in less than 30 minutes for the toddlers and kids in your life!

    Disclaimer: There are affiliate links in this post. That means if you click on the link and purchase I make a small percentage of the sale at no additional cost to you. As always, all opinions are my own.
    « Share the Joy – DIY Bathroom Gift Baskets
    Floral Girl Nursery Inspiration Board »

    Primary Sidebar

    • Email
    • Facebook
    • Instagram
    • Pinterest
    • Twitter
    • YouTube
    Male and female hugging on each other in the woods.

    Hi, we're Katie & Jon! Welcome to our home away from home!

    Sew Woodsy is a lifestyle blog focusing on crafts, home DIY projects, family, travel and all things life. Get comfy and join us on our adventure!

    More About Us →

    9 different logos from various media outlets where Sew Woodsy has been featured on.

    Easter Projects

    • Kids Easter Basket Ideas
    • 25 Easter Basket Ideas for Toddlers
    • Free Easter Coloring Pages
    • 17 Easter Craft Ideas

    Trending

    • How to Create a Natural Log Pathway + Video
    • Tips & Tricks on Installing Butcher Block Countertops
    • How to Host a Baby Shower at Work
    • How to Use Heat n Bond

    Male and female hugging on each other in the woods.

    Hi, we're Katie & Jon! Welcome to our home away from home!

    Sew Woodsy is a lifestyle blog focusing on crafts, home DIY projects, family, travel and all things life. Get comfy and join us on our adventure!

    More About Us →

    9 different logos from various media outlets where Sew Woodsy has been featured on.

    Easter Projects

    • DIY Follow the Bunny Pillow Cover
    • Bunny Kisses & Easter Wishes Burlap Garden Flag
    • Easter Bunny Family Pillow
    • DIY Easter Bunny Onesie with Name

    Trending

    • How to Create a Natural Log Pathway + Video
    • Tips & Tricks on Installing Butcher Block Countertops
    • How to Host a Baby Shower at Work
    • How to Use Heat n Bond

    Footer

    ↑ back to top

    9 different logos from various media outlets where Sew Woodsy has been featured on.

    About

    • About Us
    • Privacy Policy
    • Accessibility Statement

    Newsletter

    • Sign Up! for emails and updates

    Contact

    • Contact
    • Work with us
    • Advertise

    Copyright © 2010 - 2022 Sew Woodsy