This is a sponsored post on behalf of Martha Stewart Crafts.
![]()
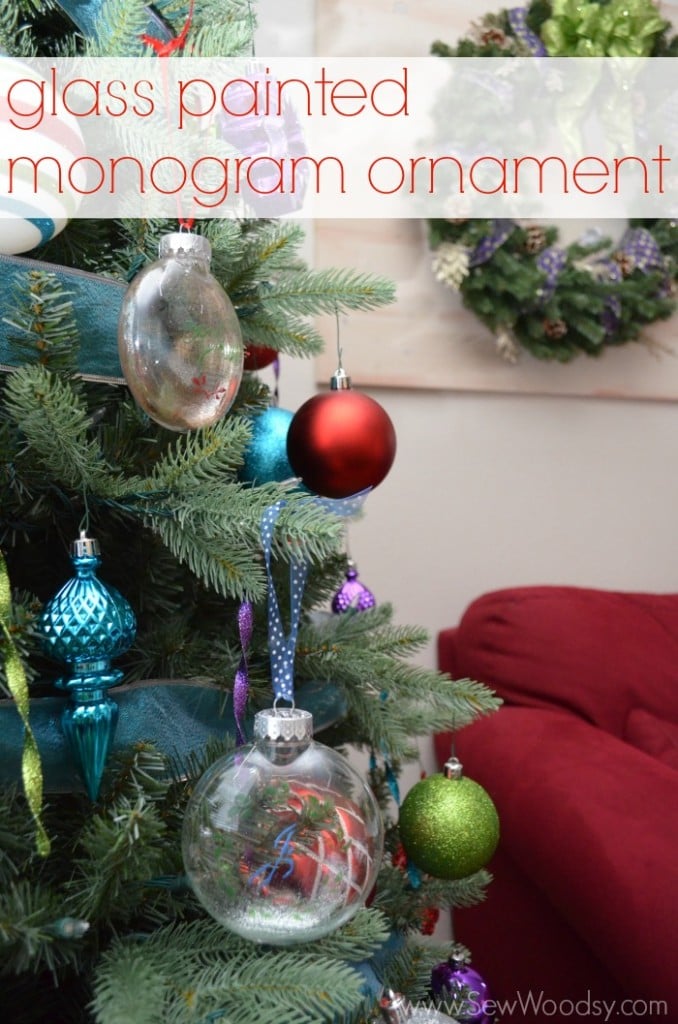
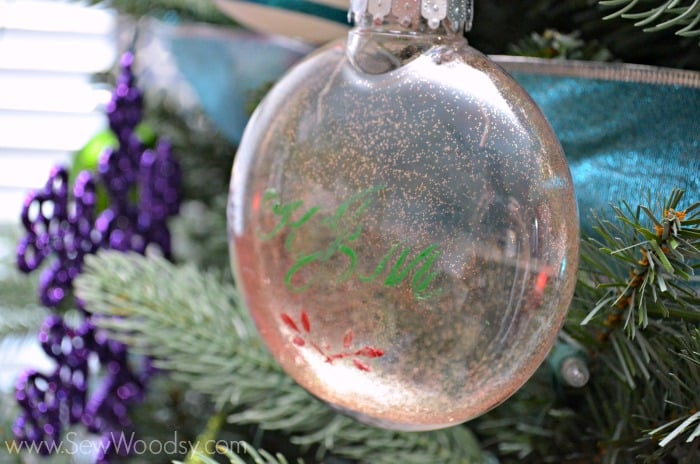
Day 6 of the 12 Days of Handmade Ornaments! Today, I’m sharing with you my Glass Painted Monogram Ornament using Martha Stewart Craft products. A few years ago I went on a shopping spree when they had the plastic ornaments heavily discounted at Michaels. Since then I’ve had what looks like bubbles hanging above my craft room desk. I decided to use a few of them and try my hand at the glass paints. The photos don’t do these ornaments justice.
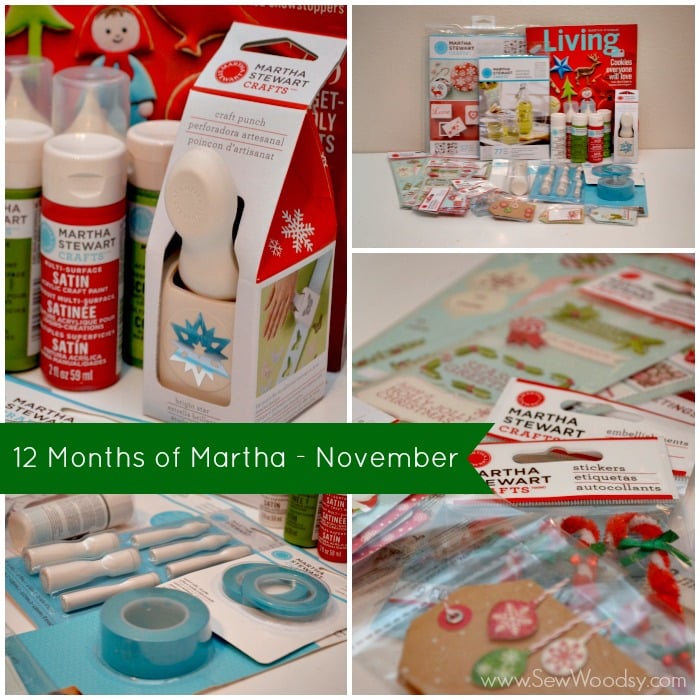 Last month, I received my November box from the 12 Months of Martha. It contained all sorts of Christmas goodies in it including lots of Christmas gift labels. I think I’m well stocked up for the next few holidays!
- Glass Adhesive Stencils Italic Script
- Holiday Icon Stencils
- Glass Paint
- Craft Paint
- Gilding Adhesive
- Bright Star Craft Punch
- Peppermint Winter Label Book
- Peppermint Winter Holiday Phrase Stickers
- Wonderland Rick-Rack Candy Cane Stickers
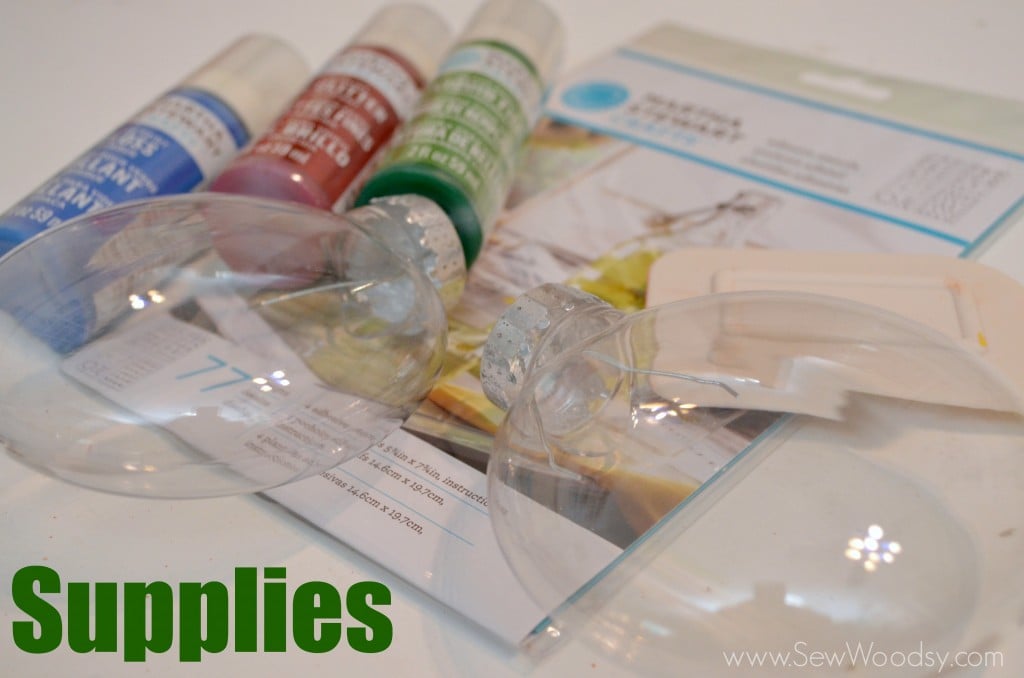
Here is what you’ll need to make the Glass Painted Monogram Ornament:
- Plastic Ornaments
- Glass Paint
- Glass Adhesive Stencils Italic Script
- Craft Squeegee
- Martha Stewart Crafts Glitter
- Ribbon
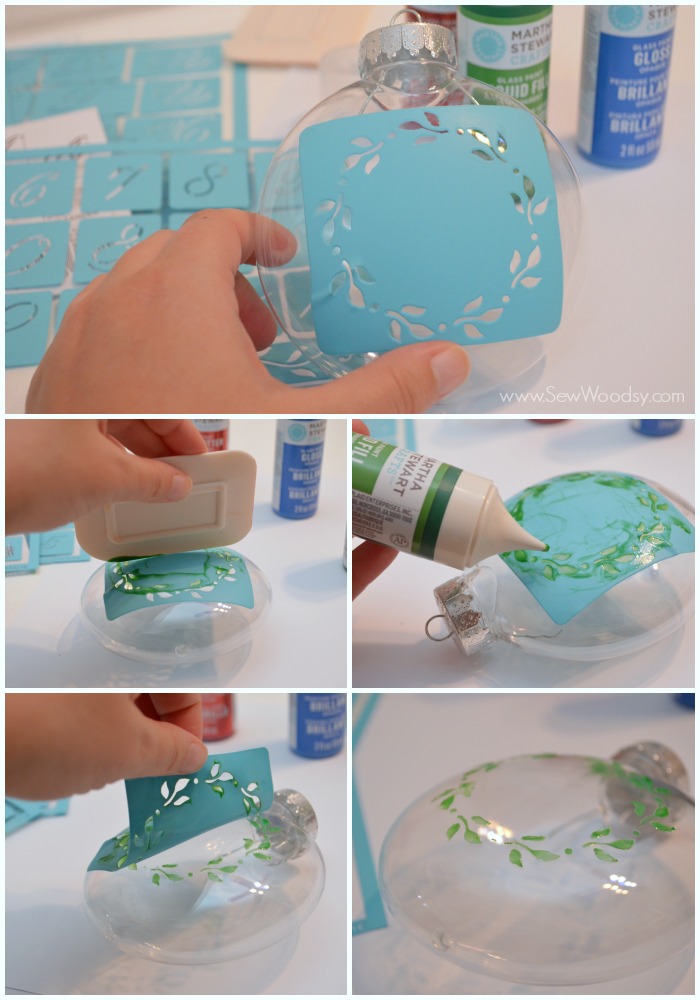
First, apply the adhesive stencil to your ornament. I used a craft squeegee to smear the glass paint on then went back through and used the glass paint bottle to fill in where I felt it was needed. Make sure your stencil is perfectly smooth! Do as I say, not as I do! 😉 As soon as the paint is applied, carefully remove the stencil and let it dry.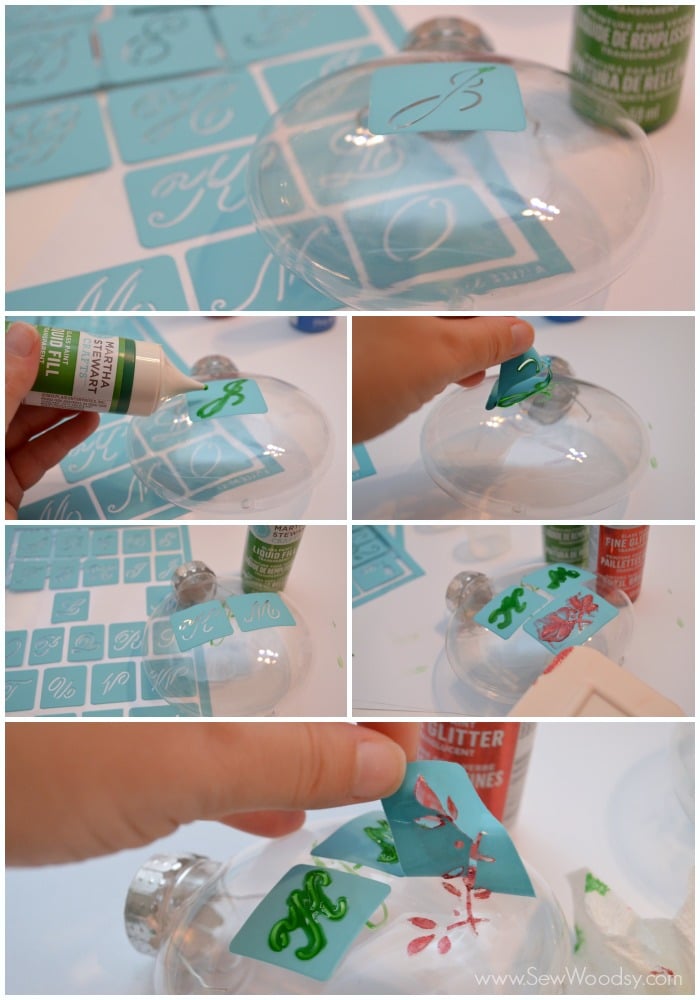
While ornament number 1 dries begin ornament number 2. I applied a “J” in the middle. Let it dry for 30 minutes then applied the “K” and “M” and the flourish to the bottom. Once the paint was applied I carefully removed the stencils and let it dry. 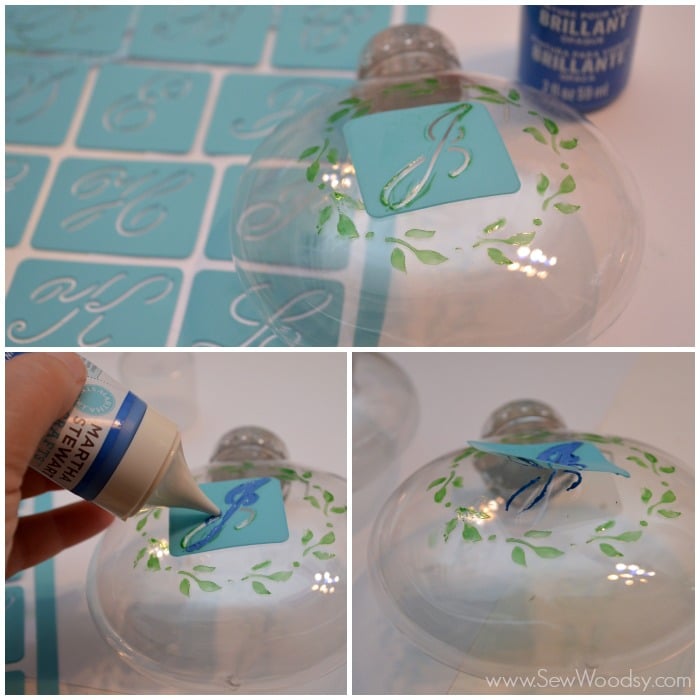
Once ornament number 1 is pretty much dry apply the monogram letter to the middle. Using glass paint, carefully fill in the letter, and carefully remove the stencil. Trust me, remove the stencil immediately or else the paint will dry to the stencil and not on the ornament. 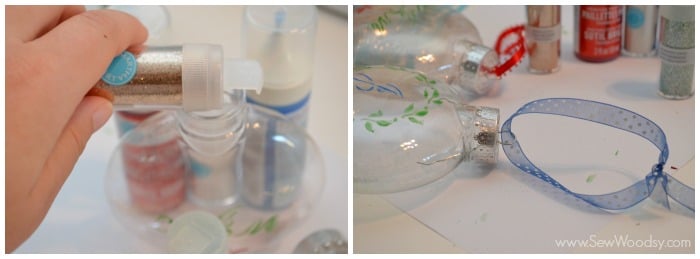
Lastly, pour a little bit of glitter inside the ornament. Shake it up, add the metal topper back on and tie a ribbon around the ornament! 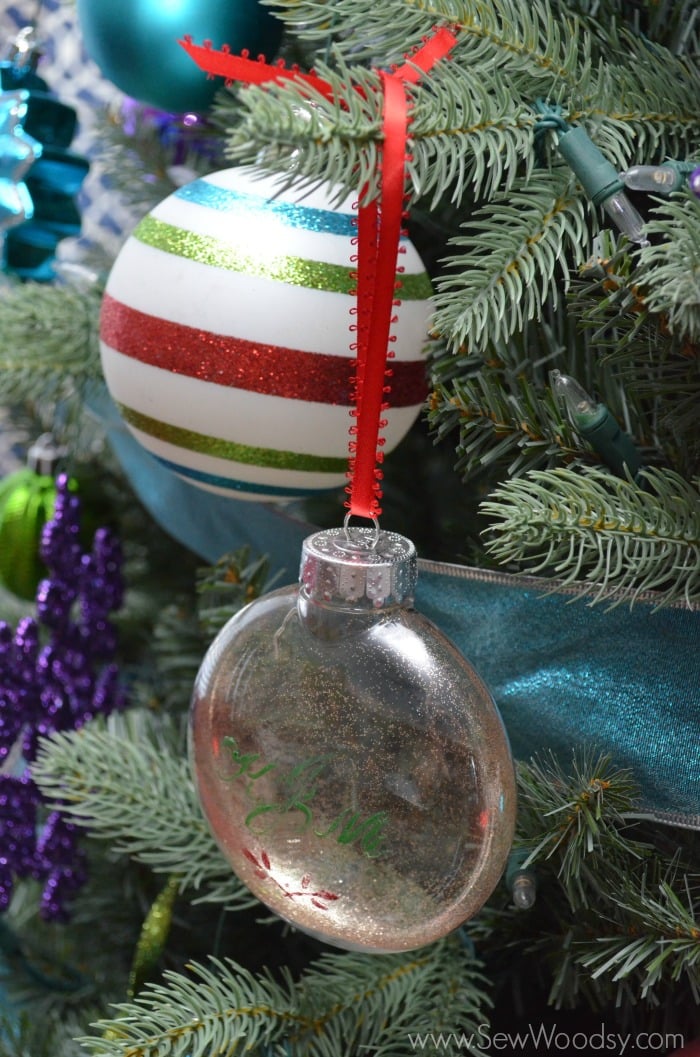
Hang your ornament on the tree!
Trust me. The pictures do not do these ornaments justice. Looking for more holiday projects to complete using Martha Stewart Crafts? Head on over to YouTube and check out the video on simple crafts to make for the holidays!
Make sure you enter to win the Cricut Giveaway going on during our 12 day event!
Disclaimer: I received the products for free as part of the 12 Months of Martha Campaign. I was not compensated to publish this post–I just love the product. As always all opinions are my own.
