• Skip to primary navigation
  • Skip to main content
  • Skip to primary sidebar

Sew Woodsy logo

  • DIY
  • Crafts
  • Cricut
  • Travel
  • About
menu icon
go to homepage
search icon
Homepage link
  • Home
  • Thanksgiving
  • DIY
  • Cricut
  • Travel
  • About Us
    • Email
    • Facebook
    • Instagram
    • Pinterest
    • Twitter
    • YouTube
  • ×

    Sew Woodsy » DIY

    Published: May 14, 2012 by Katie · This post may contain affiliate links.

    How To Remove Baseboards

    Sharing is caring!

    64 shares
    • Facebook12
    • Twitter

    How To Remove Baseboards

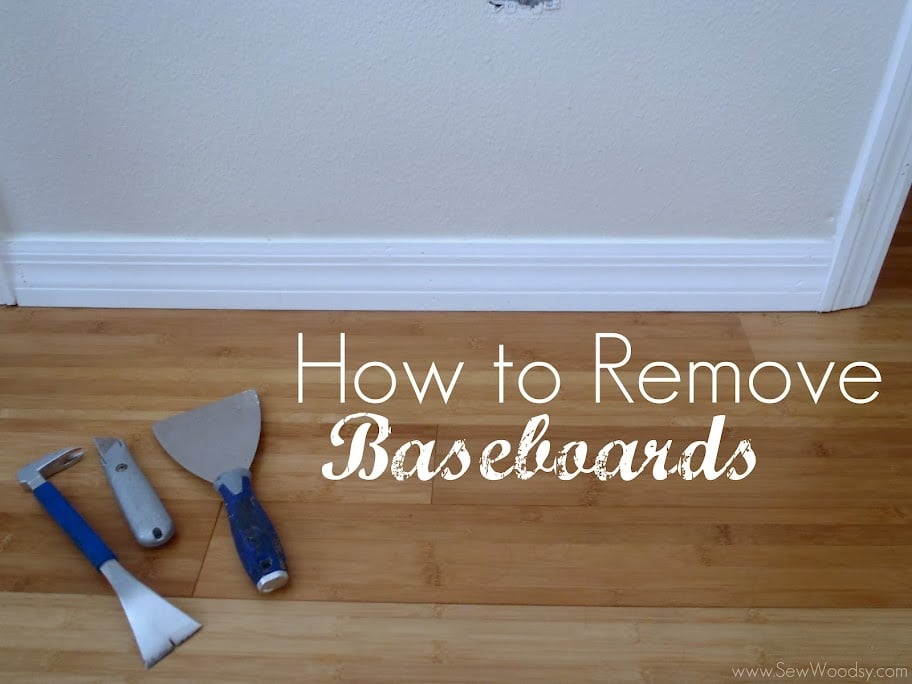
    Have you ever wondered how to remove the baseboards from your walls without damaging the physical wall itself? While I was away from our home a few months ago, Mr. Woodsy decided he wanted to change out our baseboards in our Master Bedroom. He has became a pro at removing baseboards from the wall without any damage. The baseboard pictured above is the original baseboard from our home. When we first moved into our home Mr. Woodsy carefully removed the baseboards so he could install the bamboo floors down in each room. Then after numbering each baseboard and wall, and sanding, removing caulking, and painting, he put them back up in the room. He had contemplated about creating faux large baseboards; however, he did not want to have to piece the baseboards back together for a 3rd and 4th time so he decided to go out and buy the real thing. Although prior to buying the large baseboards he was a gem and took a few pictures so we could share with our readers how to remove baseboards without beating up the wall its attached too!

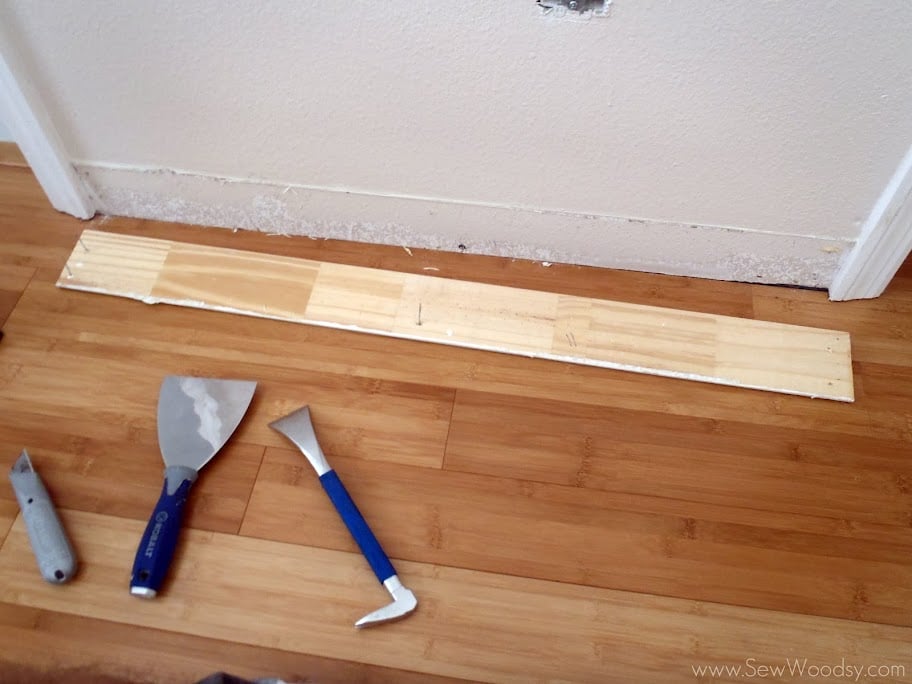
    Supplies:

    Razor Blade / Moulding Bar / Flexible Trim Tool

    How To Remove Baseboards

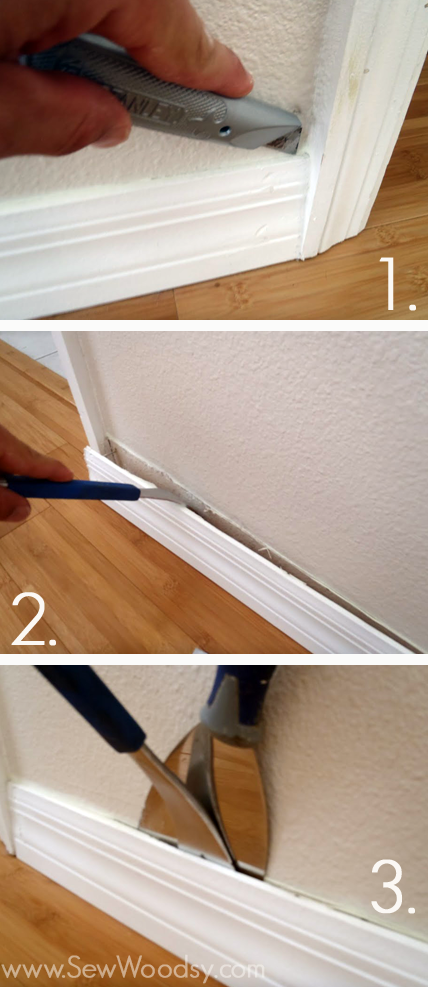
    1. Using a razor blade run it across the sealed caulking between the wall and the baseboard.

    2. Using a moulding bar; carefully begin to pry the moulding away from the wall.

    3. Once you’ve separated the top portion of the moulding from the wall–slide the flexible trim tool behind the moulding and as far down as possible to brace the wall. Then, carefully use the moulding bar to remove the remainder of the baseboard.

    How to Remove Baseboards

    Here is what the wall & baseboard looked like once it was removed. No holes in the wall and the baseboard was still intact in one piece, which means if you wanted too it would be completely salvageable to reuse again! Just remember if you are going to reuse the baseboards make sure you number the baseboards and the walls so that you know which piece goes where.

    How to Remove Baseboards

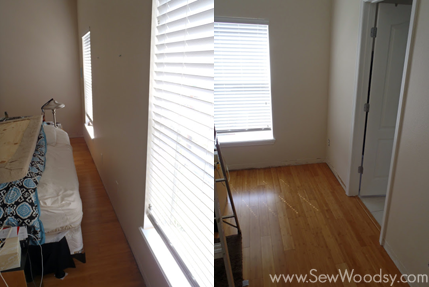
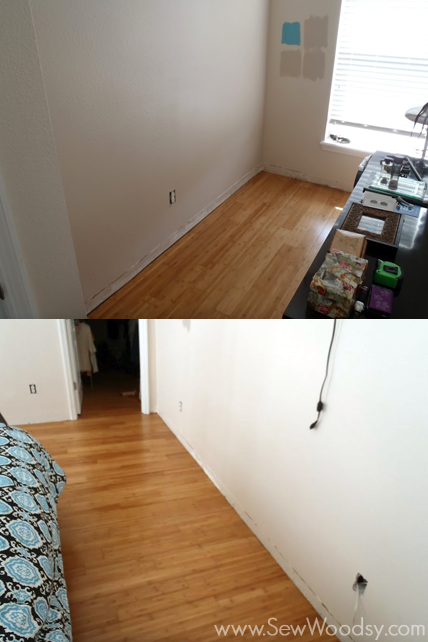
    Here is what our room looked like minus the baseboards. *Note, Mr. Woodsy did not sand down and remove the caulking on the wall because he was going to install larger baseboards and the caulking would be covered.

    How to Remove Baseboards

    Now that the baseboards were removed–our master bedroom was ready to be painted!
    « {Part 2} Upholstered Tufted Headboard Tutorial
    Our BEHR Paint Story »

    Primary Sidebar

    • Email
    • Facebook
    • Instagram
    • Pinterest
    • Twitter
    • YouTube
    Male and female hugging on each other in the woods.

    Hi, we're Katie & Jon! Welcome to our home away from home!

    Sew Woodsy is a lifestyle blog focusing on crafts, home DIY projects, family, travel and all things life. Get comfy and join us on our adventure!

    More About Us →

    9 different logos from various media outlets where Sew Woodsy has been featured on.

    Patriotic Crafts

    • Four photos of various patriotic crafts with post title in the middle for Pinterest.
      30+ Patriotic Crafts
    • Home of the Brave Cake Topper
      “Home of the Brave” Patriotic Cake Topper
    • White coloring pages on marble countertop. Top coloring page of statue of liberty with crayons surrounding it.
      Patriotic Coloring Pages
    • My patriotic heart beats red, white, and blue
      My Patriotic Heart Beats Red, White, and Blue Printable

    Trending

    • How to Create a Natural Log Pathway + Video
    • Tips & Tricks on Installing Butcher Block Countertops
      Tips & Tricks on Installing Butcher Block Countertops
    • How to Host a Baby Shower at Work
    • Three bolts of fabric with an iron and roll of packaged heat n bond a marble counter.
      How to Use Heat n Bond

    Footer

    ↑ back to top

    9 different logos from various media outlets where Sew Woodsy has been featured on.

    About

    • About Us
    • Privacy Policy
    • Accessibility Statement

    Newsletter

    • Sign Up! for emails and updates

    Contact

    • Contact
    • Work with us
    • Advertise

    Copyright © 2010 - 2022 Sew Woodsy