We are back today with Part 2 of our 2-part series on how to Upholster a Tufted Headboard. On Tuesday, we posted the Part 1 series which includes the supply list, and today we are going to show you how to finish up your upholstered headboard. On Tuesday, we left off with drilling the cabinet grade plywood and foam so that we can eventually tuft the head board.
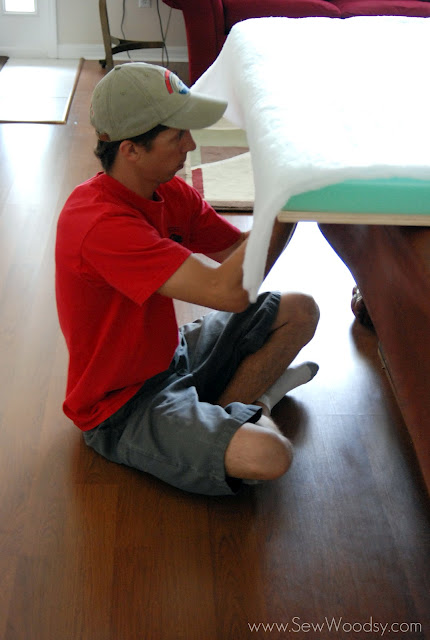
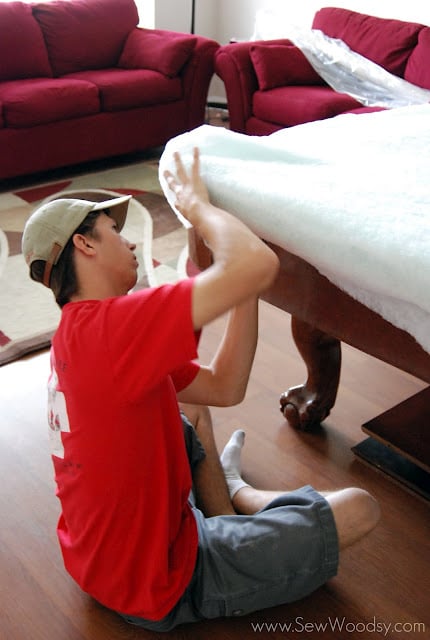
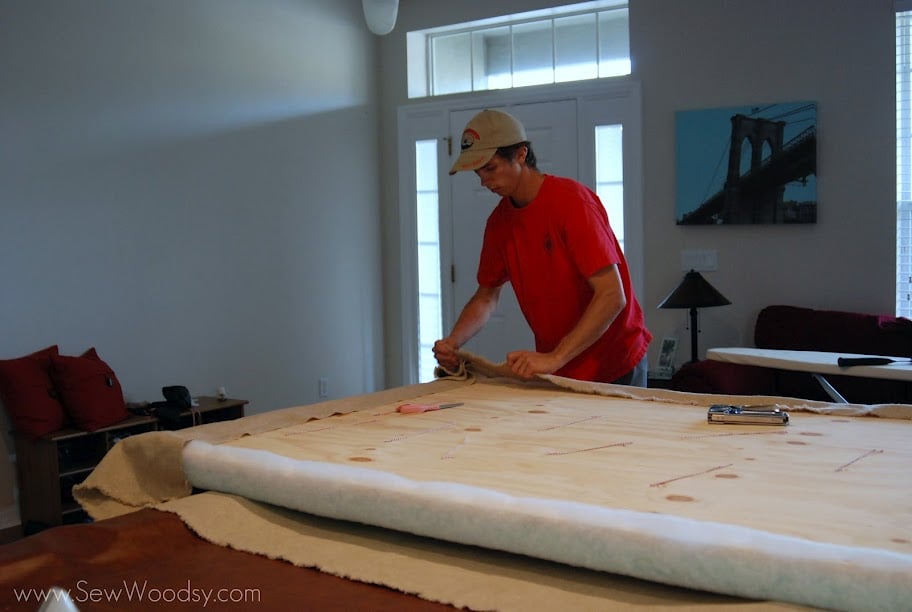
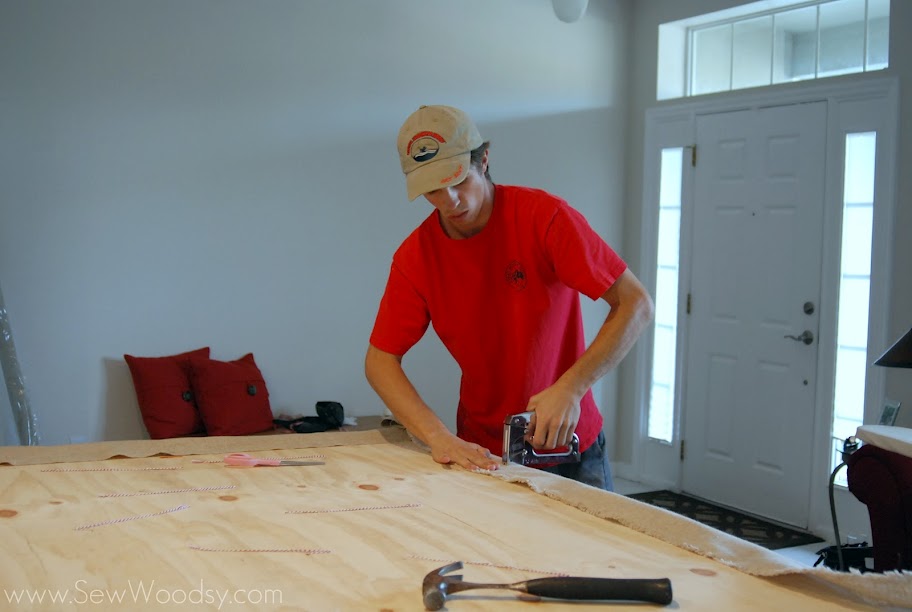
Once we did all of the cutting and drilling we brought the headboard into the house. Luckily we have a massive pool table room where we do most of our larger projects in the air conditioning. We rested the headboard on the pool table and began covering the headboard with a layer of batting.
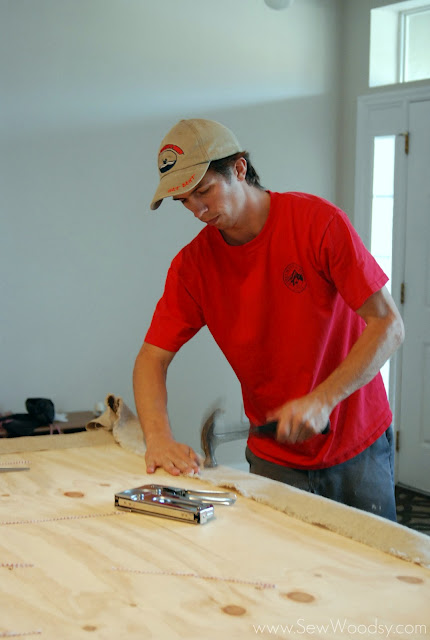
We secured the batting to the back of the plywood using a staple gun. At this point, get ready to become best friends with your staple gun. We only have a traditional staple gun; however, if you want to splurge and save your hands–spend the $100 on a nematic staple gun that hooks up to your air compressor. During that last few staples Mr. Woodsy wished we would have splurged and spent the money because his hands were numb!
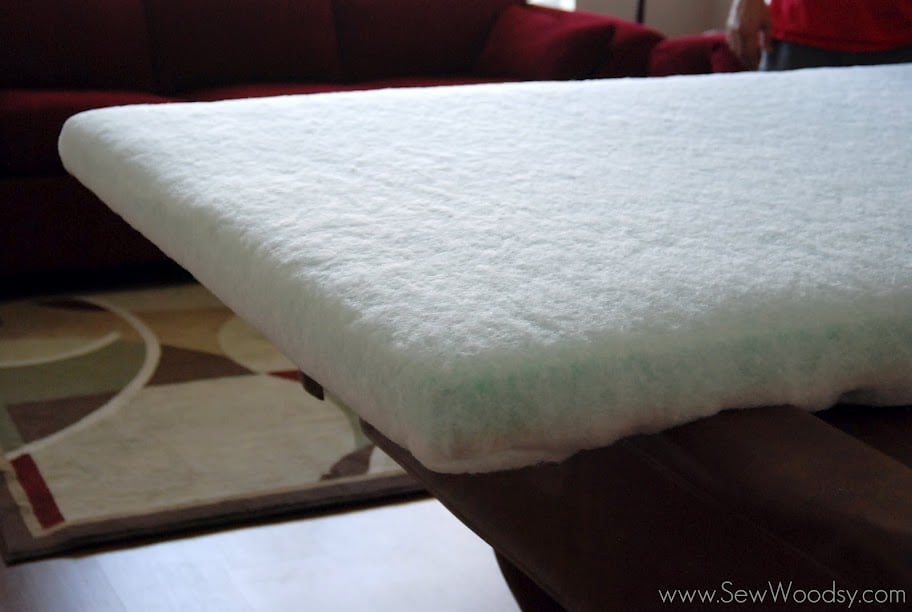
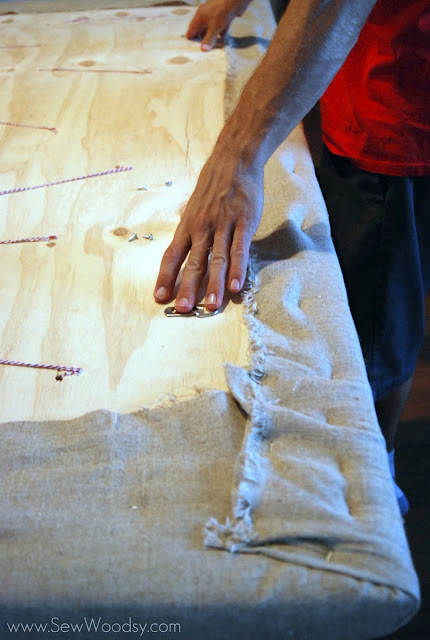
Look how smooth and nice the batting looks over the foam/plywood. Mr. Woodsy literally wrapped the corners like you would a gift package. Pulling the batting tightly so that their was no loose batting and that it was nice and tight and smooth.
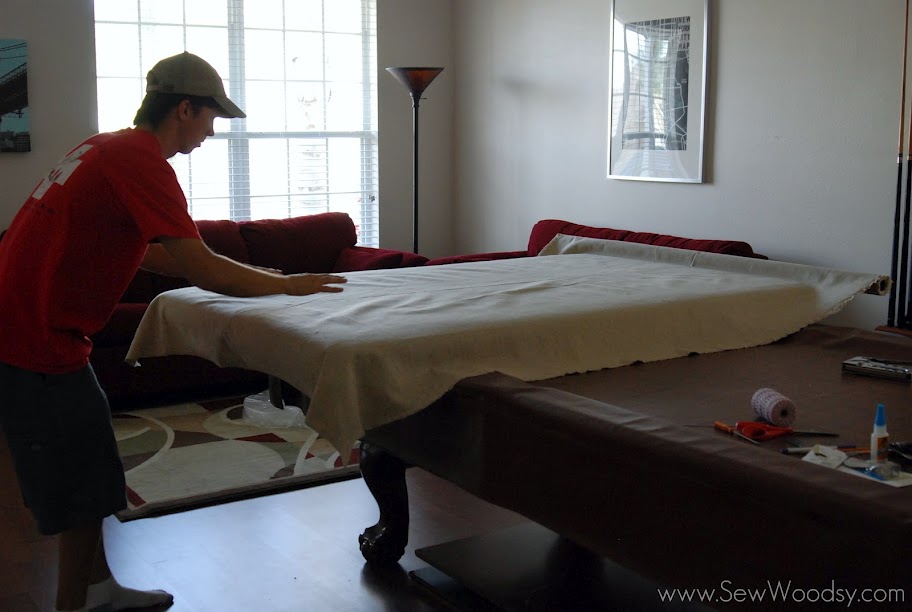
Next, lay out your fabric on the roll get it to where you want it and then cut your fabric. This was a little traumatic because if we made a mistake here it would be a $50+ mistake.
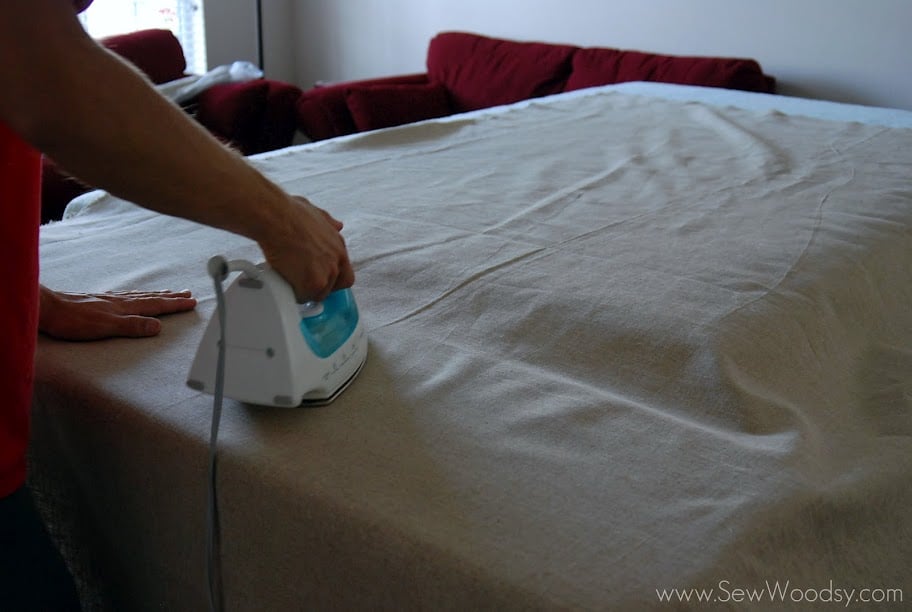
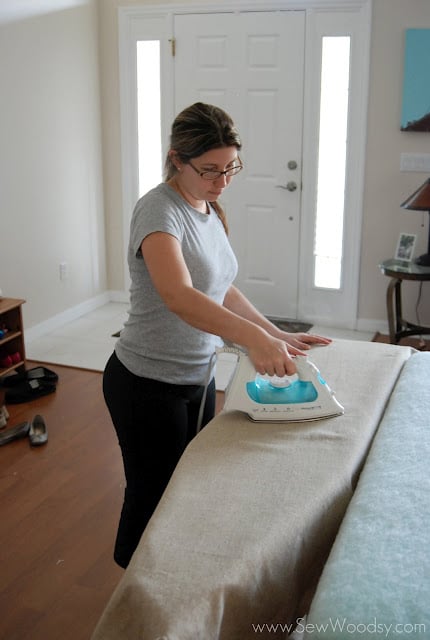
Get your iron out and start ironing your fabric if needed. Our fabric had this massive crease throughout the entire 10 yards we bought. I’ll preface and say that we bought our fabric for less than $10 a yard because we bought it at a home fabrics store that is heavily discounted!
After Mr. Woodsy ironed the fabric once I took over–showing the fabric who was boss. I was determined to get the crease out! I think I ironed the fabric over 5 times–taking about an hour out of our day, but it was worth it–for the most part I got out all the creases!
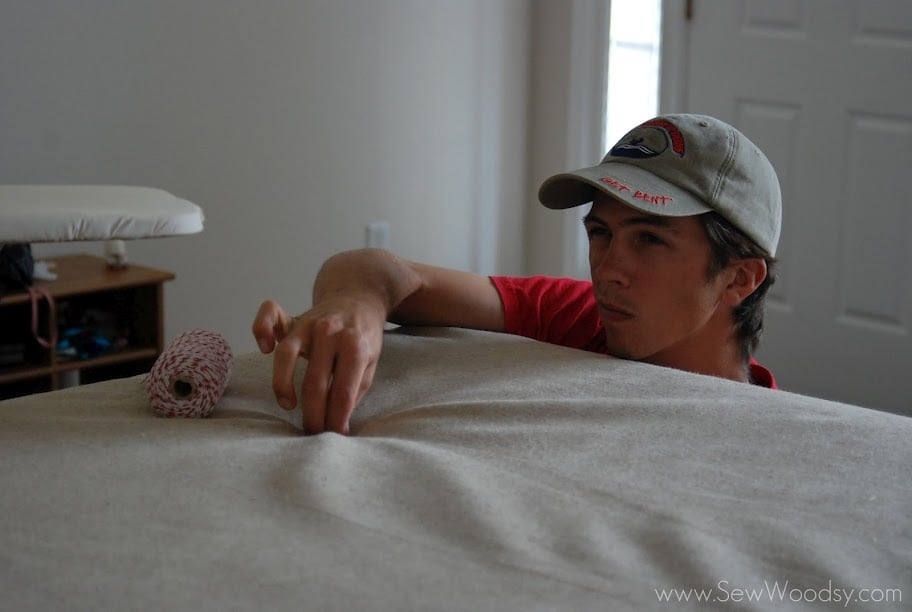
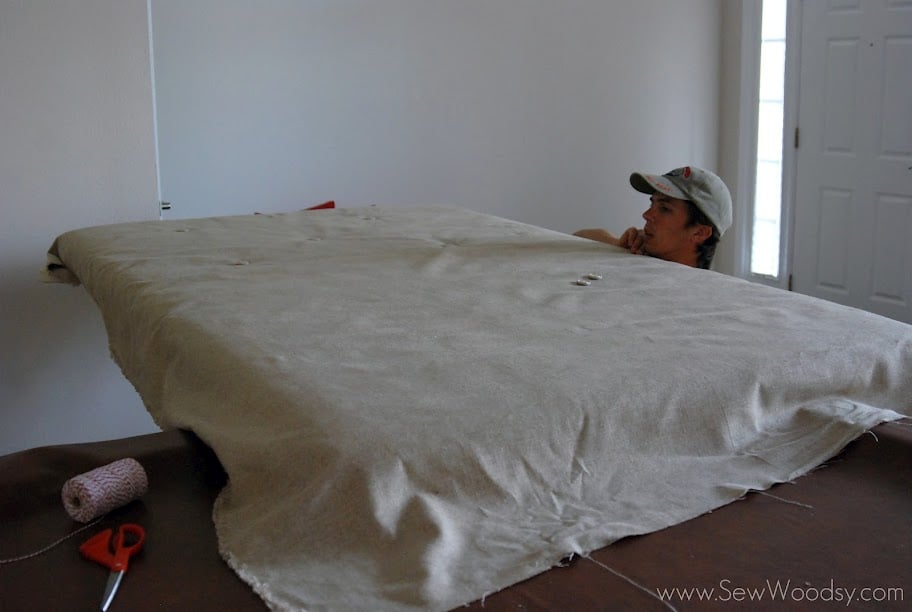
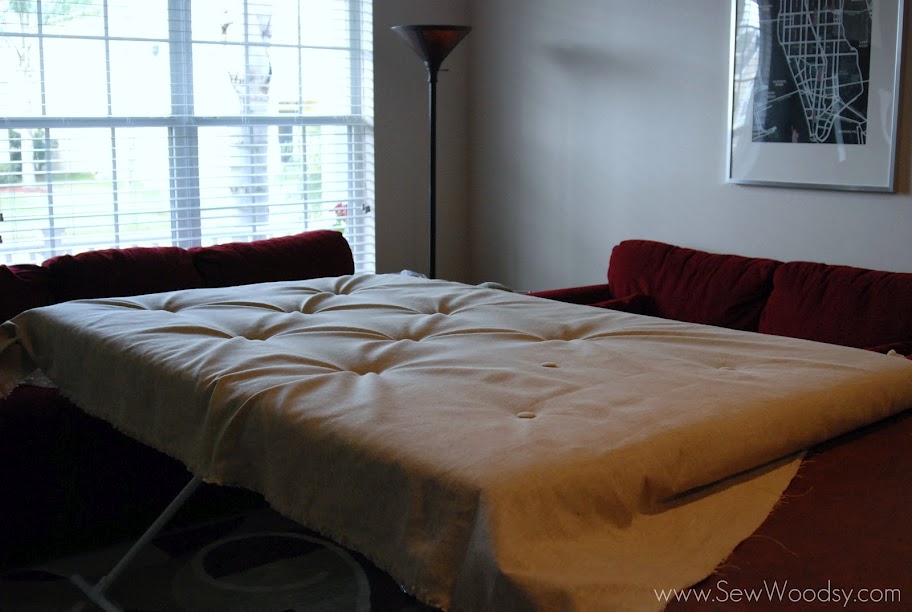
Once the fabric is ironed the fun begins! Place the fabric over the foam covered plywood and get it positioned exactly how you want it. Then, get those buttons out that have been covered in fabric, your twine, and upholstery needle. Start from the bottom of the plywood and carefully bring your upholstery needle with twine on it through the bottom and break through the top of the fabric. At this point you do not want your fabric to shift–be very mindful of this. Once your upholstery needle is through the fabric attach on your button to one end of your twine and bring the twine and upholstery needle back down through the fabric to the bottom of the plywood. We let all the buttons just hang their until they were all done and that’s when we attached them.
You can find the video tutorial on How to Cover Tufting Buttons here.
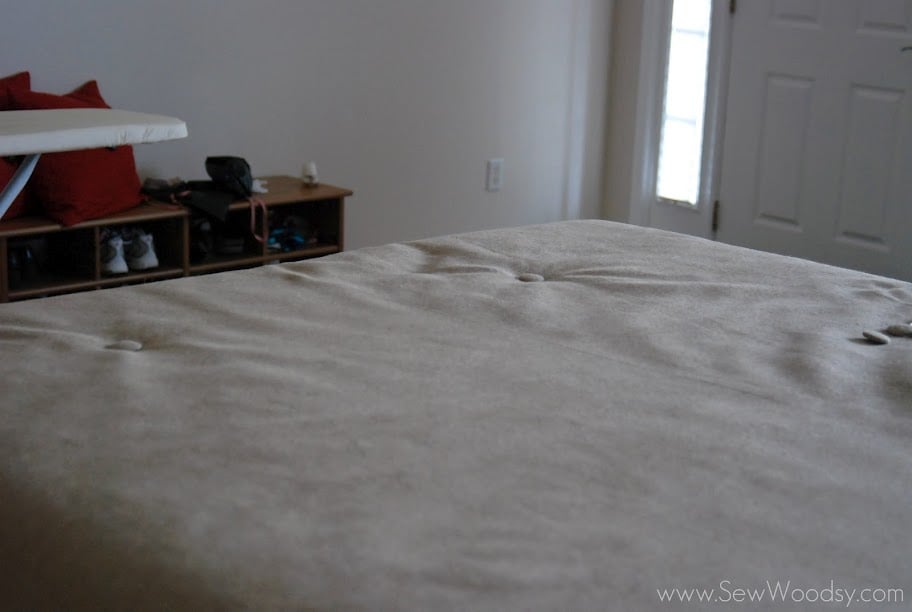
The first two are complete–only 9 more to go! *We did 11 tufted buttons in total for our headboard–that’s just the pattern that worked for us.
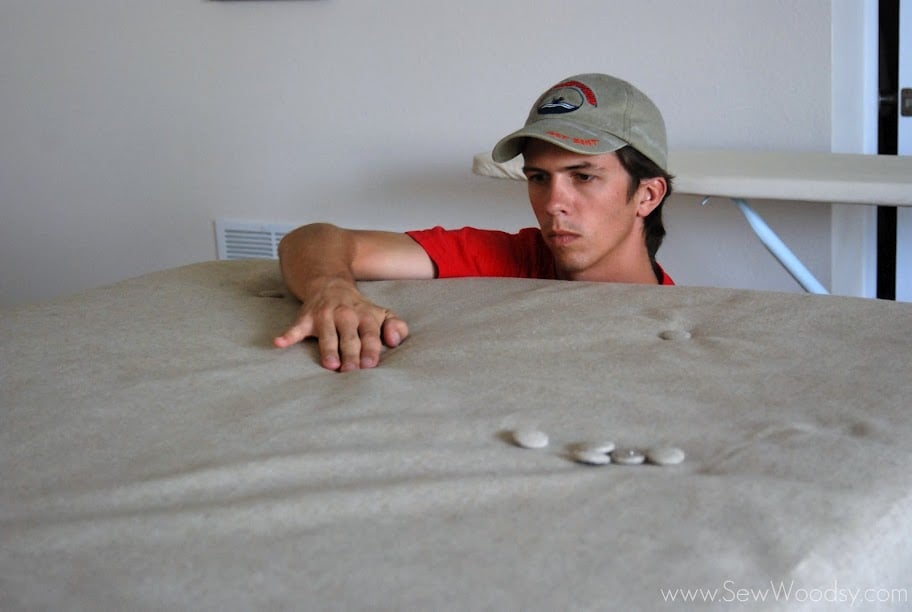
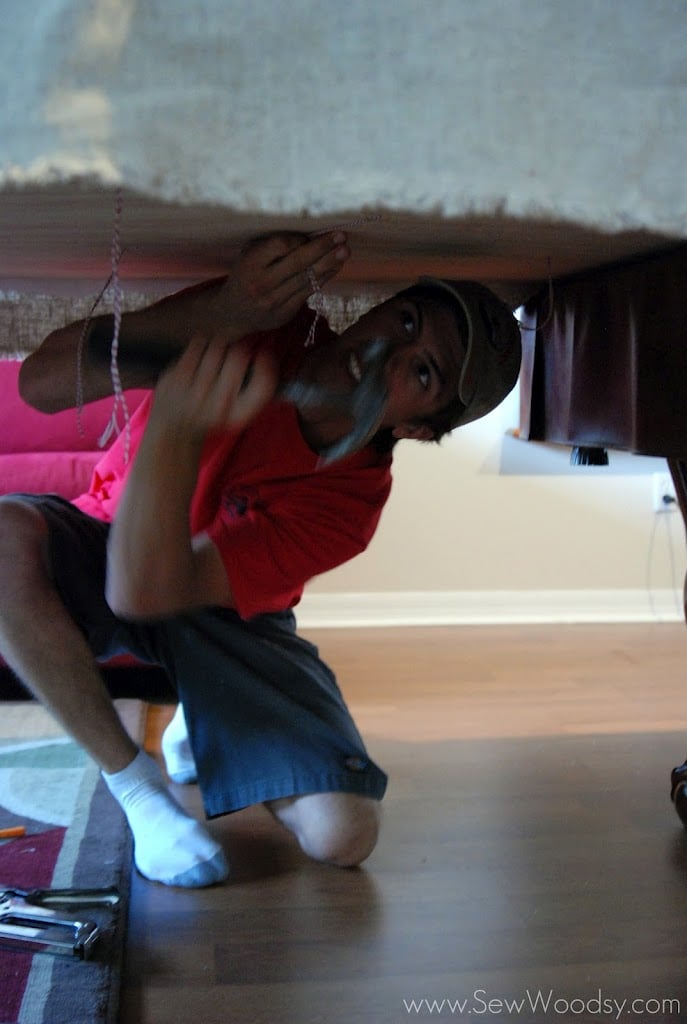
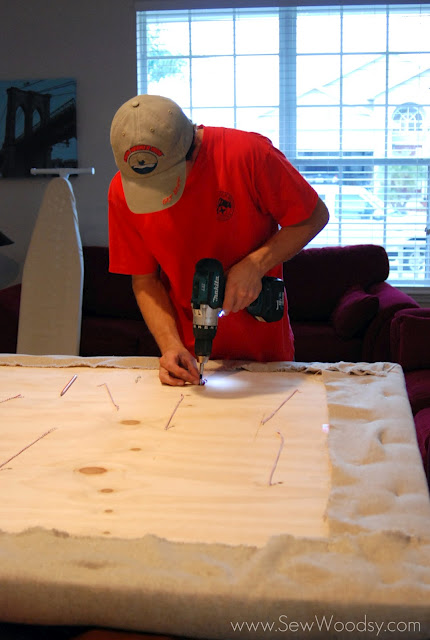
Mr. Woodsy concentrating bringing the twine through the bottom up to the top.
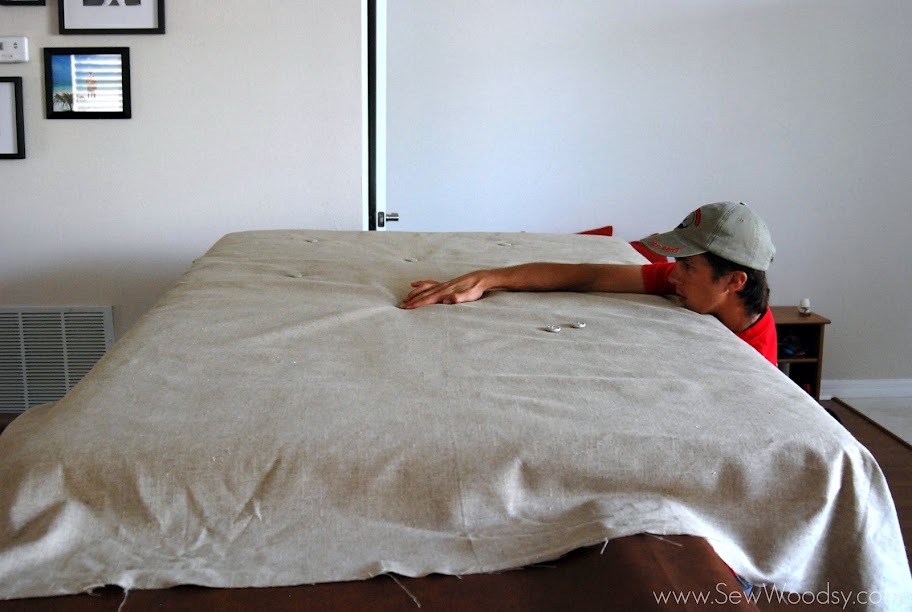
The middle buttons were tricky.
Thank the lord Mr. Woodsy has long arms!
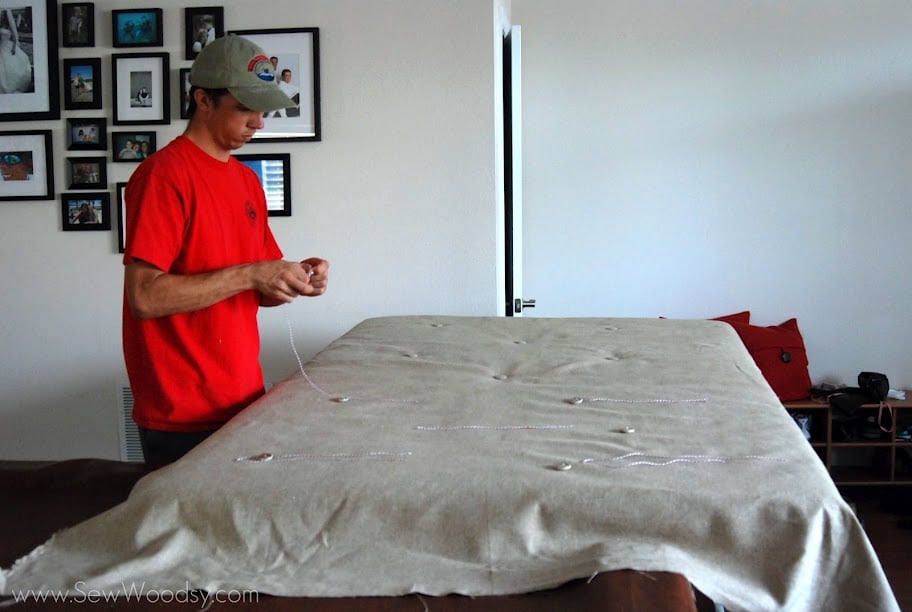
We had laid out the rest of the buttons, so he knew how many more he really had to go–he is a visual person.
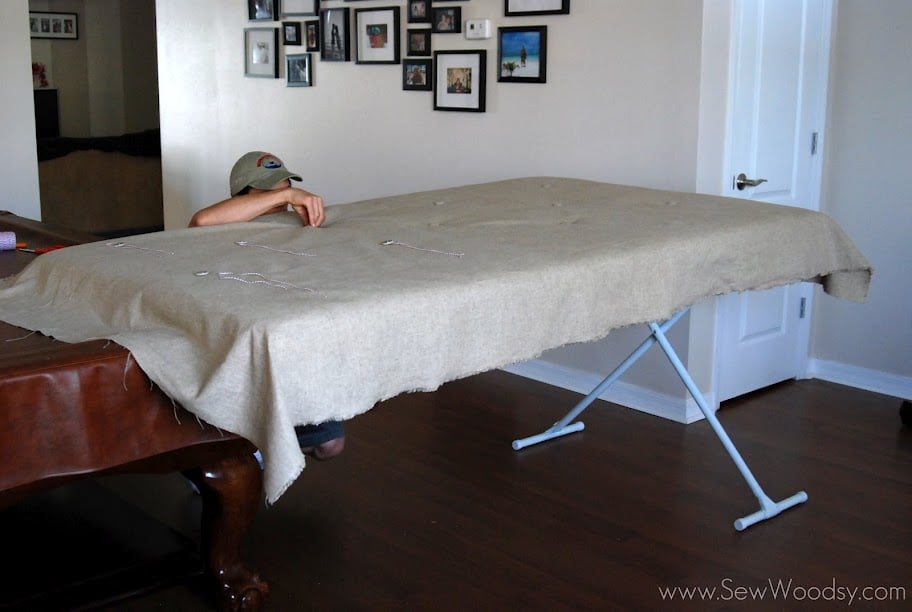
As you can see we used the ironing board to hold up the other side of the headboard since you needed to be able to get to the bottom of the plywood.
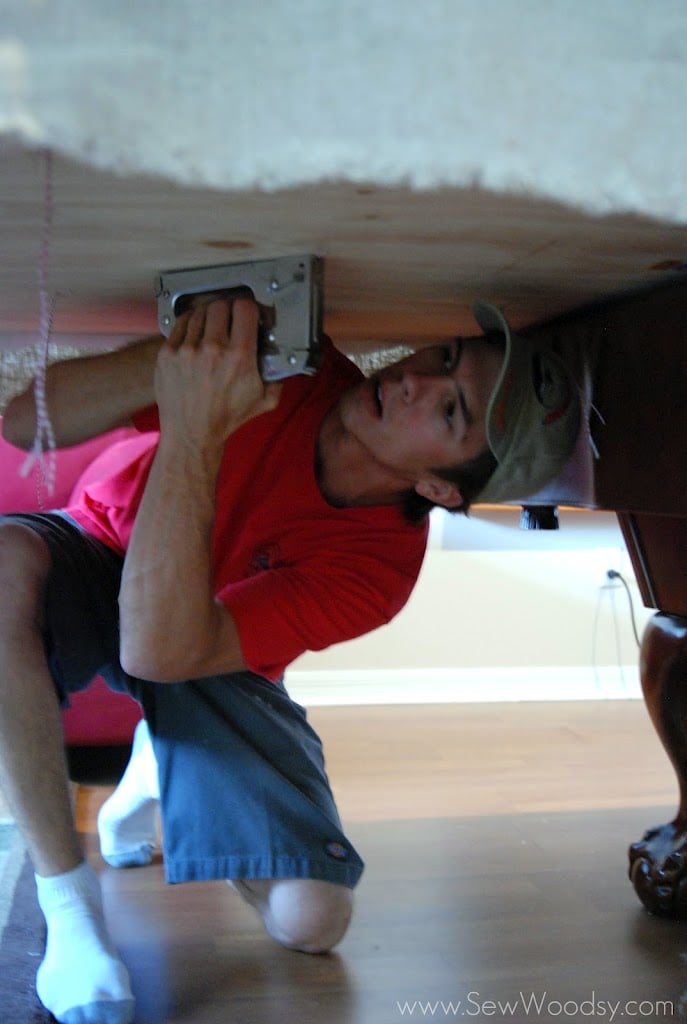
Mr. Woodsy began stapling the twine to the plywood–aka tufting.
This is what it looked like underneath. Pull the twine tightly (but make sure it’s equally tight on all 11 buttons) and then staple the twine to the plywood.
Then hammer the staples to ensure they are tight to the board.
Once the buttons were attached to the headboard; flip over the headboard and begin pulling and stapling the headboard fabric.
Multiple staples every couple of inches were needed. Mr. Woodsy wanted to make sure that the fabric wasn’t going any where. Remember you need to keep the same pull on the fabric all the way around. It will be visibly noticeable if you pull one side tighter than the other.
Then, because Mr. Woodsy did not trust the staples he would hammer them down to ensure they were staying tight.
You’ll see that the corner was wrapped like a package–there is no wrong or right way to wrap your headboard. This is just the method we chose. Next, you’ll want to attach two large picture hooks (that can hold up to 100 lbs) to the back of the headboard.
Mr. Woodsy secured the picture hooks on equal sides of the headboard.
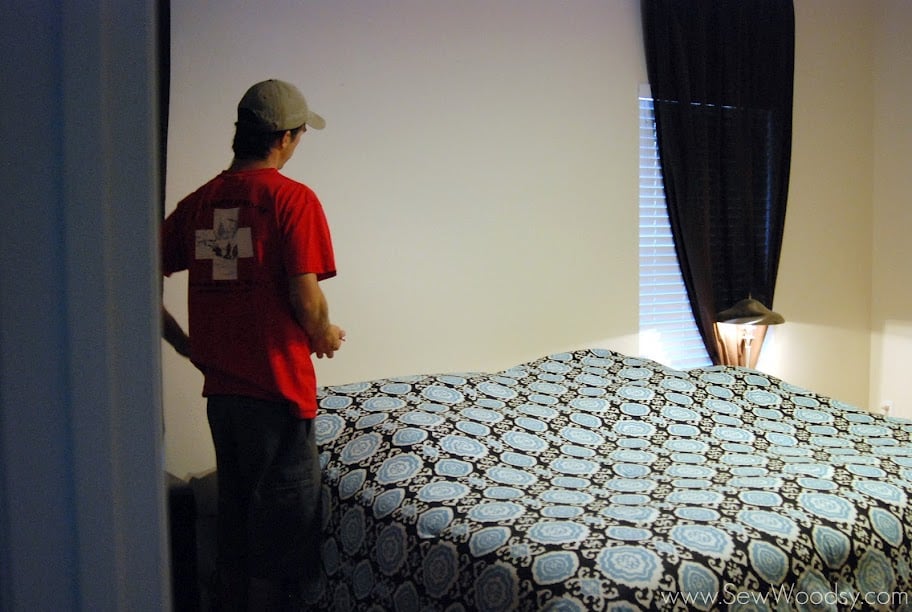
Next, he went to our bedroom to envision where this monstrosity would actually hang!
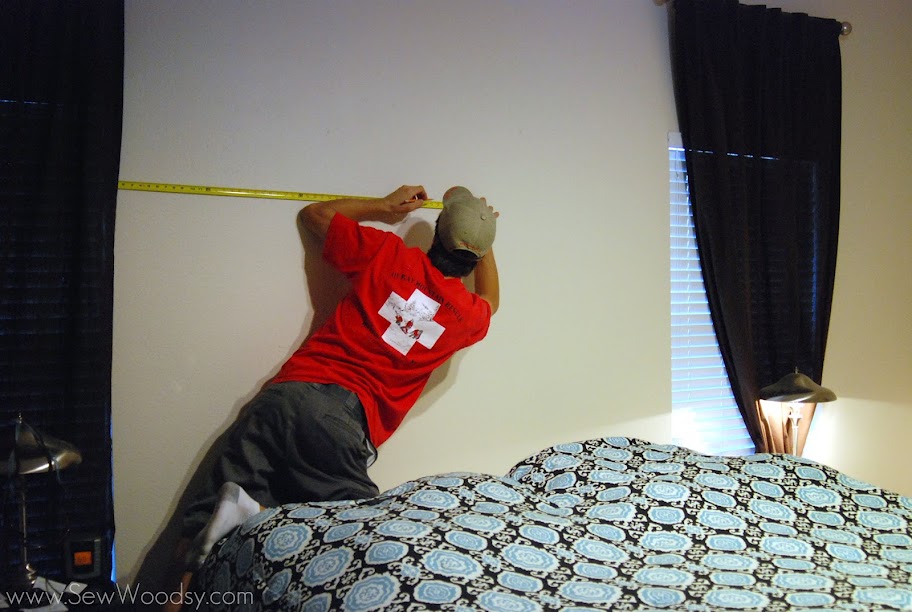
Since our bed sits in between two windows he measured the distance between the two windows and found his center point.
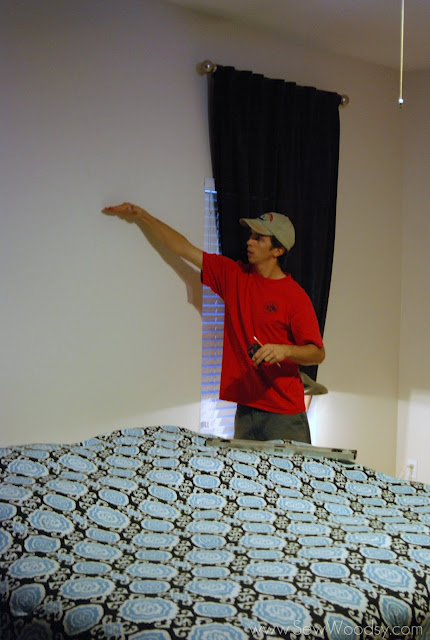
He showed me how high our headboard was really going to be. At that point I was a little nervous we went overboard and it was too large!
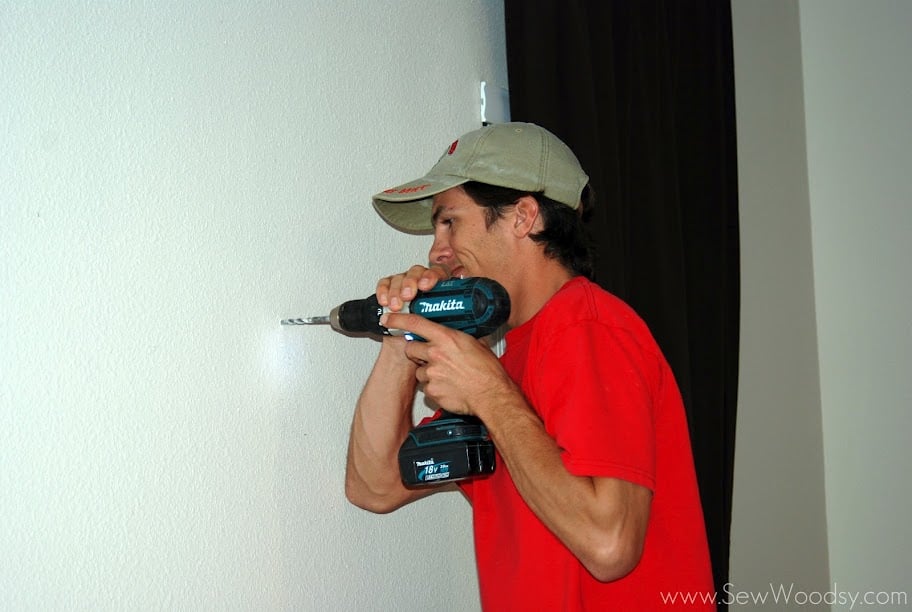
We have drywall so Mr. Woodsy looked for where the studs were on the wall. Unfortunately, there were no studs near where we needed to hang our headboard. So he then drilled a hole into the wall and attached an anchor followed by a screw on each of the sides where the headboard would hang. Followed by finally hanging the headboard.
*If you have a concrete wall you can use a pap con bolt and then attach your headboard.
*If you have a wood wall you just screw into the wood and then hang your headboard.
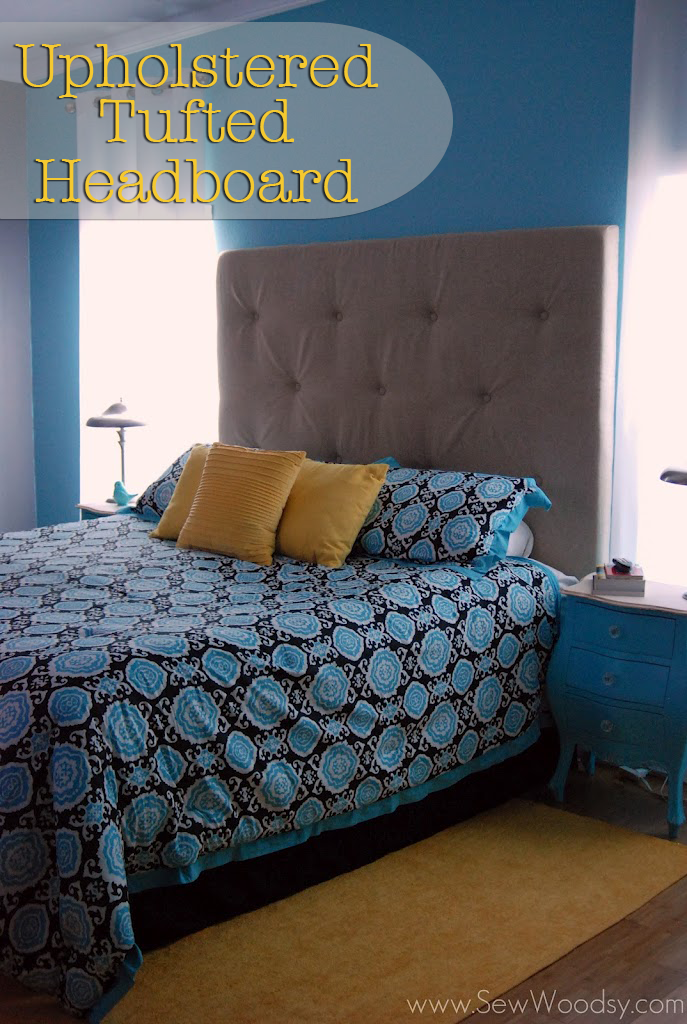
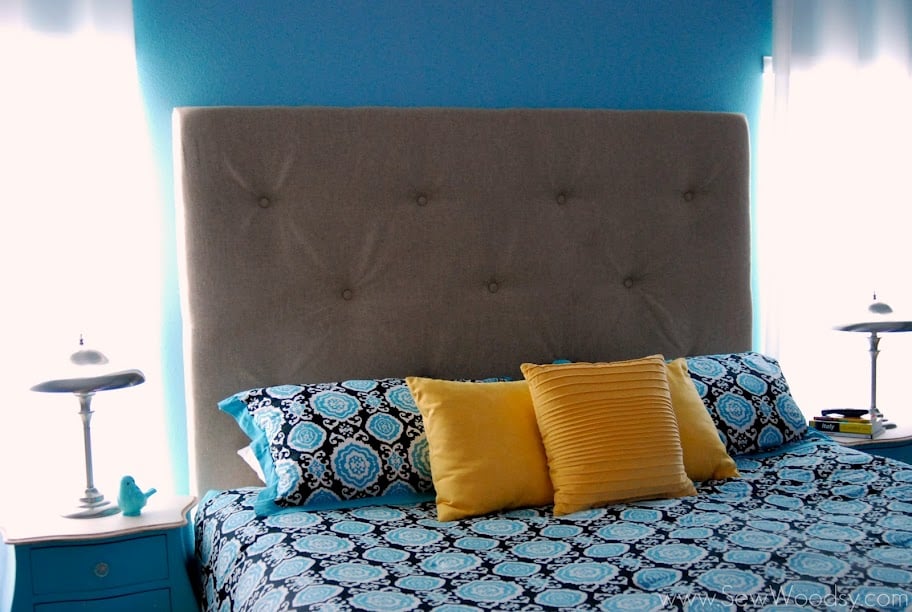
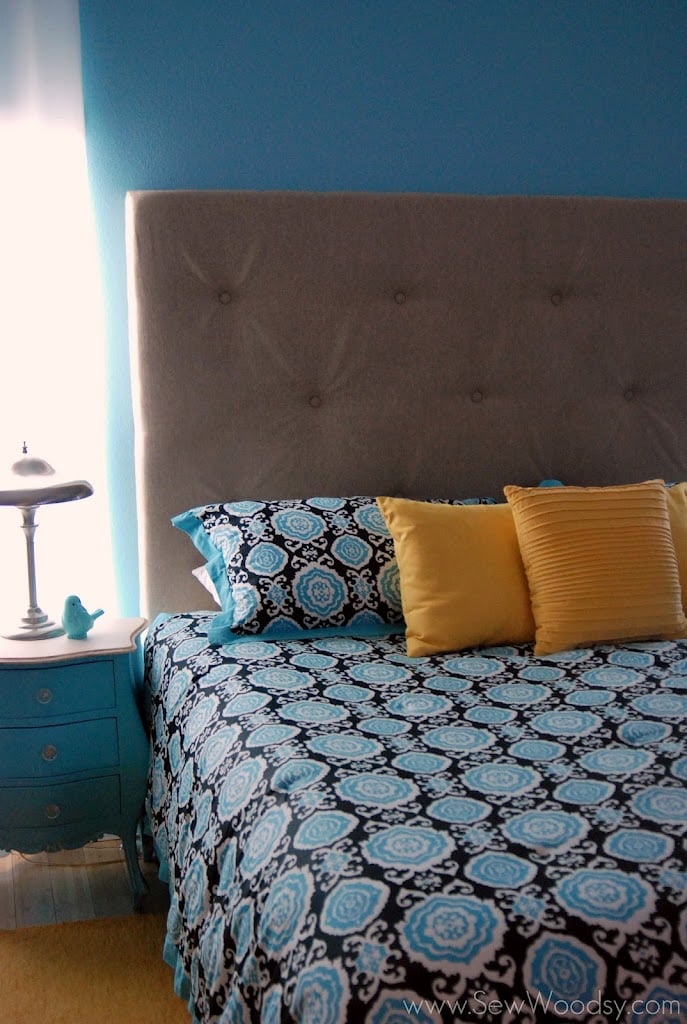
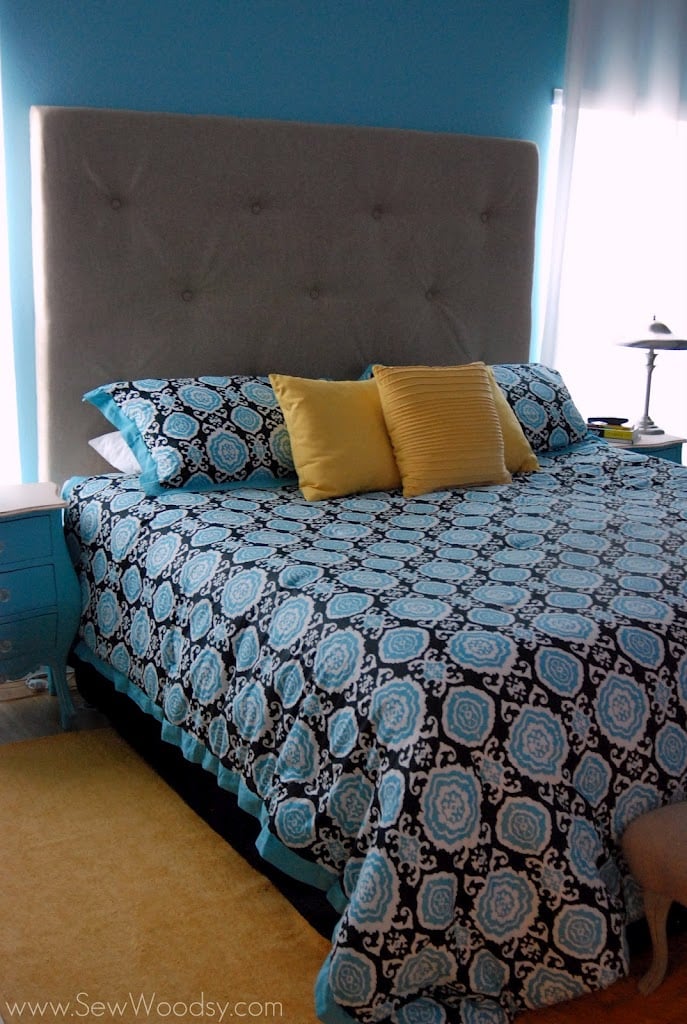
After we repainted the room, installed crown moulding, changed out the hideous brown curtains to a fresh white, and updated our nightstands to a chic antique style our bedroom is finally coming together!
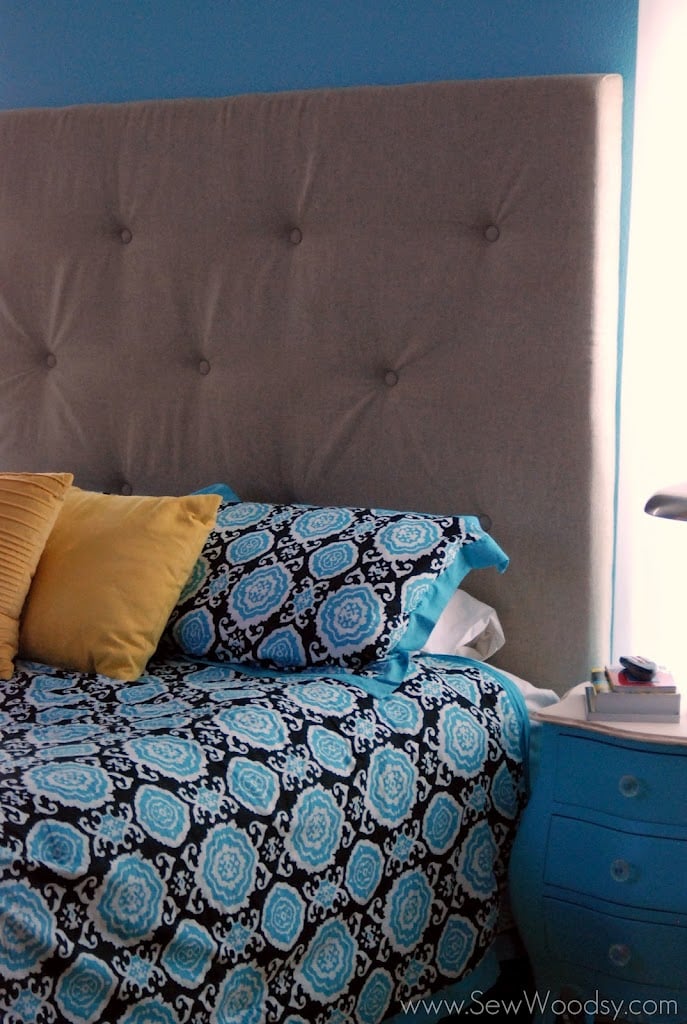
I’m so excited to finally reveal part of our bedroom makeover! We literally just finished our night stands last night, so these are fresh and new to the room (like less than 24 hours new to the room).
The way the lighting in our room is in the morning time gives backlit lighting which makes it difficult to photograph a close shot of the headboard during this time of the day. You’ll notice that are tufting is evenly spaced and some parts more than others the fabric is a little loose. Seriously, Mr. Woodsy contemplated for a month taking the entire headboard apart and redoing it. Because it wasn’t all flush and perfect. I talked him out of the insanity.
You may be wondering what the dimensions were of our headboard. We have a king bed so we needed to build our headboard to fit the size of our bed. There is no wrong or right size or dimensions for a headboard. It’s all based on preference.
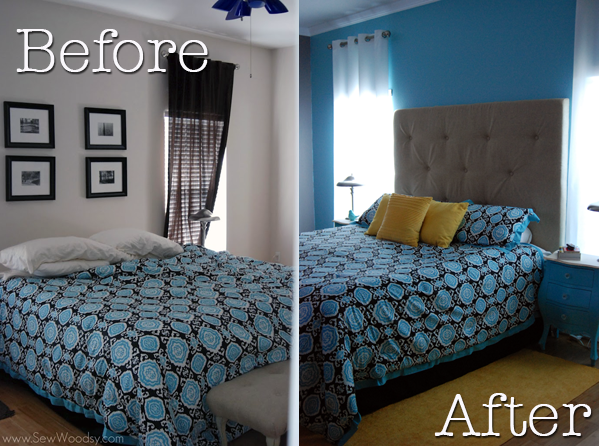
Take a look at the before and after! What a tremendous (and I must say amazing) difference!
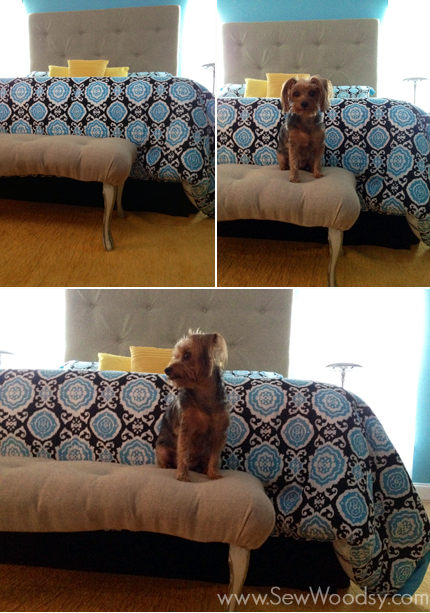
I was able to take a few photos that included our gorgeous Tufted Bench that matches our headboard. Lola, our yorkie, decided that she wanted to show off her new room so she sat patiently while I took a few photos.
