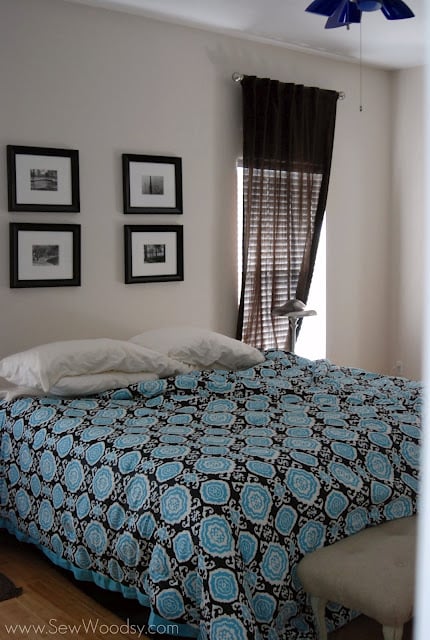
Our master bedroom revamp project all started because I wanted a headboard. A real fancy headboard. I traveled for work quite a bit last spring; hopping from one fancy hotel to another and in the mean time I was becoming envious of the chic rooms I was staying in. So, when Mr. Woodsy asked me last April what I wanted for my birthday I said I wanted him to make me a headboard. I also wanted to get a new comforter and doing a mini master bedroom revamp. That’s how this year-long project began.
So I got the comforter within the month of April 2011 (but that was after months of looking and finally agreeing to a color pallet and pattern that wasn’t too femine)! After months of putting it off and lots of procrastination, Mr. Woodsy finally put his promise to action and built me an upholstered tufted headboard. At first it was not going to be tufted but once we upholstered and tufted our bench it was obvious that our headboard was going to match.
Supplies:
1 sheet of cabinet grade plywood *we only used this because it was on sale–if its not on sale chose something cheaper*
Circular Saw/Hand Saw/Drill / shop-vac
Pencil / T-square/ Measuring Tape / 90-degree ruler / Sharpie Marker
2-1/2 inch foam / batting
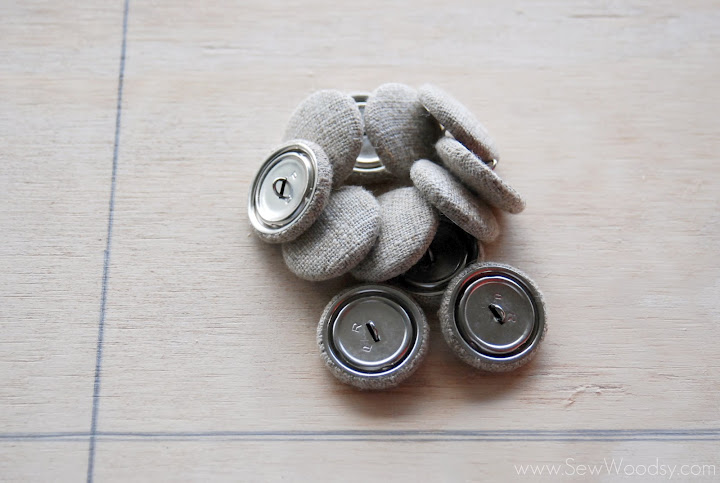
Fabric/ Staple Gun / Button Covers/ Tufting Needle and Twine
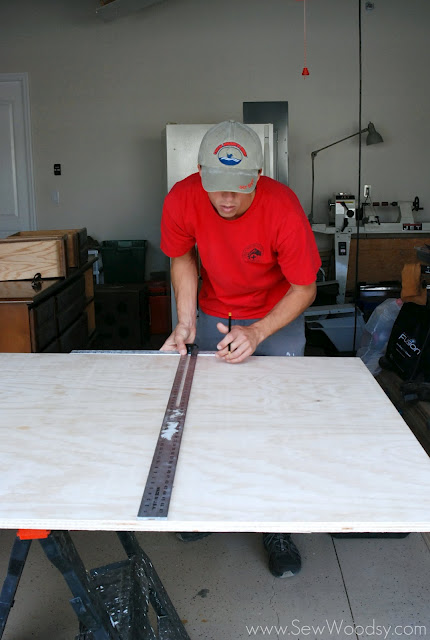
Measure your space where the headboard will reside. Then mark your cabinet grade plywood prior to cutting.
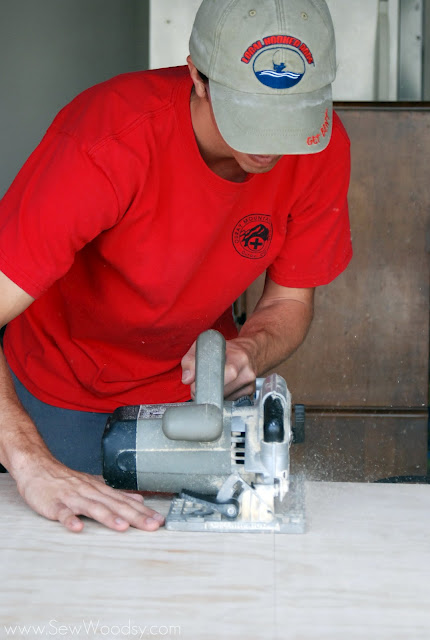
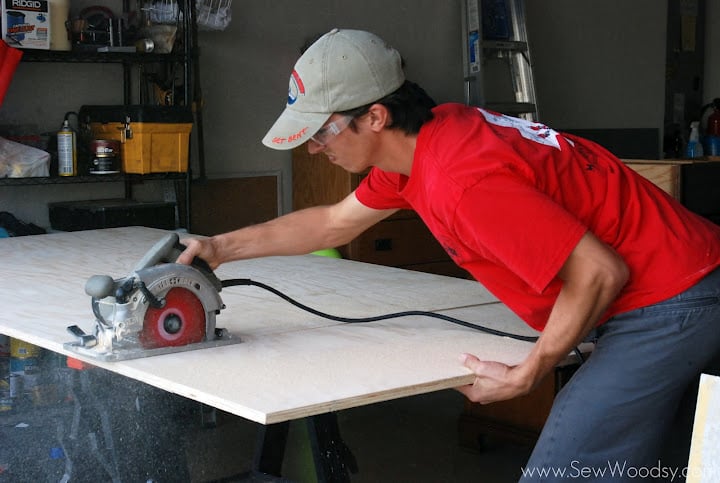
Using a circular saw cut the excess piece of cabinet grade plywood off.
*Be careful towards the end of the cut–make sure you hold on to both the saw and the board.
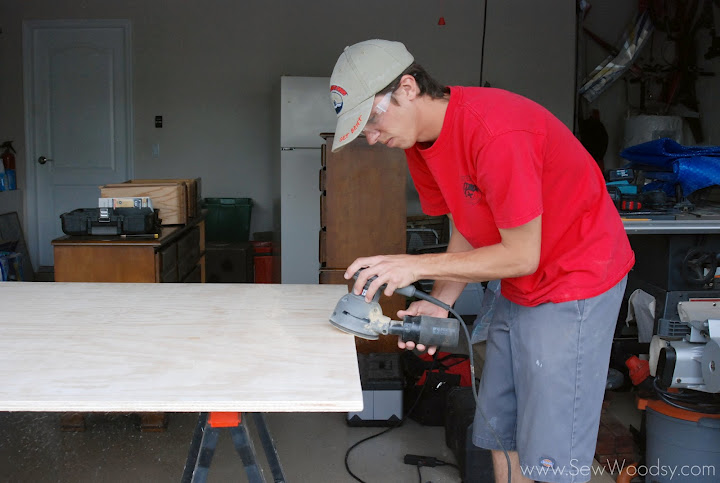
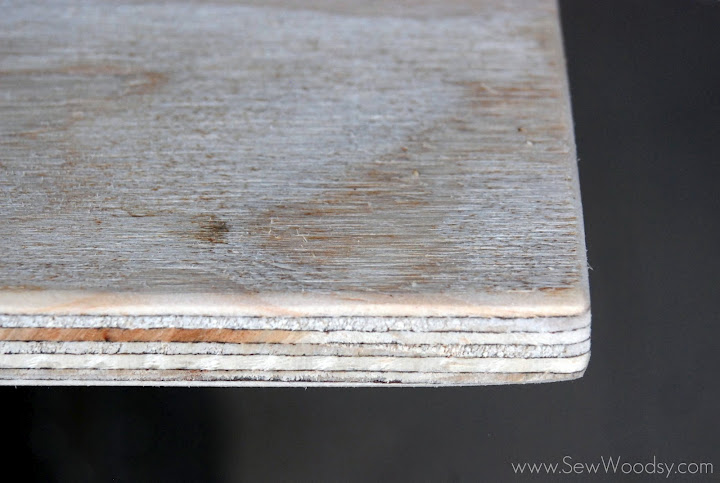
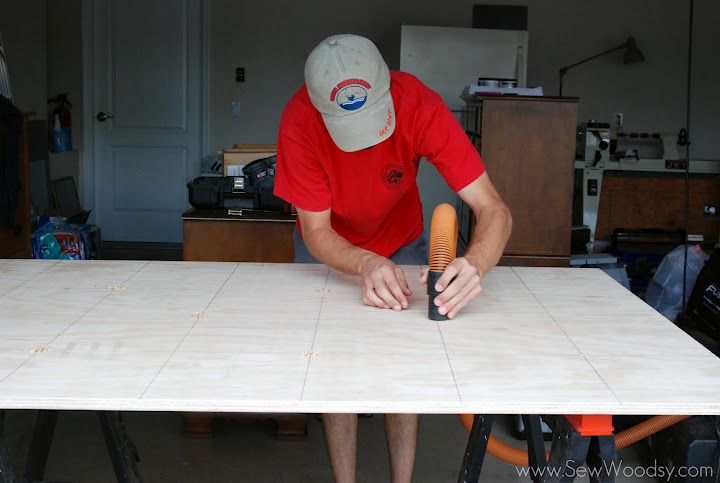
Then using an orbital sander; sand the edges of the cabinet grade plywood.
You’ll want to do this so that the corners aren’t too sharp and pierce through your fabric.
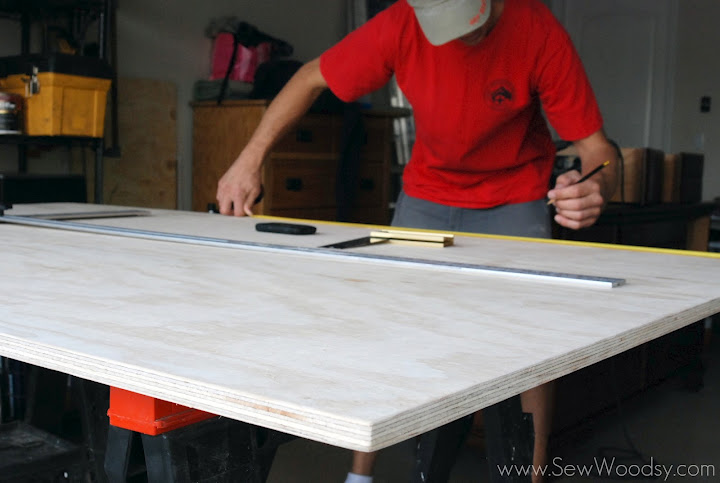
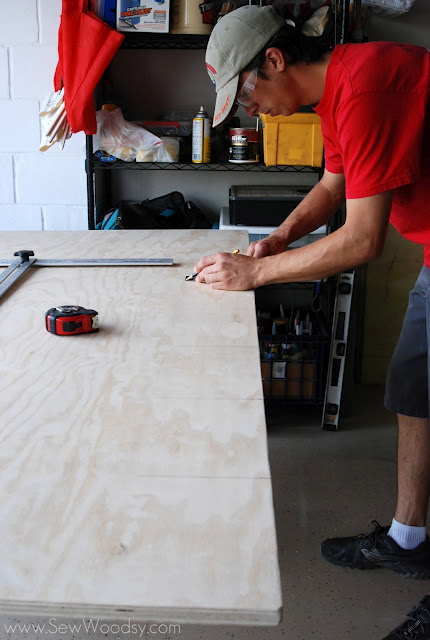
Now get out your pencil, measuring tape, T-square, and 90-degree ruler because you are about to measure your butt off!
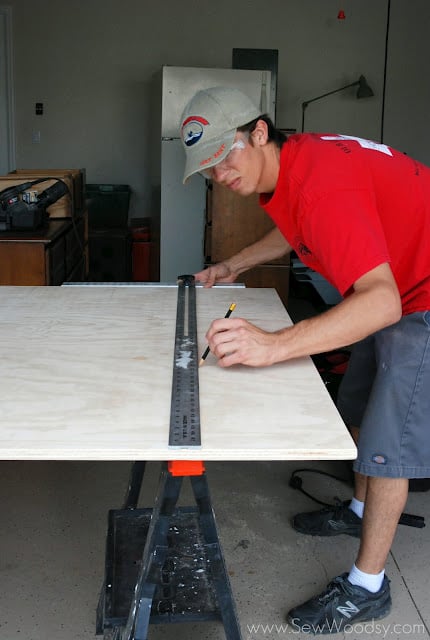
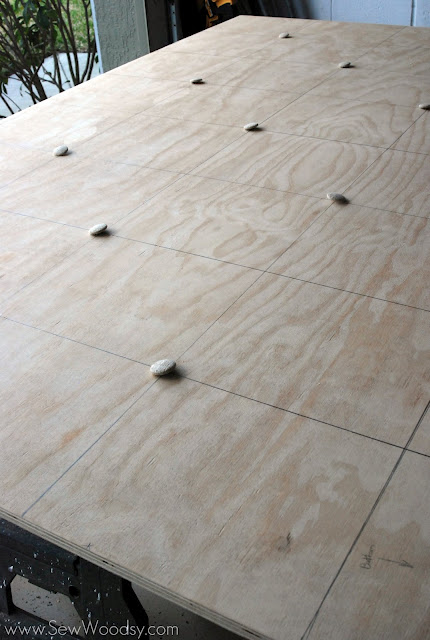
You want to draw a grid on your piece of plywood so that you can evenly space out your tufting buttons.
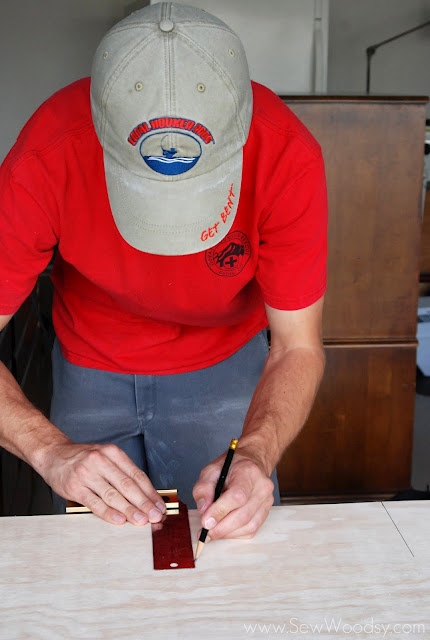
Mr. Woodsy first measured with his measure tape and made tiny marks on the wood then he used his 90-degree ruler to make larger lines.
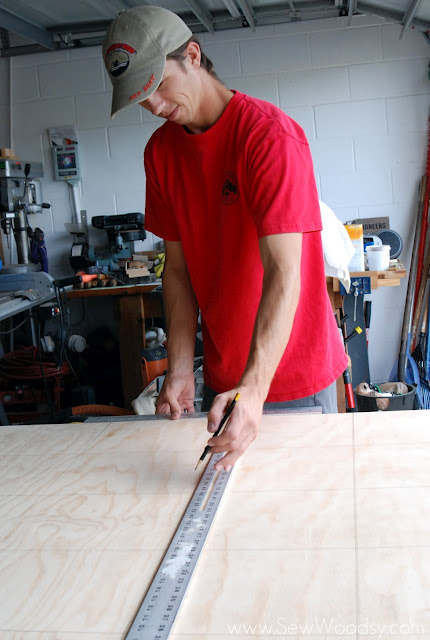
Followed by the t-square where he drew full length lines.
Make sure your lines are dark enough for you to see. He would go over his lines 2-3 times each.
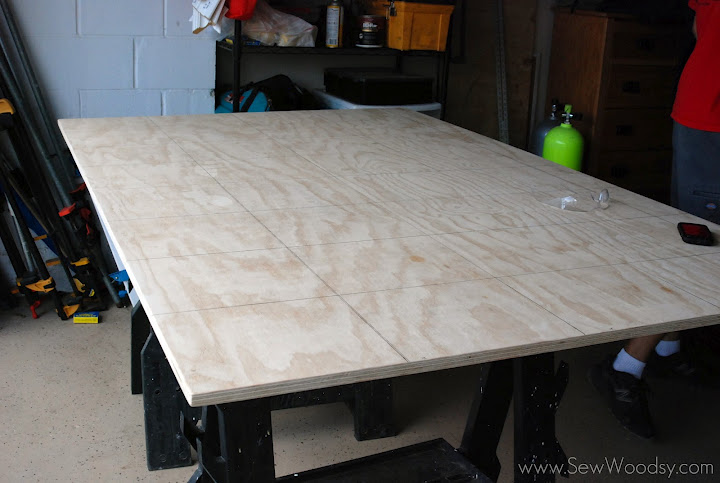
The headboard has now been made into a grid making it easy for us to see where the tufted buttons will want to go. 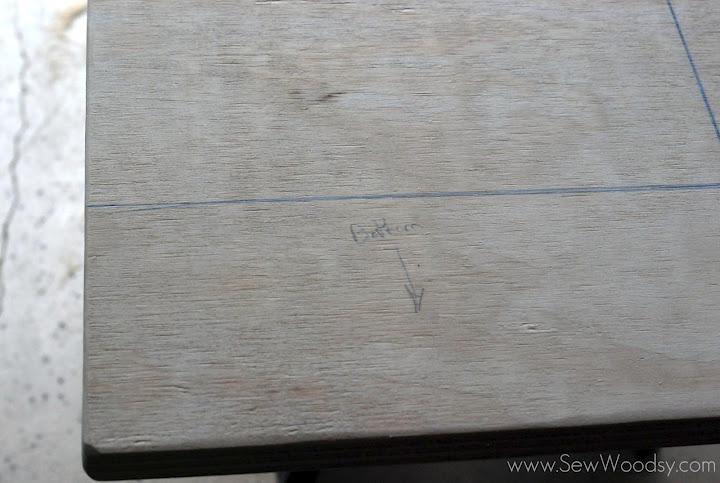
When Mr. Woodsy originally measured the wood he took into account that the first 6 inches of the headboard would be below the matress. With that being said he wanted to make sure that the tufted buttons were spaced above the bed and not based on below the bed.
Gather your covered tufting buttons.
Then place them on the grid.
Step back and make sure you like where the buttons are placed.
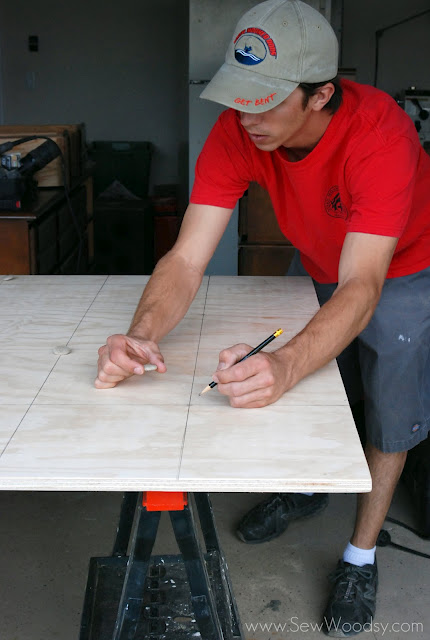 Now, mark your board where all the tufted buttons were.
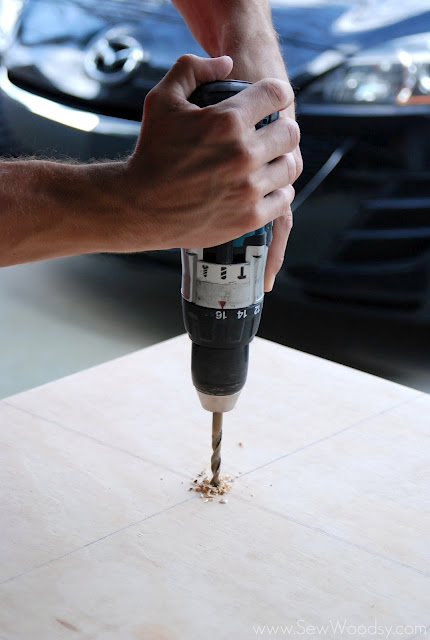
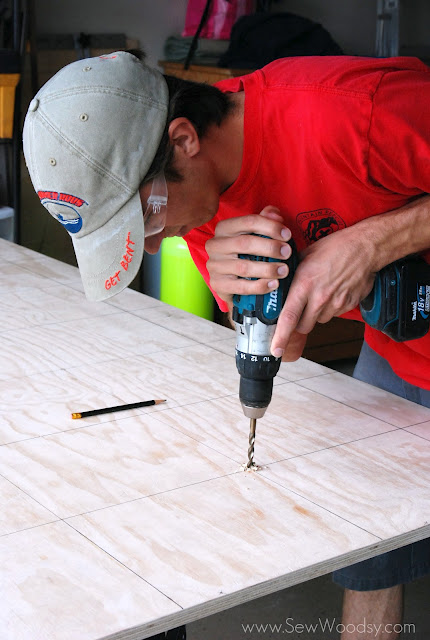 Using your drill, carefully drill a hole where marked.
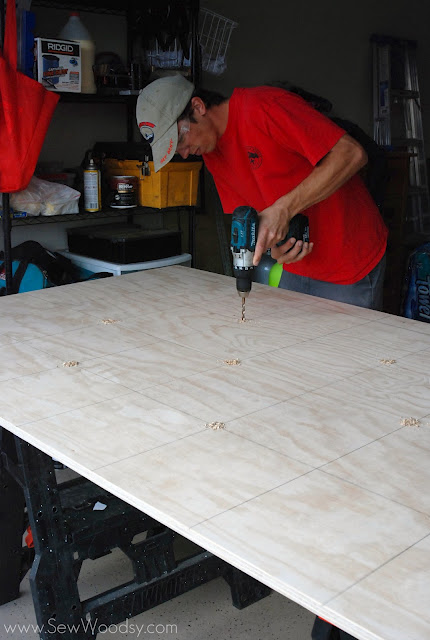 And keep drilling until all of your holes have been made for your tufted buttons.
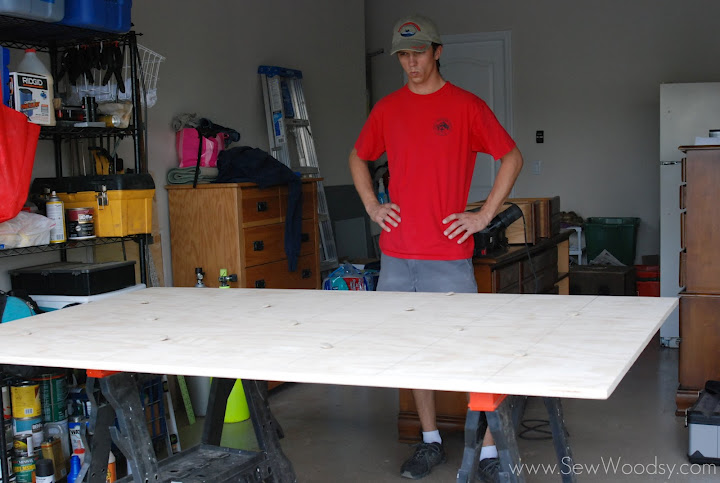
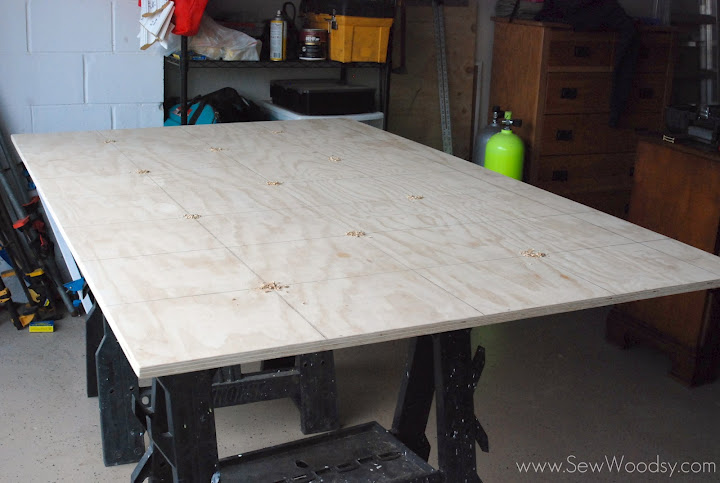
This is what your headboard should look like.
Using a shop-vac–vacuum up all the saw dust piles.
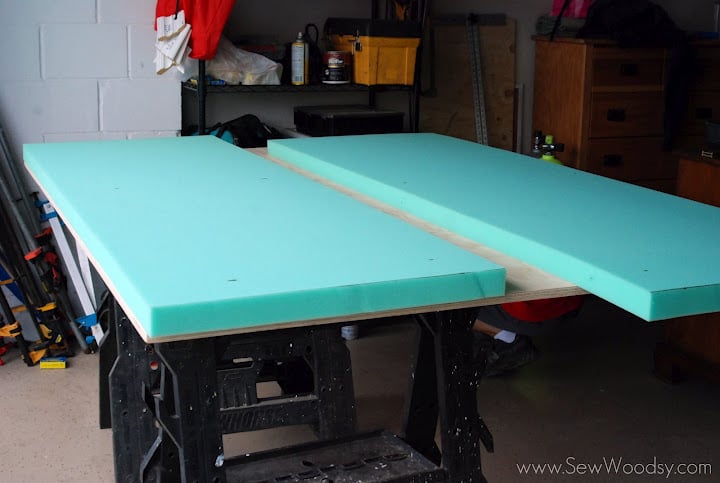
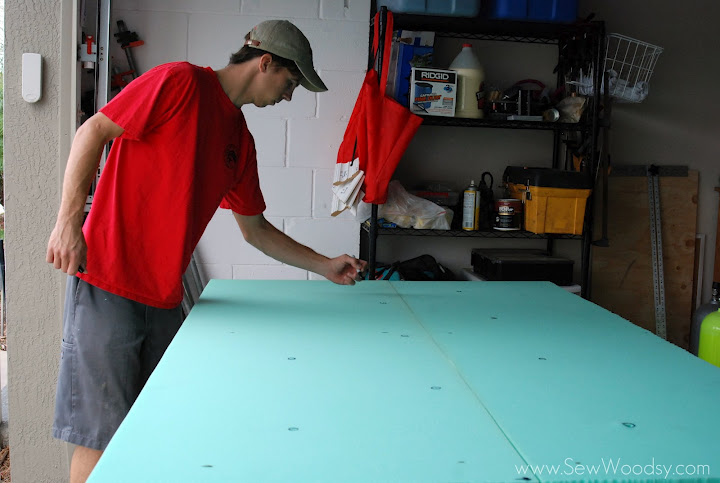
Get the foam out and place it on top of the wood.
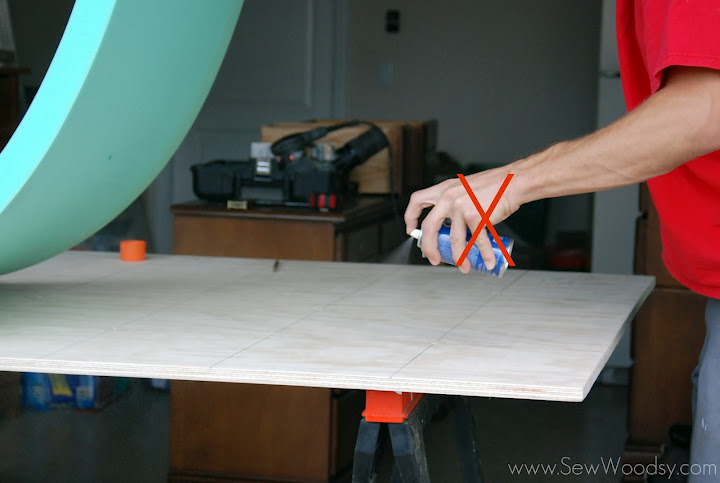
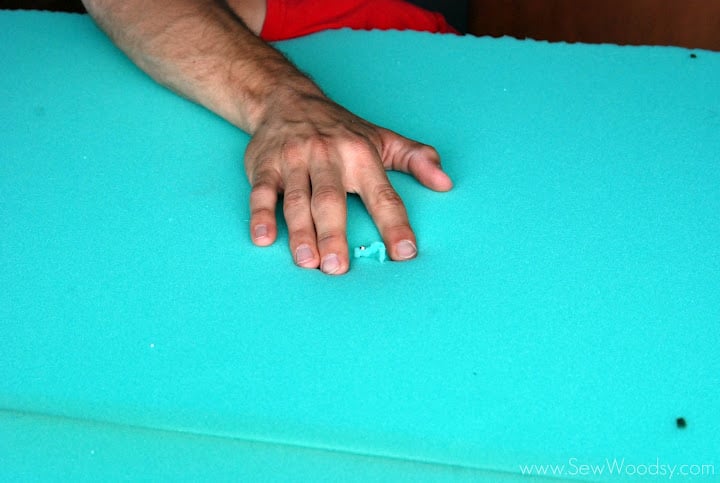
We used spray adhesive to hold the foam in place; however, it didn’t work. It was barely holding the foam in place.
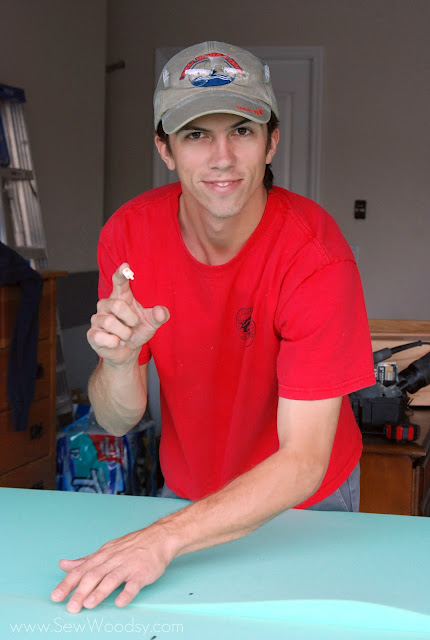
And for funnies–the cap to the spray adhesive got stuck on Mr. Woodsy’s finger!
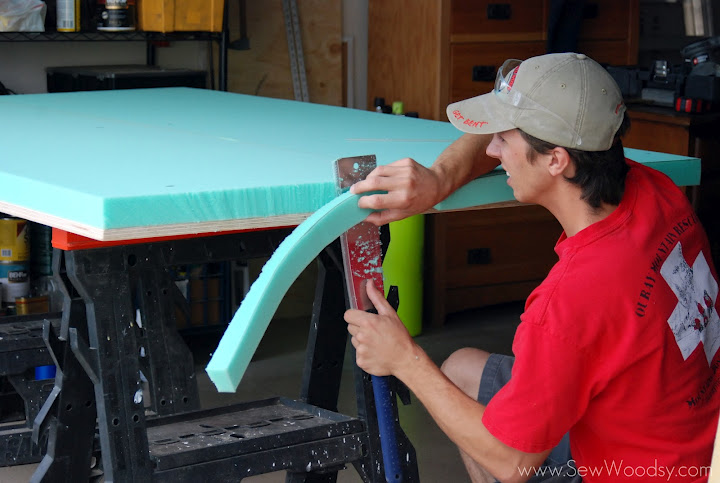
Once your foam is secured *however you want to do that* begin using a hand saw and cut the foam to match the size of the cabinet grade plywood.
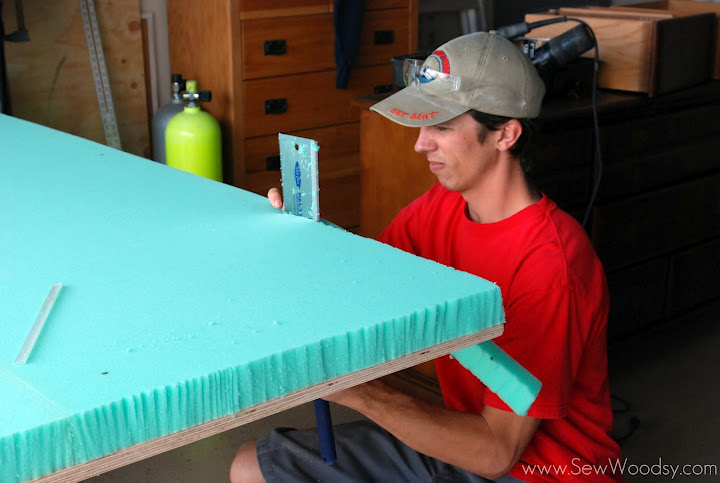
And do the same thing around the other side of the foam as well. You’ll noticed the foam is not smooth–this is ok since it’s going to be covered. If you have an electric knife for cutting meat I highly suggest you use that–it cuts like butter!
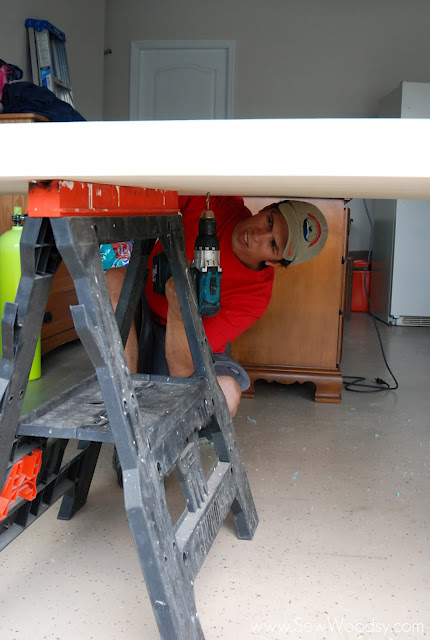
Now, get that drill back out and carefully re-drill through the wood and into the foam. This is needed in order to tuft later on.
You have to hold the foam in place; however, I don’t recommend holding it like this!
Lastly, using a sharpie marker, draw a circle around each of the holes. You’ll want to do this since it’s difficult to see where the drilled hoes were made since they close practically right up!
Now, stay tuned for part 2 later on this week!
