I’m sharing all about How To Use the Cricut EasyPress Mini™ plus all my tips and tricks and questions you might have that will be answered all in one place!
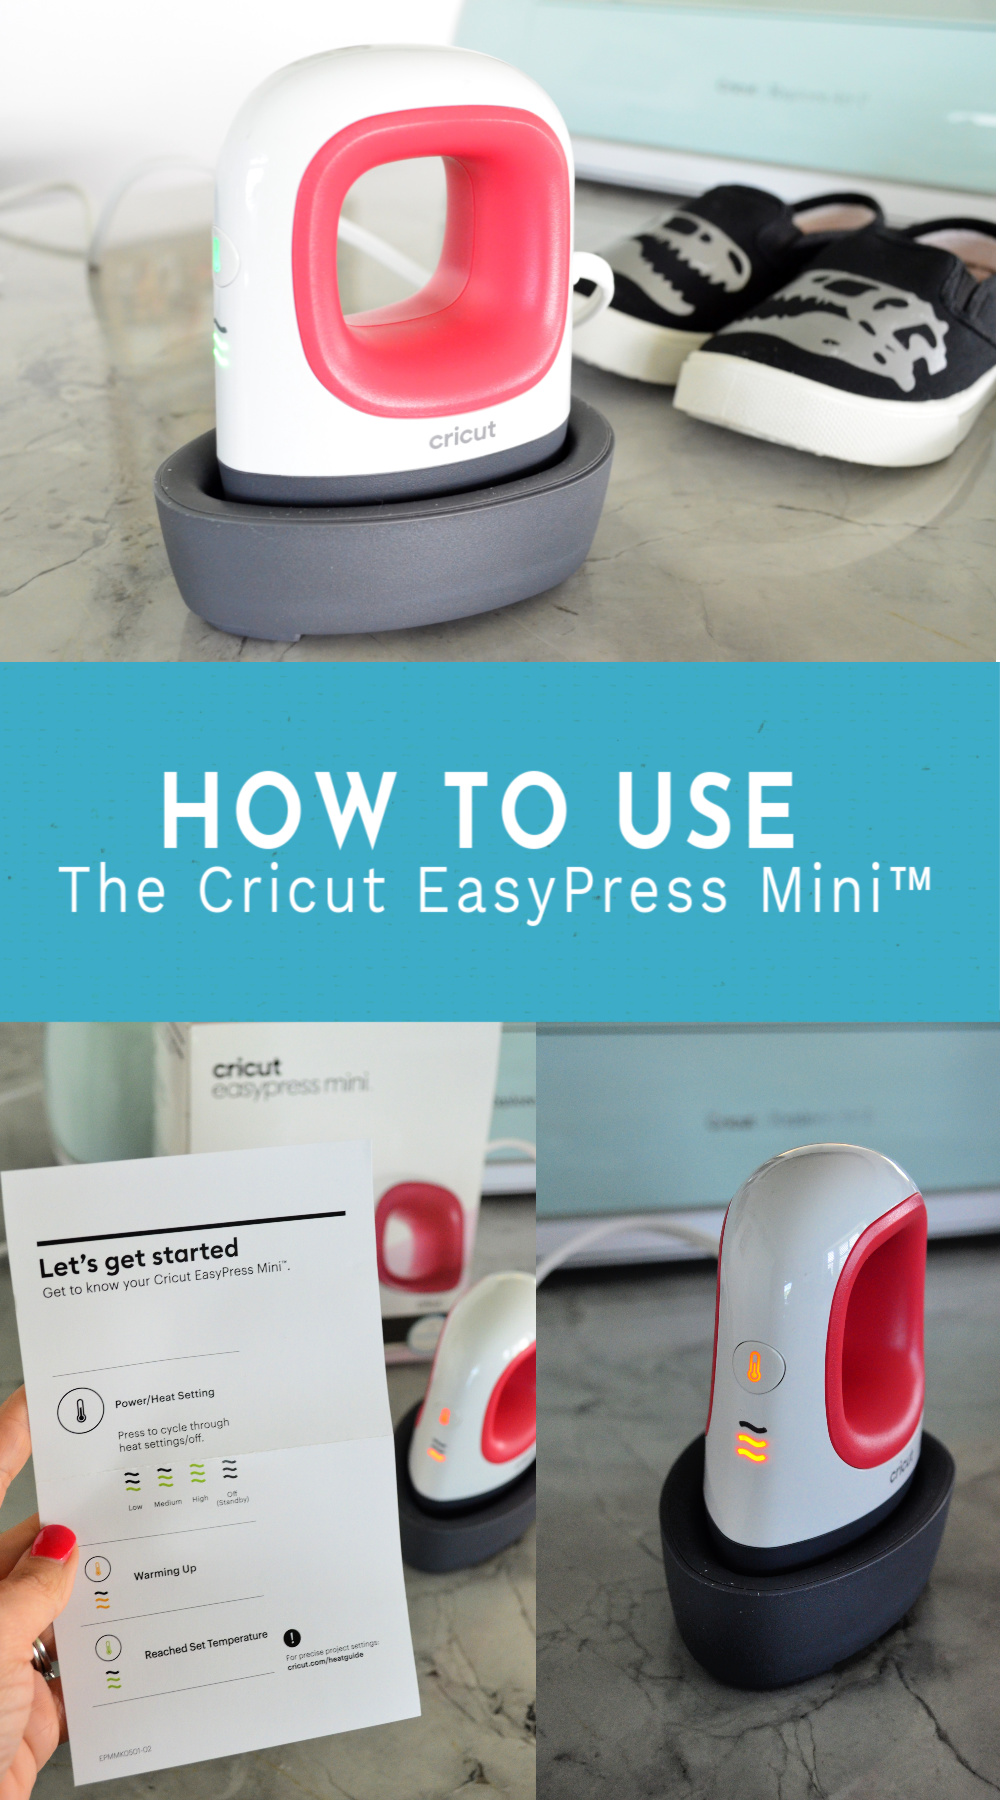
I received the EasyPress Mini from my friends at Cricut a few months ago. Since I received the mini heat press I’ve been playing around with it, and finally ready to share How To Use the Cricut EasyPress Mini, as well as some of my own personal tips and tricks!
What Features does the Cricut EasyPress Mini have?
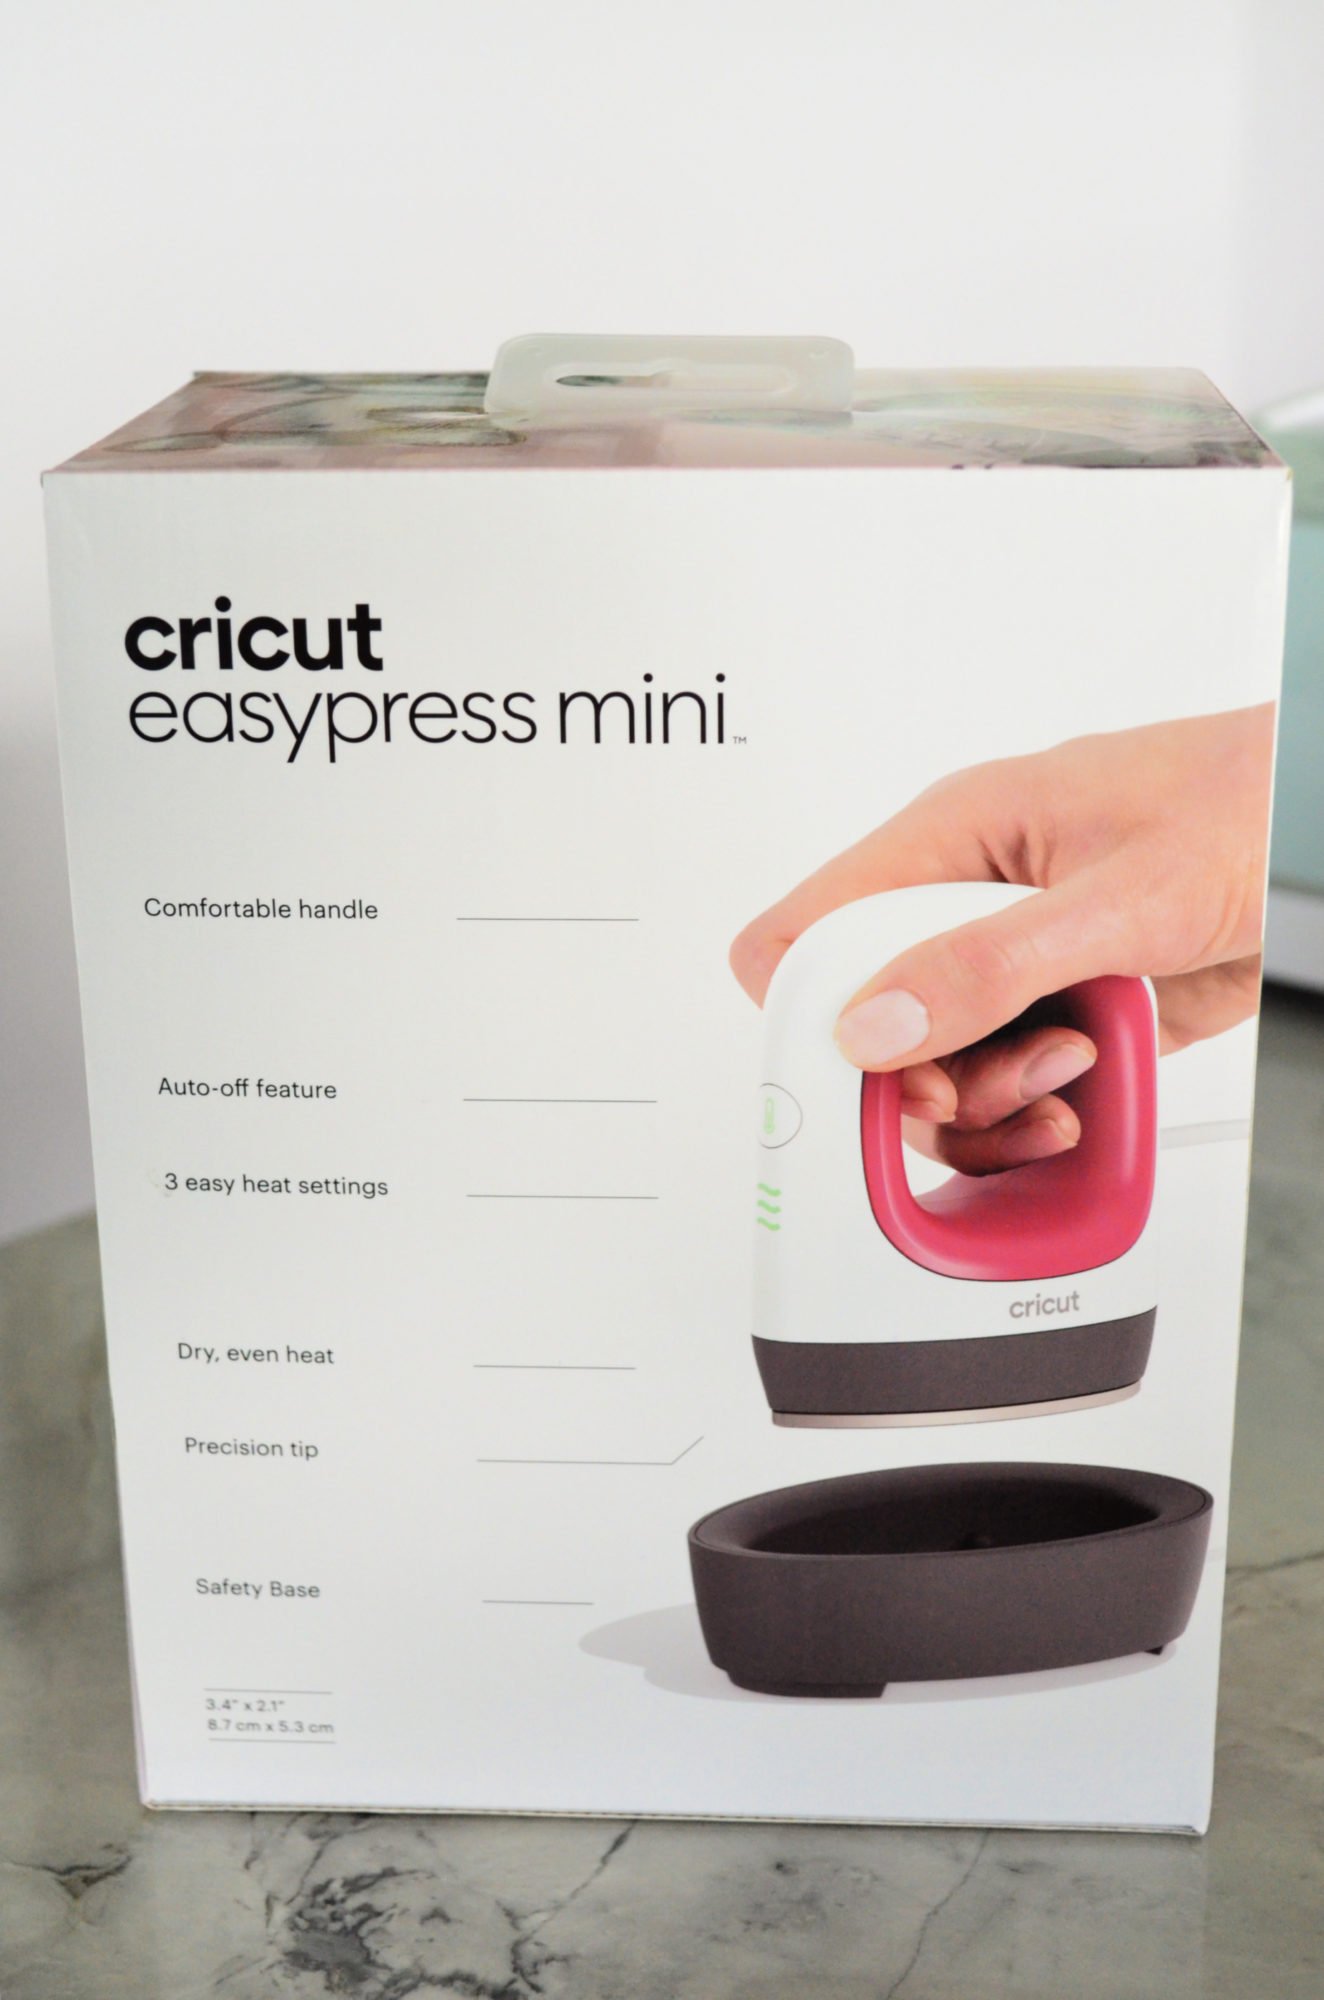
The Cricut EasyPress Mini is a compact size ideal for unusually small or unique heat transfer projects. It has a Ceramic-coated heat plate for dry, even, edge-to-edge heat. Three different heat settings for every iron-on and Infusible Ink™ project. Just like the EasyPress it comes with the Insulated Safety Base and auto-shutoff feature! Of course, it’s lightweight, portable, and best of all so easy to store!
What types of projects can I use Cricut EasyPress Mini?
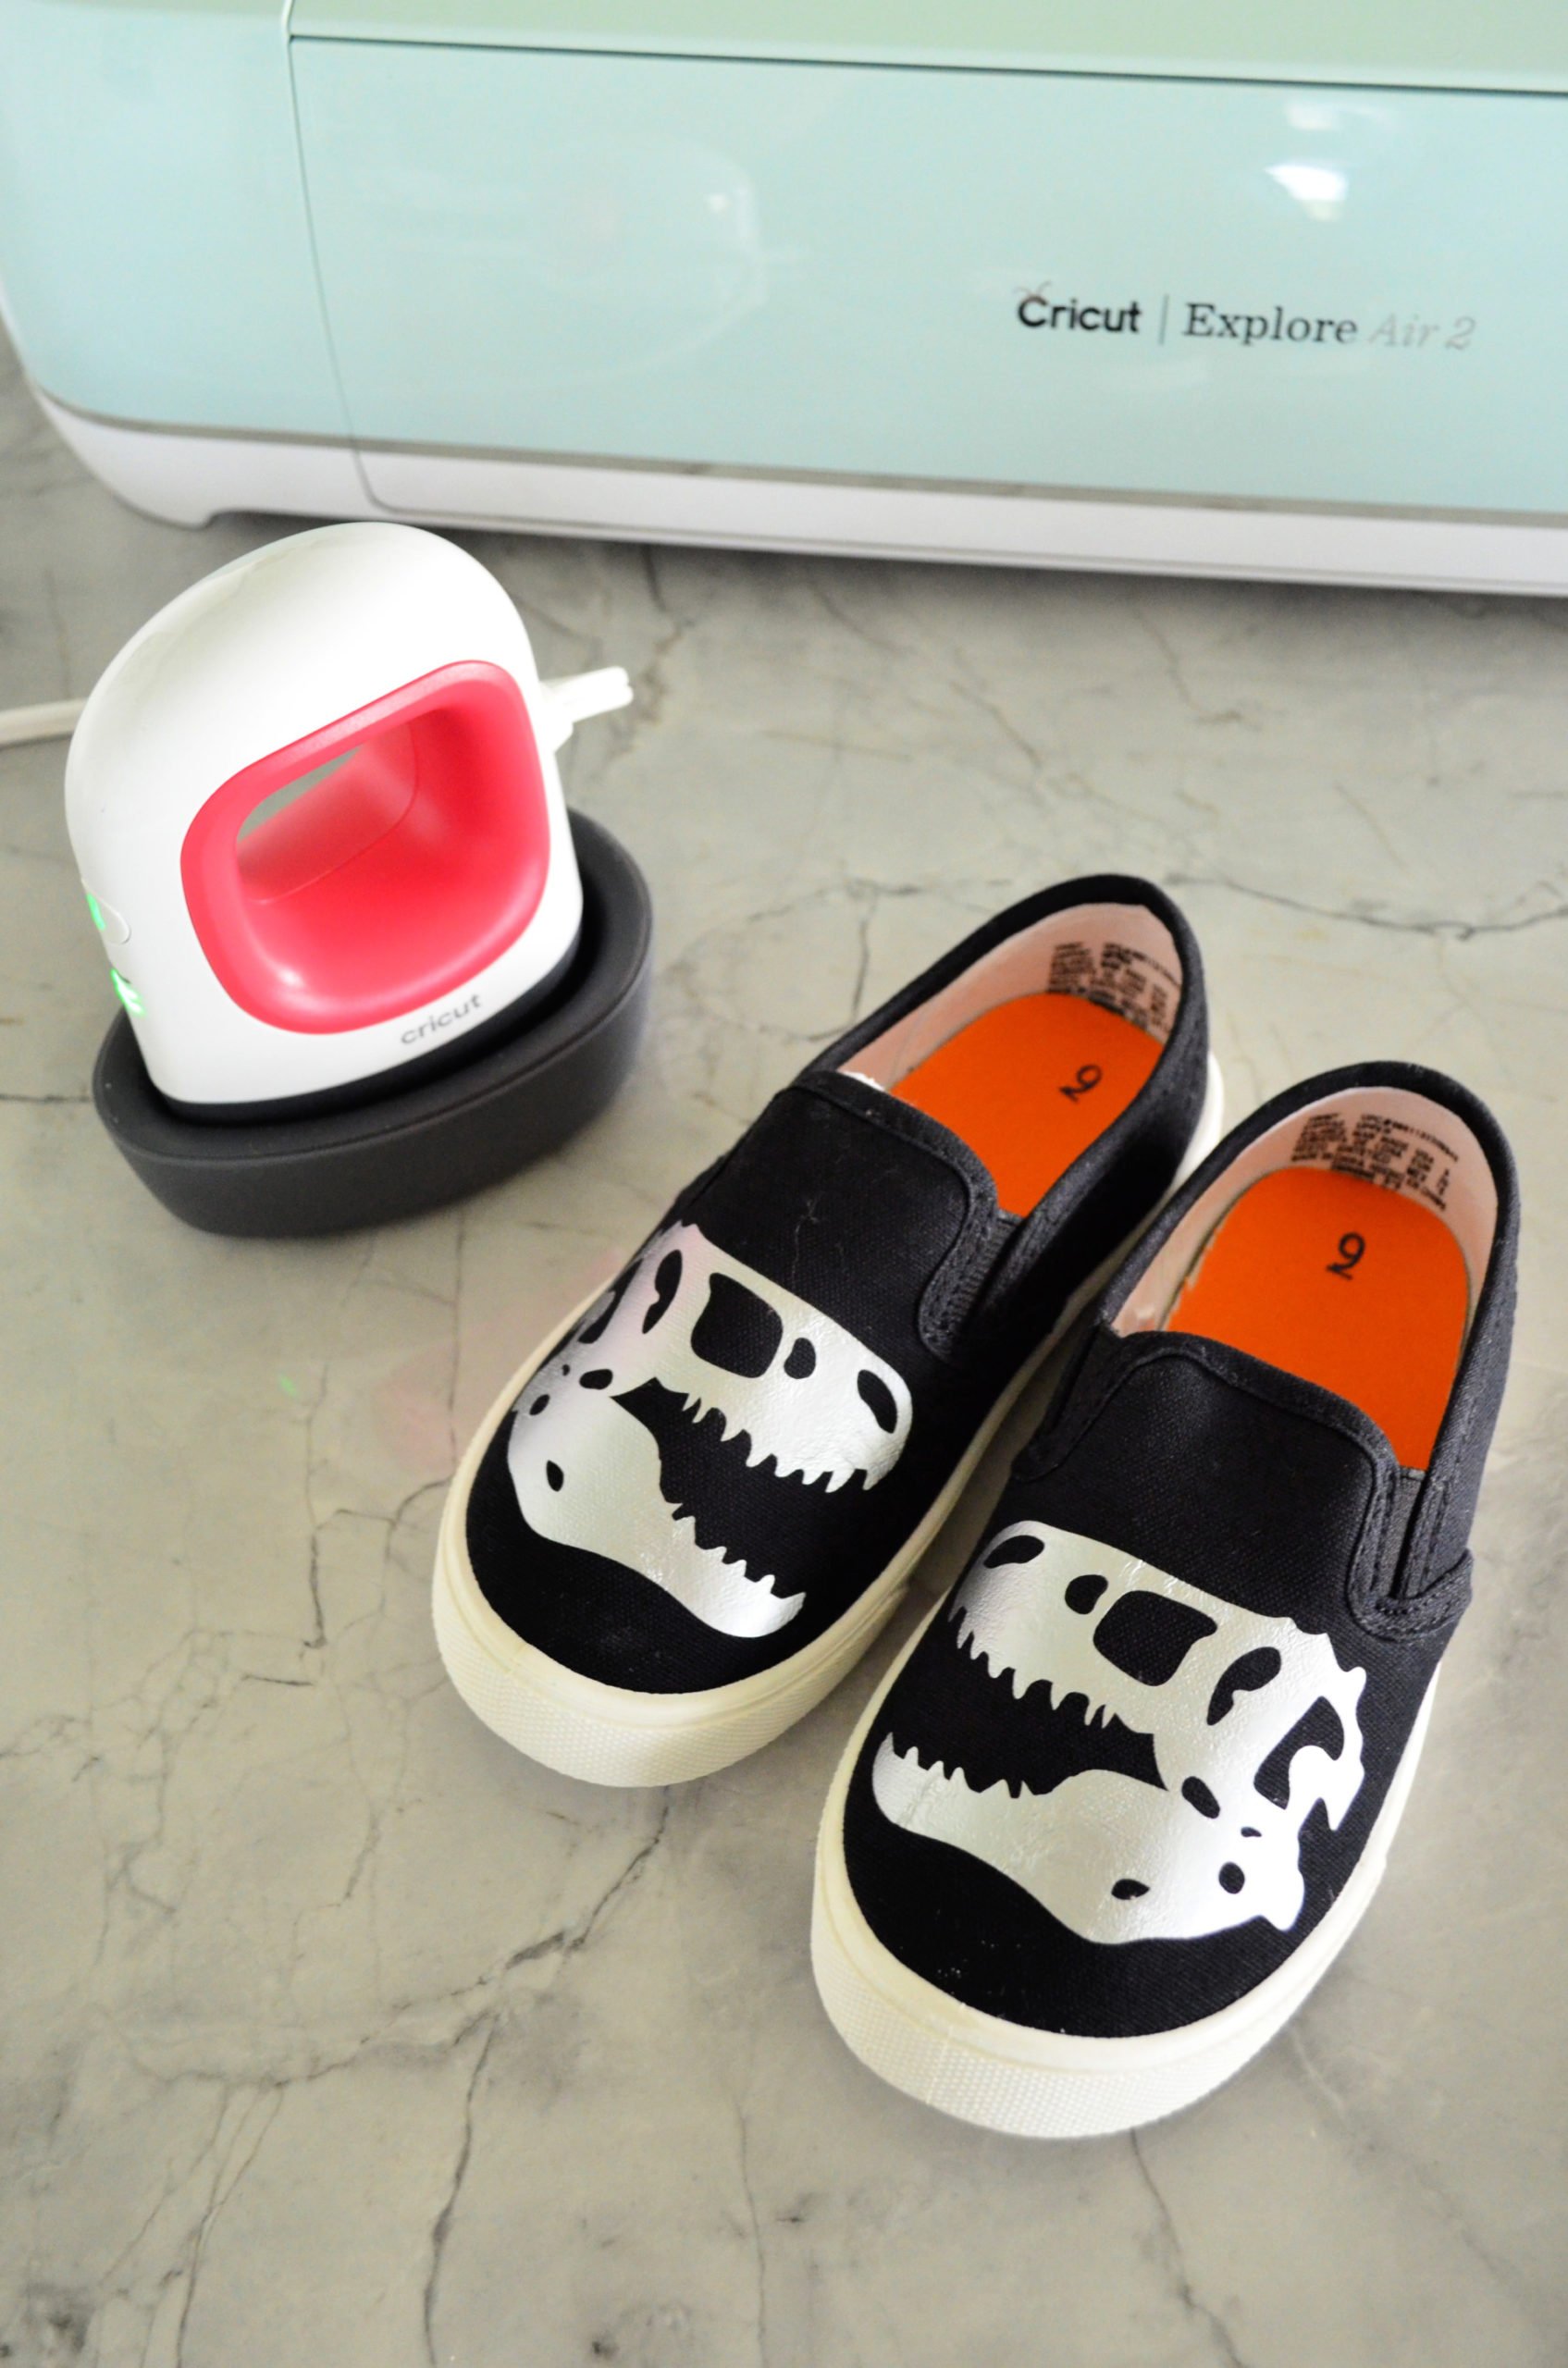
The Cricut EasyPress Mini is ideal for smaller items or unusual shapes that you might not be able to press with the traditional EasyPress. Here are a few of the items I’ve had a chance to test the EasyPress Mini on.
- Hats
- Canvas Shoes
- Stuffed Animals
- Visors
- Sleeves
- Pockets
The EasyPress Mini has a precision tip that is great for working around seams, buttons, and zippers. Even pressing small seams for sewing!
What heat settings should I use for my projects with the Cricut EasyPress Mini?
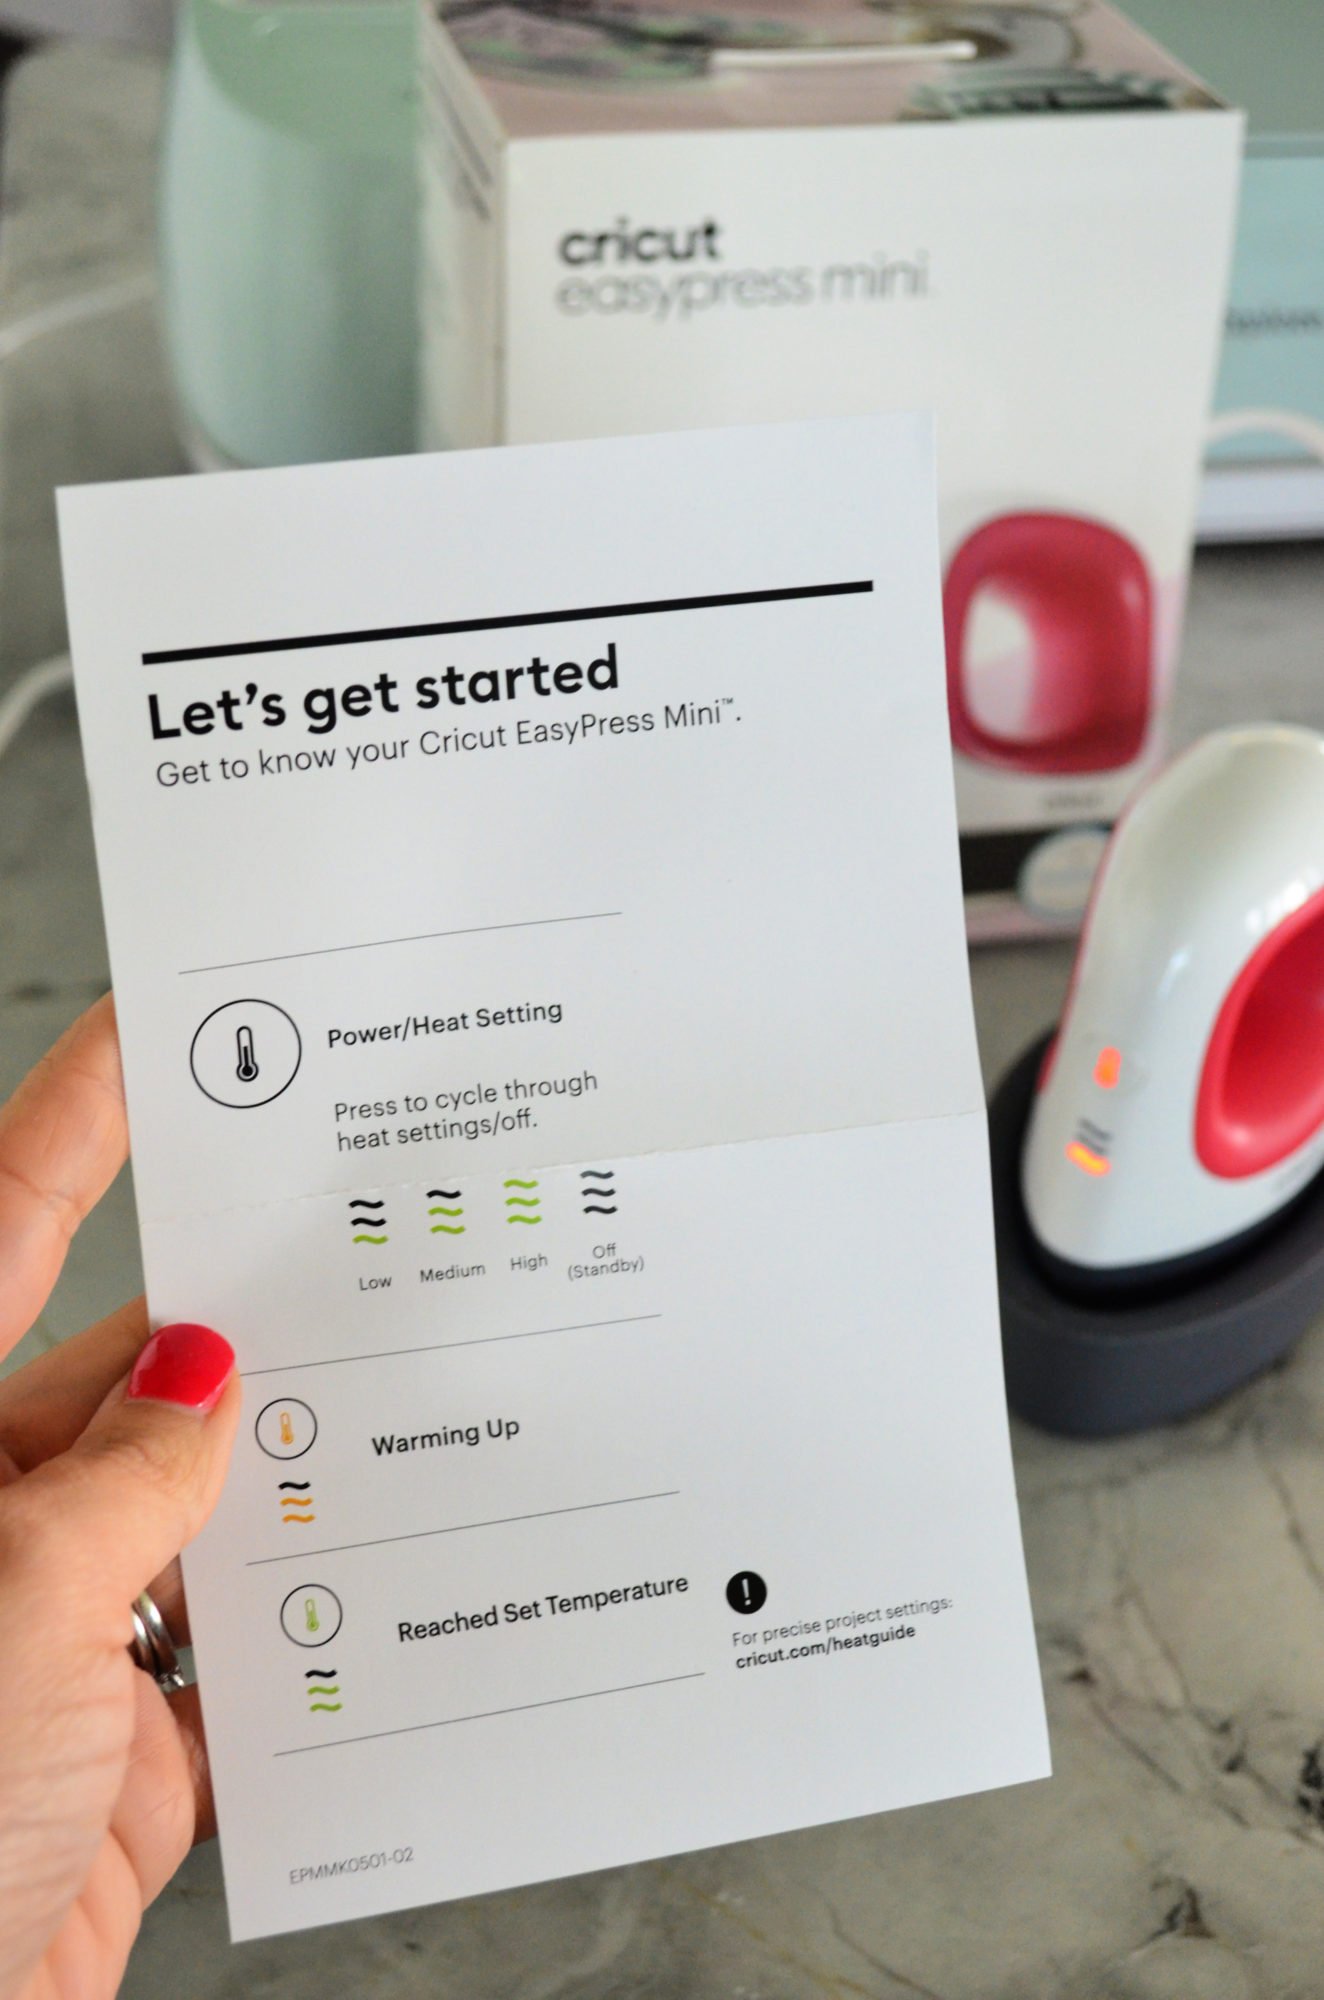
This was the first thing I was interested in knowing. What heat settings should I use for my projects with the Cricut EasyPress Mini? Unlike the EasyPress the Mini does not have a temperature control or timer.
According to the Cricut EasyPress Mini FAQ page I found the following information helpful.
- Low — for lightweight, delicate, synthetic, or heat-sensitive fabrics; also great for more delicate heat-transfer vinyl, such as Foil Iron-On.
- Medium — for most fabrics and heat-transfer vinyl
- High — for Infusible Ink projects and blanks
Make sure you always leave the EasyPress Mini in the base when you turn it on to heat. It is small and heats up very fast! The base was made for it to rest while not in use!
What are the different temperature settings for the Cricut EasyPress Mini?
According to Cricut the Cricut EasyPress Mini is unique and works differently than the Cricut EasyPress family or even a traditional heat press.
You will find you will use lighter pressure and constant motion with this product. The Cricut EasyPress Mini heat plate includes an extra coating of protection that lets it easily glide over your material’s surface. You will notice this the minute you use the product. The constant movement allows each of the 3 heat settings to accommodate multiple heat-transfer ranges. Here’s the general user guide:
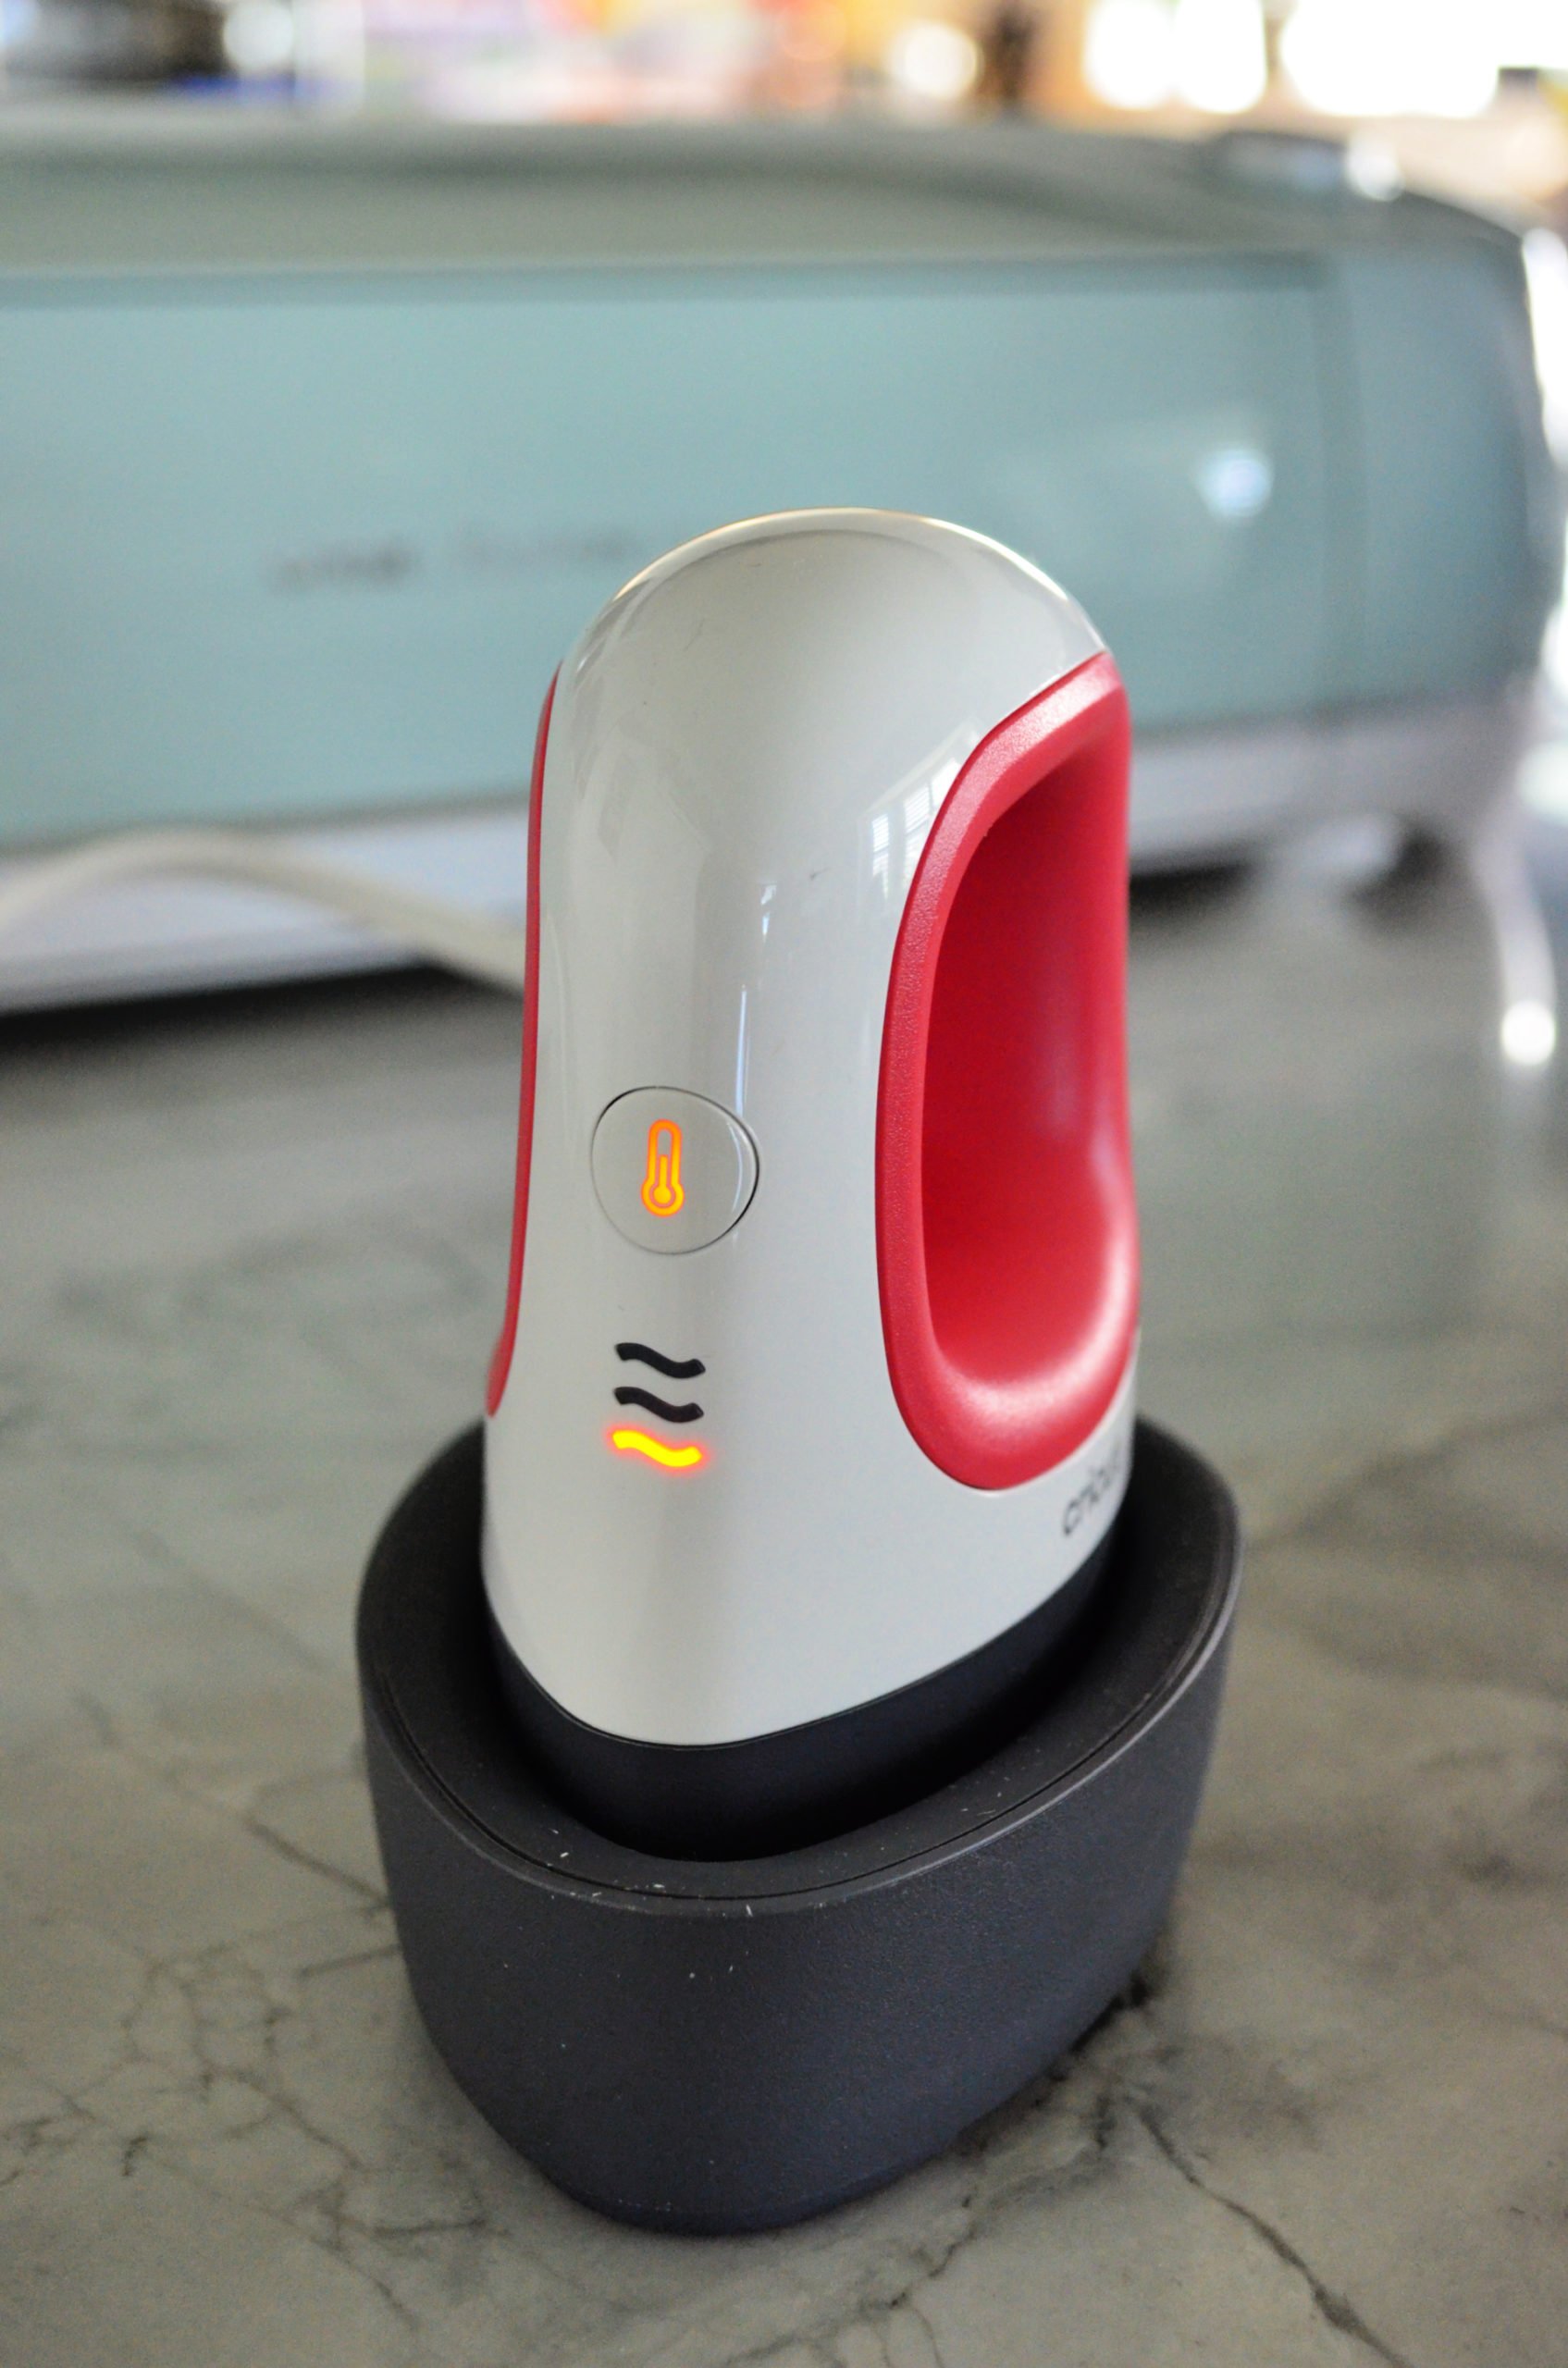
Low – Use with sensitive base materials or heat-transfer materials that transfer between 255°F (125°C) – 295°F (145°C). The orange color is shown above which means it is preheating. Once it’s ready to be used a green light will appear.
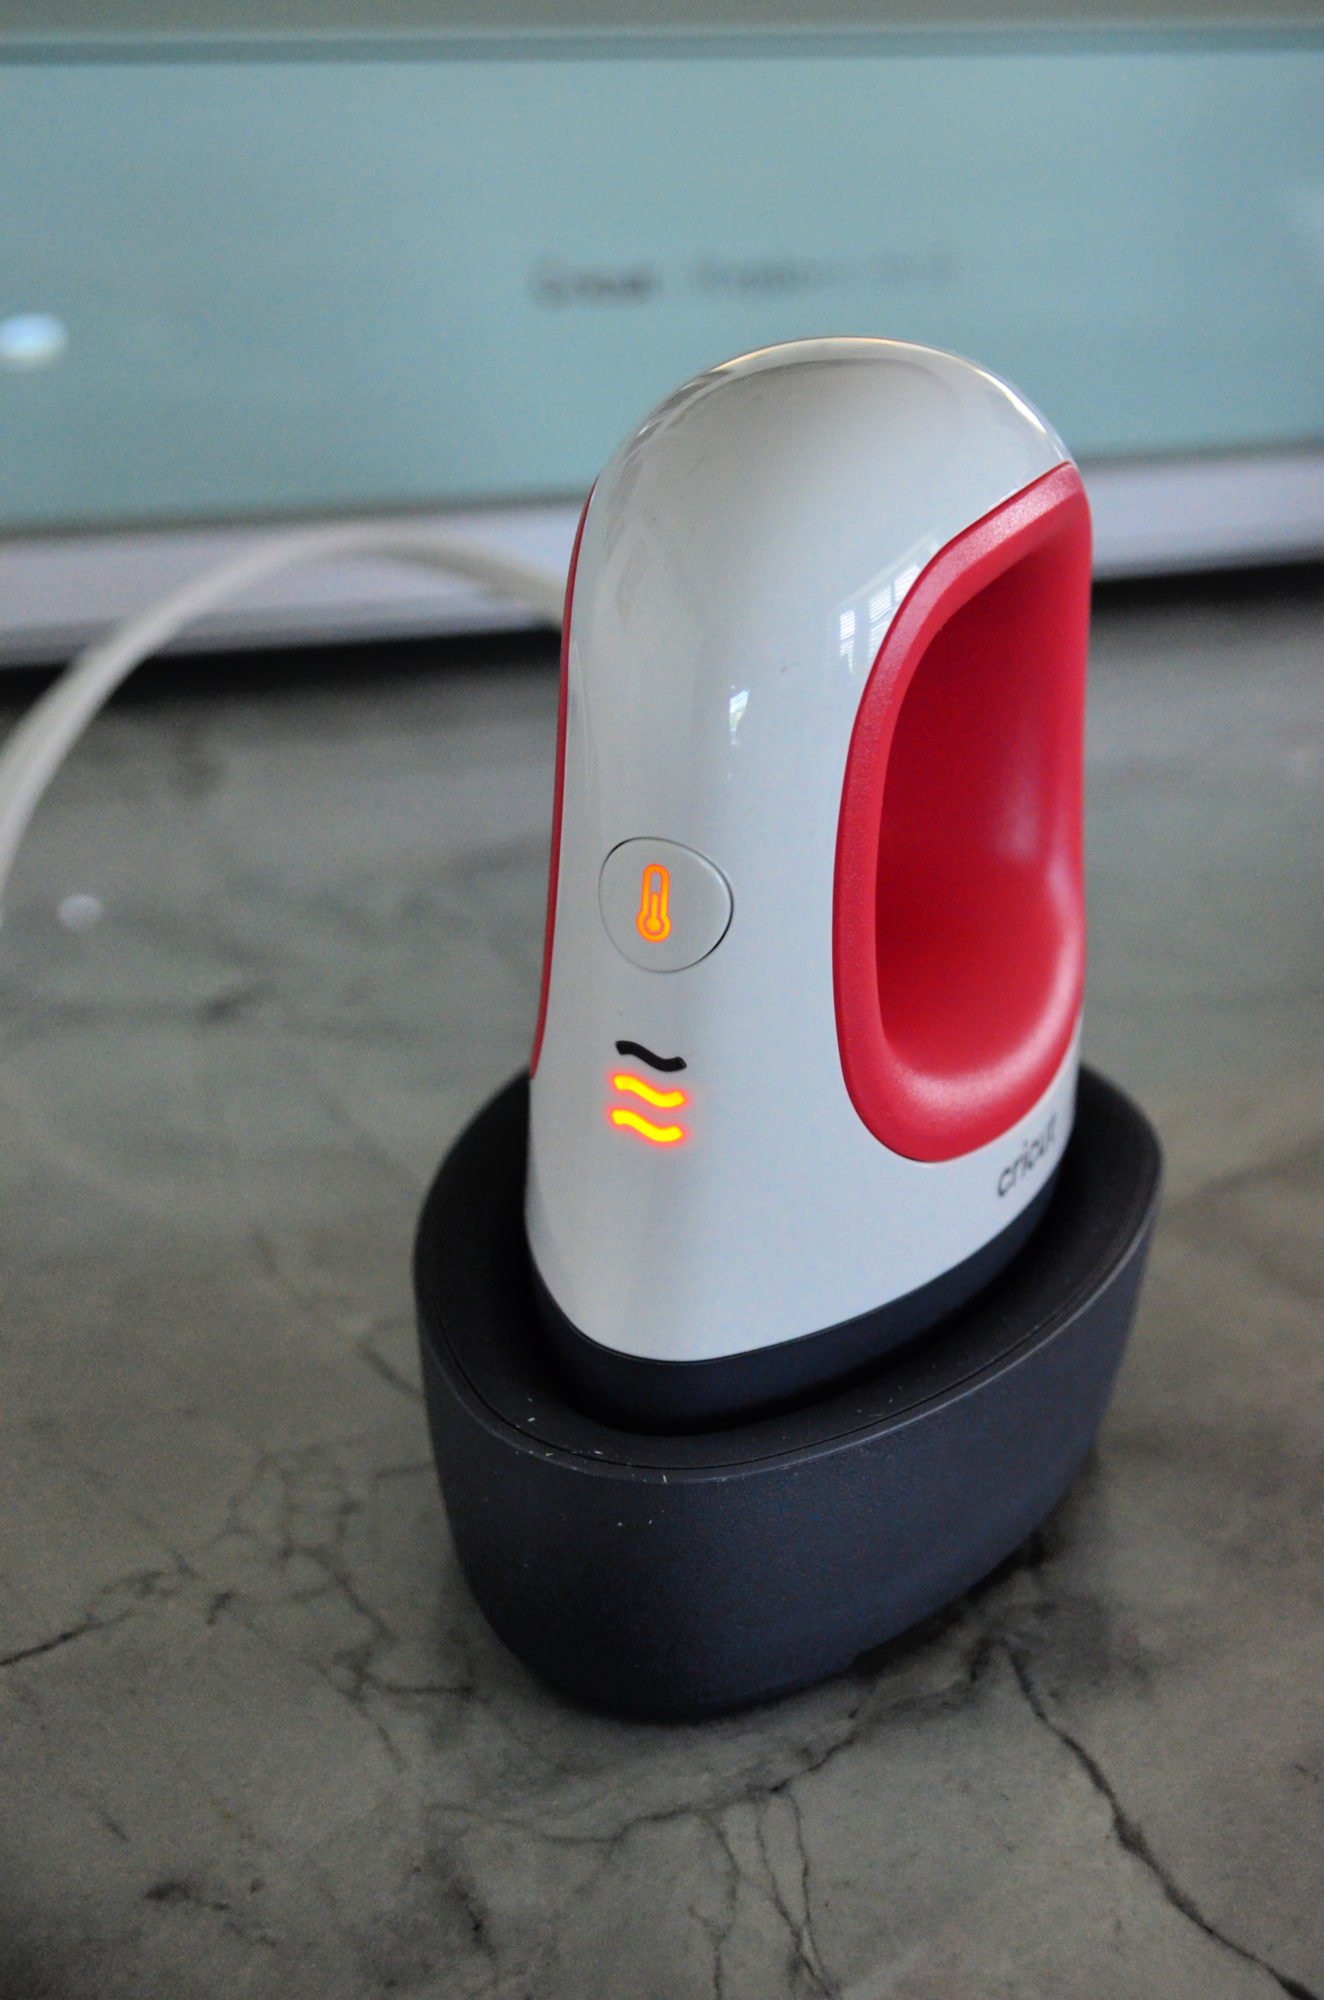
Medium – Use with most base materials or heat-transfer materials that transfer between 300°F (150°C) – 355°F (180°C)
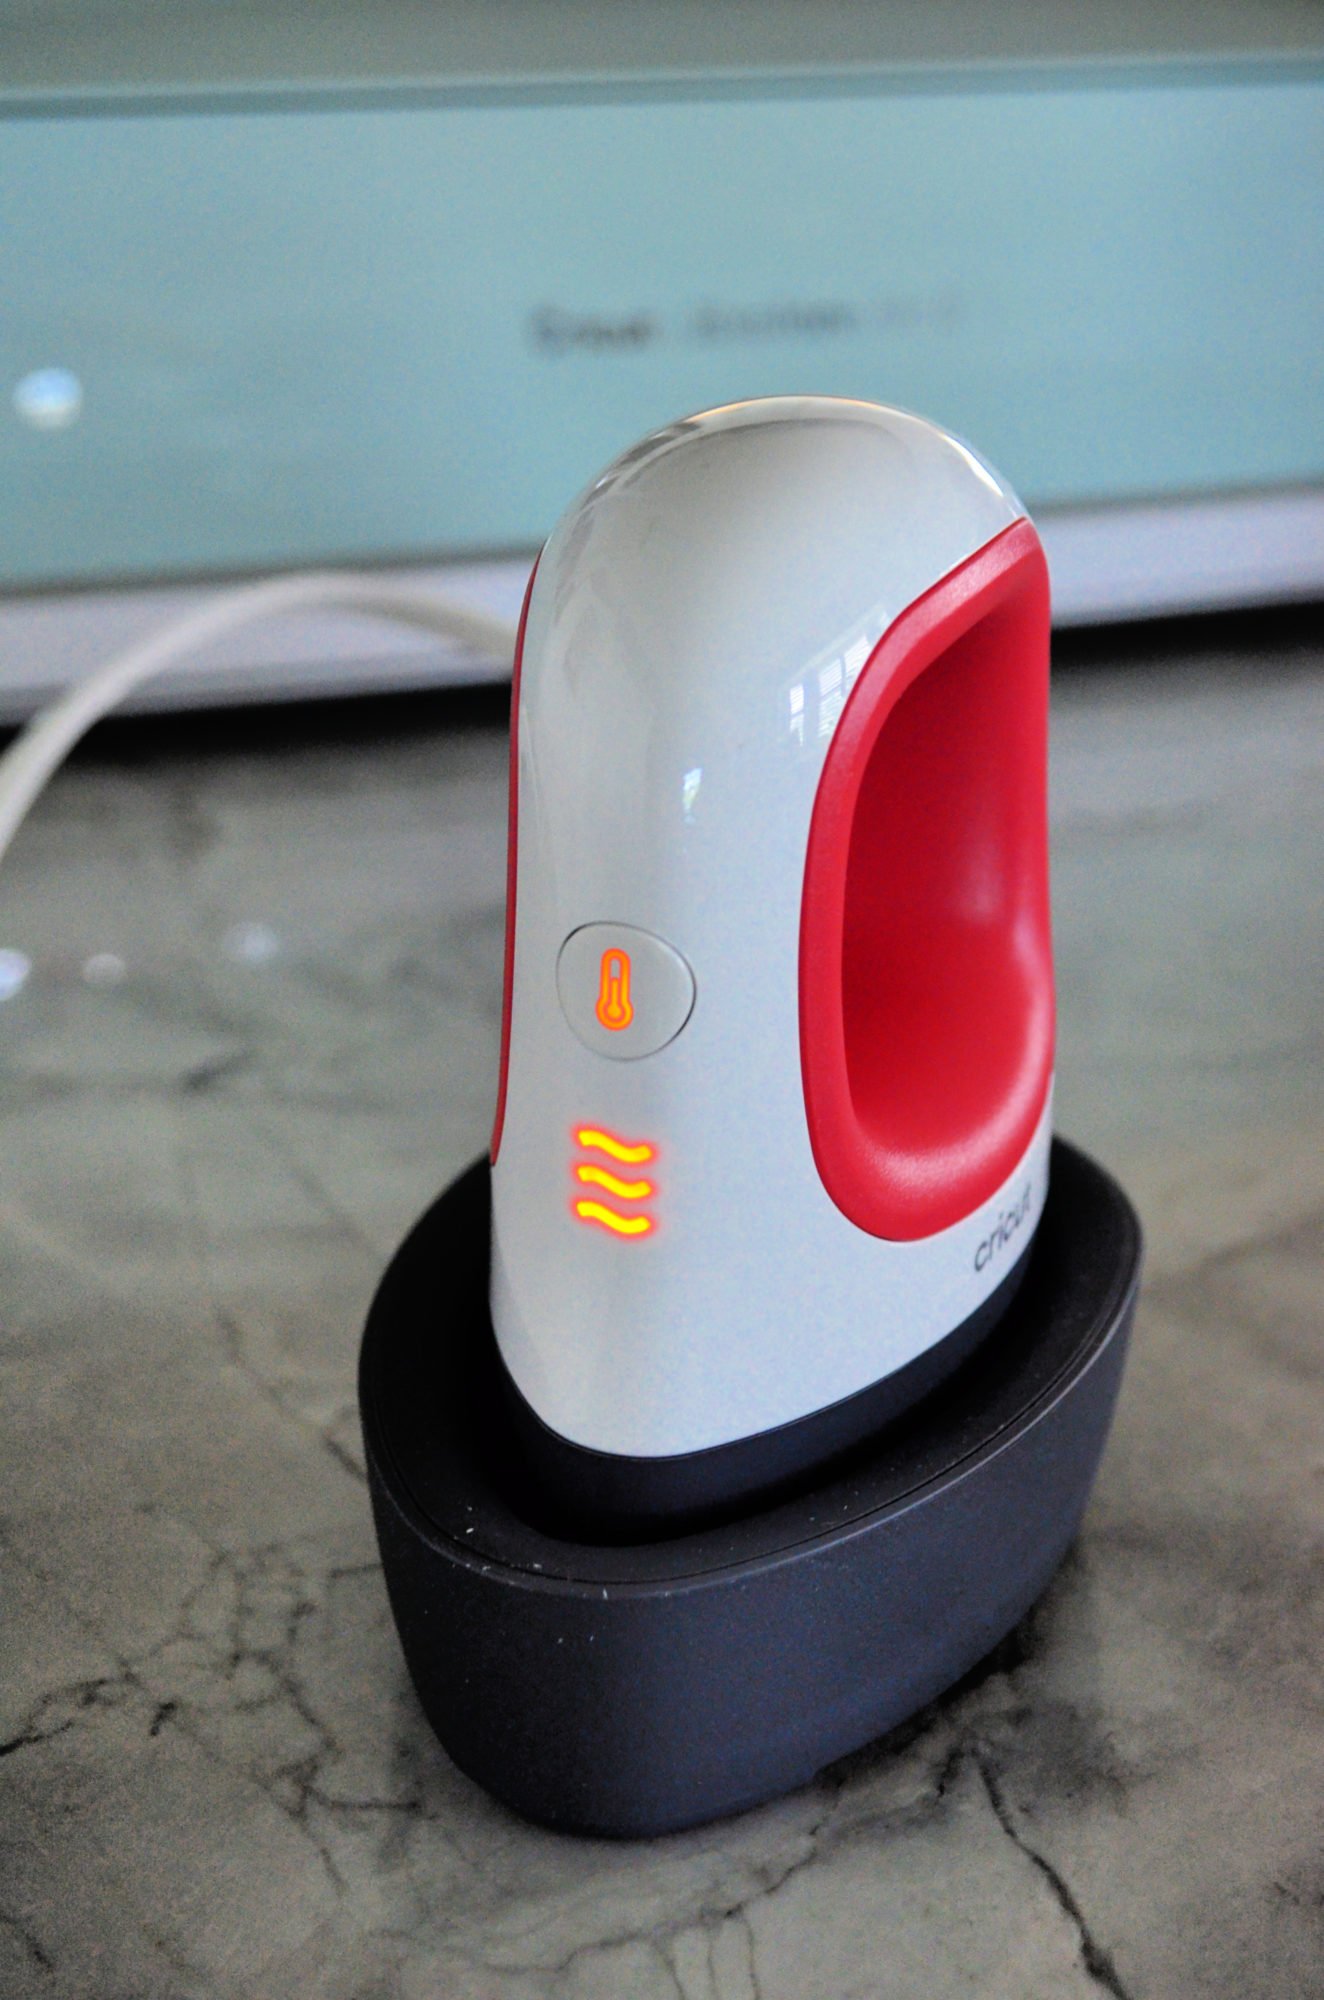
High – Use with Infusible Ink materials, heavy-duty base materials, and other heat-transfer materials that transfer between 360°F (185°C) – 400°F (205°C)
Why do I need to move the Cricut EasyPress Mini around?
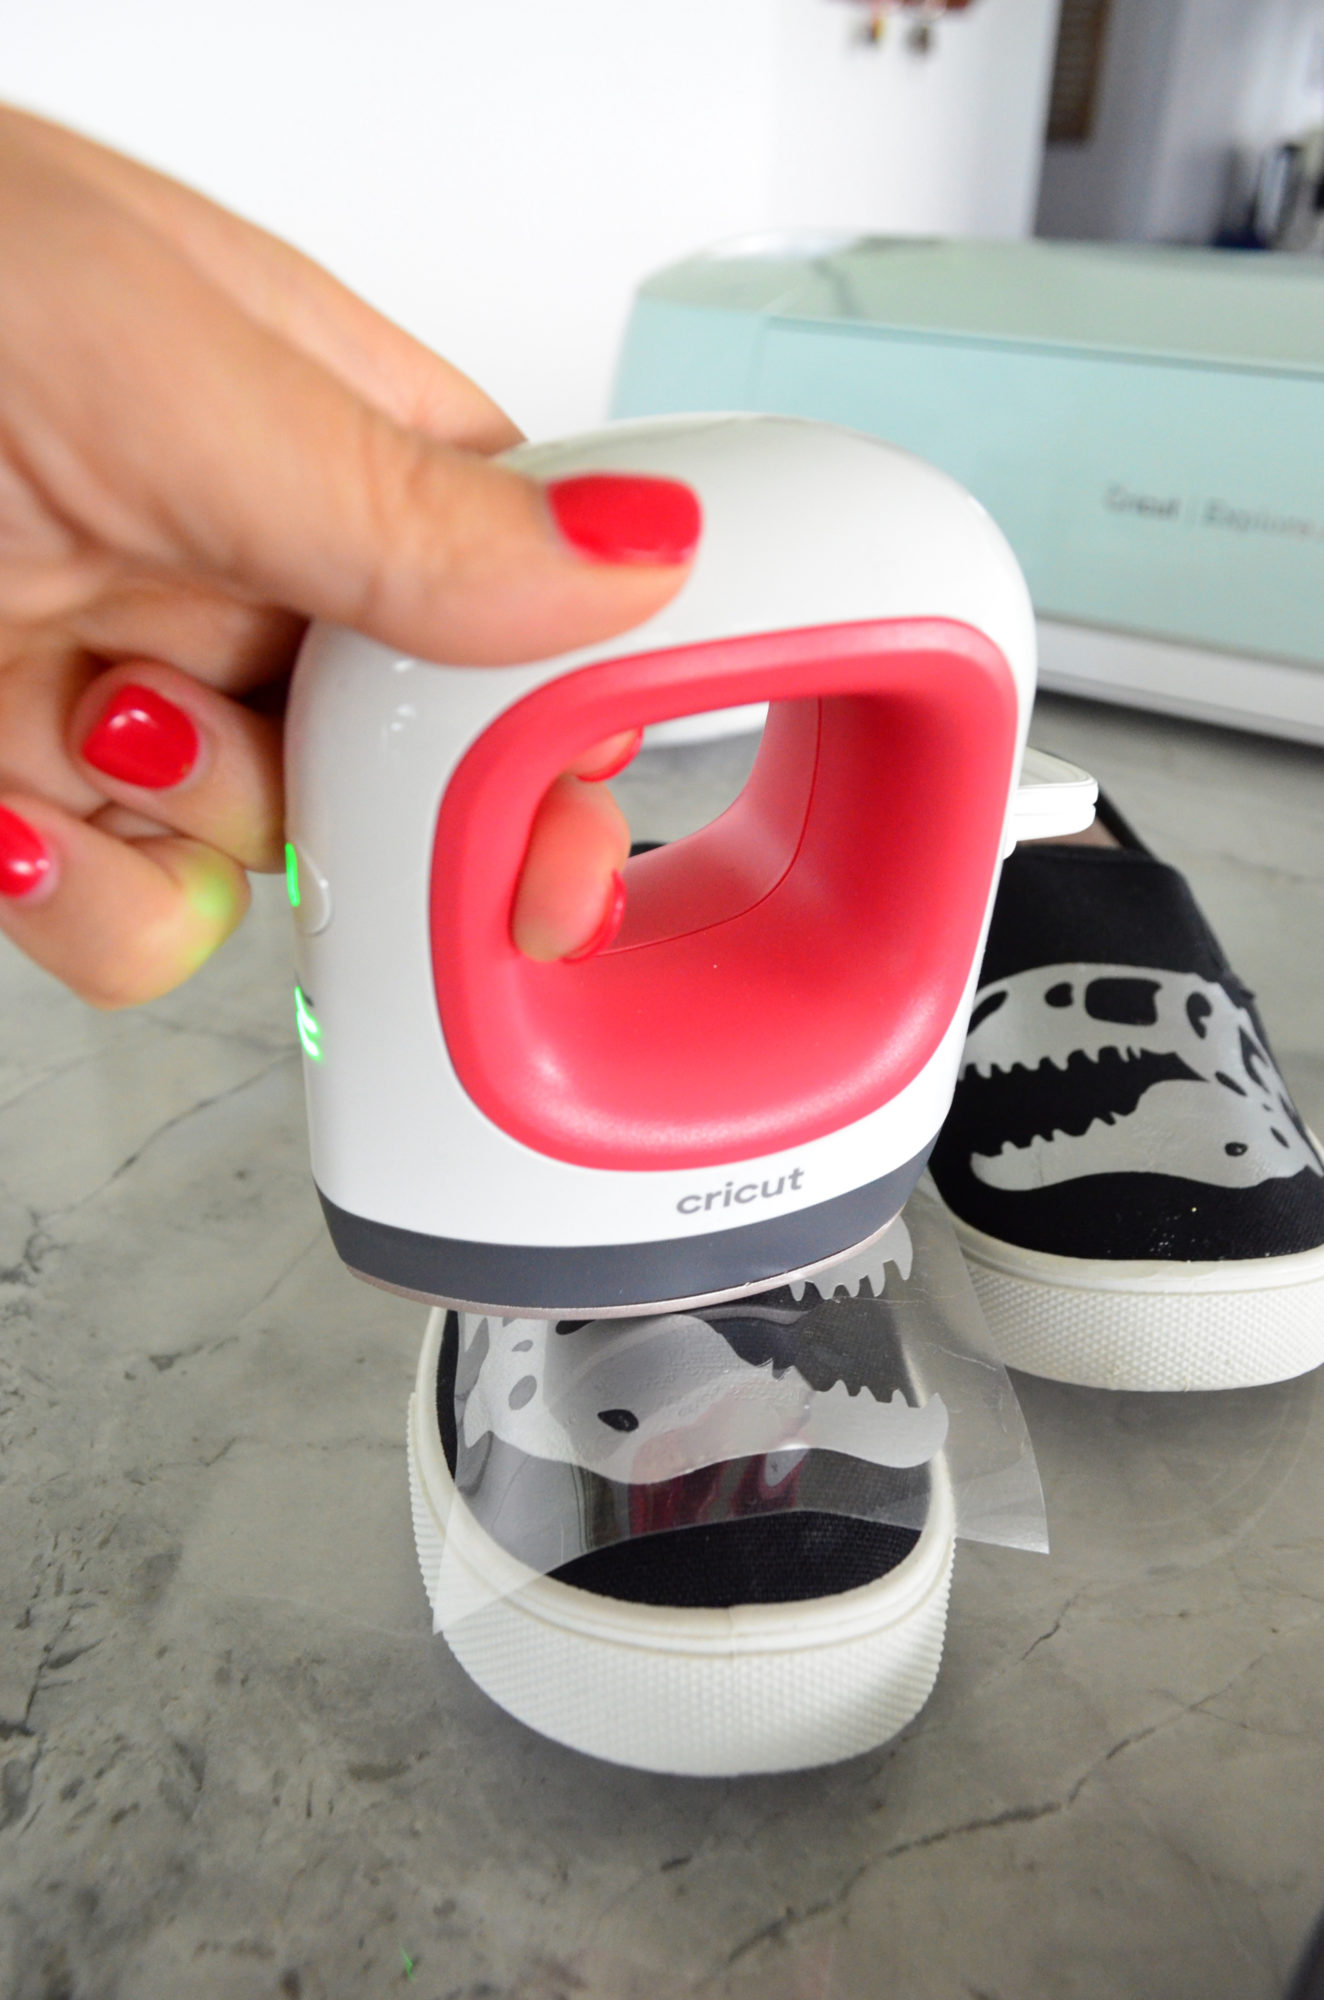
Like I mentioned above, you will need to move the EasyPress Mini around. Moving the unit during transfer also helps you keep the pressure light, preventing press marks in your base material. The minute you place the hot base on to your project you’ll notice that it adheres almost instantly. Unlike a traditional EasyPress where you need to press in one spot for 30+ seconds!
As for the speed. Use a steady continuous motion similar to how you use a household iron or even a computer mouse.
How To Use the Cricut EasyPress Mini™?
So, now that you know some of the most commonly asked questions you might be wondering how you actually use it!
First, plug in the Cricut EasyPress Mini. Select the heat setting that corresponds with the material and project you want to create. Cut the material, then place it on your object you want to press. If it’s shoes or hat or a small surface you want something to be able to press on to. A pair of socks works best! Once the light turns green it’s time to carefully press. Remember as soon as the Mini hits the material it will adhere to your project. Carefully, glide the EasyPress Mini around your project until full adhered and the plastic lifts up with ease!
It’s that easy to create projects with the new Cricut EasyPress Mini!
Cricut Deals
If you are in the market to buy a new Cricut or supplies here are a few deals I have exclusively for Sew Woodsy readers!
- Cricut Access Exclusive: Sign in and save an EXTRA 20% on clearance! Valid through 12/31
- Holiday Pricing on Machines! Save up to 40% on the Cricut EasyPress! Valid through 12/31
Disclaimer: There are affiliate links in this post. As always, that means if you click on a link and purchase I’ll make a small percentage of the sale at no additional cost to you!
Comments & Reviews
Kathy Deaton says
this was very helpful. I just got the easy press mini an was using it wrong. I will do it the way you said now. Thank you so much.
Katie says
Hi Kathy–glad you found this helpful! I’ll be publishing a tutorial on how to customize shoes with the Cricut EasyPress Mini soon.