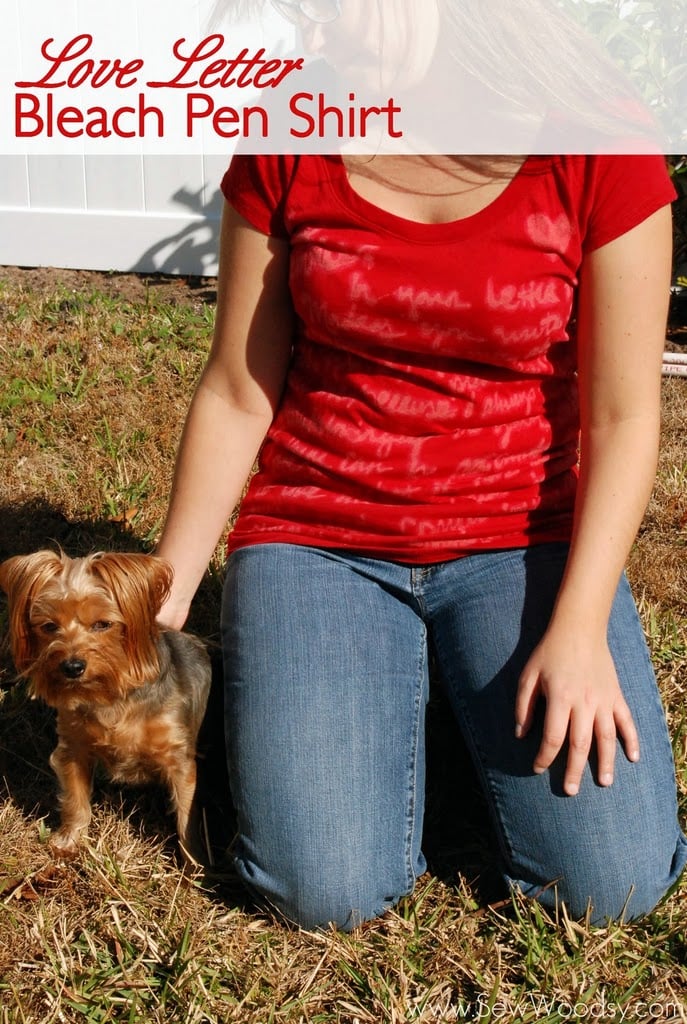
I’ve seen a variety of bleach pen crafts over the past year and have wanted to make a creation of my own. I bought a few inexpensive solid color tee’s at Target a few months back and got the idea to create a one-of-a-kind original shirt for myself recently. I scoured the internet for famous love letters. I found this love letter written by Winston Churchill in 1935. I only used the first half of the love letter since it was on the longer side and I was writing rather large.
January 23, 1935
My darling Clemmie,
In your letter from Madras you wrote some words very dear to me, about my having enriched your life. I cannot tell you what pleasure this gave me, because I always feel so overwhelmingly in your debt, if there can be accounts in love…. What it has been to me to live all these years in your heart and companionship no phrases can convey.
Time passes swiftly, but is it not joyous to see how great and growing is the treasure we have gathered together, amid the storms and stresses of so many eventful and to millions tragic and terrible
years?
Your loving husband
(Winston Churchill)
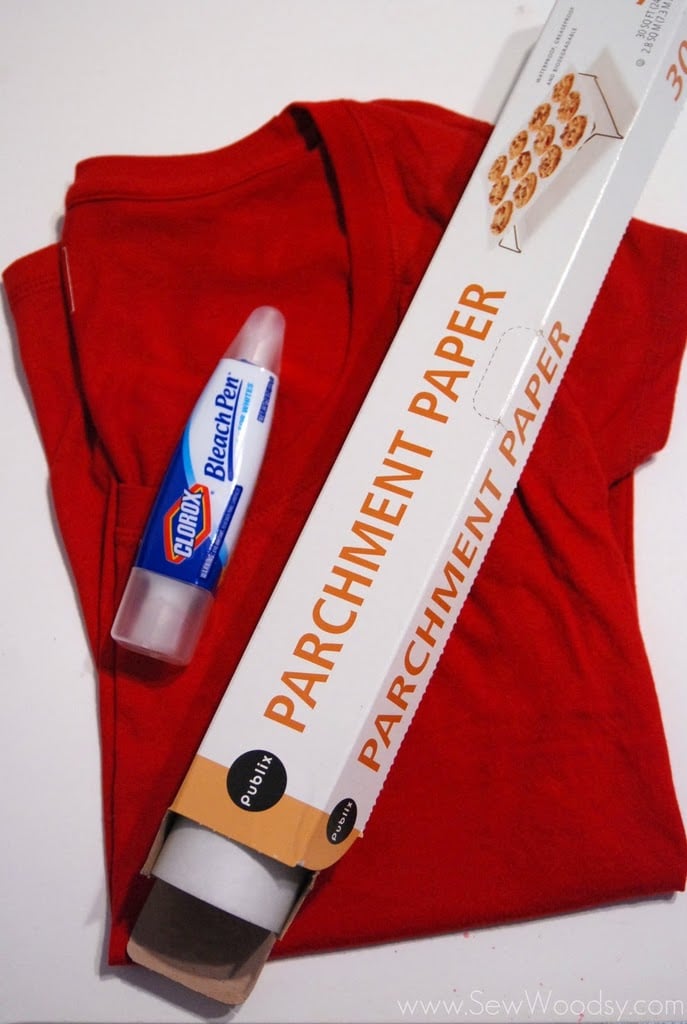
Supplies: Bleach Pen, Parchment Paper, T-Shirt
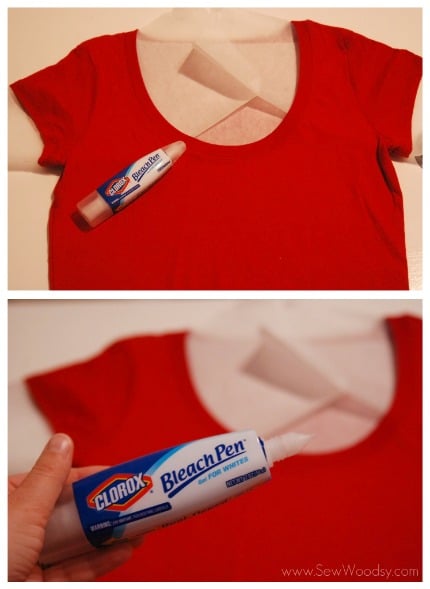
Line your shirt with parchment paper (or anything else you have on hand that will block the bleach from touch the other side of the shirt). Once your shirt is lined open your bleach pen.
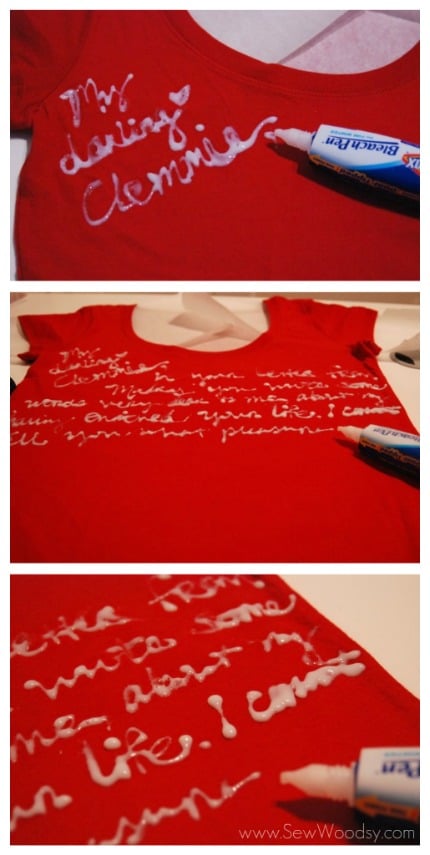
Carefully, begin writing on your shirt. You’ll notice that most of my words came out in blobs. I knew going into this project that I did not want the words very legible.
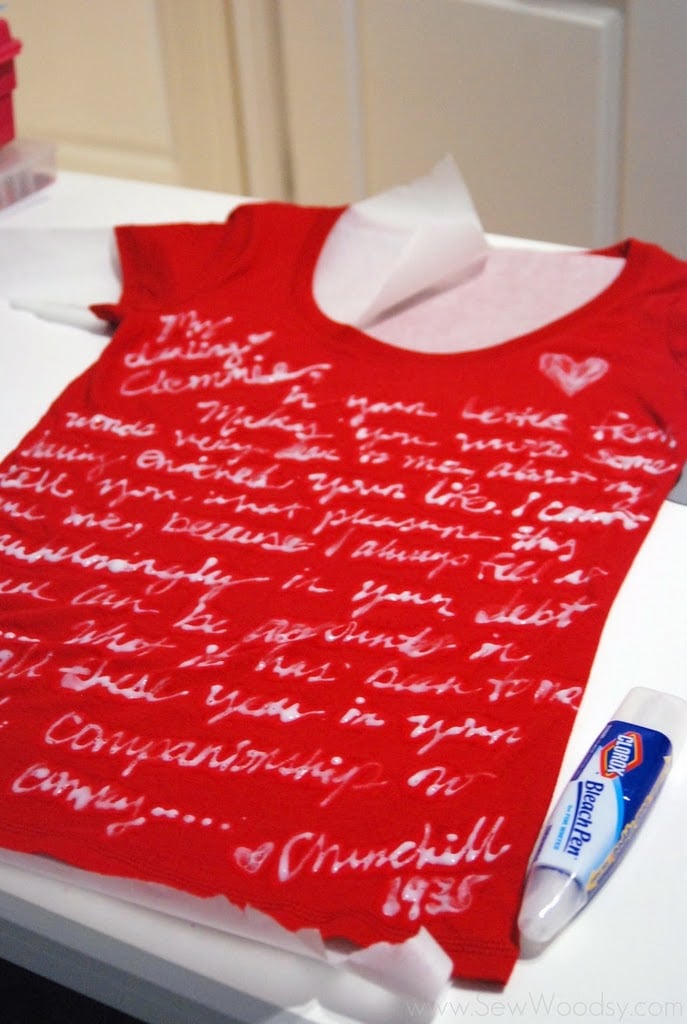
After about 15 minutes of bleach pen writing this is what my shirt looked like. I let my shirt sit for 30-45 minutes. Once I saw that the bleach was bleeding through the shirt I carefully brought it to my washing machine.
*Remember, this is bleach. It is going to stink–you are most likely going to get a headache from this. Just an FYI fair warning! I probably used about 3/4 of the bleach pen on just the front of the shirt. I’m sure if you can get the pen to not “blob” you might be able to use less.
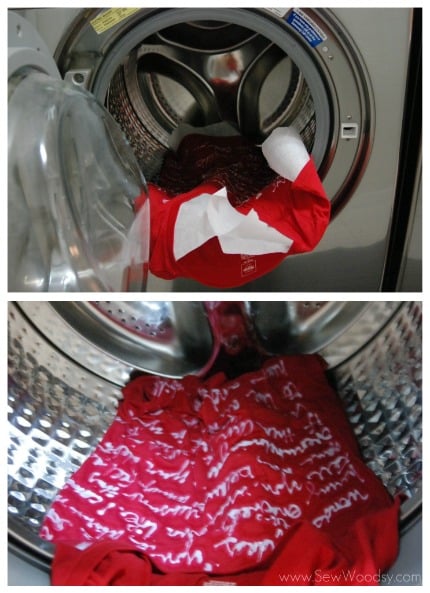
I carefully laid the shirt in my washing machine and then pulled the parchment out of the shirt. I turned the washing machine on immediately (on a normal cycle), and let the washing machine do it’s job. After it was done washing I dried it like I would any other t-shirt I own.
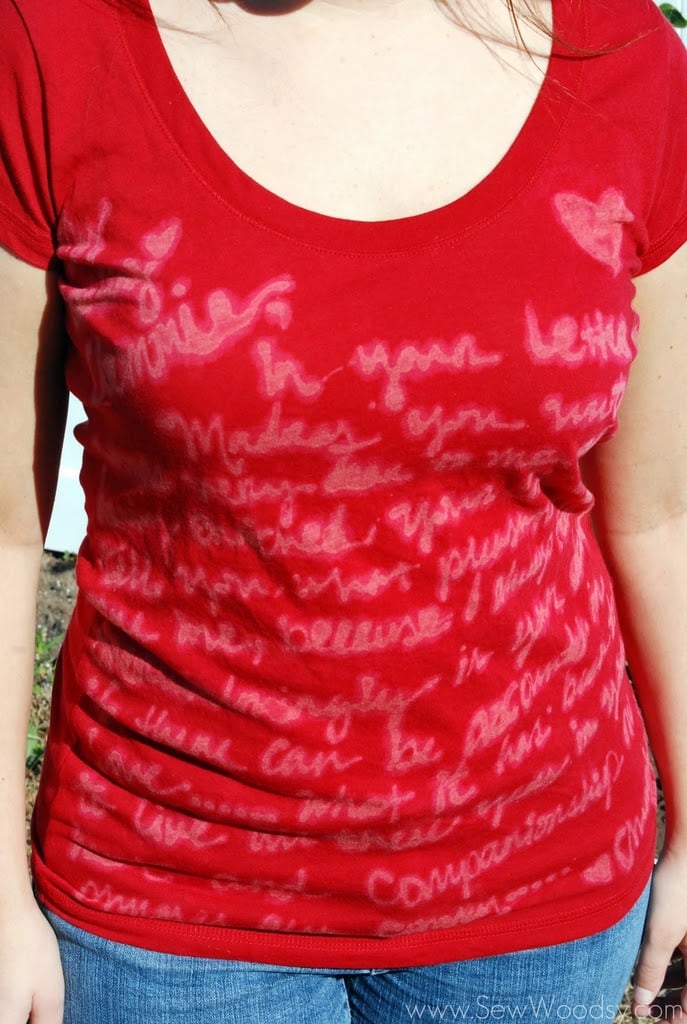
For about $10 I have myself a custom one-of-a-kind T-shirt! Some words are a little more legible than others, and I’m ok with that. If I was to make this shirt again I think I’ll start at the top so that my sleeves had writing on them as well. I can definitely see me making another shirt in the coming months! Maybe even a dress or skirt!
Side Note: A reader left this comment and I felt that it was a great tip that all should consider when creating this shirt! “As an aside, bleach will continue to damage and eat through your shirt over time, so holes will eventually start to appear – if you don’t want that to happen, you can soak your shirt in white vinegar after you wash it to help neutralize the effects of the bleach. (This is what we were taught in a surface design class I took in college.)” -CathGrace
Comments & Reviews
Sarah says
I have a question, I did this and by the time I finished the design, my earlier design was bleeding through to the point where there was just a blob around the letters (only 5 min to complete the whole design) and then I let it sit another 5 min. Why did my shirt bleed so much? Is there something in the material of mine that made it bleed a lot more and faster?
Katie says
Hi Sarah, not sure why yours bleed so much. I did put parchment paper in between the shirt–did you do that?
Lori K says
Greaat idea!! I’ve been looking for a cute t-shirt idea for the class I teach at church!!
Staci says
I’m so trying this with my friend next week! Only question I have is if we can wash all our shirts together or do we have to do each individual one separate?
Mrs. Woodsy aka Katie says
Hi Staci, thanks for visiting. I’m not sure about multiple washes at one time. I only made one, so that’s all I can give advice on. If you put multiple shirts in one load of wash I’d love to hear your results. I’d also love to feature your shirts if you make them next week. Feel free to send me a picture! 🙂
Amanda says
i did a project like this with multiple shirts and here’s what i did:
first, i had a top-loading washer, i’m not sure it’d work with a front loader.
before i started my project, i let the washer fill up, then i turned it off. that way i could put the shirts in and turn it on immediately. i only did it this way once, with 2 shirts, and it worked fine. but i realized that doing the project took so much time that i didnt want to leave the bleach eating away at the first shirt while i did the second. here’s my better solution:
have the washer filled and ready to go, and start your project. when you’re done writing or drawing, set it aside, and start getting your next shirt ready. (getting it “just so” takes longer than you’d think) if your first shirt is not bleached enough, go ahead and start your second shirt. keep glancing at your first, and when its bleached the amount you want, go put it in the washer and turn it on right away. then go back and work on shirt #2. it’ll take a bit to finish your project, then for it to bleach enough. by then Shirt #1 will be washed and ready to go in the dryer. as soon as it’s done, take it out. as soon as it’s out, refill it. while shirt #1 is drying, shirt #2 is washing, and you’ve moved on to shirt #3. this rhythm keeps up nicely, and if the first shirt isn’t dry yet, you can always double them up!
i would also recommend that if you’re trying to do a particularly involved design, break it up into 2-3 steps, and wash in between the steps. that way you don’t have bleach sitting in one spot for an hour while the spot you just finished has only had it on there for a few minutes.
Mrs. Woodsy aka Katie says
Great tips, Amanda! I have a front loading machine and I know for a fact you can’t have it full of water waiting for you. I like the idea of bleaching/washing the shirt in steps. I have another one planed for the near future… so I can’t wait to get started!
Ruth Simpson says
I used a bleach pen on one half of a dark to medium solid colored fabric, then folded it over to mirror the image. Cool for drawing multiple flowers, etc. I was at a condo in Maui, and when the bathroom light was on, the fan was, too. Perfect, with a sink to soak out the bleach when it was “done”. My fabric pieces ranged in size from 9″ X 18″ or so, just scraps. I’m making wall hangings and also purses with the results.
Mrs. Woodsy aka Katie says
Hi Ruth–that sounds awesome. Love the idea of mirroring your bleach pen projects. I’d love to share your projects with our readers for additional ideas. If you’d like to do this please email me photos and descriptions at SewWoodsy@gmail.com . Thanks again for stopping by!
Cindy says
I think the holes have to do with not tucking in your shirt. It rubs on the zipper button closure that sticks out a bit.
Great idea to redesign a tee. Going to copy this to making matching shirts for me and my daughter for our next vacation!!!
Mrs. Woodsy aka Katie says
Cindy I definitely agree with you! I’ve noticed that is typically my problem and maybe because I;m short and I always hit the counter! lol I would love to see your redesign!
Ariyana says
Love ’em. I did something similar once to some colored jeans, but I sponged bleach onto letters I had blocked off with tape. Was fun 🙂
Mrs. Woodsy aka Katie says
Oh, I love that idea!
Lynn says
I think I would like to do it with paint pens instead: no bleach fumes, and hopefully no holes eaten through the shirt.
I wonder if baking soda would neutralize the bleach? Vinegar and bleach are both acids, so I can’t see that being as effective. However, I would definitely wash it before using baking soda so as to avoid a terrible reaction.
Mrs. Woodsy aka Katie says
great ideas! I’ve warn and washed my shirt at least 5 times now and haven’t had seen any holes yet!
mich says
actually, bleach is a base so vinegar would neutralize it.
Mrs. Woodsy aka Katie says
Great to know!
louobrien says
gonna make this, one for each of my grown daughters and put their favorite childhood song lyrics on it for Easter!
thank you for the idea!
Mrs. Woodsy aka Katie says
Love that idea! I’d love to see how it turns out!
Heather says
Love this idea Katie! This really gives a plain Tee a designer look! I am going to Tar-jay today to pick up some tees!
Heather
Mrs. Woodsy aka Katie says
Awesome! Glad I could inspire you!