Today, I’m officially 38 weeks pregnant. It’s really hard for me to believe. My goal this whole time is to get to full term status. Part of me feels like this pregnancy has flown by and the other half of me feels like I’ve been pregnant for years. I think I’m officially ready for this baby to be here. The nursery is no-where near complete, but since I know he won’t be in it for a few months I’m content with what we have completed. Our bags are packed, our home is as ready as it can be (although I’d love to do a little more organizing and purging before he arrives), and well… I think and know that we will never be fully ready. So at this point I think we are as ready as we will ever be. One thing that I’ve realized over the last few weeks is that I have very few maternity clothes that fit. Everything is just too darn tight on my belly and/or most of my maternity shirts are very short… belly pokes out. I have a few dresses that I wear day in and day out and this maternity maxi dress is one of them.
Back when I was 18 weeks pregnant I decided I would sew myself a cute little maternity maxi dress. This was around the same time that I started to clean out my closet. In hind sight this could be a good or bad thing. I did get rid of clothing I had not worn in 5+ years; however, maybe I’ll be that size again after the baby??!? In any event, I had a lot of cotton tops I was donating. I kept a few of the tops that I knew I would never wear again, but that would potentially make for a great maxi dress. I knew if I wanted to wear this maxi dress all pregnancy it would need to really have some stretch!
This is a very basic and loose tutorial–I know that there are hundreds out on the inter-webs. Mine is not full of details, but if you can sew a few straight lines you can easily make this dress!
Supplies needed:
- Old stretchy t-shirt
- 2 yards knit fabric
- sewing machine and coordinating thread
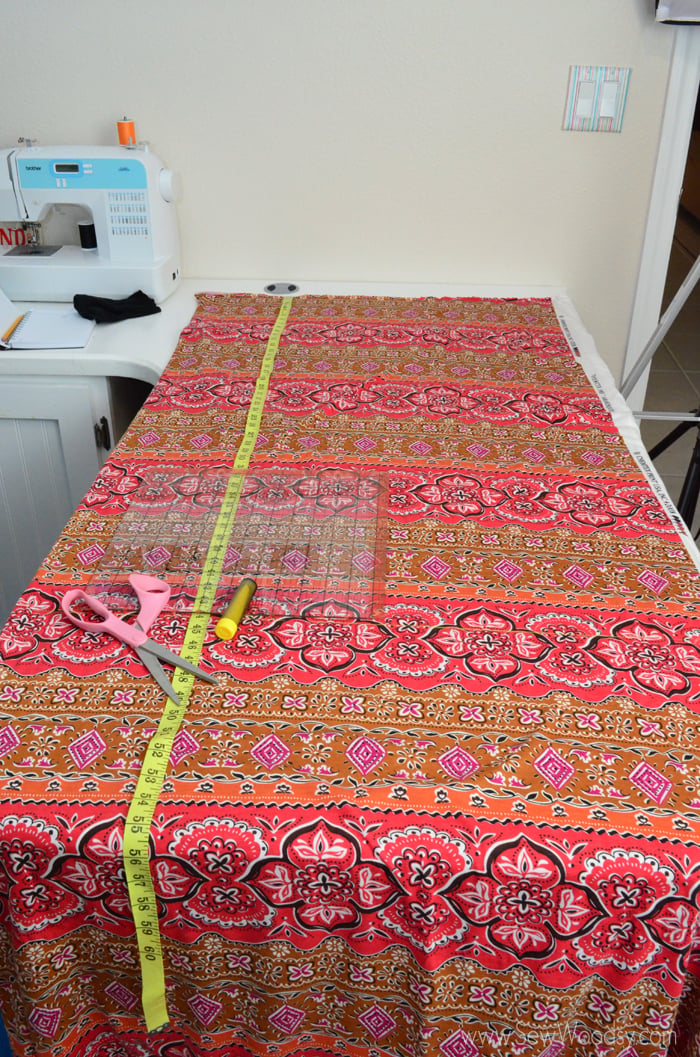 Measure from 2-inches below your breast bone down to the floor (someone will need to assist you in doing this so you have accurate measurement. Then lay out your stretchy knit fabric (make sure that the fabric pattern stretches horizontally and not vertically, and mark how long you need the fabric to be. Then, measure around the top of your stomach (in between your breast and stomach) and wrap the measuring tape around you 1.5 times. This is how wide you will want to make the dress. I’m not giving measurements since everyones measurements will vary.
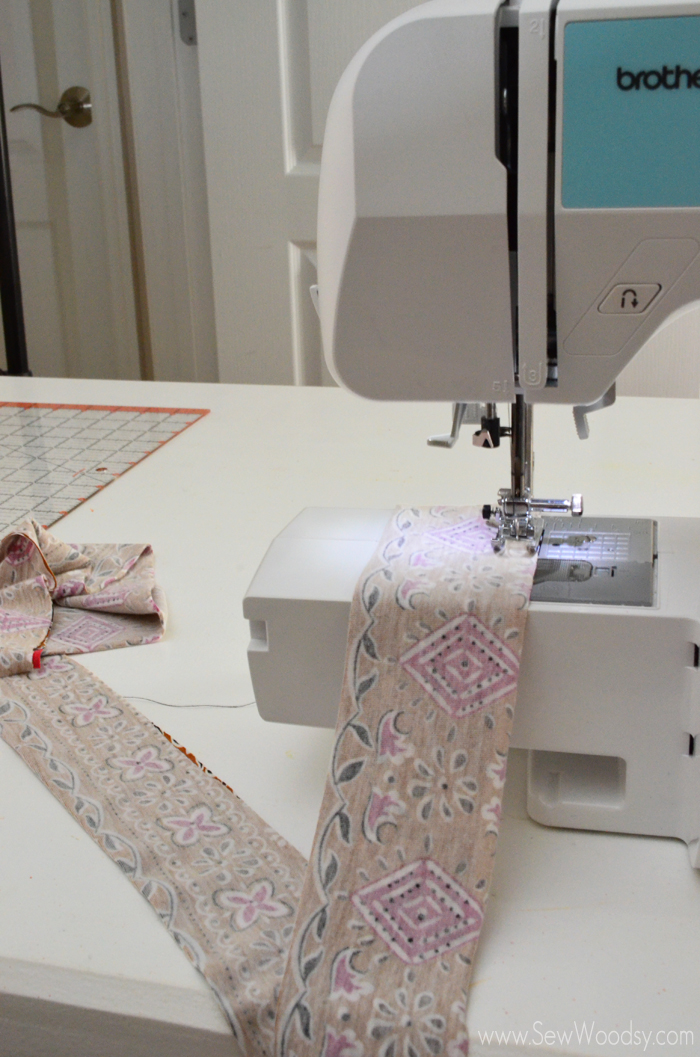
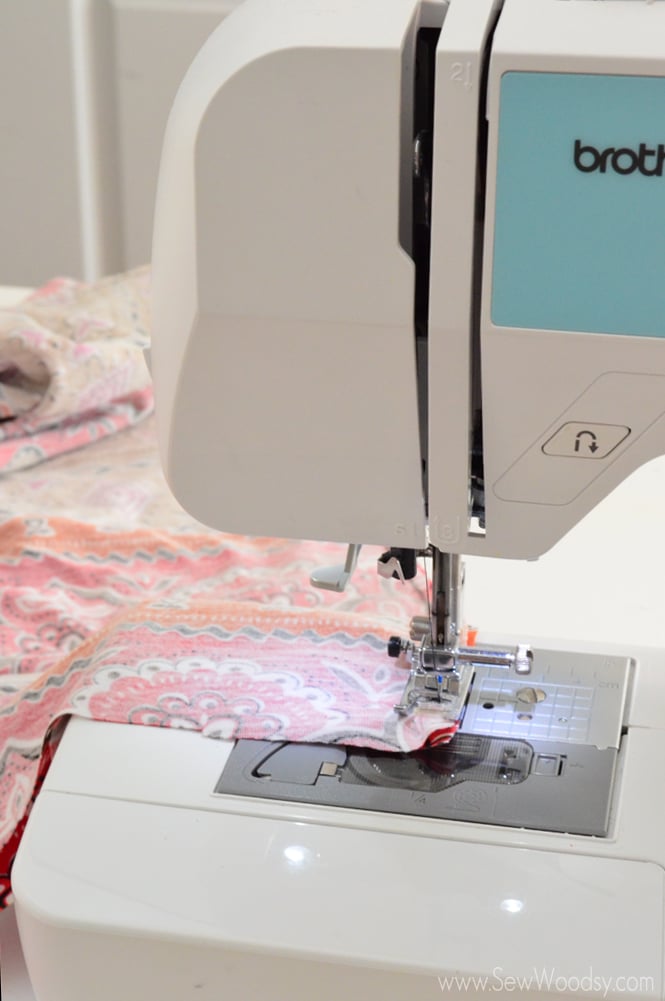 Fold the fabric in half long wise and sew a straight line down the edge of the fabric. You’ll have one large tube.
 At the top of that tube, adjust your tension on your machine so it’s super loose and sew a straight stitch. DO NOT do any reverse stitches to reinforce the stitch. Once you’ve sewn around the fabric you’ll want to start gathering the fabric (pulling the front and back thread away from one another–careful not to break the thread). Gather until you have reached the measurements of just under your bust.
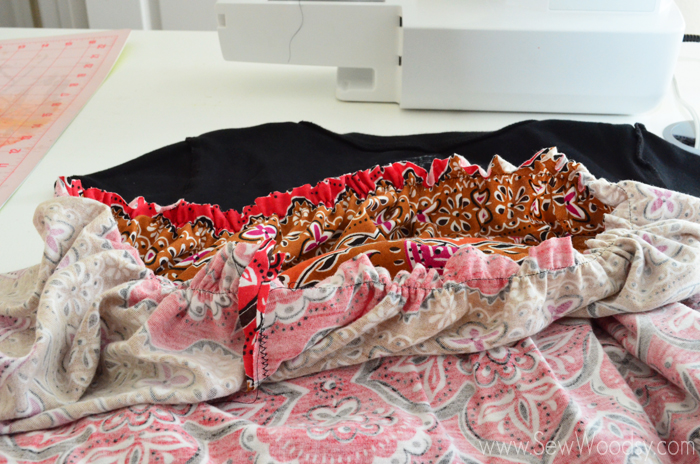 This is what it will look like once you’ve gathered the top of the skirt.
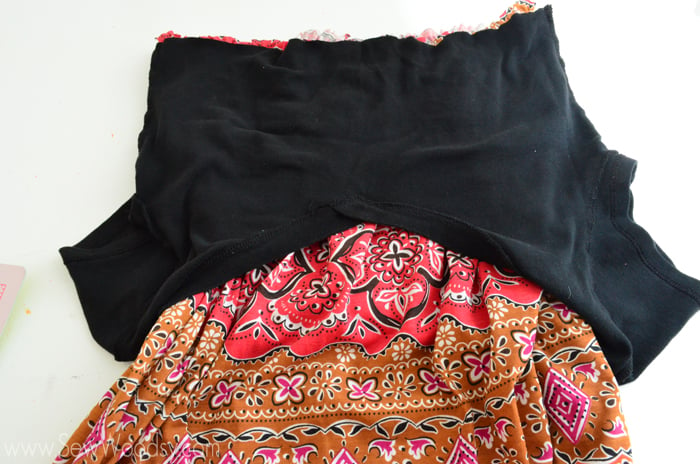 Turn the shirt inside out and place it to the top of the skirt.
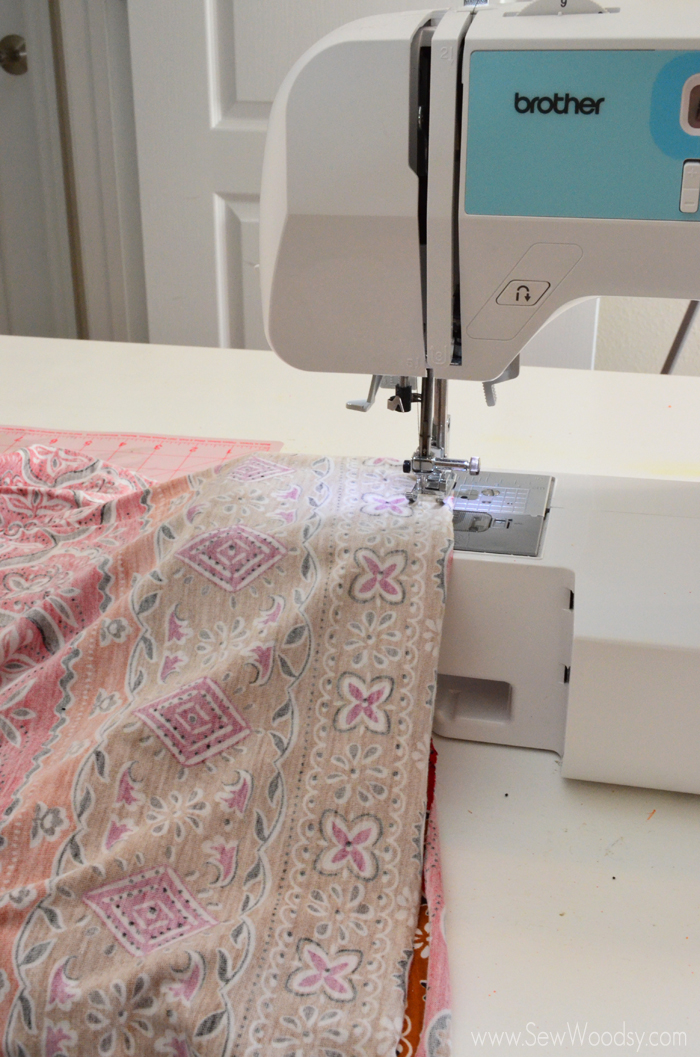
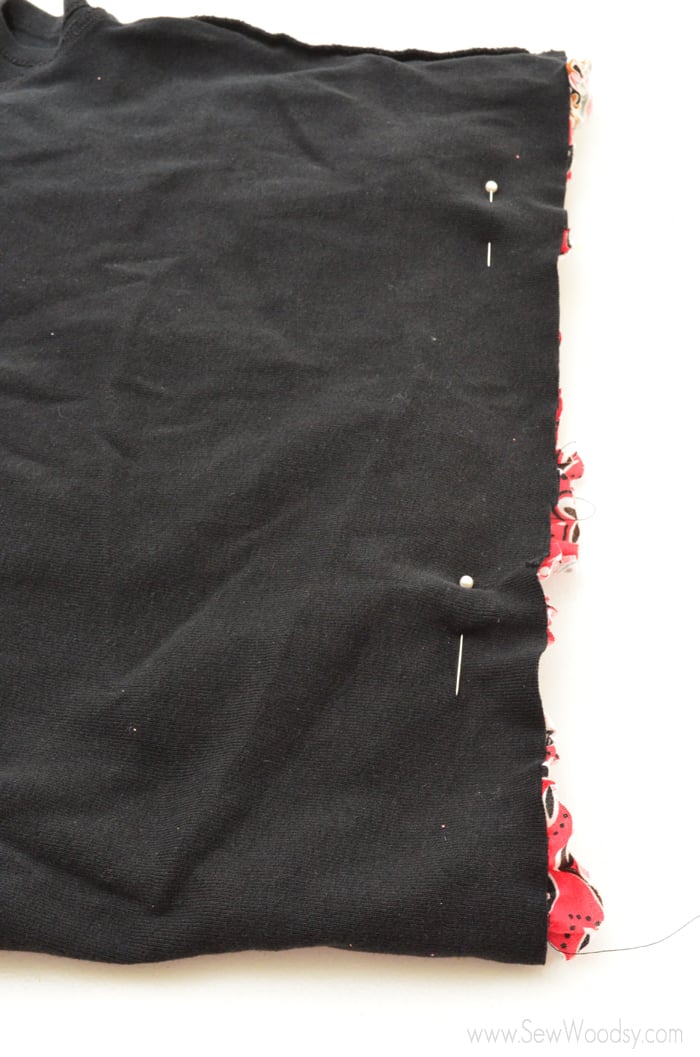 Then, pin the shirt in place, and sew a zig-zag stitch around the edge. I like to pull the fabric while it’s sewing so that it will give it even more growing room.
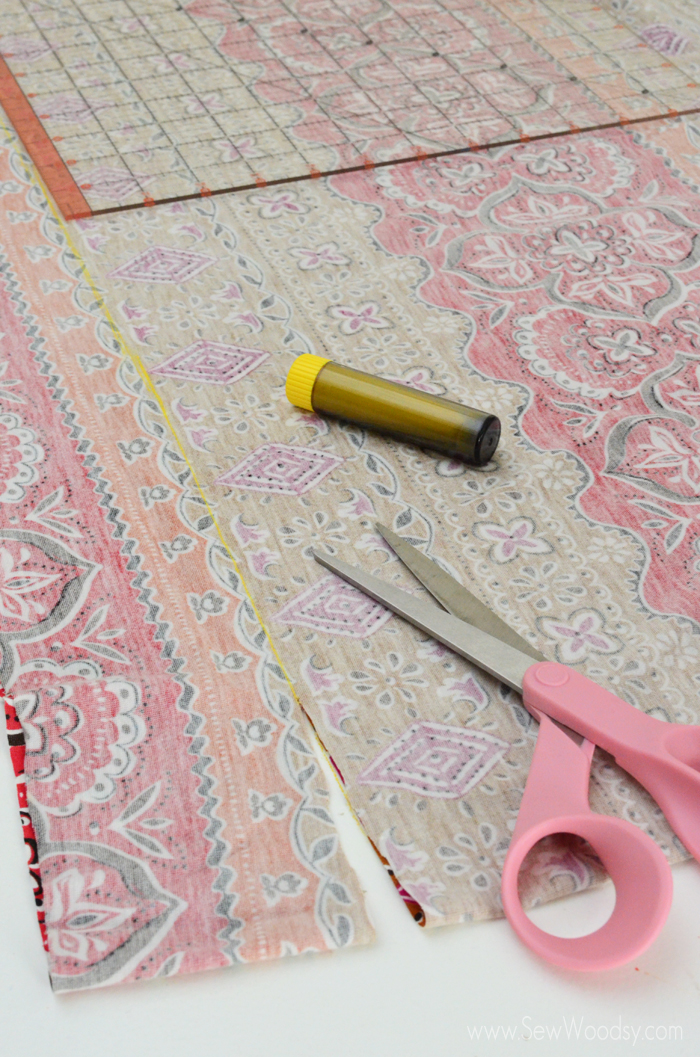 Next up, make the decorative belt. I simply folded the 2 yards of fabric I had and cut a 5-inch band of fabric.
 I folded the band in half and then sewed a straight line down one end. I pulled the tube right-side out and then sewed the edge.
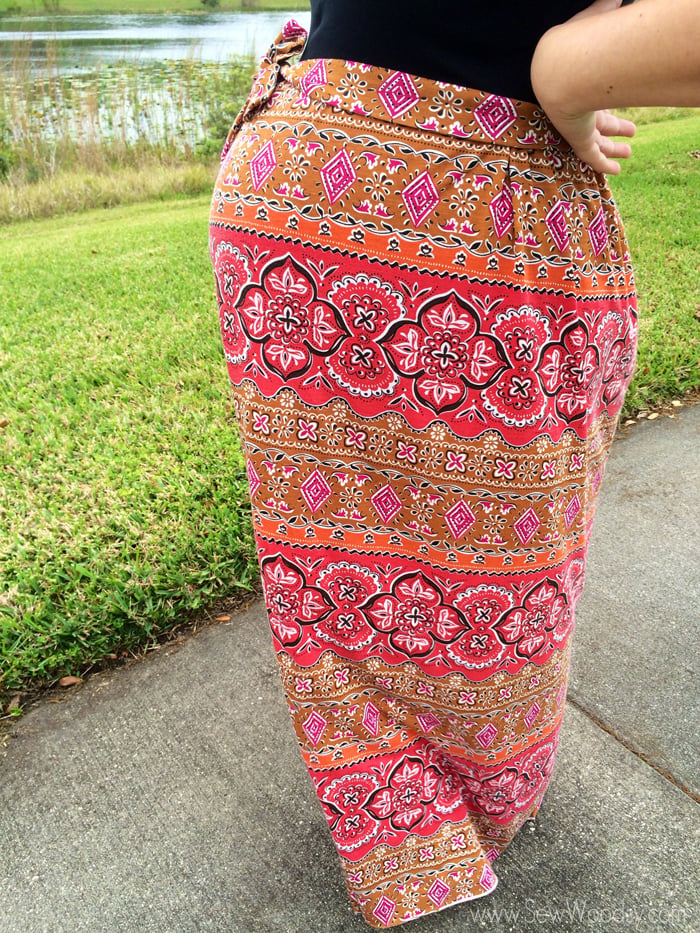
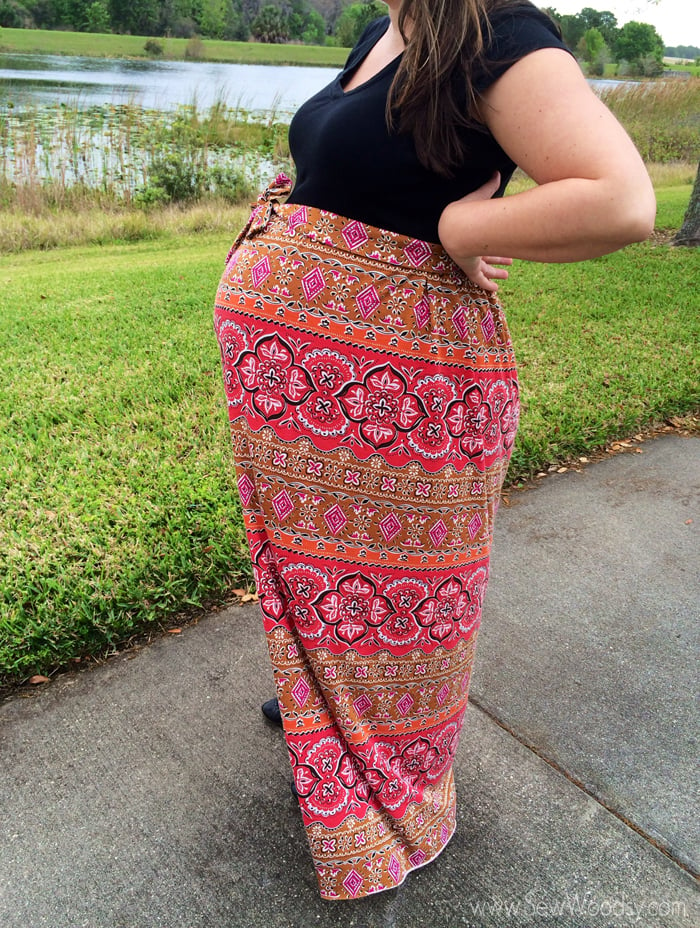 Easy as that –you have a maternity maxi dress. You’ll be able to wear it for months and its super comfy.
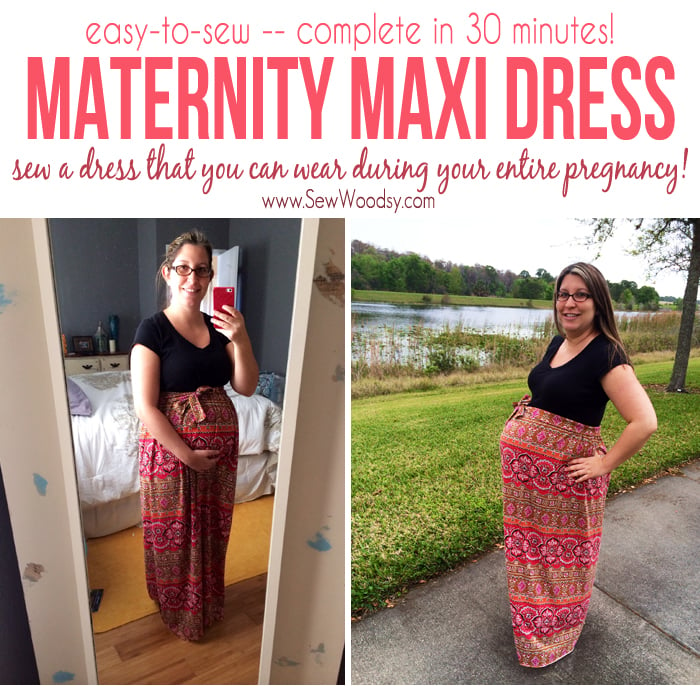
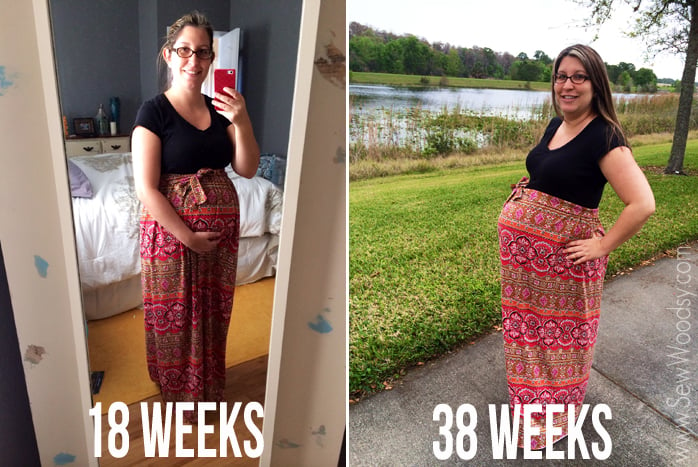 Here is a selfie of me at 18 weeks and then another of me at 38 weeks… WOAH do I look like an oompa loompa. Or as my friend Sarah from While They Snooze said “you just look 9 months pregnant”.
*Final photos courtesy of Sarah! Shhh we took them outside of our office building–I know people probably were looking out the window and thought we were crazy. And then 1 minute later it started to down pour. That’s what friends are for, right?
