Today, I’m so excited to have my friend Amber from Crazy Little Projects share one of her AMAZING hooded towels. Amber and I met at SNAP! last year and chat almost daily. She is an amazing sewer. Whenever I have sewing questions I turn to Amber. She also has a monthly sewing challenge. Each month I say I’m going to join and and I don’t. Now that the baby is here, I guess I’ll be waiting a few more months. Without further ado, here is Amber.
——————————————-
Hi Sew Woodsy readers! This is Amber from Crazy Little Projects! I am happy to be here guest posting for Katie while she snuggles that perfect little guy. Today I am going to share with you a favorite project from my blog. Each month (or so) I do a cute hooded towel for babies, toddlers and kids. Today I am showing you how to make a puppy dog hooded towel!
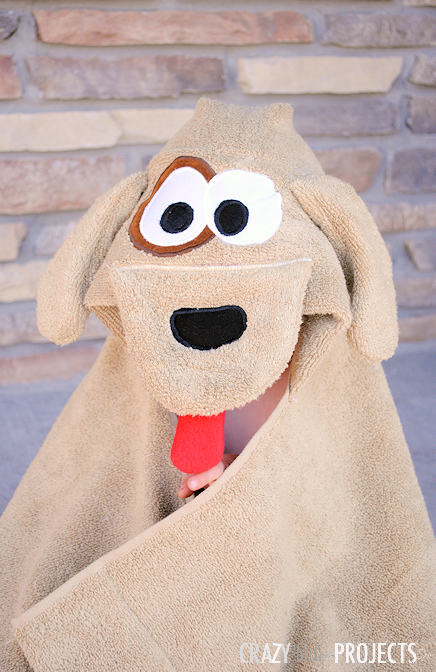
I’ve been meaning to do a puppy dog hooded towel for a while now and I am so happy that I finally did because I LOVE how he turned out!
Let’s learn to make him!
Puppy Dog Hooded Towel:
Supplies Needed:
- Brown bath towel (I get mine at Target)
- Matching brown hand towel
- Small amounts of white, black, dark brown and red fabric
- Iron on paper backed adhesive
- Puppy Dog Hooded Towel Pattern Pieces
Instructions:
I have a basic hooded towel tutorial on my blog. To see how I make the towel part and attach the head, please refer to that tutorial. For now I will teach you to make the head of the puppy dog.
Start off by cutting your hand towel in half horizontally (so that it is wide and fat and not long and skinny). Fold the selvage edge under about 3 inches and sew it in place. Then flip the whole thing over. You will be working on the side that the seam is not on.
Cut out your eyes and nose from the pattern. Also cut the pieces from your paper backed adhesive. Iron the adhesive to the back of your face pieces.
Place your eyes where you want them on the towel. They should be centered and a few inches above the edge of the towel:

Iron them in place. Then stitch a tight zig zag stitch all the way around them:
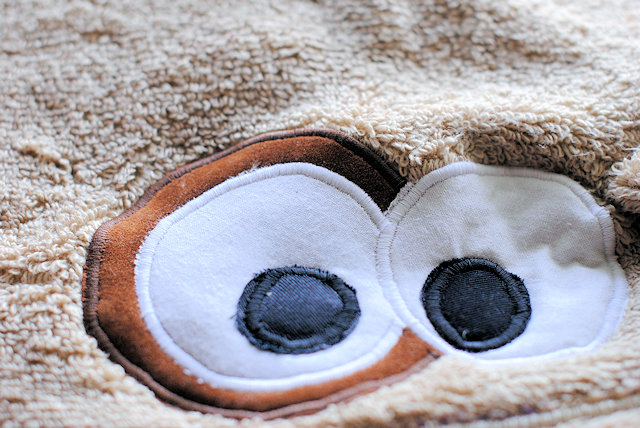
Place your nose piece in the center of one of the snout pieces and do the same thing-iron then zig zag stitch around it.
Now, cut from your extra piece of hand towel 4 ears and 2 snouts. This should all fit but be careful how you lay it out to make sure before you cut. Also cut 2 tongue pieces out of your red fabric.
Sew around the outer edges of each of these pieces, leaving the flat sides open to turn:
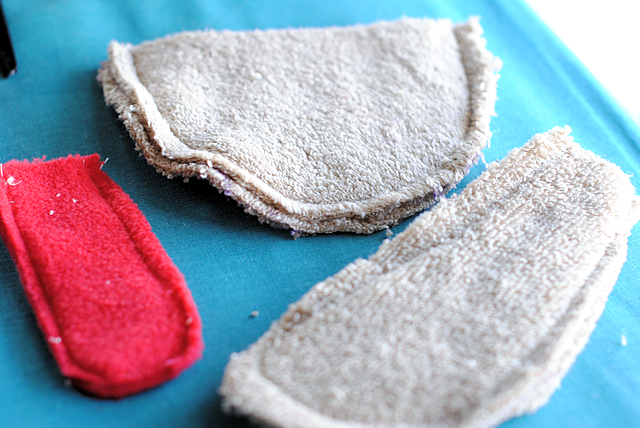
Turn everything right side out.
Pin your snout with the tongue under it, right below the eyes on your hand towel. Zig zag that in place:
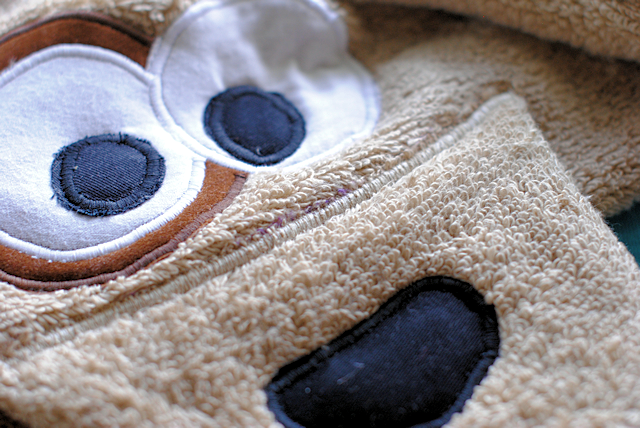
Now, to add the ears, snip a small hole in the spot you want the ears. I did it just to the side of the eyes near the top of the eyes.
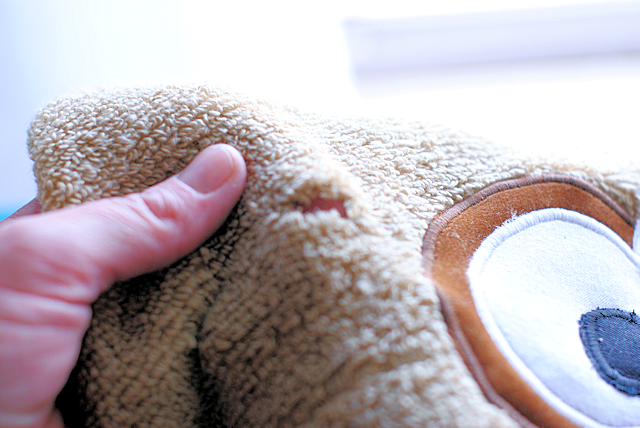
Slide your ear through the opening and on the underside, sew it closed. You will be sewing through 4 layers here, so be careful.
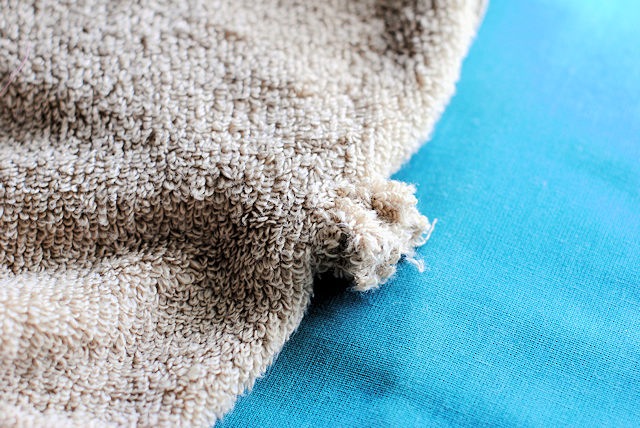
Your dog face should be done now. Fold the towel in half with the face on the inside and the raw edges of the hand towel meeting. Zig zag up that line to form a hood. Then, fold the towel like this and sew a straight line across the tip, then snip it off. This will give it a rounded off head:
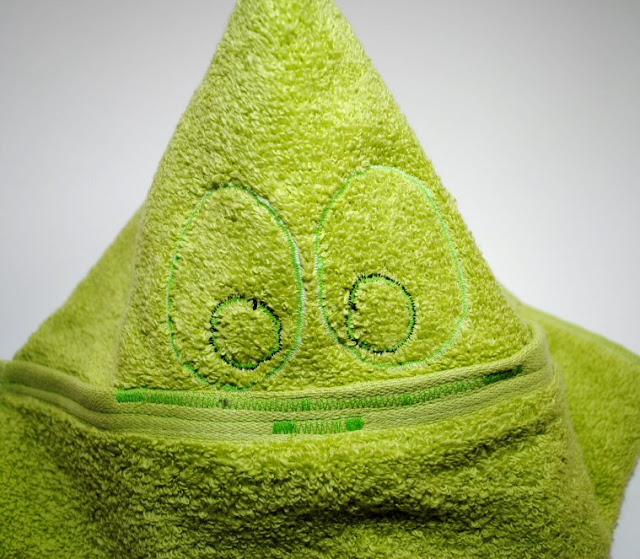
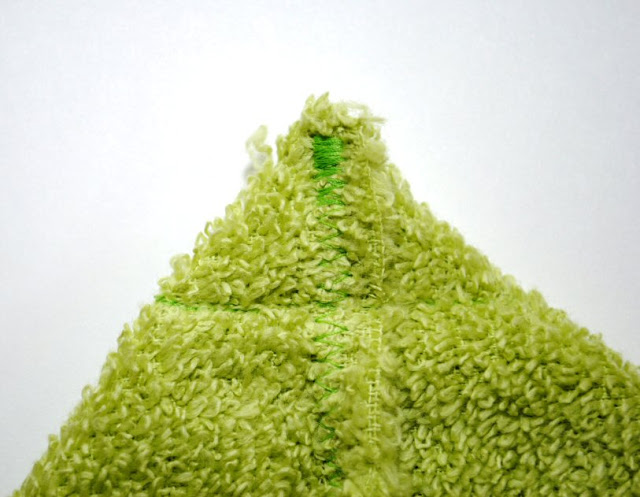
And then finish the towel off according to these instructions.
See more hooded towels:
And join me for a Monthly Sewing Challenge!
