Earlier this month I shared this project on Dollar Store Crafts. Now, I’m back to share it on Sew Woodsy!
Have you ever woken up in the middle of the night with an “ah-ha” moment. I have and this is exactly how this vase was created. I’ve had Halloween on the brain and have wanted to create some unique projects for only a few dollars. After literally dreaming up this idea I went to the dollar store the next day and purchased my supplies, and that night began crafting.
Supplies:
- 2 packages of Skeleton Garland
- 1 Glass Vase
- Hot Glue Gun & Glue Sticks
- Fake “dead” Flowers & Moss Filler
- Martha Stewart Craft Paint & Pouncer or Sponge Brush
- Painters Tape
- *Optional Step–die cutting machine, vinyl, & rhinestones
- Estimated cost: $10
**Optional Step**
Using your die-cutting machine cut out a Halloween silhouette. I choose to cut out a skeleton boarder.
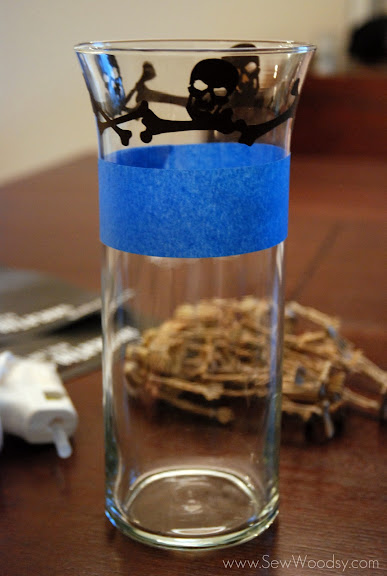
 Using painters tape place an even amount around the rim of the vase (the above portion will be painted with Martha Stewart Glitter Craft Paint). If using the optional design idea add your vinyl to the vase.
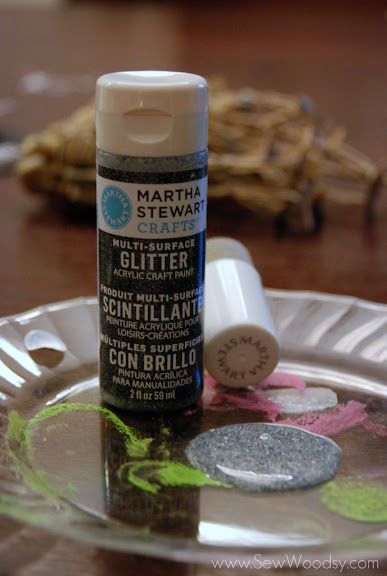
 Next, begin applying your Glitter Craft Paint.
I applied 2-3 coats of the glitter paint. Make sure you allow the paint to dry in between coats.
 Carefully pull the painters tape off the vase.
Before you begin glueing the skeletons on to the vase you will want to remove the twine from the skeletons (reserve this twine for the end of the project). Once the twine has been removed you can start glueing the skeletons on to the vase. Apply a generous amount of hot glue to the spine.
Repeat the step above; carefully, glueing each skeleton to the vase. All eight skeletons fit perfectly on the vase I used.
Next, take one piece of the twine you saved and dip the tip of the twine into hot glue. Swirl so that the glue sticks to the tip and stops it from fraying.
Take the tip of the twine with the hot glue on it and tuck it behind one of the skeleton’s backbone. Begin wrapping the twine around the skeletons until both pieces of twine have been used. Dip the tip of twine in hot glue, swirl, and tuck in place.
Optional: If you have rhinestones on hand place a few in the eye sockets of the skeletons. I only had 8 rhinestones on hand so I placed a pair of glowing eyes on every other skeleton.
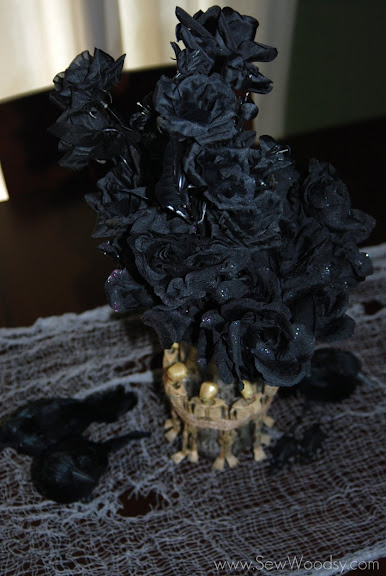
 Fill your vase with moss filler and “dead” flowers.
 I love the erie look this vase gives. It’s like the skeletons are tied up to a fire pit!
I hope you enjoyed this project as much as I did!