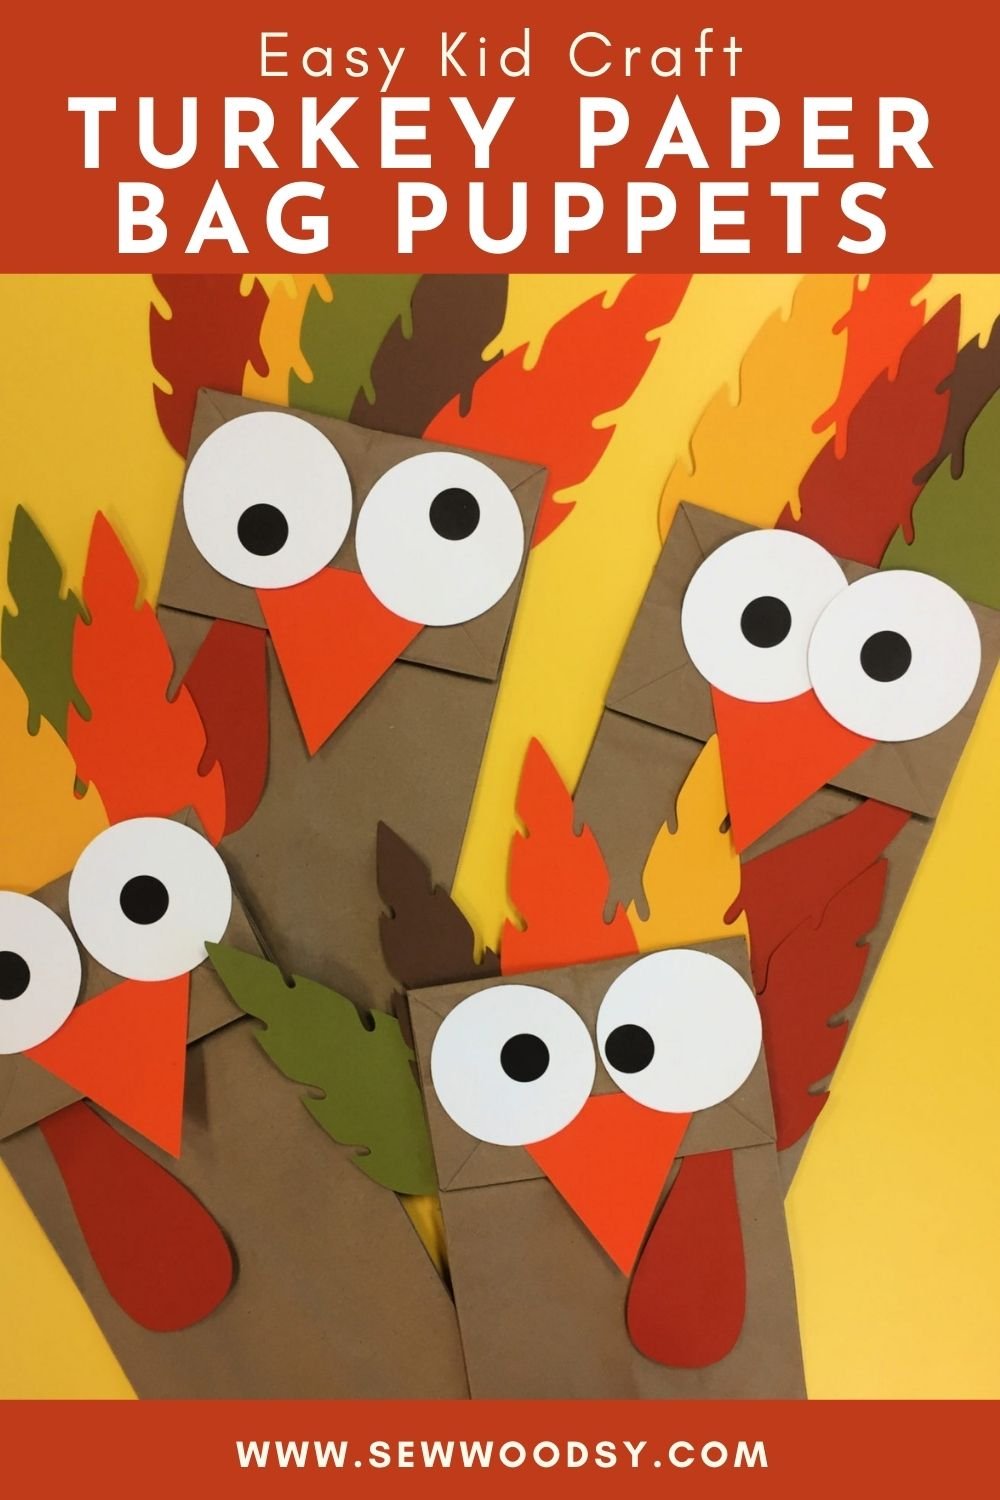
Learn how to make adorable low-mess Turkey Paper Bag Puppets in under 15 minutes time from start to finish! The perfect Thanksgiving Day craft for kids ages 1-10!
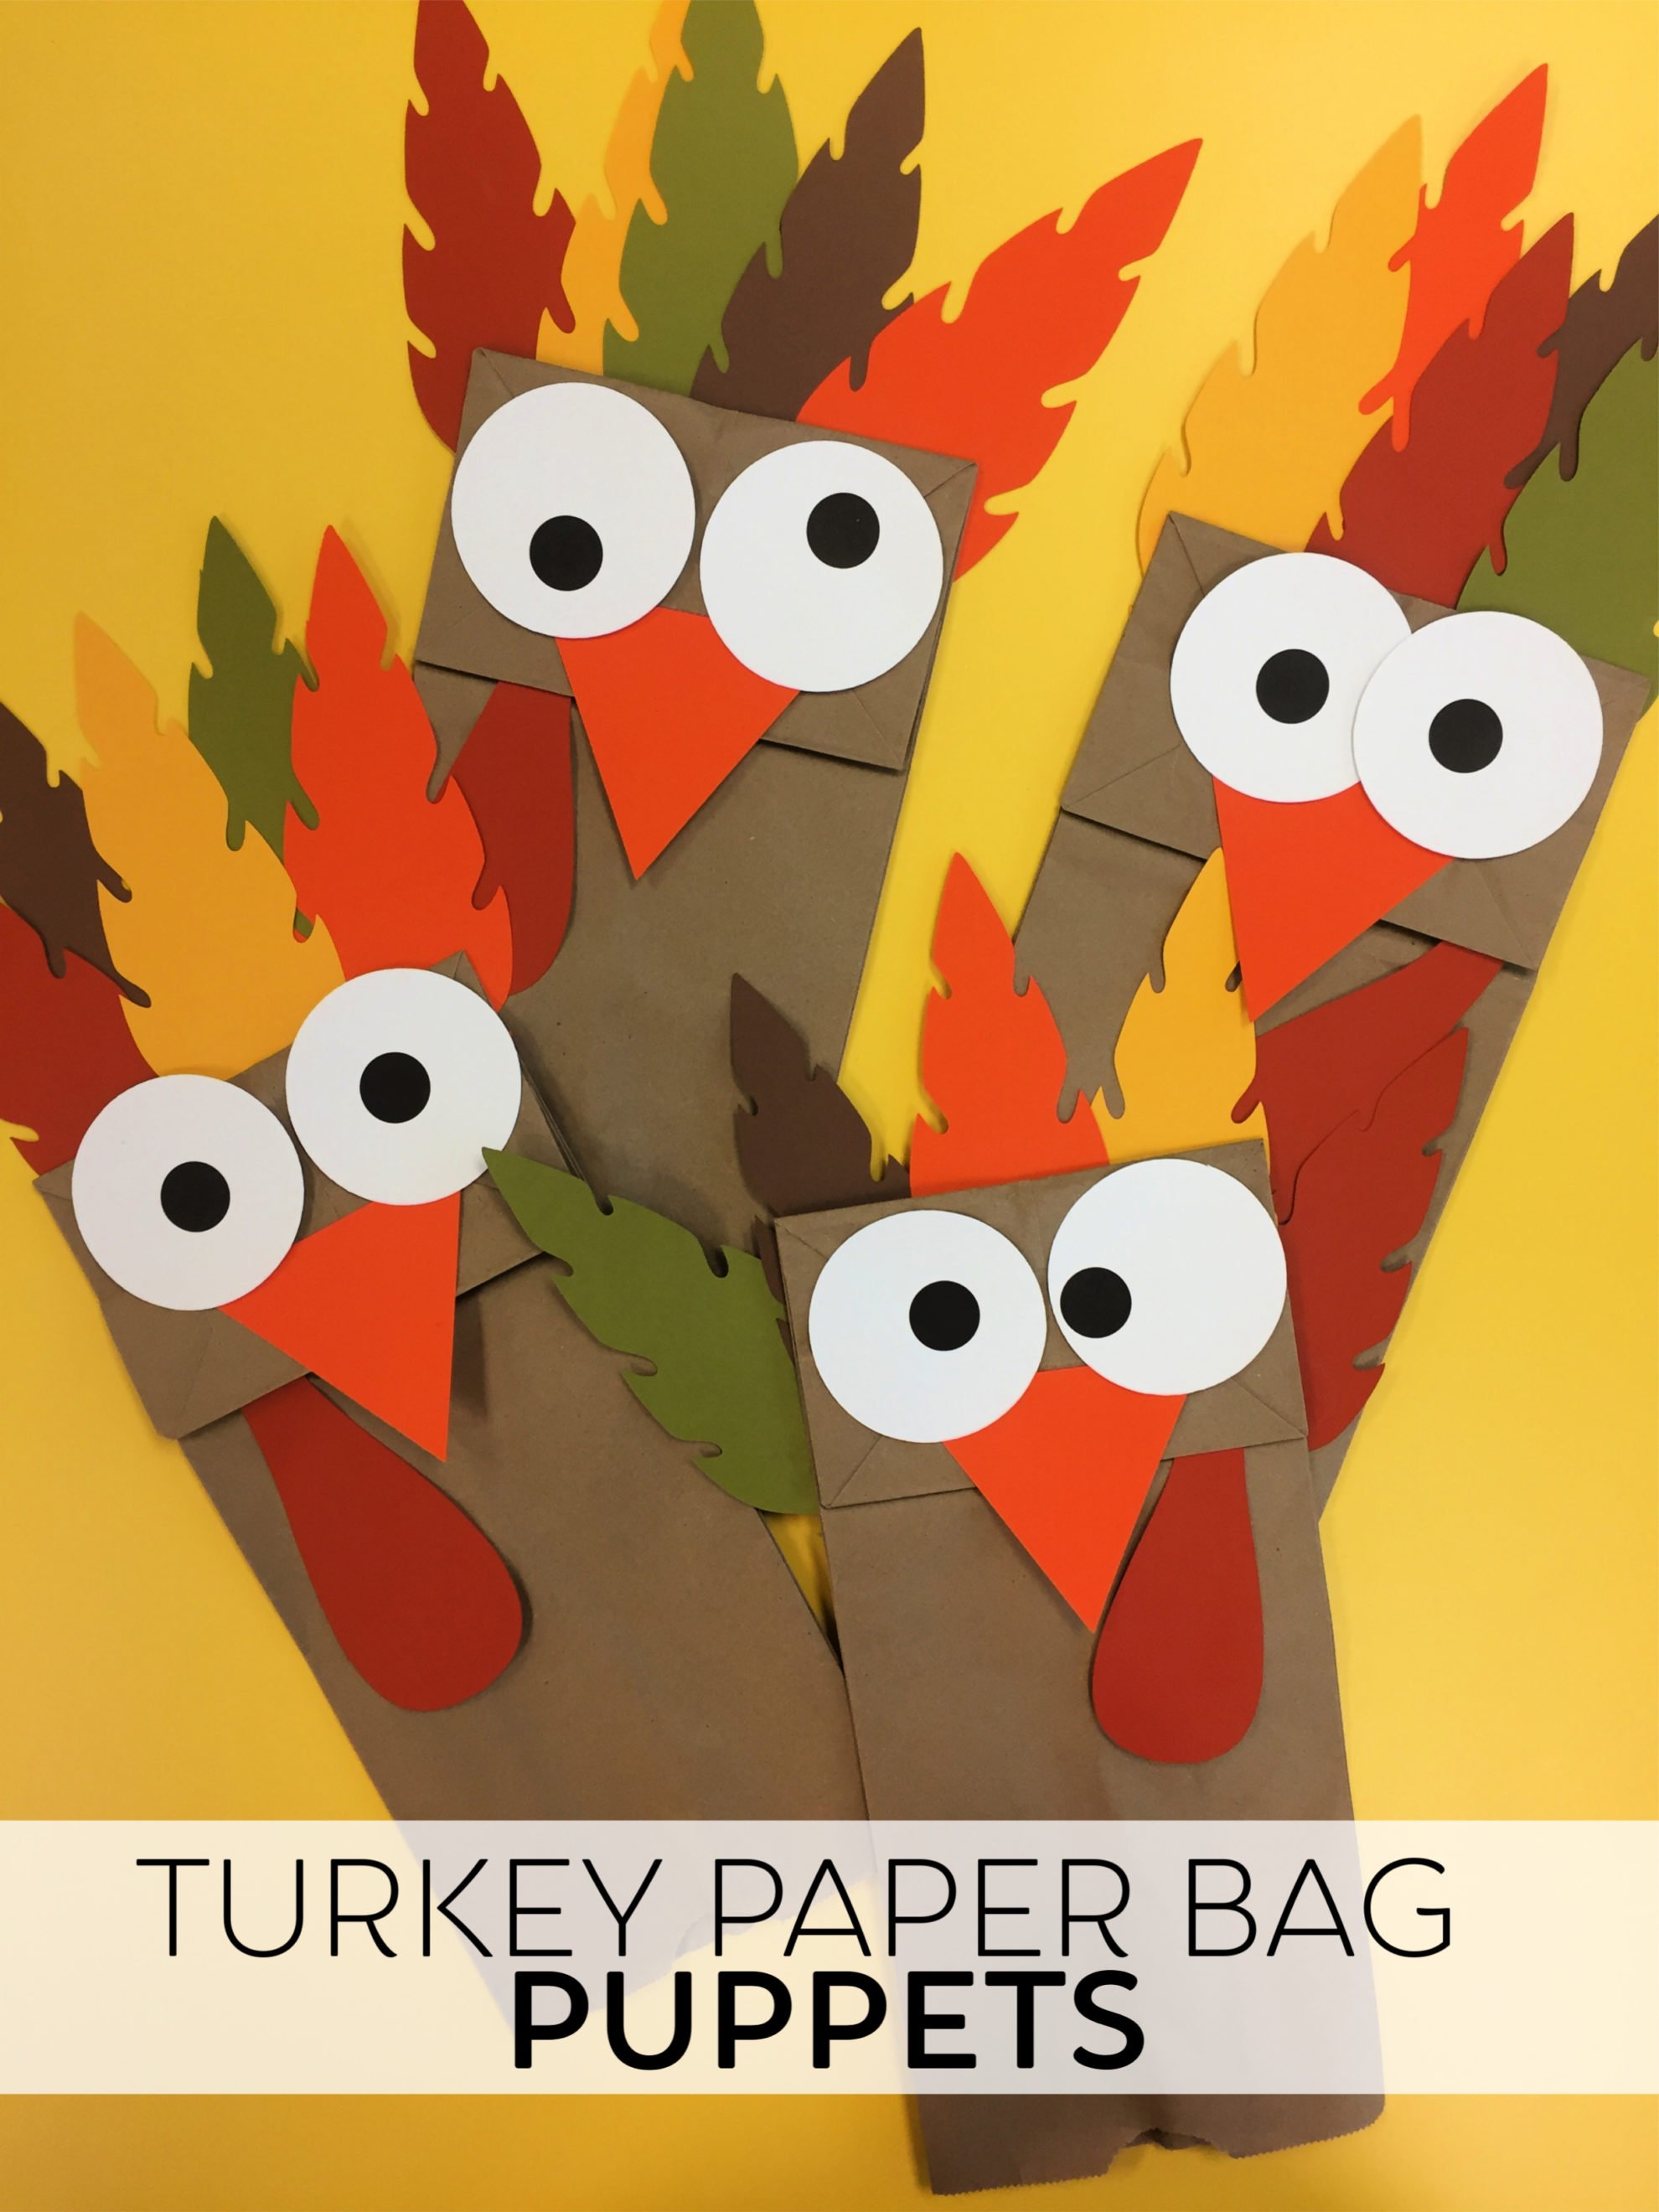
Today, I’m sharing one of my favorite Thanksgiving toddler crafts. Heck, these Turkey Paper Bag Puppets are even great for elementary aged children too! I created this template on Cricut Design Space as an easy activity for our “Letter of the Week” group a few years back.
I’ve found myself cutting these paper bag turkeys year after year. As my kids get older they still continue to love making them. So does, my nephew who is 9! Just a few simple materials and you have a fun 10-minute craft for the kids to do on Thanksgiving Day while waiting for the big feast!
Supplies to make Turkey Paper Bag Puppets
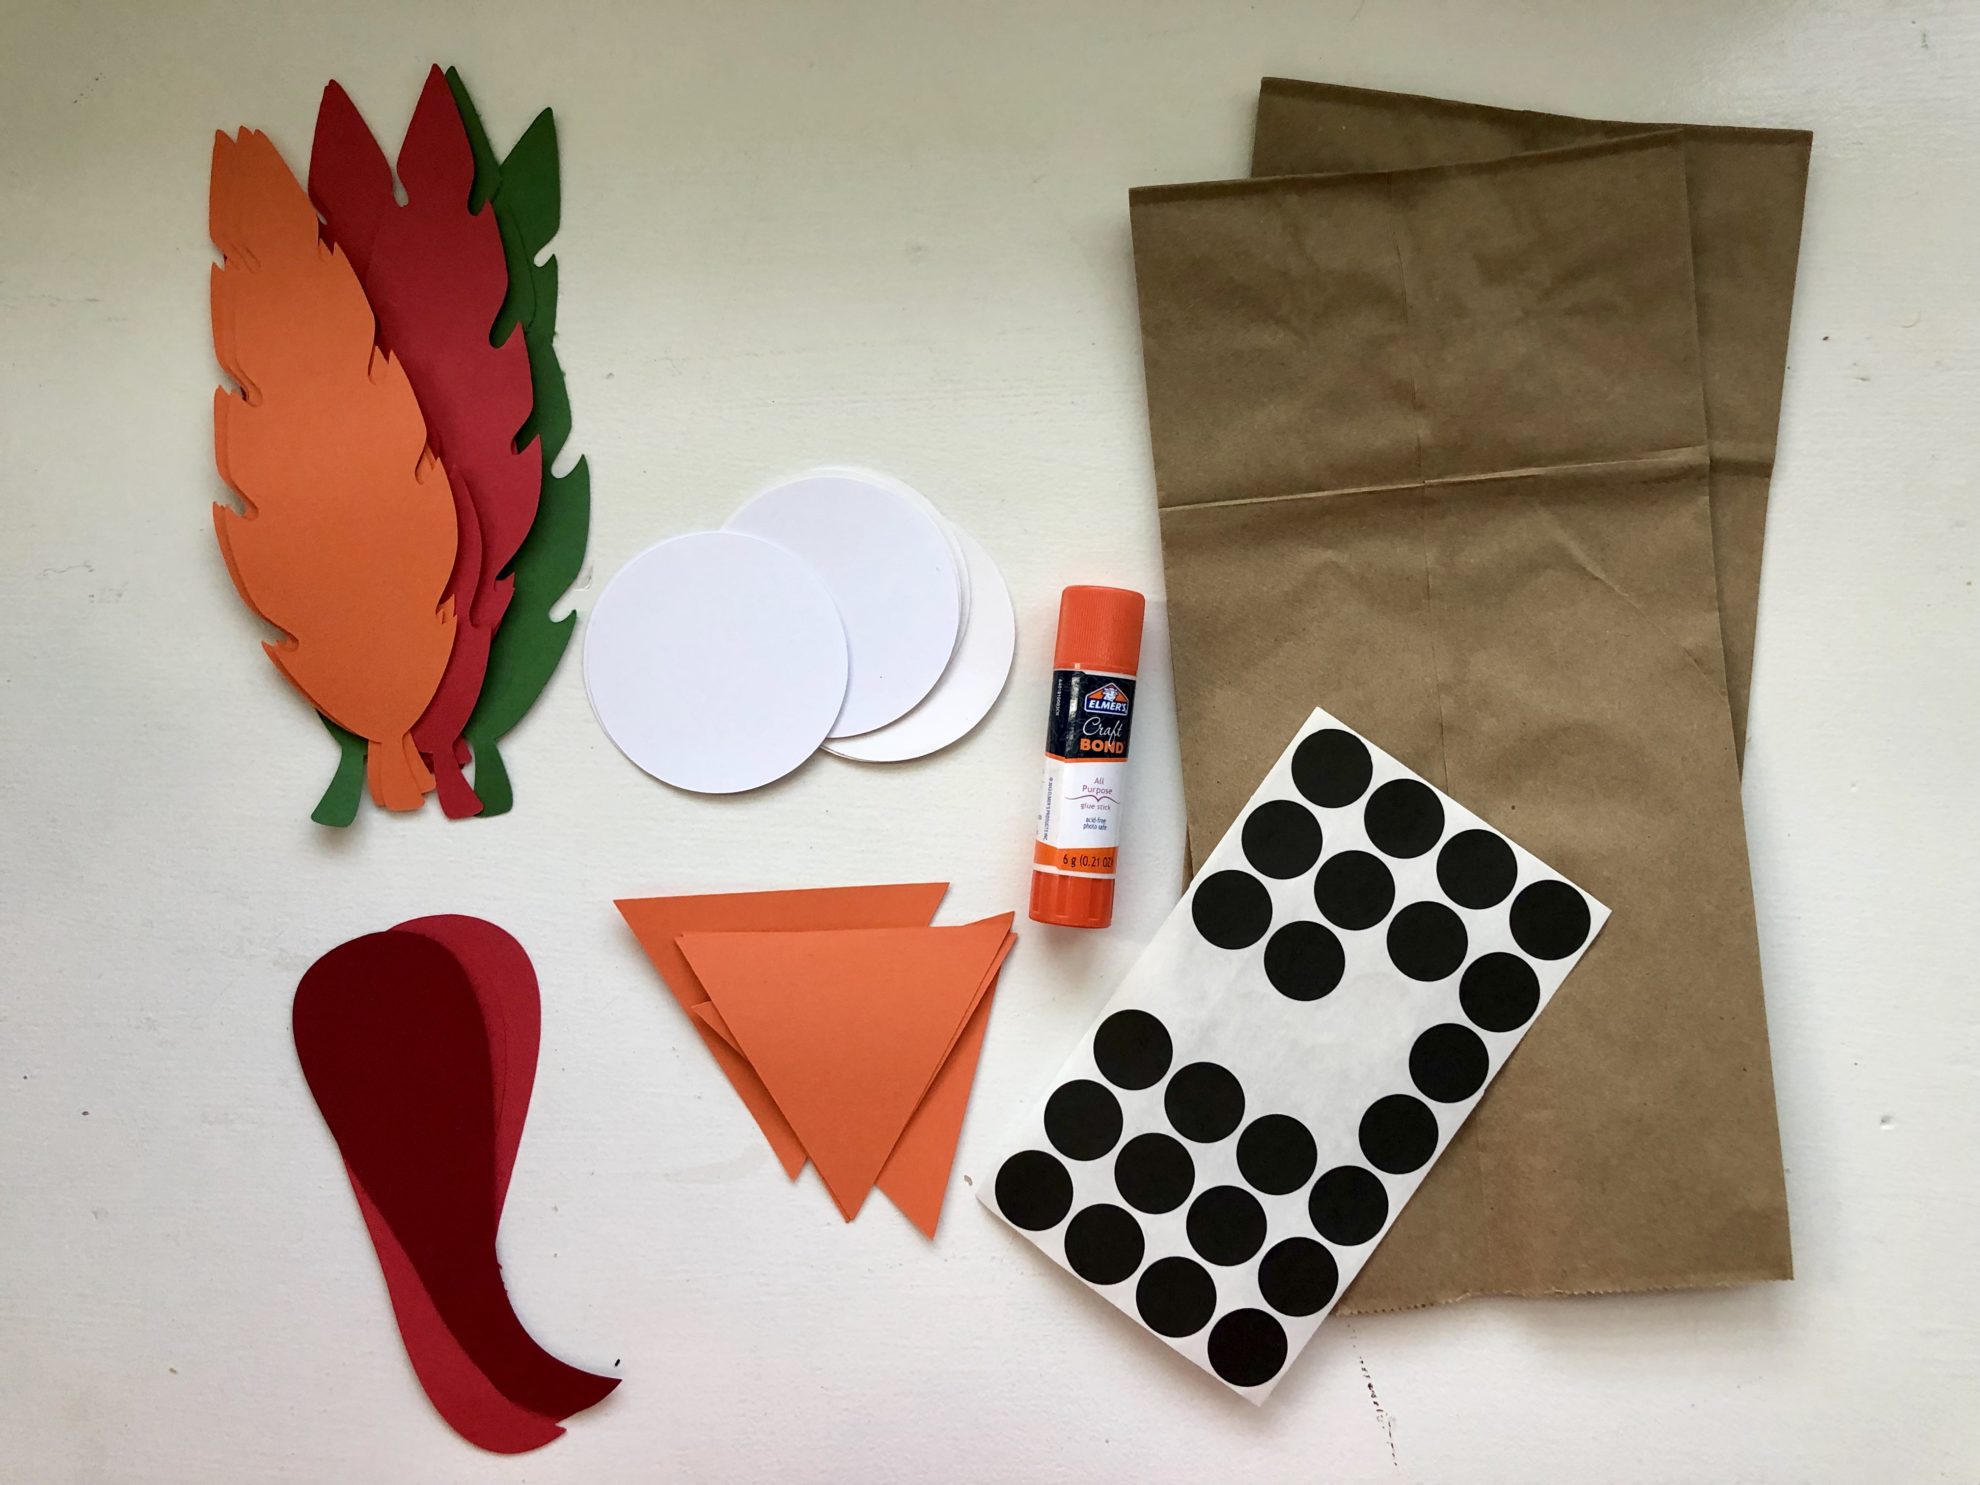
- Cricut Maker
- Turkey Paper Bag Template on Cricut Design Space
- Card stock; white, black, orange, red, brown, yellow, green
- Paper Bags
- Glue Sticks
- Avery 05459 Handwrite Only Removable Round Color-Coding Labels, 3/4″ dia, Black
Cutting Cardstock on the Cricut
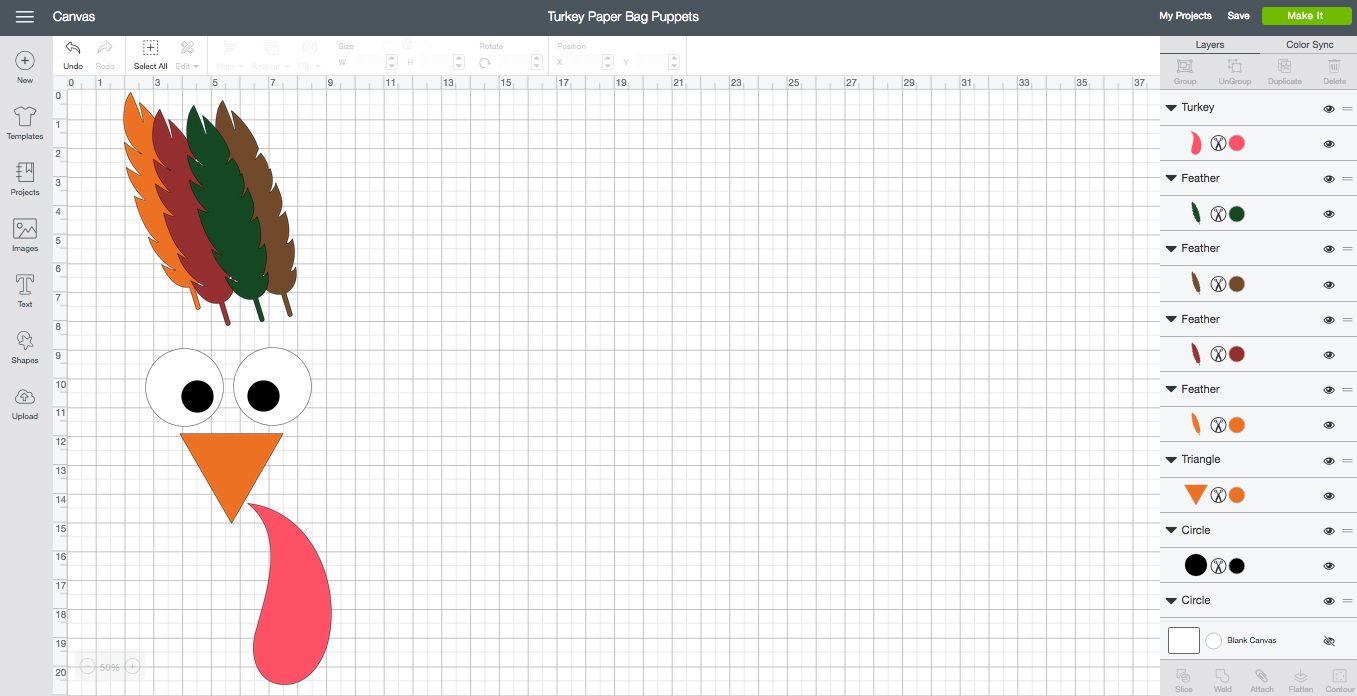
First, cut all your card stock on your Cricut Maker. Here is the link to my Turkey Paper Bag Template on Cricut Design Space!
Side note: You have to have a Cricut Access account or else you will need to pay a small fee to buy the various images to cut these turkey paper bag puppets!
*If you don’t have a Cricut don’t worry. You can still make these. You can either use a 2-inch hole punch for the eyes, cut triangles for the beak. A squiggly little gobbler and then cut feathers. They don’t have to be super intricate… This will definitely take you much longer to cut, but it’s doable!
Assembling Turkey Puppets
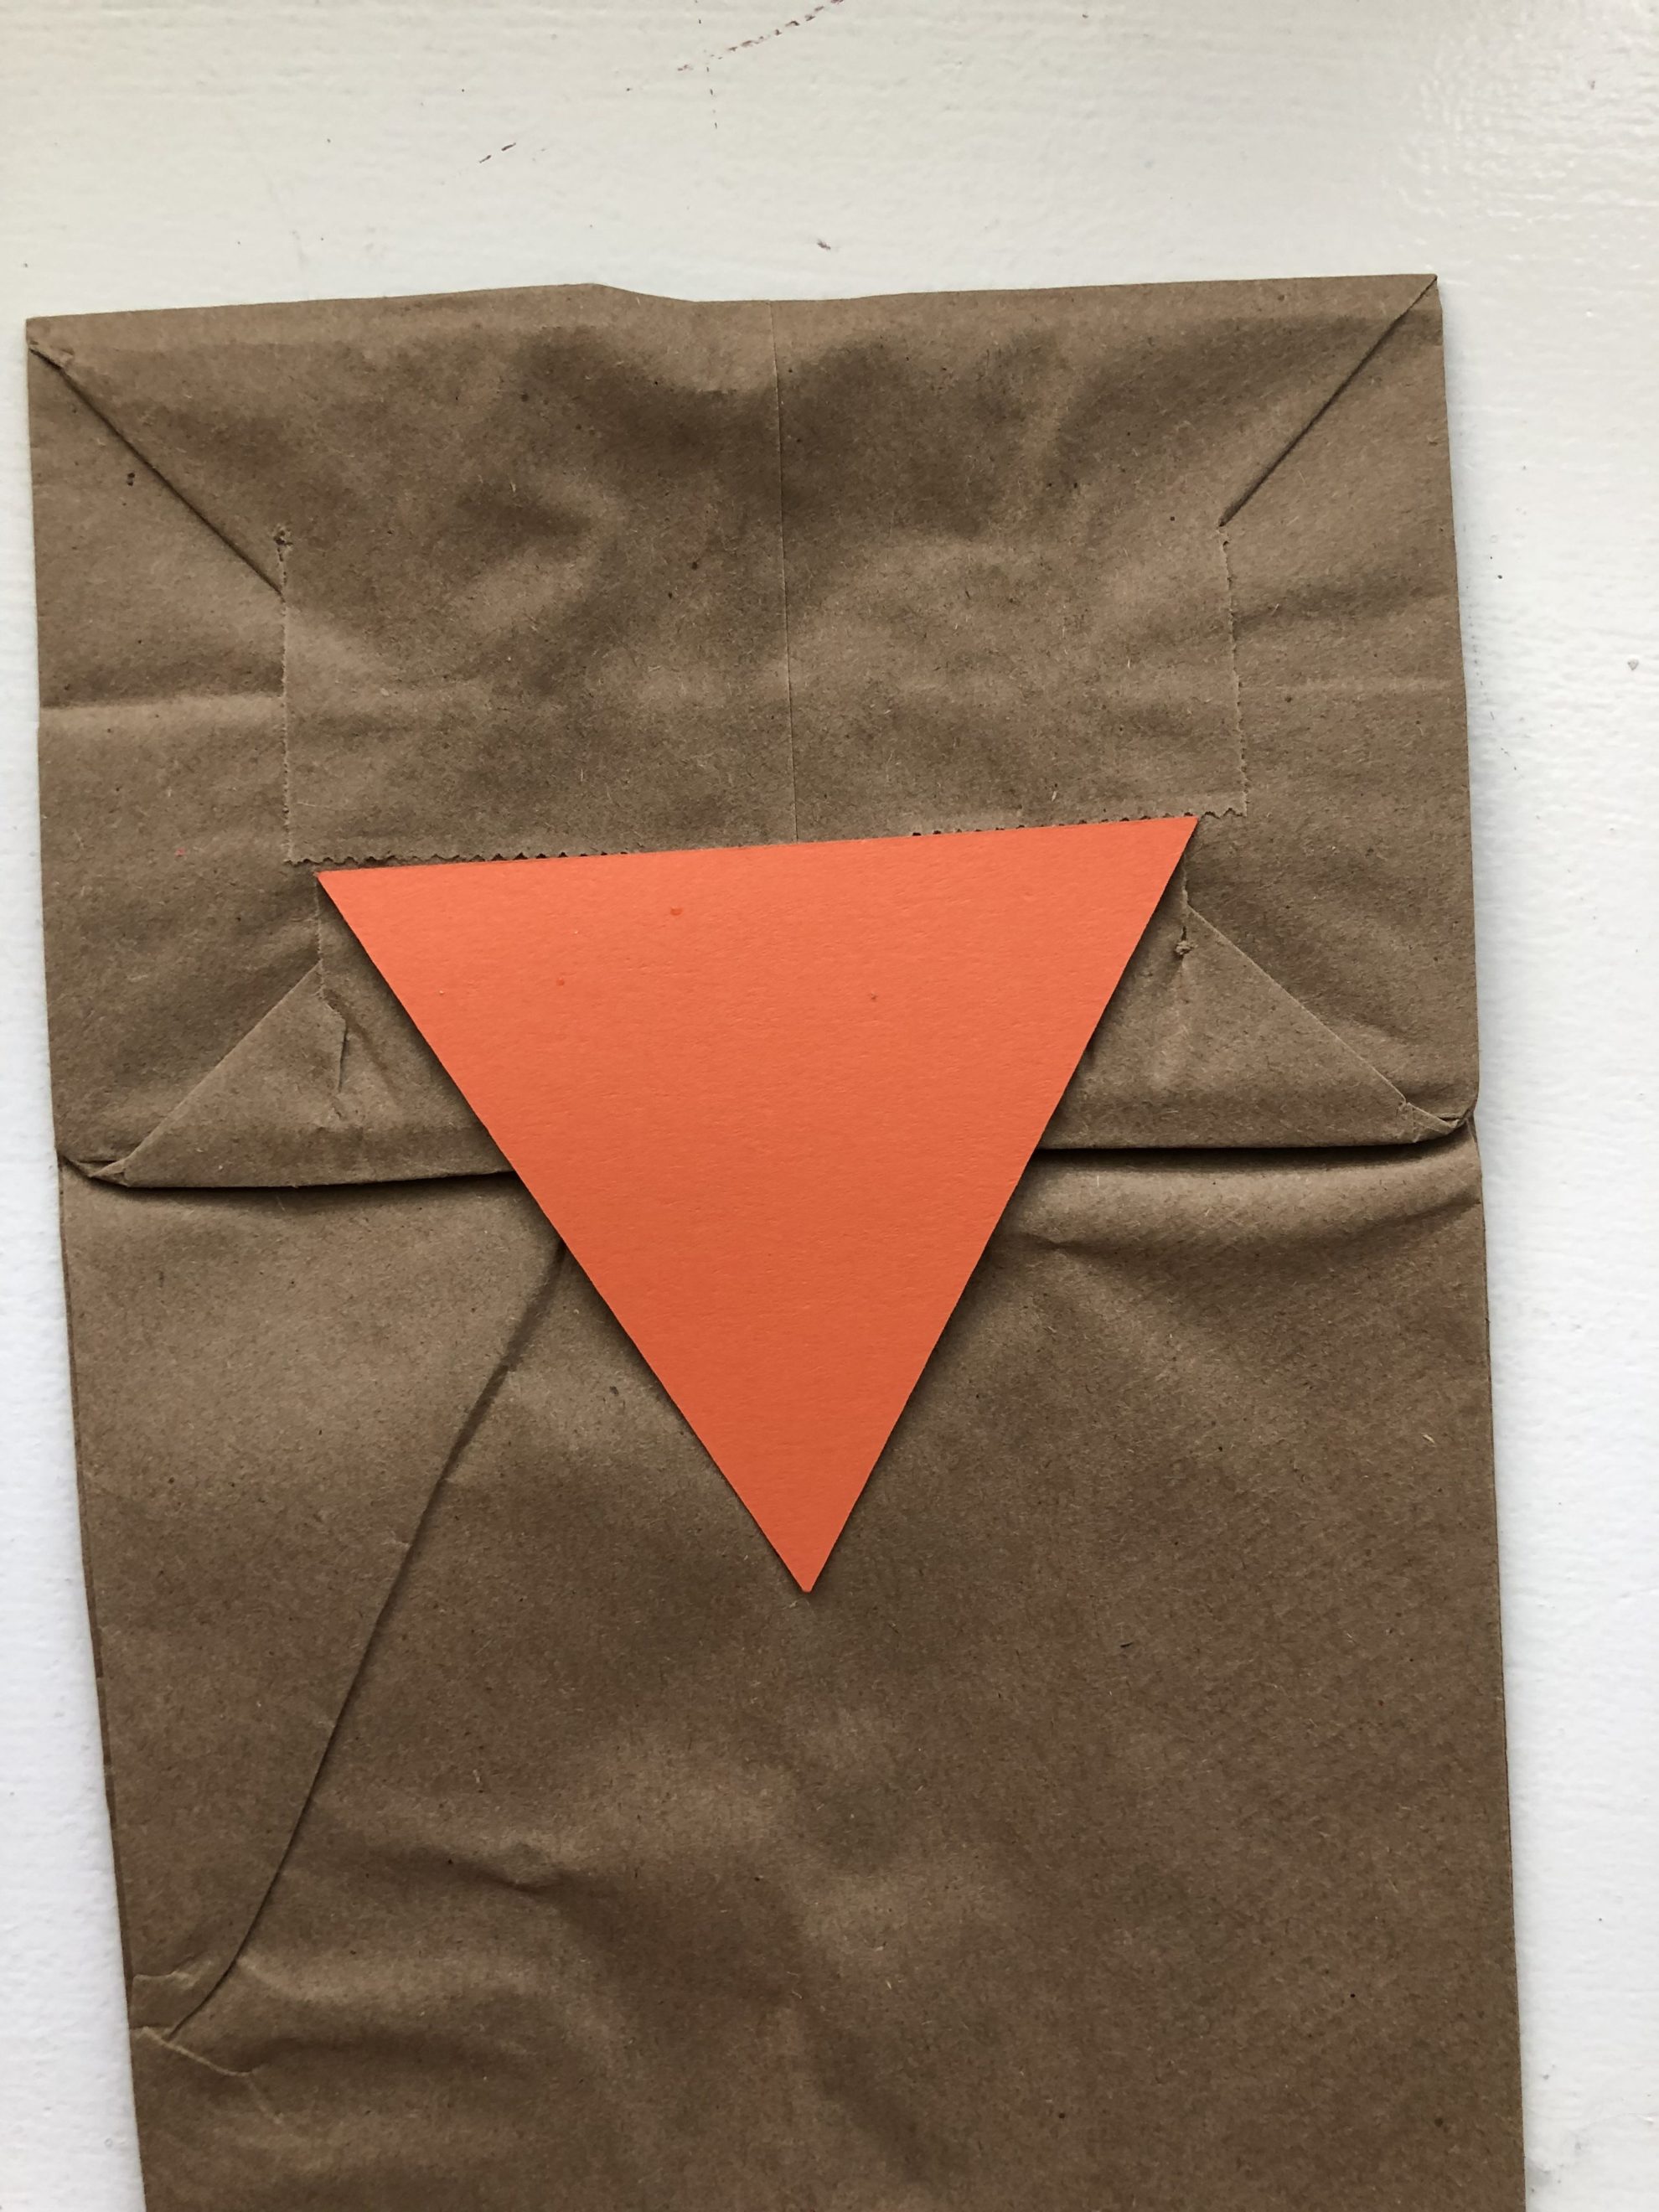
Once your card stock is cut, adhere the triangle beak. I like to use the line as my guide point as to where to place the top of the triangle. Make sure you only use glue on the parts of the triangle that are on top of the bag. If you glue the entire triangle you won’t be able to make your turkey talk!
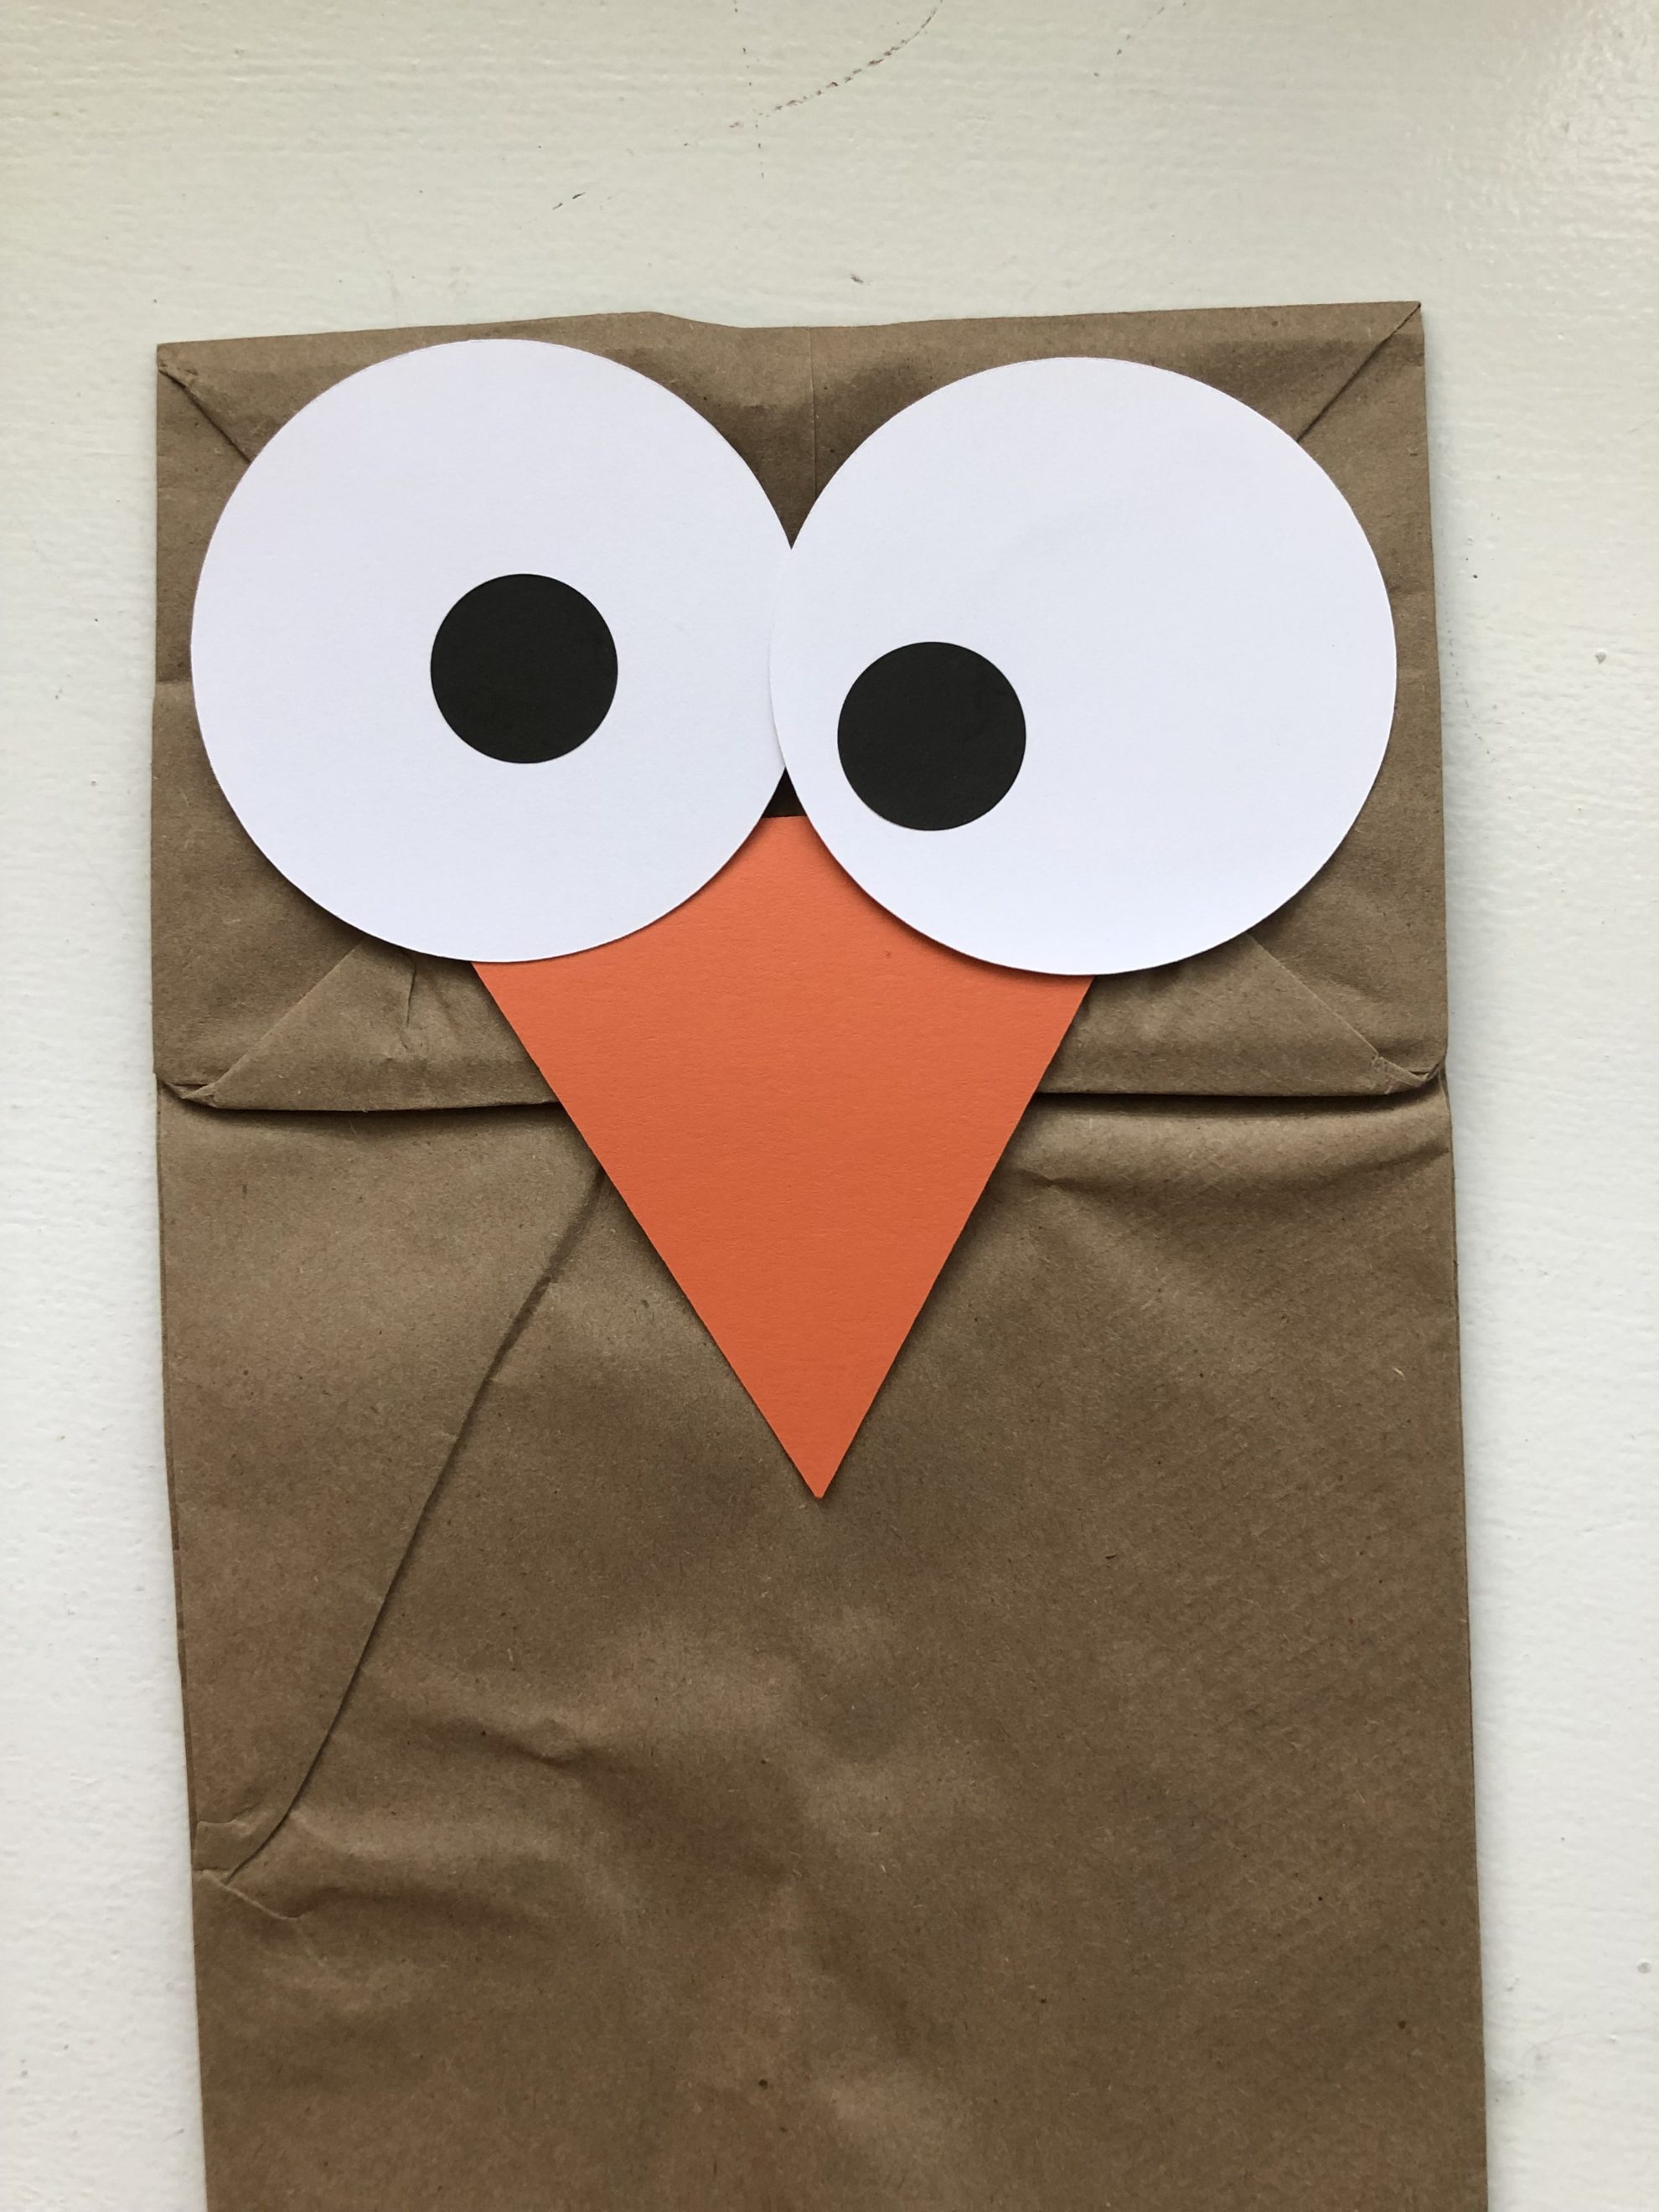
Next, you add on the eyes. First, the large white circles first followed by the black pupils. I love these Avery 05459 Handwrite Only Removable Round Color-Coding Labels. I use these for a lot of my toddler craft projects. If you can’t find them, you can cut the black pupil as well. My template includes the black pupils in-case you can’t find these black stickers!
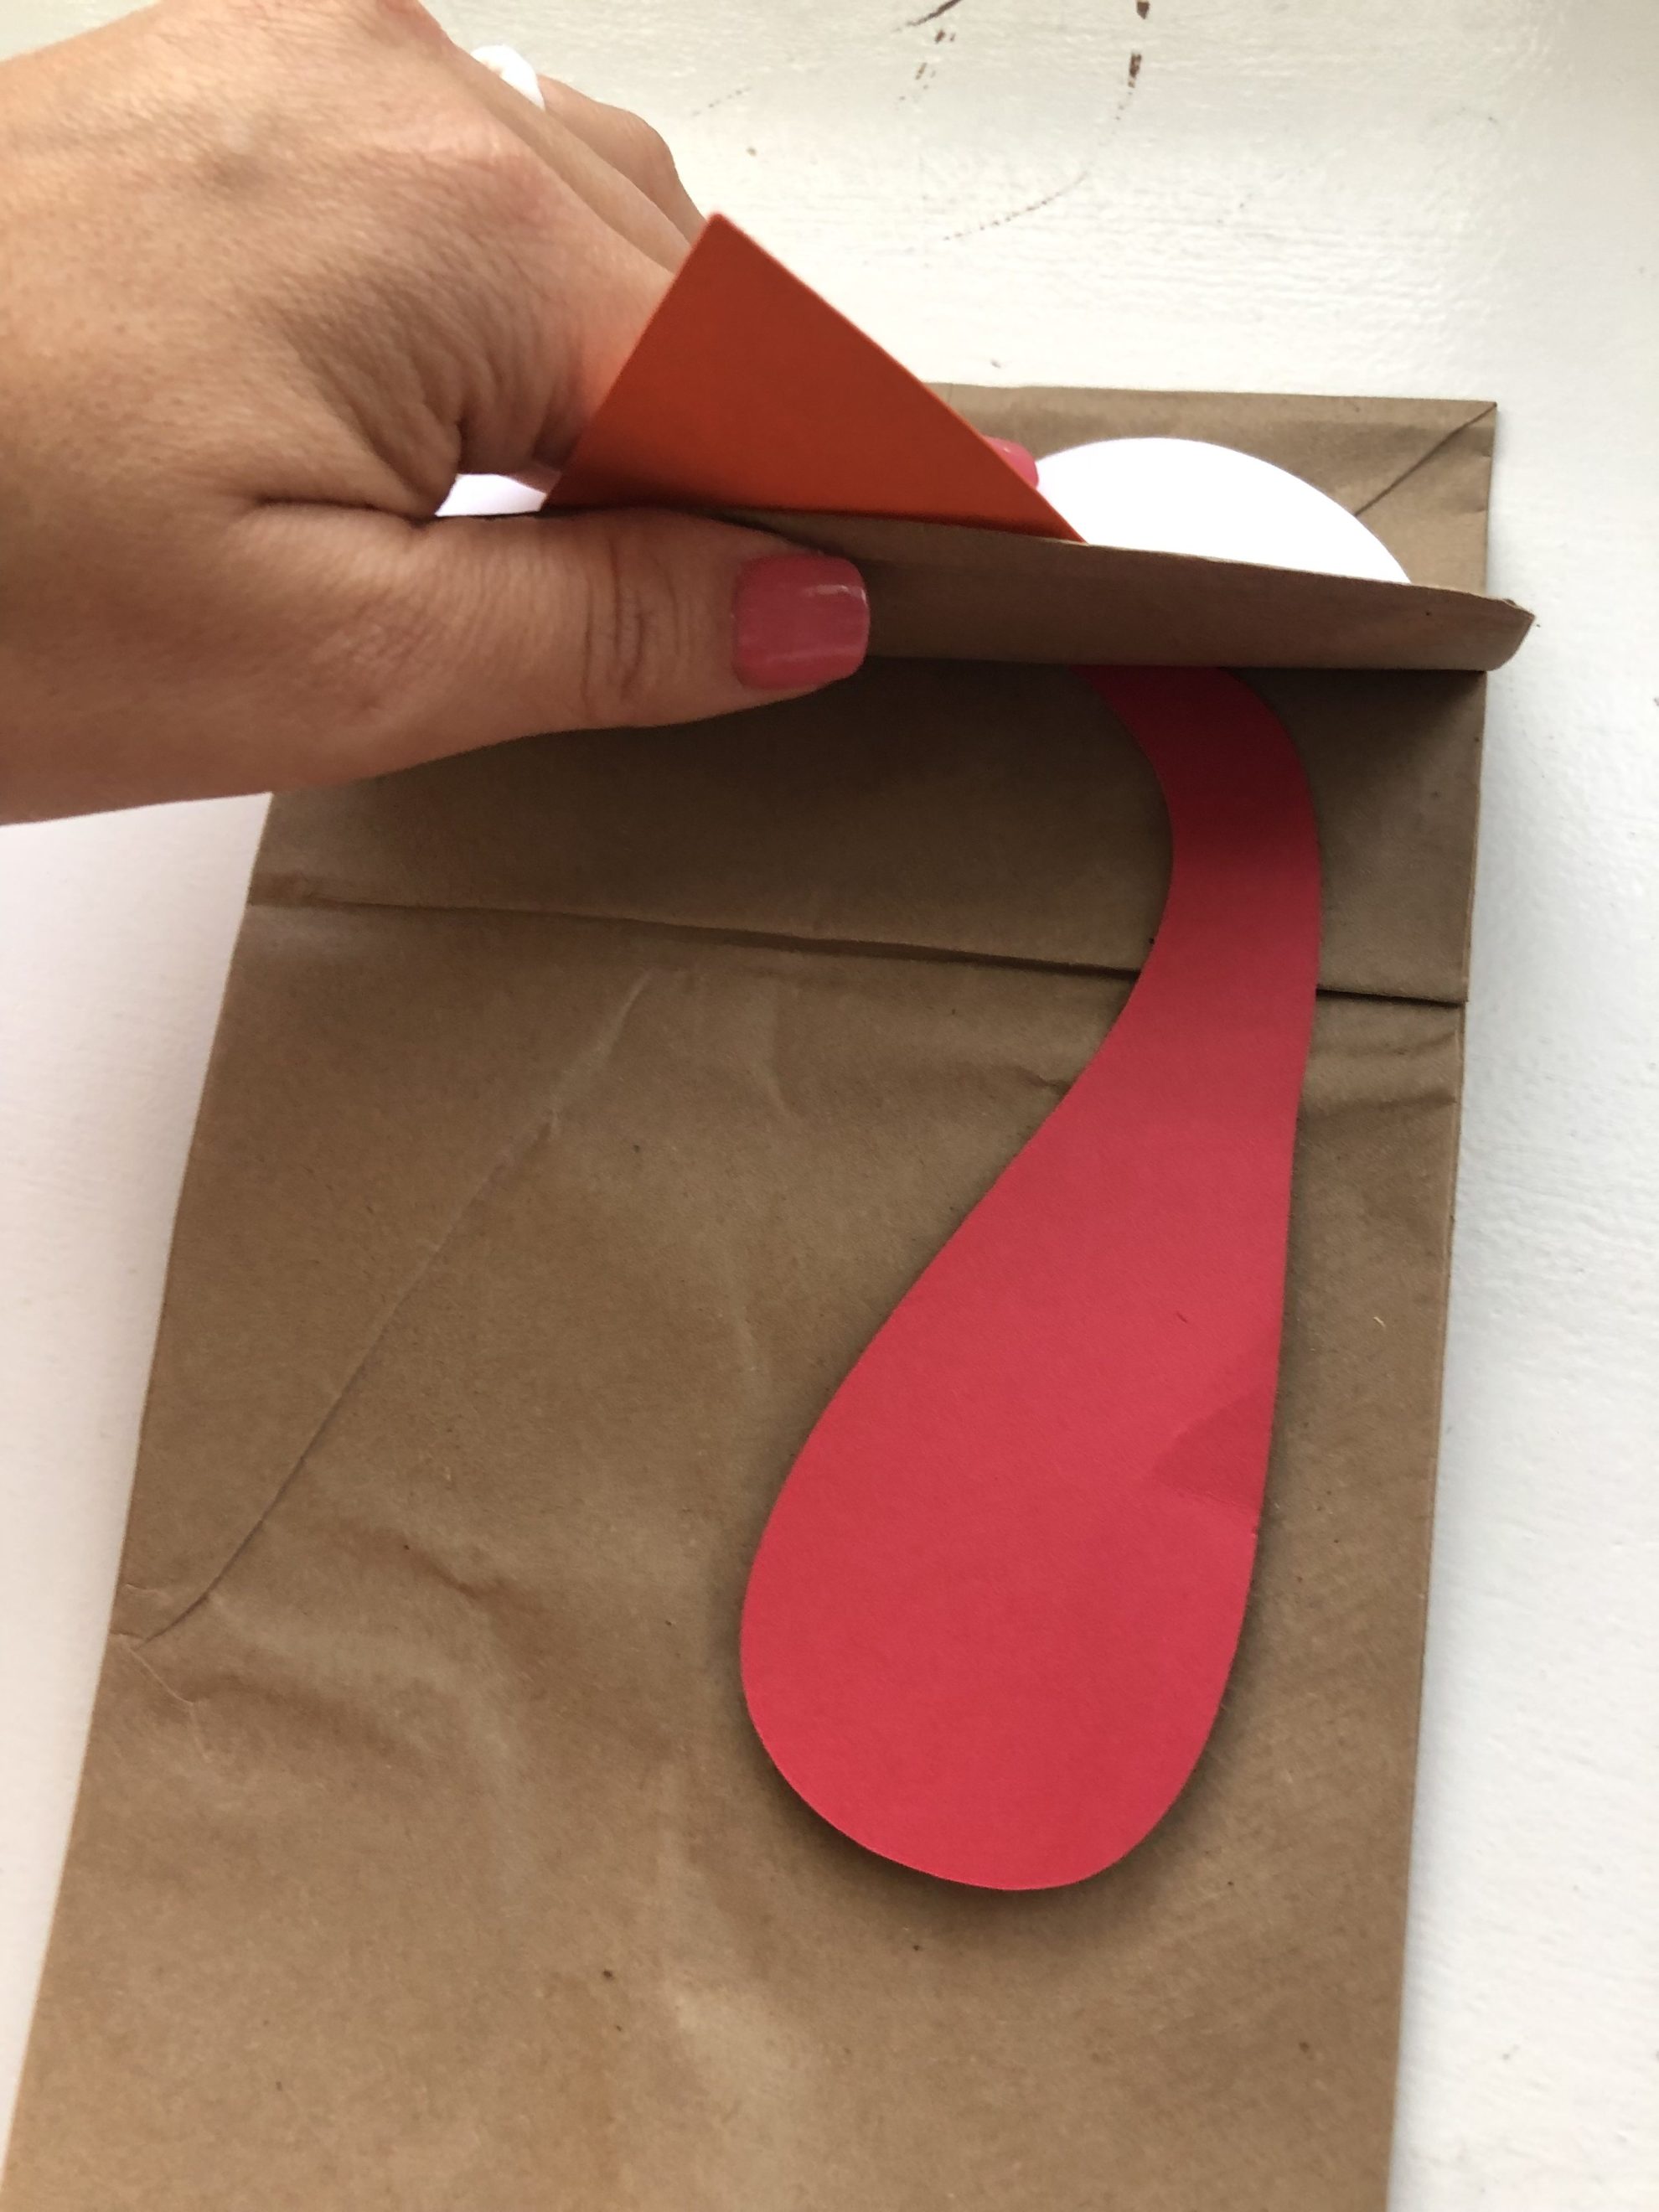
Step 3: attach the gobbler under the paper bag fold! You can put it to the right or the left–whatever you feel like that day.
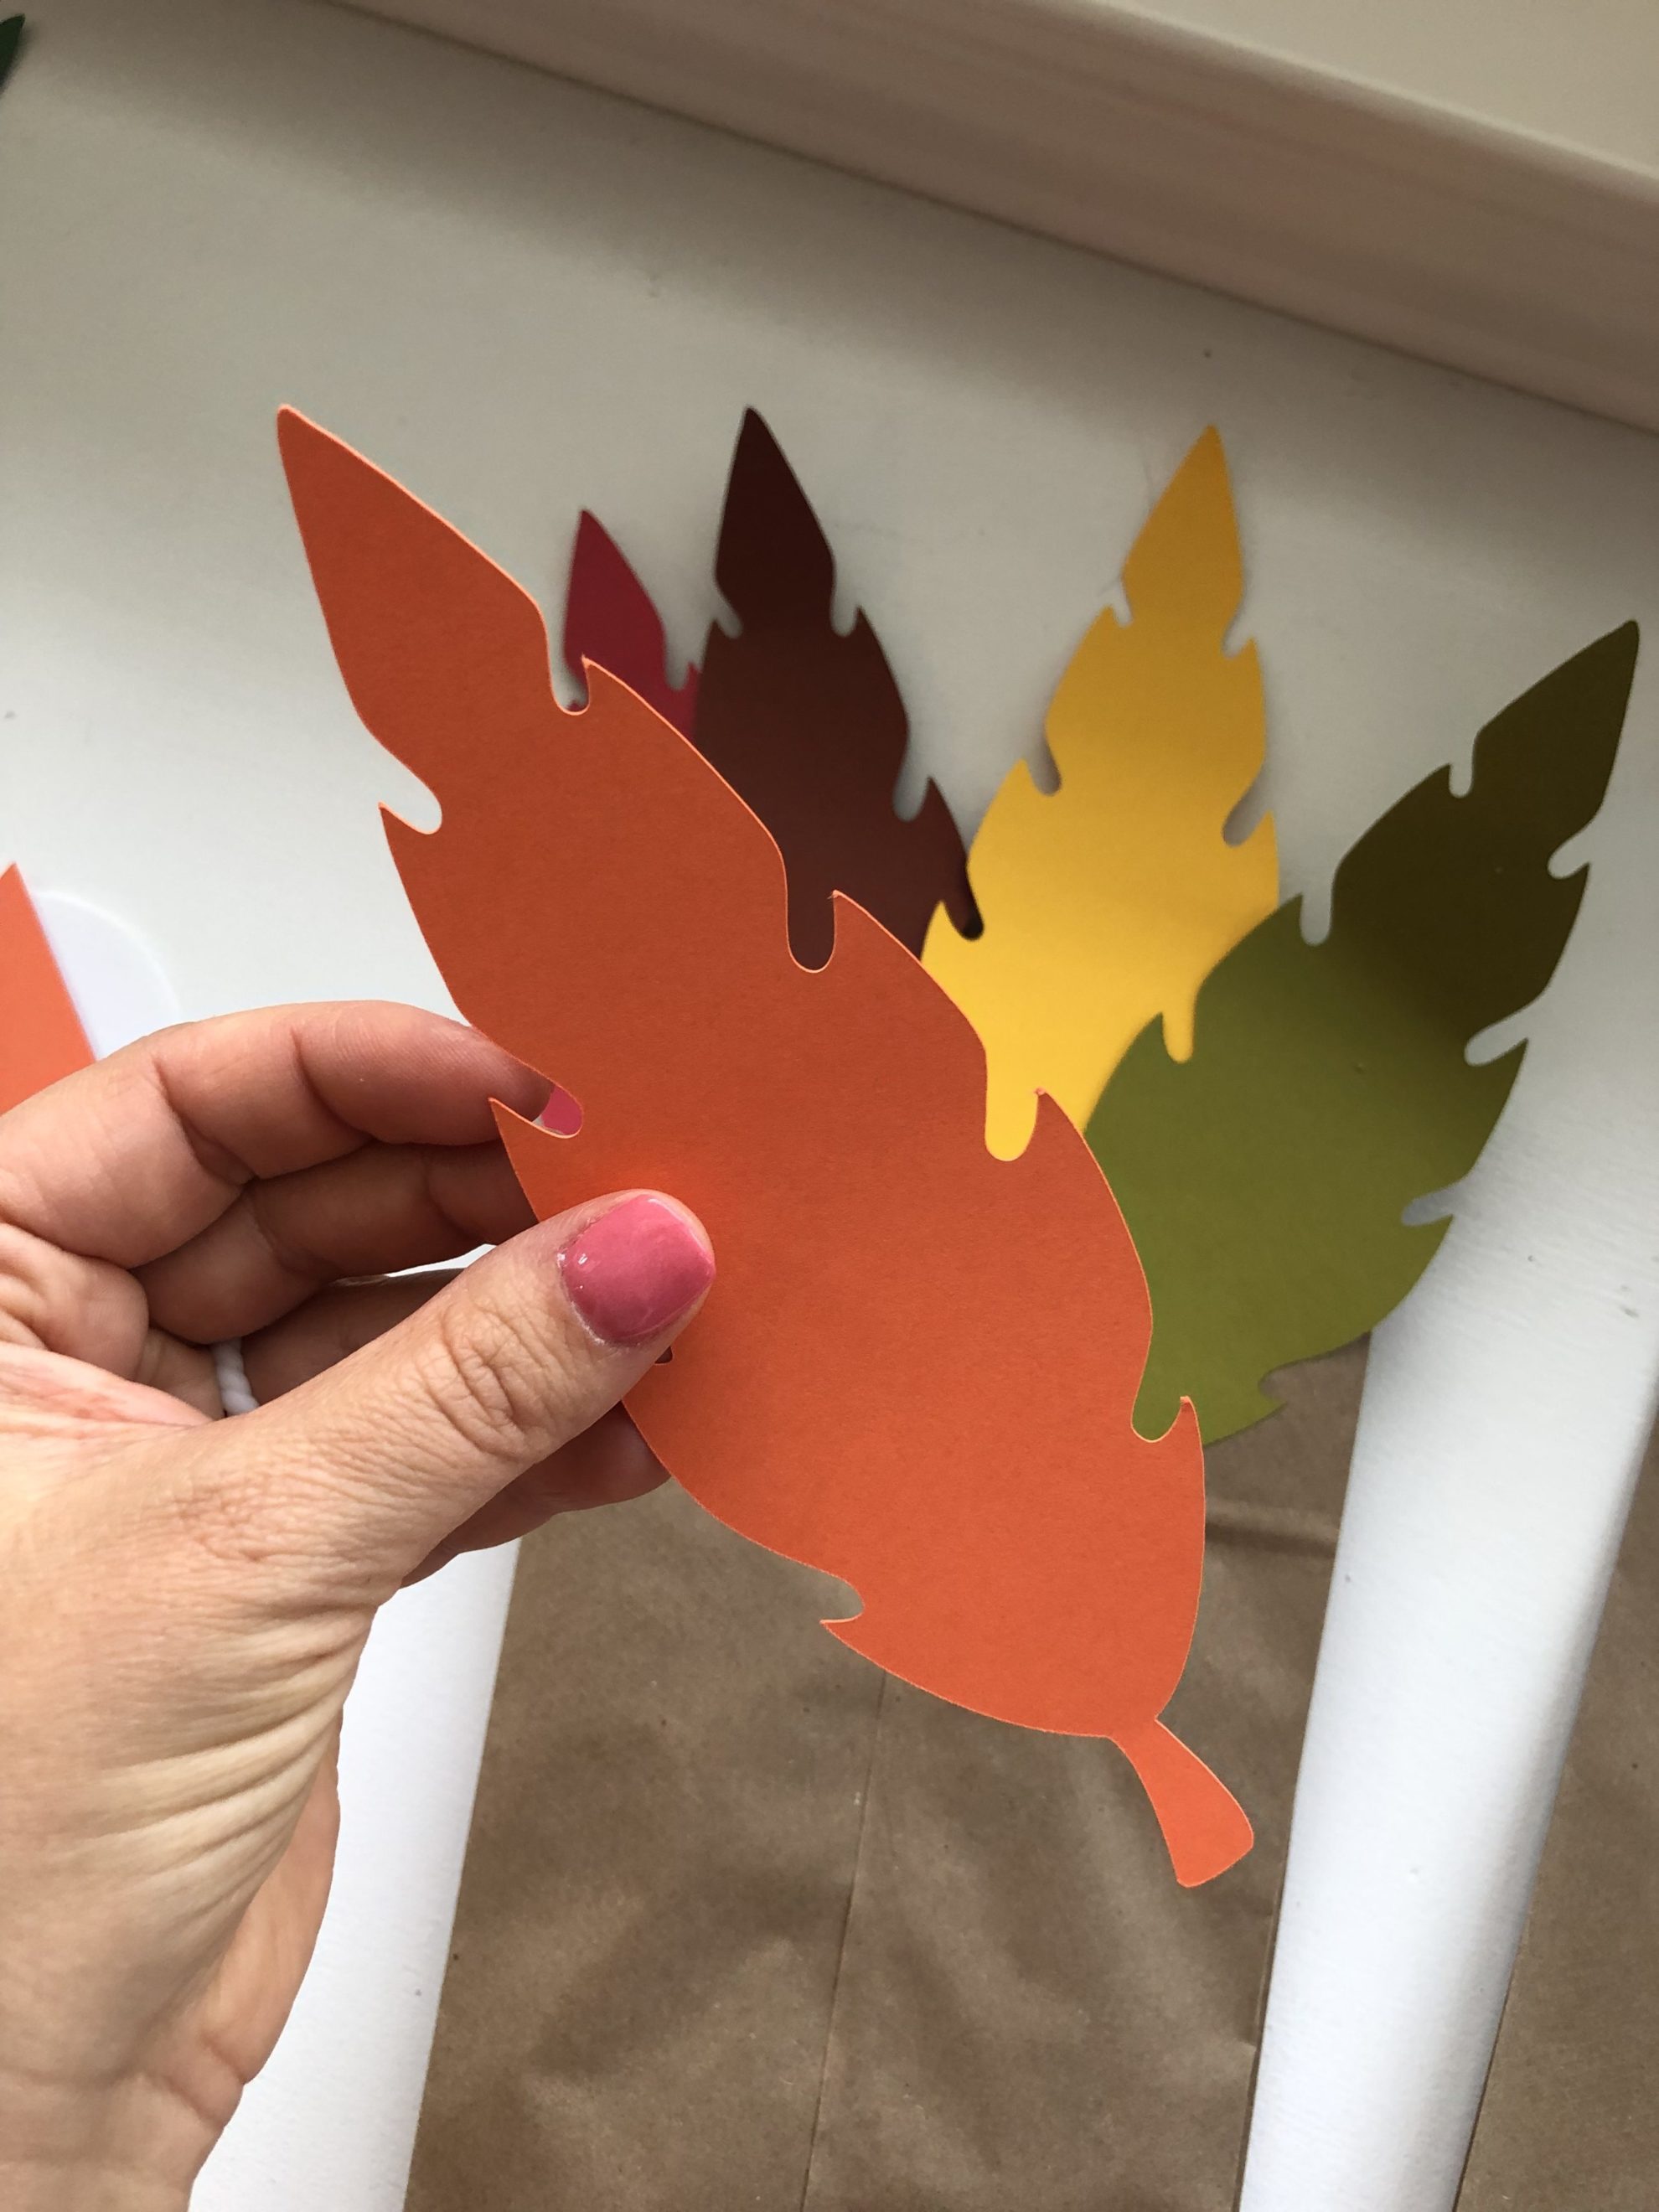
Then, it’s time to attach the feathers!
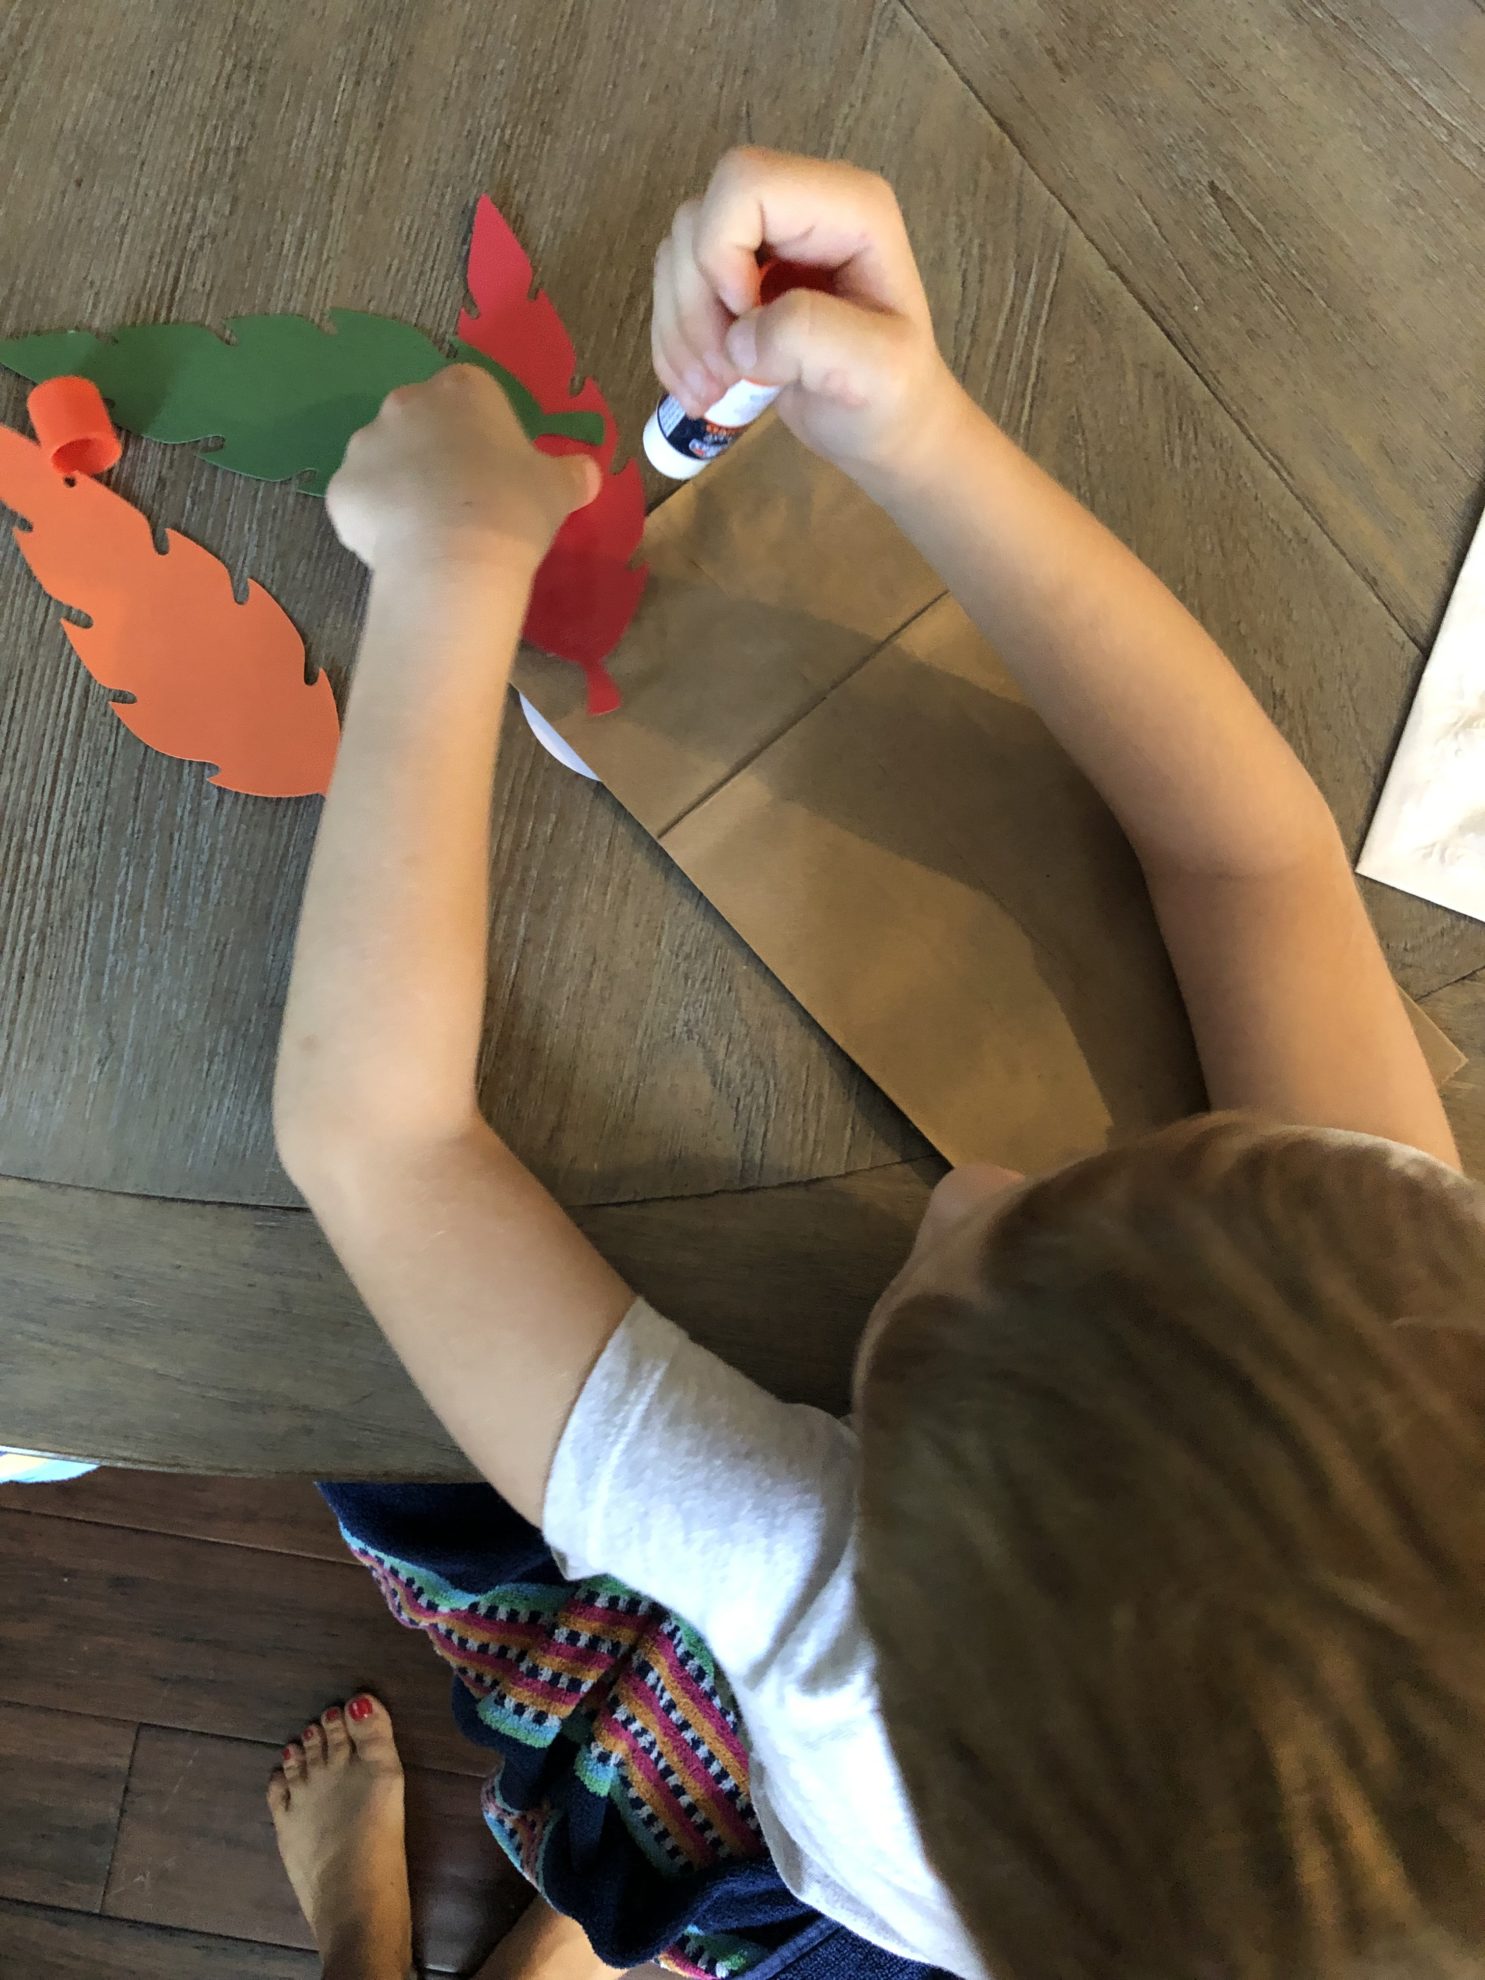
You are only going to glue a small portion of the actual feather on to the back of the paper bag. I had to explain this to my son as he was working on this project recently.
Side note: My 4 year old loves using the glue stick. I’m trying to find and also create more “glueing” activities for him to do at home!
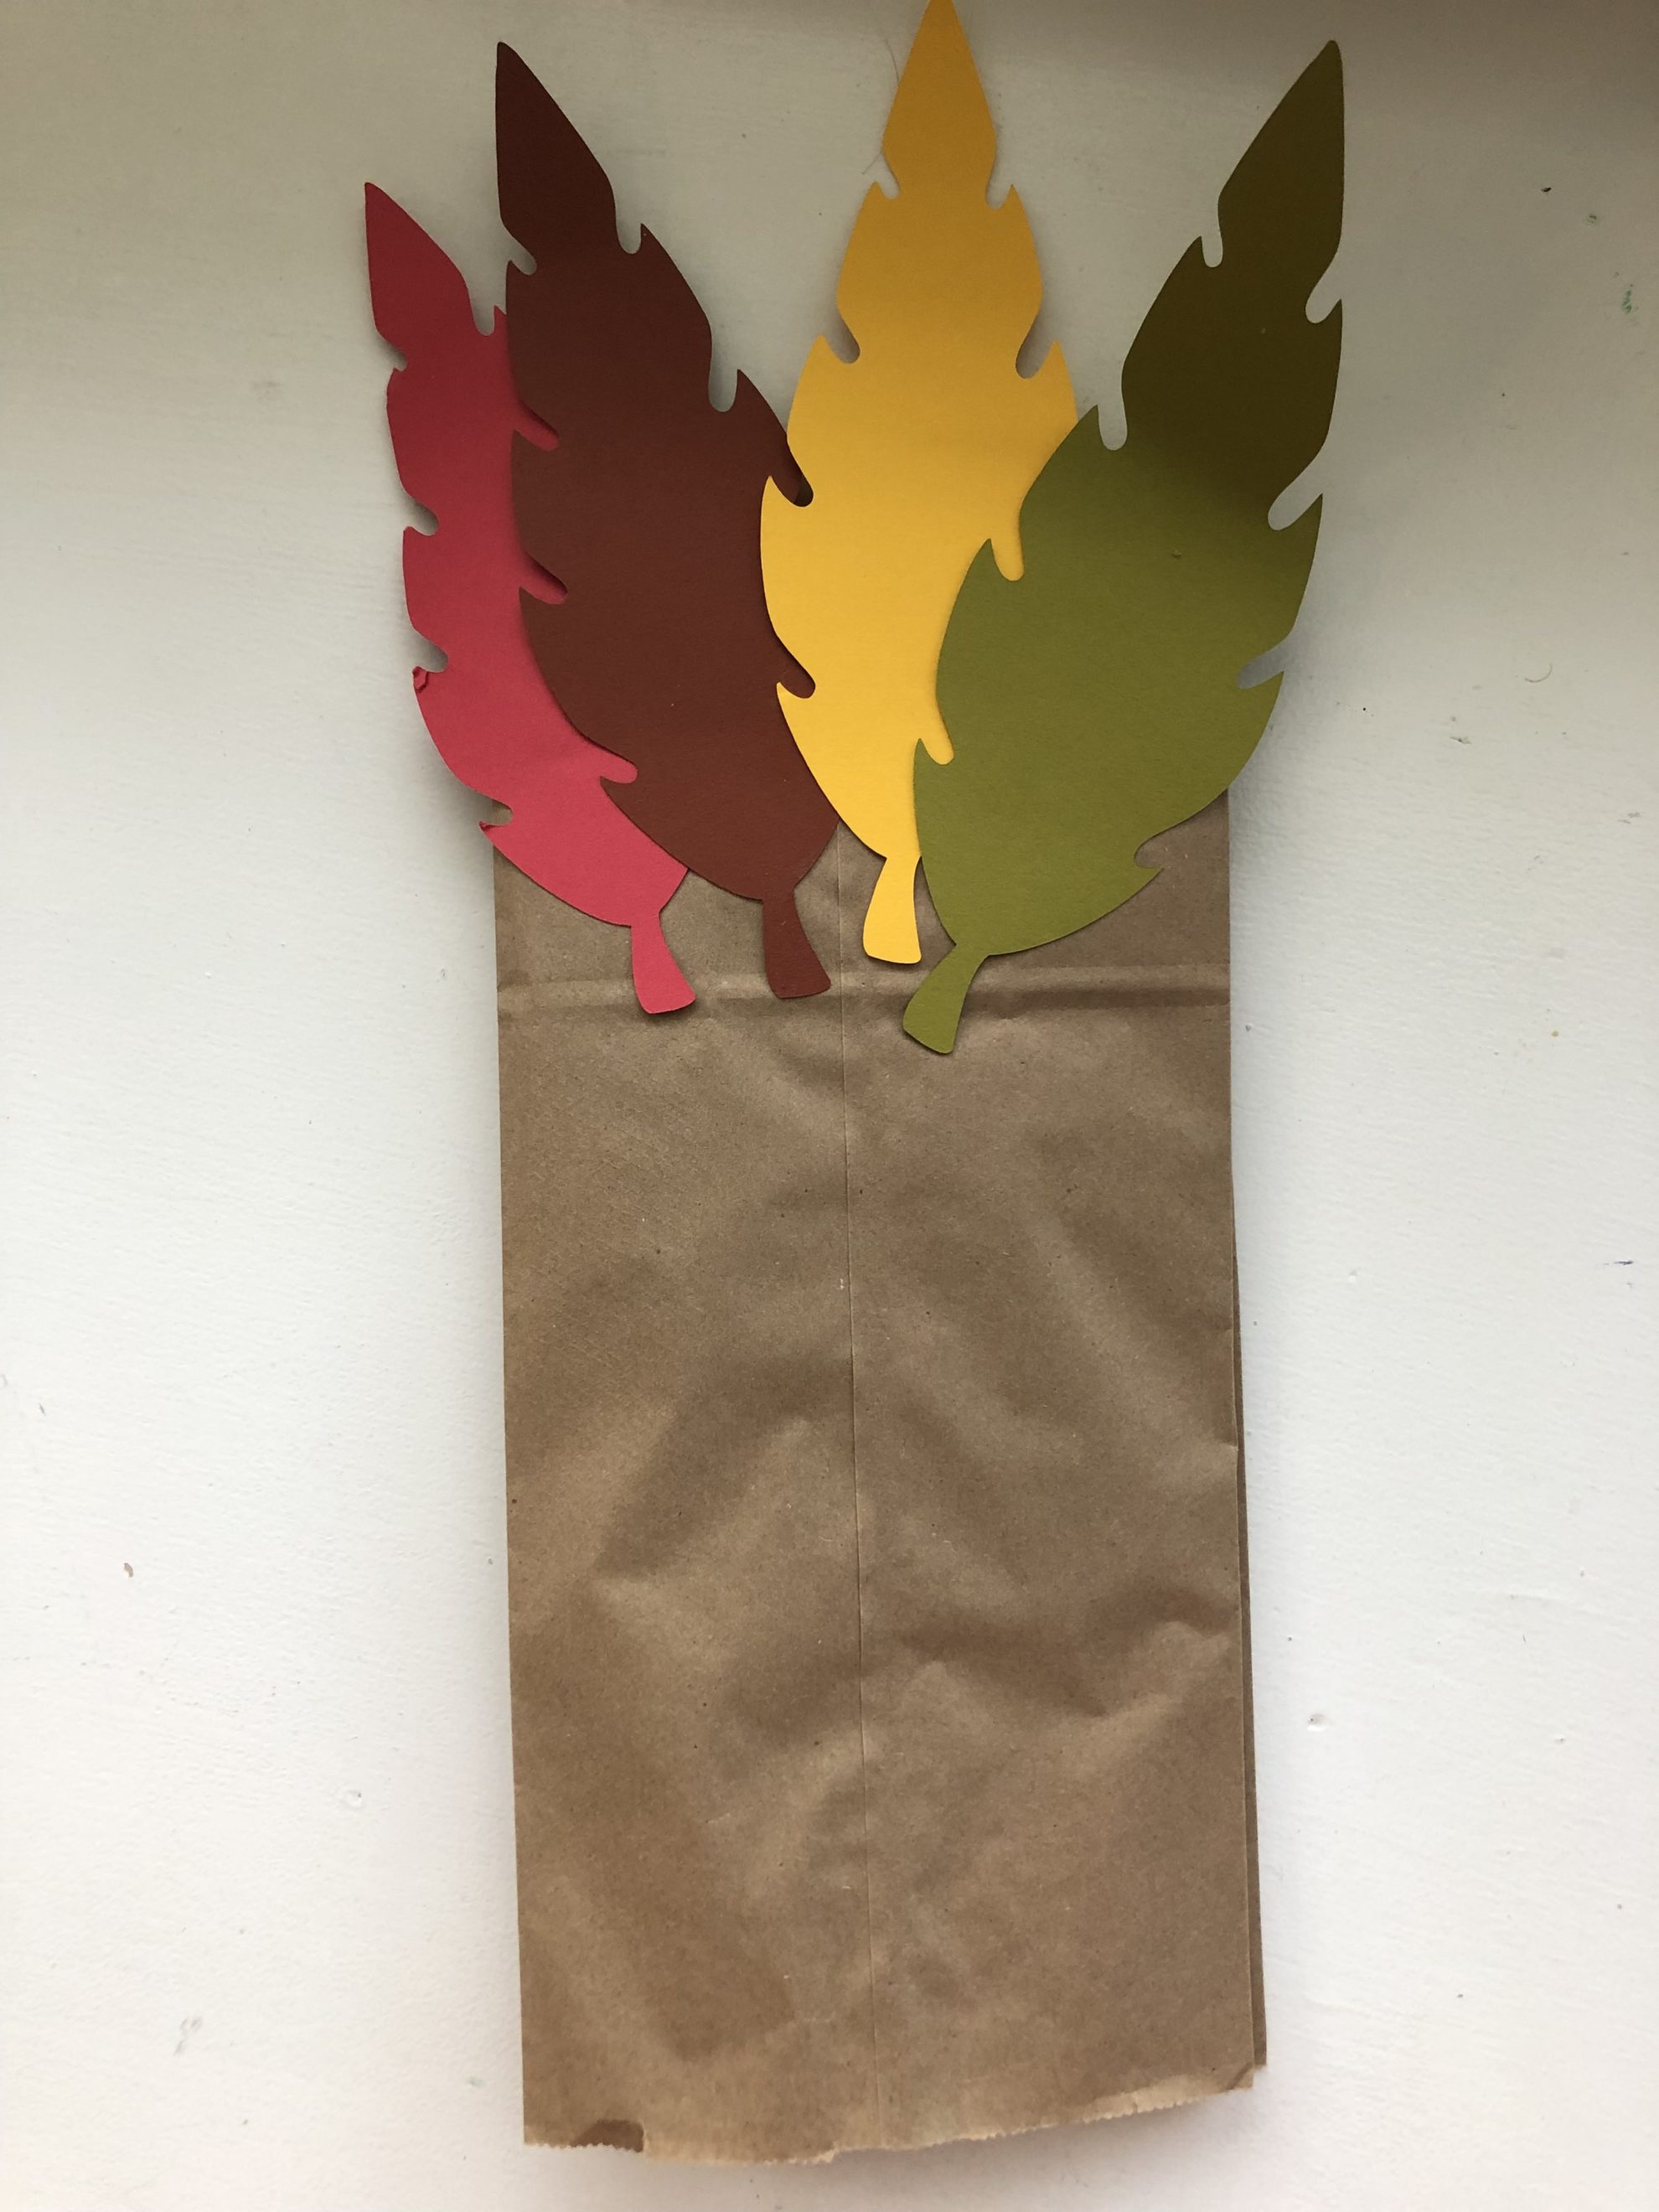
Here is what the back of the bag looks like once you are done. You can add as many or as little feathers as you would like! The colors for the feathers are endless. It’s all up to your own preference. As well as the pattern of the feathers. More fanned out? Clustered? Leave it all up to the crafter.
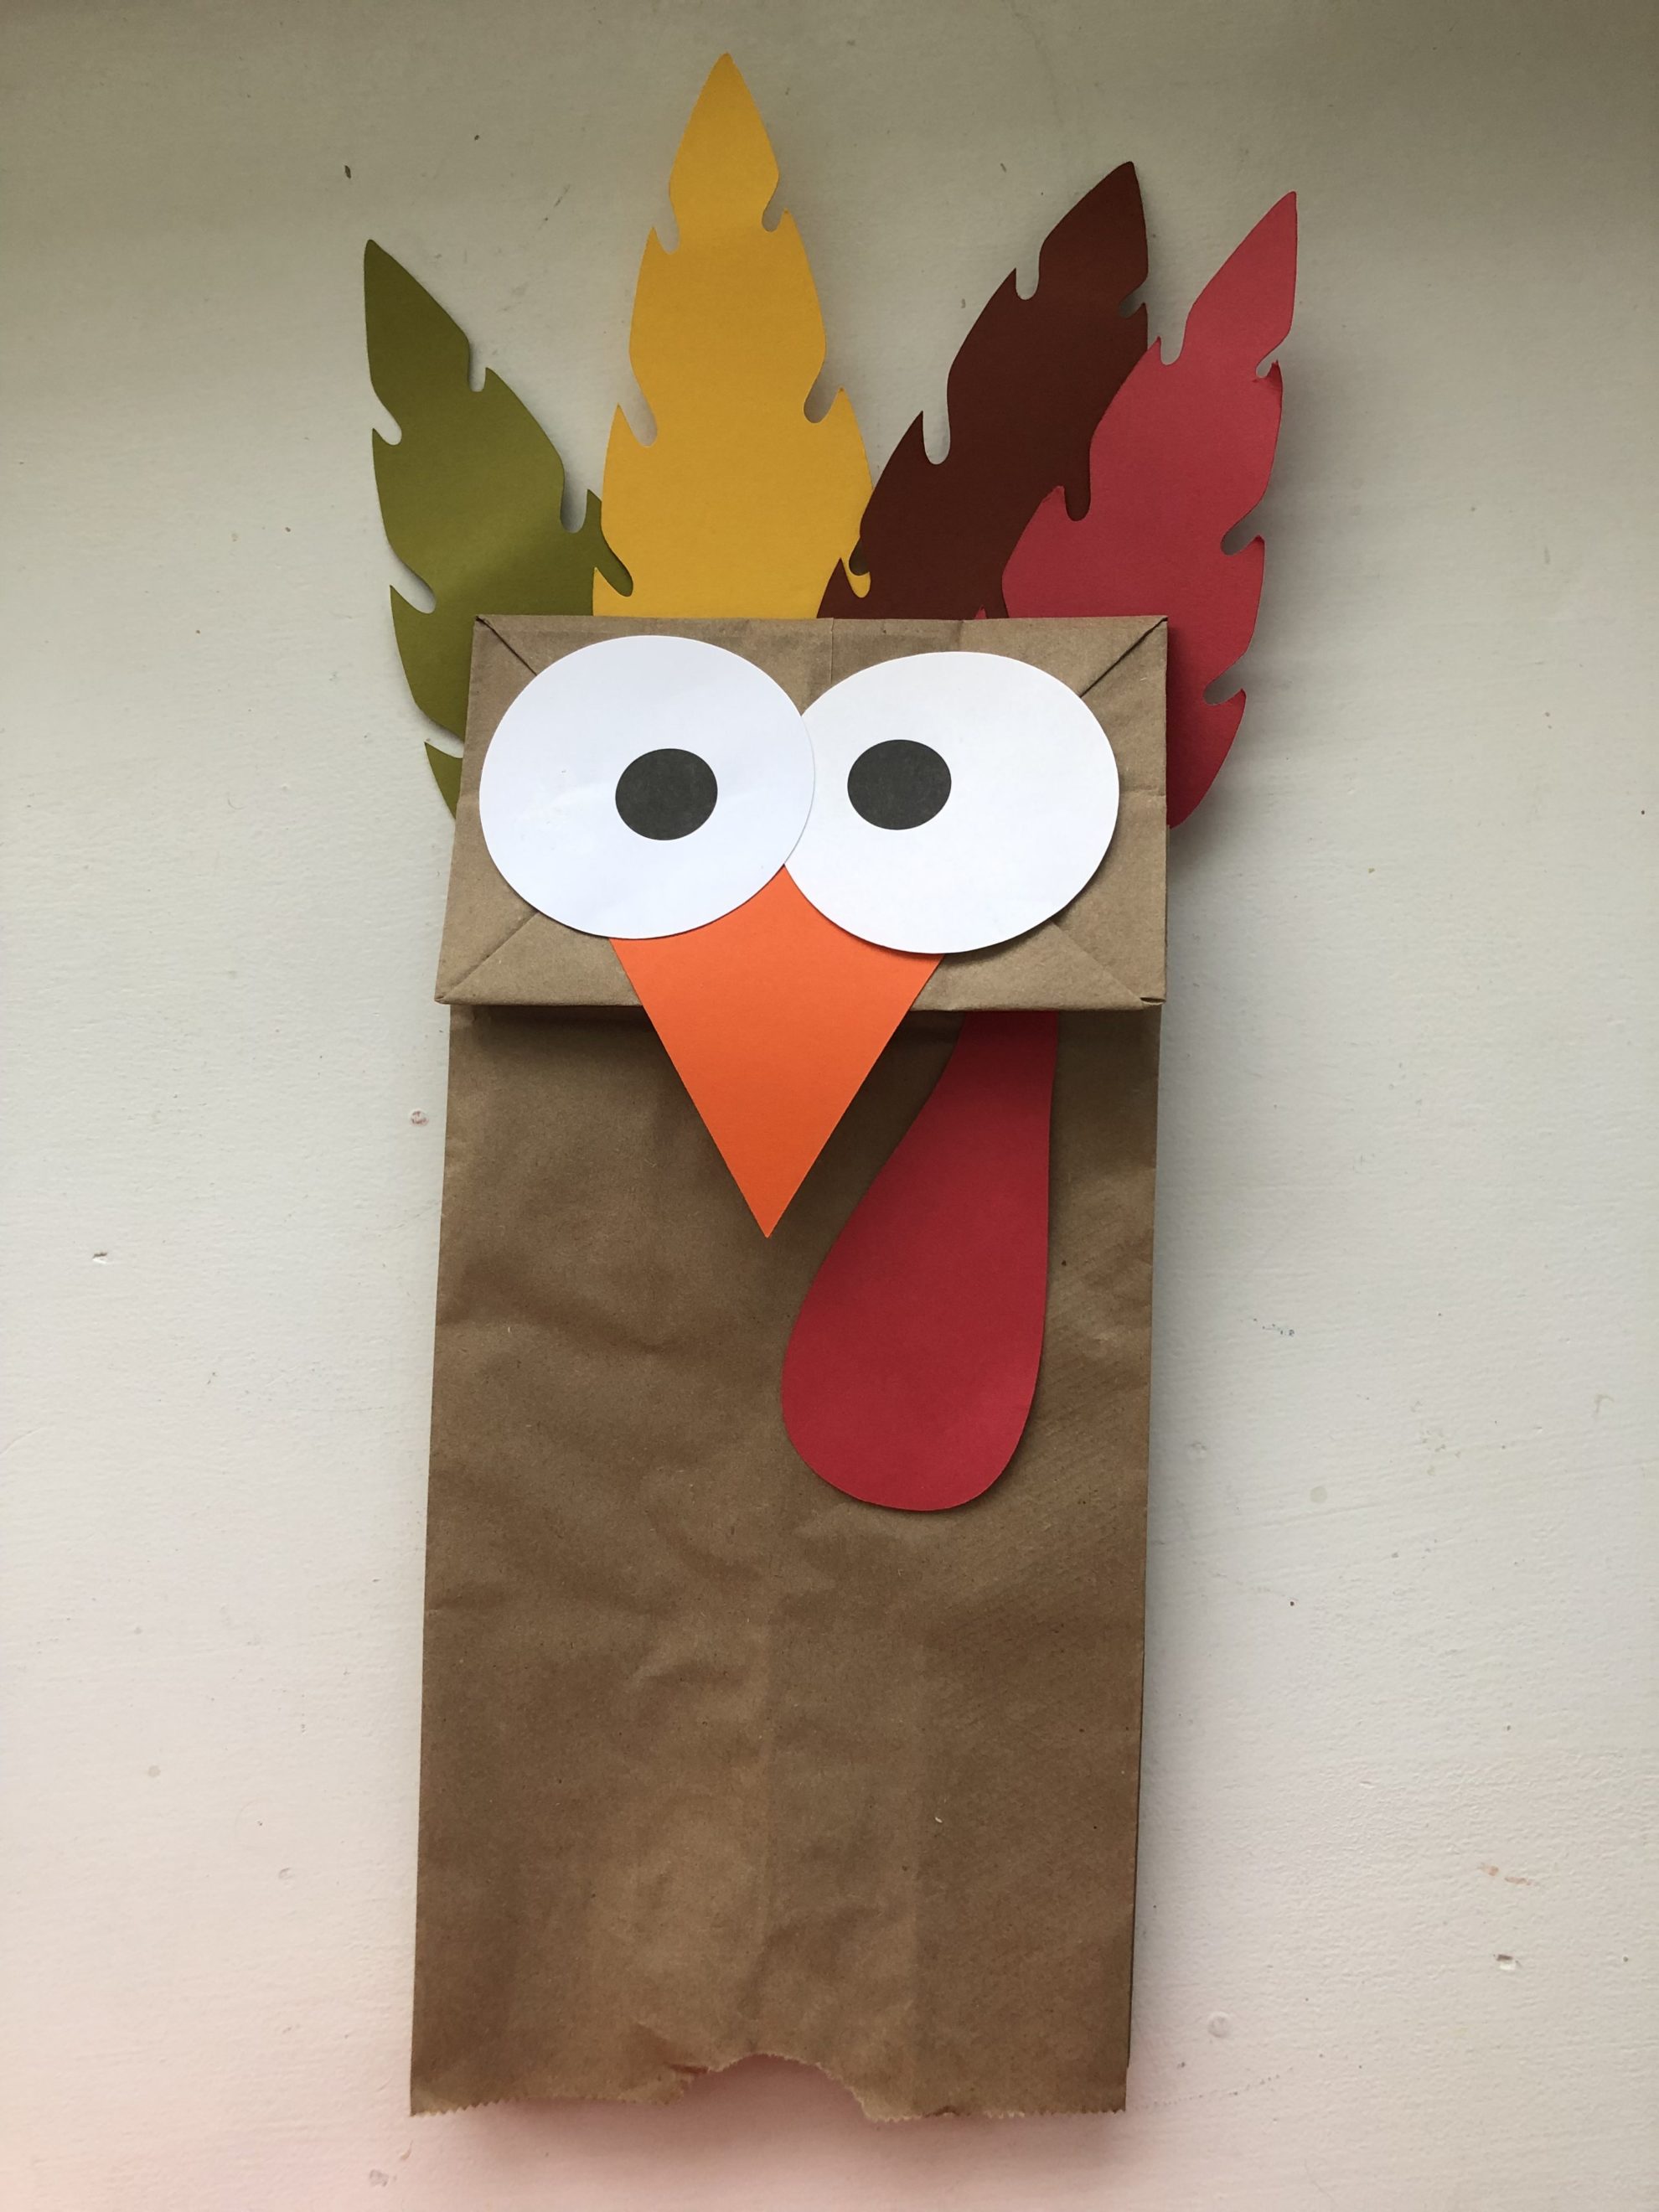
Easy as that, you have paper bag turkeys!
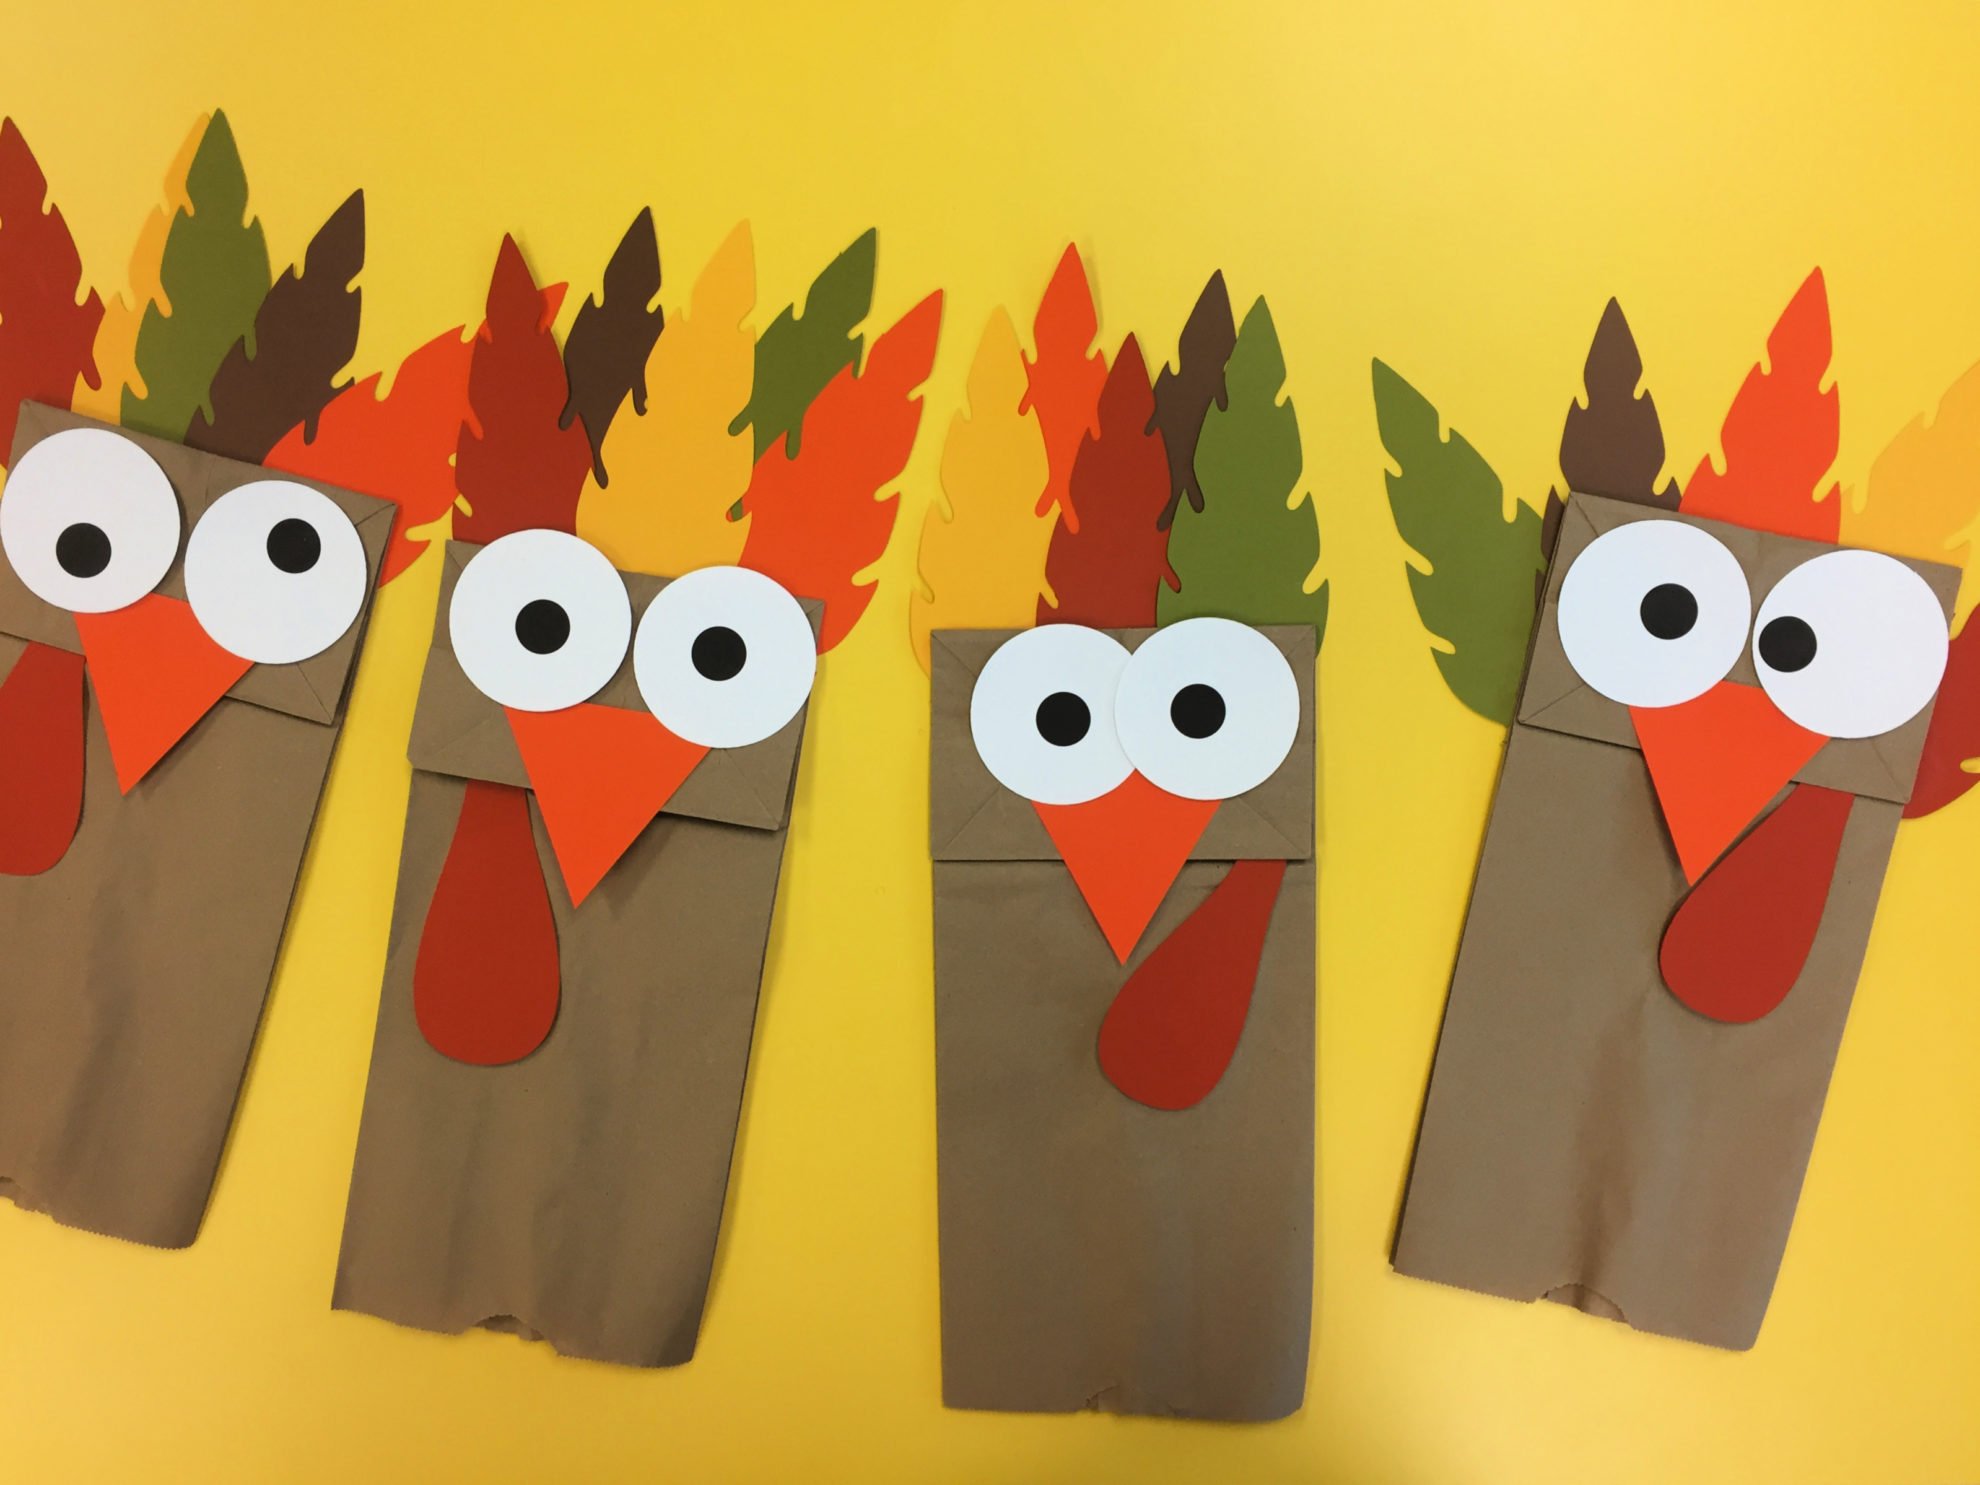
The best part–no Turkey Paper Bag Puppet looks the same thanks to the eye combos! This should keep the kids quiet for about 10 minutes while they glue. Then, once they have constructed their puppets I can’t guarantee they will stay quiet. Maybe you can get creative and have the kids in your family put on a turkey show with their puppets!
These paper bag turkeys are by far is one of my favorite quick and low-mess crafts for Thanksgiving Day! Let’s face it–we will have enough mess to clean up on the Thanksgiving Day. The craft table should not be one of them!
Thanksgiving Day Crafts
If you are looking for some ore Thanksgiving Day Crafts here are a few of my favorite projects.
Disclaimer: There are affiliate links in this post. That means if you purchase from a link I make a small percentage at no additional cost to you. Thank you for supporting Sew Woodsy!

Leave A Reply!