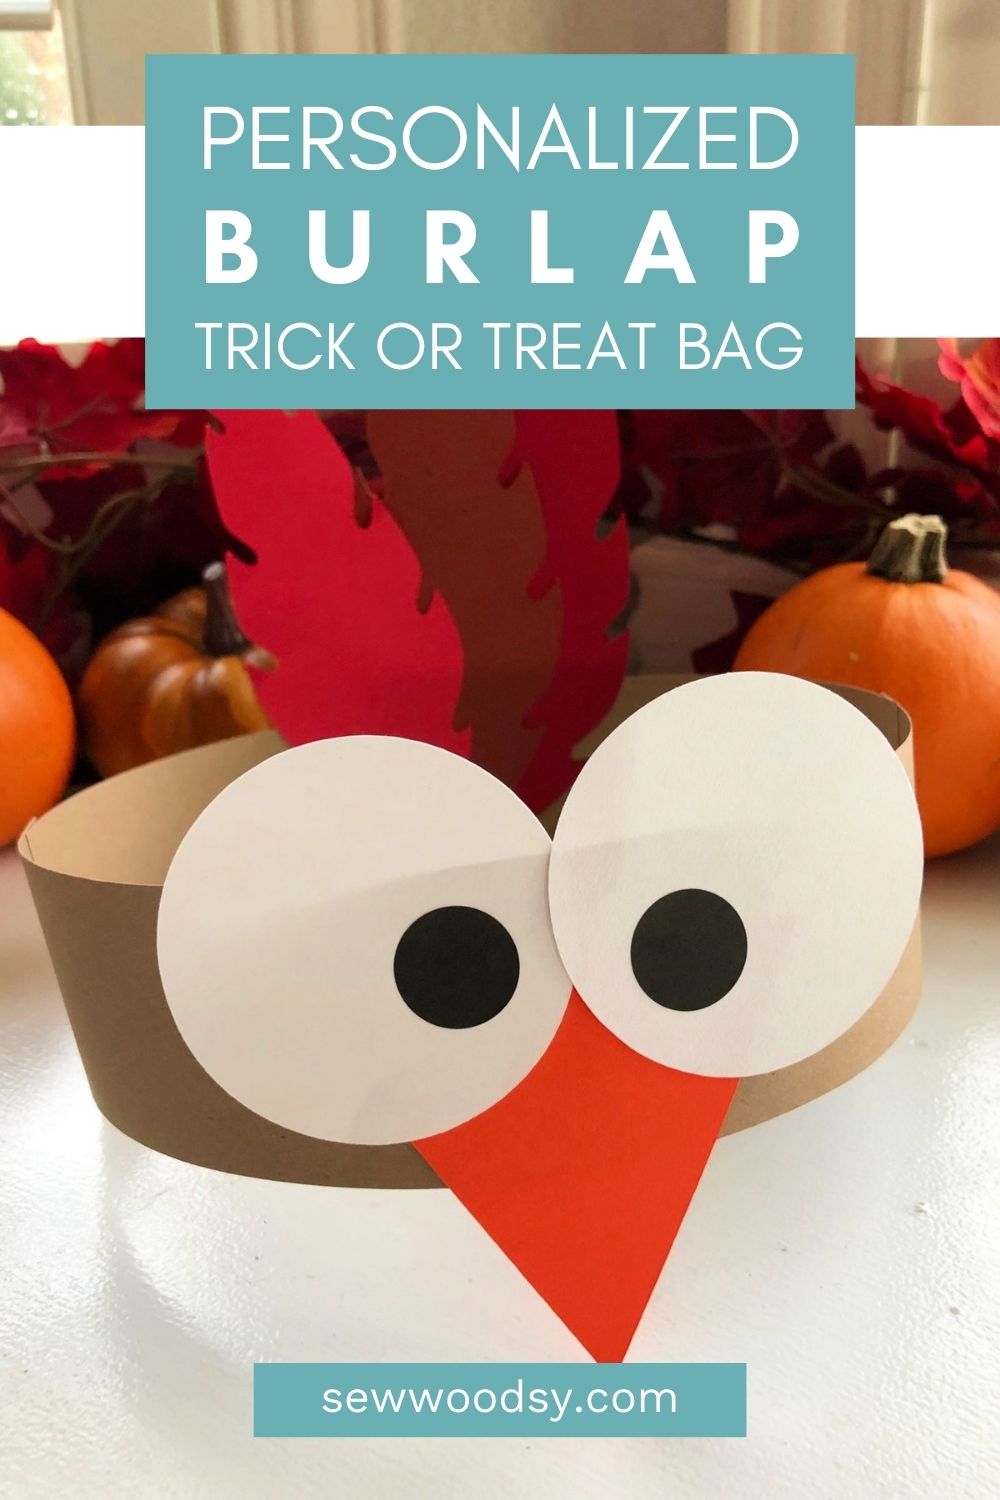
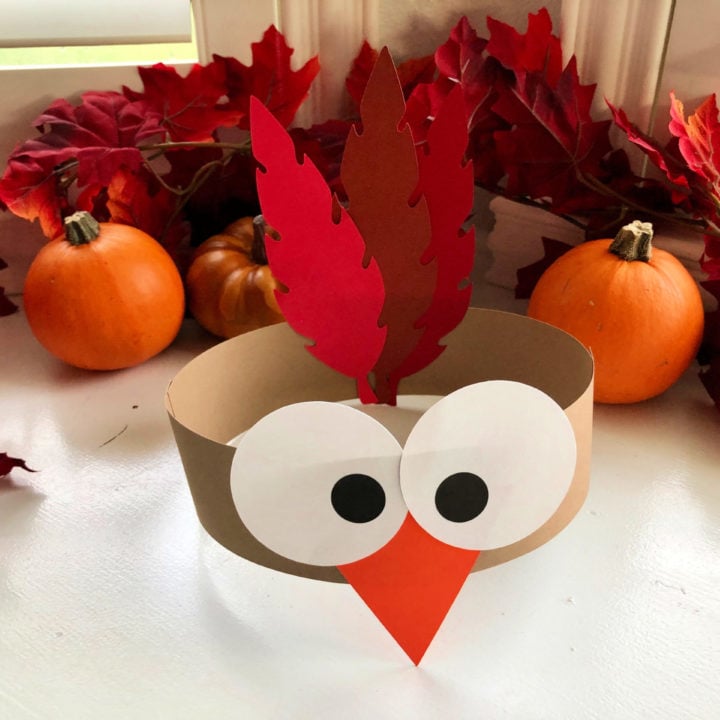
Turkey Paper Headbands are the perfect 10-minute low-mess craft to make with the kids for Thanksgiving! All you need is card stock and a Cricut!

I’m always looking for a fun and low-mess craft that I can do with my kids. A few years ago when my son was finally at the age where he was really into crafts. So of course I wanted to do a ton of crafts and fun little projects for every holiday with him. I flexed my creative arm and came up with these Turkey Paper Headbands. This headband came about and were inspired from my Turkey Paper Bag Puppets, You’ll notice they look similar and were totally a happy accident.
A few year ago, I was asked to lead the Thanksgiving craft for the fitness group I belong to. I had a bunch of leftover cut pieces from the paper bag puppets, so I decided to make a turkey headband and it worked perfectly!
These headbands come together in minutes and all the kids absolutely loved them. I made them at my fitness class last week, at home with my son, and even at a Friendsgiving play date we had today.
This post has gotten so popular over past years that I finally created a template for those who do not own a Cricut, but would still like to hand cut this project. Please SCROLL TO THE BOTTOM to get the free printable template for hand cutting.
Table of contents
Supplies to make Turkey Paper Headbands
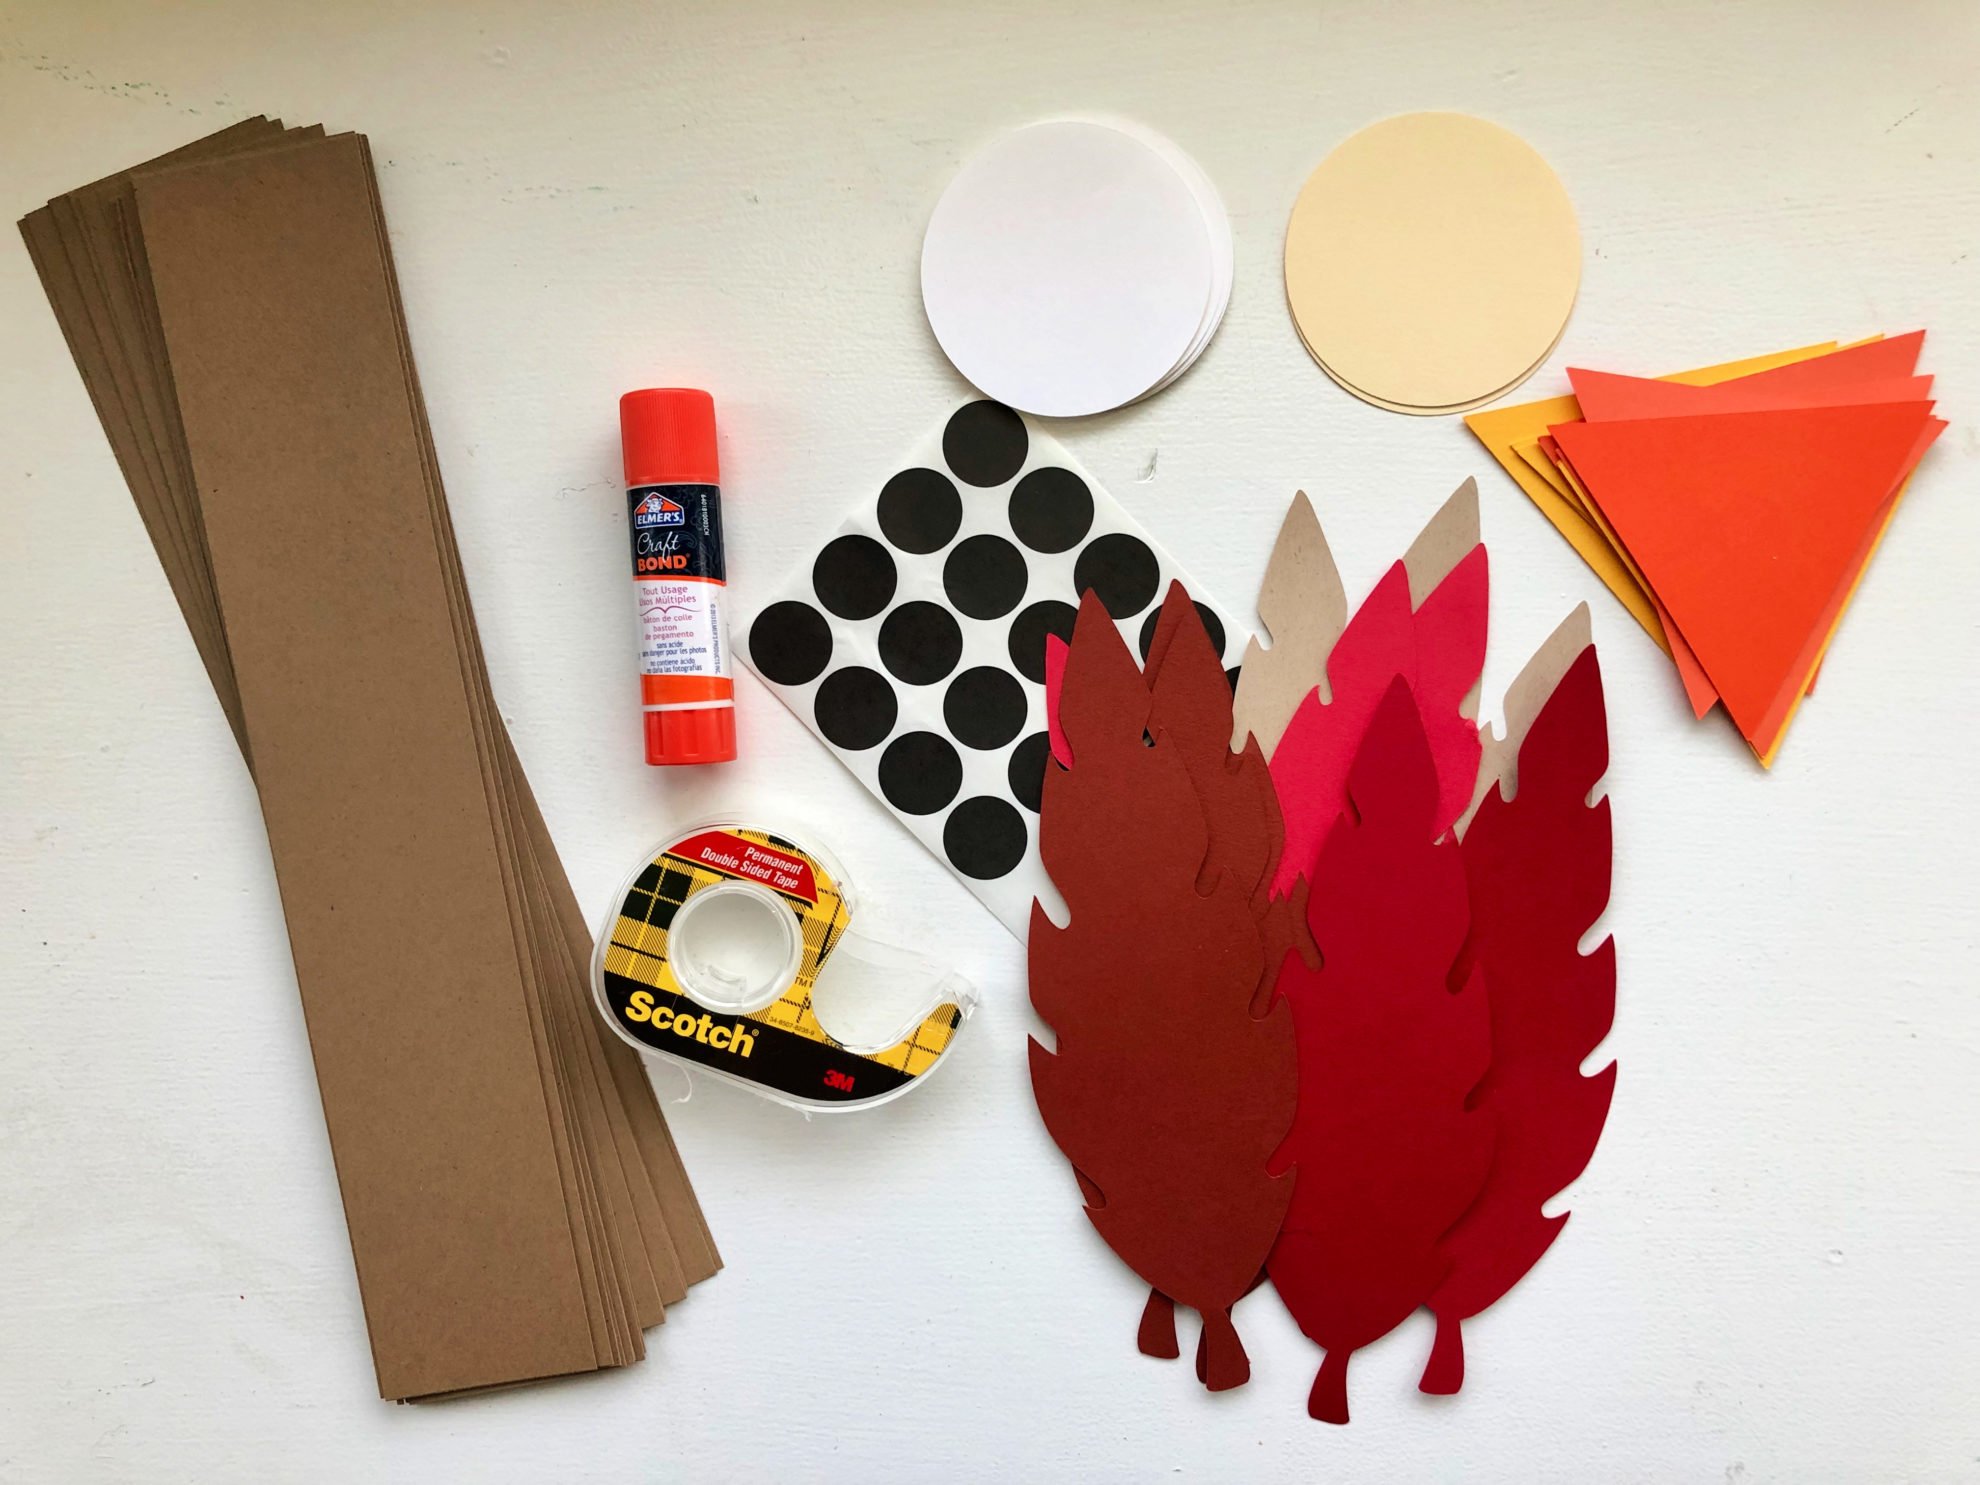
- Cricut Maker
- Turkey Paper Headbands Template on Cricut Design Space
- Card stock; white, cream, black, orange, red, brown, yellow, green
- Paper Bags
- Double-Sided Tape (or glue sticks)
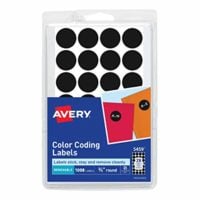
- Avery 05459 Handwrite Only Removable Round Color-Coding Labels, 3/4″ dia, Black
Directions
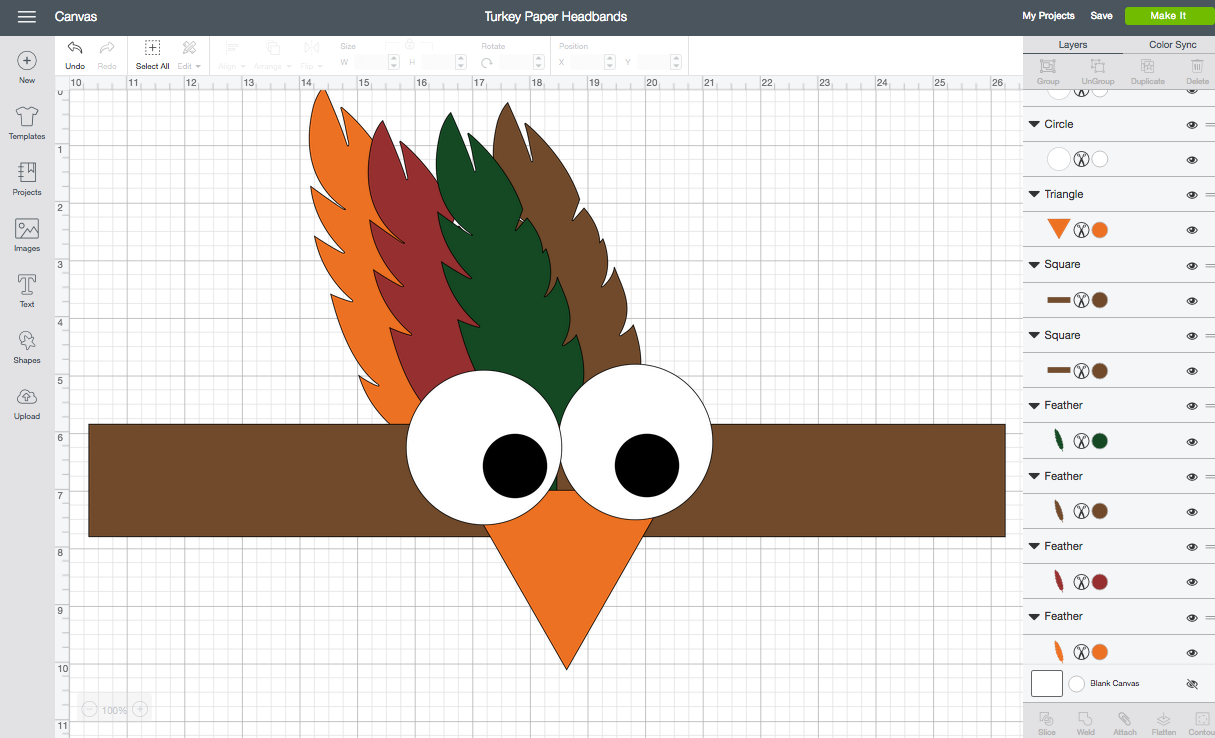
First, open up the Design Space file. You will have to pay for the feathers, just FYI. If you want to make more then one headband all you have to do is click on one of the pieces on the canvas, then select “select all” (top left side-bar), then select “duplicate” on the right hand top sidebar. Duplicate as many times as you need materials cut.
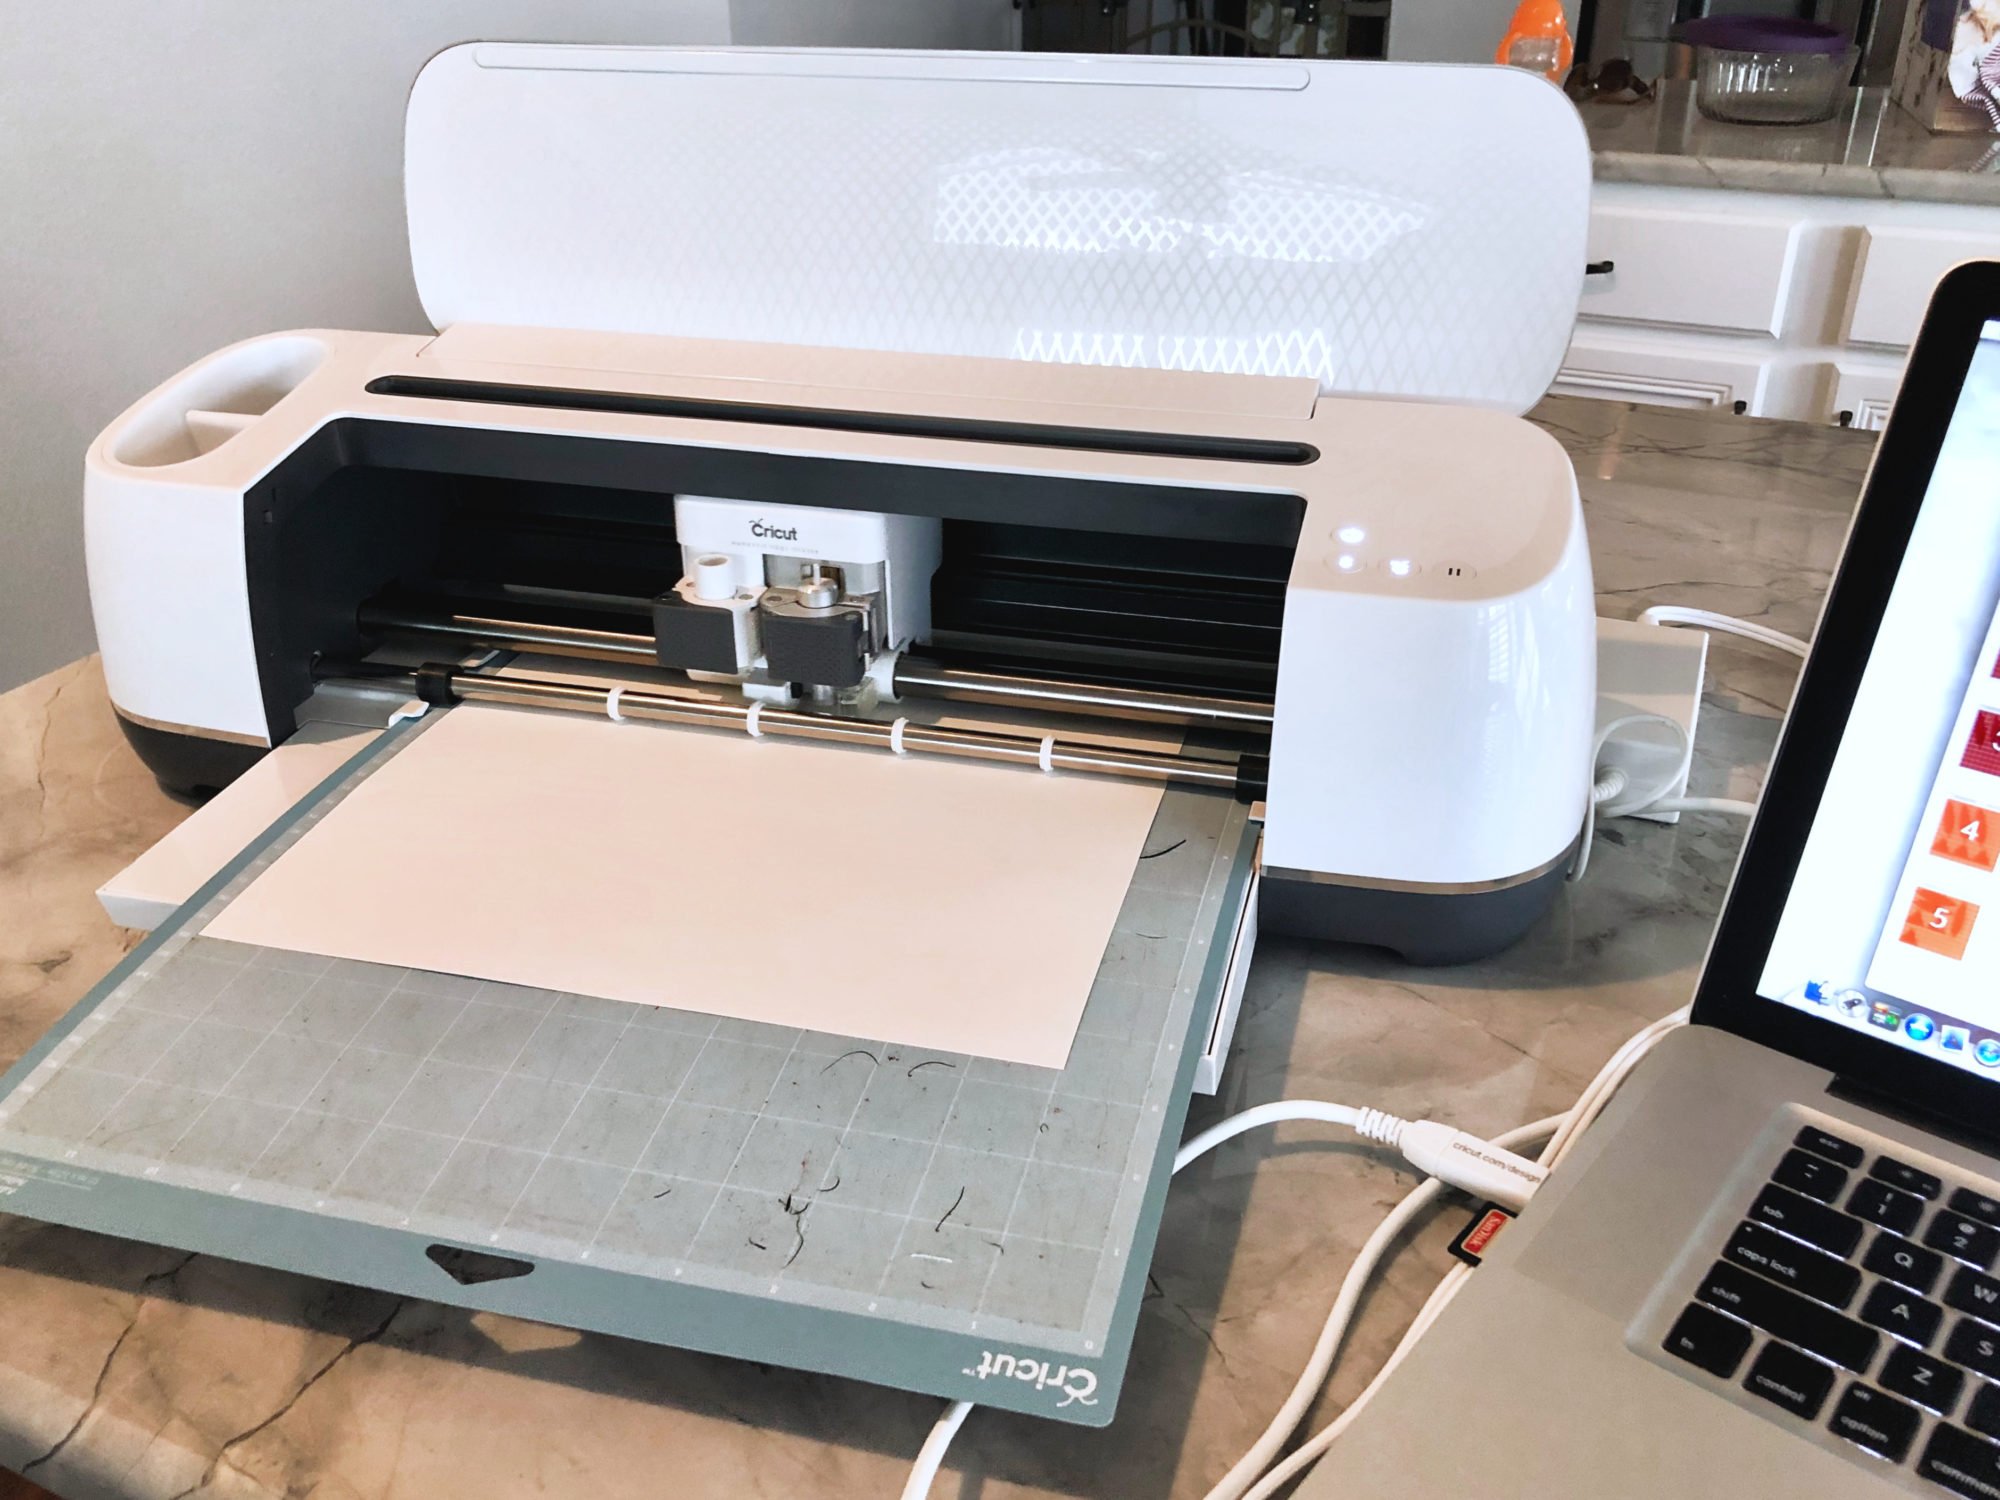
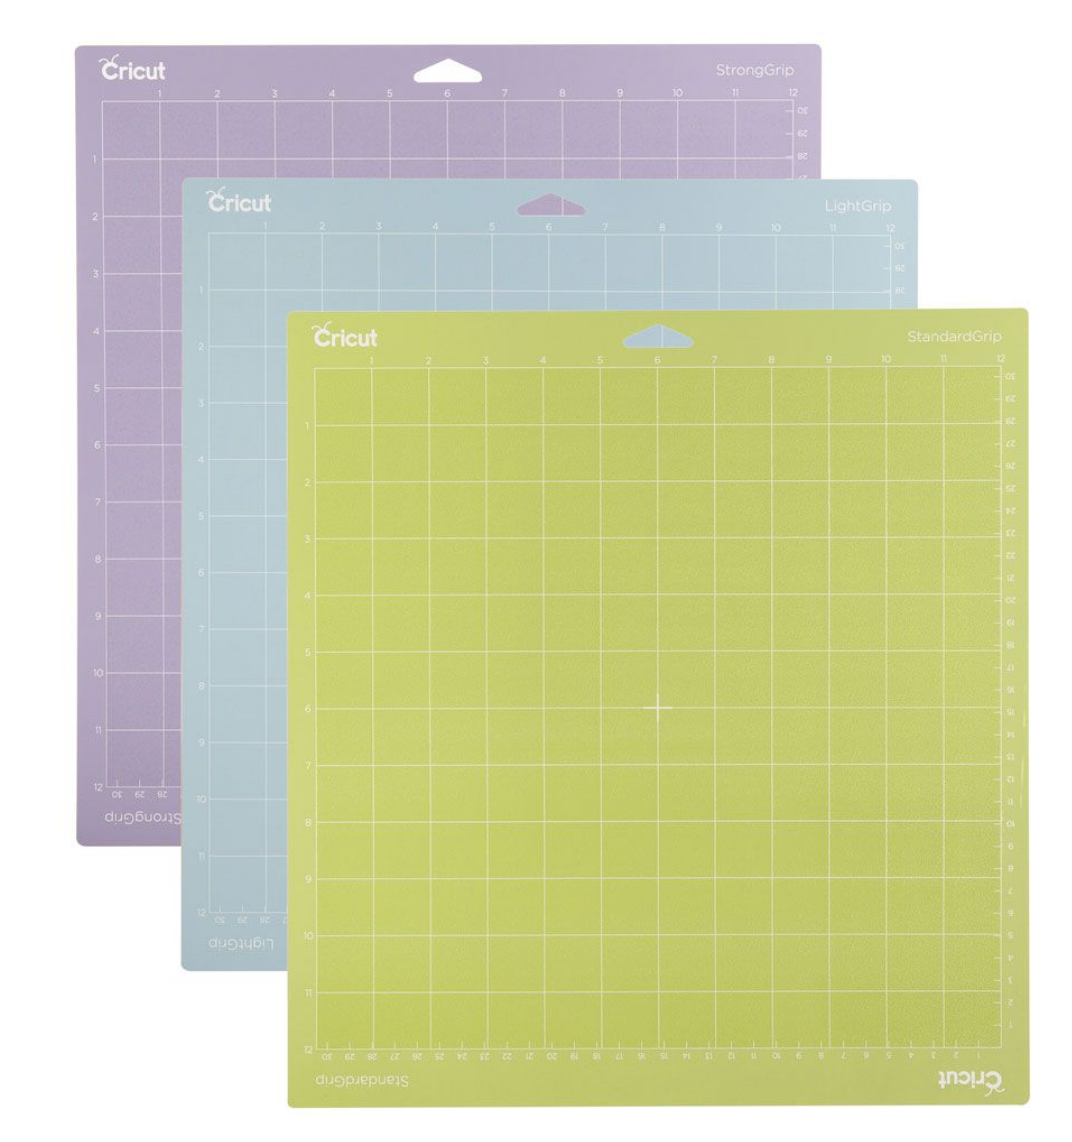
Next, place your card stock on your mat and begin to cut.
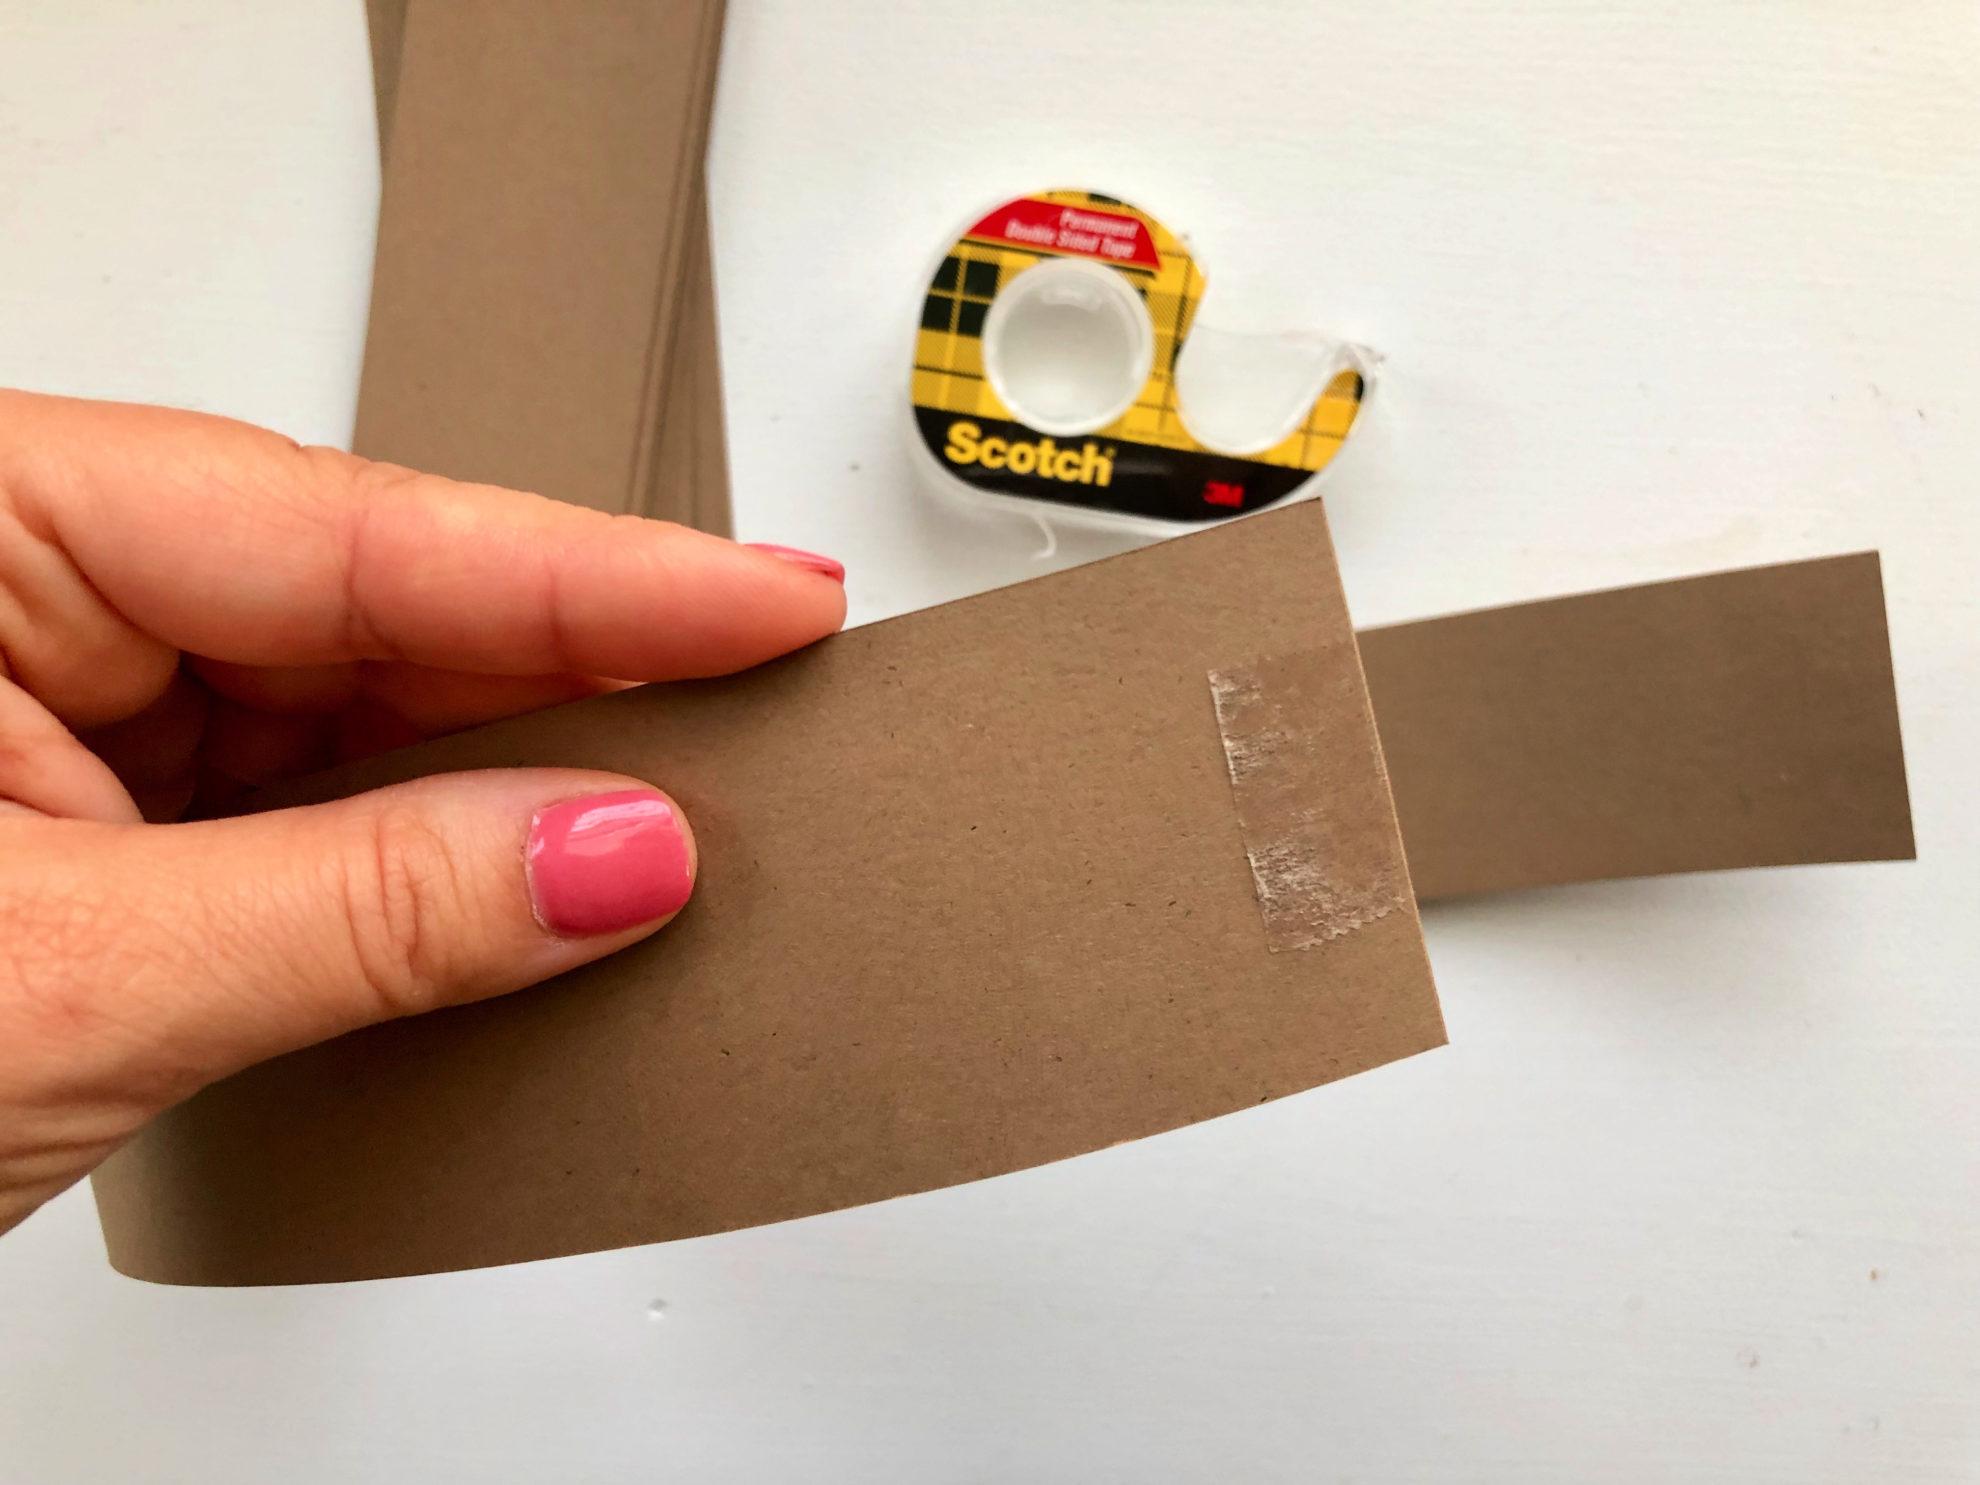
Once you have all your card stock cut; you want to make the headband. I use double sided tape to tape two pieces of rectangles together.
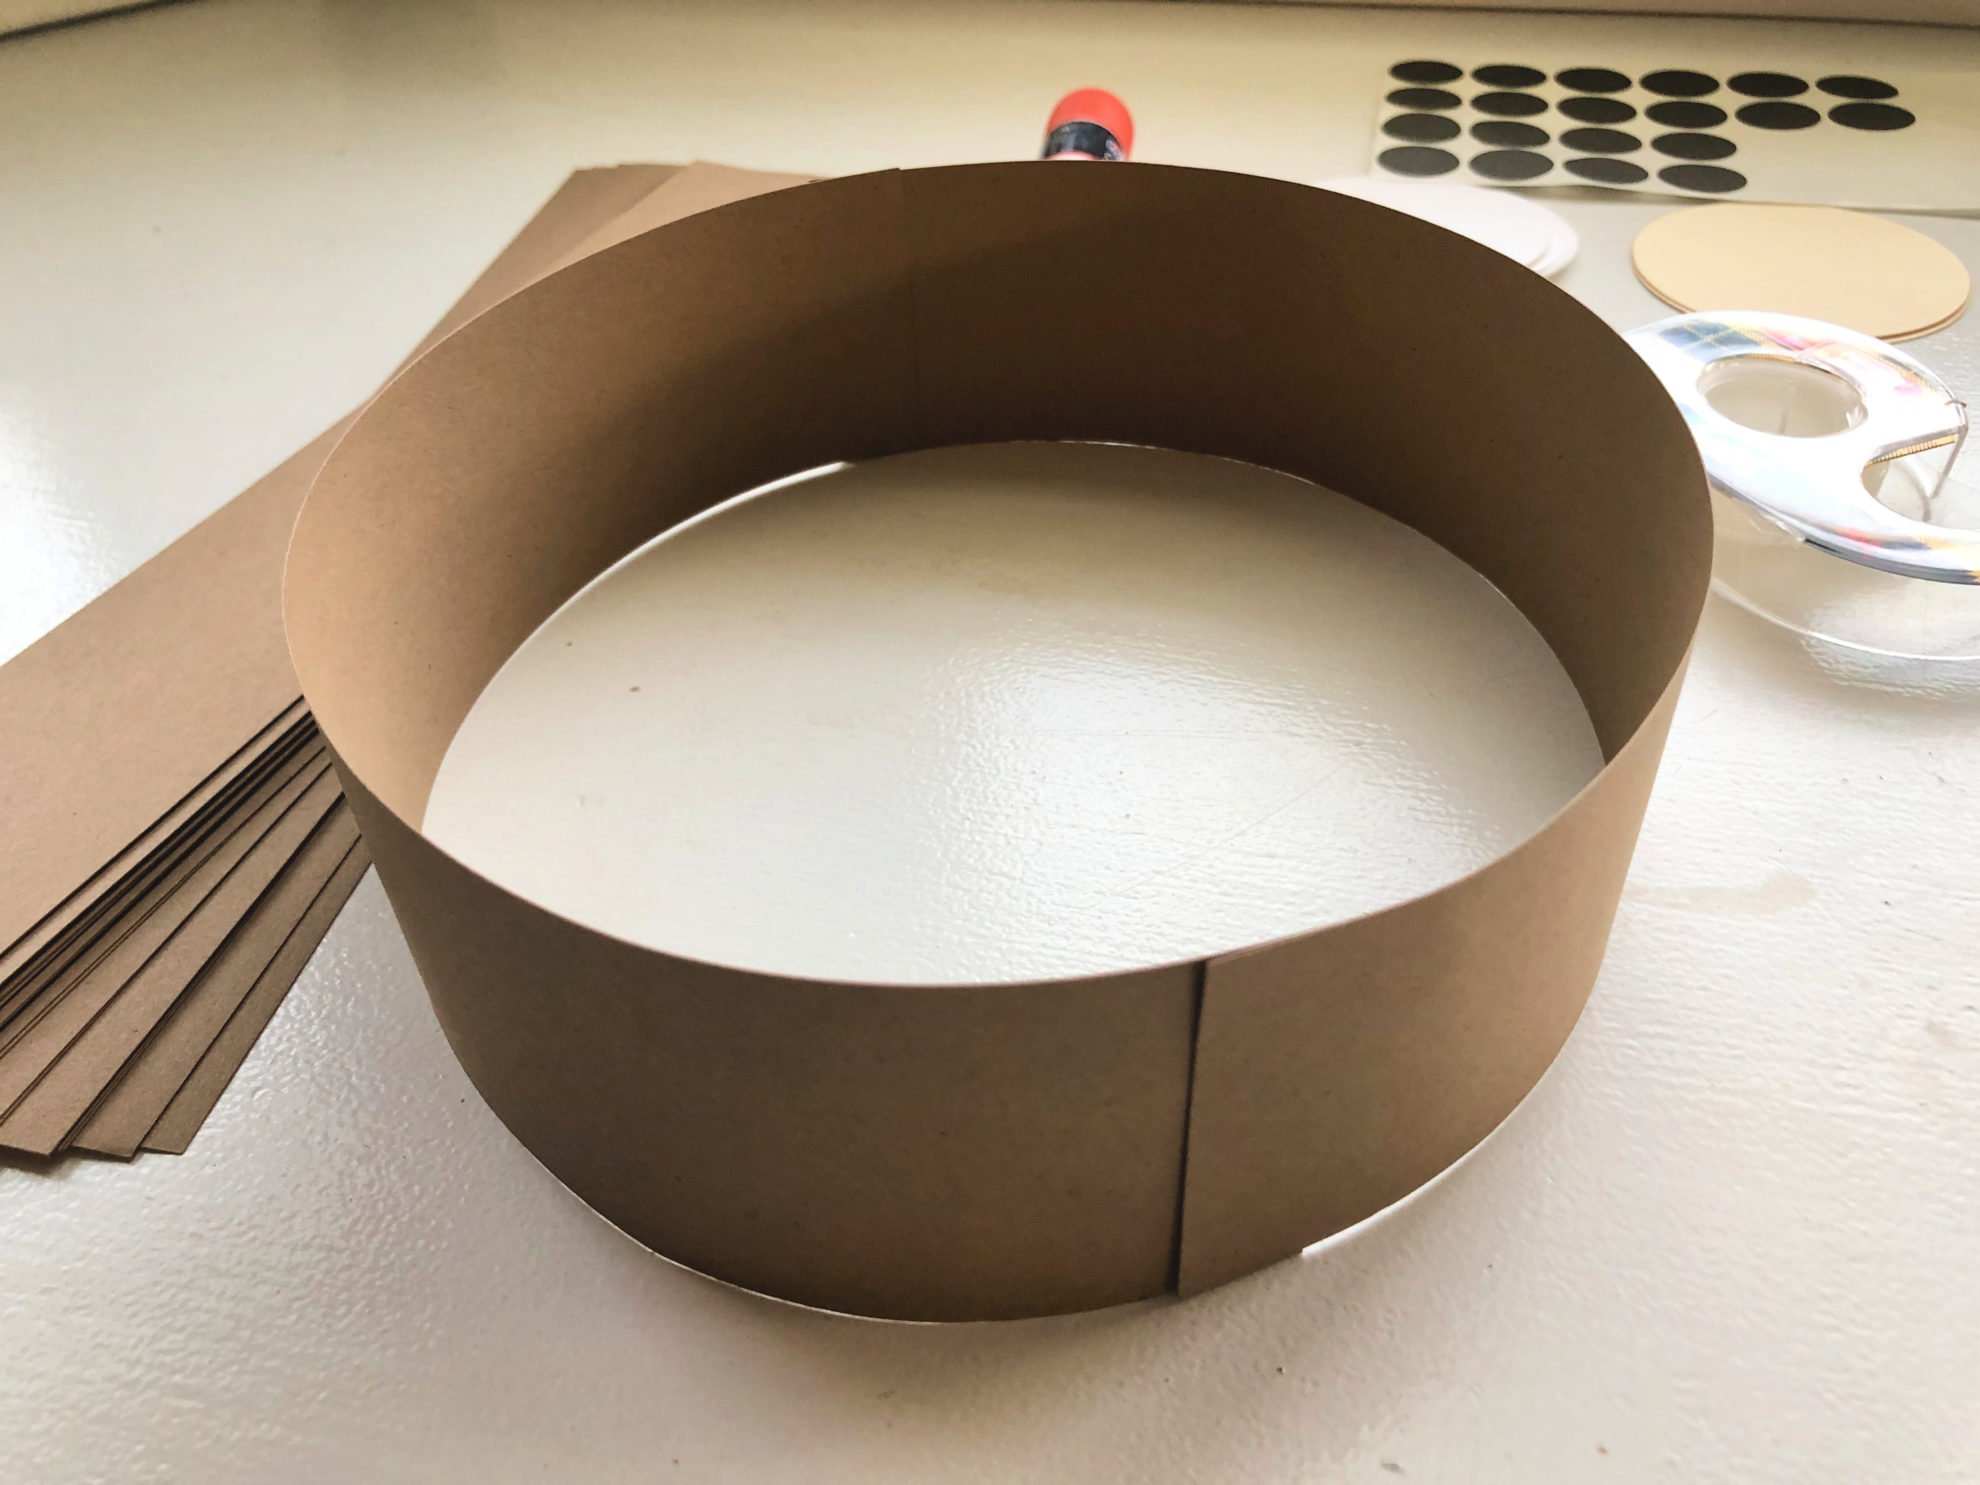
This is what it should look like.
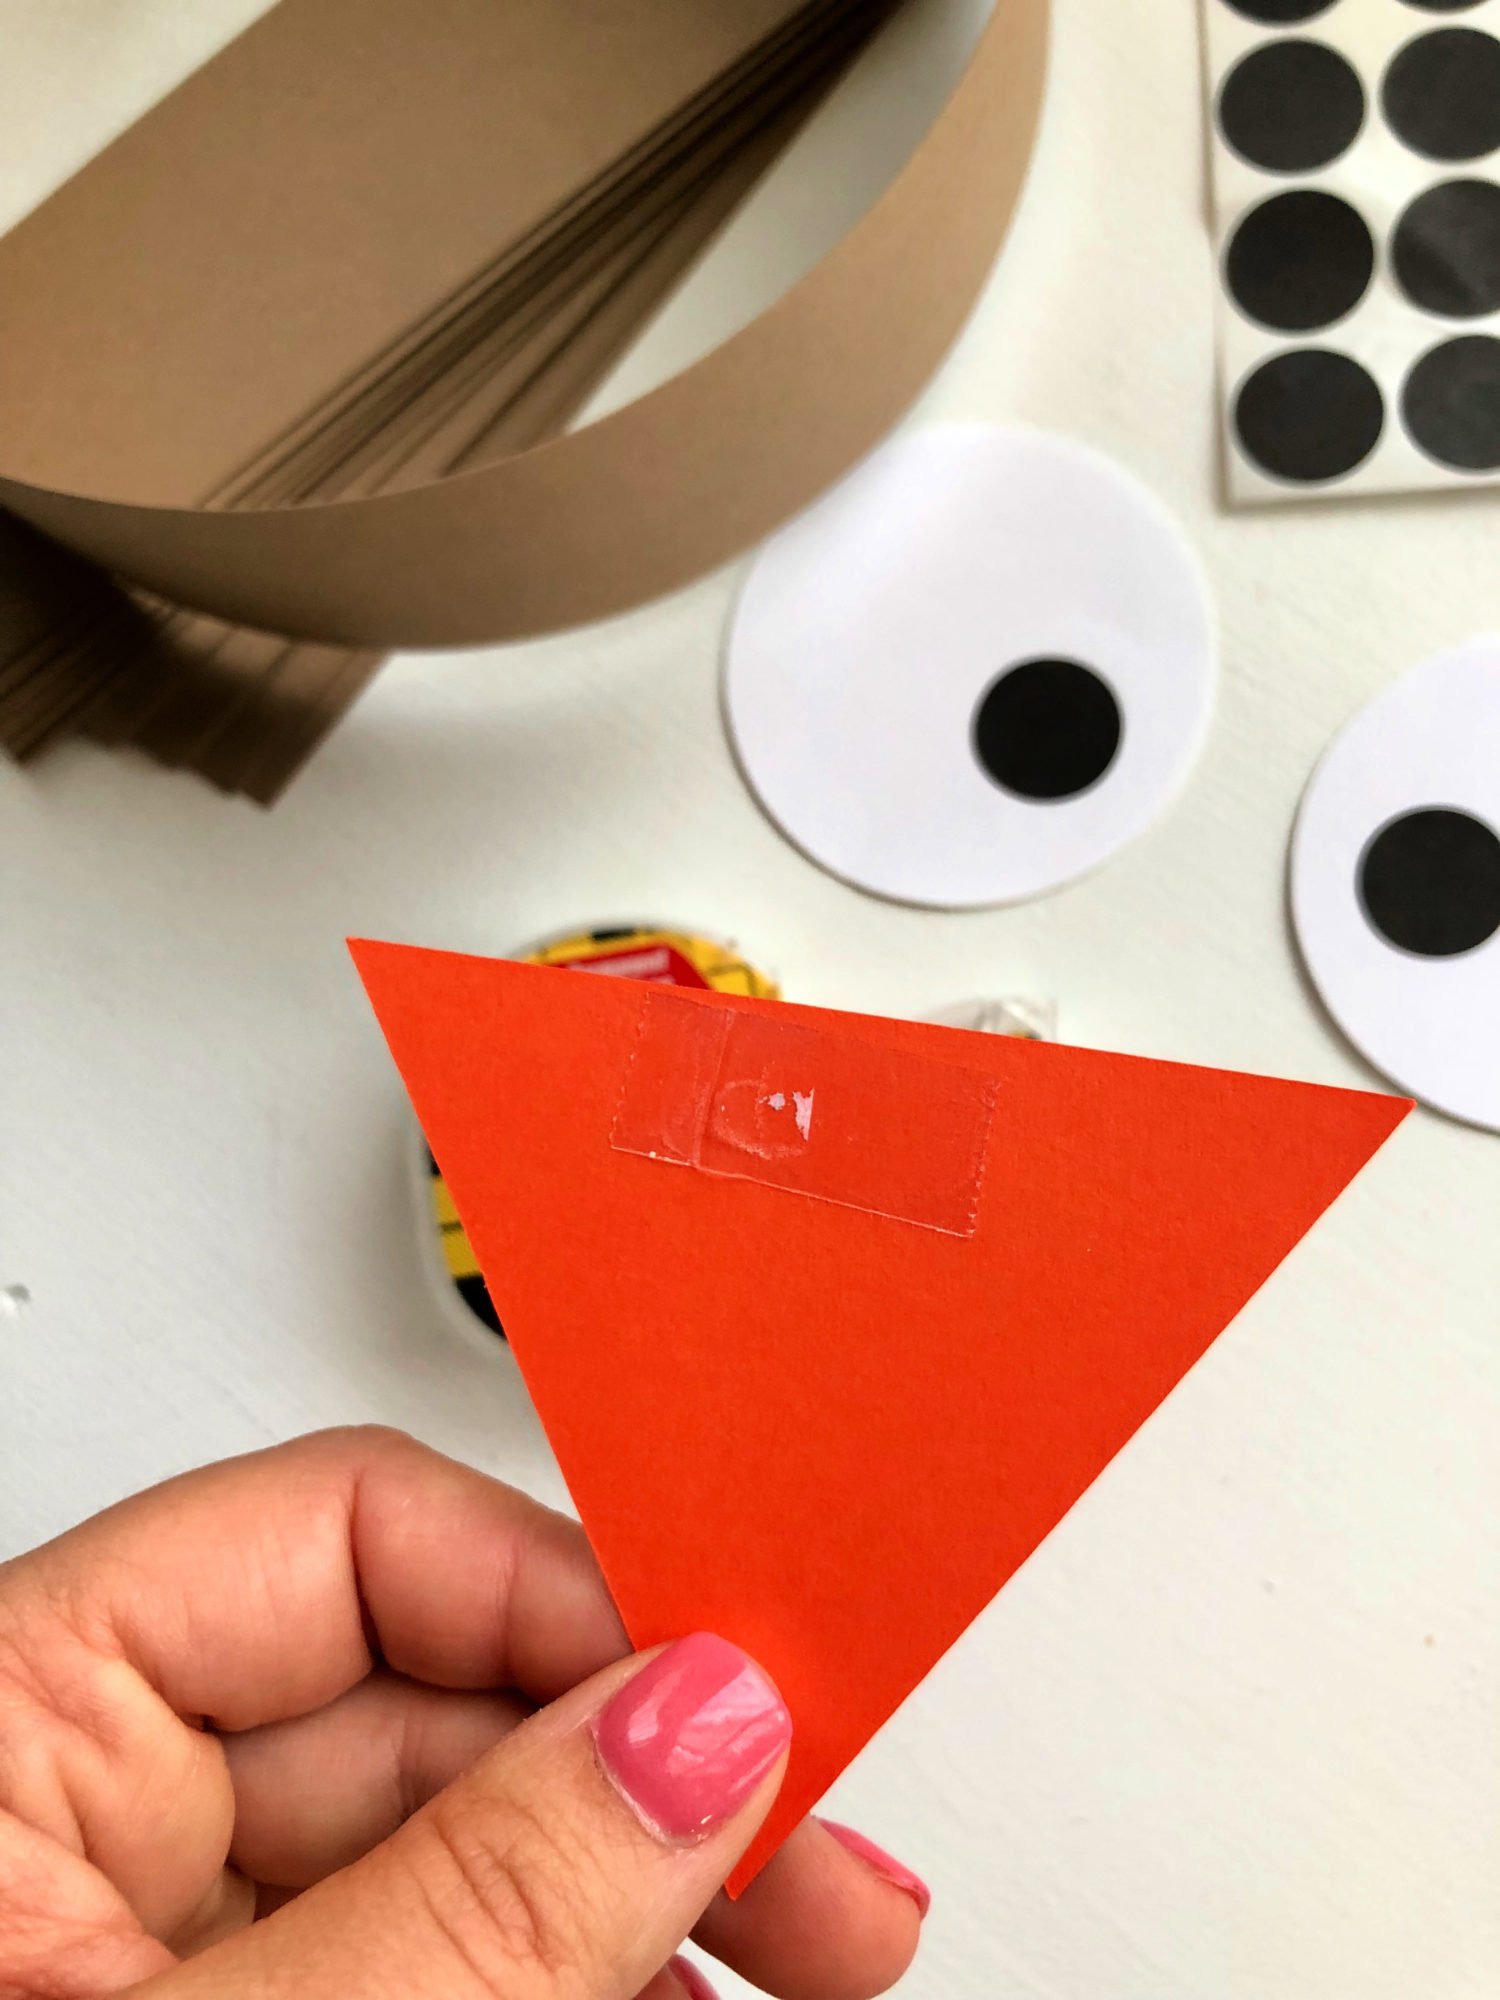
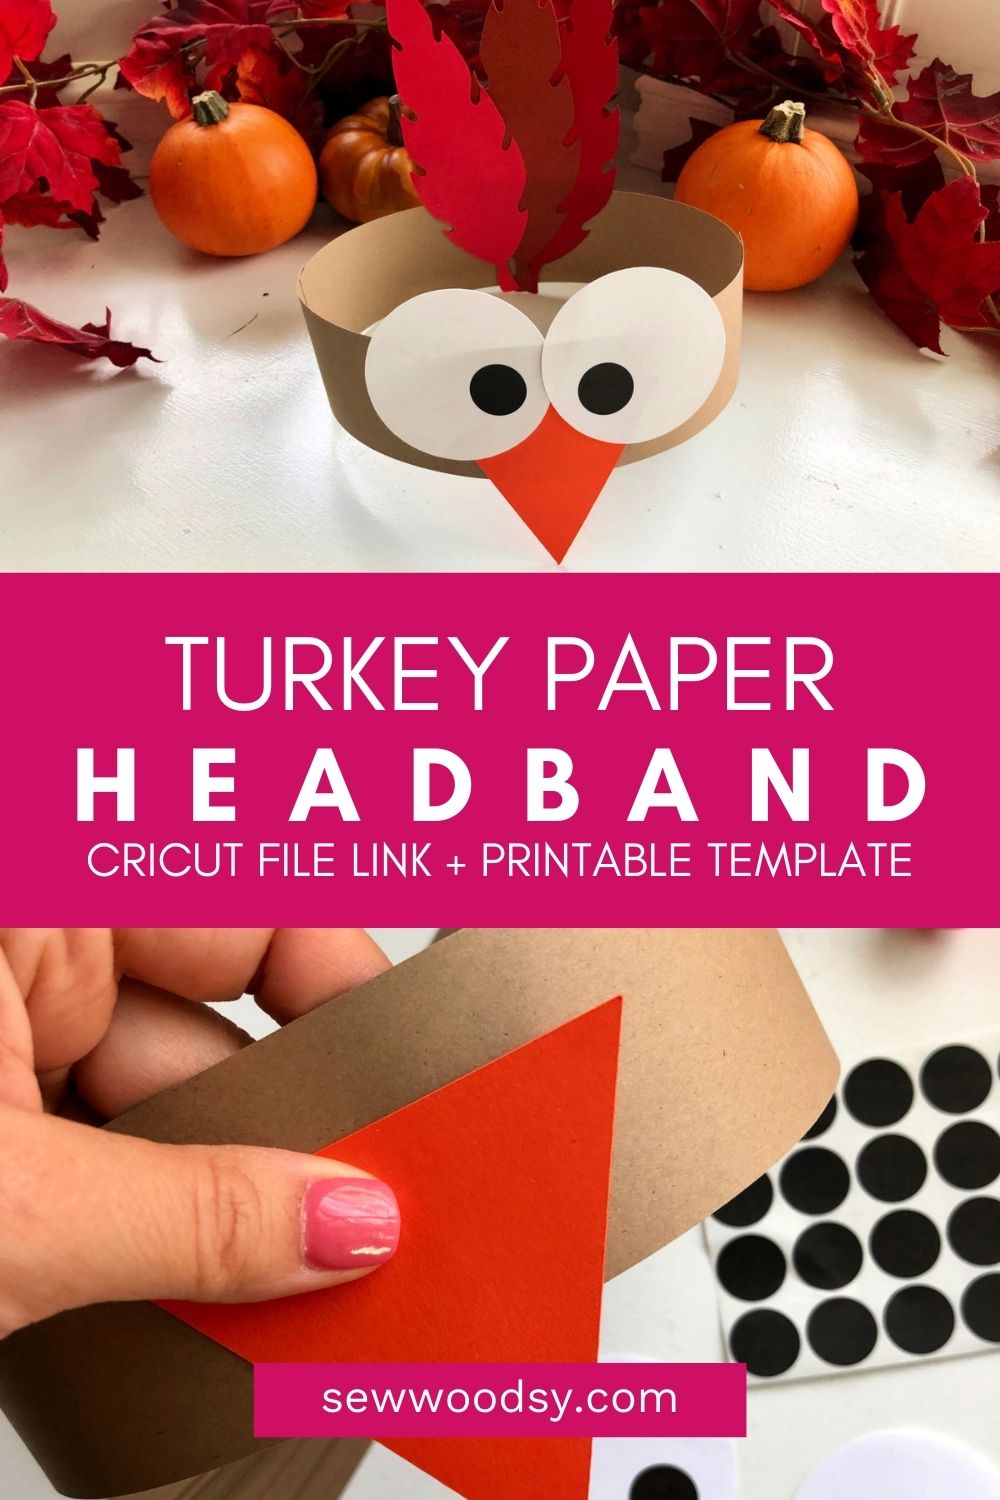
Next, you add on the beak aka the triangle. This is also a good activity to work on shapes and colors with the toddlers.
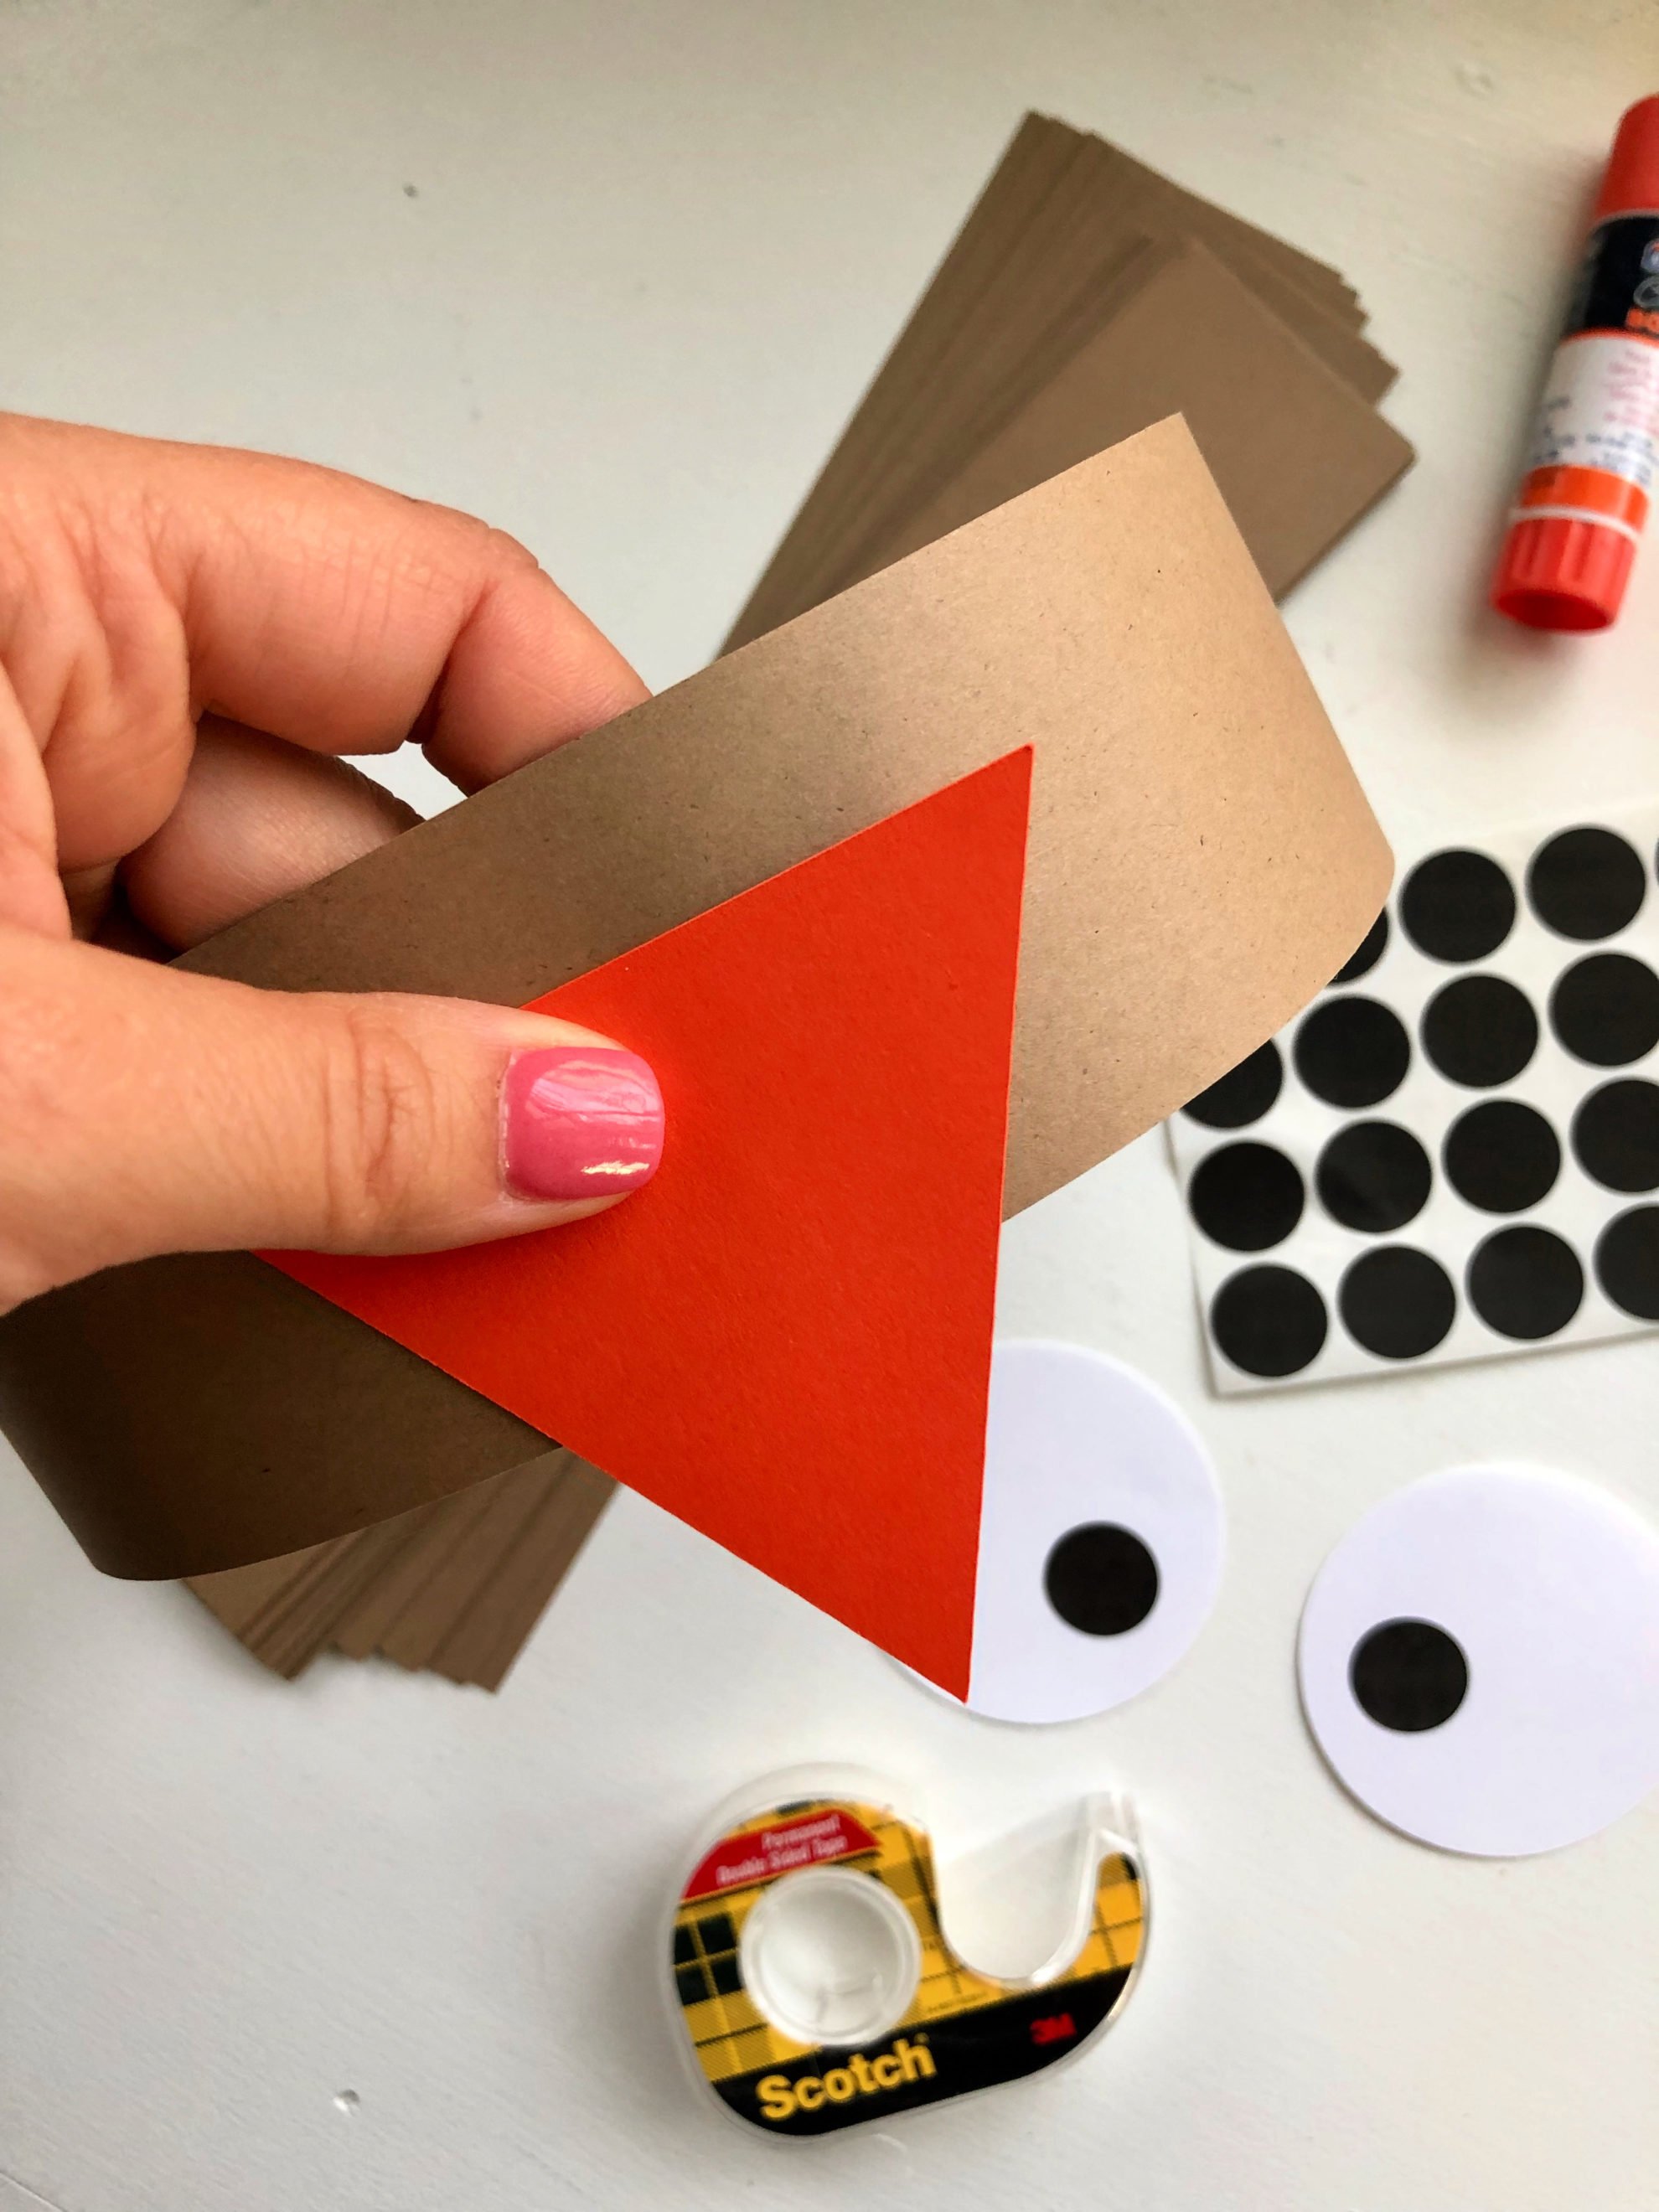
I place the beak at the half way point of the headband.
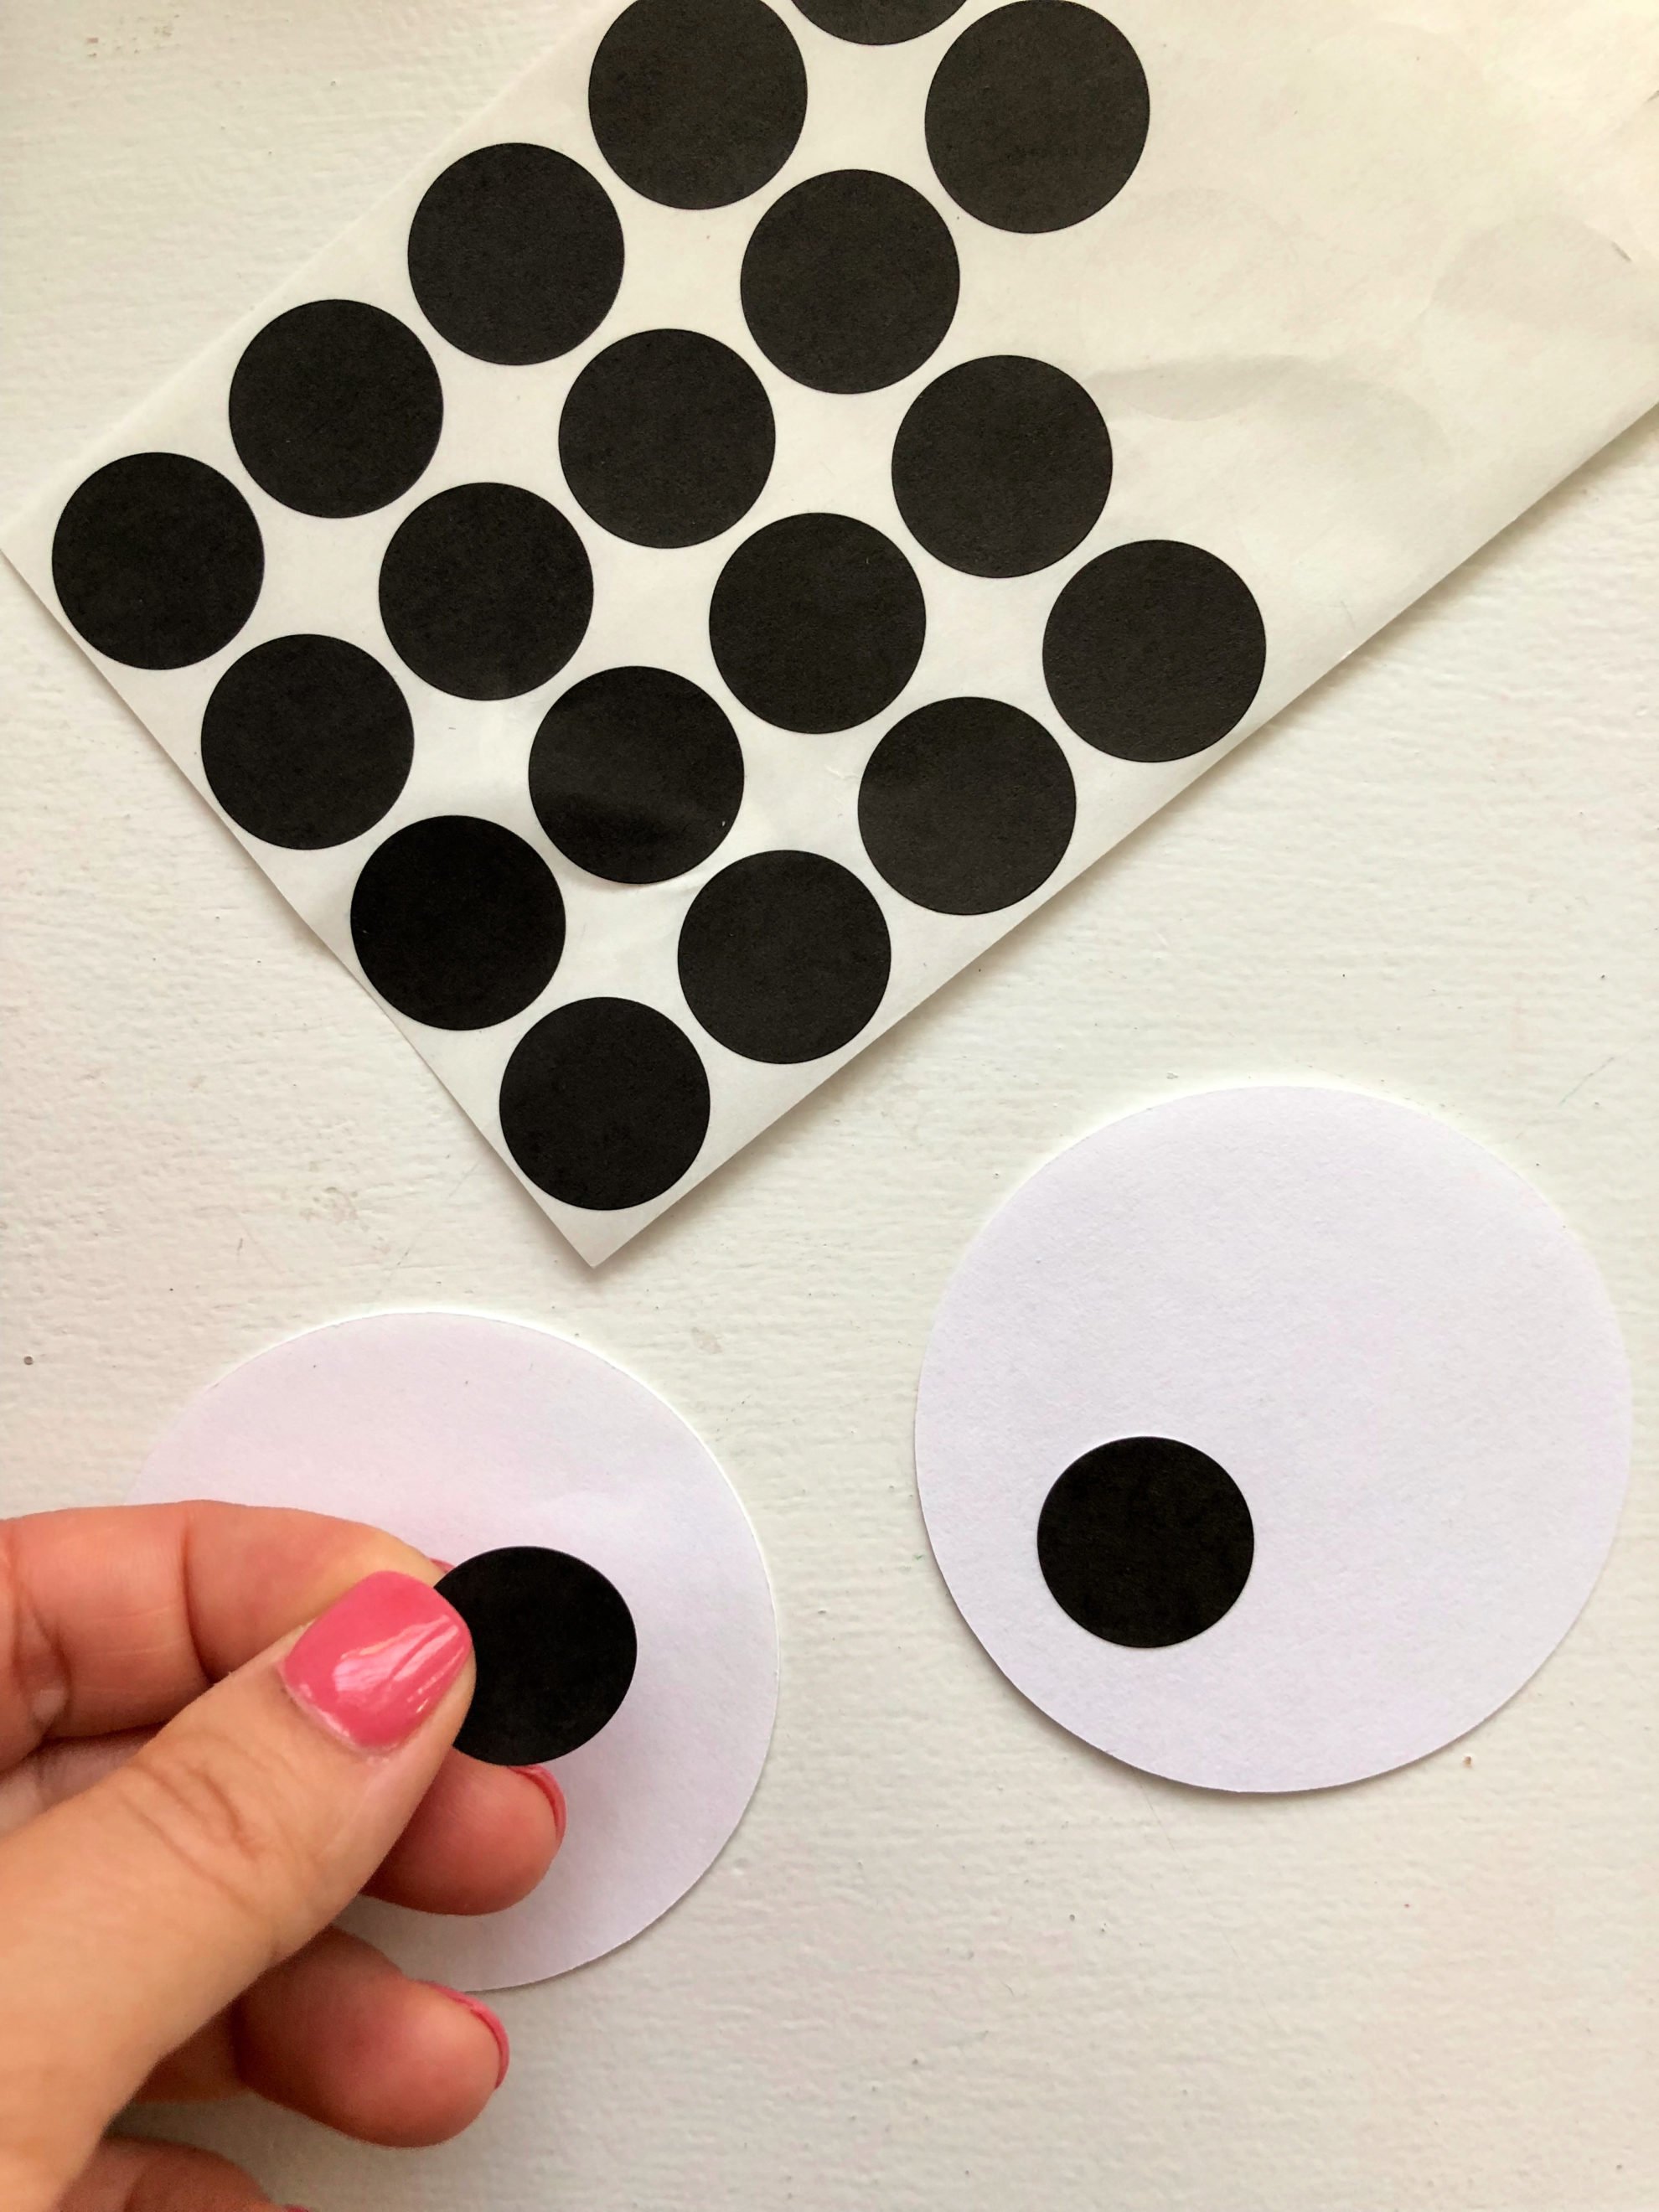
Next, add the Avery 05459 Handwrite Only Removable Round Color-Coding Labels to the white eyeballs. If you don’t have these stickers I’ve included black circles you can cut out and tape or glue on.
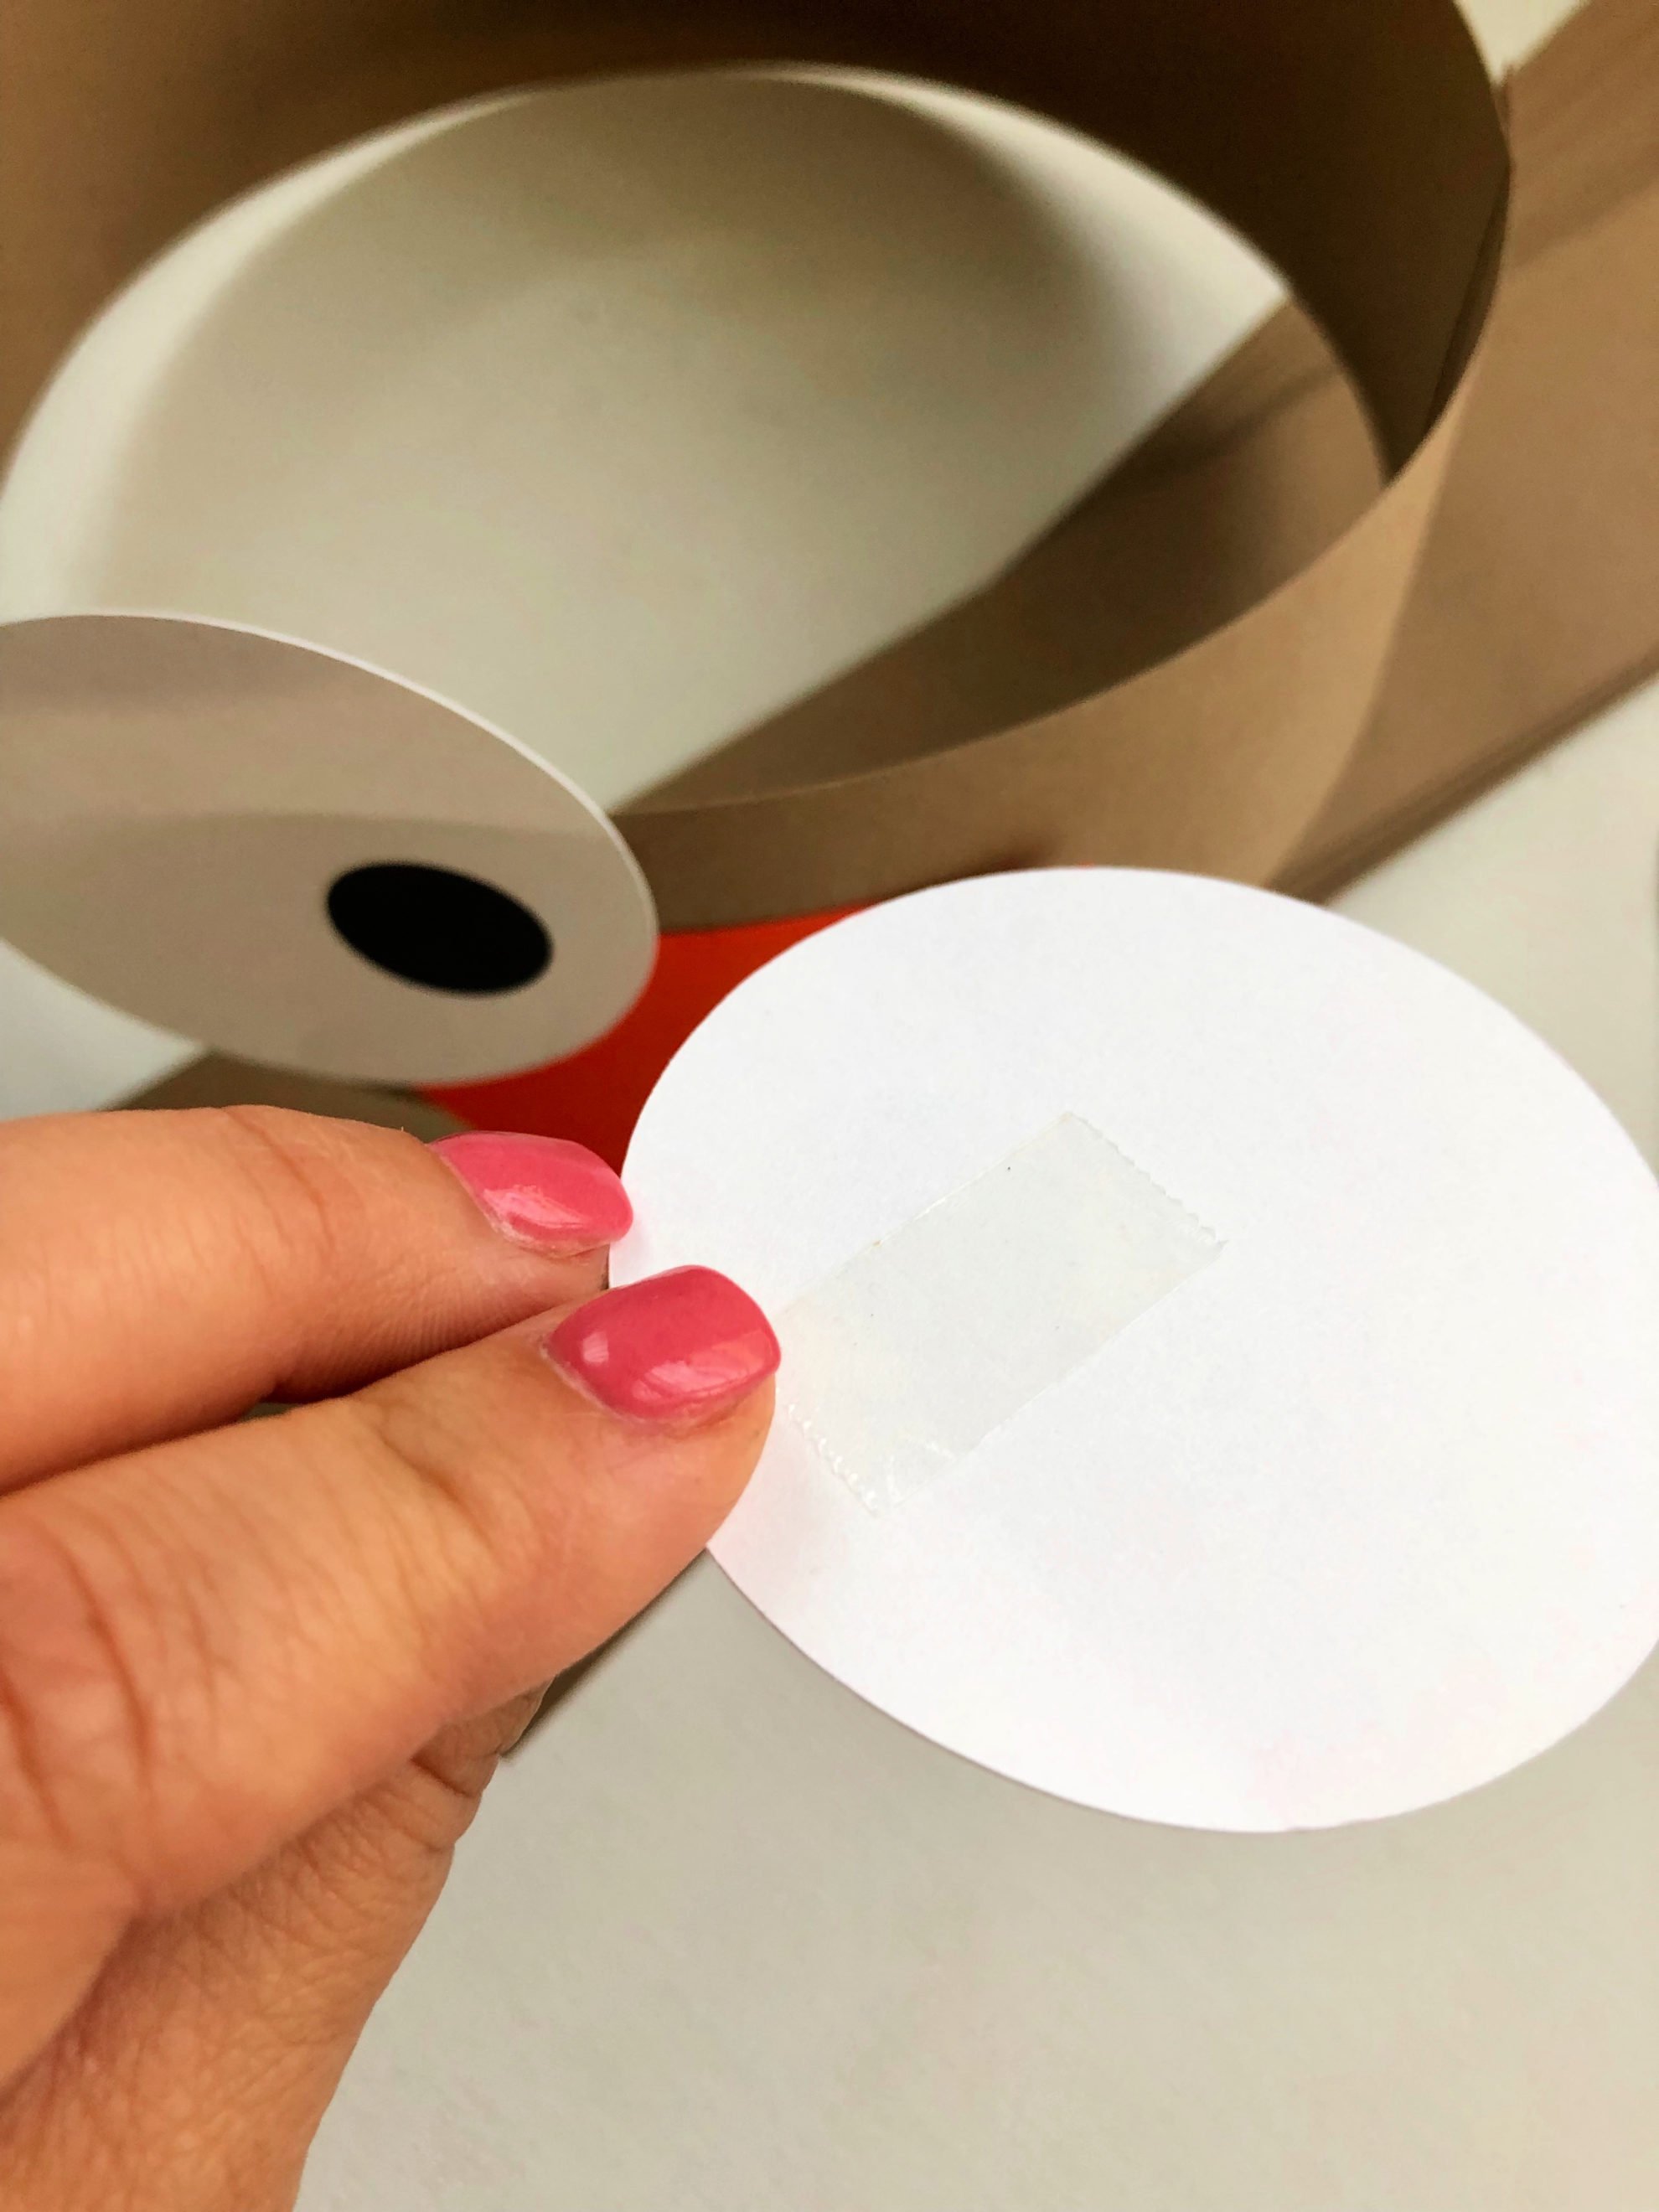
Then, place a piece of double-sided tape on the back of an eyeball. Adhere to the headband. Repeat and overlap slightly.
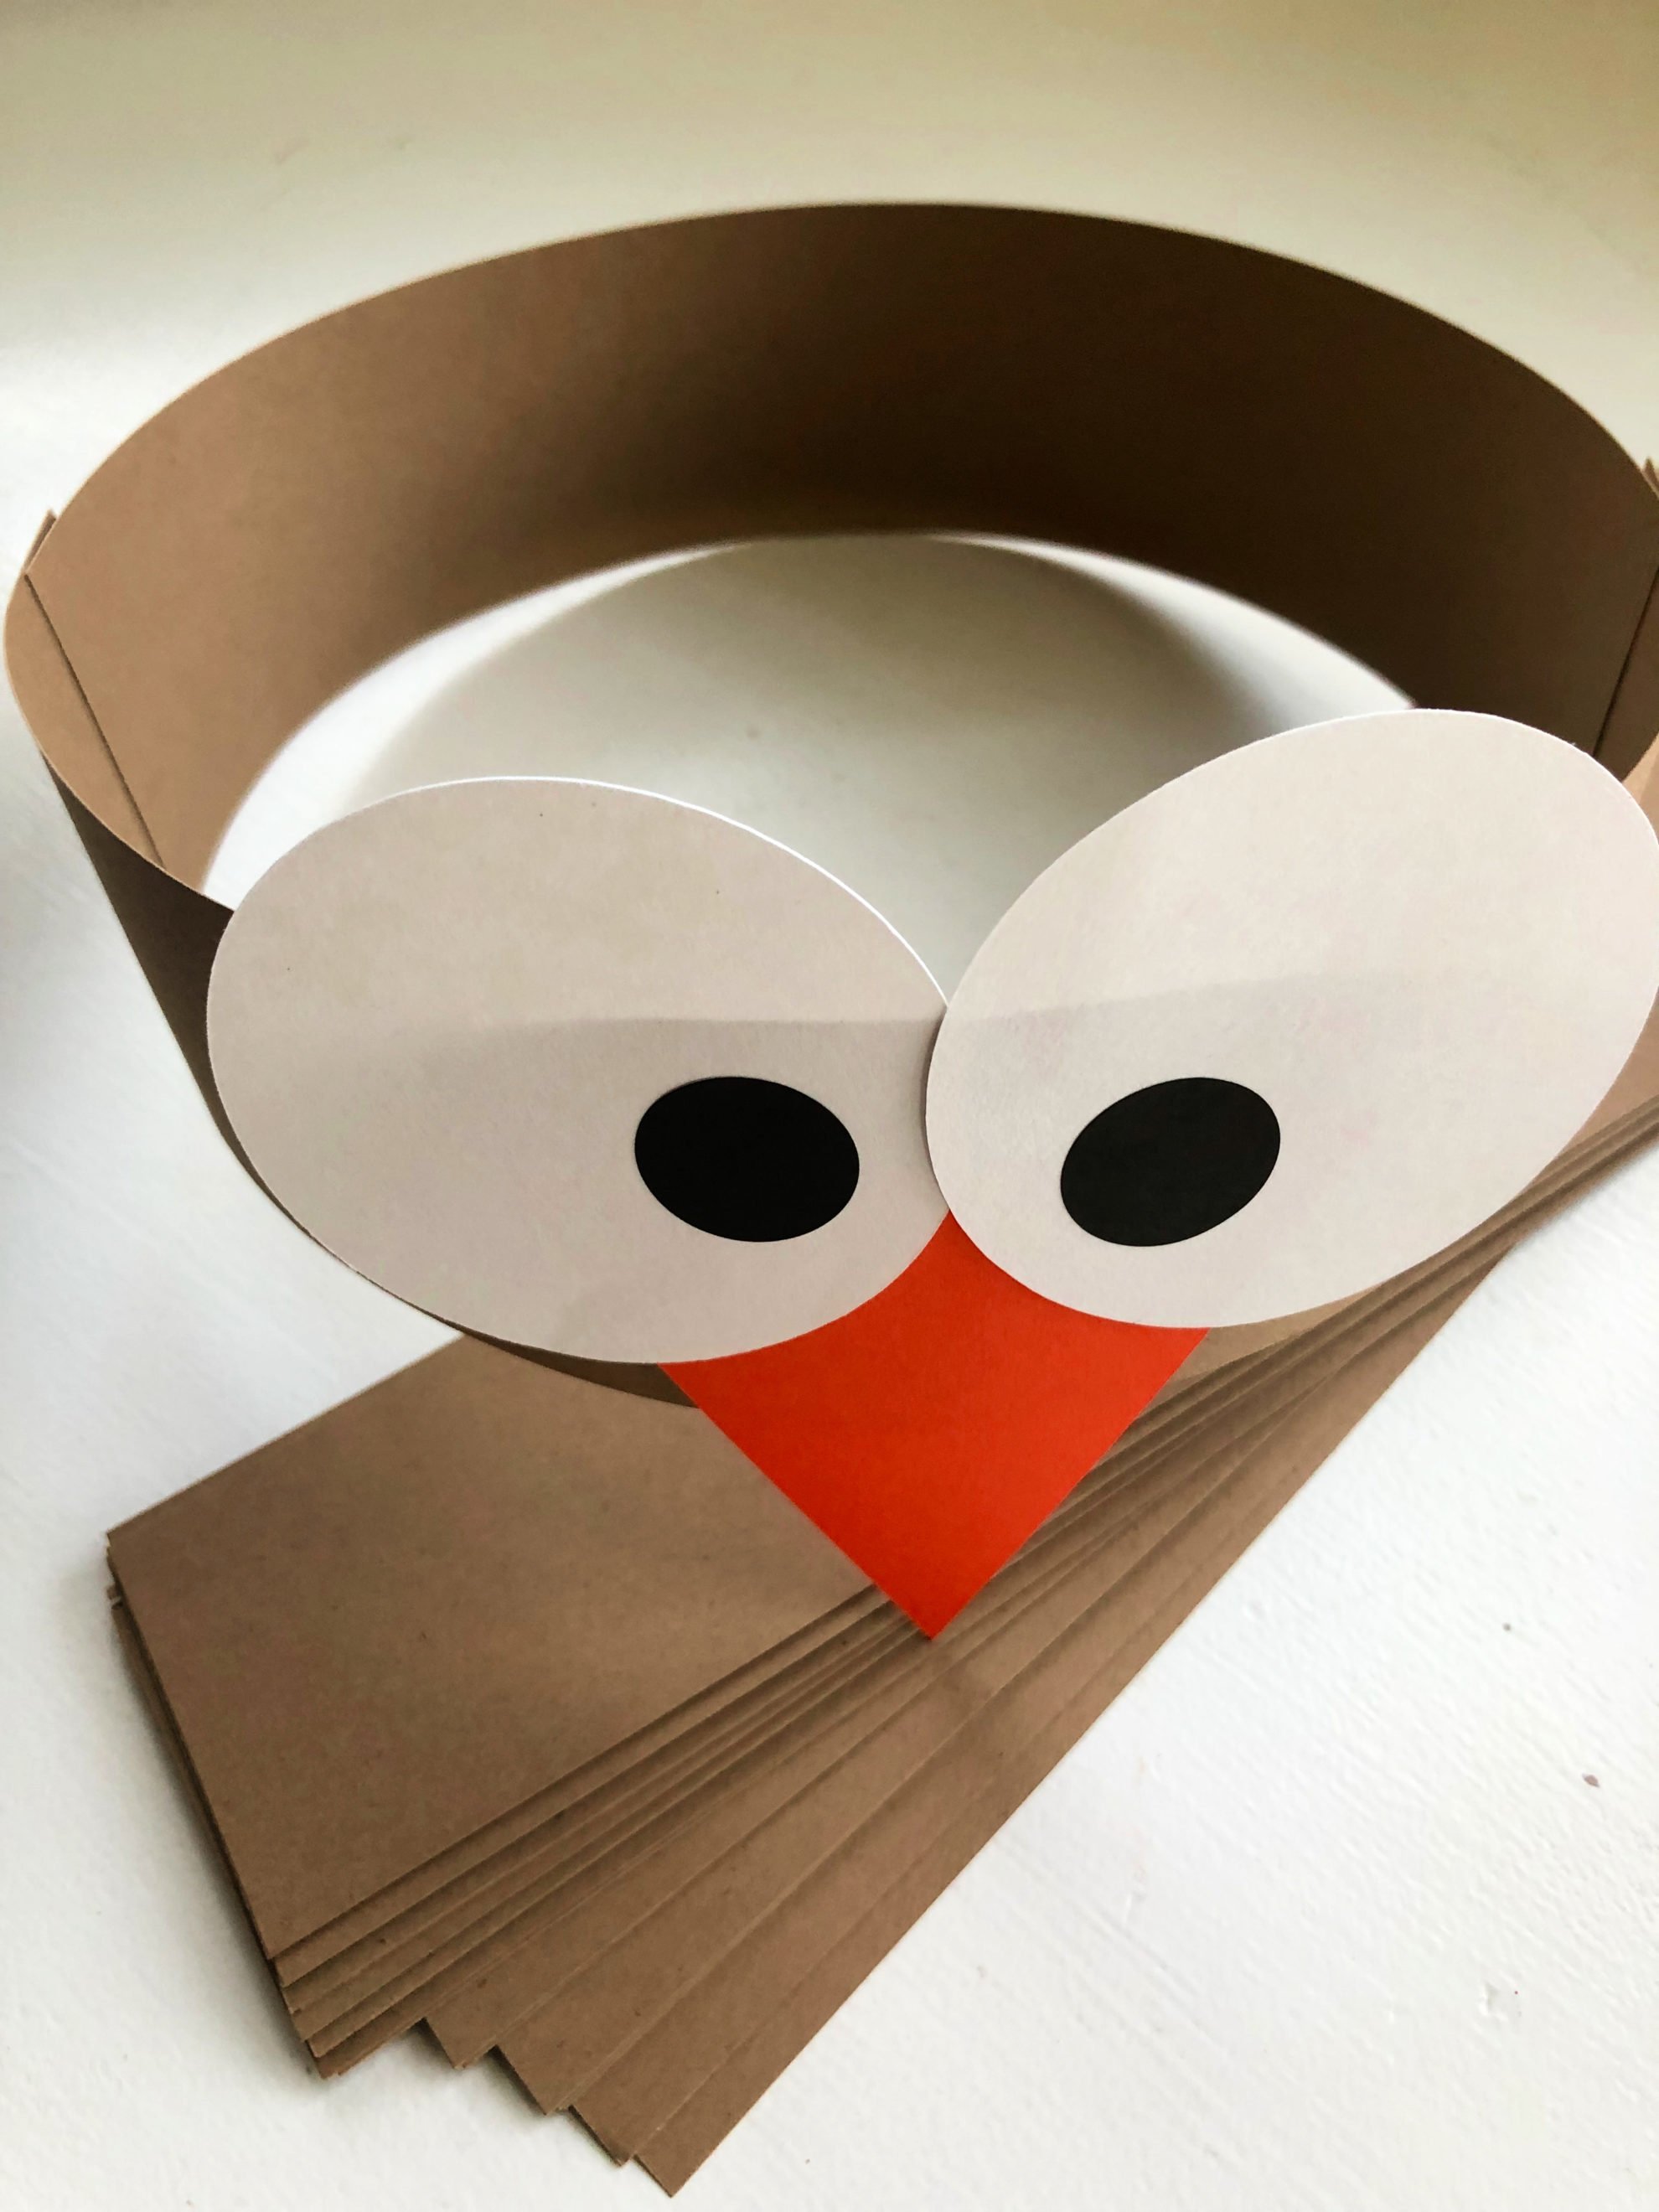
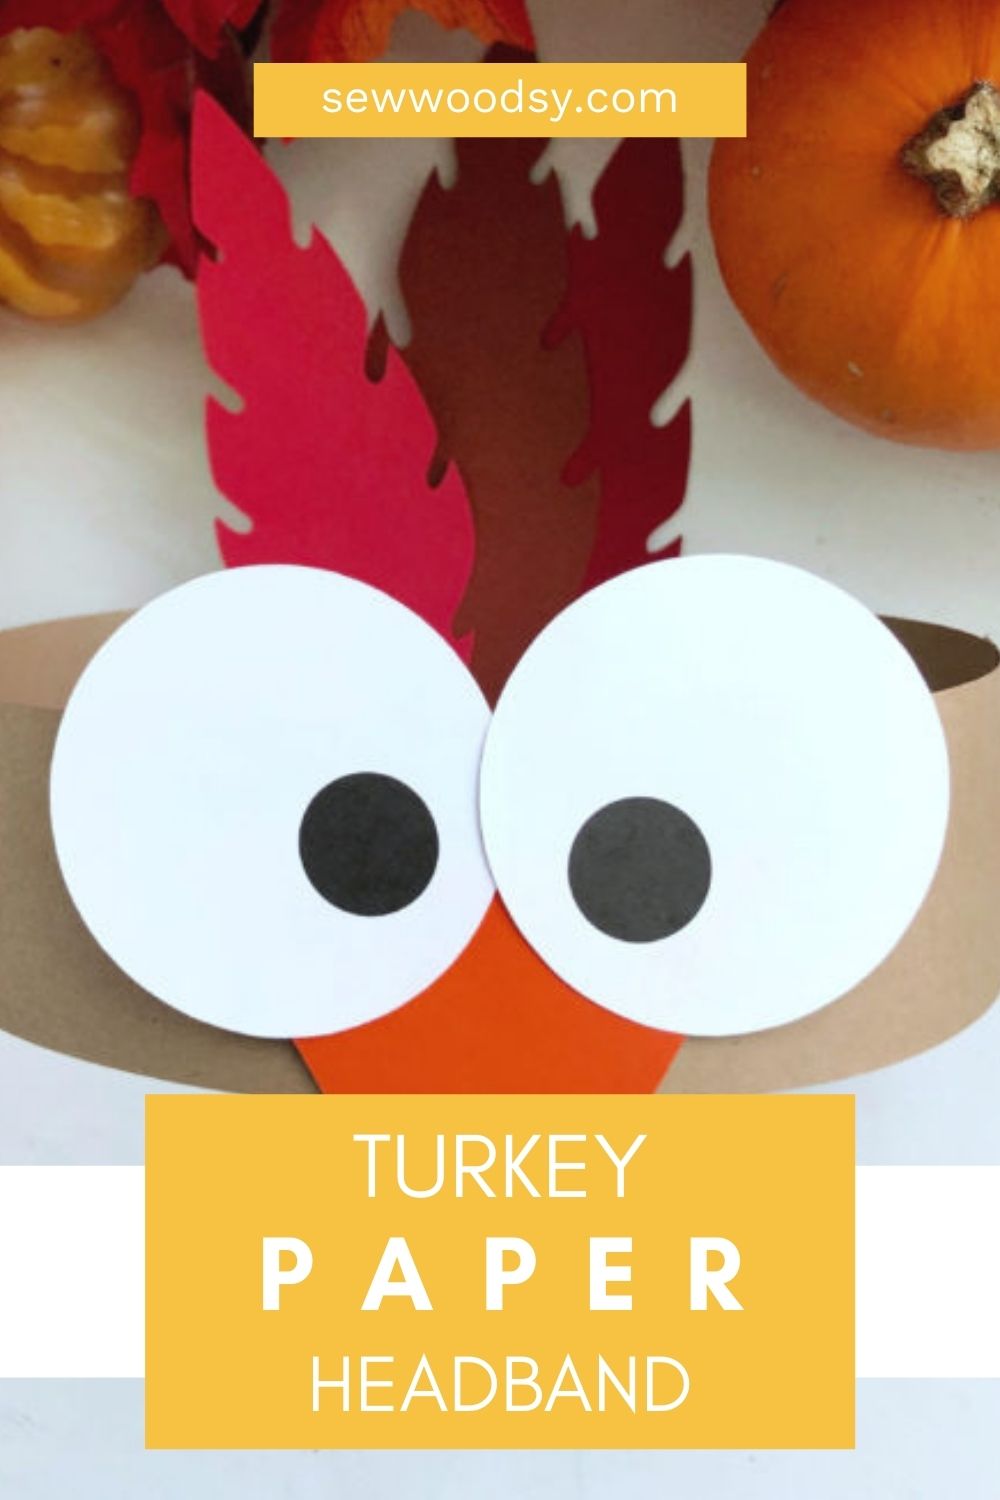
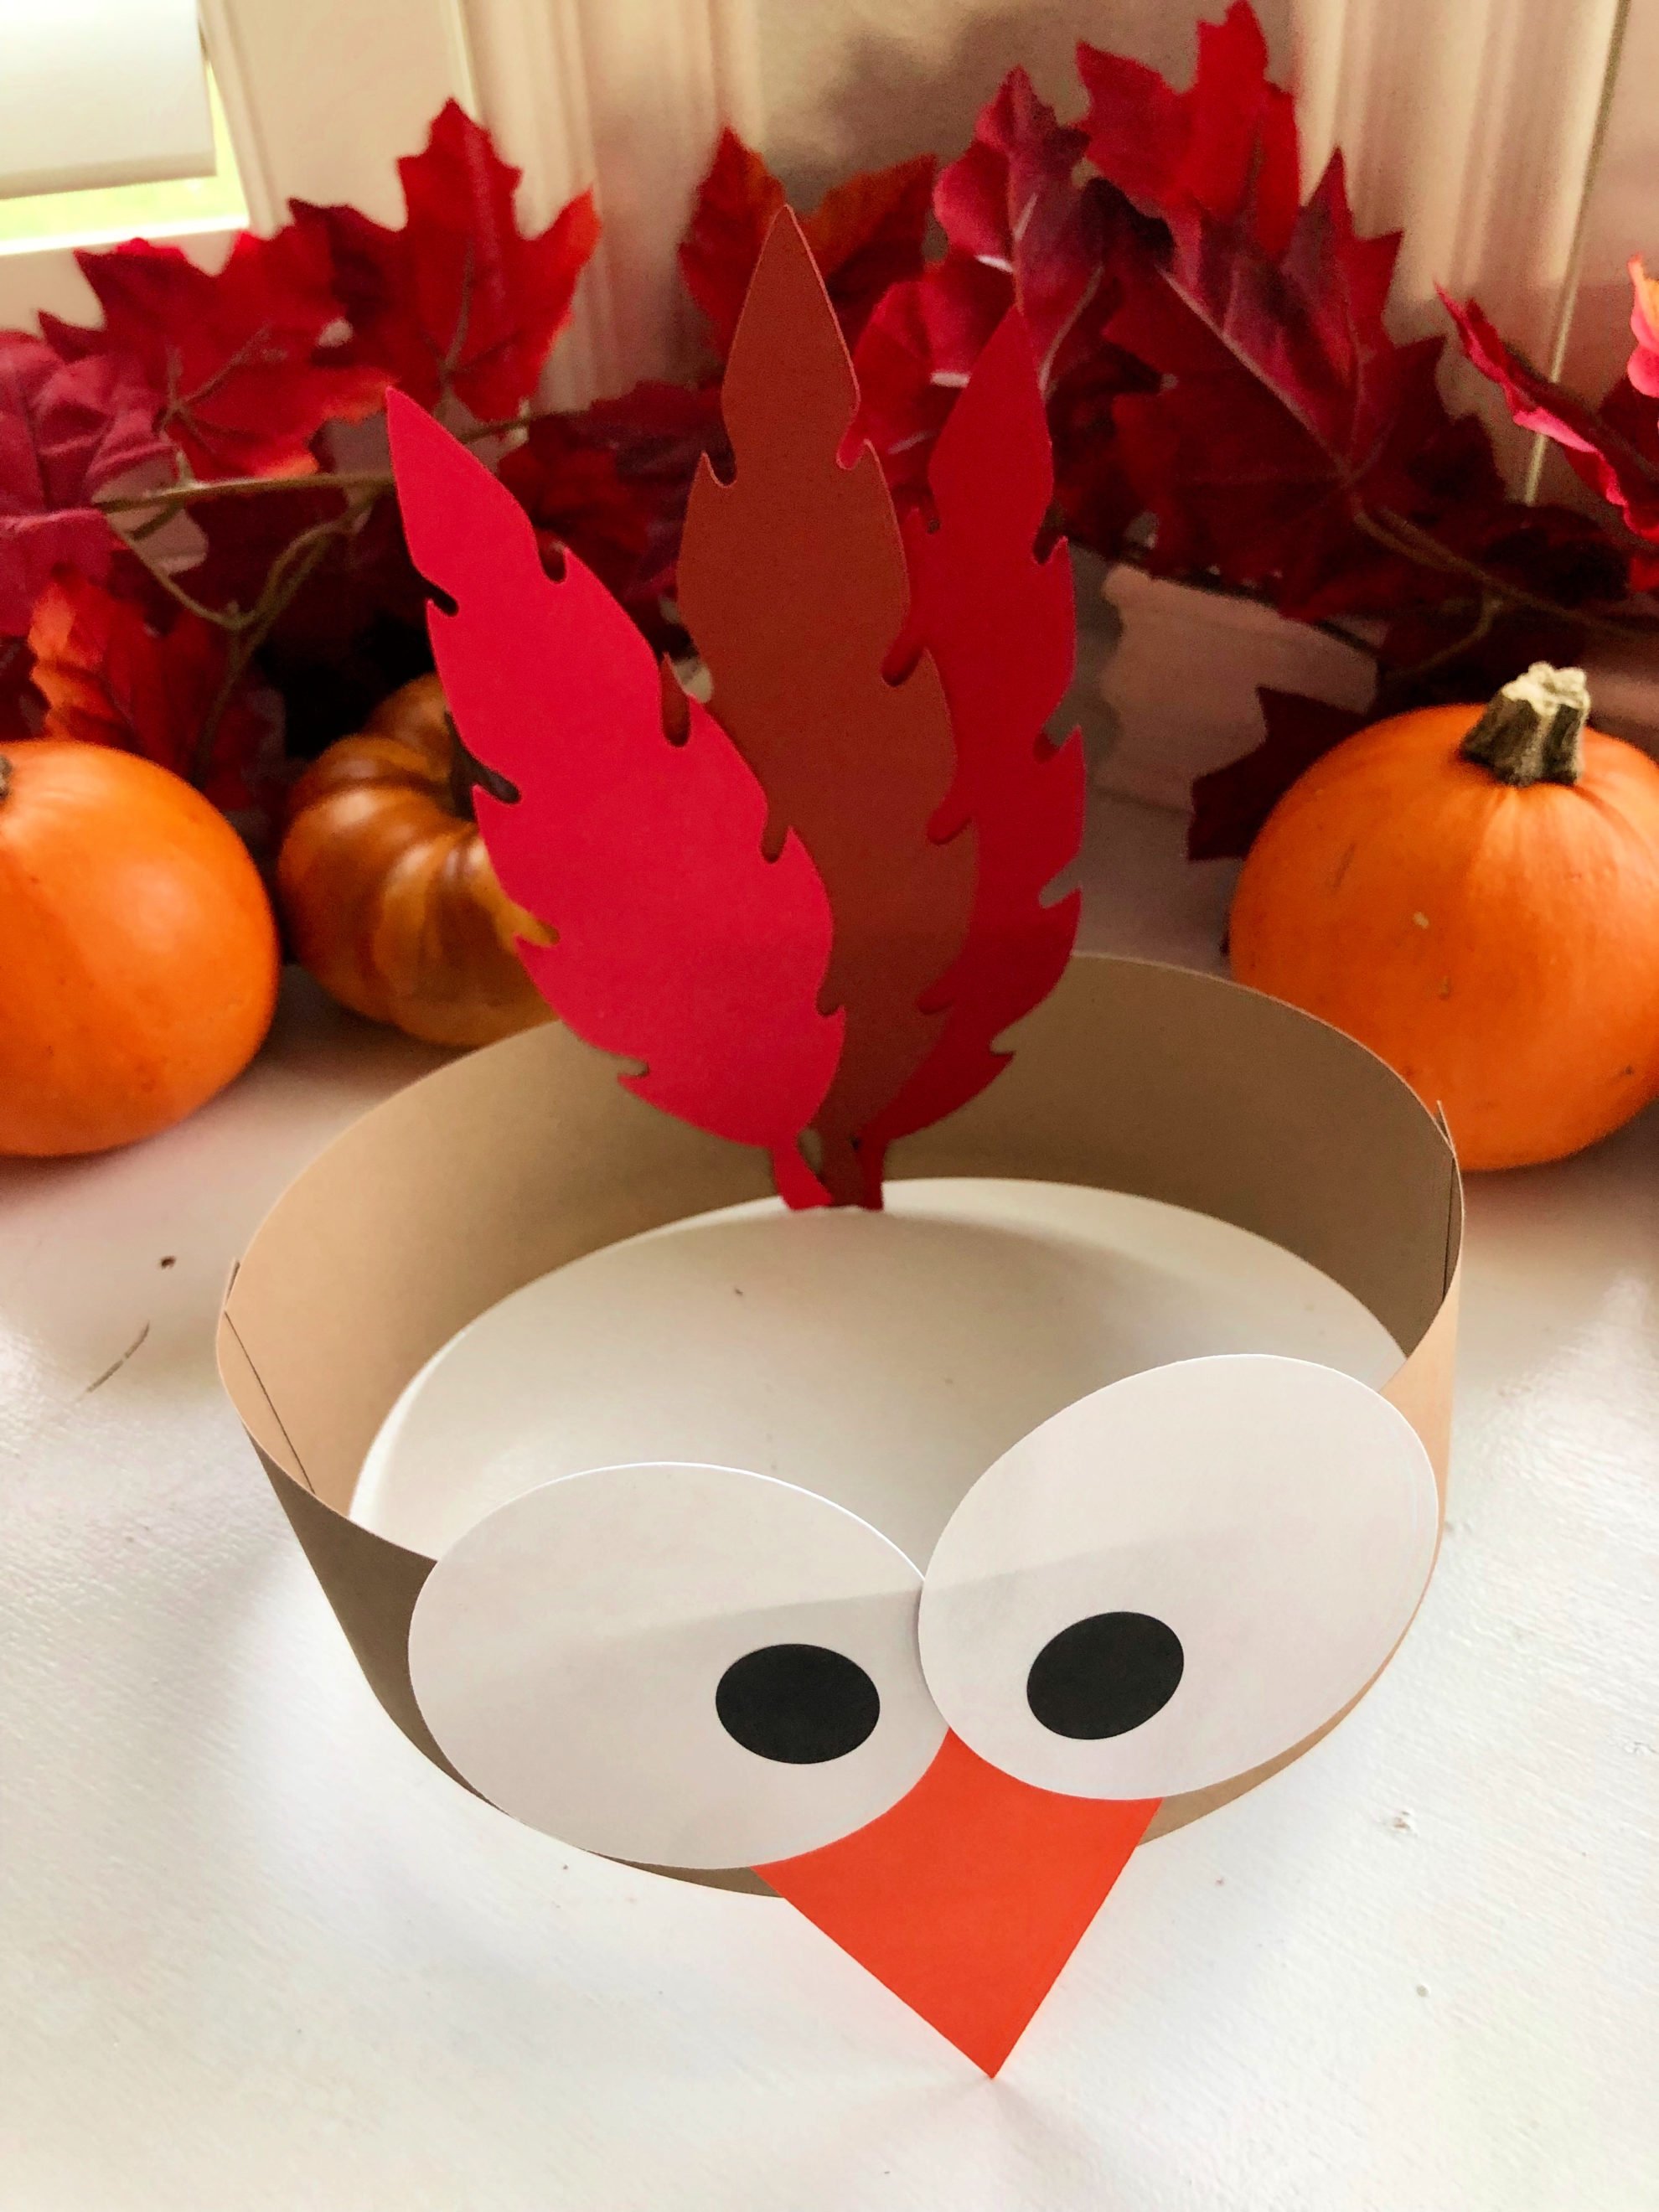
The front portion is done. Now on to the feathers.
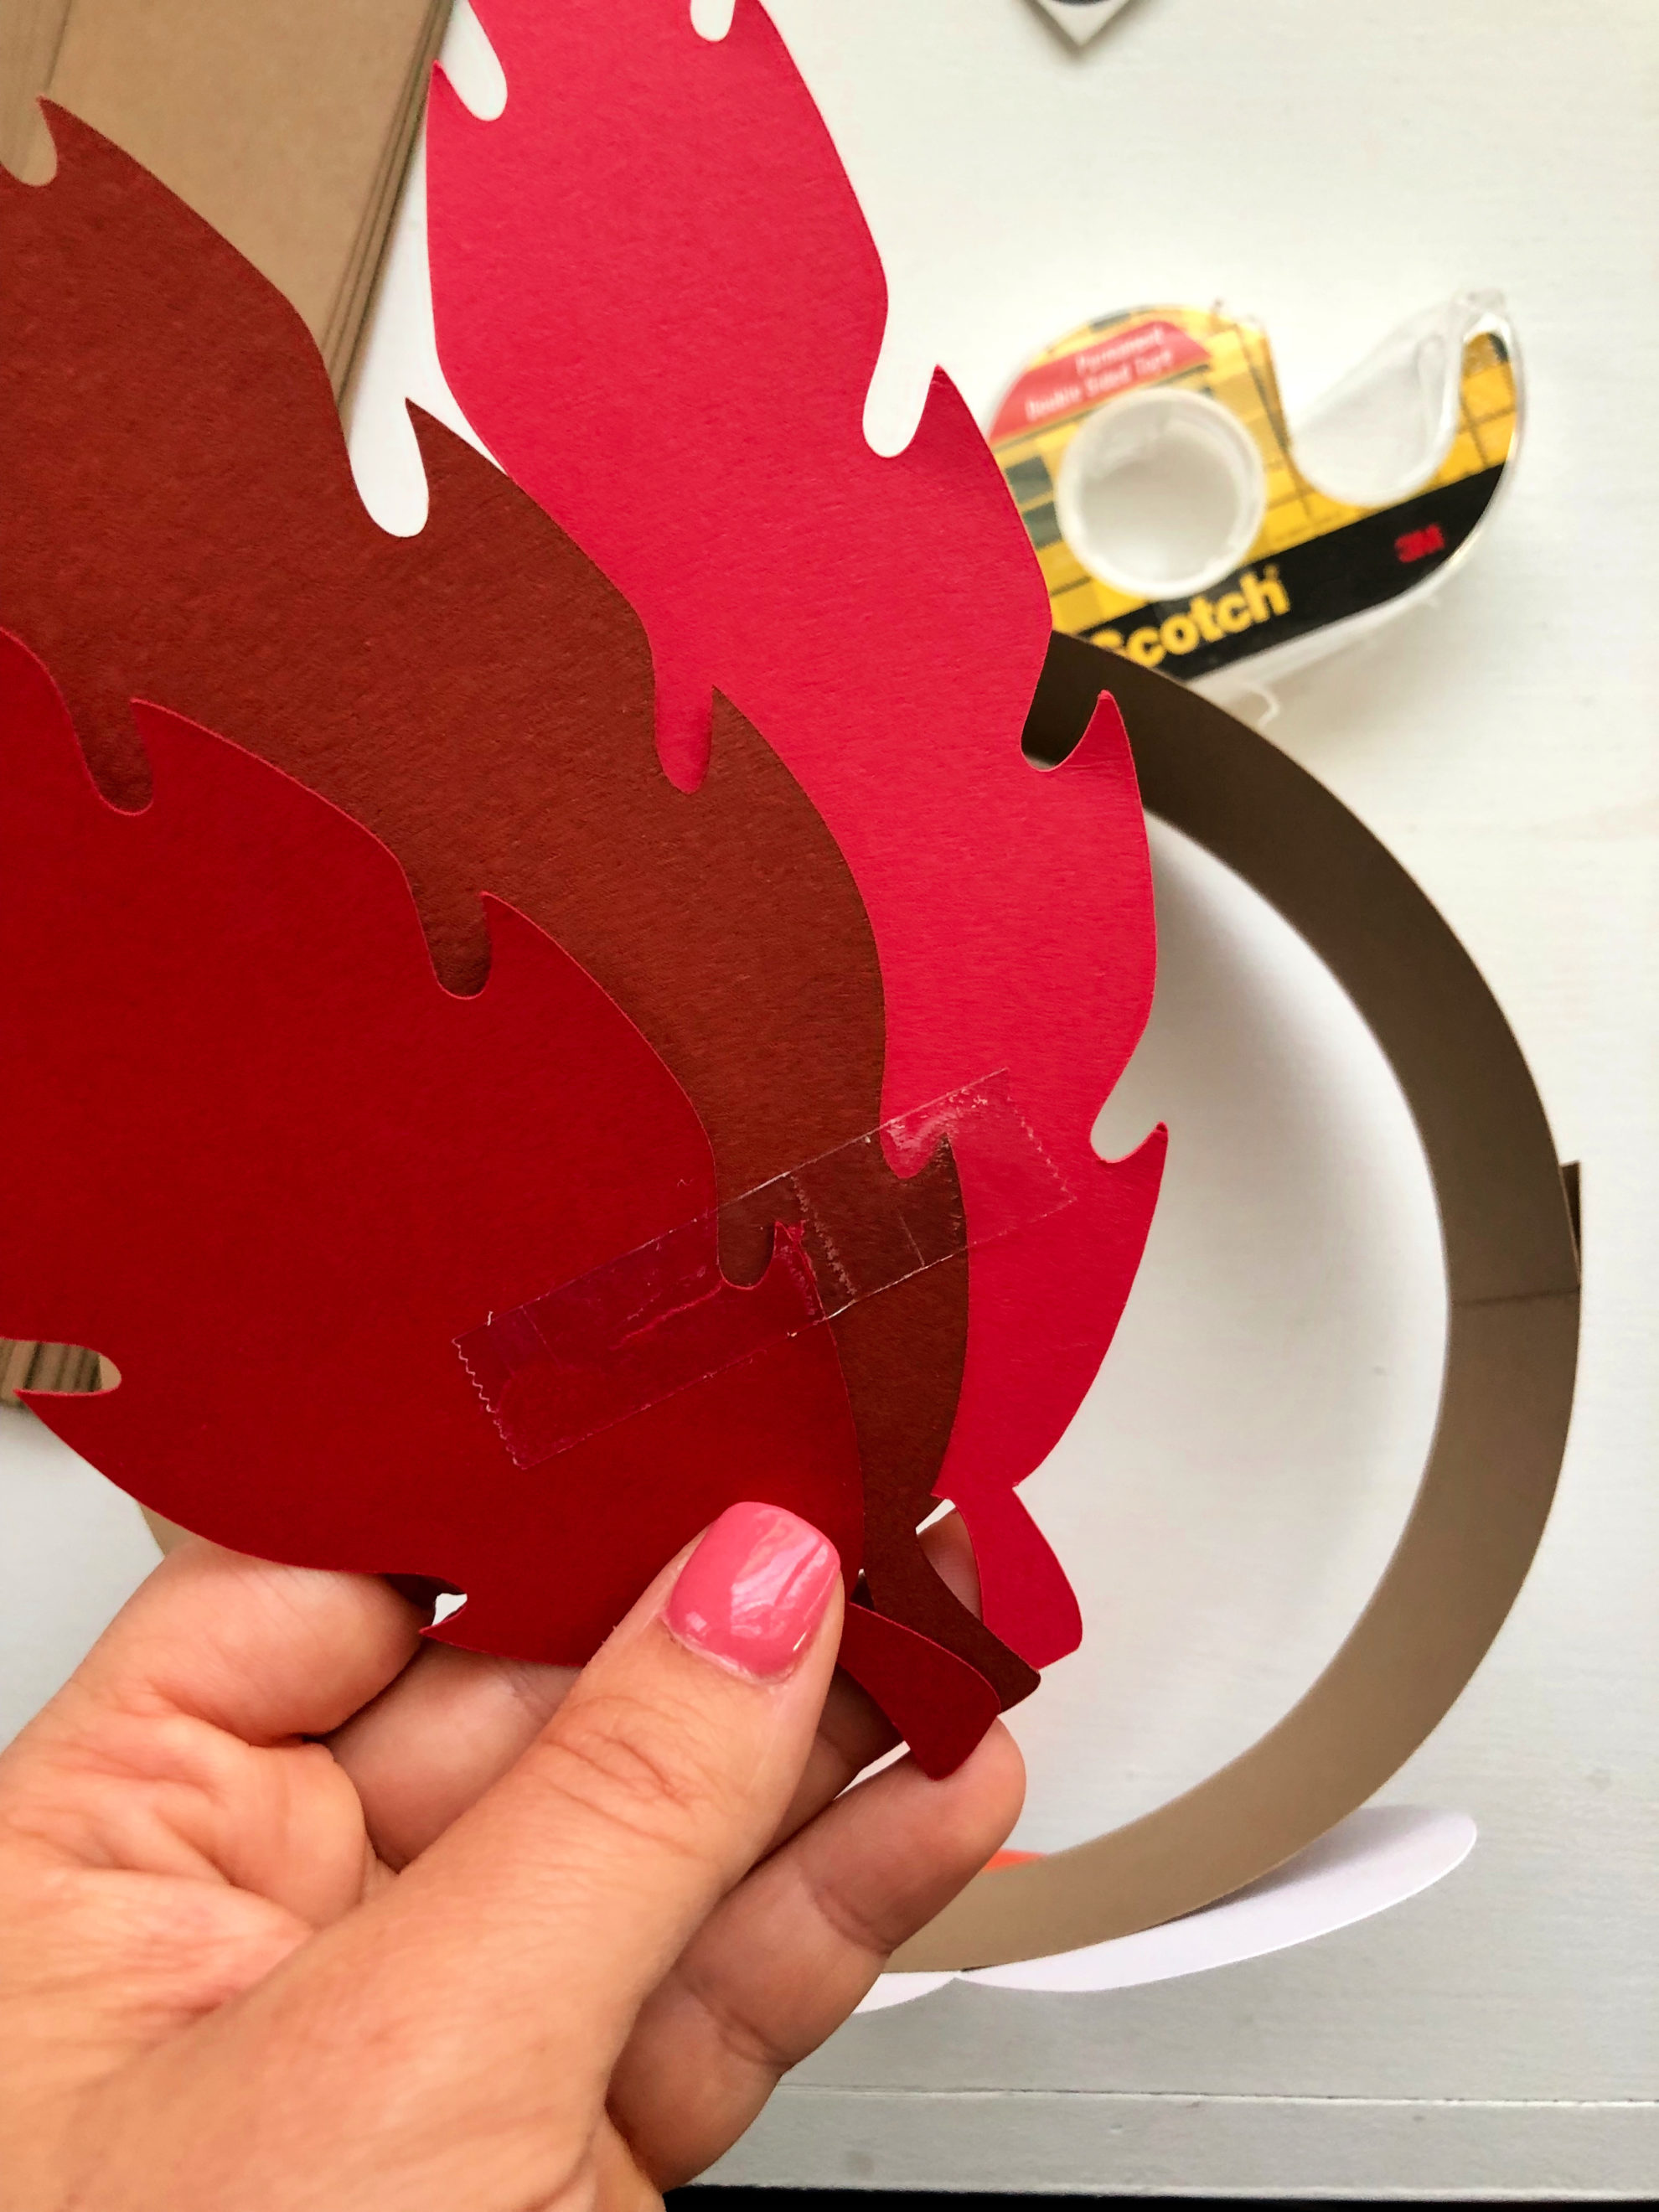
Place a strip of tape along the bottom of the feathers.

Adhere them to the inside of the headband.
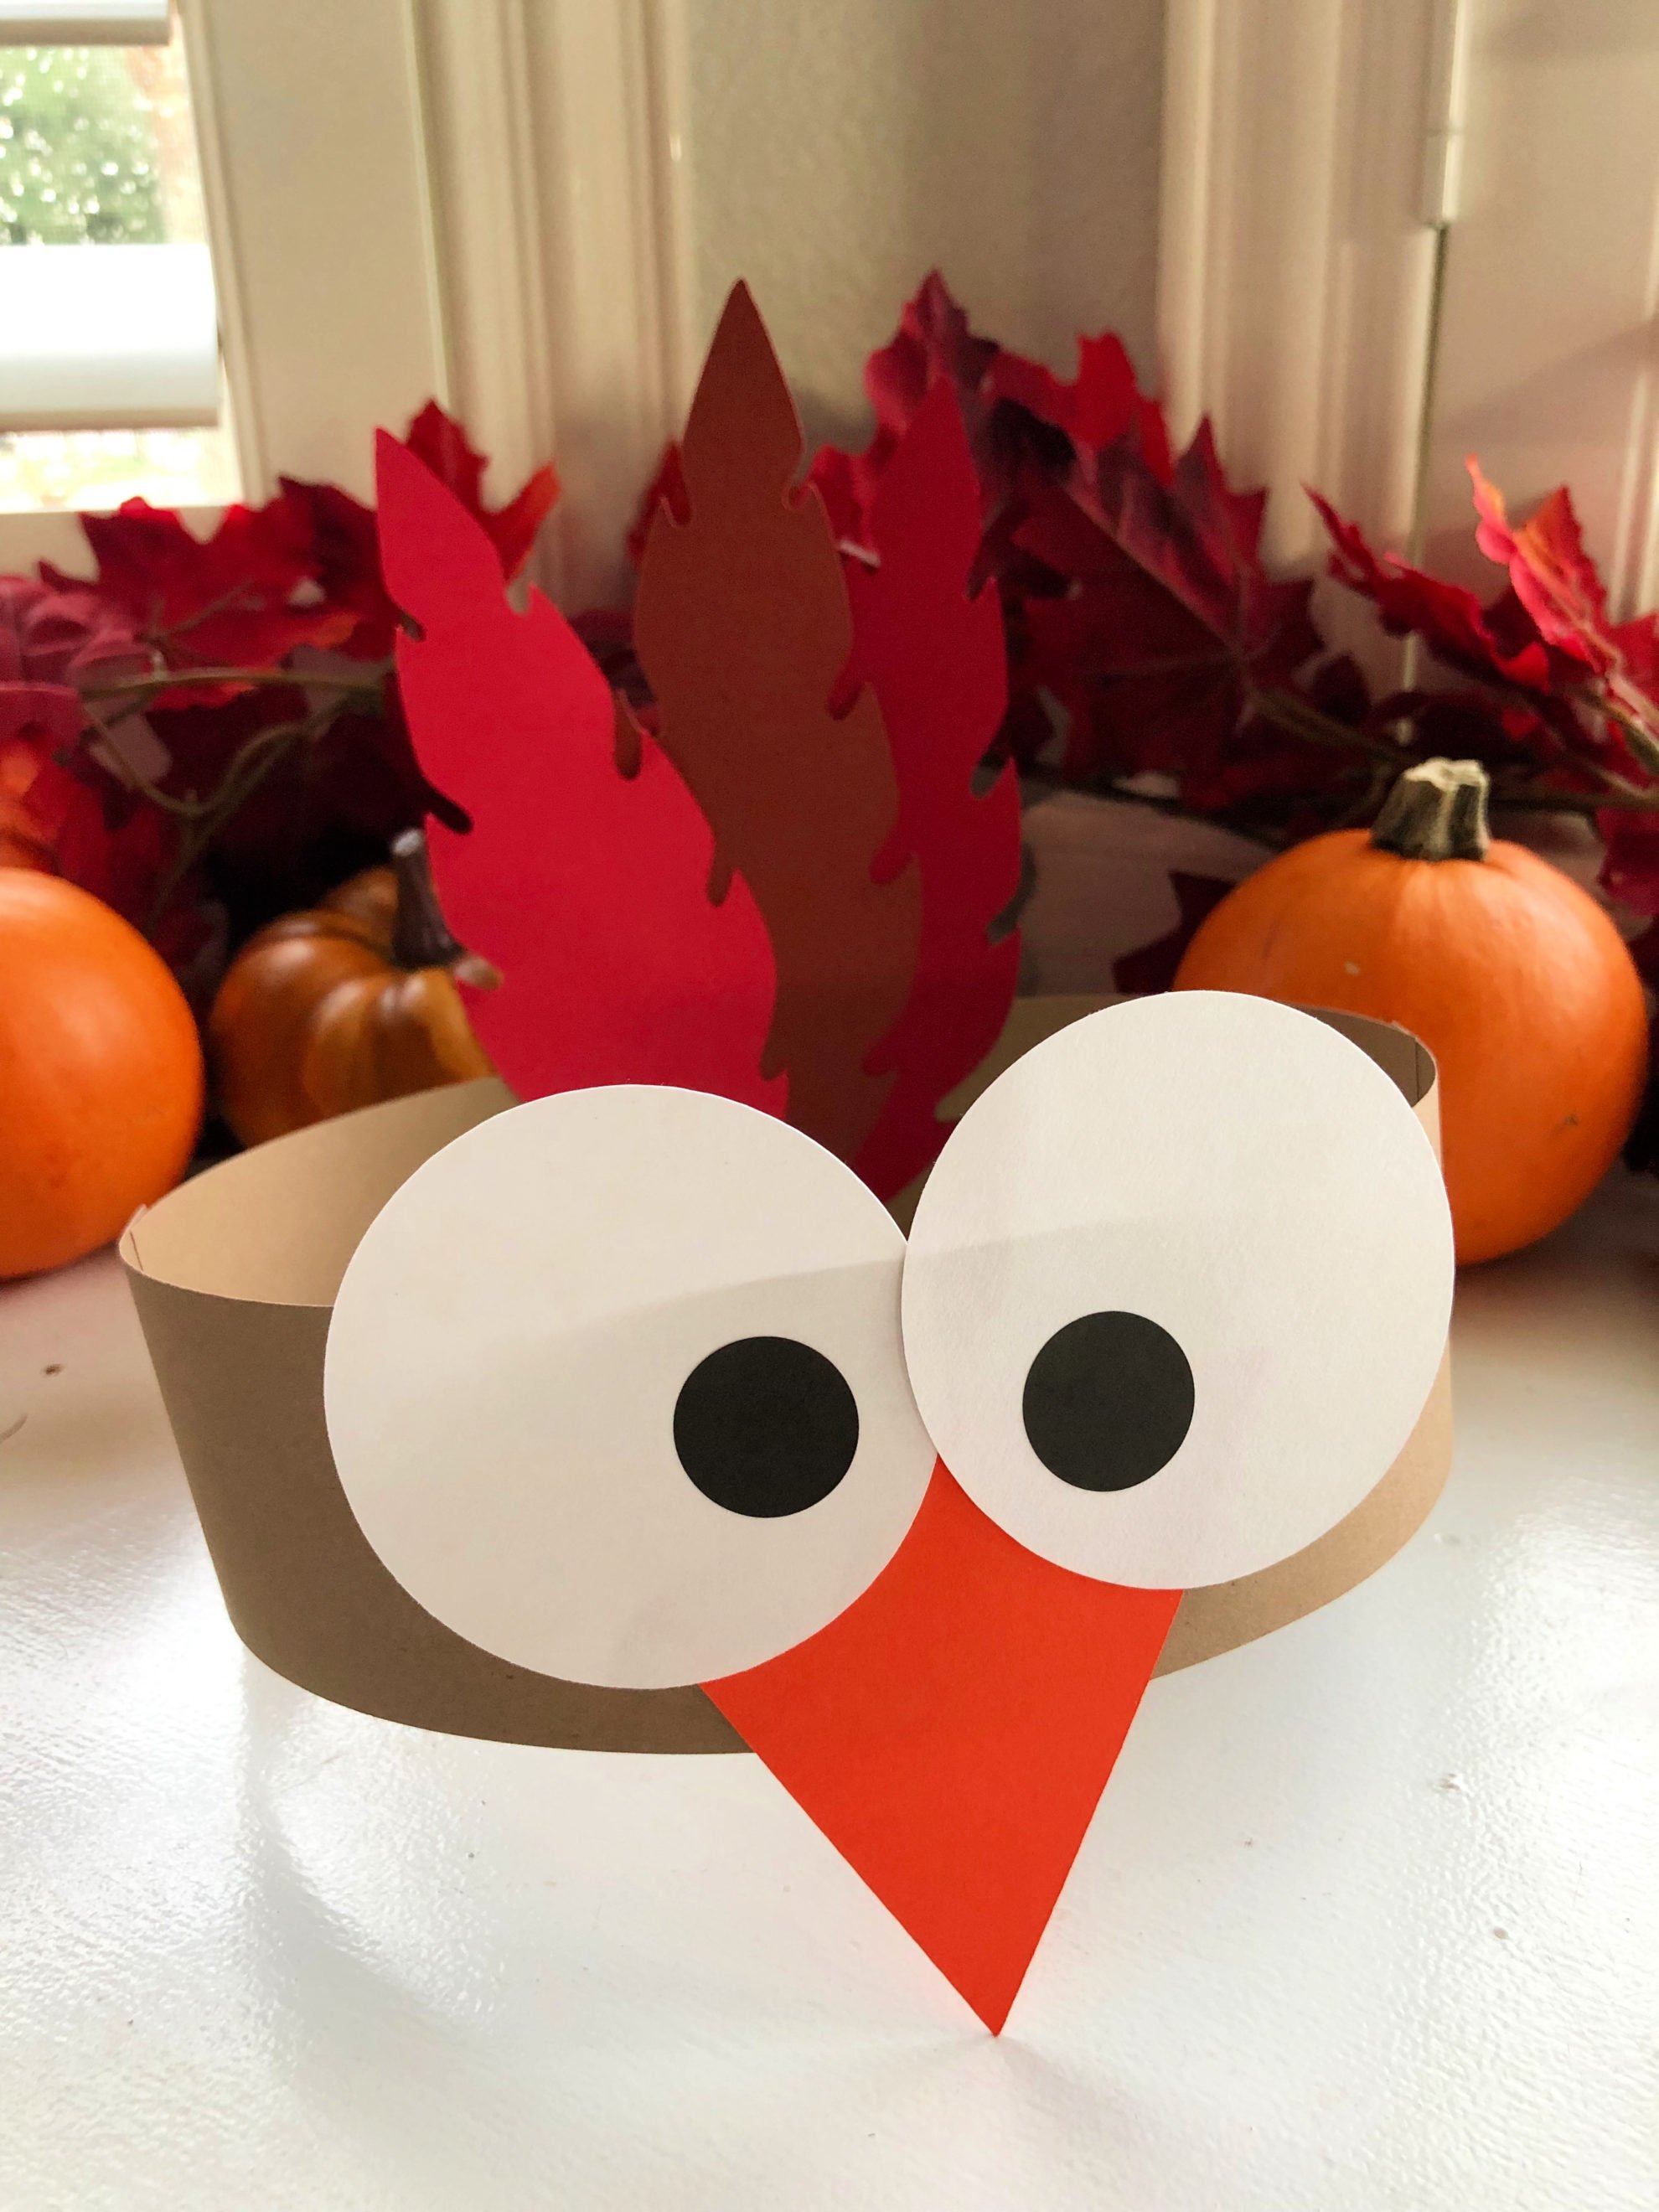
Easy as that you have the cutest Turkey Paper Headbands for your little turkeys.
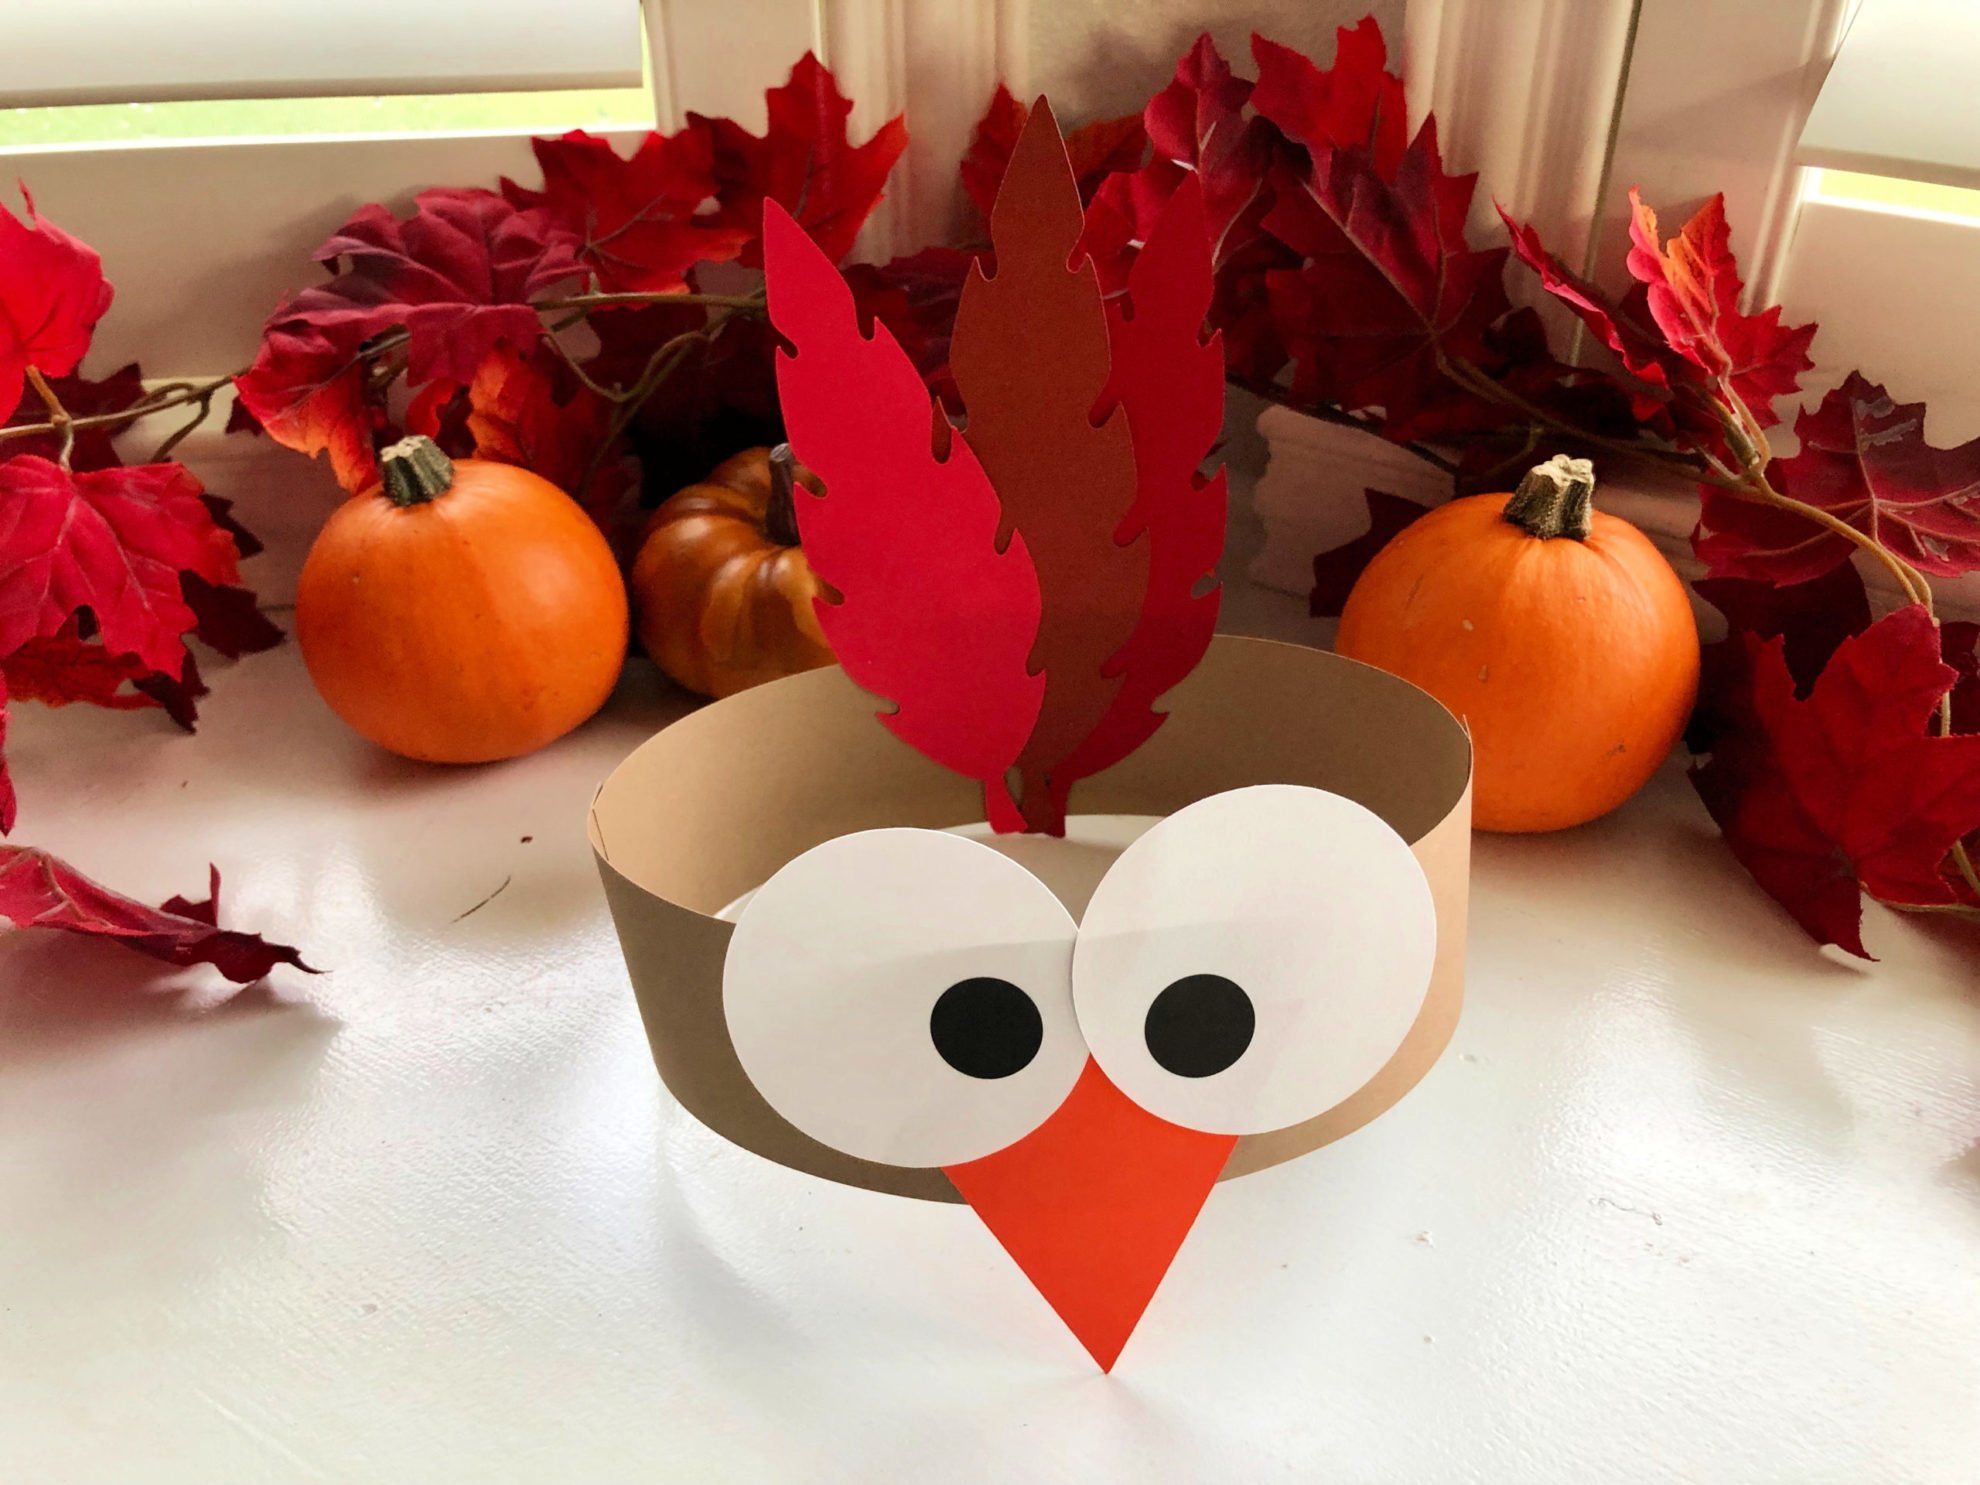
I’m in love with how cute these are and so so simple!
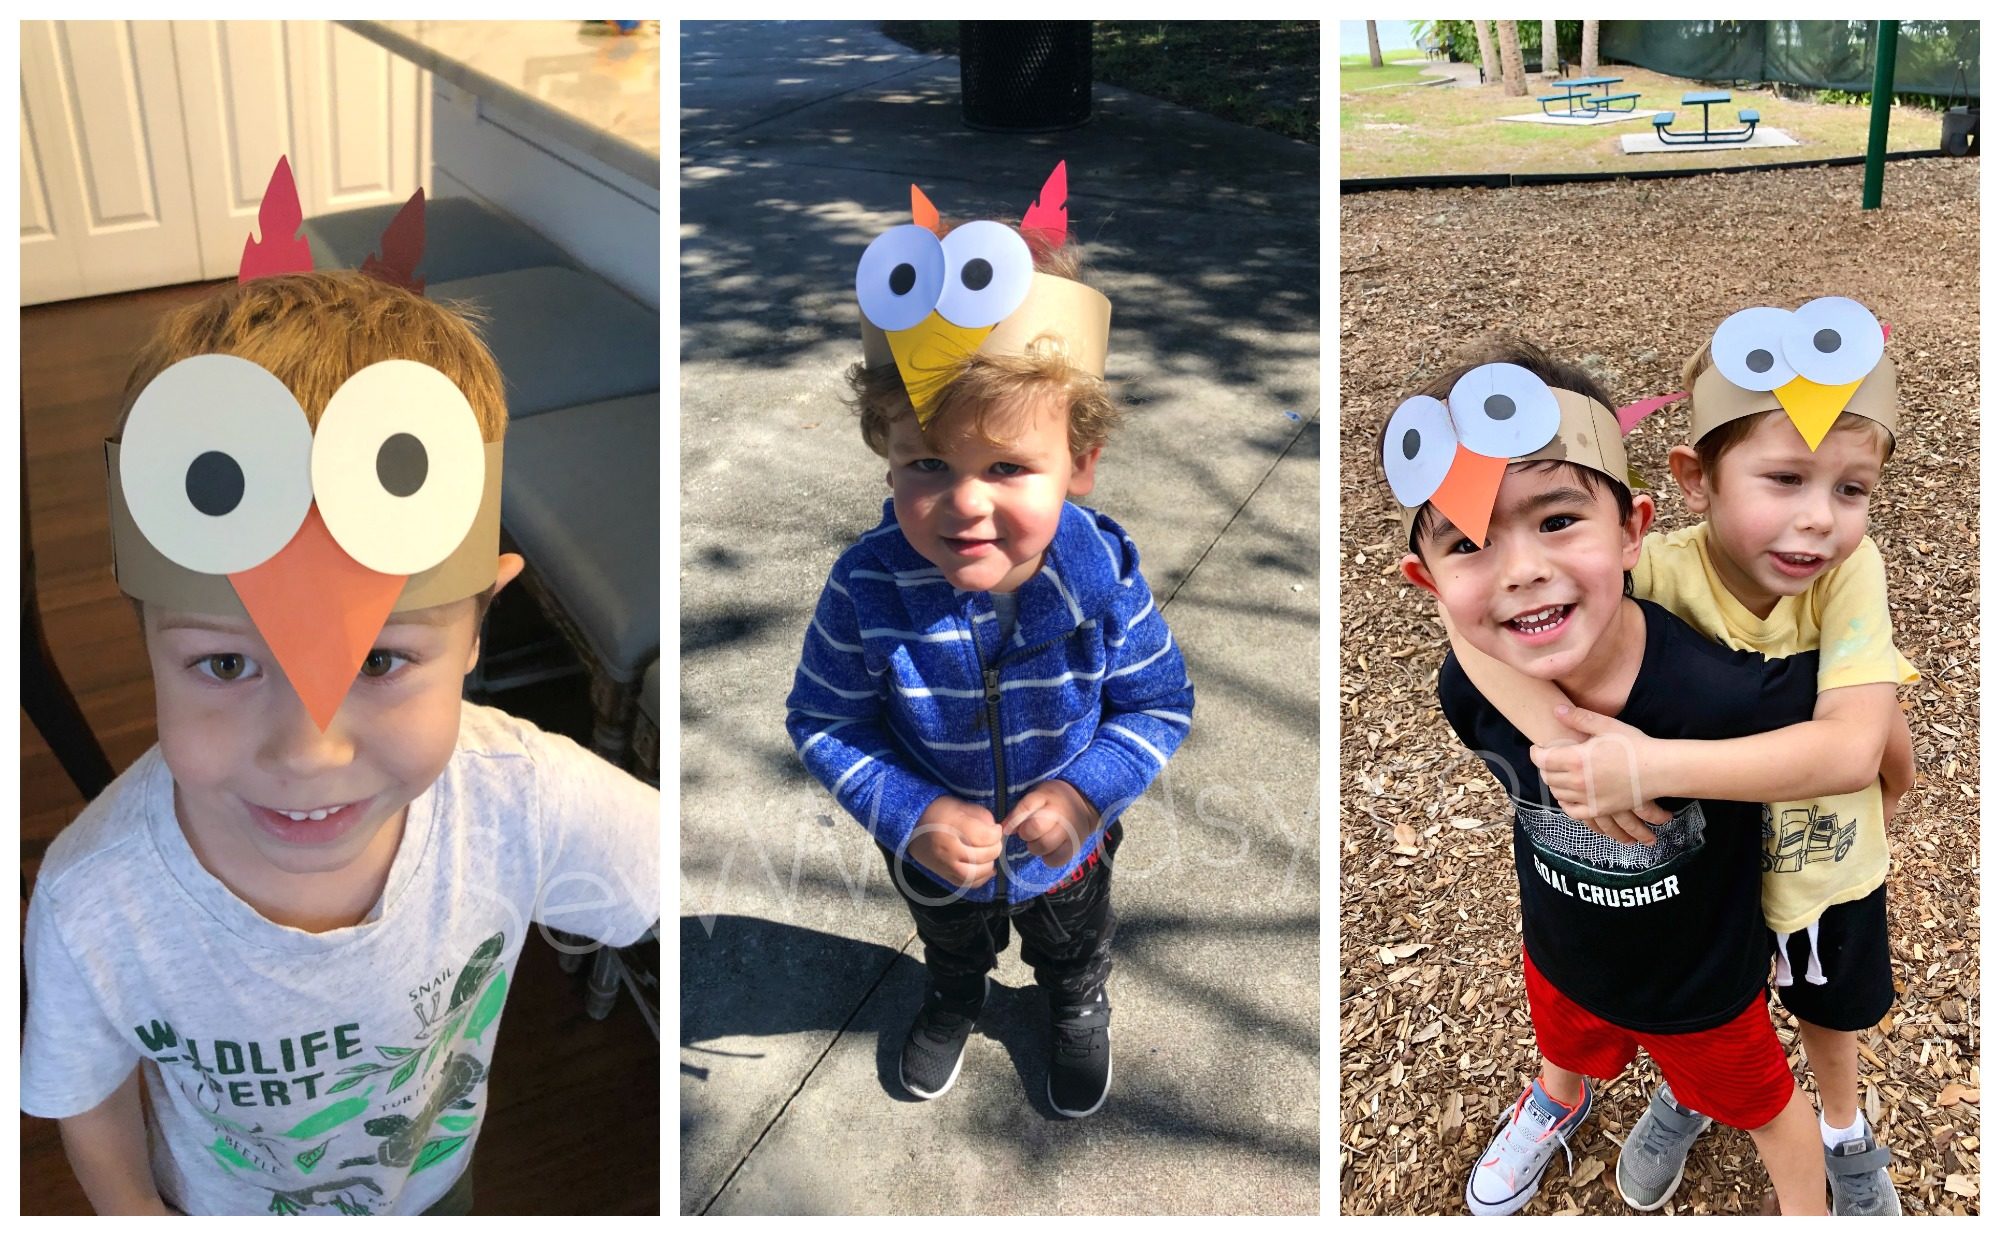
Here is my little turkey and his friends! The kids all loved running around at the park with these turkey headbands. If your looking for something quick and fun to do with the kids that’s themed around Thanksgiving I hope you’ll give these a try.
Free Printable Template
If you don’t own a Cricut here’s how to cut these and still be able to make these at home. Download the free printable template below.
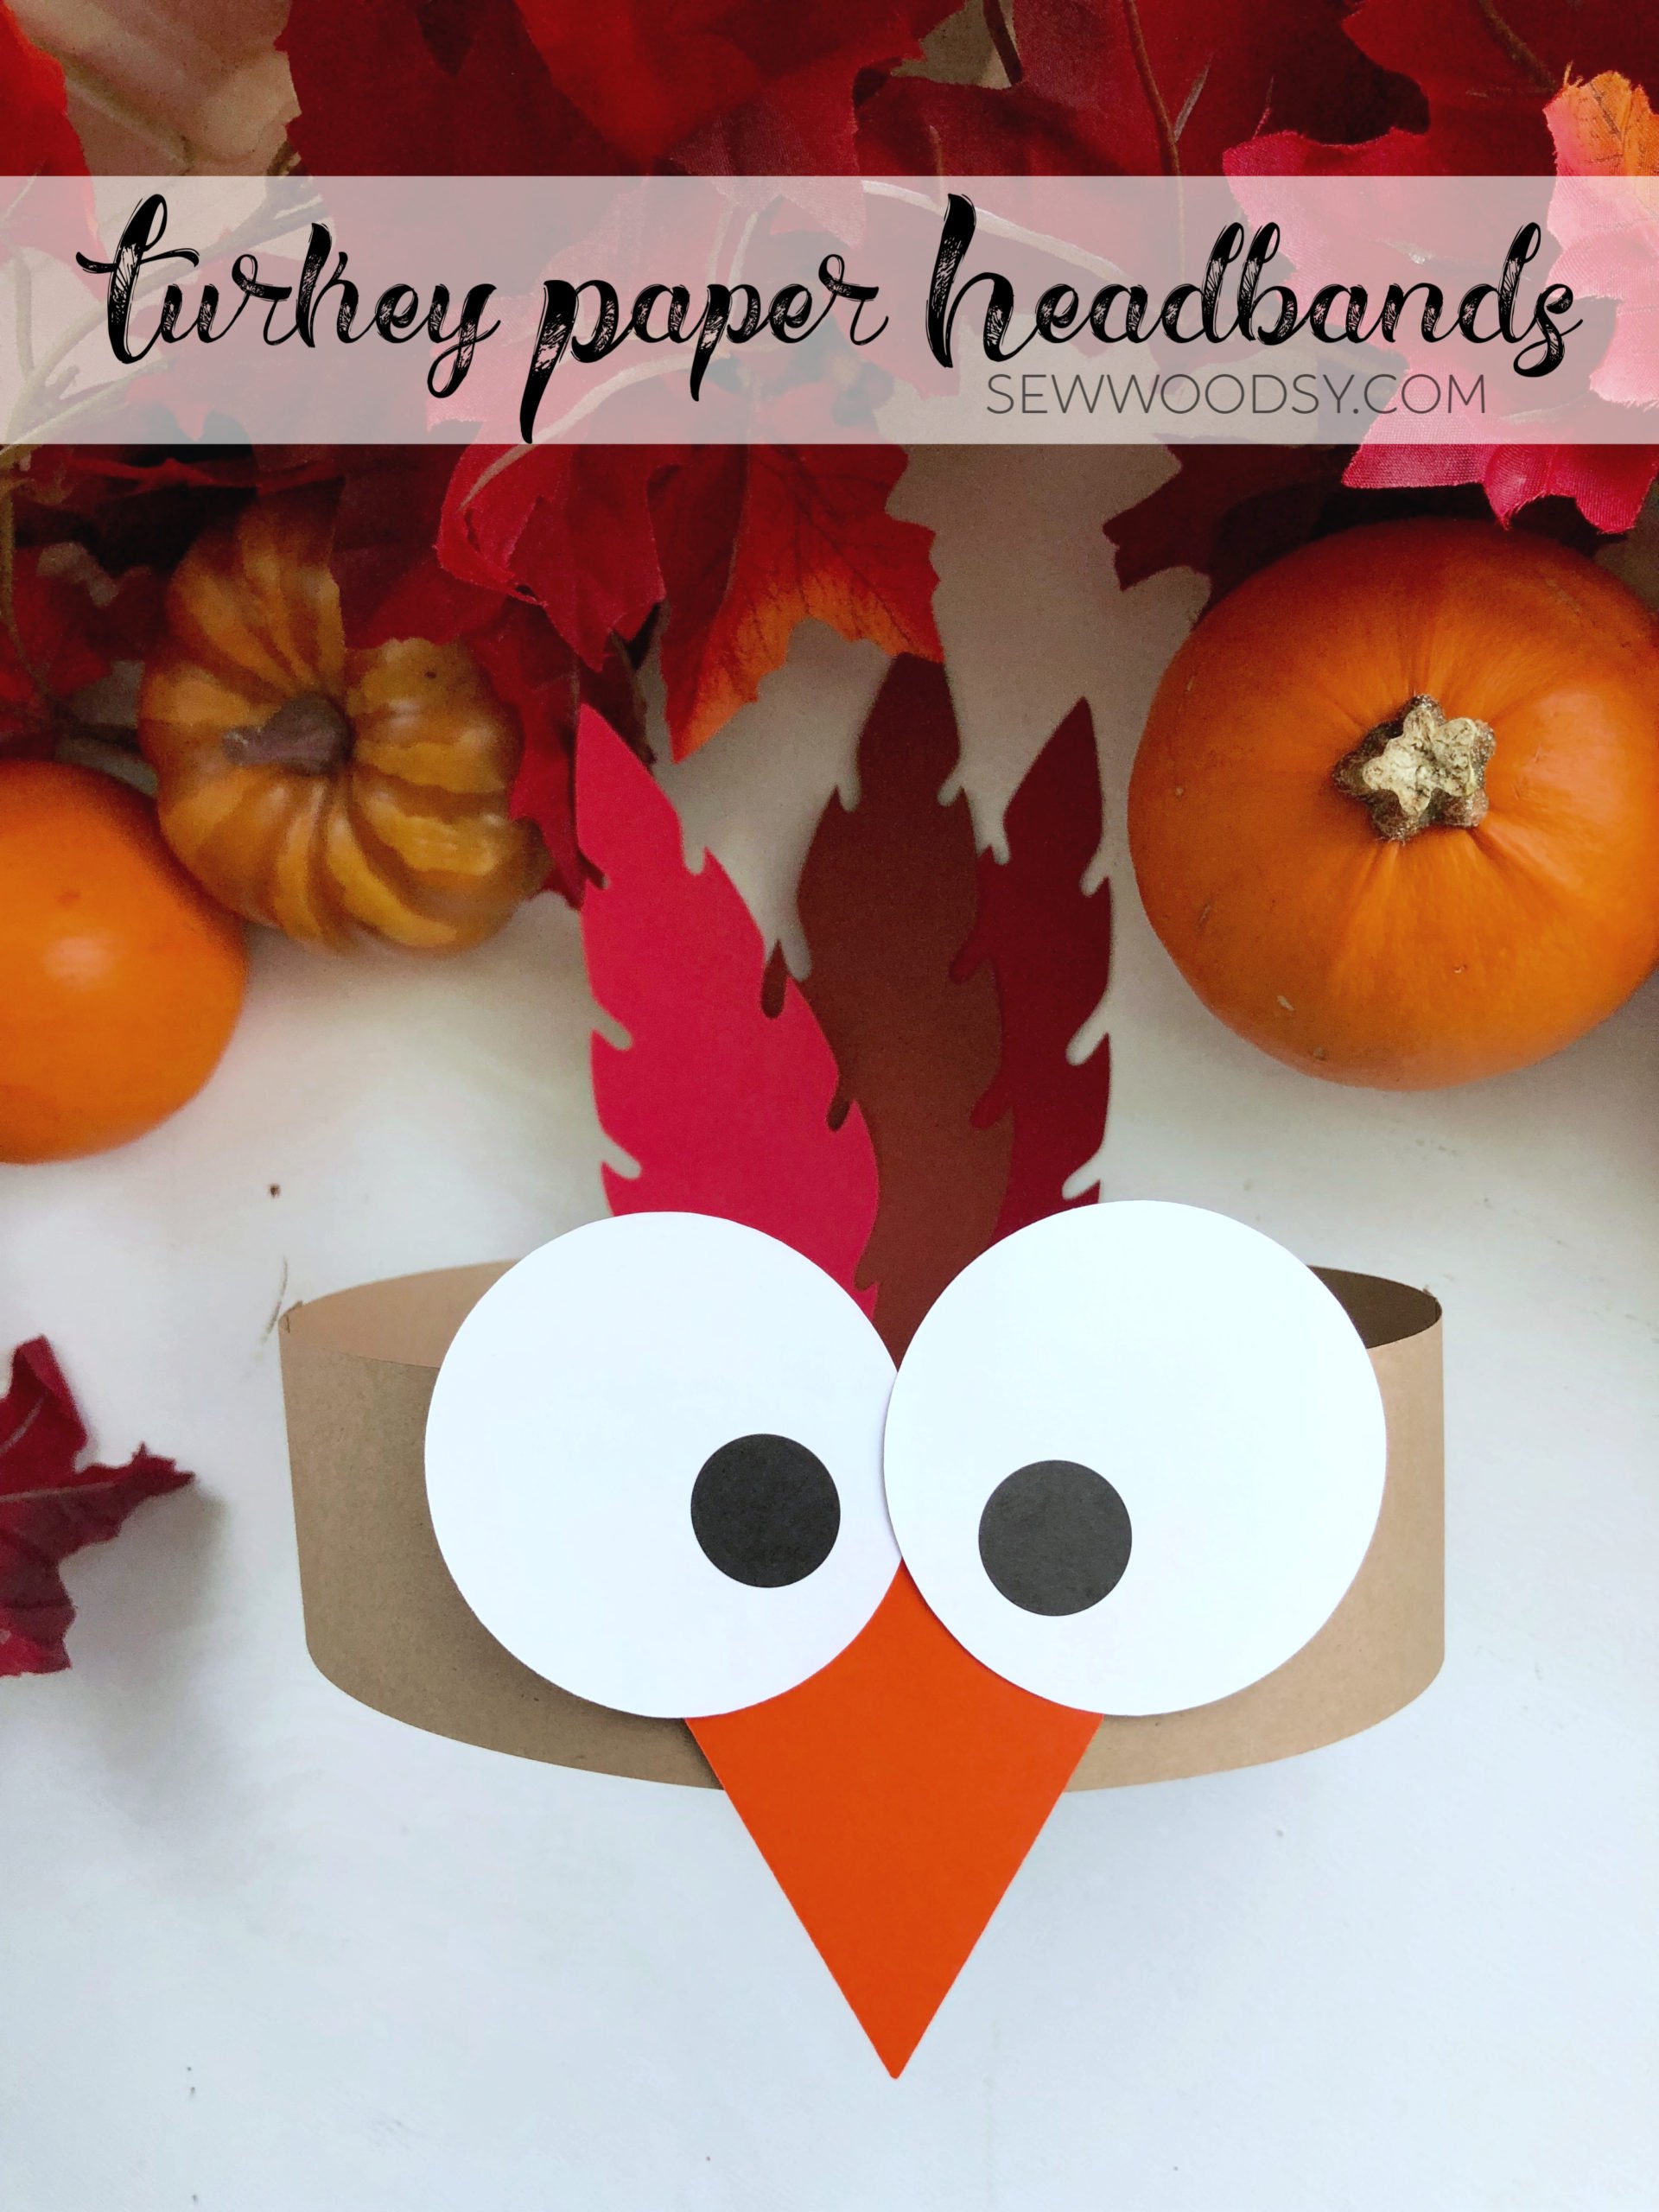
- Cut two brown pieces of card stock at 2-inches wide by 8-inches long for the actual headband.
- Cut two white circles at 2-inches wide for the eyes.
- The feathers are 7-inches long.
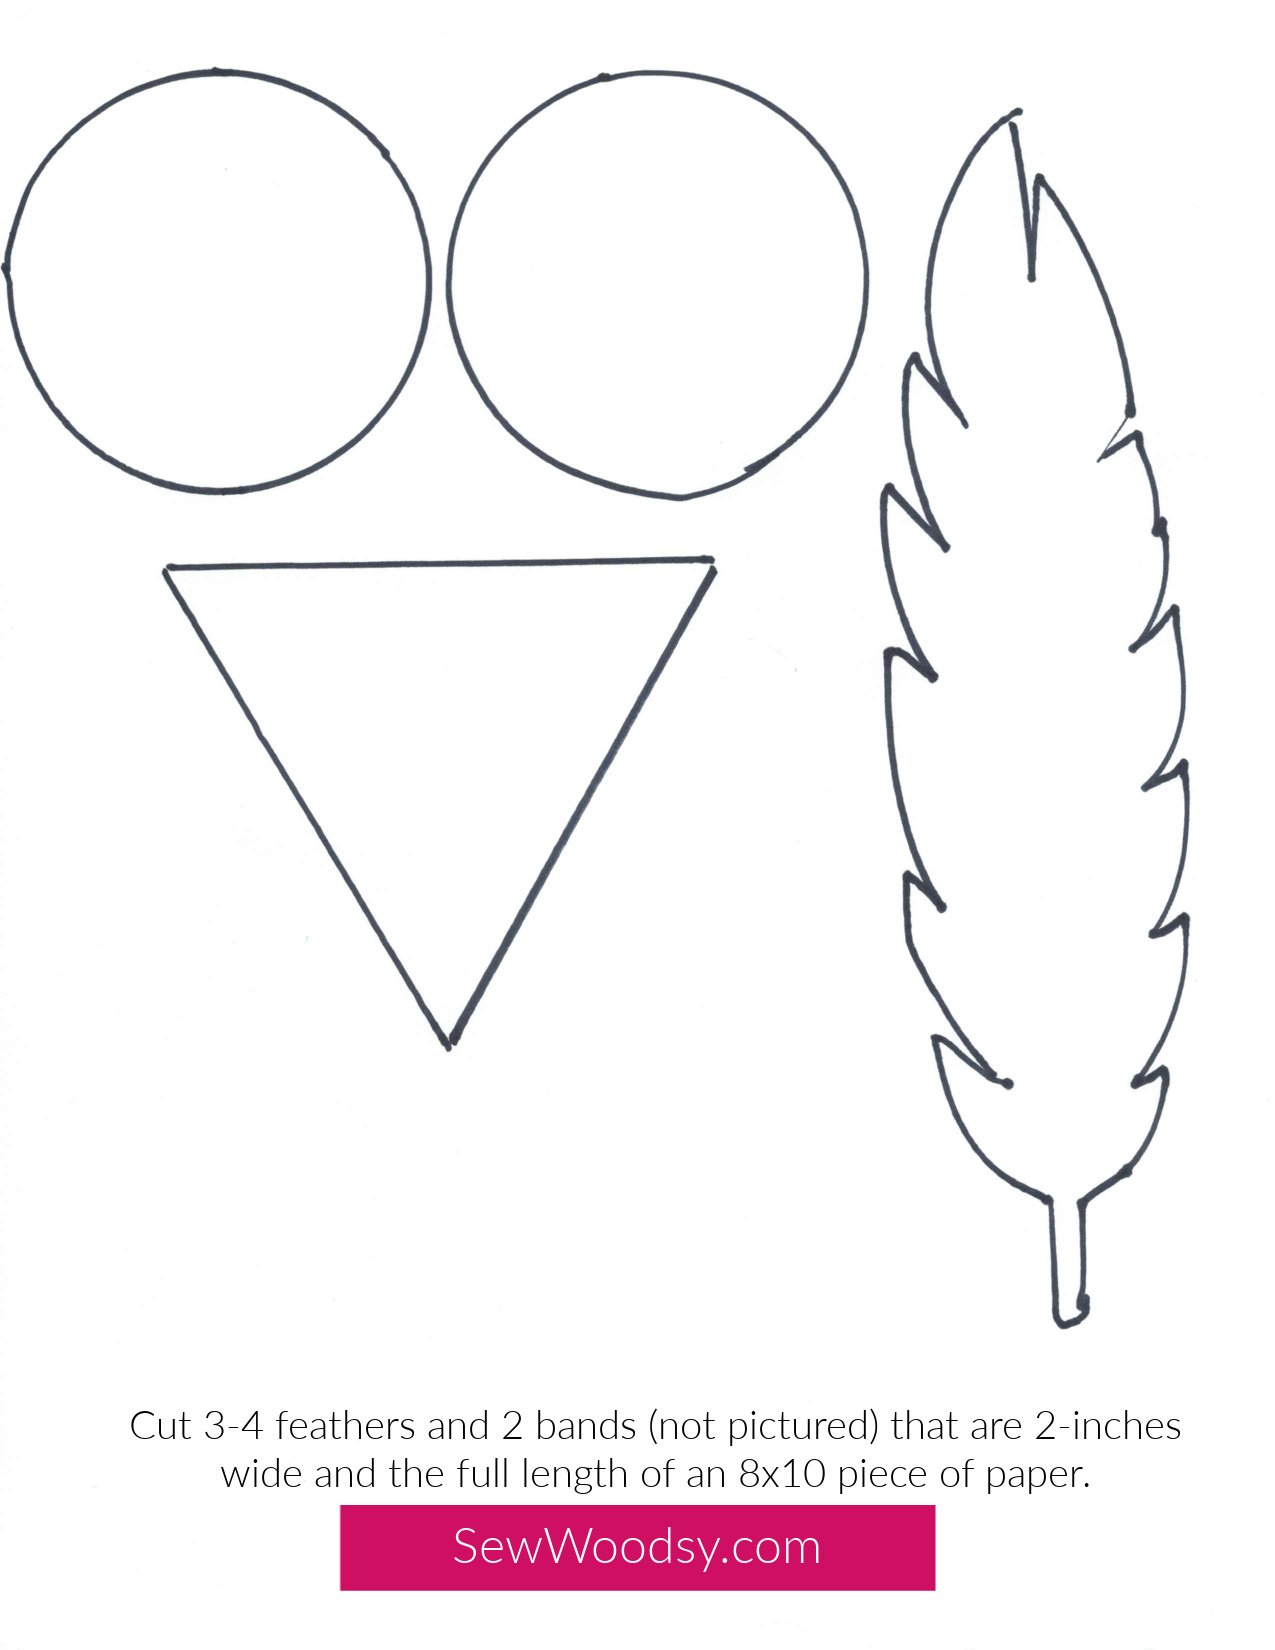
Turkey Paper Headband Printable Template
If you don't have a Cricut but still want to make this adorable paper turkey headband you can print my free printable to create your own by hand cutting all the supplies.
FAQs
Here are some of the most frequently asked questions when making a turkey headband.
Yes, you can use glue instead of double sided tape. I prefer the double sided tape because it’s less messy and no need to wait for it to dry!
Yes, you can use whatever color scheme you wish for the feathers on the headband. I like to go with more “fall” like colors but you could switch it up and use primary or even secondary colors!
Yes, you will simply want to duplicate all the parts of the cut file so that you can cut multiple headbands at once. I’ve have cut up to 20 headbands at once!
You have multiple options for the black dot stickers. You can use a black marker and color in the eyeballs. You can also use googly eyes or even cut small black circles using your Cricut.
Turkey Crafts
If you are still looking for more adorable Turkey crafts to make here are a few more of my favorites.
If you make these Turkey Paper Headbands, I would be honored and love for you to take the time to leave a star rating and comment! I spend hours developing and testing these projects, and always love to hear feedback and user experience!
Don’t forget to FOLLOW ME on Facebook, Pinterest, and Instagram, and subscribe to my email lis
Turkey Paper Headbands
Turkey Paper Headbands are the perfect 10-minute low-mess craft to make with the kids for Thanksgiving! All you need is card stock and a Cricut!
Materials
- Cricut Maker
- Turkey Paper Headbands Template on Cricut Design Space
- Card stock; white, cream, black, orange, red, brown, yellow, green
- Double-Sided Tape (or glue sticks)
- Avery 05459 Handwrite Only Removable Round Color-Coding Labels, 3/4″ dia, Black
Instructions
- First, open up the Design Space file.
- Next, place your card stock on your mat and begin to cut.
- Once you have all your card stock cut; you want to make the headband. I use double sided tape to tape two pieces of rectangles together.
- Next, you add on the beak aka the triangle. This is also a good activity to work on shapes and colors with the toddlers.
- I place the beak at the half way point of the headband.
- Next, add the Avery Removable Round Color-Coding Labels to the white eyeballs. If you don’t have these stickers I’ve included black circles you can cut out and tape or glue on.
- Then, place a piece of double-sided tape on the back of an eyeball. Adhere to the headband. Repeat and overlap slightly.
- The front portion is done. Now on to the feathers. Place a strip of tape along the bottom of the feathers. Adhere them to the inside of the headband.
Notes
- Feather File - You will have to pay for the feathers.
- Multiple Headbands - If you want to make more then one headband all you have to do is click on one of the pieces on the canvas, then select “select all” (top left side-bar), then select “duplicate” on the right hand top sidebar. Duplicate as many times as you need materials cut.
Recommended Products
As an Amazon Associate and member of other affiliate programs, I earn from qualifying purchases.

Disclaimer: There are affiliate links in this post. That means, if you click on a link and purchase something from it we will receive a small percentage of the sale at no additional cost to you.
