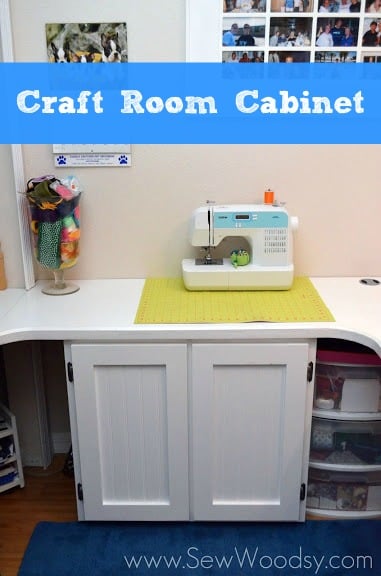
Today, I’m sharing the craft room cabinet that I built for Katie’s craft room last winter. Yes, I just typed last winter. Since building her craft room she has quickly outgrown the space, so in an effort to help give her more storage I made her a cabinet using one sheet of PureBond® Hardwood Plywood! We love using PureBond® in our home. It’s environmentally friendly and promotes healthy indoor air quality. You might remember that we used PureBond® for our Trumeau mirror last year. This post is not a tutorial on how to build a cabinet but merely what I did to help you achieve building your own cabinet.
Supplies:
- 1 Sheet of PureBond® Hardwood Plywood
- T-square ruler
- pencil
- Hearing Protection
- Dust Mask
- Eye Protection
- Circular Saw
- Kreg Jig
- Drill
- Wood Glue
- Silicone glue brush
- Clamps
- Beadboard
- Peg Board
- Sand Paper
- White Paint
- Paint Brush
- Hinges
- Rubber stops
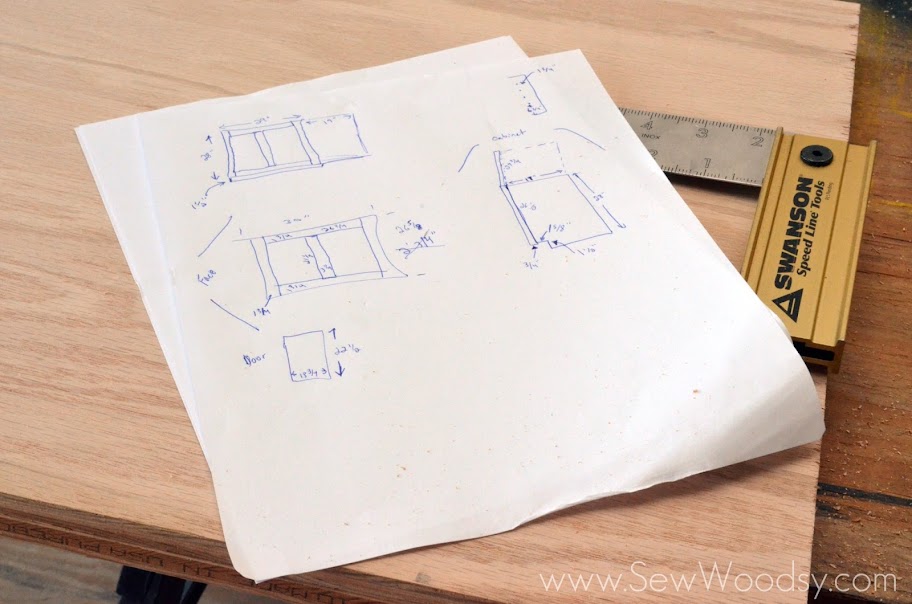
Yes, I’m old school sketching up my plans on a sheet of paper. The first thing I did was measure the space I was going to install the cabinet. I had to modify the cabinet to accommodate under the existing craft room desk.
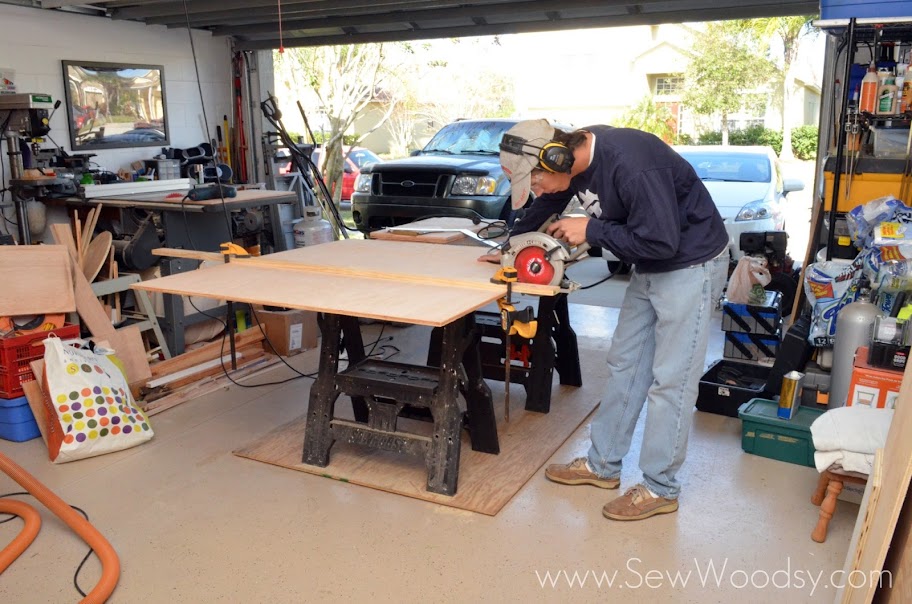
Next step is to start cutting out the sides, bottom, and the spreader pieces.

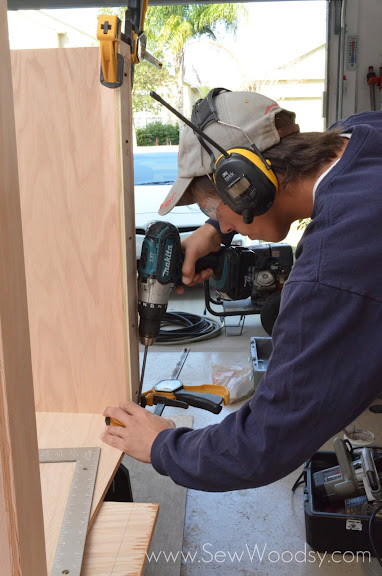
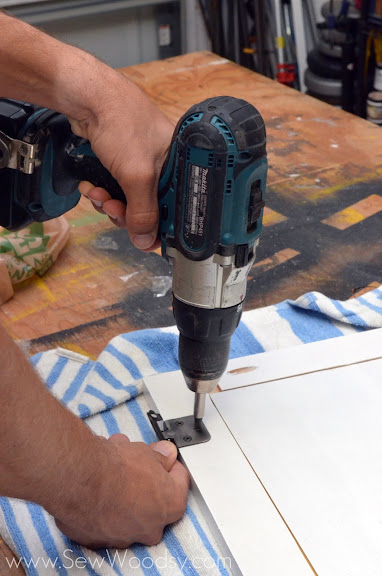
Next step, I used my Kreg to install pocket holes into the spreader pieces and the toe kick of the cabinet.

This shows the pocket holes I drilled in the spreader pieces and the toe kick.

Next step, I drilled pocket holes into the bottom section of the cabinet so I can attach the sides.

This shows part of the cabinet screwed together using pocket screws. The front of the cabinet is closest to the camera and the bottom is on the left and the spreader pieces are to the right.
This shows me screwing the other side of the cabinet to the part I had already built.
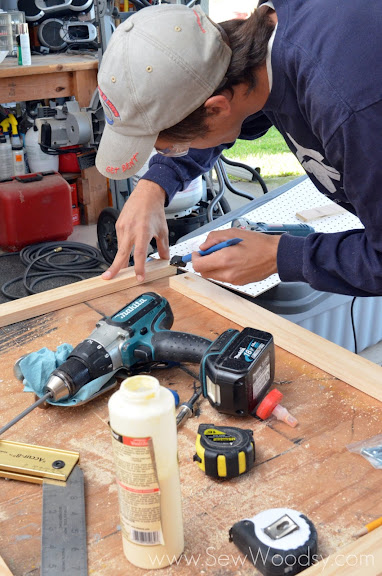
Next step I cut out a face frame for the cabinet making sure to leave the face frame a 1/4″ longer on the sides of the cabinet to create a reveal around the cabinet. I drilled pocket holes into the face frame and used glues when I screwed it together.

This shows the next step from the picture above after I applied glue I screwed it together with pocket screws.

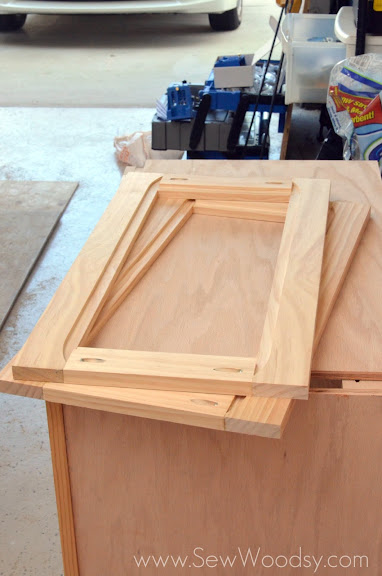
After the face frame was put together I used the pocket holes to attach the face frame to the cabinet. In this picture you can see the reveal on the sides of the cabinet.

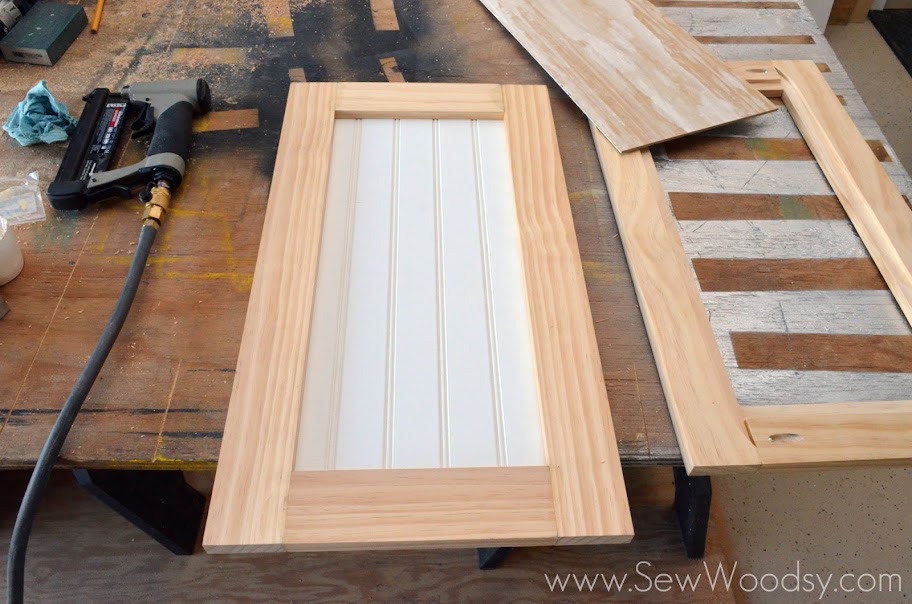
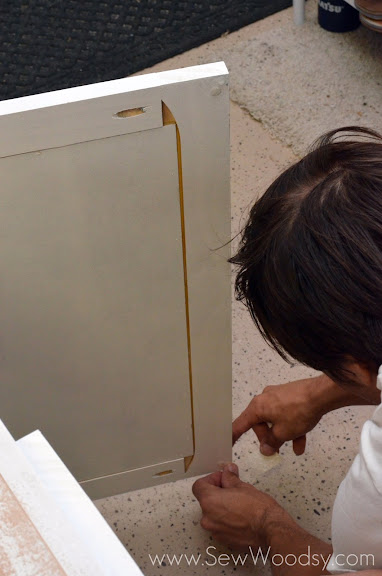
Now I cut bead board for the backing of the cabinet and the inserts for the doors.
These are the doors I cut out of pine and screwed together with pocket screws. I cut all inside pieces of the door with a dado blade to inset the bead board.
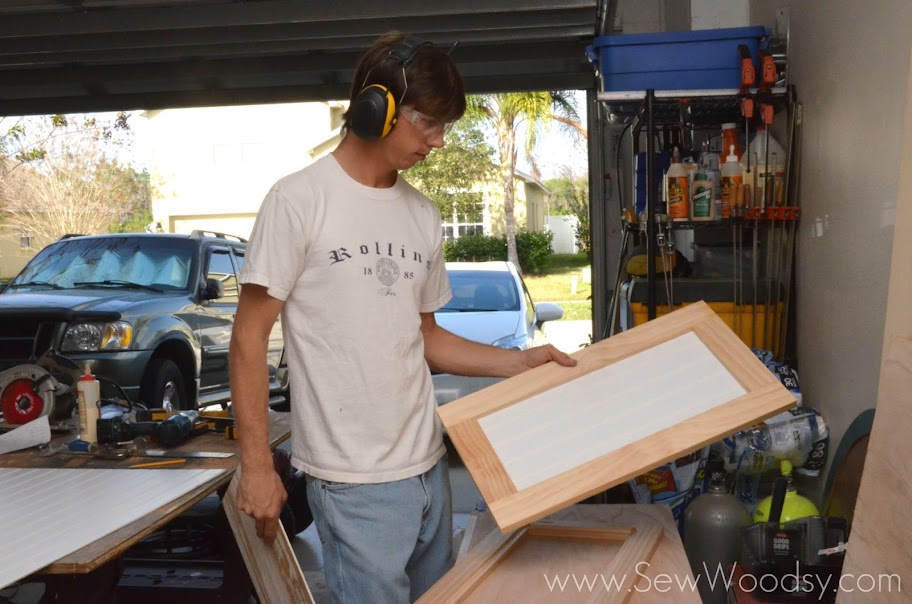
This what it looks like with the bead board inserted into the door.

I used a peg board to make the holes for the shelves. This was before Haven and before we got the Kreg Shelf Pin Jig. I marked the peg board for where I wanted shelf pins.
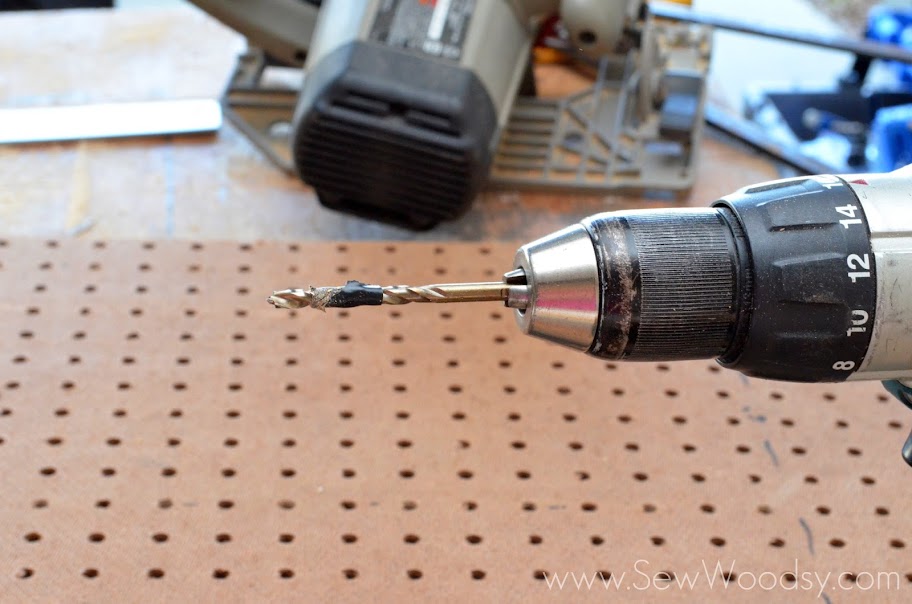
I used tape on my drill bill so I know how deep to drill.

This is what it looks like after I drilled my pin holes using the peg board.

After drilling the shelf pins I used a sanding block to sand off any splinters.
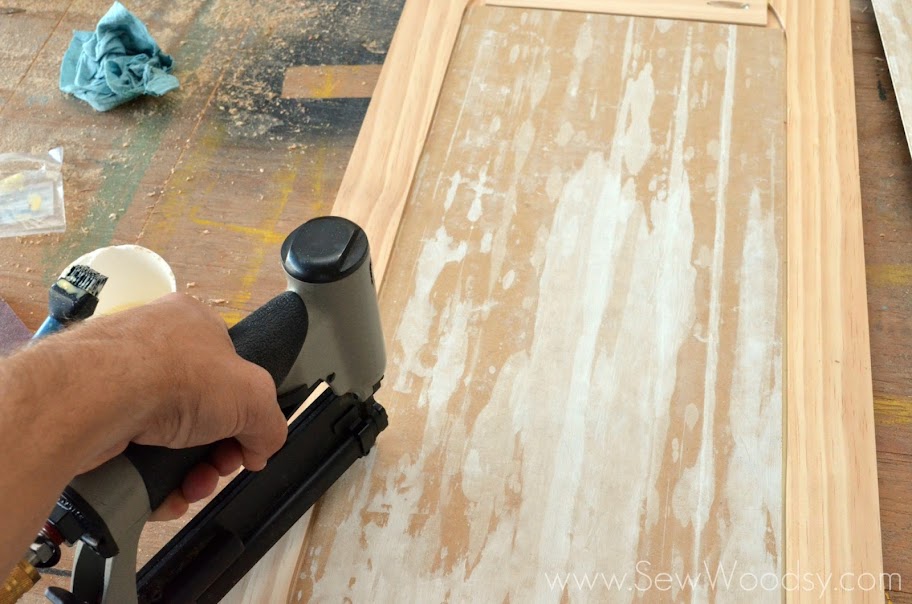
Now I used the pin nailer along the bead board to secure it into the door frames.
This shows one door frame with the bead board nailed and the other one is up next.
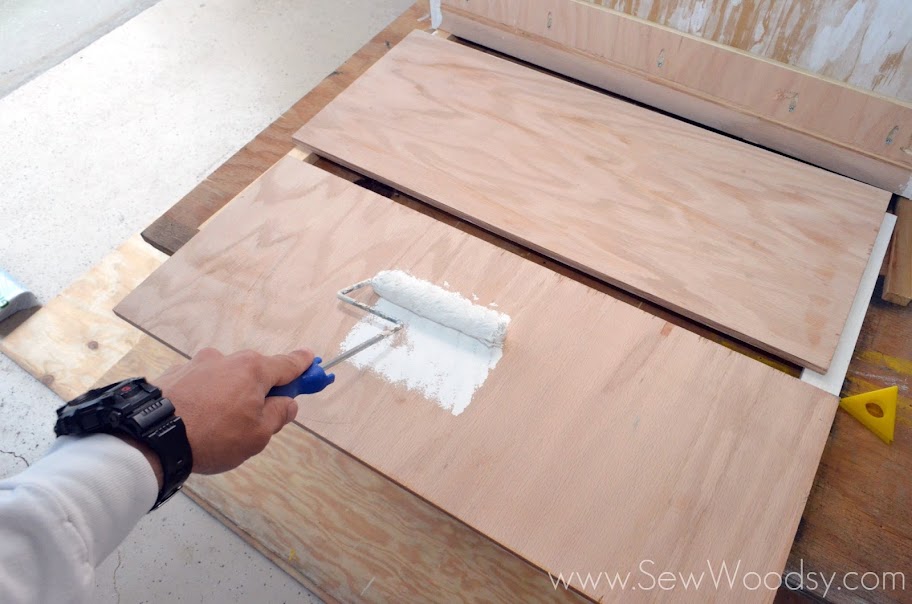
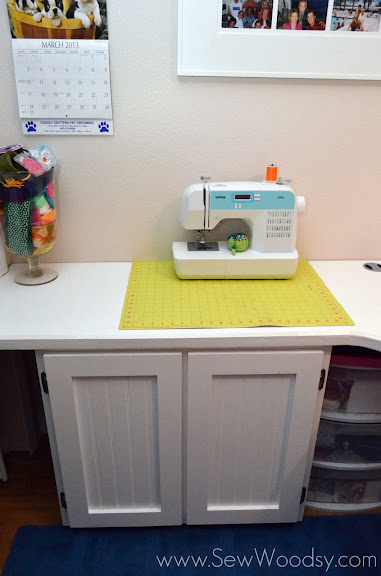
Next step is to start painting I used a white latex paint. I started with the shelves and did multiple thin coats

Next I painted the doors.
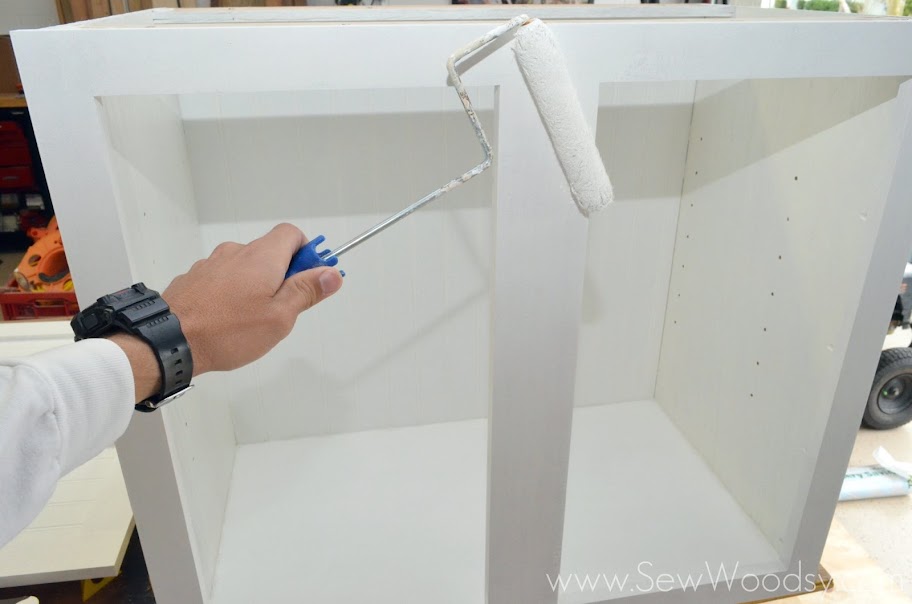
Then finally to paint the cabinet I used the roller on all the big flat portions and used a brush in all of the corners.
Next step to screw the hinges on the doors.

Once the hinges are set on the doors place them on the cabinet and play around with the spacing and see what works the best.

Once I find the spacing I like I marked the hinges on the face frame.

Next I attached the doors to the face frame with the hardware that came with the hinges.
I added little bumpers to the inside of the doors so when there shut they don’t slam wood on wood.
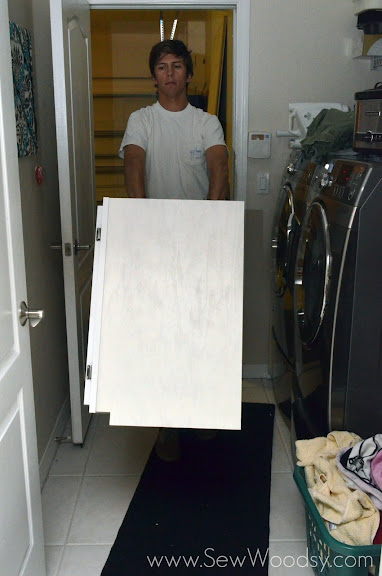
Moving time……Time to get this cabinet into place and mounted.

It fits perfectly under the shelf all I need to do is attach the cabinet to the shelf from the inside of the cabinet to the bottom of the shelf. And yes, this what the craft room looks like 90% of the time.
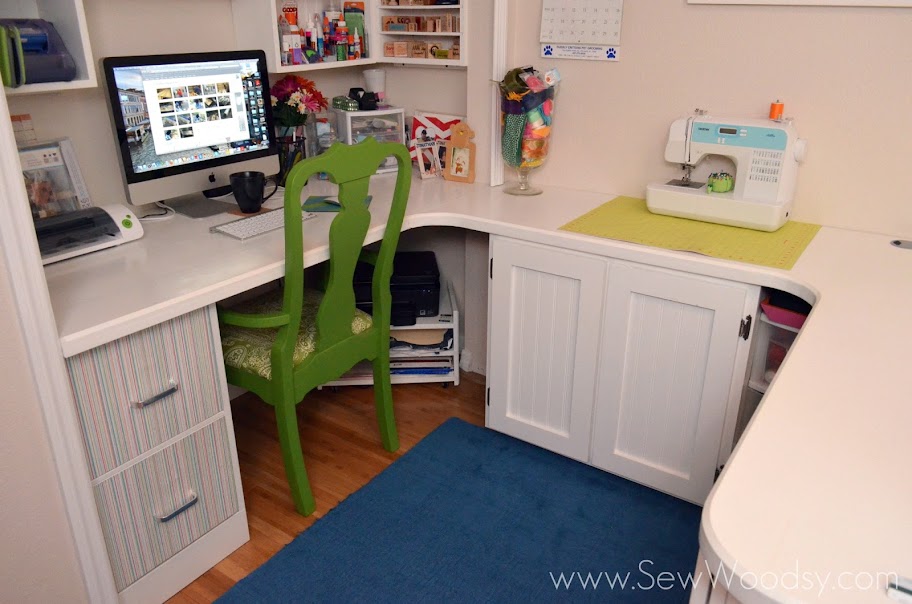
Finally it all done and it works perfect. Now we have a place to store Katie’s craft supplies.
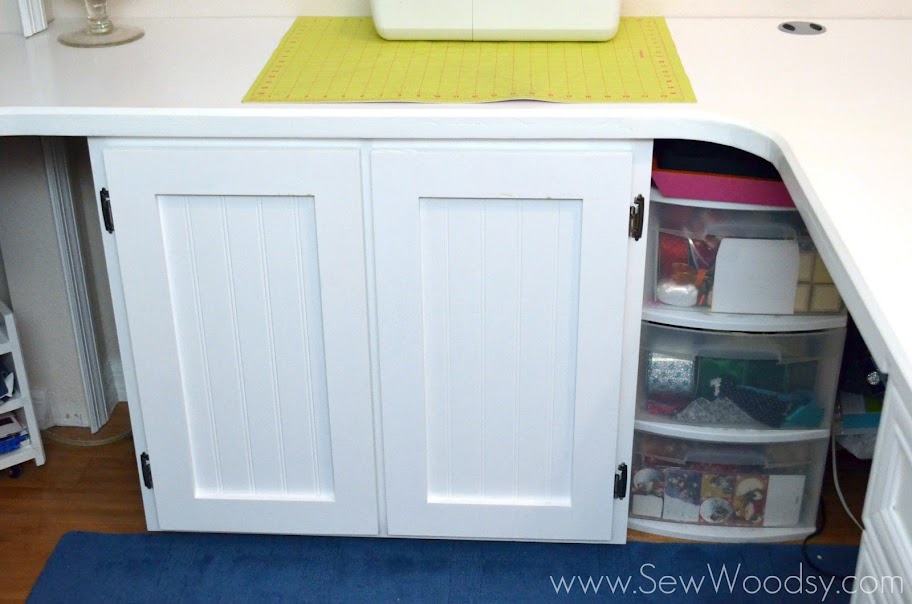
All I’m waiting for is Katie to pick out handles for the cabinet.
So what do you think?
Disclaimer: We received PureBond® Hardwood Plywood for free in exchange for a blog post. This is a product that we love to use and as always all opinions are our own.
Comments & Reviews
Maria says
Awesome! Very fine job! I just finished my first project with my Kreg Jig: a workbench and a sliding door pegboard cabinet! 🙂 I love them!
Katie says
Thanks Maria!
Joseph F Warlik Sr says
What a great job. My daughter has been wanting something like this for one of her spare bedrooms. She uses it for a computer room and for her sewing. Seeing your layout has given me a good idea for laying out something similar for her. By the way, I’m old school as well when it comes to laying out my projects. A ruler, pencil, and graft paper is all I need.
Great job again and thanks for the inspiration.
Katie says
Thanks! Having a dedicated space to create was my number one goal in our home! Good luck creating a space for your daughter!
Anthony says
Great Job!
Katie says
Thank you Anthony!
Jay Harris 4 The Home Depot says
Great tutorial Jon! It was neat being able to see it all come together and the finished piece looks fantastic! I’m sure our fans will love this awesome DIY project! I’ll put this up on our pin board
Katie says
Thanks Jay!
Paula@SweetPea says
What a great and practical project! We’re hoping to use Purebond for a project soon.
Brooke (DesignedByBH) says
I am thoroughly impressed with your know-how with power tools–a bit jealous, too! And I love the craft room. When are you coming to do mine???? 🙂
Katie says
Ha ha thanks Brooke!