This is a sponsored post on behalf of Homes.com
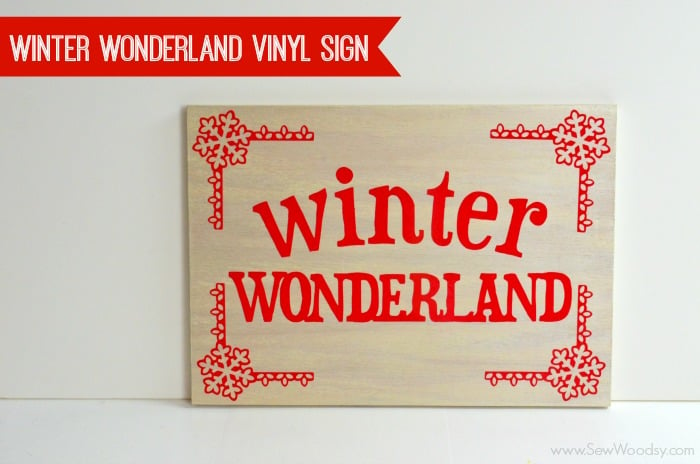
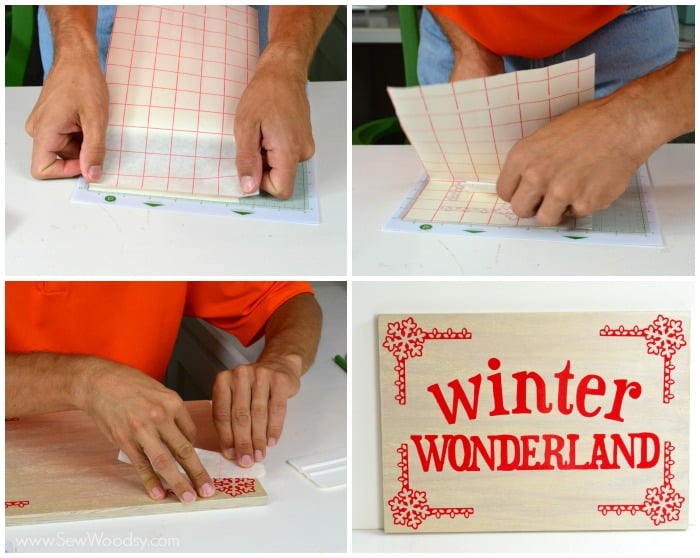
 The other day I shared with you the Fabulously Festive Design Contest sponsored by Homes.com and Olioboard. Today, I’m sharing with you our DIY winter vinyl sign that we created for the Olioboard contest. Which by the way, today is the very last day you can enter the contest (so if you haven’t done so already–get on it)! By using the scrap wood, the Cricut, and vinyl we were able to create an inexpensive Christmas sign for our home. Watch our video to learn just how easy it is to create this Winter Wonderland Vinyl Sign.
Supplies:
- Wood
- Sand paper
- Martha Stewart Crafts Light Gold Metallic Acrylic Paint
- Foam Paint Brush
- Cricut
- Cricut Craft Room
- Vinyl
- Vinyl Applicator

We did a light sanding and then a light painting on the wood using the light gold metallic acrylic paint from Martha Stewart Crafts. We wanted to still be able to see the wood grain and this paint worked perfect for the project plus (you can’t tell in the photos) it has a nice shimmer to it.
We used red vinyl to go along with the red and gold theme we typically have going on in our home. We were looking for a snowflake boarder, and decided to not have one that took the full frame of the wood instead we liked how this snowflake boarder was more broken up!
Fun fact: whenever I’m working with vinyl I tend to hand it off to Jon. He is a perfectionist and does a much better job at making sure it’s perfectly centered and straight than I do. Don’t get me wrong. I’ll apply vinyl if he isn’t around, but why do something so nerve-wracking when you have someone in your home that is so good at doing it for you? lol.
Disclaimer: We have a working relationship with Homes.com and thus are paid. As always all opinions are our own
Leave A Reply!