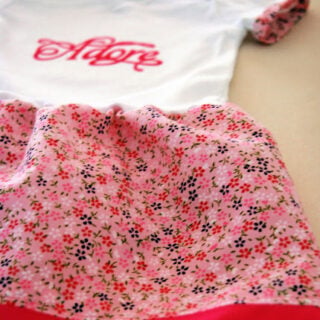
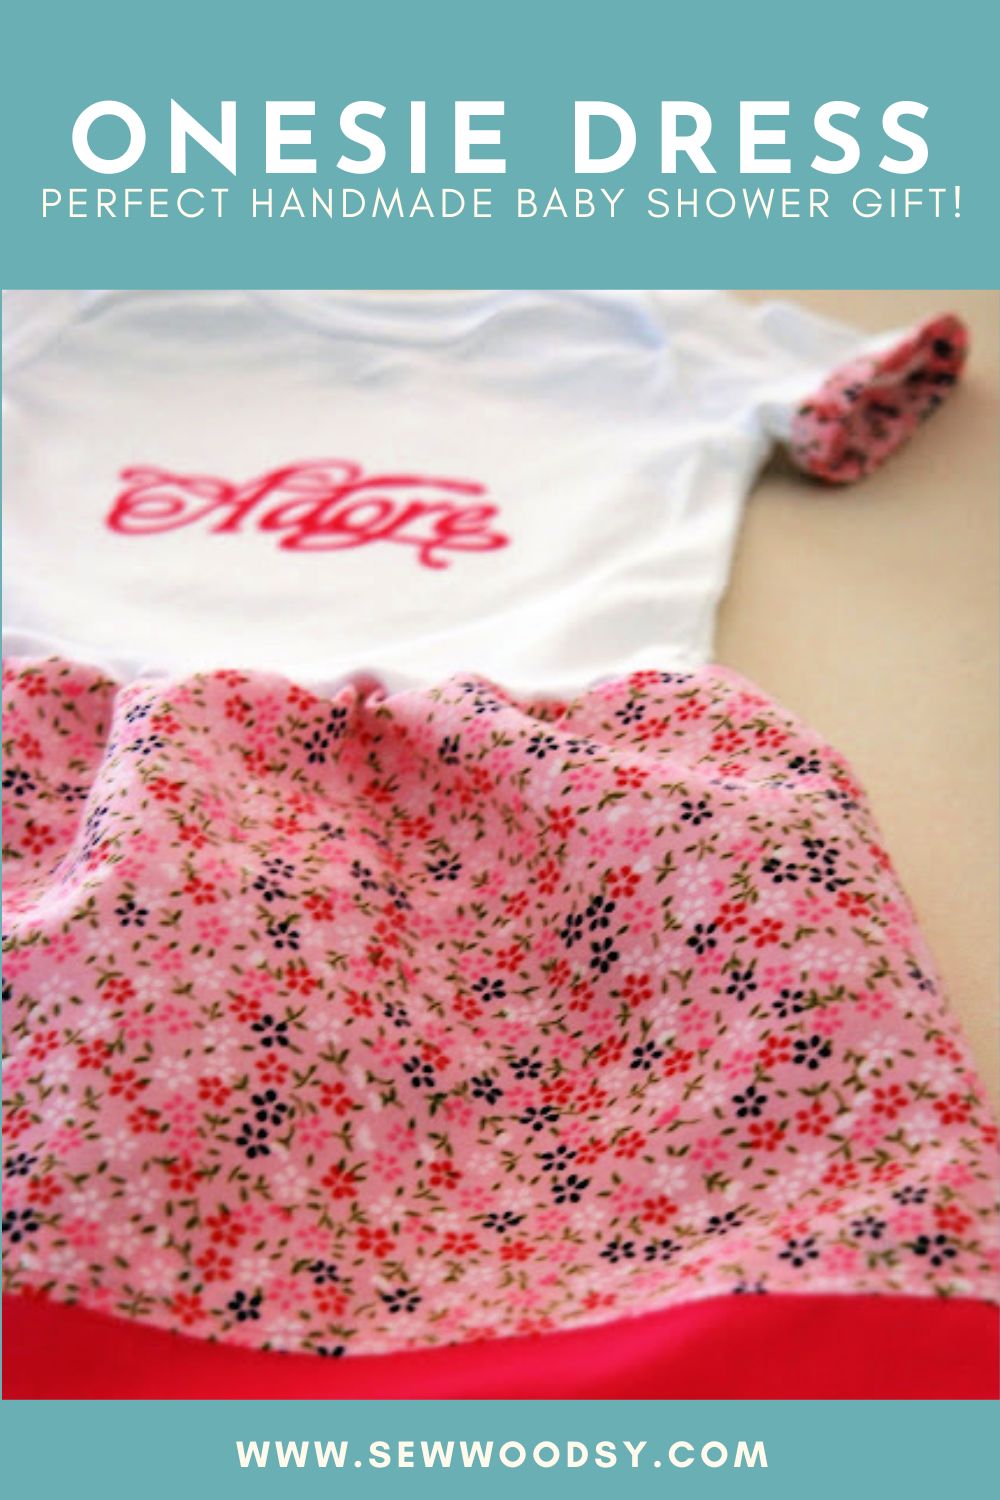
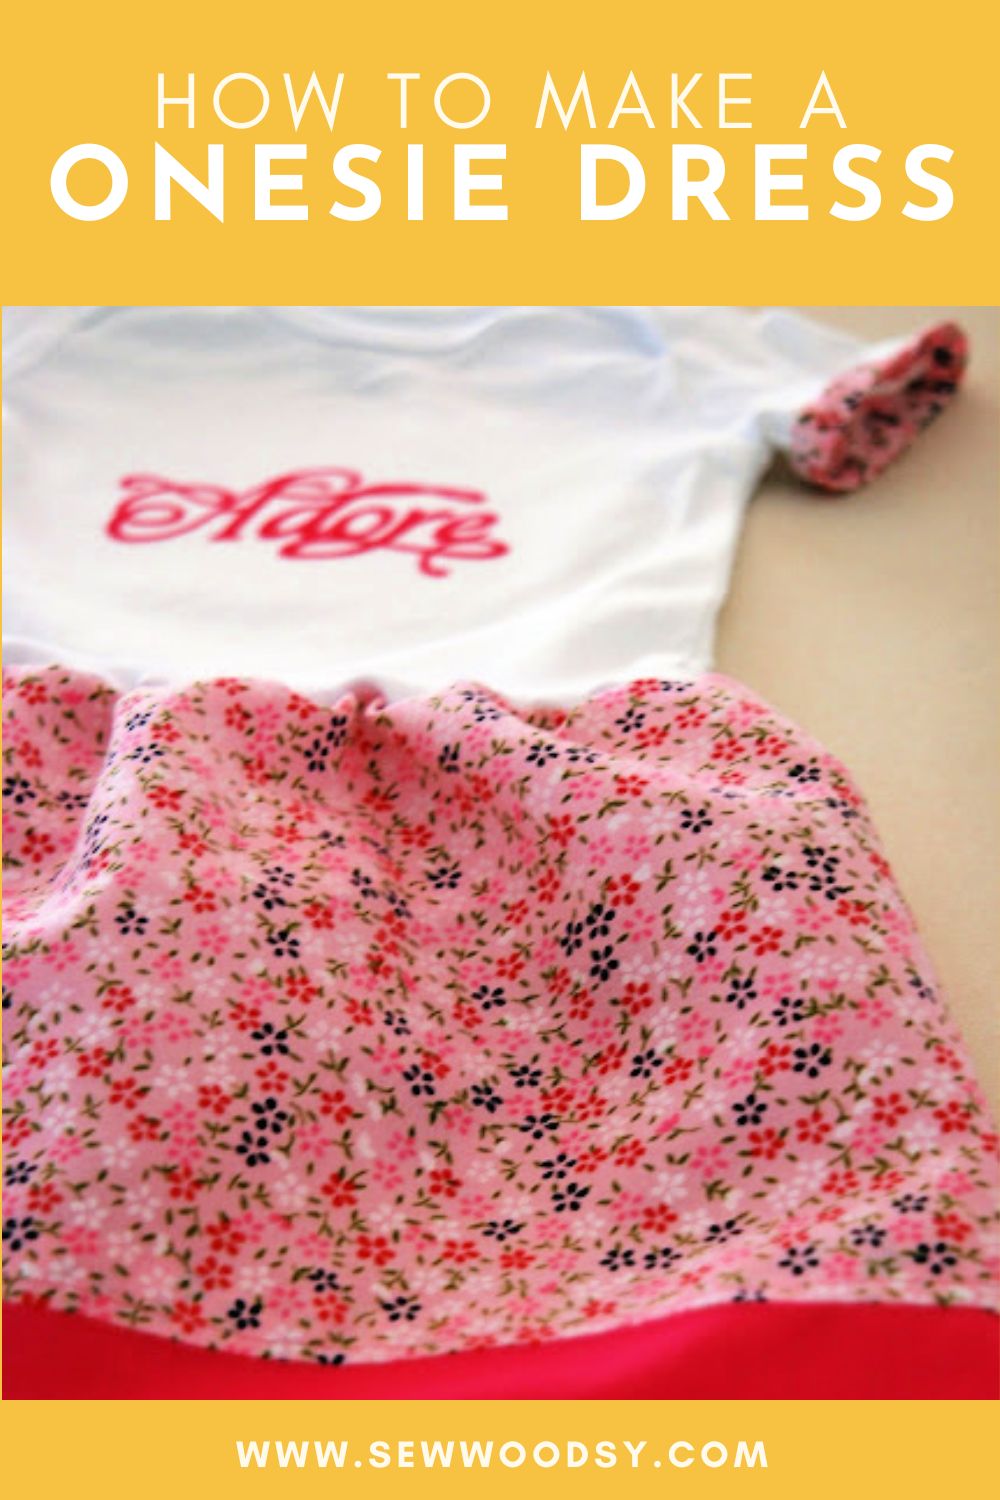
Want to transform a basic baby one piece into an adorable onesie dress with a lot of details? Learn all my tips and tricks so you can make your own.
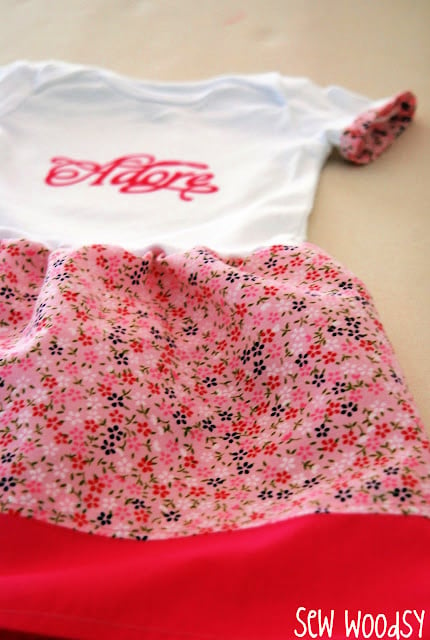
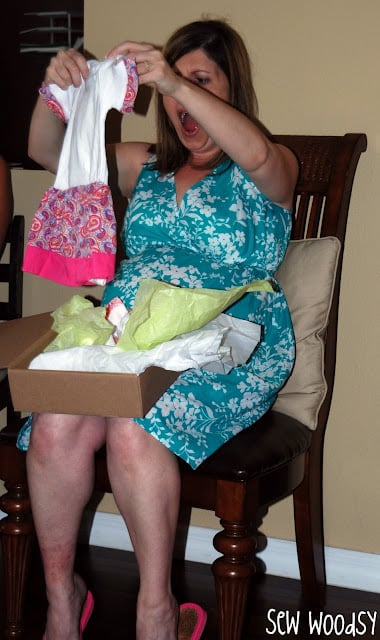
I started making these adorable Onesie Dresses for various friends long before I ever had babies of my own. These made for an inexpensive yet custom and very thoughtful Baby Shower gift. I can’t tell you how many of these dresses I brought to work baby showers over the years. Once I had my own daughter, I made a few for her too.
Although I don’t have step-by-step photos of the dress, I do have step by step instructions to help you make your own. I was originally inspired by this onesie dress from Running with Scissors. She has step-by-step photos to walk you through the tutorial.
Table of contents
Supplies
- Onesie – Depending on the size will depend on the amount of fabric you will need to for this tutorial. My measurements are based off of a 6-9 month onesie.
- Fabric – You will need 1/4 yard printed fabric that will be used for the base of the skirt and the sleeves. You will also need another piece of coordinating solid fabric that will be cut into strip 2″ x 28″. If you have any scrap fabric I recommend you use it up if you can.
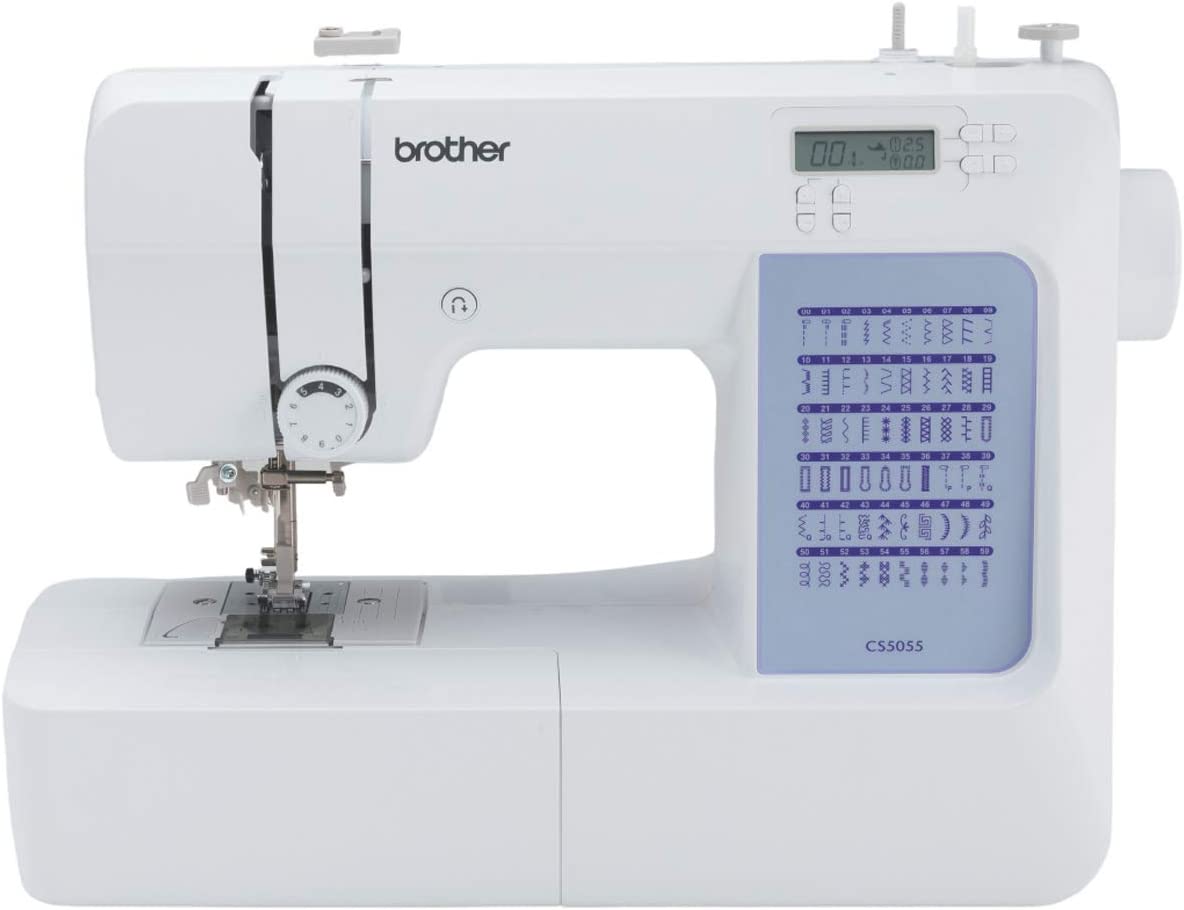
- Sewing Machine – I find this dress comes together with ease if you have a sewing machine.
- Thread – Basic sewing thread that coordinates with the fabric you use for the dress.
- Measuring Tape – You will need some form of a ruler to measure to cut the fabric.
- Straight Pins – You will need straight pins to pin the fabric to the onesie.
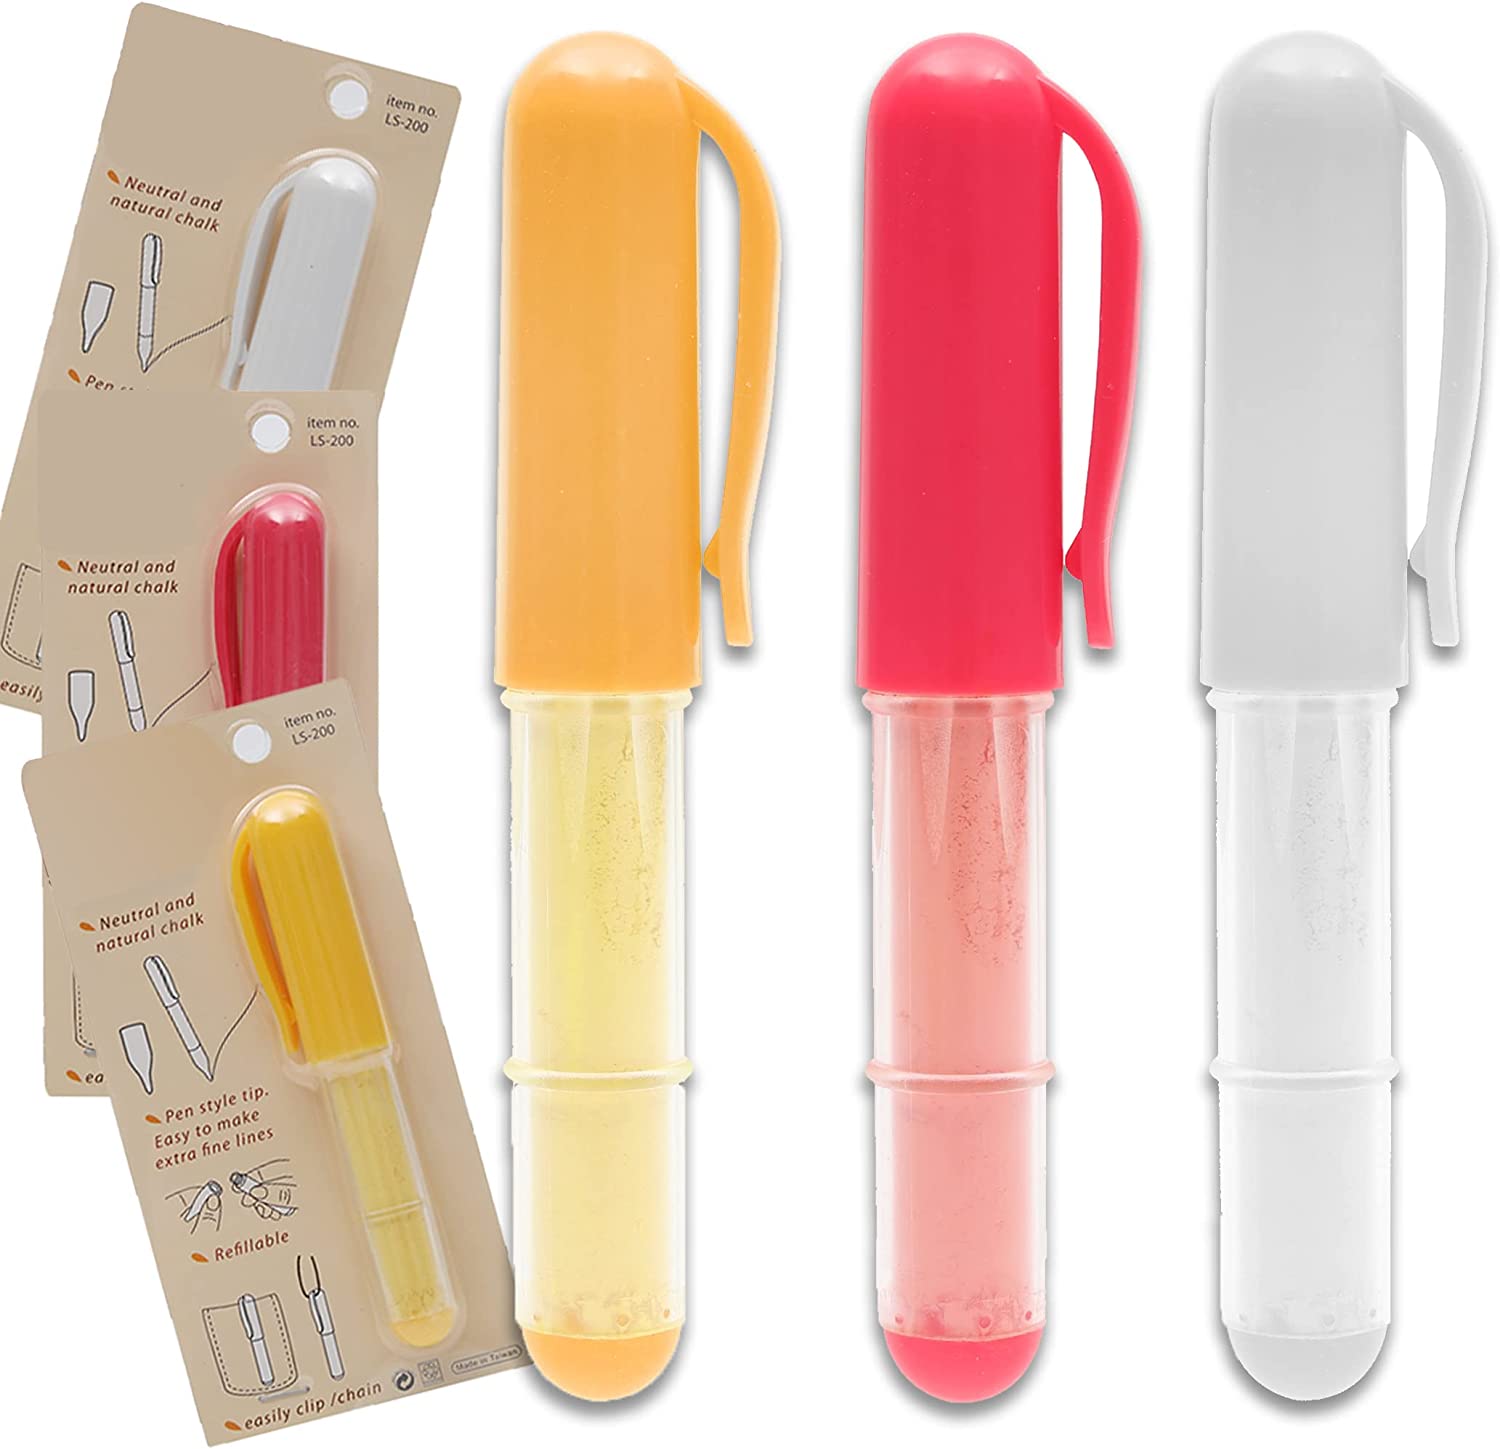
- Chalk Pen – I like to use a chalk pen to draw a straight line on the onesie in order to ensure I sew the dress on straight.
- Fabric Scissors – Fabric scissors are a must whenever you cut fabric. These are much sharper then your average every day scissors and will ensure your fabric is cut without fraying.
Directions
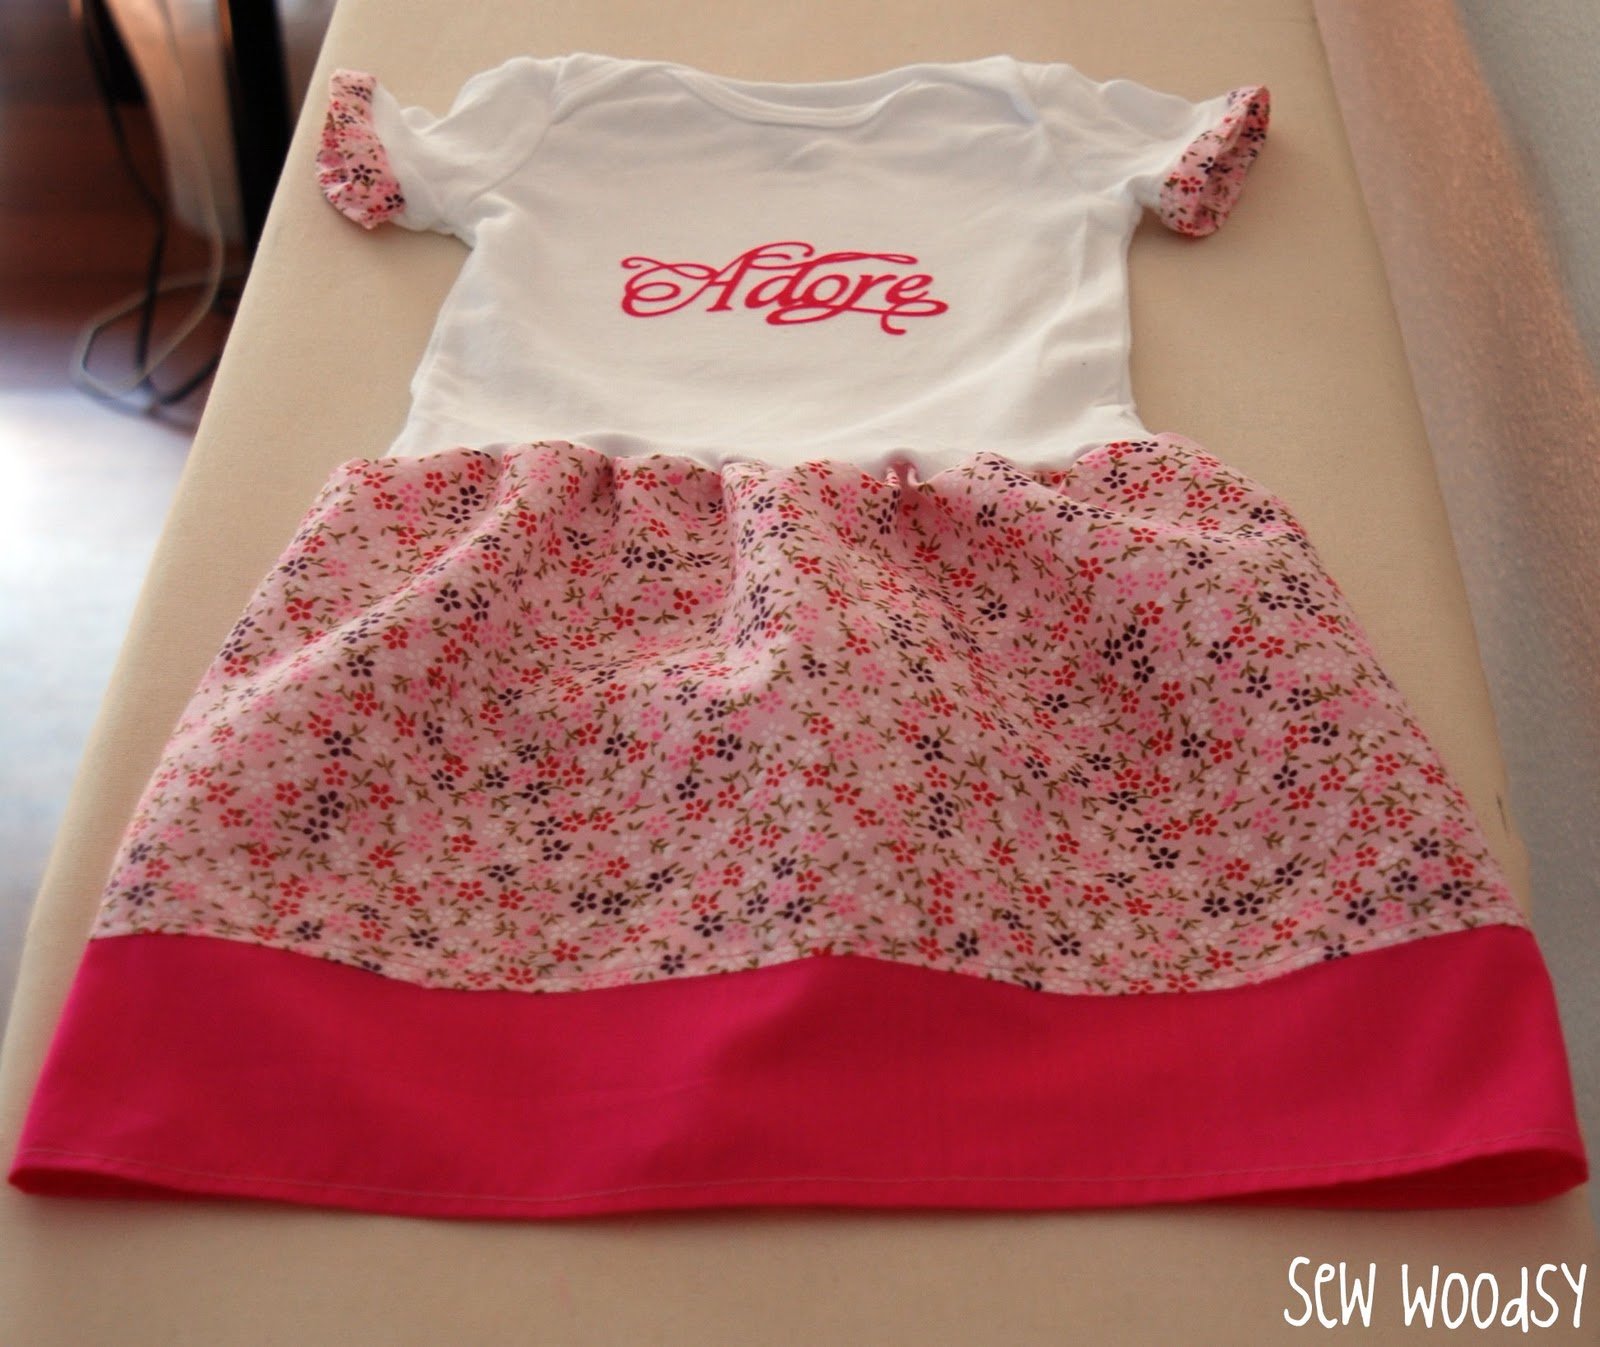
First, hem the solid color strip. This strip for my 6-9 month onesie measured at 2″ x 28″. I used a straight stitch; however you can use a zig-zag stitch or if you have a surger, run the end through a serger. To hem the solid color strip: Fold the edge of the fabric a little more than 1/4″ then top stitch hem with 1/4″ seam allowance.
PRO TIP: If you want this dress to look like it came from a store you can use a double needle or two rows of top-stitching.
Next, place the skirt (cut the printed skirt piece 6″ x 28″) and the hemmed solid color strip (mine was pink) right sides together. Sew along the edge with a 5/8′ seam allowance.
Open the seam and press the pink edge on the back of the floral print. Next, top stitch the floral fabric with the pink solid fabric. This will give you a 28″ wide rectangle with a pink strip of fabric on the bottom.
Next, sew the back seam to make it a skirt. You will do this by folding the skirt in half, right sides together (the bright side of the print should be touching from the inside). Sew along the raw edge of the fabric with 1/4″ seam allowance.
Pin the Fabric on the Onesie
Once you have the skirt fabric ready it’s time to sew the skirt on the onesie. You can spend a lot of time worrying about pinning this skirt correctly onto the onesie. I simply pin the skirt top into quarters so that I have a straight pin in the front and back of the skirt and then a pin on each side. Make sure you pin the raw edge (not the solid band).
Lay the onesie flat. Measure from the side seam of the onesie by 2″ from bottom. Mark on both sides then draw a line between the two points from the side seams with a tailor chalk pen or disappearing ink pen (found in the sewing section at the sewing store).
At this point you are marking the onesie into quarters just like the skirt using the side seams as your other quarter markers.
Next, pin the skirt on the onesie, make sure to flip the skirt inside-out, and upside down. This way, right sides are touching. The raw edge of the fabric, also known as the seam allowance will be hidden underneath the skirt.
NOTE – The skirt is a lot larger than the onesie, so it will scrunch/ gather when you sew it on. This is why it’s important to measure quarters of the skirt to make sure the scrunch/pleats are even all the way around.
Sew the Skirt on the Onesie
Sewing Notes: Sew the skirt with a 3/8″ to 1/2″ seam allowance. Use a zig-zag stitch so the fabric can stretch with the baby.
Unbutton the onesie, and place the open bottom of the onesie to your right (feeding it over the open area so you can easily move the onesie as you sew) to sew the skirt on. I always like to start at a side seam.
Pro Tip: You’ll notice you have a lot of skirt, and not much onesie to sew to the next pin. I like to gently stretch (by pulling) the onesie as I slowly sew the skirt onto the onesie. If you do this correctly you will reach the pin and have no more additional skirt to sew.
Remove the next pin out and continue to stretch the onesie until you get to the next pin.
Two hands are needed to sew as you stretch. I recommend keeping your left hand on the back of the fabric and you right hand on the front to hold the onesie stretched as the machine moves it along. Once you’ve made it all around the fabric you are done. Make sure you do a few back and forward stitches to secure the dress.
How to Make Arm Cuffs on a Onesie
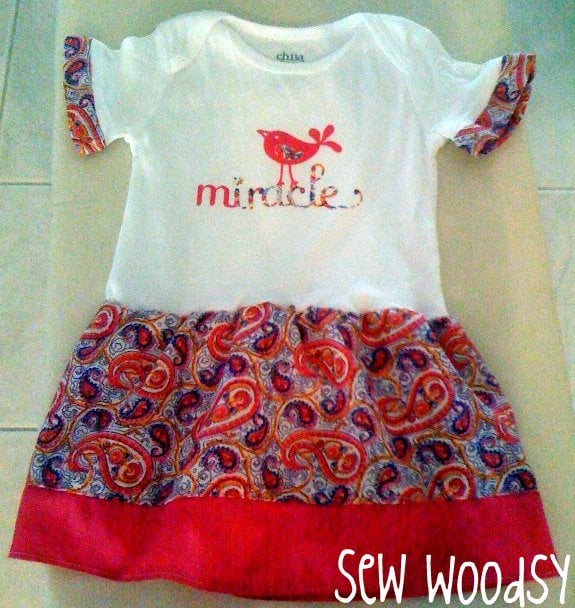
Fabric Measurements: You will need 2 pieces of fabric measuring at 1.5″ x 8″ each.
First, fold the right sides together, and sew 1/4″ seam allowance on the short sides. Press open the seam using an iron.
Fold the open seam on itself, so the 1.5″ wide circle gets folded over into a 3/4″ wide circle, with the short seam allowance hidden inside.
Next, use a zig-zag stitch along the edges, sewing the two layers together.
Line up the raw edge of your cuff with the seam of the onesie armpit.
This is the most challenging part of the project… It can be hard to handle the seam being such a small circle. I sew it from the inside of the sleeve with a 1/4″ seam allowance, stretching the onesie a little bit as I sew to ensure the babies arm can get through. Stretch the arm just like you did the skirt!
Next top stitch the sleeve edge to flatten the seam.
Flip the cuff down, and pull the onesie away from the cuff so it’s a flat and smooth seam.
Sew 1/8″ away from your last seam, to sew the folded seam allowance flat, otherwise, it will want to fold back up.
The thread you use on this last seam around the cuff, will show on the outside. I recommend using a coordinating thread so that you have the contrast of the white onesie. You can always switch to white thread to match, or if you’re nervous about sewing a seam that will be seen.
Tips & Tricks
Stretched Out – Once you are done you may think this onesie is stretched out. But remember, the baby will fill it out with their belly and you will never notice. Plus you have to be able to get it on and off them. Remember, If you don’t stretch the onesie when you zig-zag, the stitching will break when the mom stretches it over the baby’s head.
Fabric Combinations – I prefer to use a solid color and print for this dress to give it more detail. You can use whatever your heart desires.
Design on Onesie – You can make a design on the white portion of the onesie by cutting heat n bond and cutting it out by hand or using a Cricut machine. Or use Iron On Vinyl to apply a cute design. Check out my tutorial on how to make shirt with Cricut.
DIY Baby Gifts
Looking to make some more DIY baby gifts? Check out a few of my other favorite items to make!
Printable Instructions: How to Make a Onesie Dress
How to Make a Onesie Dress
Want to transform a basic baby one-piece into an adorable onesie dress with a lot of details? Learn all my tips and tricks so you can make your own.
Materials
- Onesie (age range: 6-9 months)
- ¼ yard printed fabric
- Thread
- 2 pieces of 2″ x 28″ Solid Fabric
Tools
- Sewing Machine
- Fabric Measuring Tape
- Straight Pins
- Chalk Pen
- Fabric Scissors
Instructions
- First, hem the solid color strip. This strip for my 6-9 month onesie measured 2″ x 28″. I used a straight stitch; however you can use a zig-zag stitch or if you have a serger, run the end through a serger. To hem the solid color strip: Fold the edge of the fabric a little more than ¼″ then top stitch hem with ¼″ seam allowance.
- Next, place the skirt (cut the printed skirt piece 6″ x 28″) and the hemmed solid color strip (mine was pink) right sides together. Sew along the edge with a ⅝′ seam allowance.
- Open the seam and press the pink edge on the back of the floral print.
- Next, top stitch the floral fabric with the pink solid fabric. This will give you a 28″ wide rectangle with a pink strip of fabric on the bottom.
- Sew the back seam to make it a skirt. You will do this by folding the skirt in half, right sides together (the bright side of the print should be touching from the inside). Sew along the raw edge of the fabric with ¼″ seam allowance.
- Once the skirt fabric is ready, sew the skirt on the onesie. Make sure you pin the raw edge (not the solid band).
- Lay the onesie flat. Measure from the side seam of the onesie by 2″ from the bottom.
- Mark on both sides then draw a line between the two points from the side seams with a tailor chalk pen or disappearing ink pen. At this point, you are marking the onesie into quarters just like the skirt using the side seams as your other quarter markers.
- Next, pin the skirt on the onesie, and make sure to flip the skirt inside-out, and upside down. This way, the right sides are touching. The raw edge of the fabric, also known as the seam allowance will be hidden underneath the skirt.
- Now that the skirt fabric is ready, now you will sew the skirt on the onesie. Pin the skirt top into quarters to have a straight pin in the front and back of the skirt and then a pin on each side. Make sure you pin the raw edge (not the solid band).
- Lay the onesie flat. Measure from the side seam of the onesie by 2″ from the bottom.
- Mark on both sides then draw a line between the two points from the side seams with a tailor chalk pen or disappearing ink pen (found in the sewing section at the sewing store).
- At this point, you are marking the onesie into quarters just like the skirt using the side seams as your other quarter markers.
- Next, pin the skirt on the onesie, and make sure to flip the skirt inside-out, and upside down. This way, the right sides are touching. The raw edge of the fabric, also known as the seam allowance will be hidden underneath the skirt.
- Now to sew the skirt on the onesie. Unbutton the onesie, and place the open bottom of the onesie to your right (feeding it over the open area so you can easily move the onesie as you sew) to sew the skirt on.
- Gently stretch (by pulling) the onesie as I slowly sew the skirt onto the onesie. If you do this correctly you will reach the pin and have no more additional skirts to sew.
- Remove the next pin and continue to stretch the onesie until you get to the next pin. Use two hands to sew as you stretch. Keep your left hand on the back of the fabric and your right hand on the front to hold the onesie stretched as the machine moves it along.
- Once you’ve made it all around the fabric you are done. Make sure you do a few backs and forward stitches to secure the dress.
- Next, make the arm cuffs for the onesie. Cut 2 pieces of fabric measuring 1.5″ x 8″ each (this should be in the printed skirt fabric).
- First, fold the right sides together, and sew ¼″ seam allowance on the short sides. Press open the seam using an iron.
- Fold the open seam on itself, so the 1.5″ wide circle gets folded over into a ¾″ wide circle, with the short seam allowance hidden inside.
- Next, use a zig-zag stitch along the edges, sewing the two layers together.
- Line up the raw edge of your cuff with the seam of the onesie armpit.
- Sew it from the inside of the sleeve with a ¼″ seam allowance, stretching the onesie a little bit as I sew to ensure the baby's arm can get through. Stretch the arm just like you did the skirt. Next, top stitches the sleeve edge to flatten the seam.
- Flip the cuff down, and pull the onesie away from the cuff so it’s a flat and smooth seam.
- Sew ⅛″ away from your last seam, to sew the folded seam allowance flat, otherwise, it will want to fold back up.
Notes
Skirt - The skirt is a lot larger than the onesie, so it will scrunch/ gather when you sew it on. This is why it’s important to measure the quarters of the skirt to make sure the scrunch/pleats are even all the way around.
Thread - The thread you use on this last seam around the cuff, will show on the outside. I recommend using a coordinating thread so that you have the contrast of the white onesie. You can always switch to white thread to match, or if you’re nervous about sewing a seam that will be seen.
Disappearing Ink Pen - This can be found in the sewing section at your local craft store or on Amazon.
Stretched Out - Once you are done you may think this onesie is stretched out. But remember, the baby will fill it out with their belly and you will never notice. Plus you have to be able to get it on and off them. Remember, If you don’t stretch the onesie when you zig-zag, the stitching will break when the mom stretches it over the baby’s head.
Fabric Combinations - I prefer to use a solid color and print for this dress to give it more detail. You can use whatever your heart desires.
Design on Onesie -You can make a design on the white portion of the onesie by cutting heat n bond and cutting it out by hand or using a Cricut machine. Or use Iron On Vinyl to apply a cute design. Check out my tutorial on how to make shirt with Cricut.
Recommended Products
As an Amazon Associate and member of other affiliate programs, I earn from qualifying purchases.
If you make this handmade onesie dress, I would be honored and love for you to take the time to leave a star rating and comment! I spend hours developing and testing these projects, and always love to hear feedback and user experience!
Don’t forget to FOLLOW ME on Facebook, Pinterest, and Instagram, and subscribe to my email list!
Leave A Reply!