Last year, when we decided we wanted to revamp our master bedroom the first thing we knew we wanted to do was add crown molding. Mr. Woodsy learned how to install crown moulding from his dad and has helped install a majority of the crown molding at his parents house. He also installed crown molding in our three smallest rooms (the craft room, guest bathroom, and laundry room) in our house over a year ago. Like most skills you learn if you don’t use it you lose it. It takes a while to get back in the crown molding hanging mode and once you’ve figured it out you get right back into your grove! What Mr. Woodsy did not think about last year was changing out our baseboards. As we began really diving into our master bedroom revamp project he started teetering with the idea of making faux tall baseboards and after some brainstorming he just decided to go with tall baseboards. He wanted a more dramatic feel to the room and he knew that these larger baseboards would do the job. However, he never expressed this to me–so it was a shock to me when we marched to Home Depot to buy our contractors pack of crown molding that he was looking at tall baseboards. Because the tall baseboards do not come in a contractors pack they were almost double the price of the contractor pack of our crown molding. I didn’t say a word since he was obviously passionate about wanting tall moulding and since I’ve made so many decisions for our bedroom I figured I’d let him make one on his own. As our molding and baseboards were scanned at the register I thought to myself “here goes our budget even more”… and that it did, but in return I gained an even happier husband!
Here are few tips we’ve learned over the years when working with molding:
- To save money we use the contractor packs of Crown Molding. The contractors packs at our Home Depot come with 5 – 12 foot long pieces of crown moulding (I think its around $100 for one pack). Standard baseboard molding comes in contractors packs, but unfortunately, the fancy tall baseboards don’t–or at least don’t come in contractors packs at our local Home Depot.
- Because we use contractors packs we are not getting 100% wood–it is MDF (medium-density fiberboard). These boards are lighters but have their downfalls.

- The MDF crown molding comes painted in a matte like finish; however, you’ll want to repaint them over again in your desired color. Traditional crown molding is painted in white; however, our guest bathroom has black crown molding and it turned out great.
- While on the subject of painting–you want to use semi to high gloss paint for your crown molding. We only use BEHR paint in our house and always have white semi-gloss on hand.
- When you paint the crown molding *and base boards for this matter DO NOT stack them on top of each other once they are dried. They need to lay flat in an individual manner. Trust me–we have learned the hard way–the semi gloss will stick to the boards and peal and because its MDF you can not sand down the paint… well you can but after multiple sandings you still see where the paint was pealed. Promise me, you will NEVER STACK dried moulding!!! Even if you have the worlds messiest garage and have to dodge bags to good will, multiple dressers, and power tools.

Now it’s time to install the tall baseboards. If you need to know how to remove existing baseboards I highly suggest you take a look at our tutorial on that. Once you’ve prepped the area and remove your existing baseboards its time to measure and begin attaching your baseboards. Make the appropriate cuts to match the length of your wall and cutting the inside and outside joints depending on the piece your installing.
Some suggest to use glue to help adhere the baseboard to the wall. Mr. Woodsy uses a pin nail gun and an air compressor and attaches the baseboard to the wall that way.
He likes to nail every foot or so and making both top and bottom pin nails to secure the baseboard.

He also likes to use his foot to hold the board in place pushing it on to the wall. I don’t feel this is a really safe way of doing it so I don’t condone this practice; however, if your a one-man show then you have to do what you have to do.
DIY networks has a great little tutorial that I highly suggest you visit for a more in-depth approach to installing baseboards.
Next up–it’s time to fill in all the pin nail holes with caulking. We like to use DAP® ALEX® Painters Caulk for filling in holes and sealing the tops of the baseboards!

The good thing about caulking is that it can be messy when first applied on because you end up smooth it out to be nice and clean looking!
After your done caulking you’ll want to run a little paint over the baseboards again to touch up spots that may need a little extra paint!
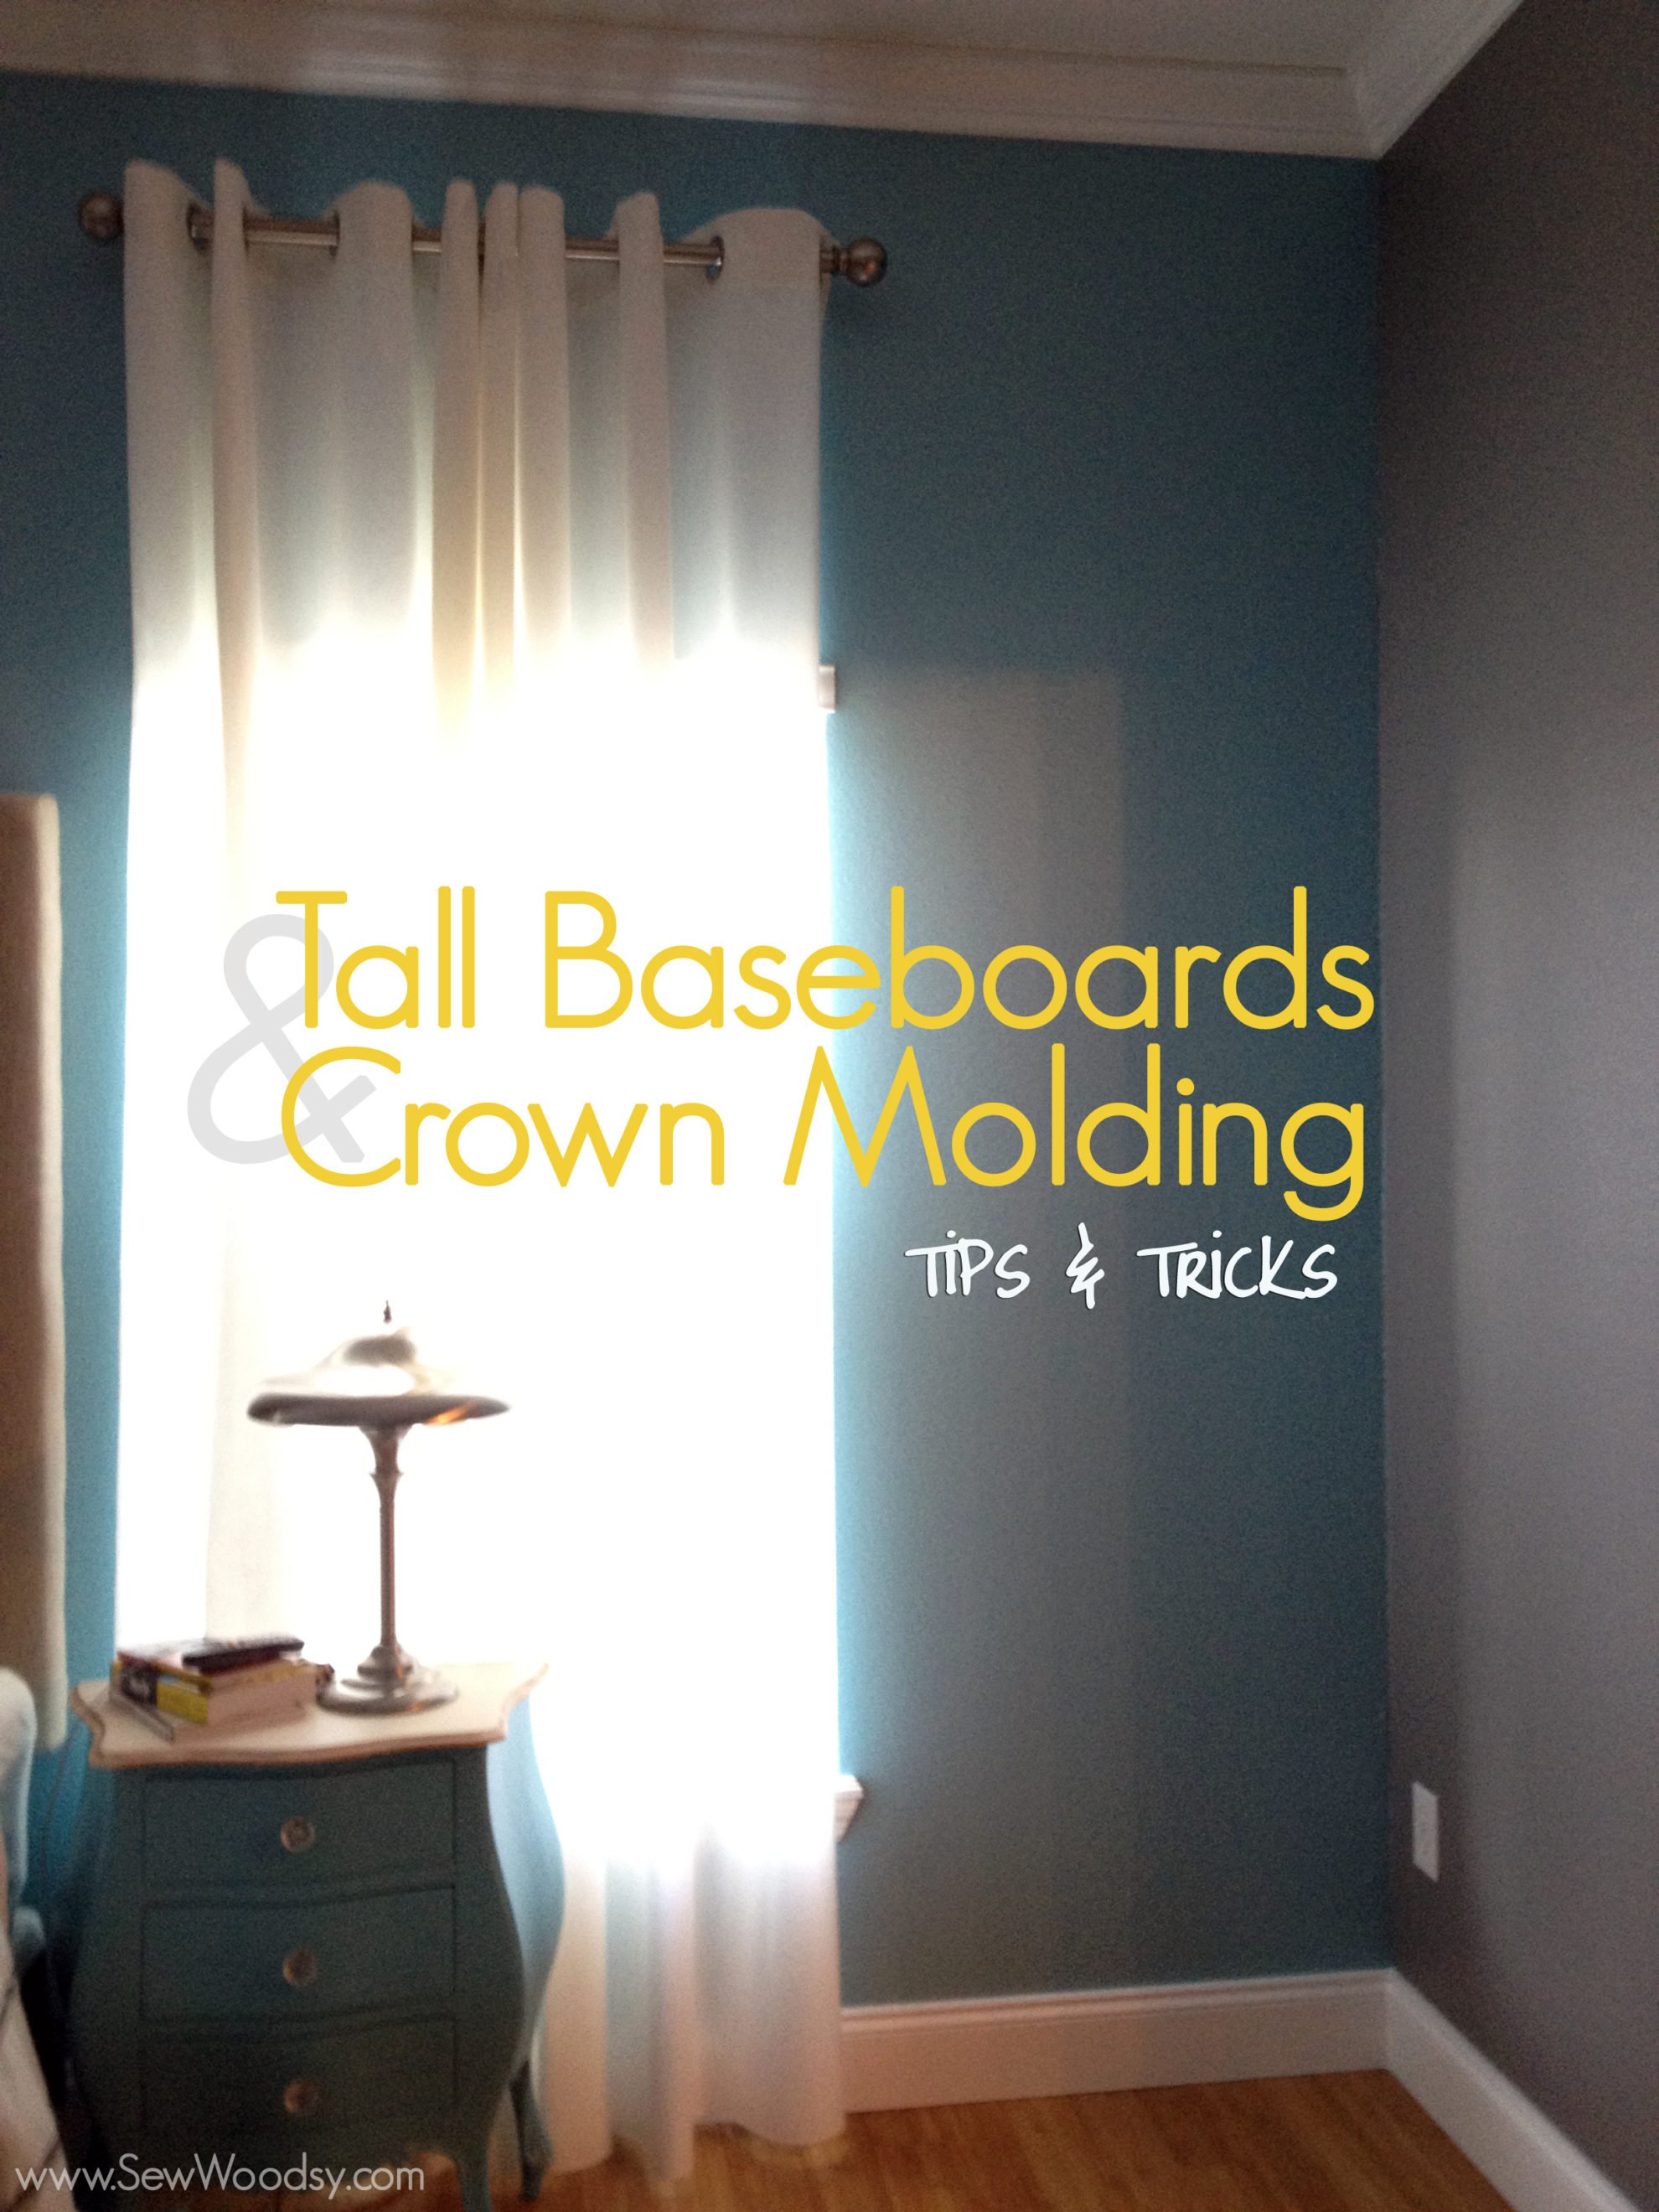
This is what the finished baseboards look like. I recognize that the pictures do not do the tall baseboards justice. But when your walking around the room you can definitely see the difference!

The following day after Mr. Woodsy completed the baseboards he then began working on the crown molding.

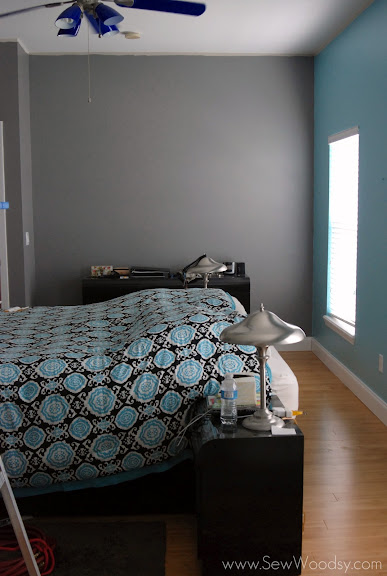
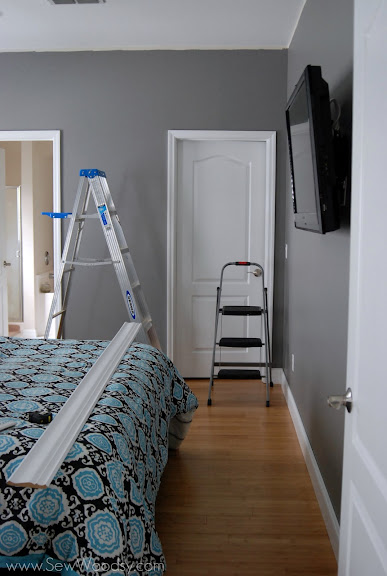
This is what our room looked like prior to crown molding.

Like I stated above… if you don’t use the skill of cutting and installing crown molding often you tend to lose the skill. Mr. Woodsy has a handy set of angle pieces he made a while back to use as templates for the cuts needed for crown molding. This helps him determine if its an inner or outer piece to cut. Unfortunately, I don’t have a picture of it or else I would show you.
Using a miter saw will give you the best results when cutting crown molding. I found two in-depth tutorials on how to install crown moulding you can check out How to Install Crown Molding from This Old House and Pro Tips for Installing Crown Molding from Popular Mechanics.
Since it’s not ideal to cut inside the house Mr. Woodsy moved the miter saw to our back yard since thats the closest area to our bedroom. He then would do a cut, measure, and some times repeat that process. Using a pin nailer and air compressor just like he did for the baseboards attaching the molding to the walls. *I ended up running errands and didn’t take any photos of the process nor did Mr. Woodsy have the patience to take photos on crown molding installation day!
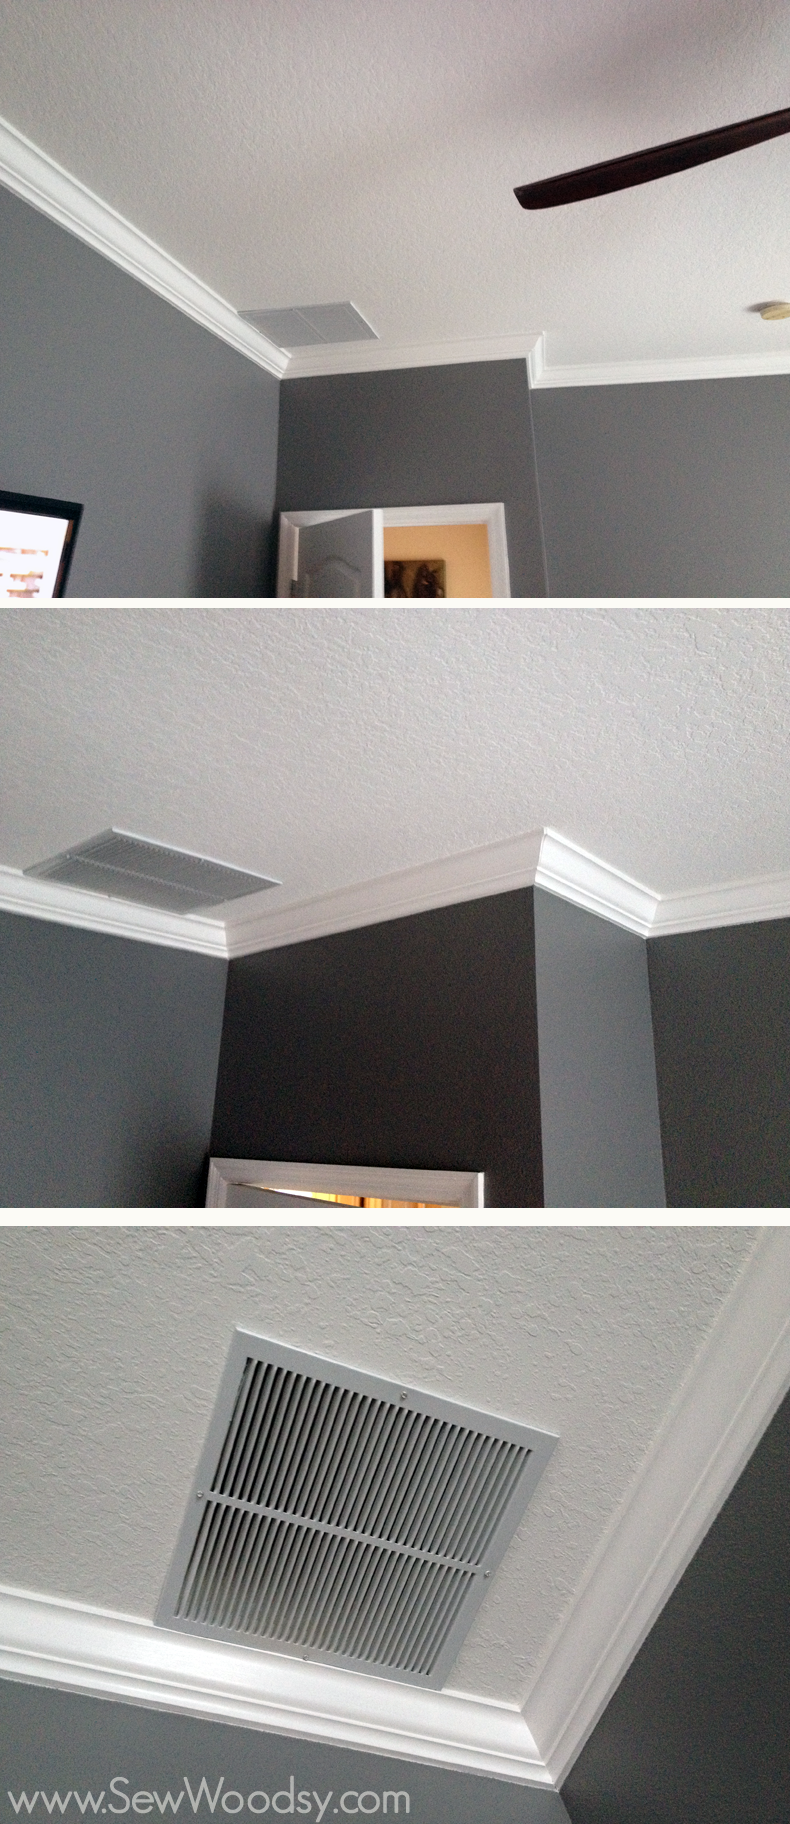
Prior to me leaving I did take a photo of Mr. Woodsy’s challenge… our air vent was placed rather close to the edge of our wall which meant that the molding was going to interfere with it. *That tiny piece of molding Mr. Woodsy is holding is one of his template pieces he made–I talked about it a few sentences ago!
I was happy to arrive home to a vent that fit snug next to our molding. After a lot of self-deliberating–Mr. Woodsy decided to cut the vent since it was too risky to cut the actual molding. and it not fit perfectly. In the end you can’t even tell he cut the vent!
I’m happy to share the final pictures with everyone! I can not stress how much I love crown molding. It might be a pain in the you know what to install but it pays off ten fold!
Sorry, I can’t give you full peak of the room just yet… the dressers aren’t done yet. And let’s just say that our room isn’t always “photo ready”. But did you see the fan blade? It’s not blue anymore!!!

