Create an adorable and festive DIY Personalized Thanksgiving Turkey Shirt for your children using your Cricut in under 20 minutes!
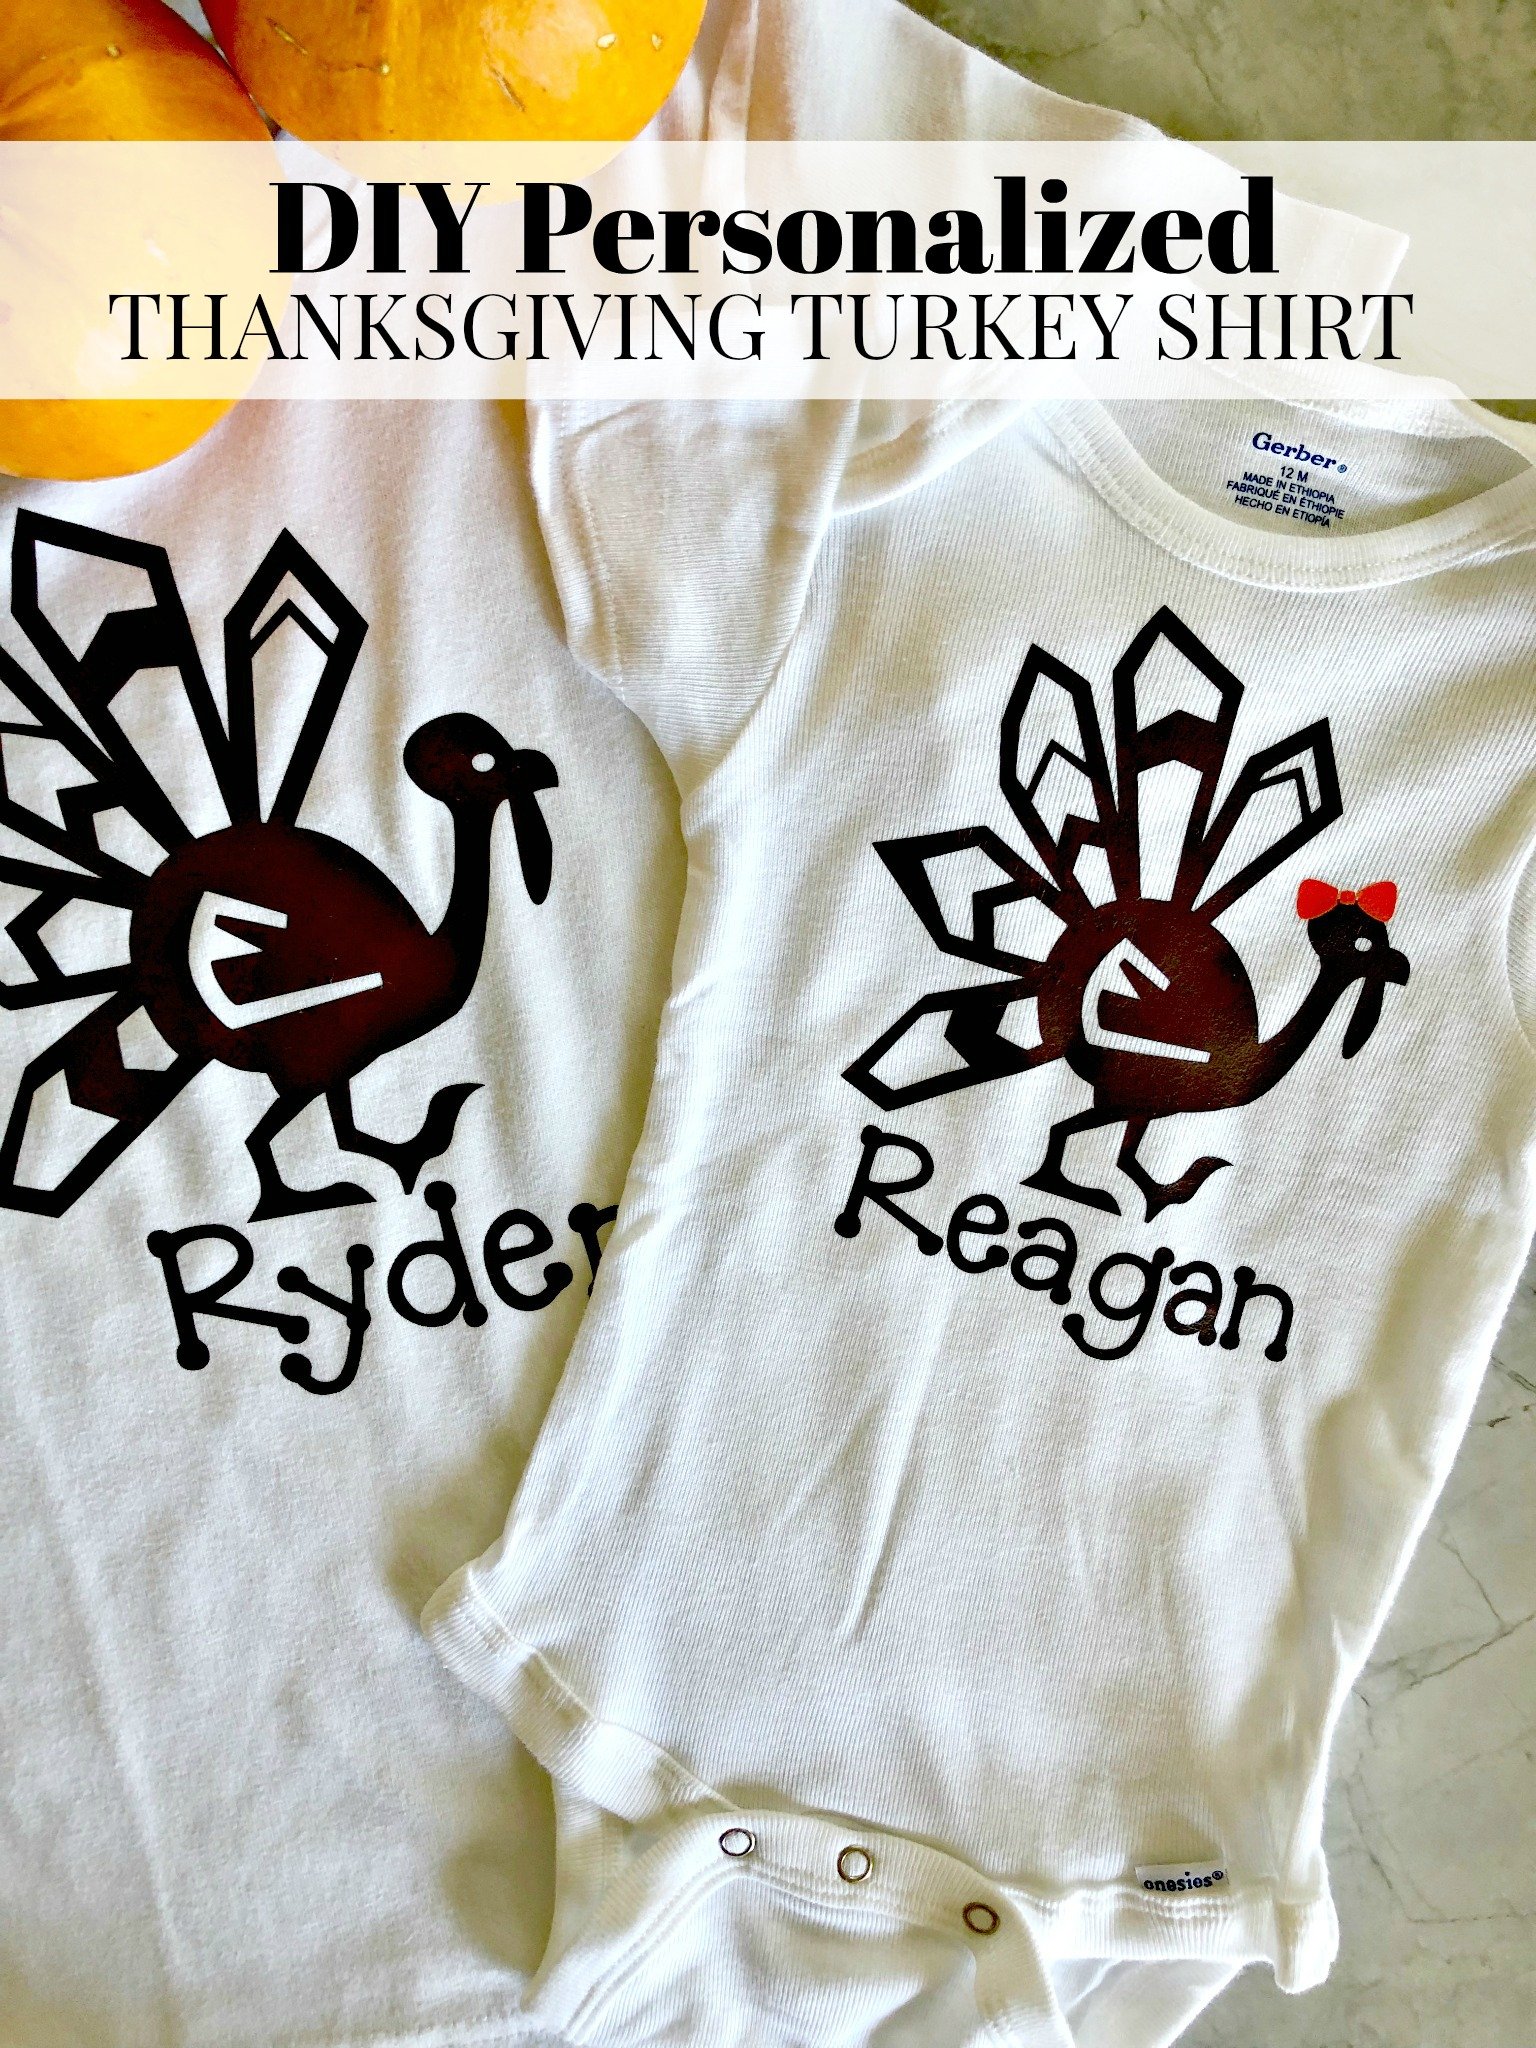
I absolutely love to make my children personalized holiday shirts. It’s a no brainer to me since I have a Cricut. It makes creating shirts so simple. However, I do a bad job at making them early in the season so they can where them at least a handful of times. Sometimes they only get to wear them 2-3 times tops.
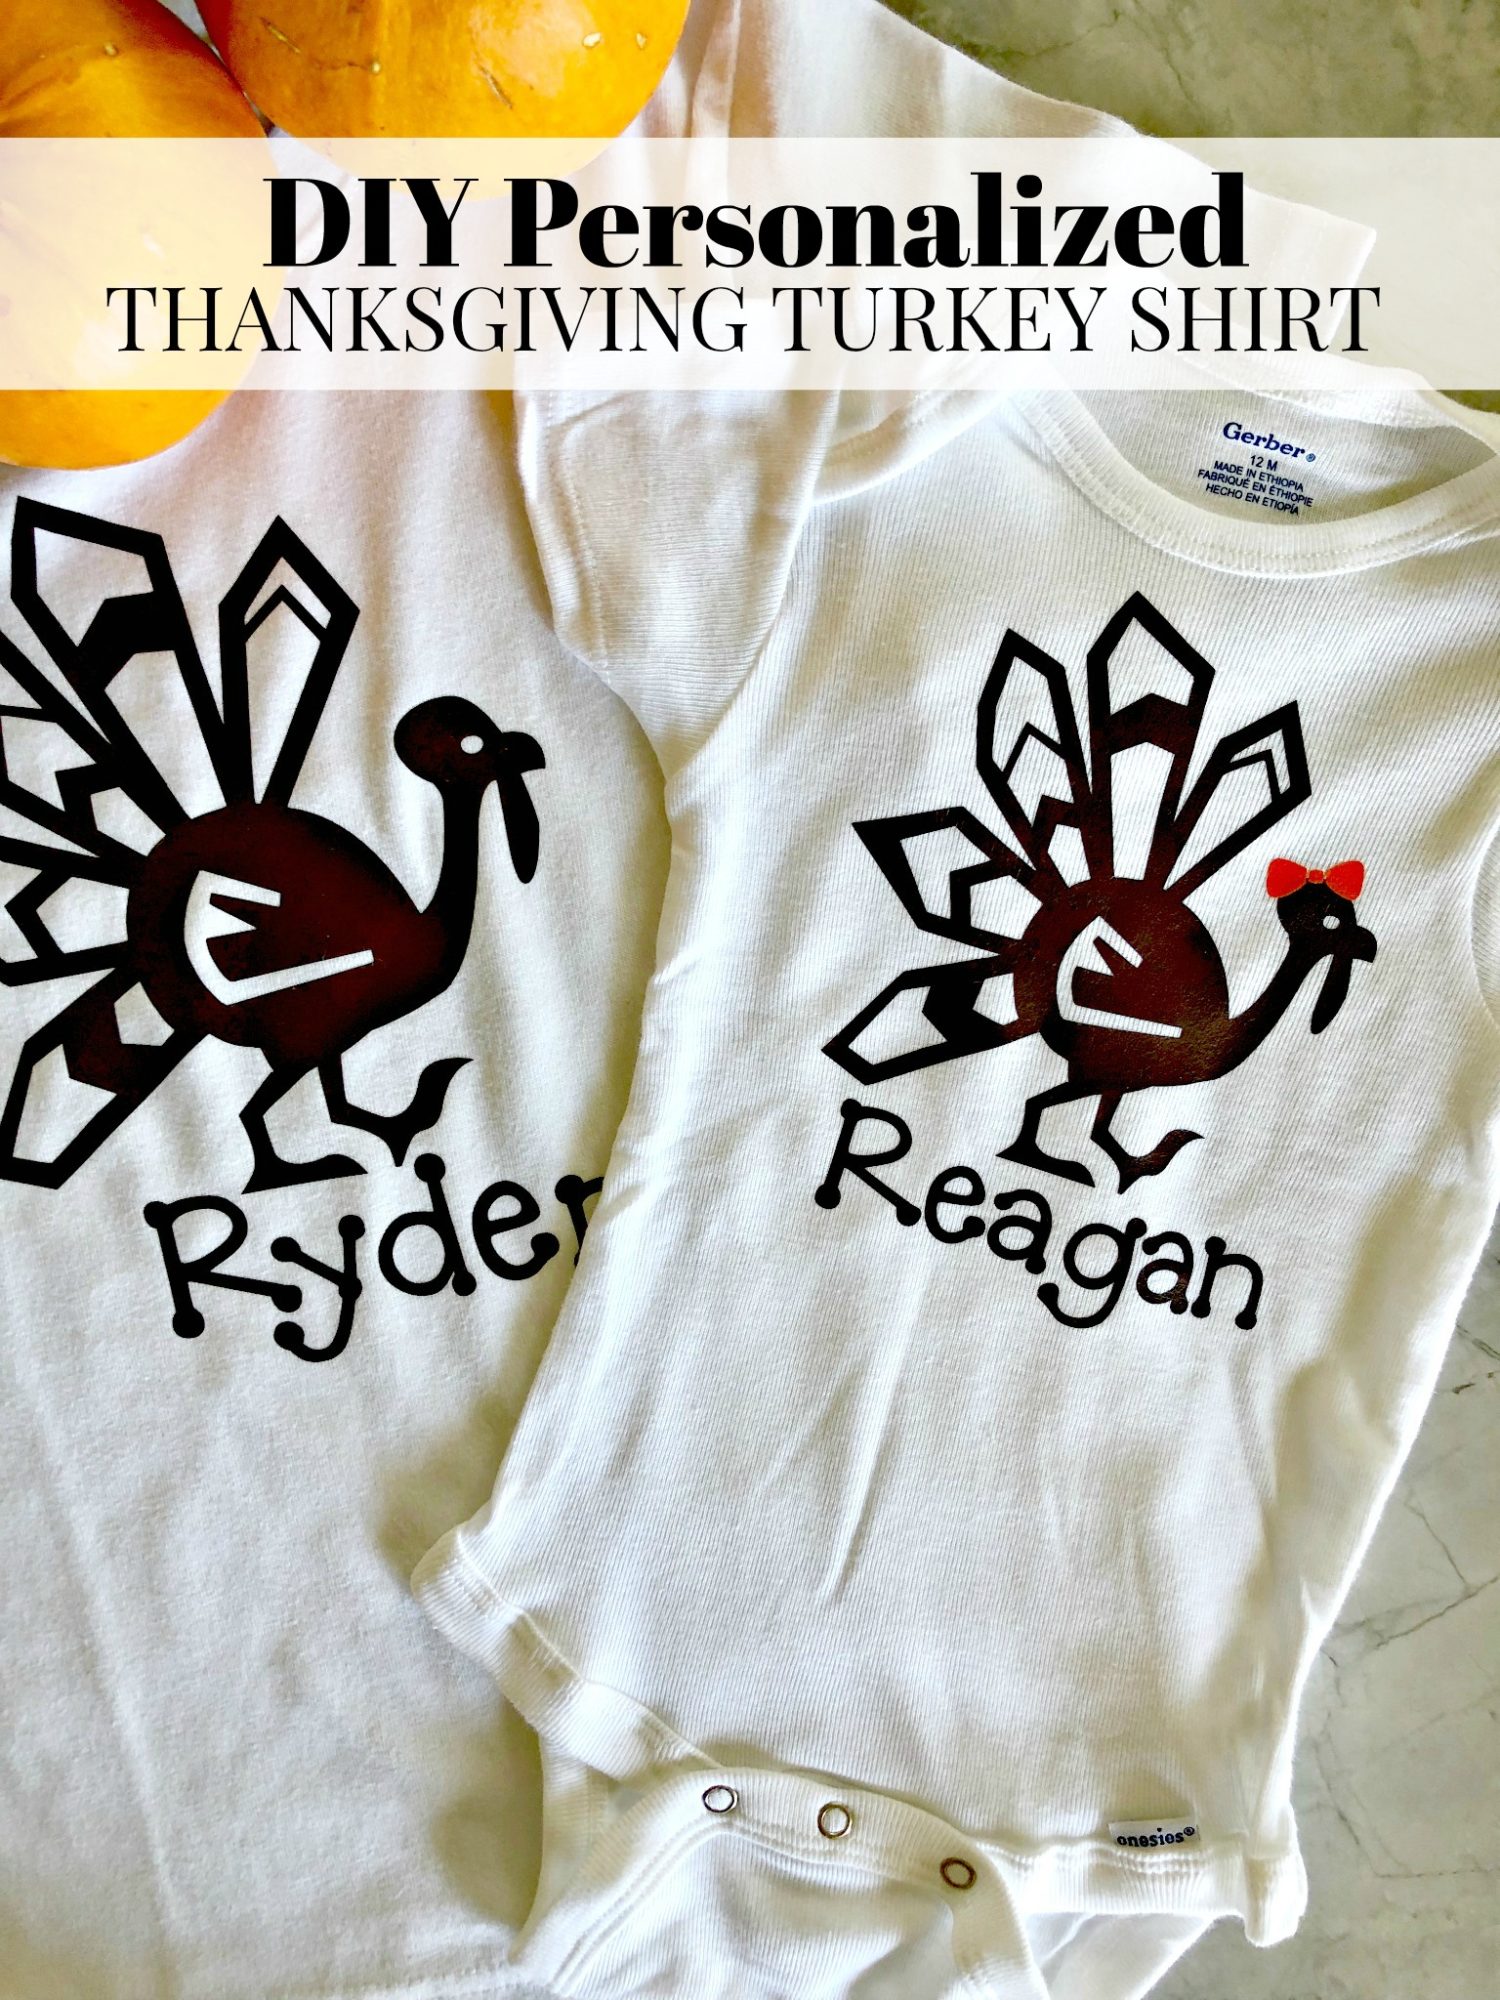
I’m excited to share this file for the DIY Personalized Thanksgiving Turkey Shirt. I didn’t have a white shirt for my daughter and could only find a 12 month onesie in my stash of blanks, so that’s what I used. Good thing she will only wear this a few times! In just a few minutes. I’m saying 20 minutes tops–you will have the cutest Thanksgiving shirts for your next gathering.
Table of contents
Supplies you need to make Thanksgiving Shirts
- Cricut
- DIY Personalized Thanksgiving Turkey Shirt File on Cricut Design Space
- Cricut Mat
- Cricut Iron-On Vinyl; brown and orange
- Cricut Tools
- Cricut BrightPad
- White T-shirt and/or Onepiece
- Cricut EasyPress 2 6×7
- Cricut EasyPress™ Mat (optional)
- Cricut Iron On Protective Sheet (optional) or Muslin Cloth
Designing in Cricut Design Space
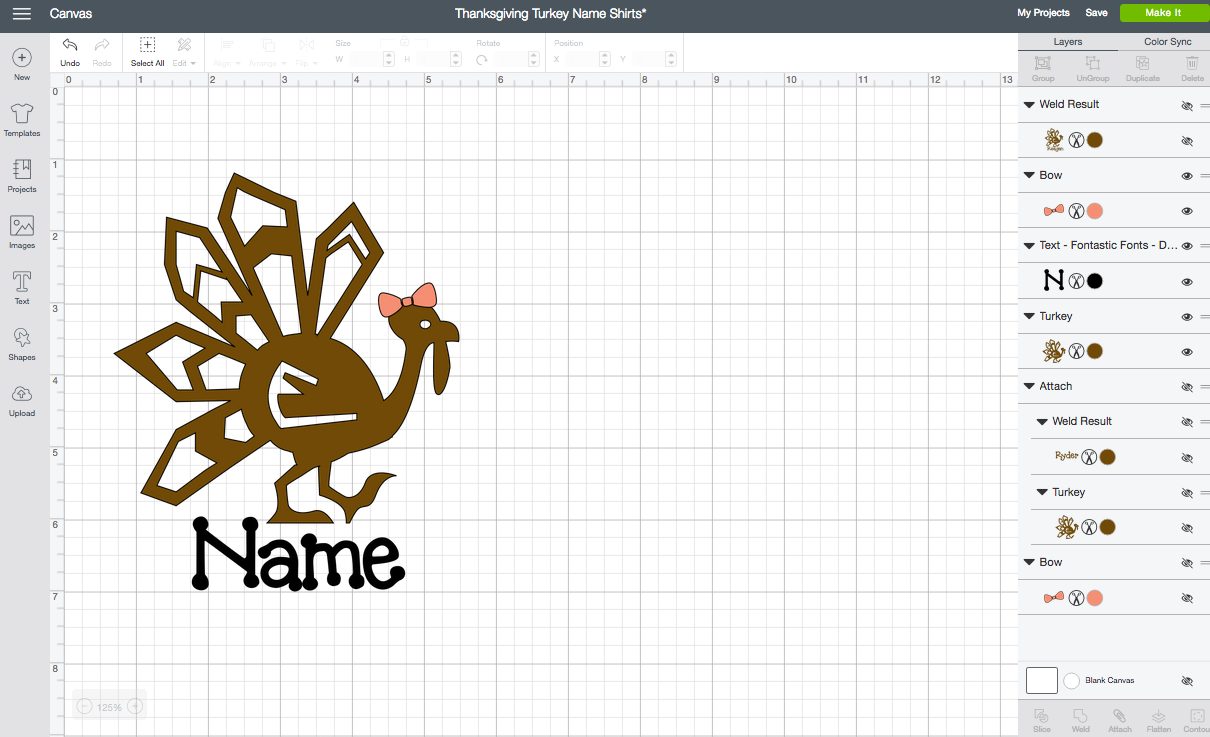
The turkey and bow are part of Cricut Access; however, the font is not. It’s Fontastic Fonts – DJ Doodlers. I’ve purchased it for $4.99 on Cricut Design Space. If you don’t want to buy it you can use your own font or one that comes with Cricut Access. I created this file so you can just click on the “name” and type your name in.
You’ll see that I have not made my children’s name designs visible on the screen (although remove the slash from the eye and you’ll notice that I welded the turkey together with the name). This is an option you can do if you just want to use brown. The little orange bow was just a scrap I had, and you can make it any color you want.
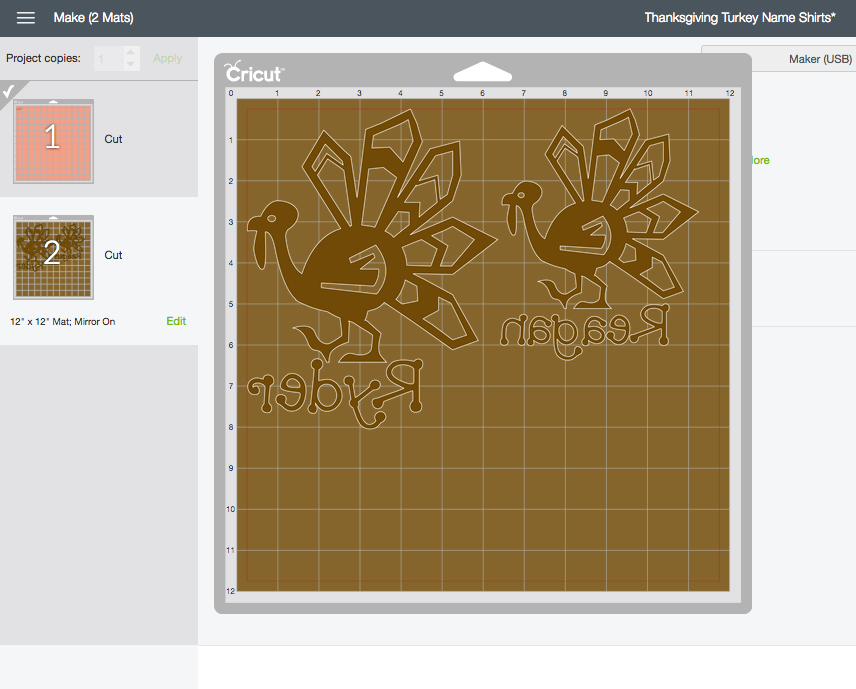
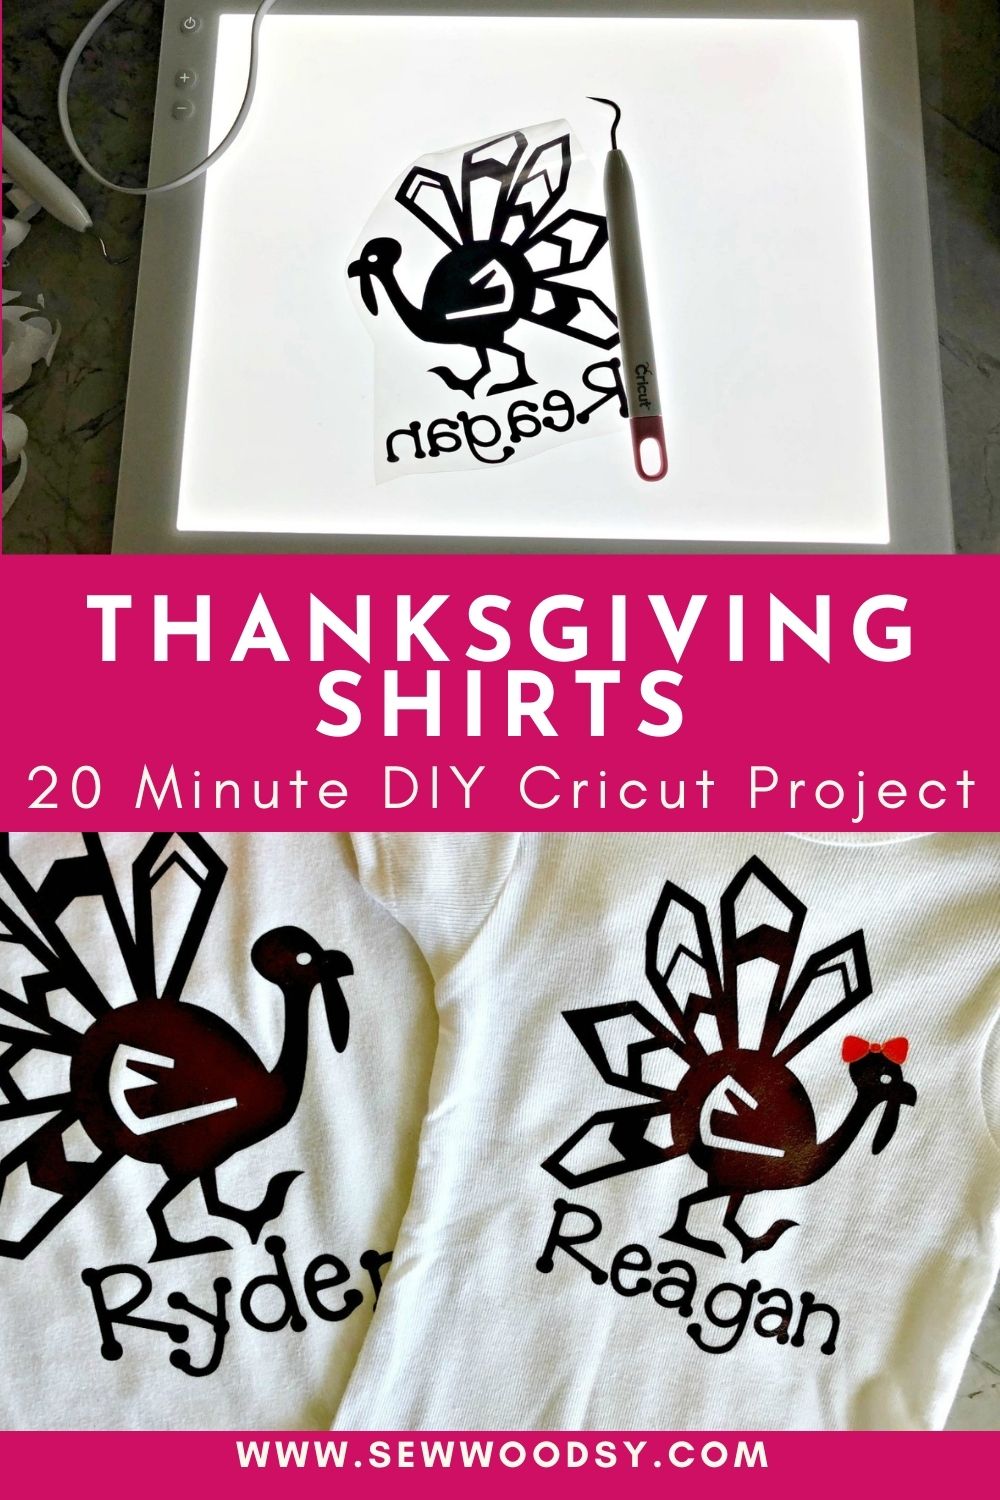
Remember, your cutting Iron-On Vinyl and you need to mirror your vinyl! You’ll notice I welded both designs together to cut in brown, and the orange mat is for the teeny tiny bow for Reagan’s shirt.
Weeding Iron-On Vinyl
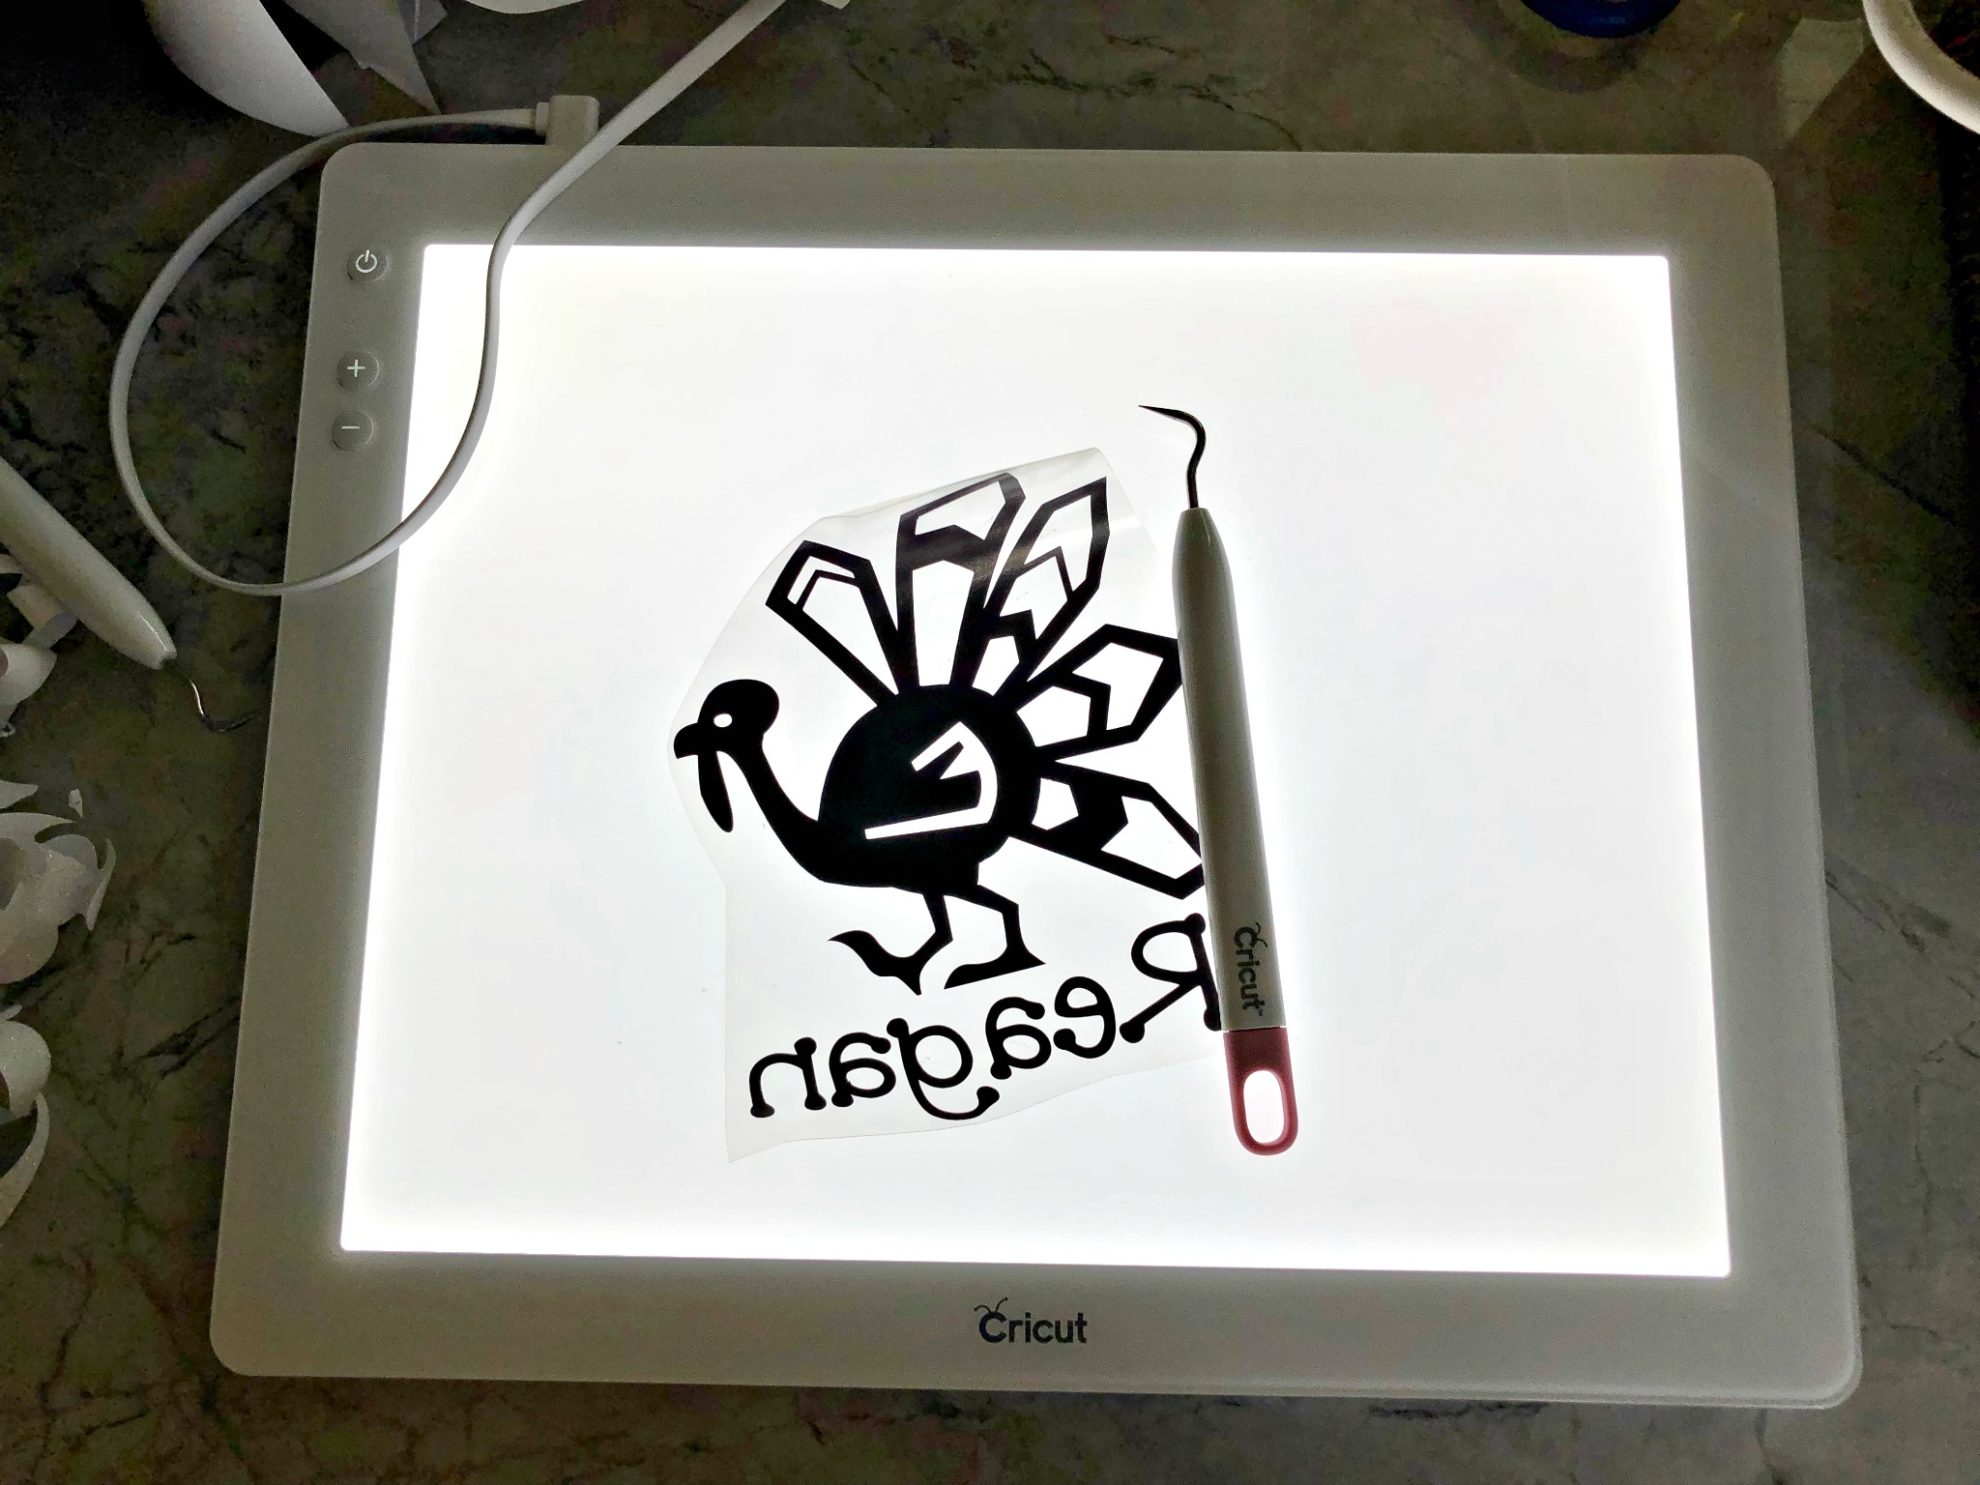
Once you’ve cut your design it’s time to “weed the negative” from the design. I never “weed” without my Cricut BrightPad. It makes seeing all the little details and cuts so much easier.
Pressing Iron-On Vinyl
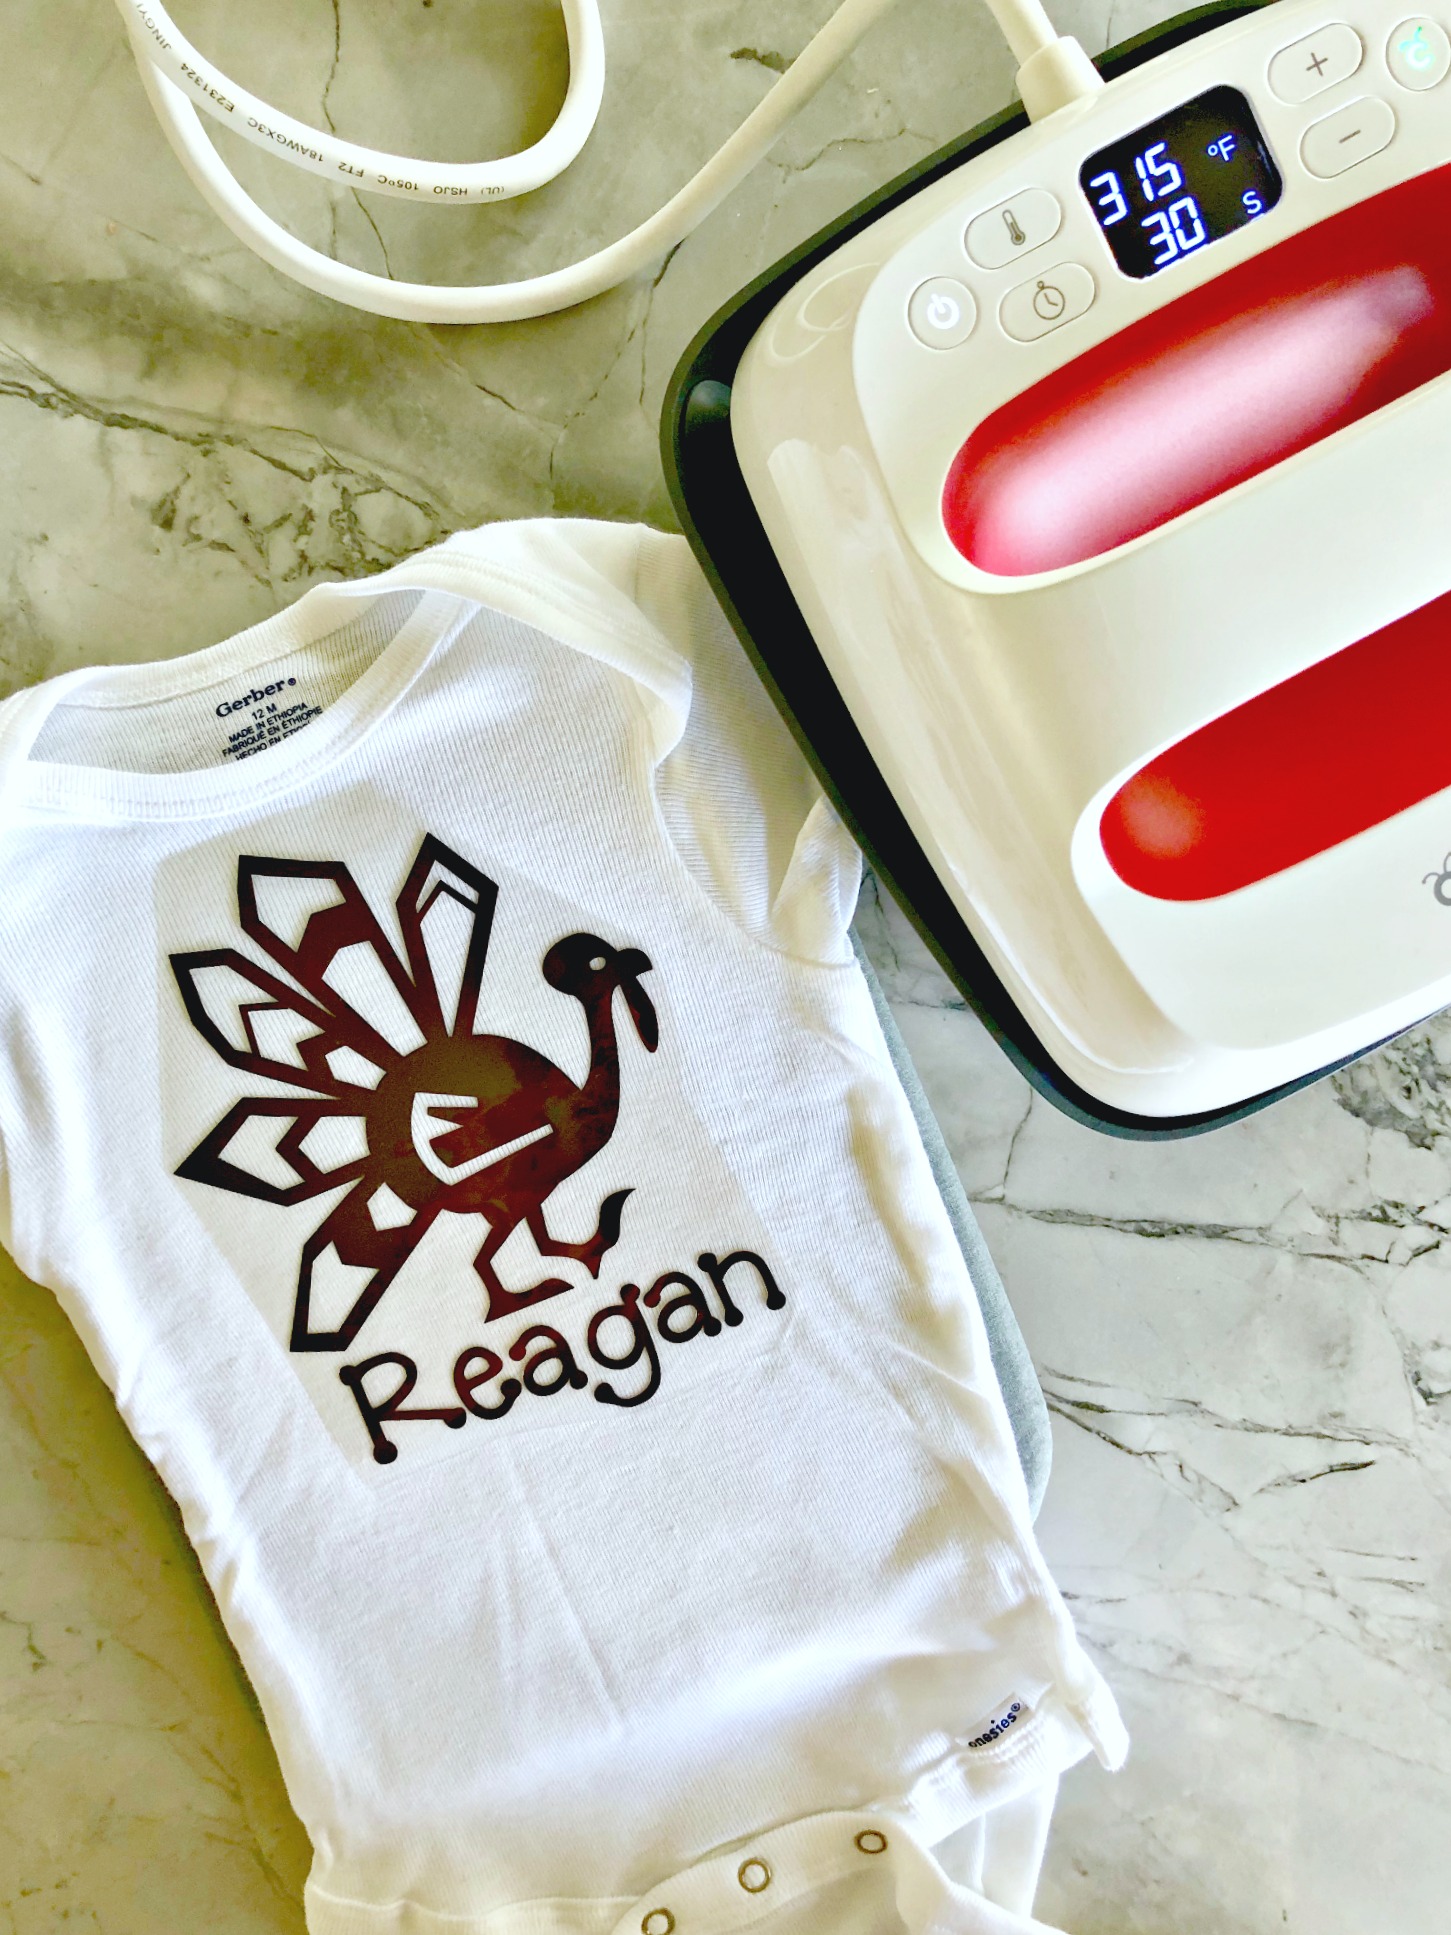
Next, warm up the Cricut EasyPress 2 I have the new 6×7 size that is perfect for one-pieces!
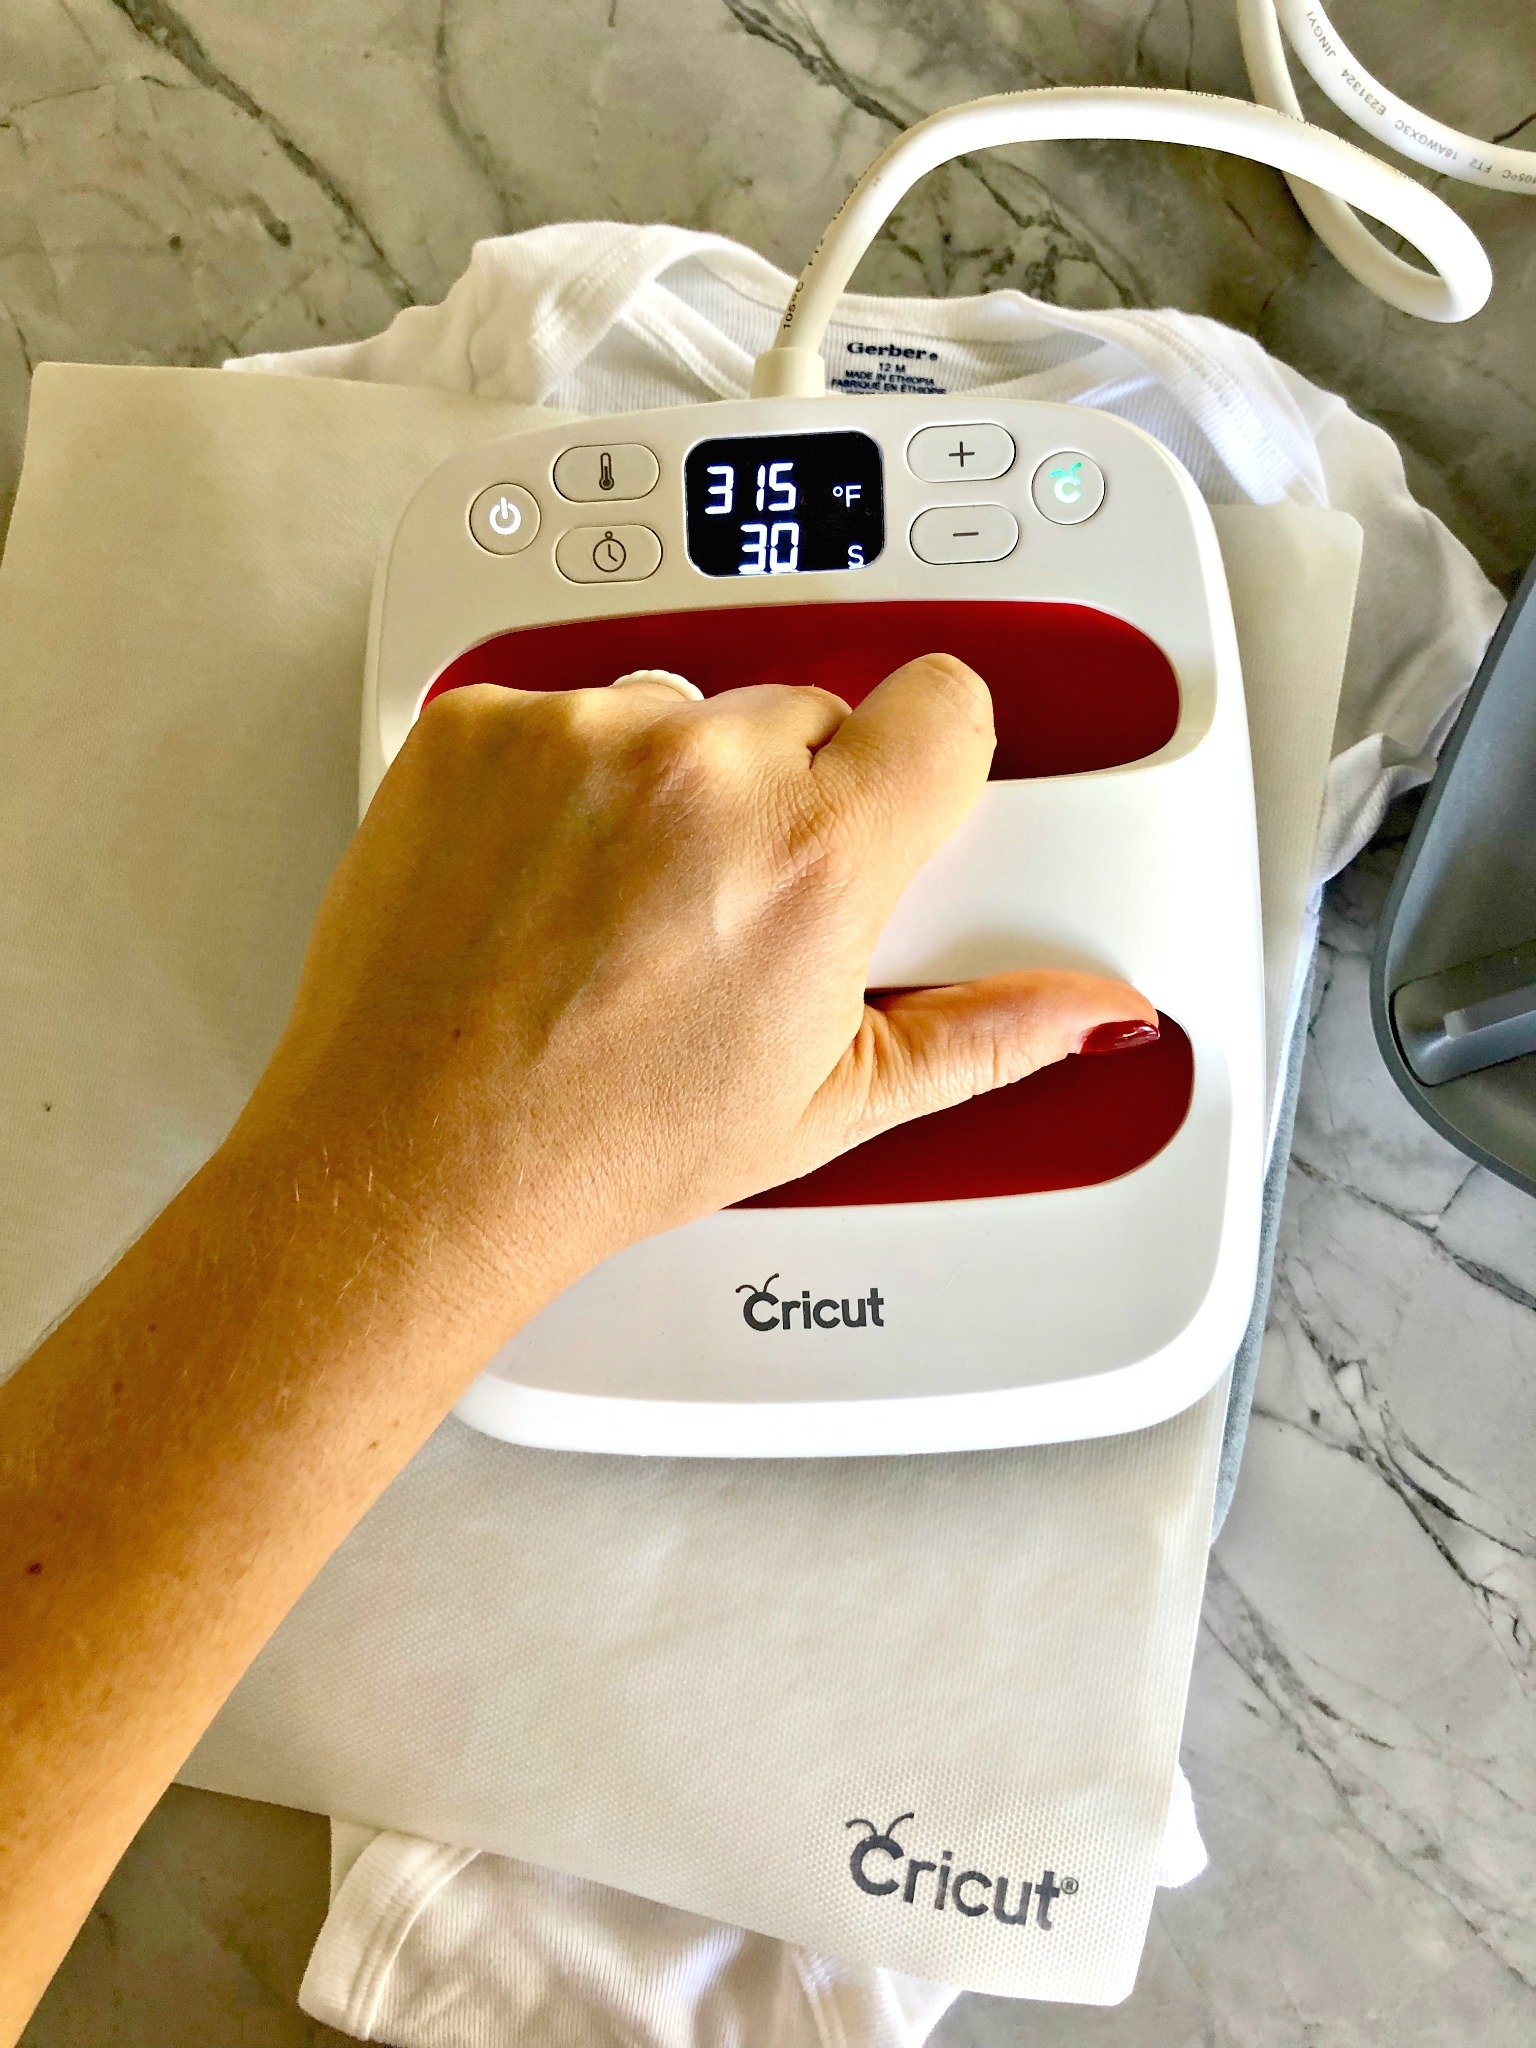
Always follow the recommended EasyPress heat settings per the Cricut website. Because these shirts were cotton I really should have had the setting at 330 but forgot to change it. Oops! I will say it still worked just fine. I did go back and repress at 330 just in case to make sure it stayed adhered on to the shirt.
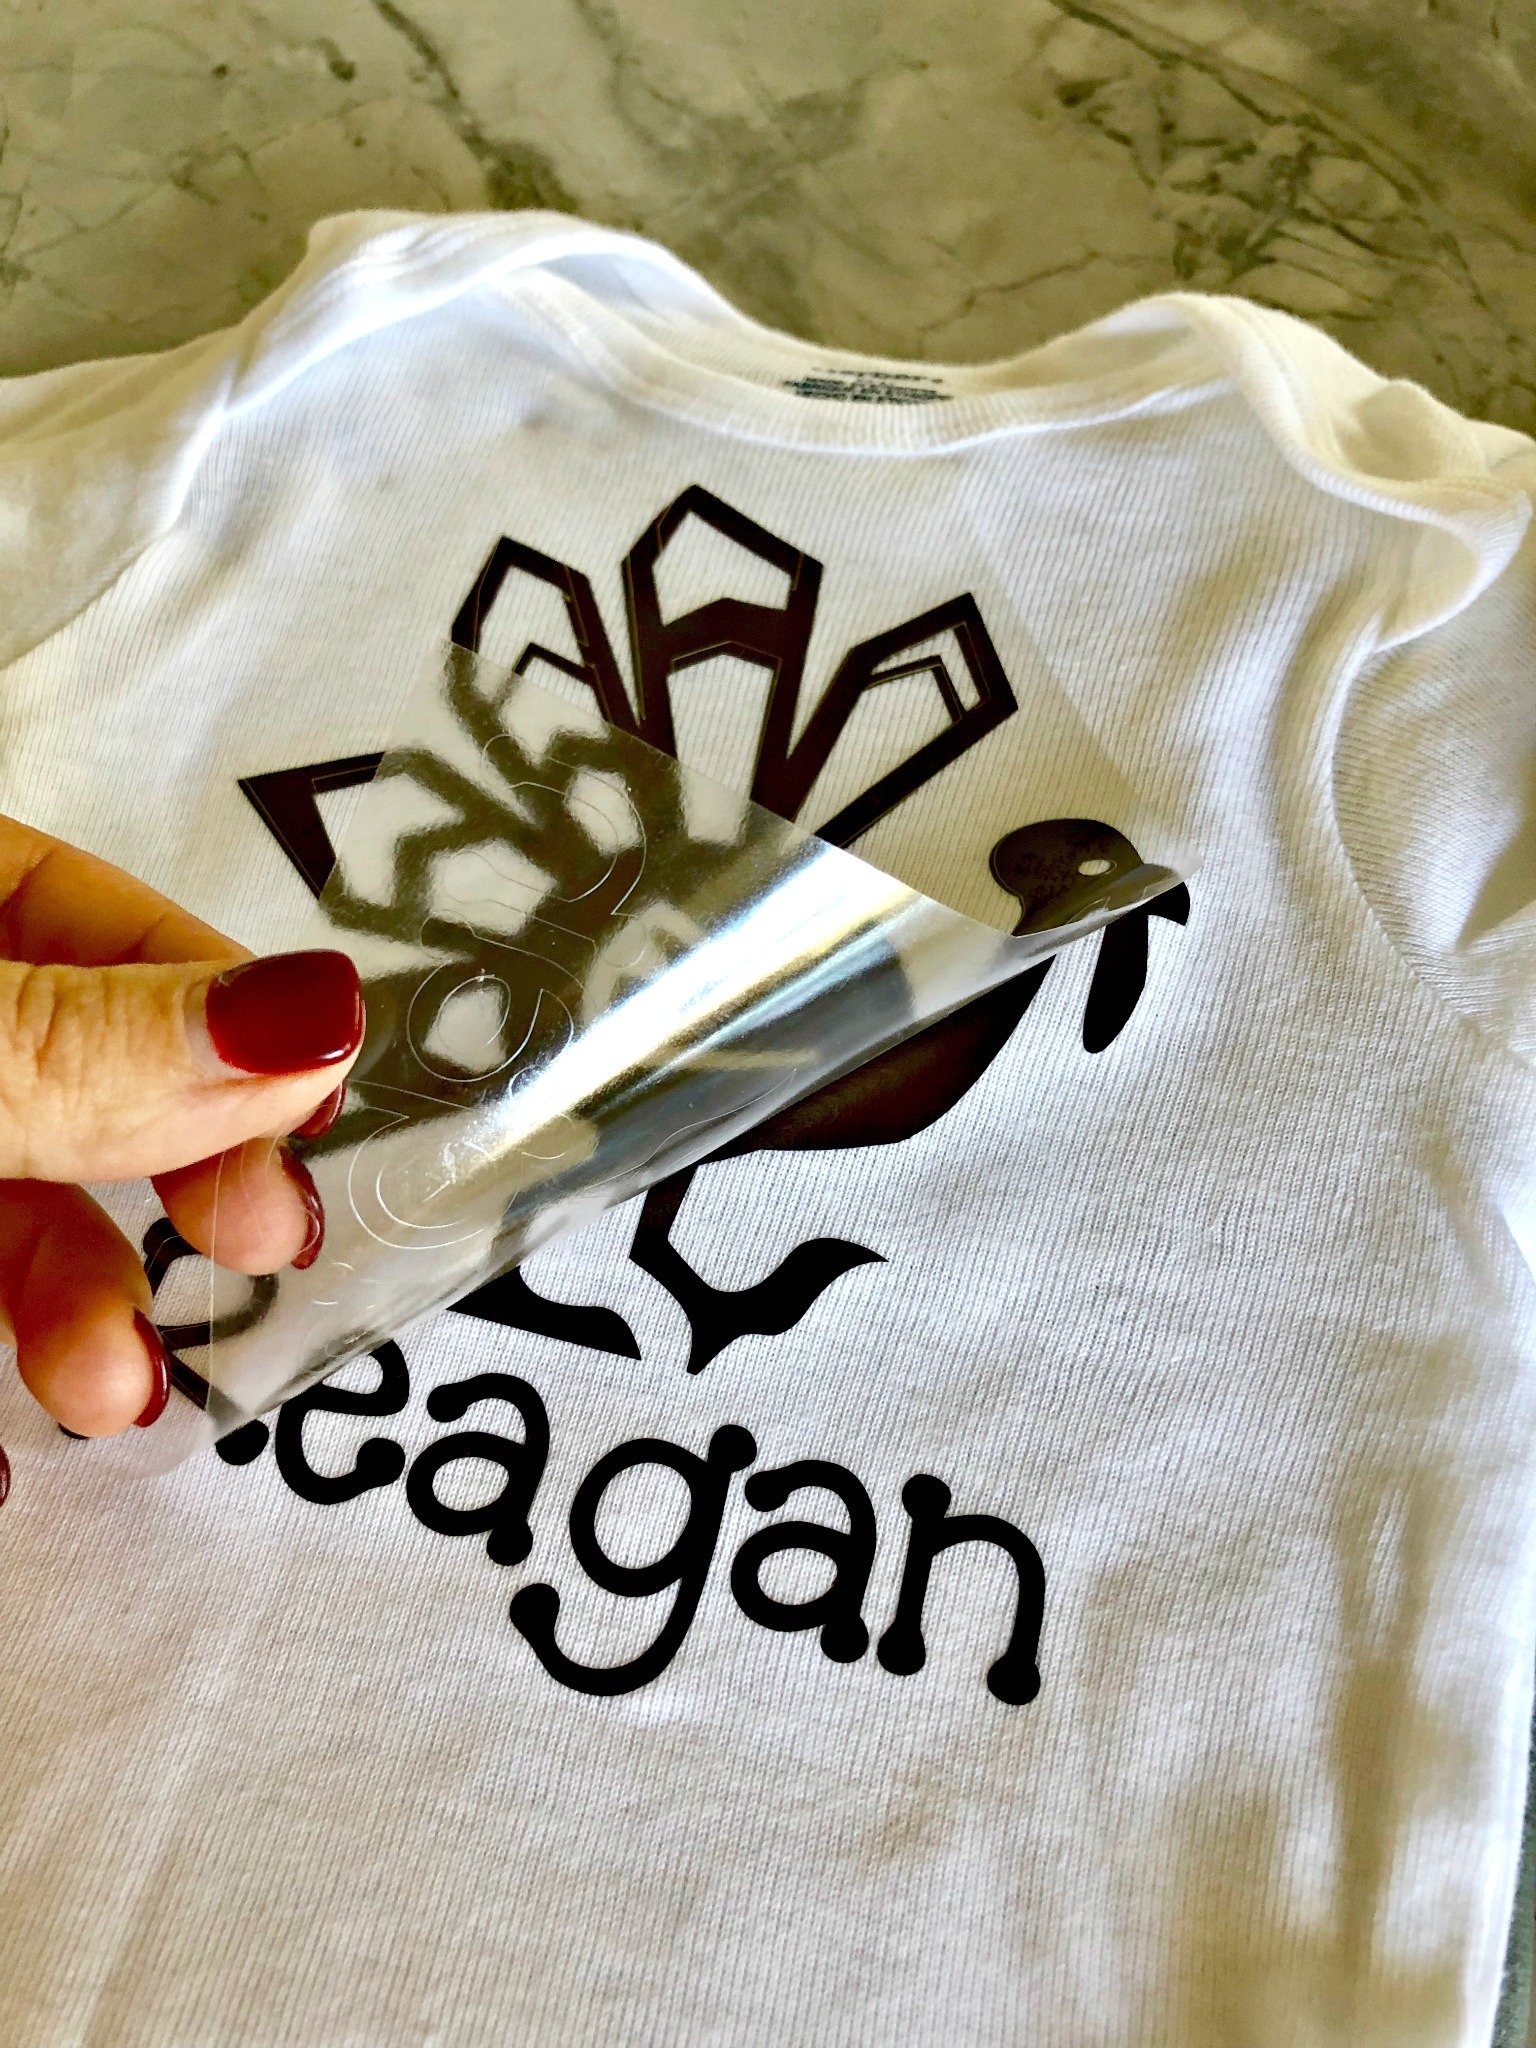
Flip the shirt over, press again, and then carefully do a warm peel!
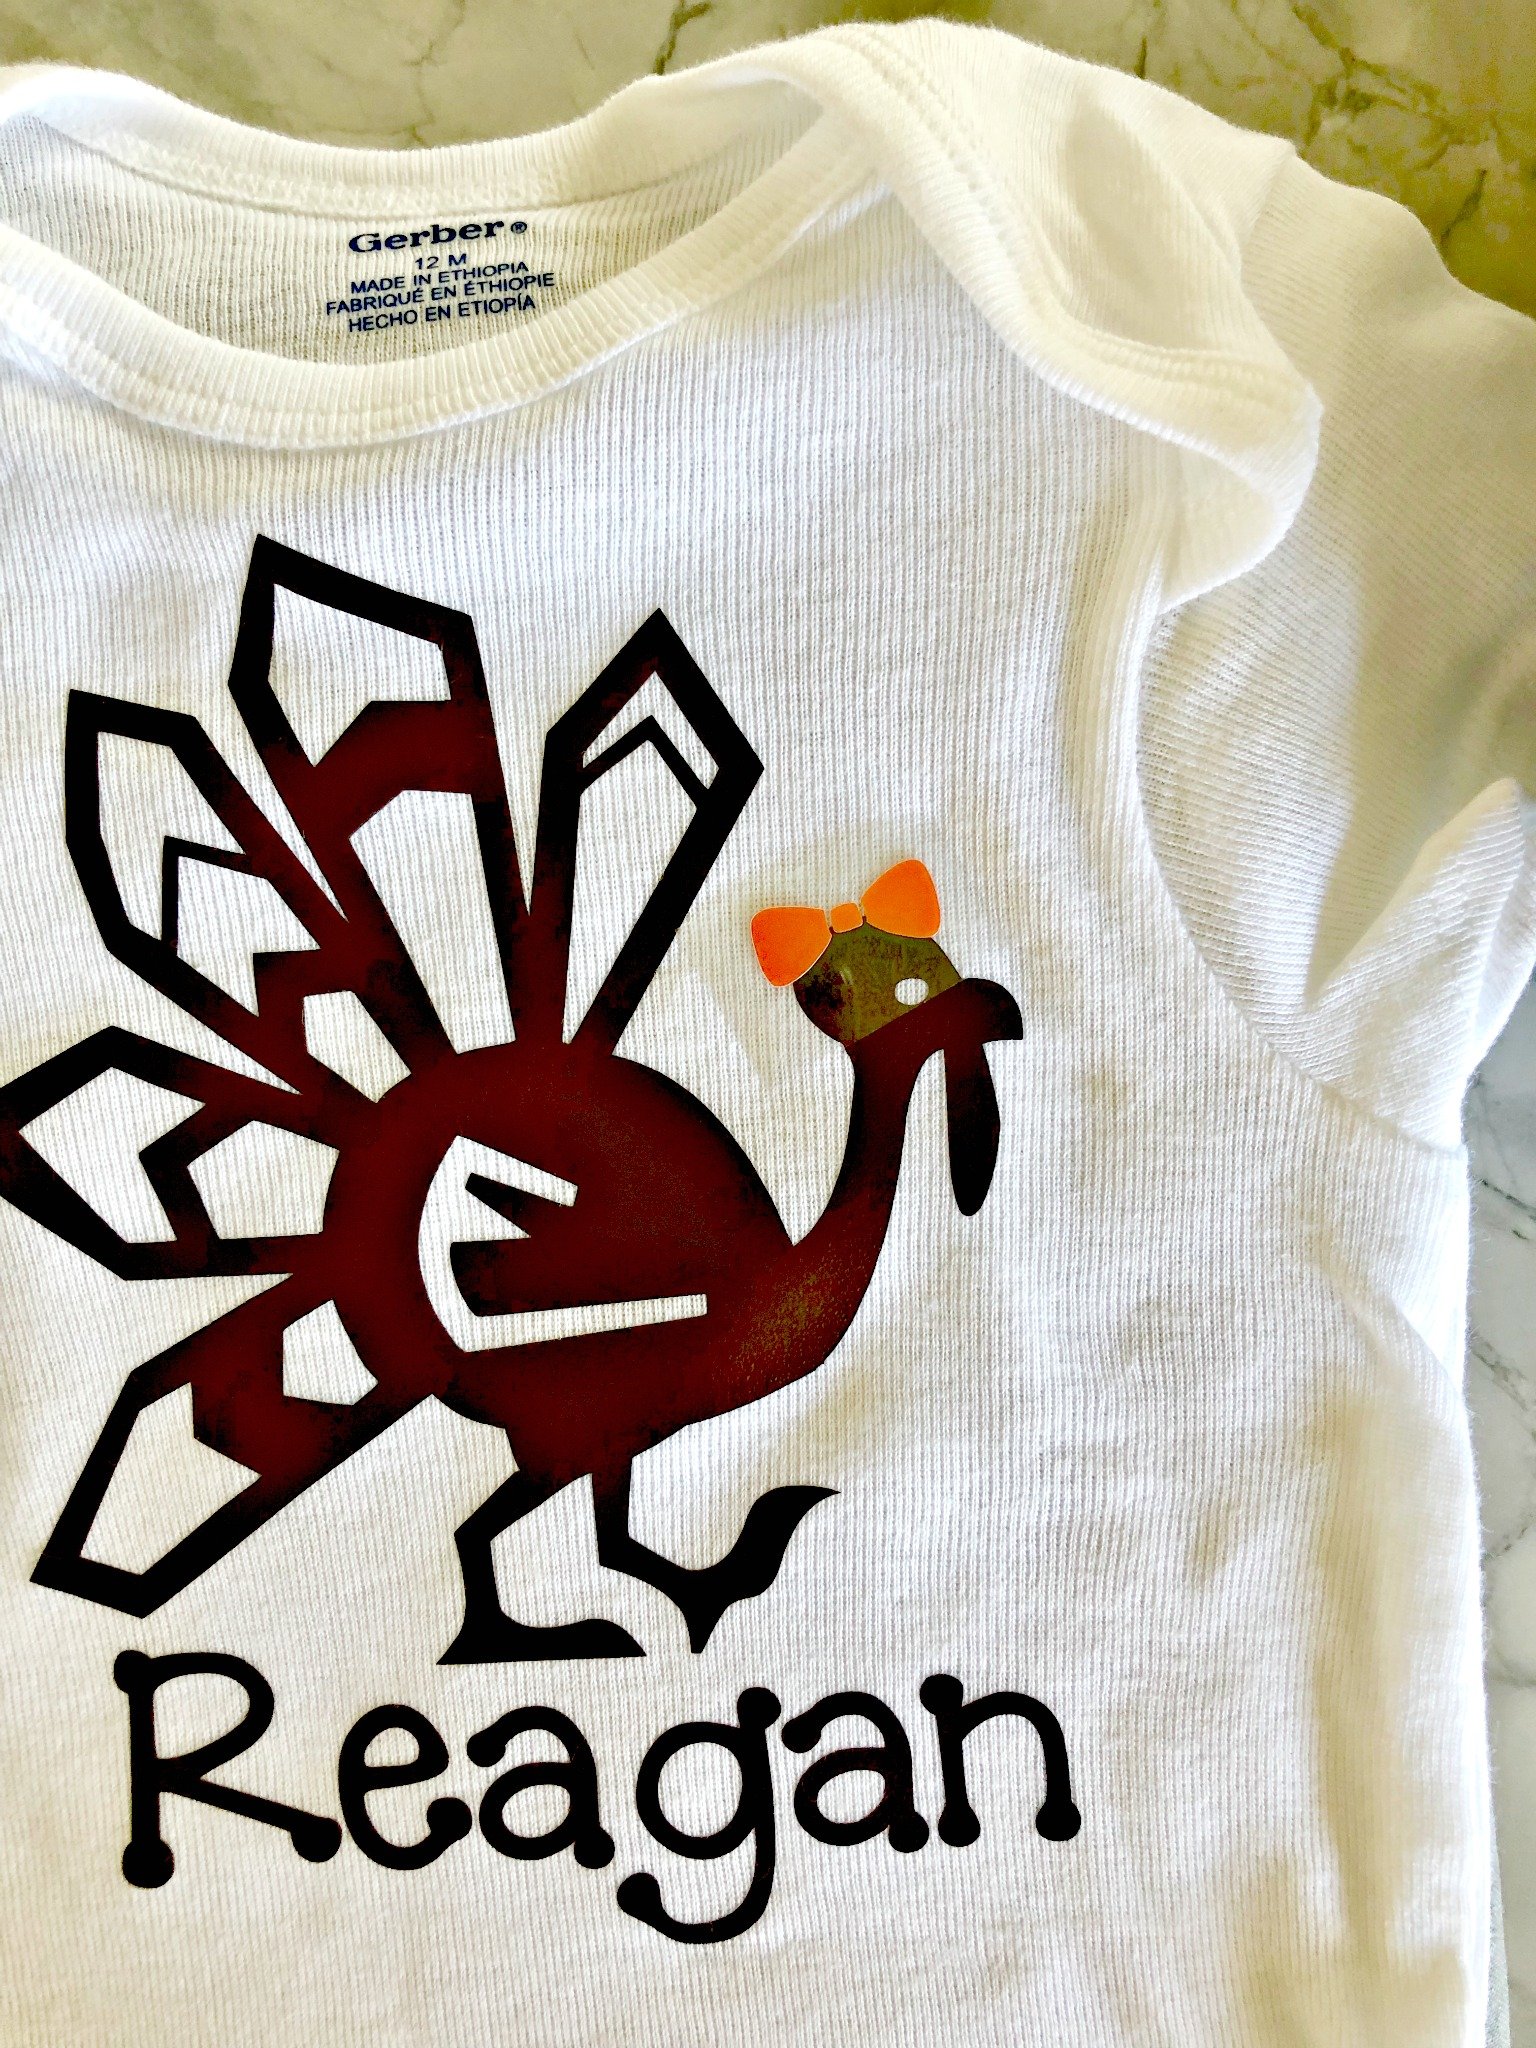
Next, press on the bow, and repeat the entire process using the Cricut EasyPress 2.
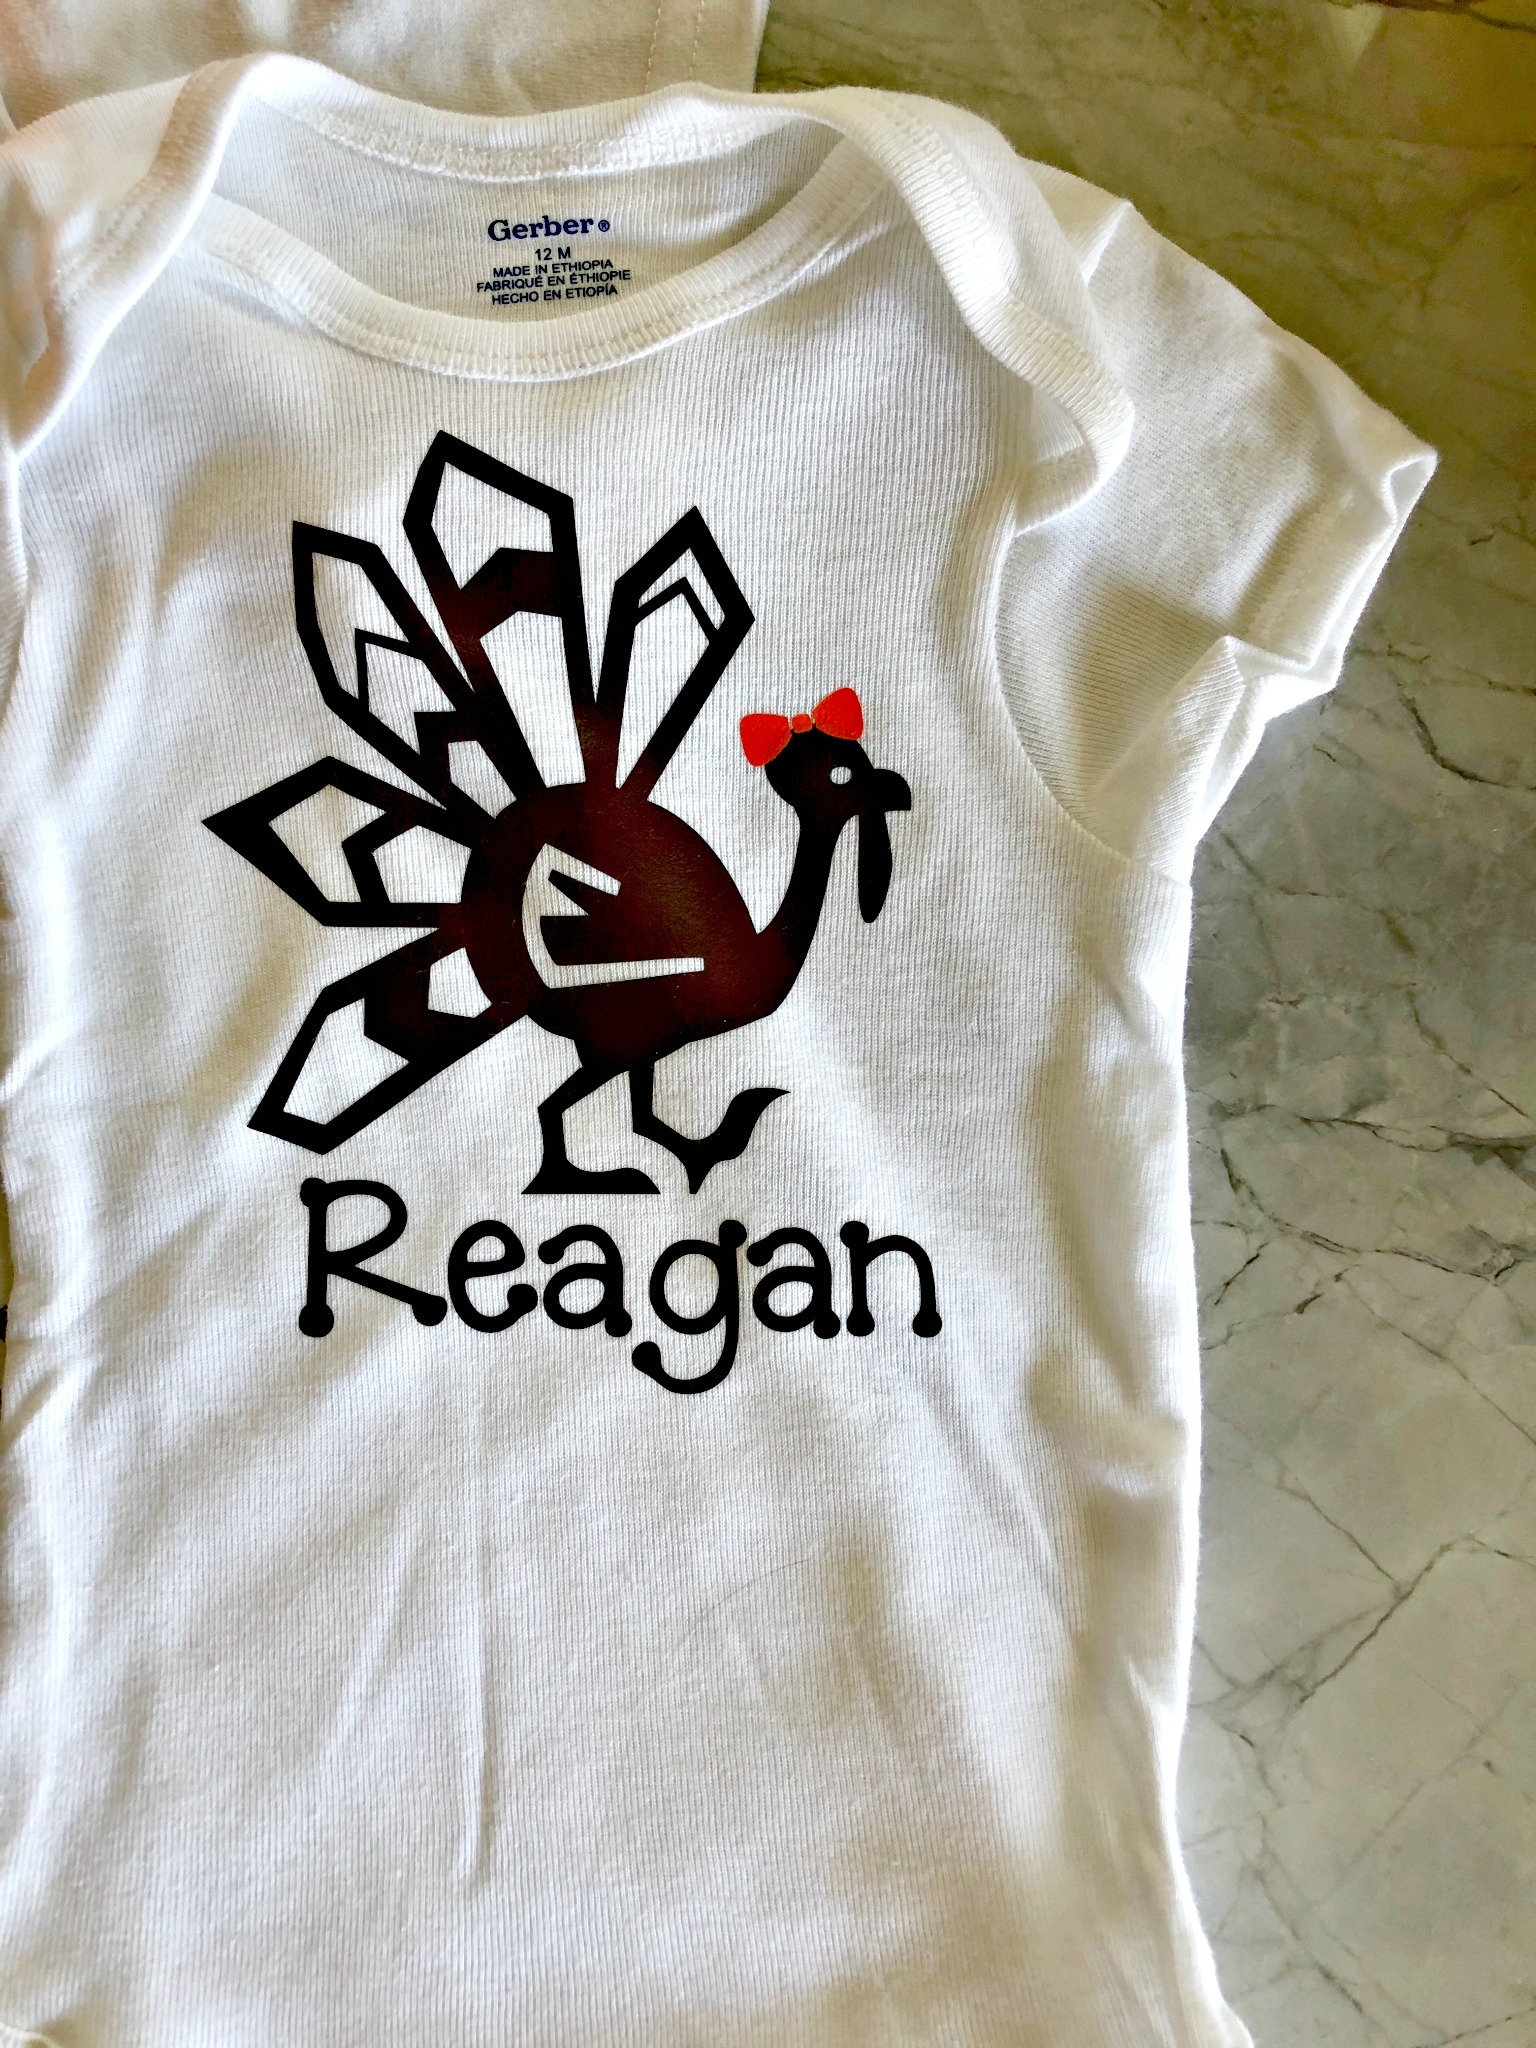
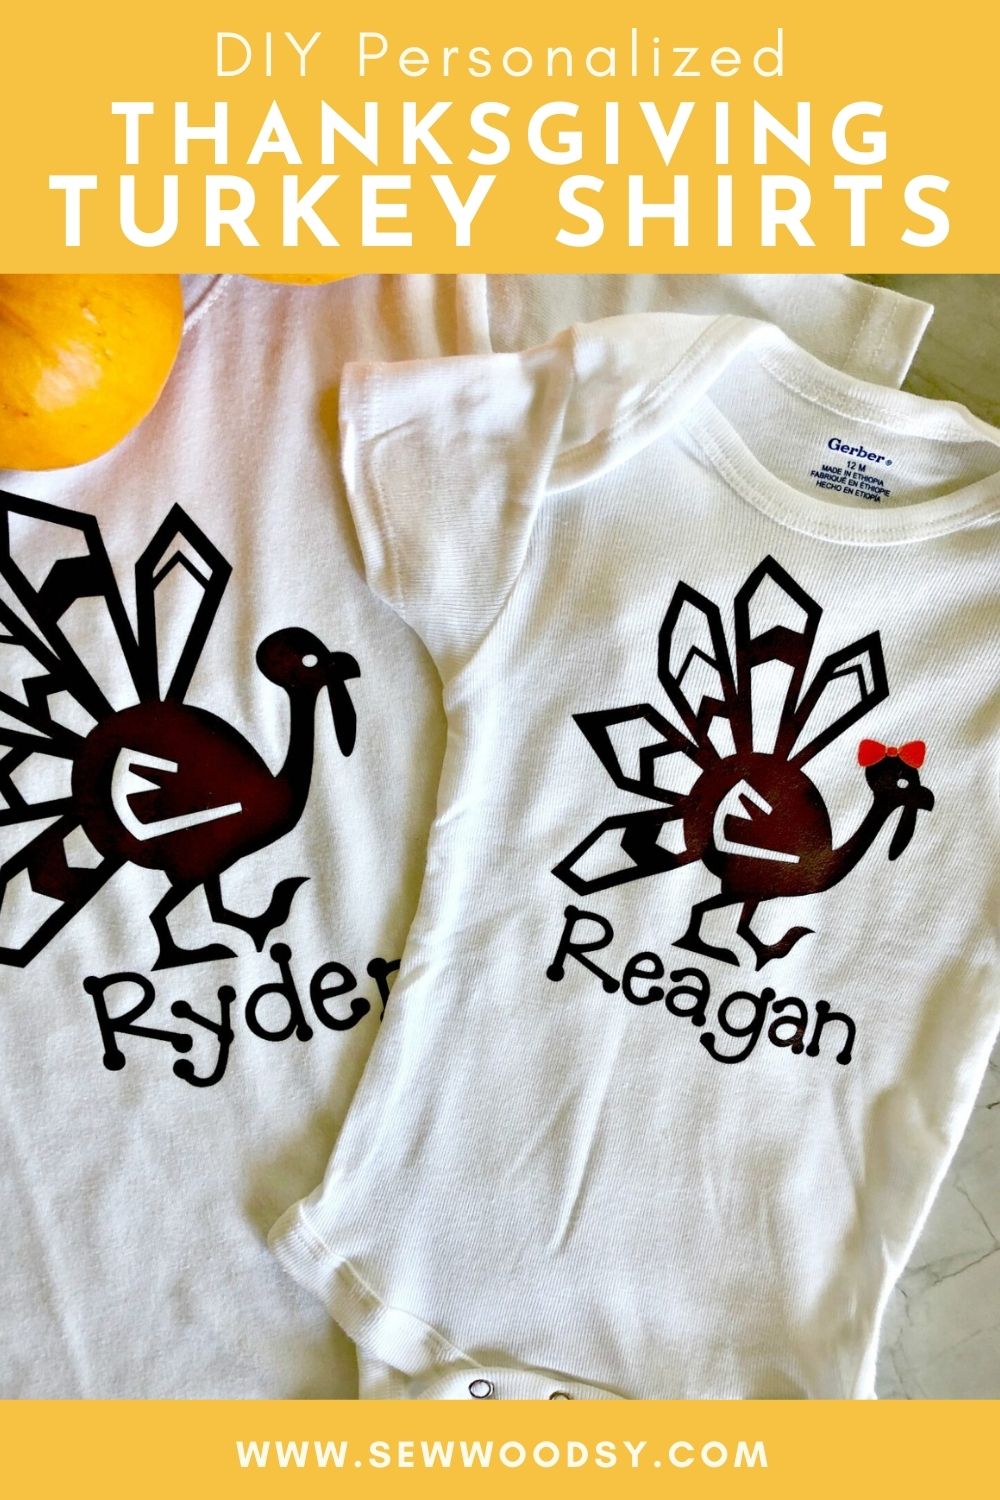
Easy as that my daughters shirt was done.
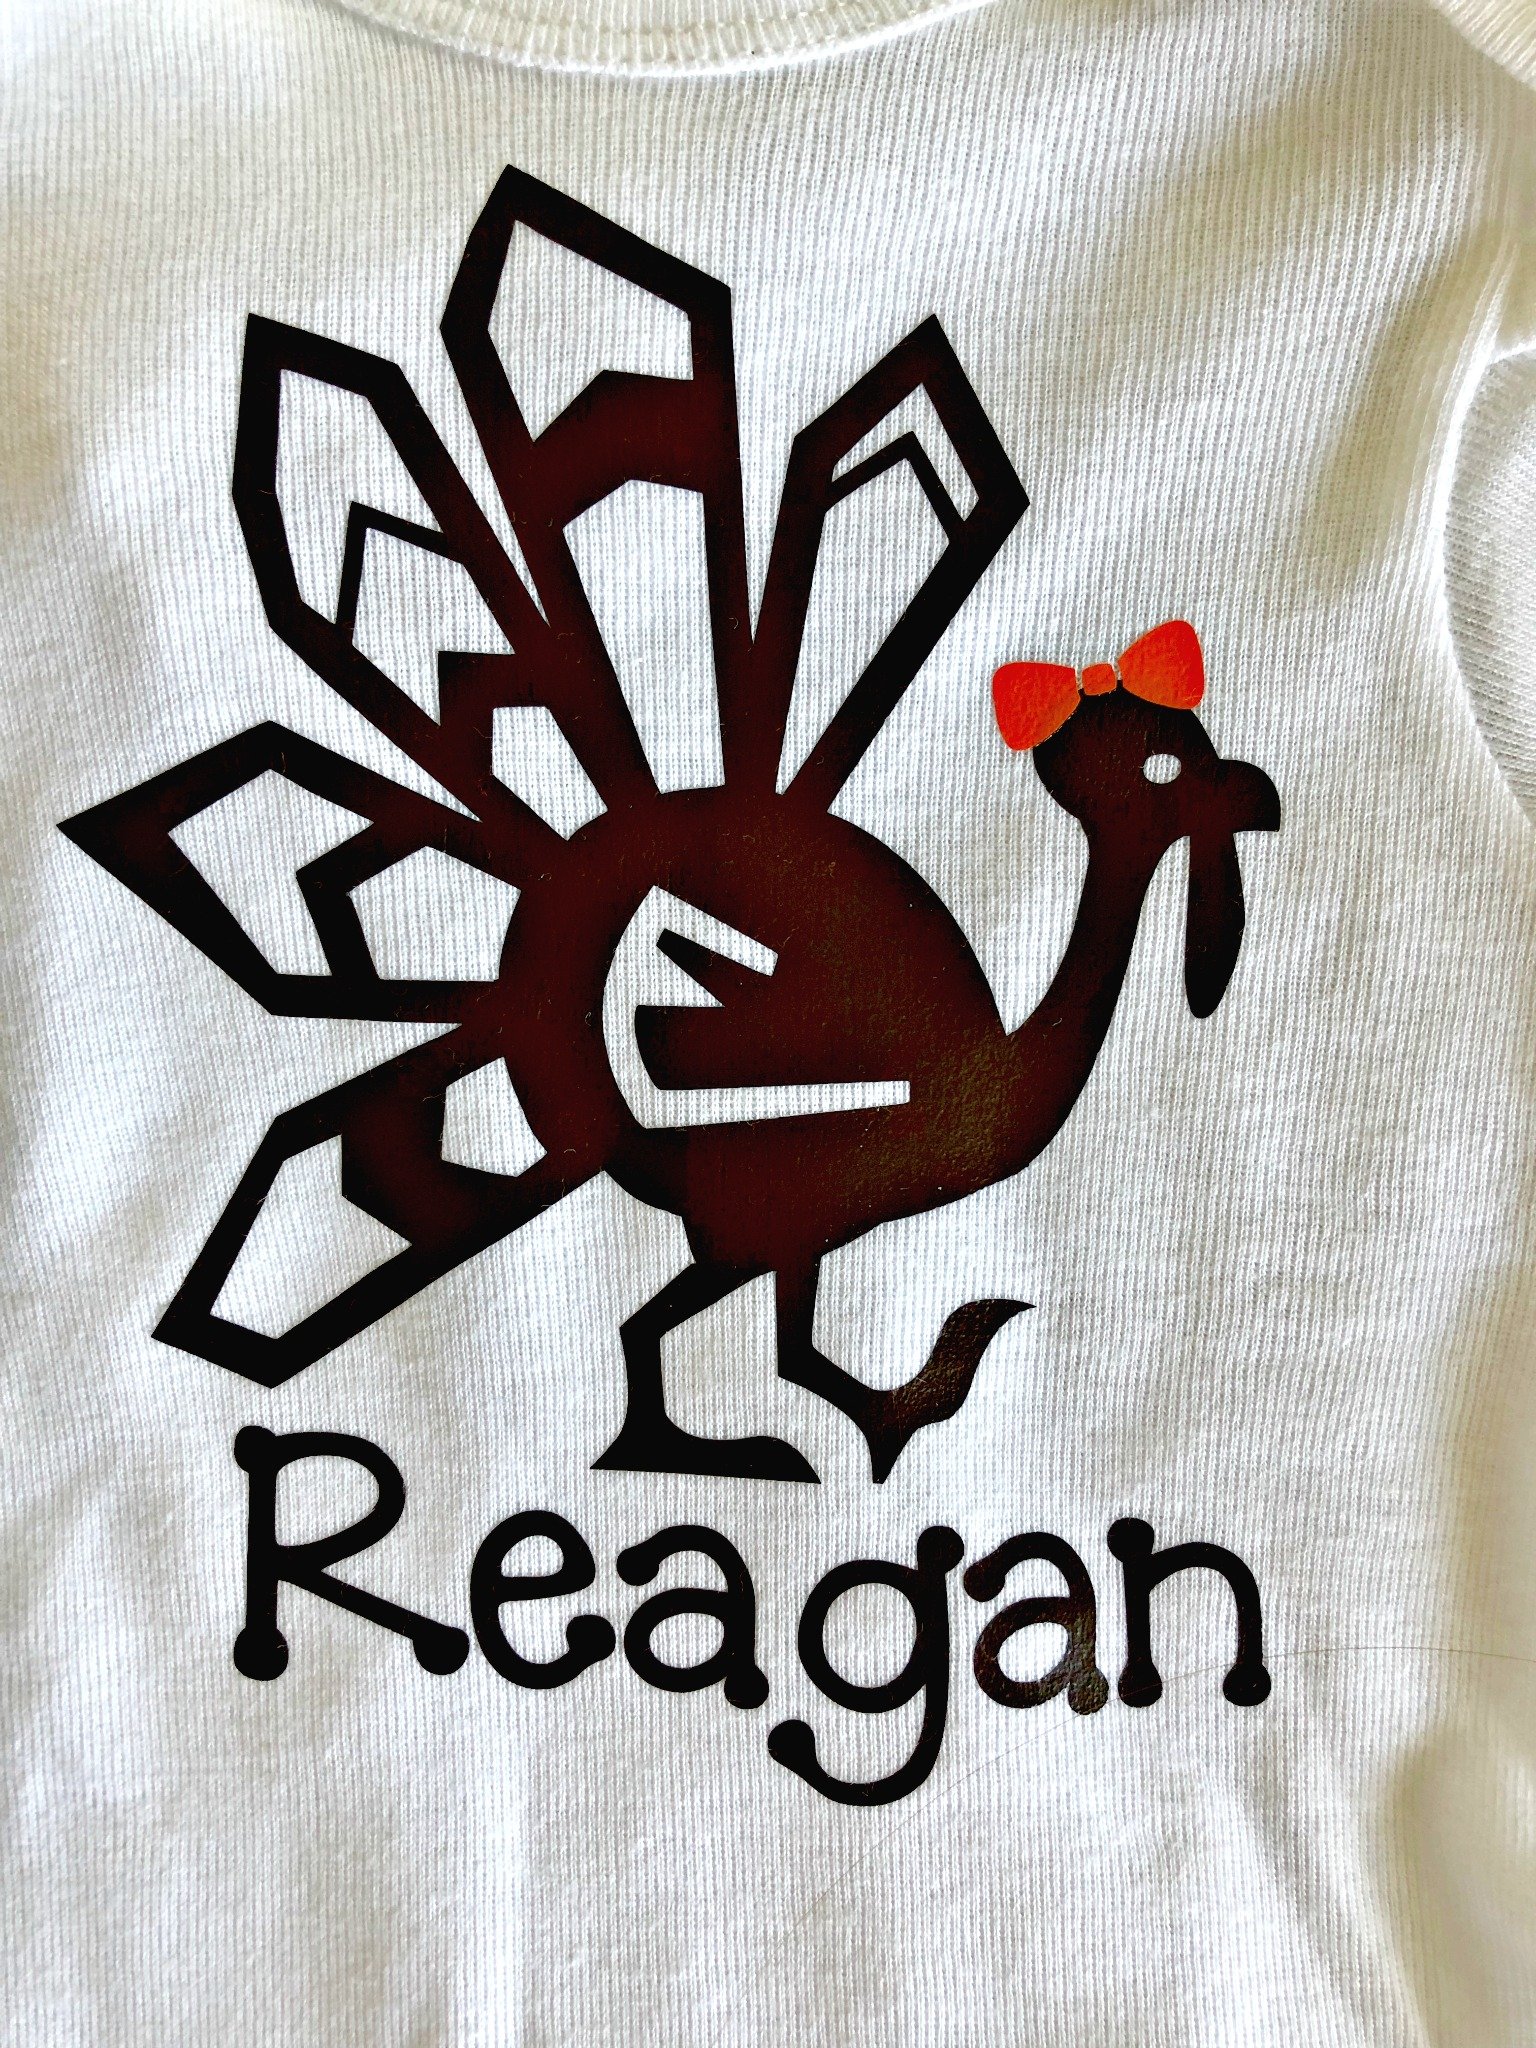
I love the little bow detail I added. This is always why I save all the scraps, so I can add little details like this one.
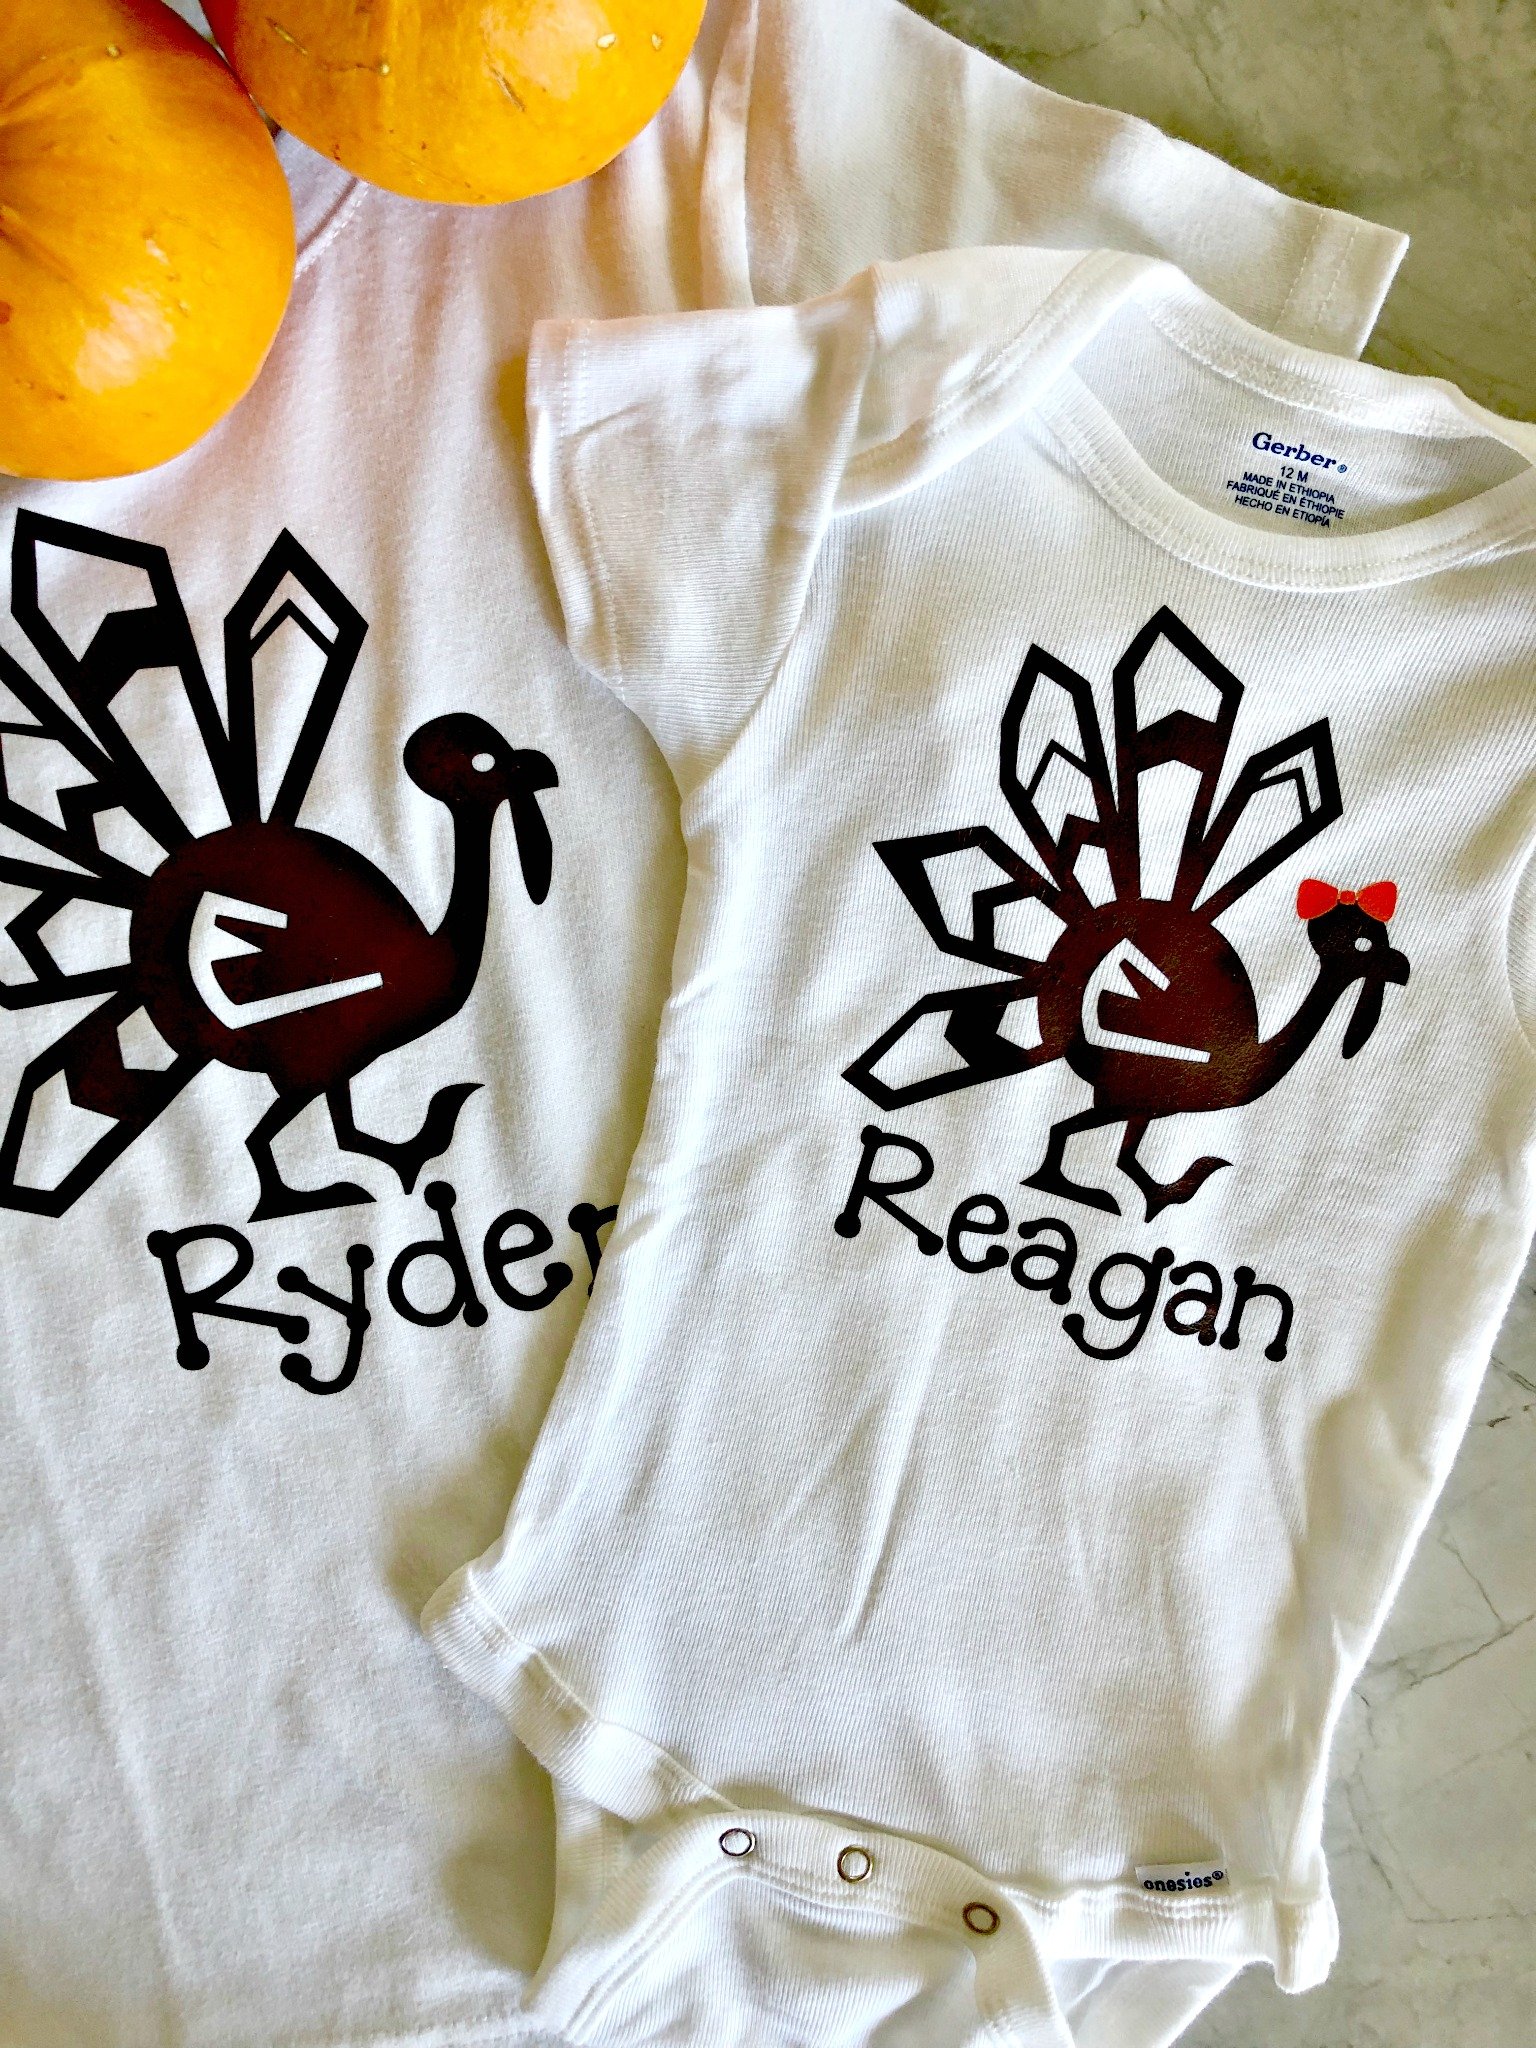
I was able to make both kids Thanksgiving Turkey shirts in under a half hour.
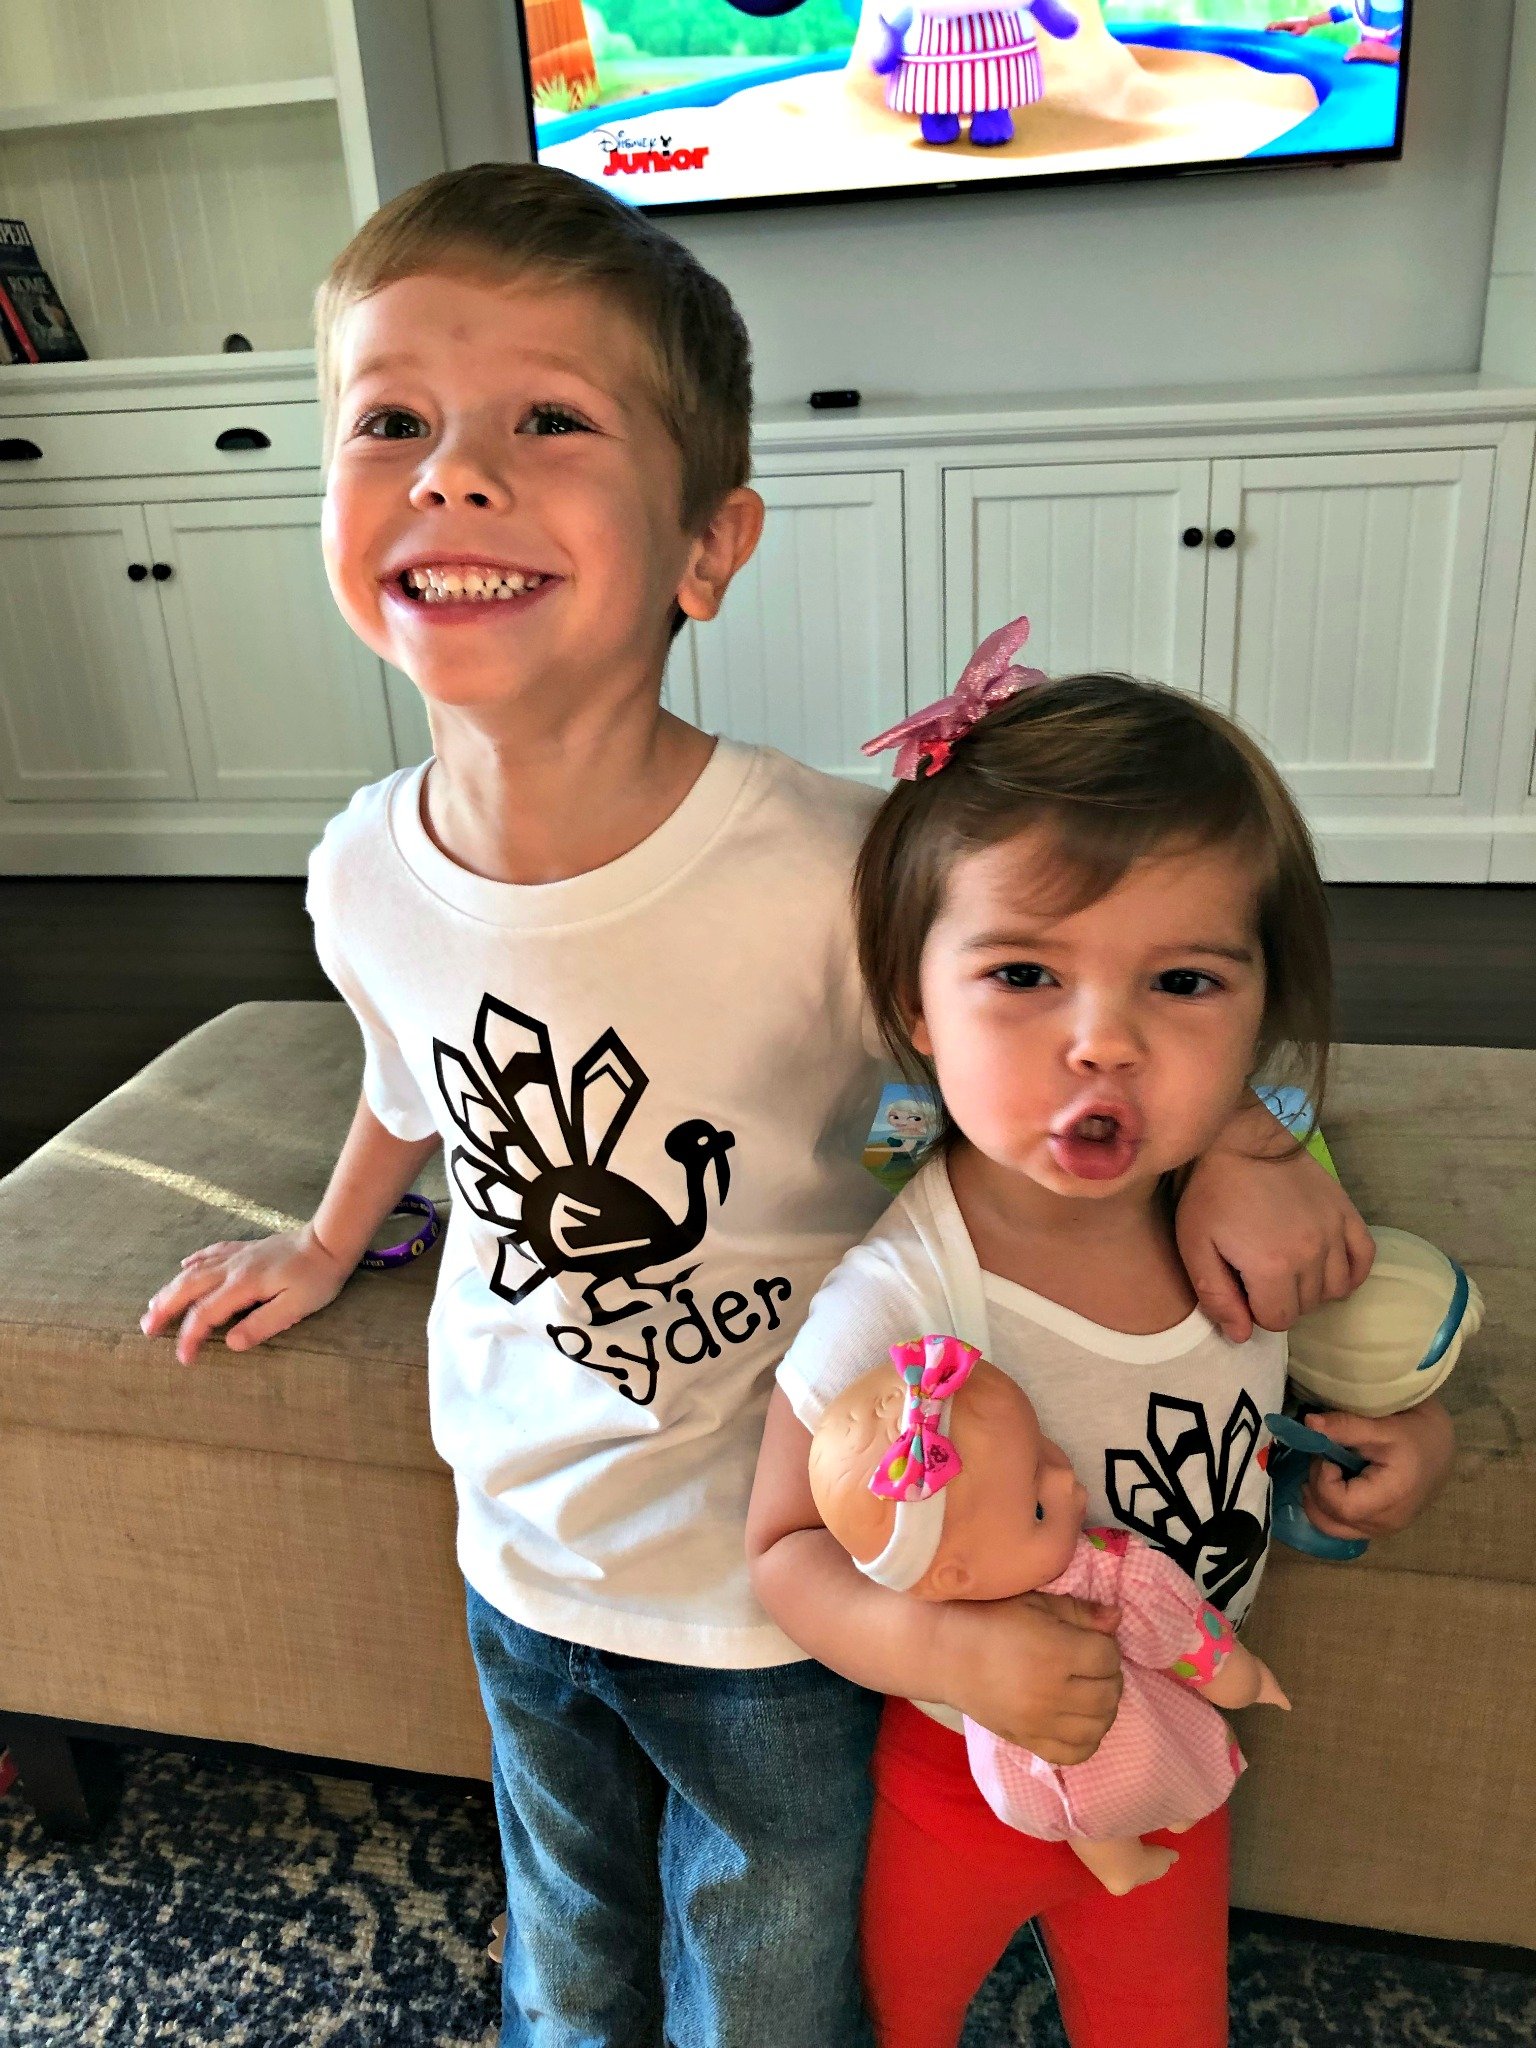
Here they are modeling their shirts (although you can’t see my daughters that well since we are a bit baby and princess obsessed at the moment).
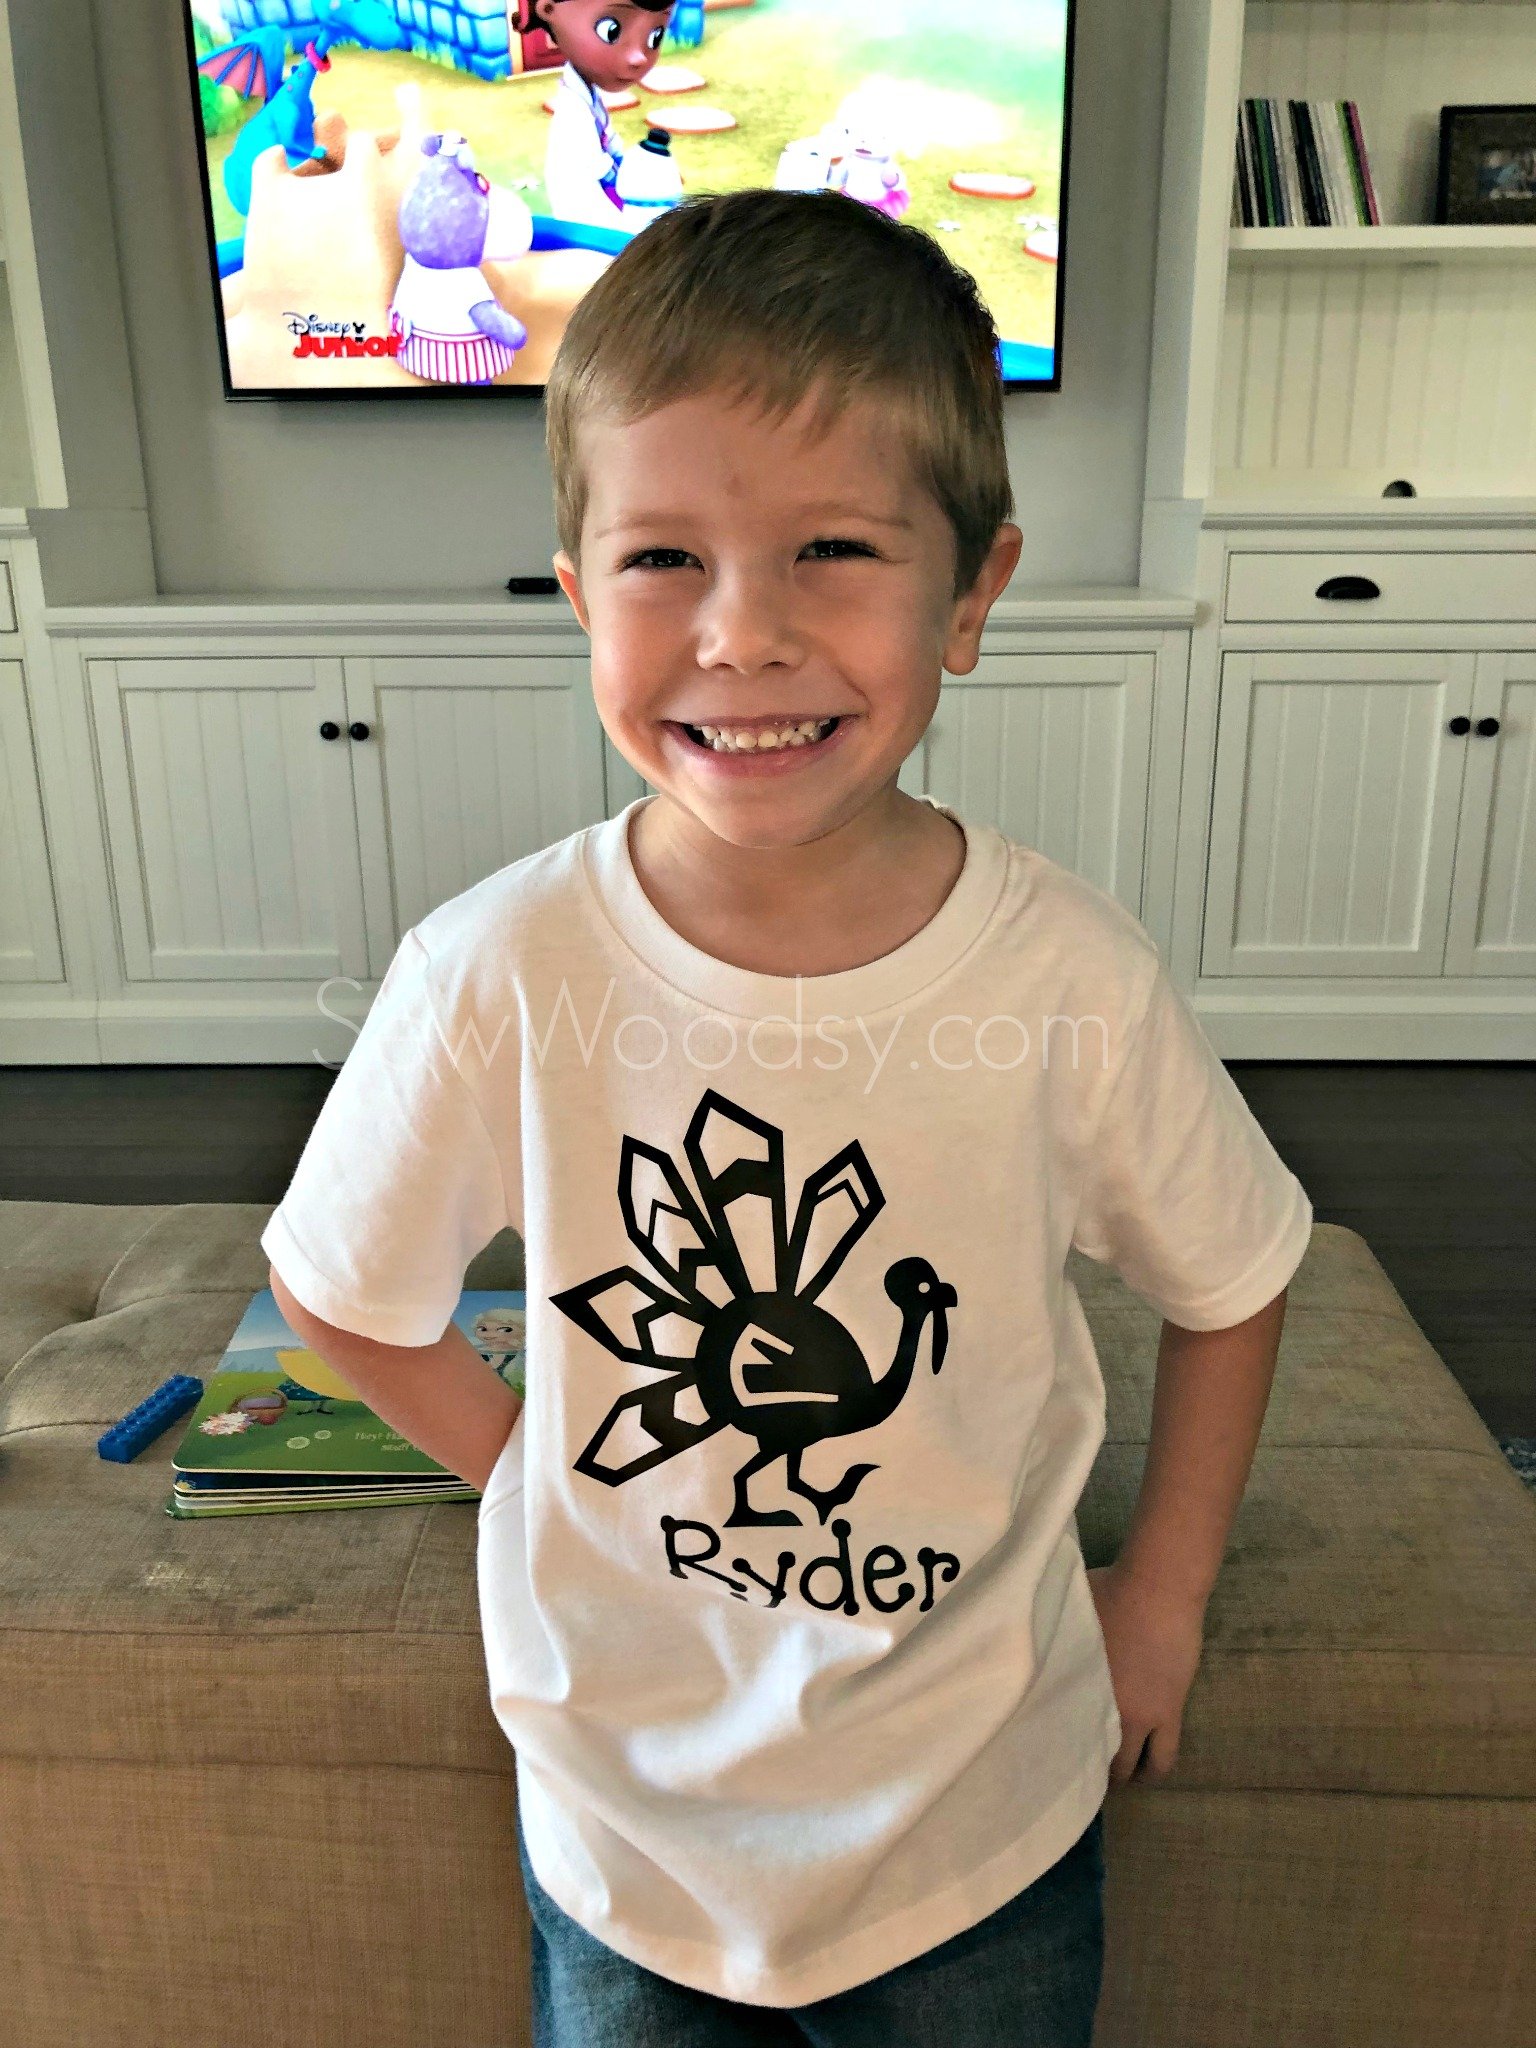
For once, I got a nice photo out of my son! I can’t get over how big he is looking these days!
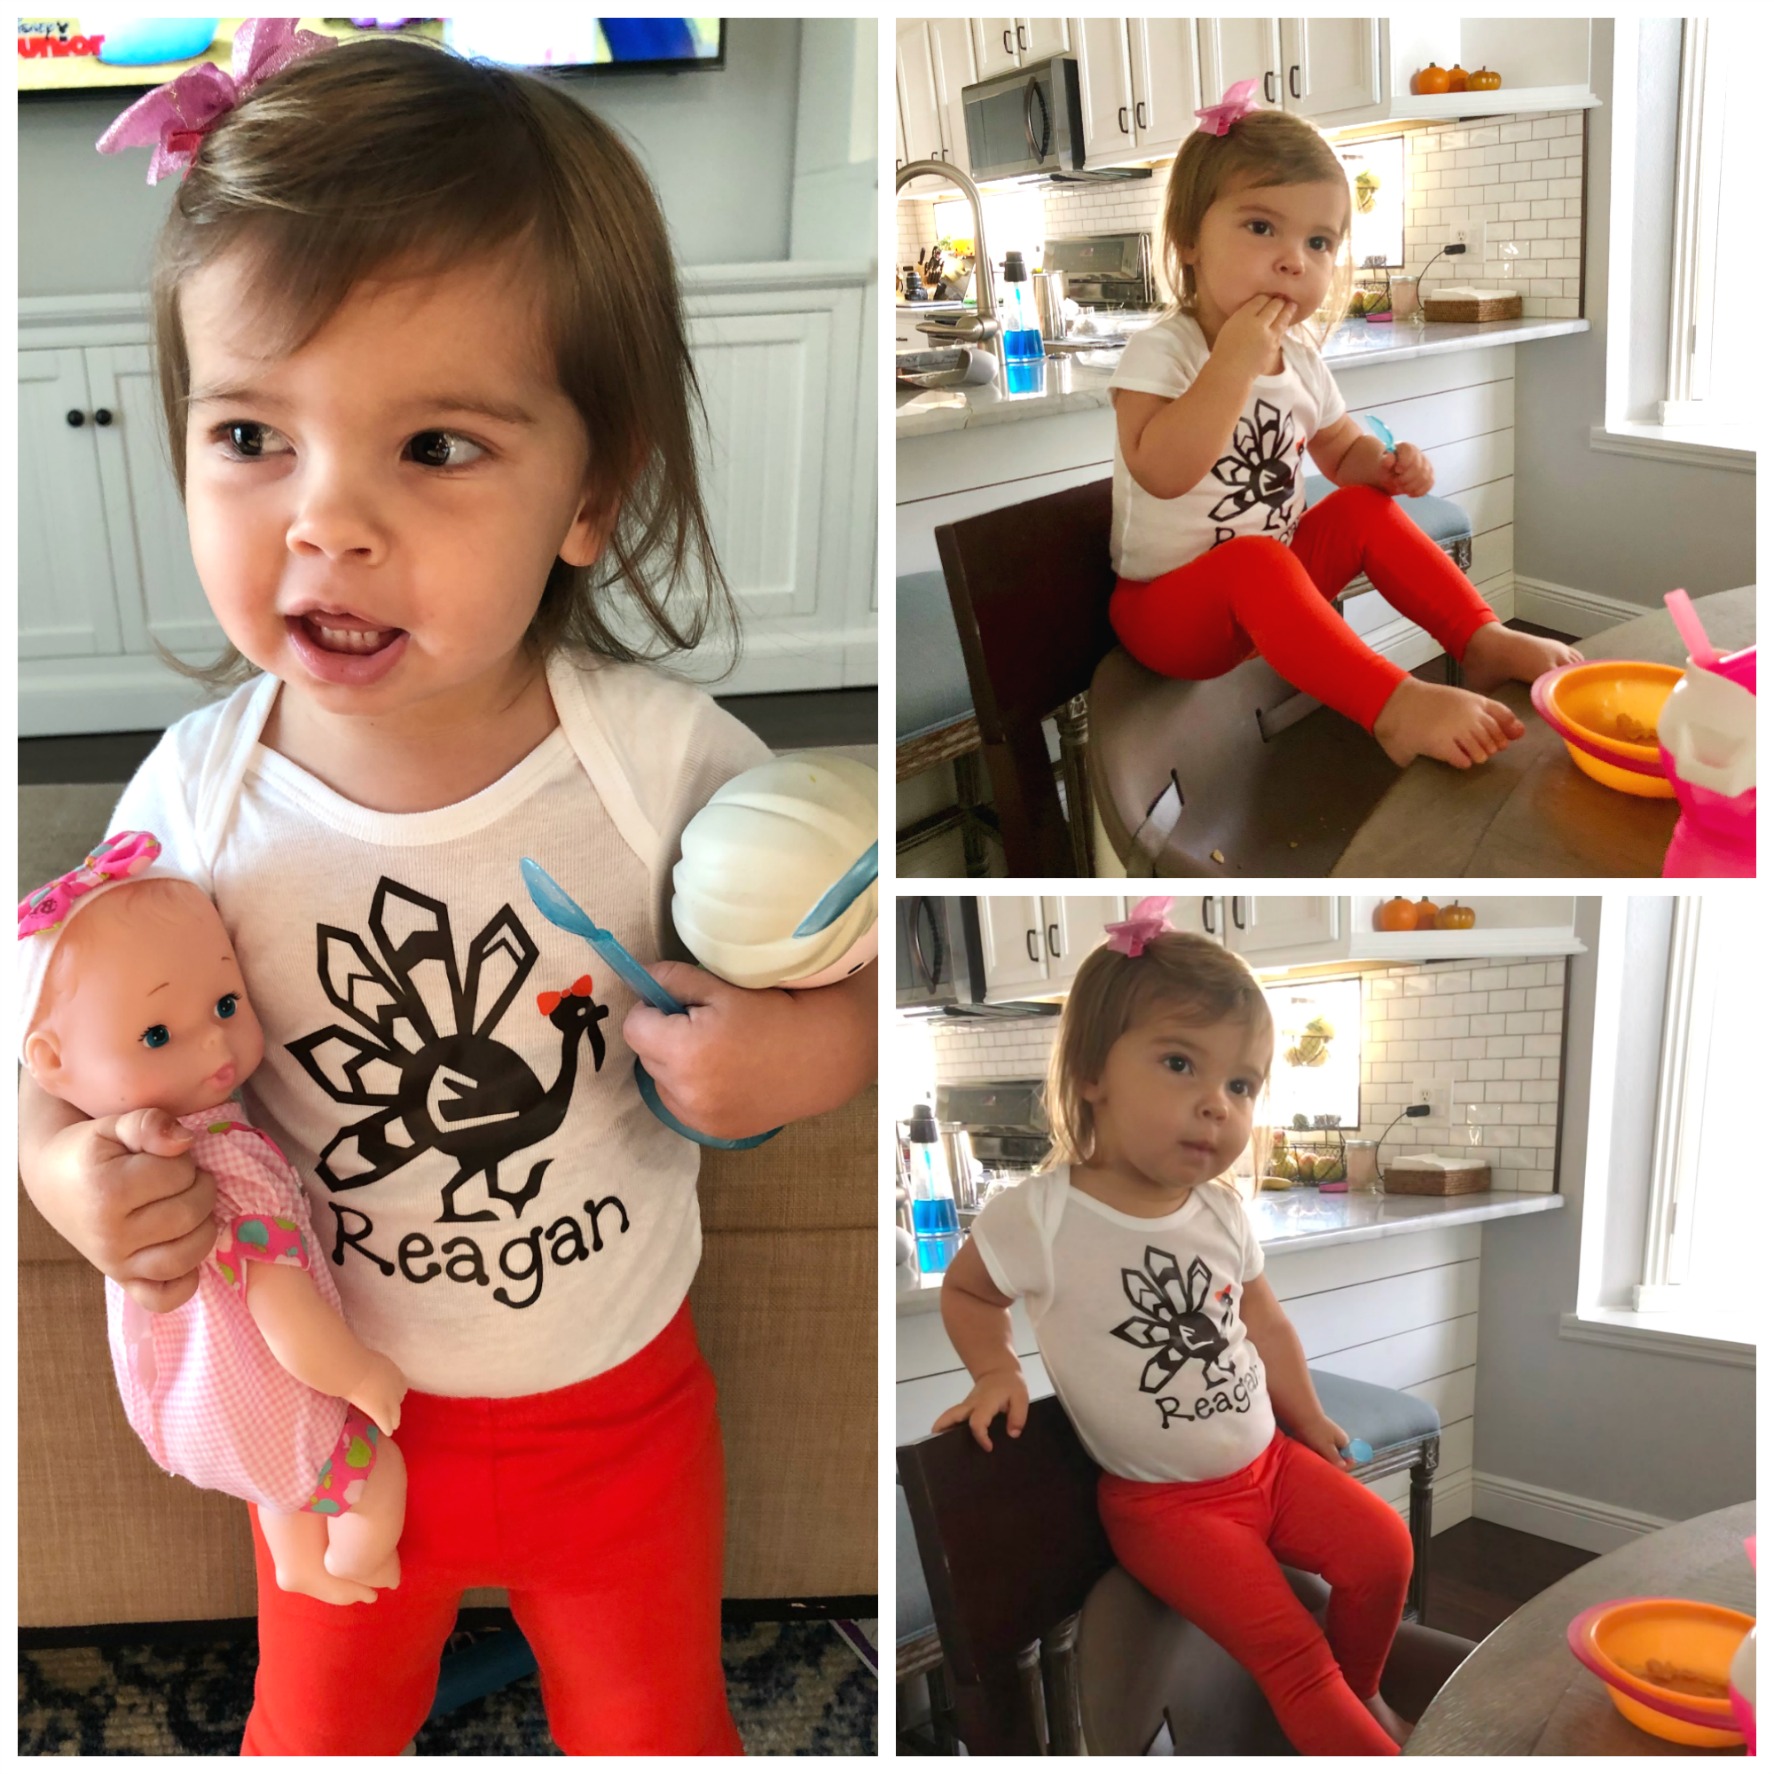
And my sassy little almost 2 year old! She prefers to stand and balance on her booster seat then actually sit on it! She is one little turkey I’m so very grateful for.
If you own a Cricut and want to make your little turkeys a shirt. I hope you’ll find my DIY Personalized Thanksgiving Turkey Shirt File on Cricut Design Space helpful.
Thanksgiving Crafts
If you are looking for a few more Thanksgiving crafts to make here are a few more of my favorite projects.

Disclaimer: There are affiliate links in this post. That means if you purchase from a link I make a small percentage at no additional cost to you. Thank you for supporting Sew Woodsy!
Leave A Reply!