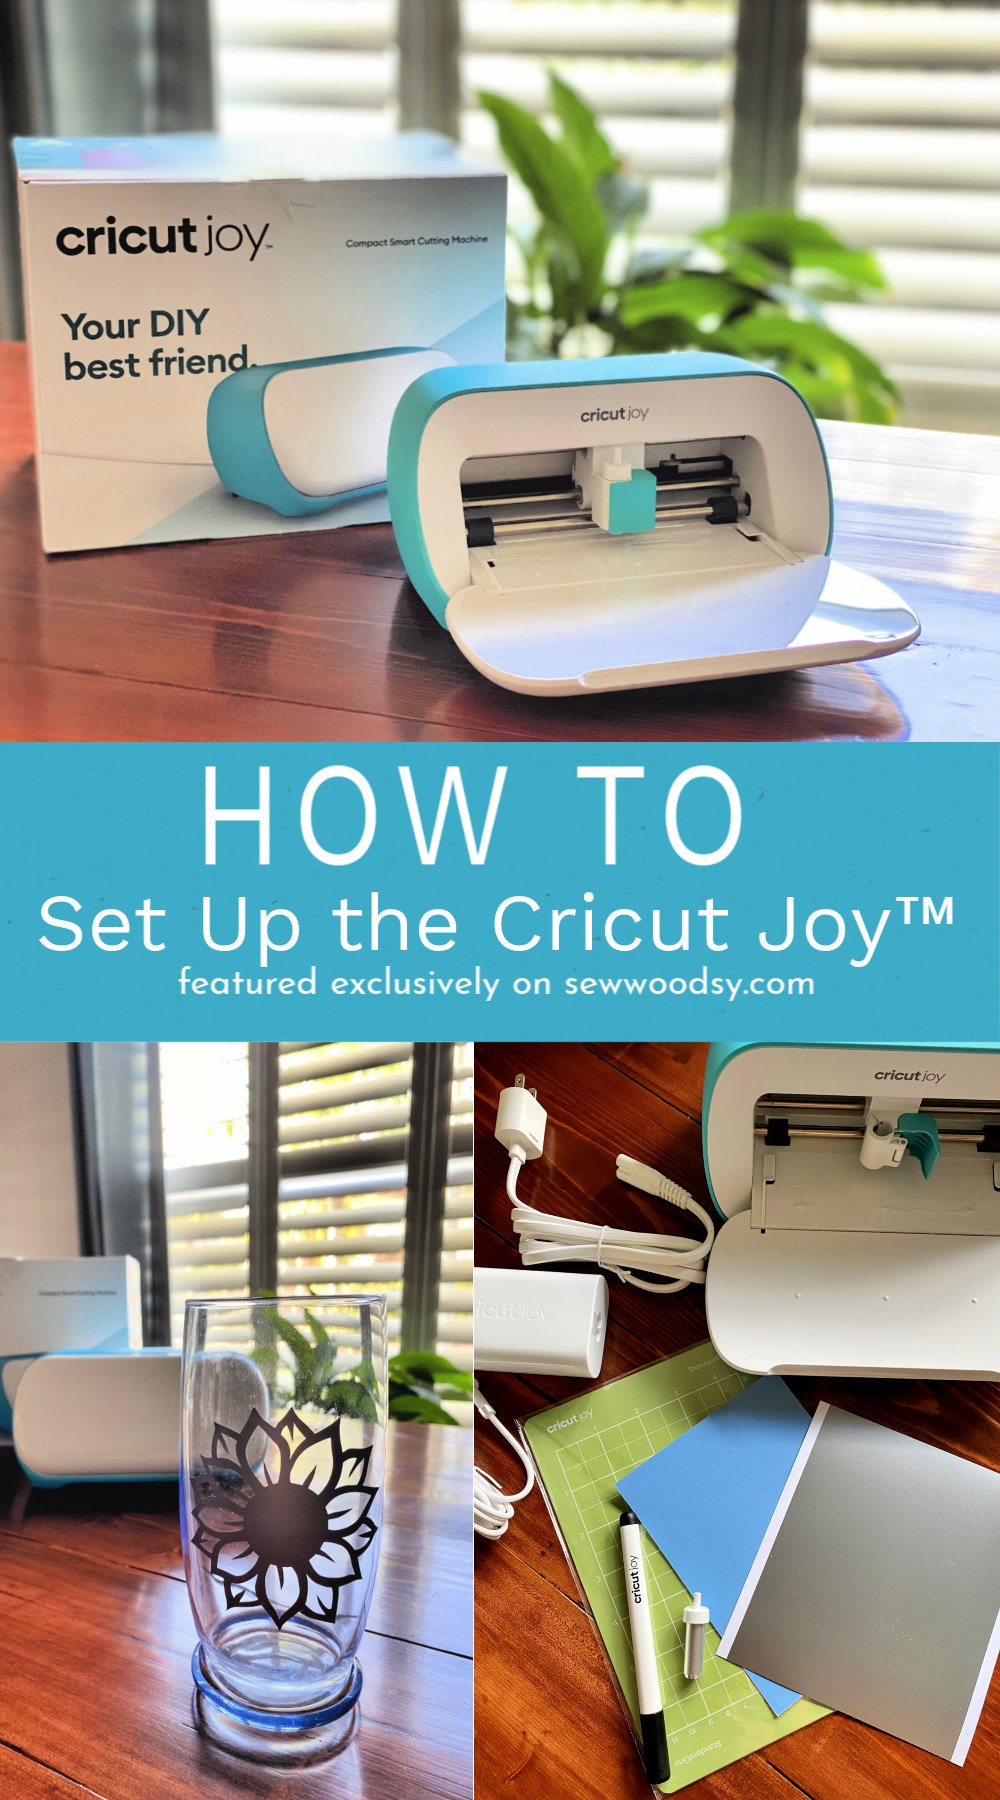
Did you just buy a Cricut Joy™ and intimidated to open it up and get started? I’m here to walk you through the Cricut Joy setup. This process will only take a few minutes, and then you will be ready to start crafting your heart out.
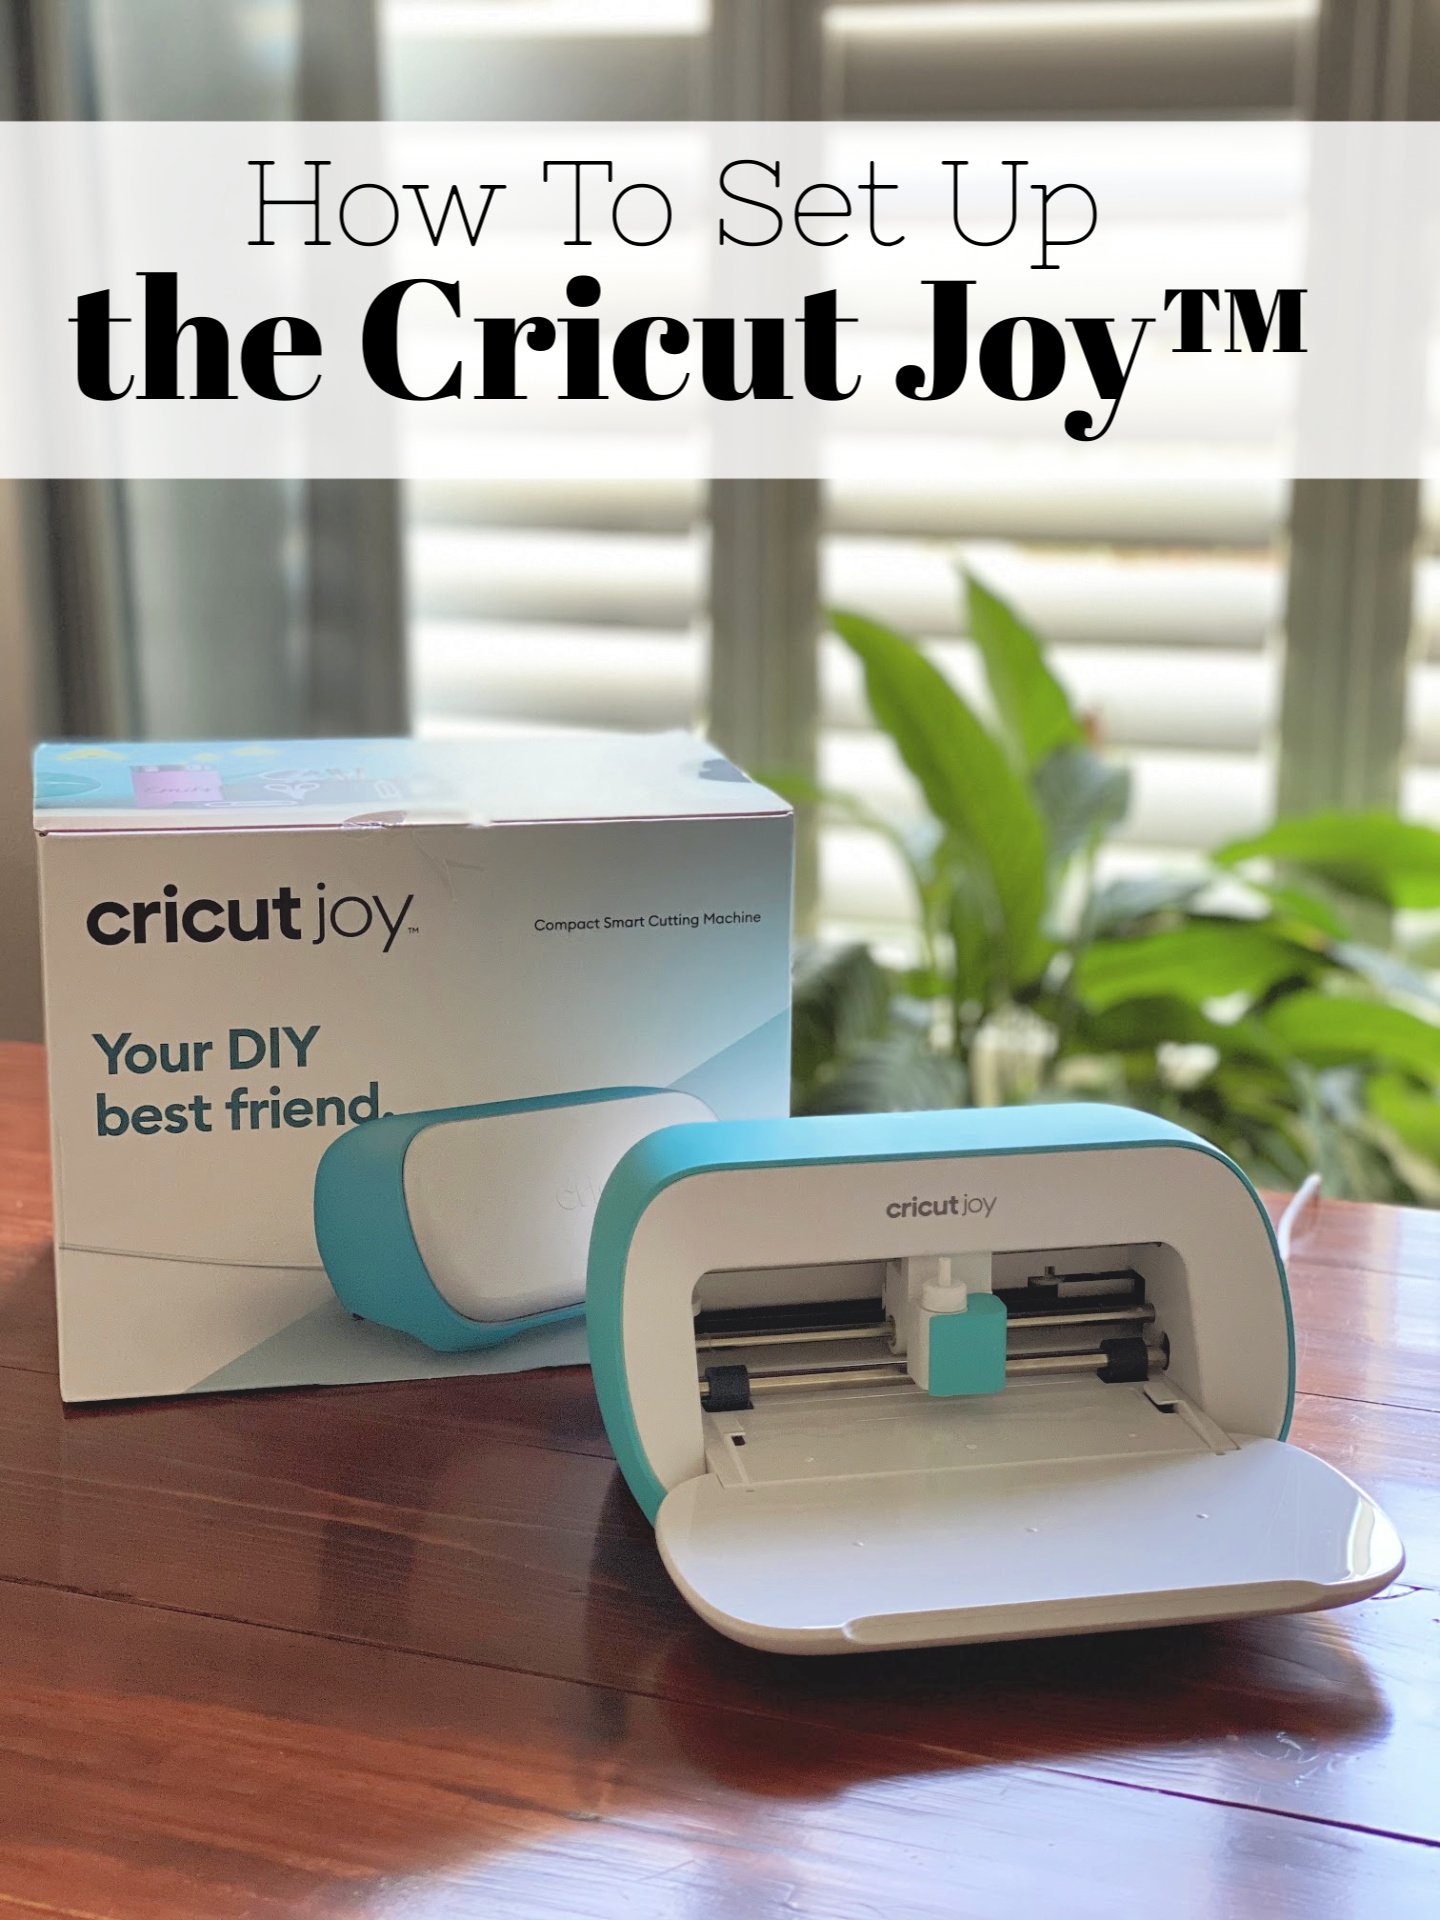
Did you just get the new Cricut Joy™? Are you intimidated to open it up and get started? Don’t be! I’ll be the first to admit new ANYTHING all seems to intimidate me. I’m walking you through all the steps on how to set up the Cricut Joy!
In this post I’ll share with you how to:
- Unboxing the Cricut Joy
- How to connect Bluetooth on a Mac computer
- How to register your Cricut Joy
- Making a test vinyl project using the Cricut Joy
Unboxing the Cricut Joy™
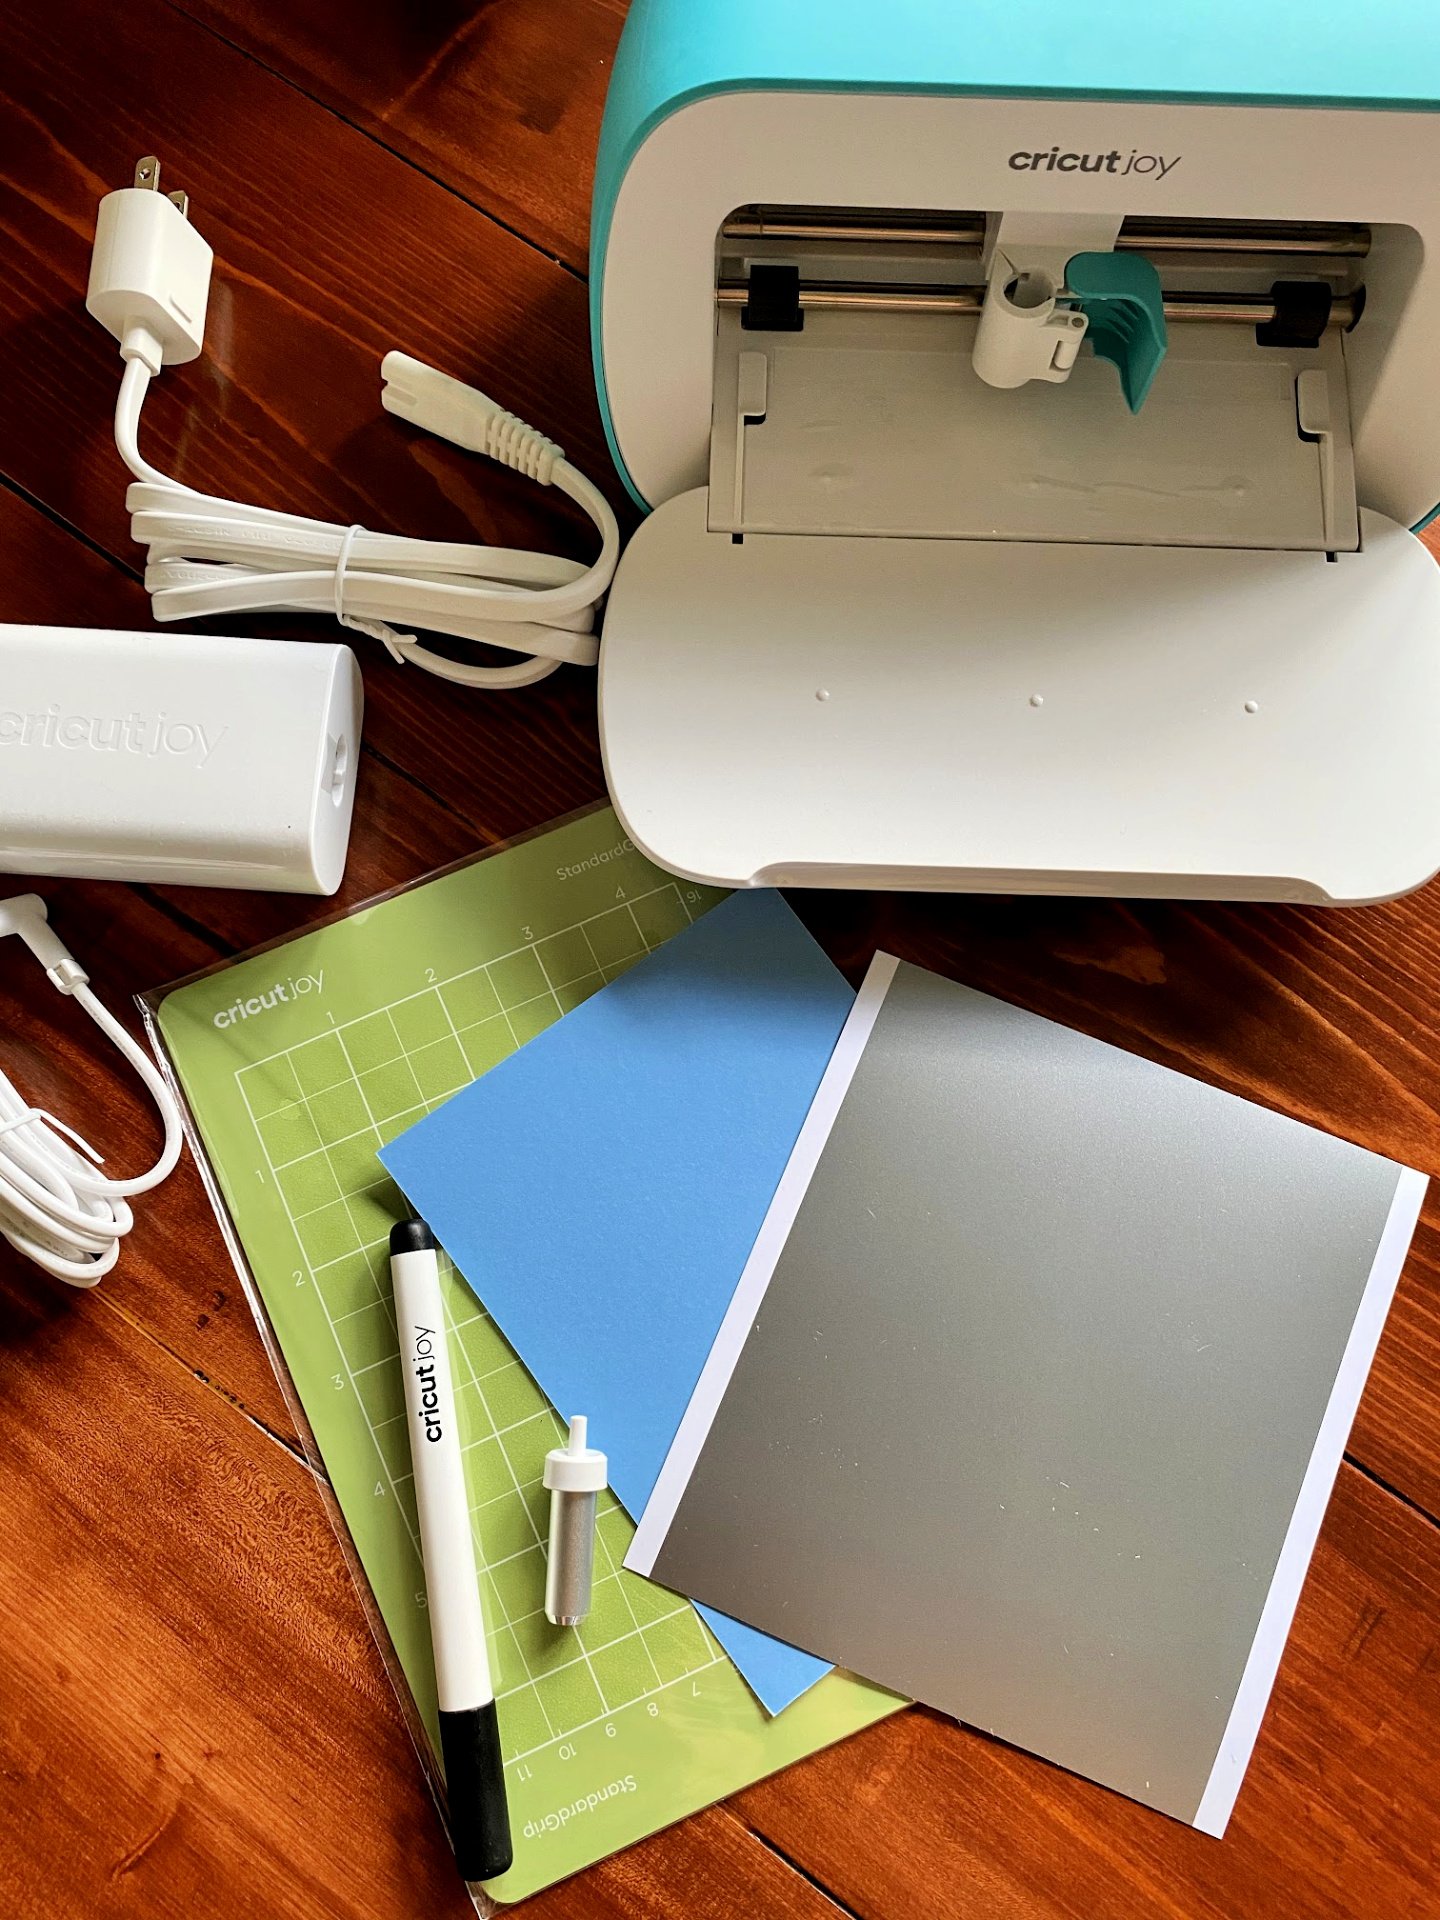
I shared with you the other week my unboxing the new Cricut Joy. You’ll find in your box the cords you’ll need to power your machine, a StandardGrip mat, a Cricut Joy pen, blade, a sample piece of vinyl, and cardstock.
How to connect Bluetooth on a Mac computer
I only use Mac computer’s, so I can only share how to connect the Bluetooth on a Mac.
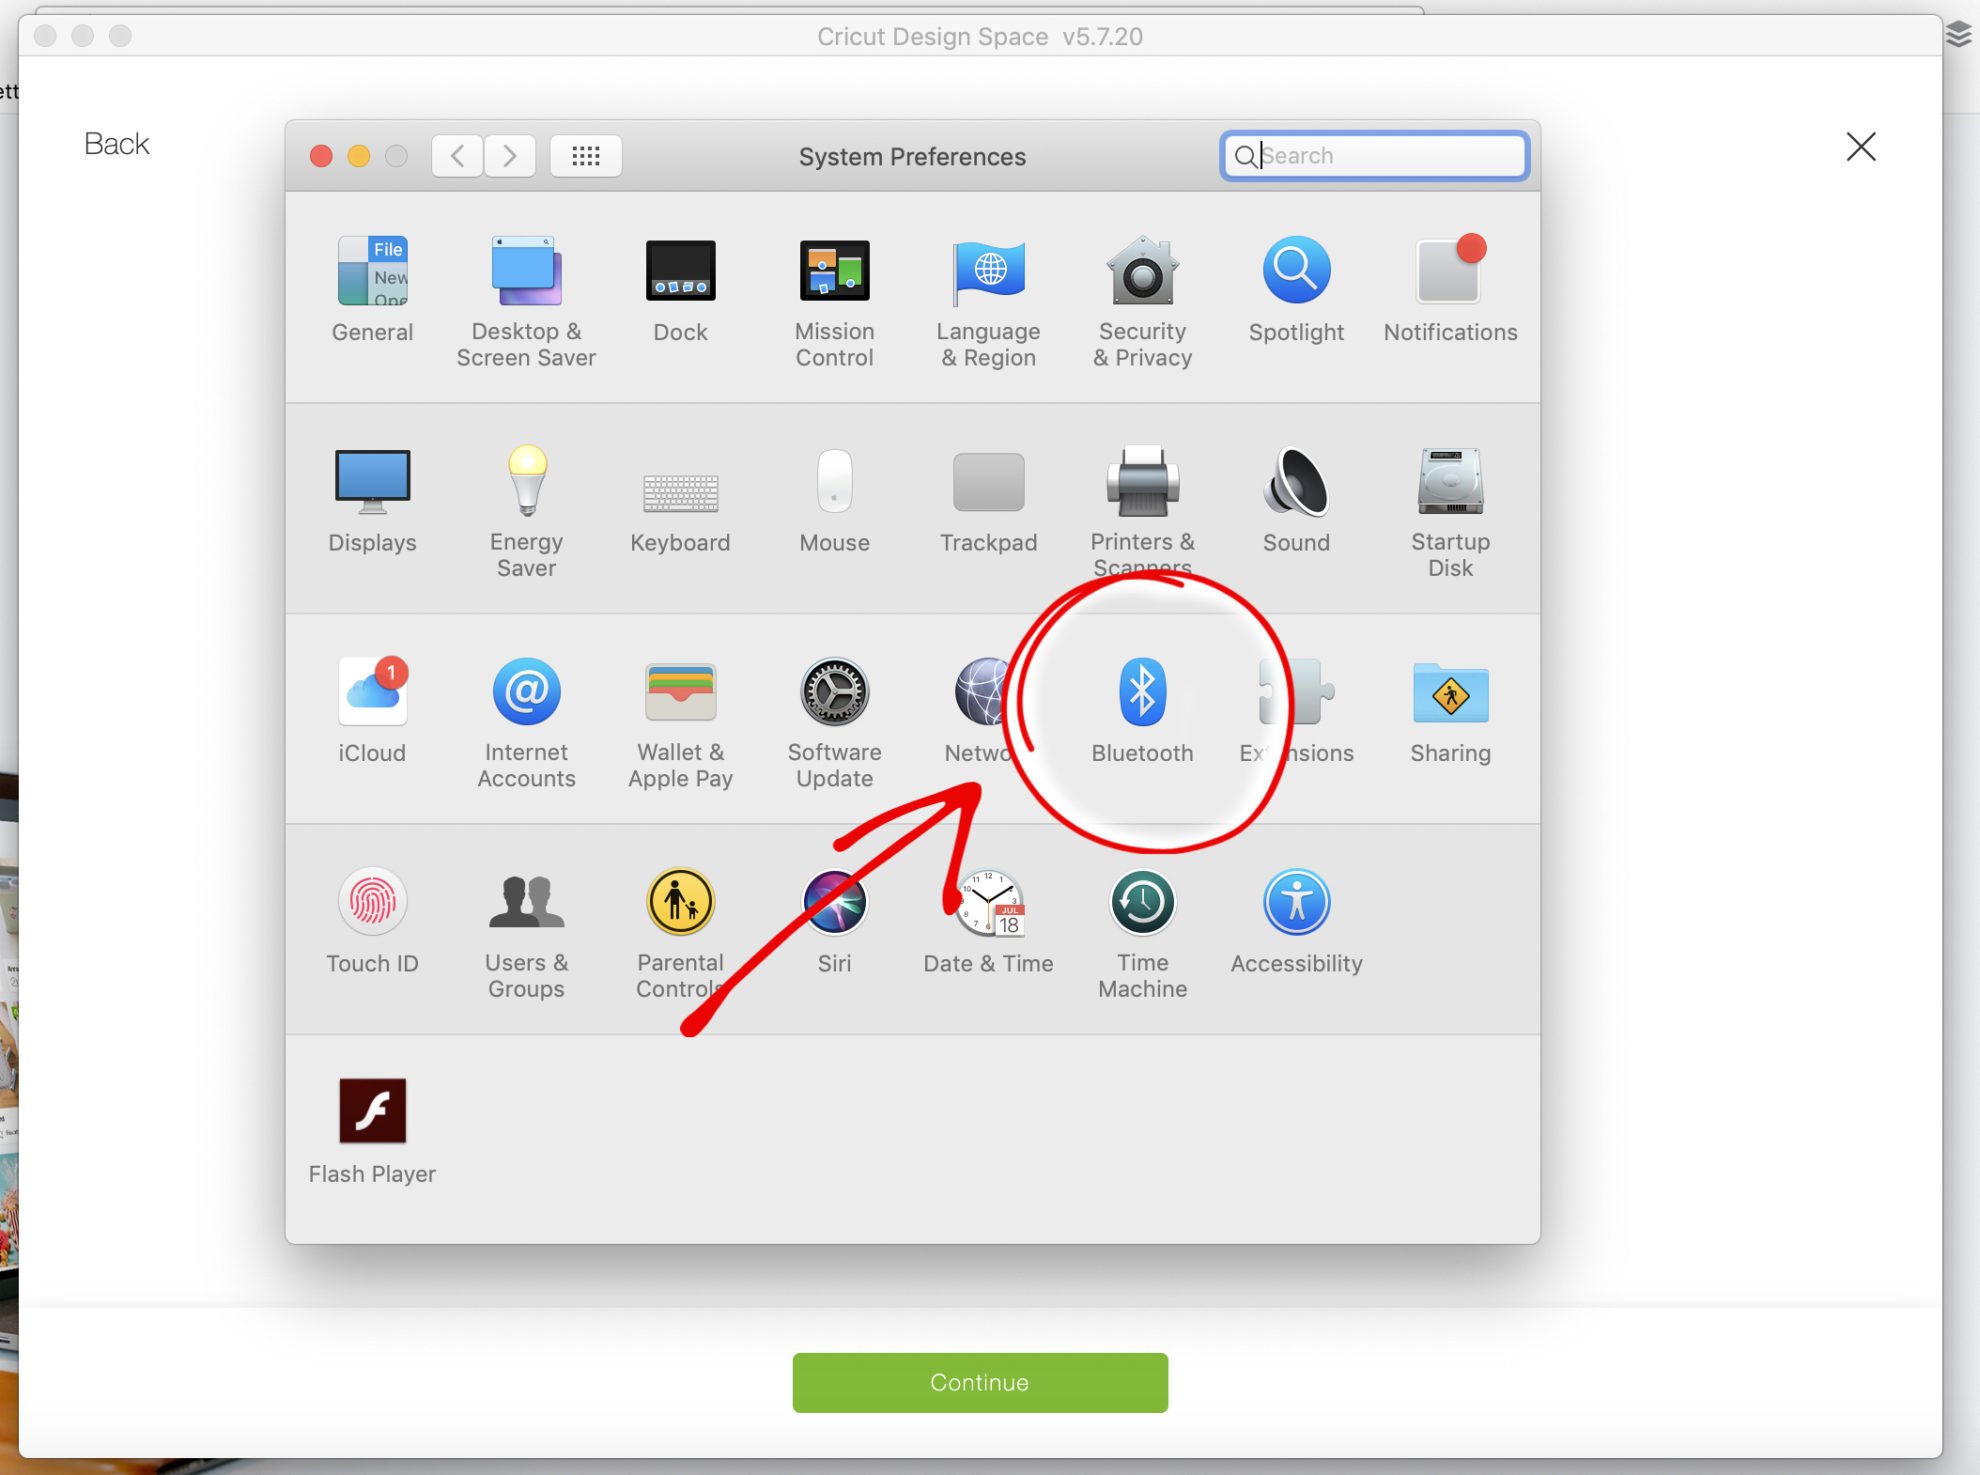
First, head to the top left corner of your screen and click on the “apple” icon. Select “System Preferences”. You’ll see on the third row from the bottom the “Bluetooth” icon. Click on that.
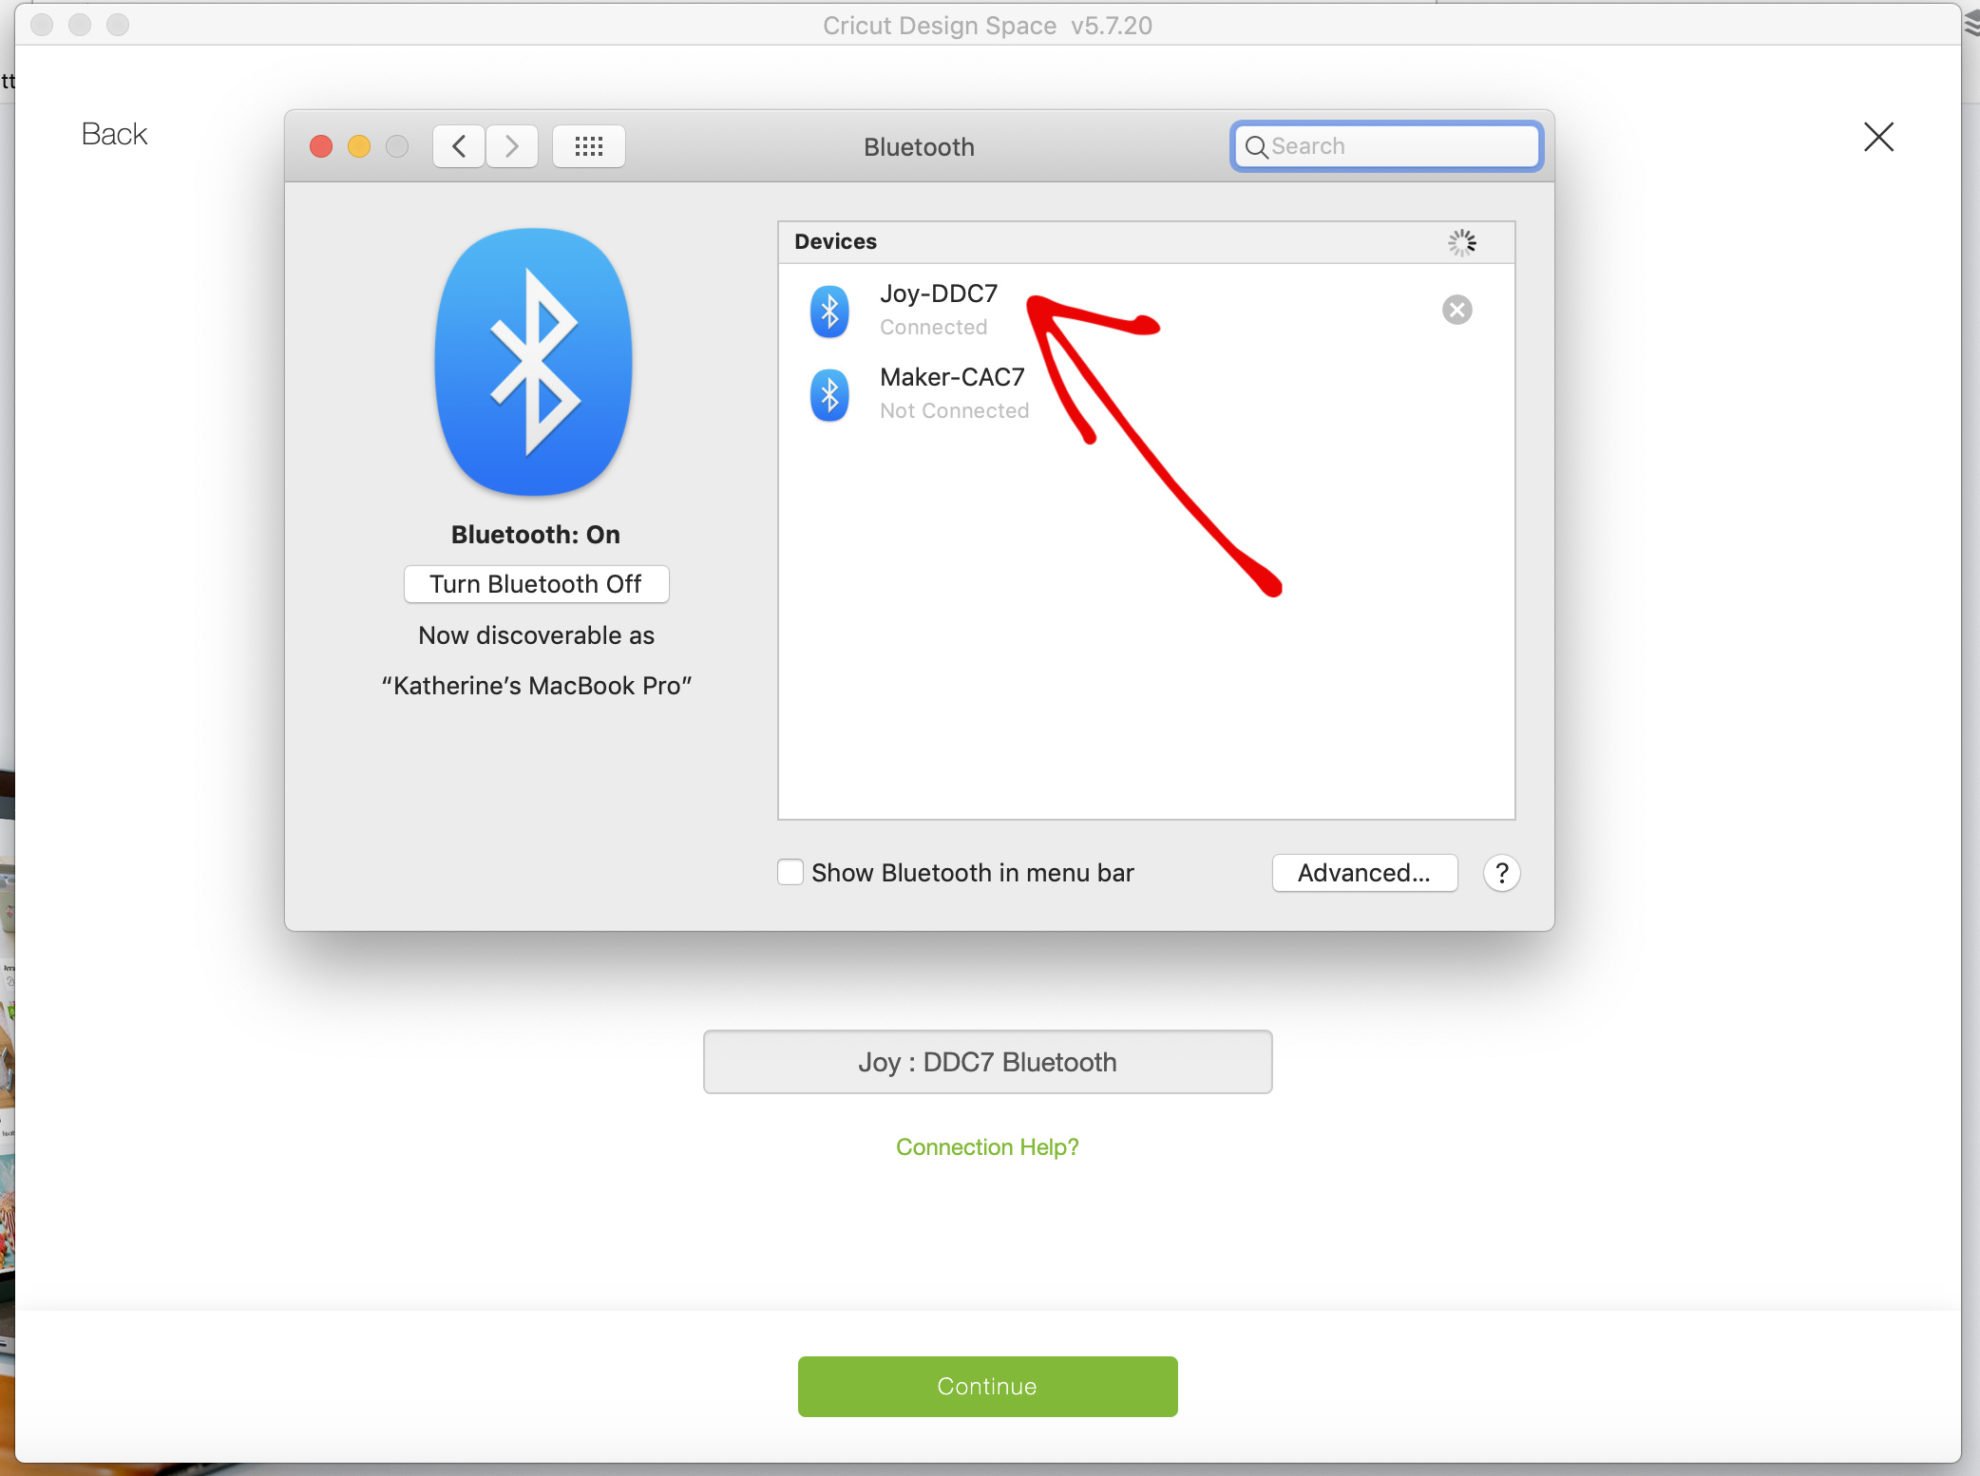
Next, make sure your Cricut Joy is plugged in and the Bluetooth is turned on. You should see the “Joy” pop-up. You should be set at that point to be able to start using your machine!
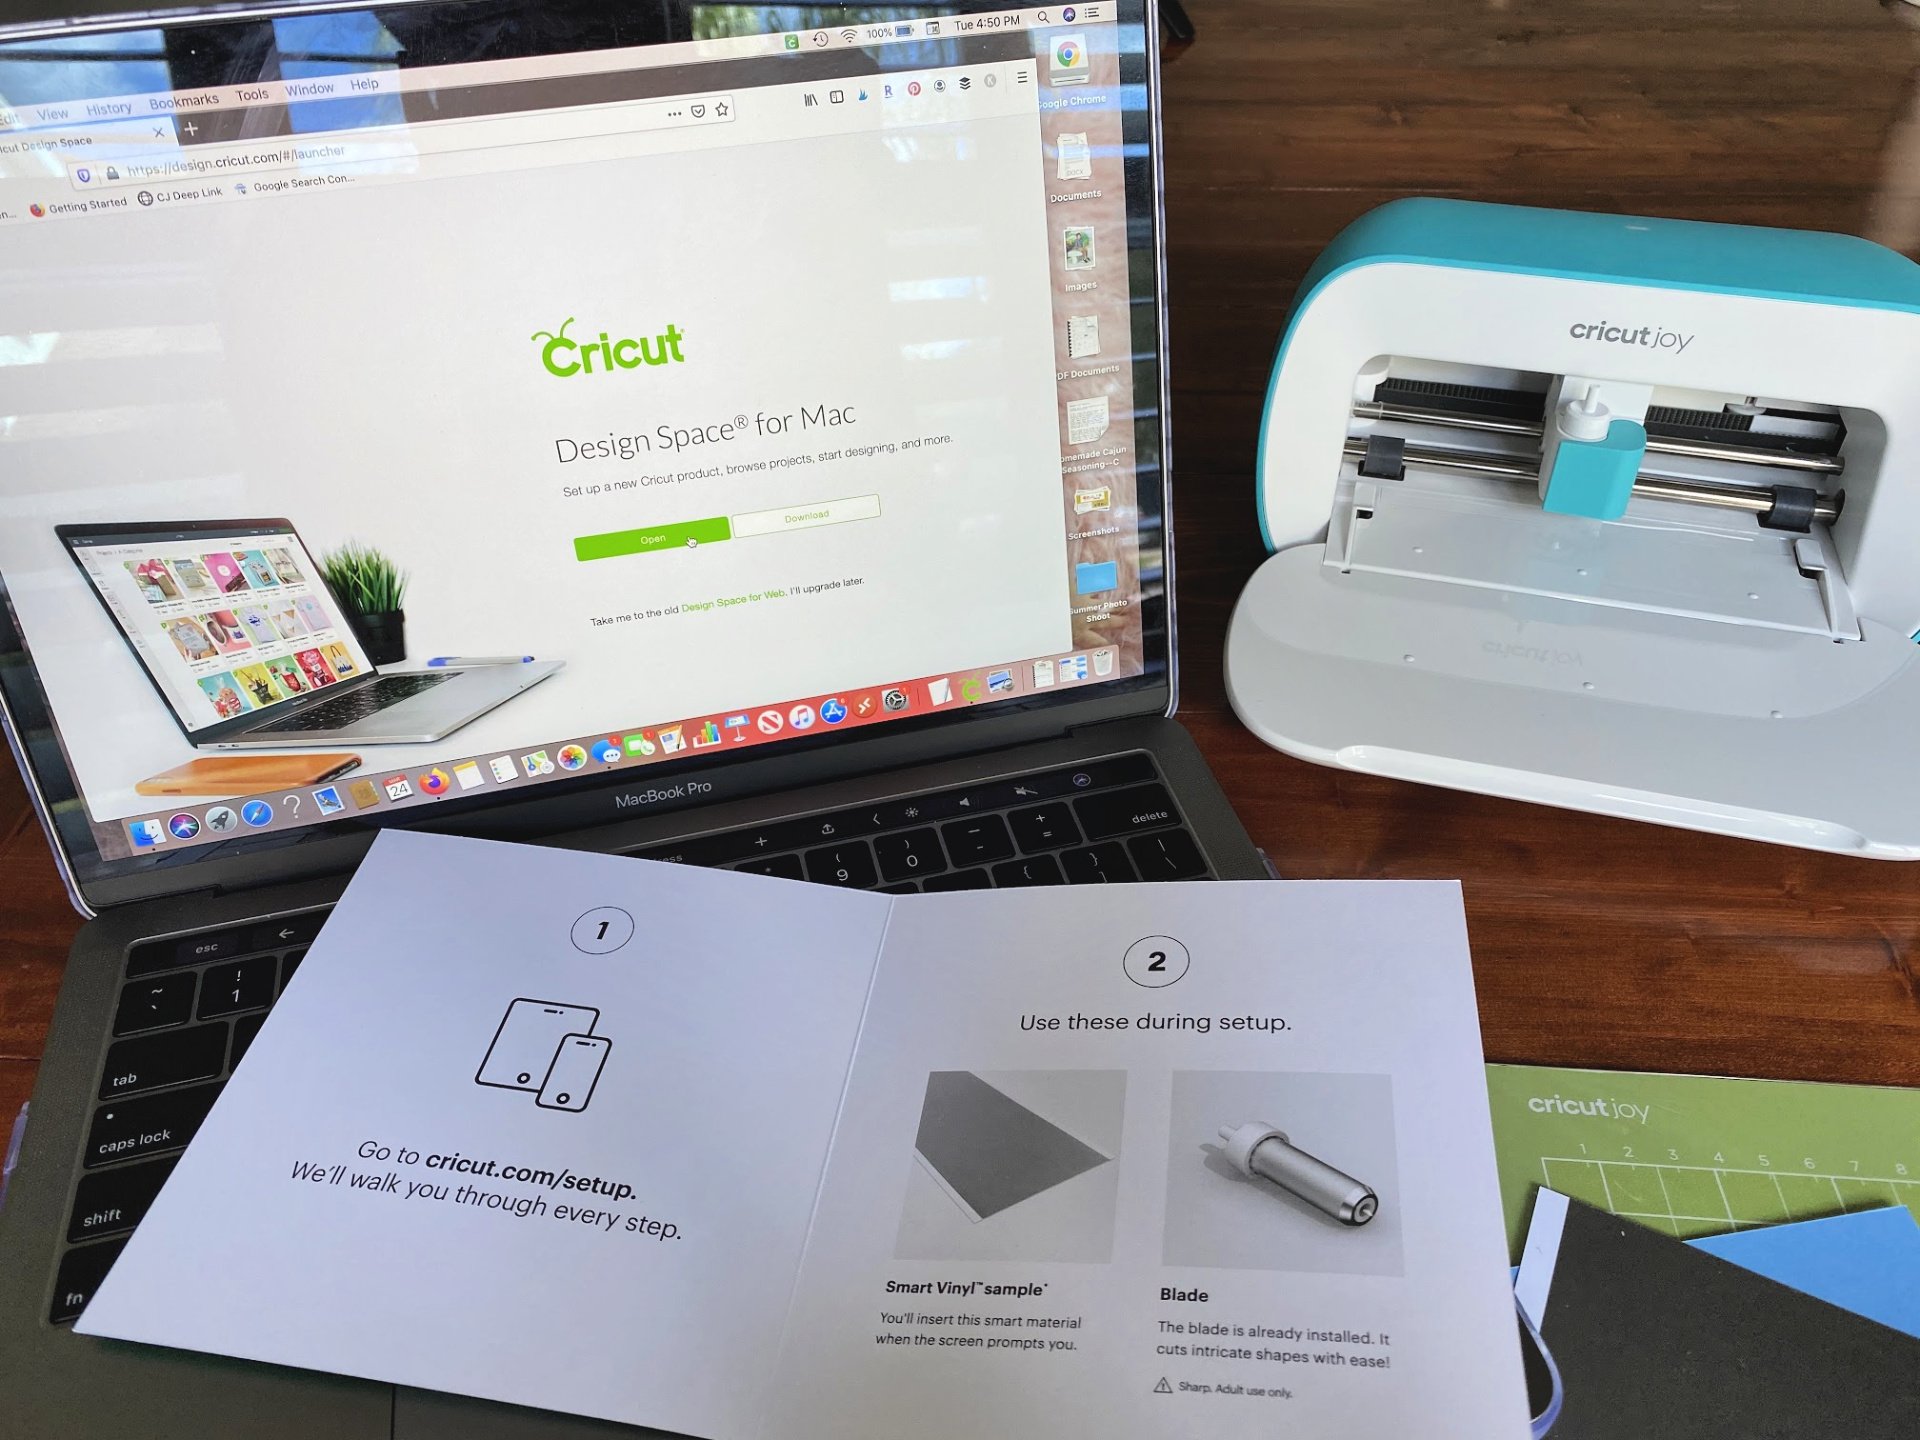
How to Set Up the Cricut Joy
First, you want to head to Cricut.com/setup. Here is where you will start the process. This will take 5 minutes if that! You will want to make sure you have Bluetooth setup to ensure you can cut. After all, this machine does not have a USB port and does not have a hard wire plug into your computer. It relies 100% on bluetooth!
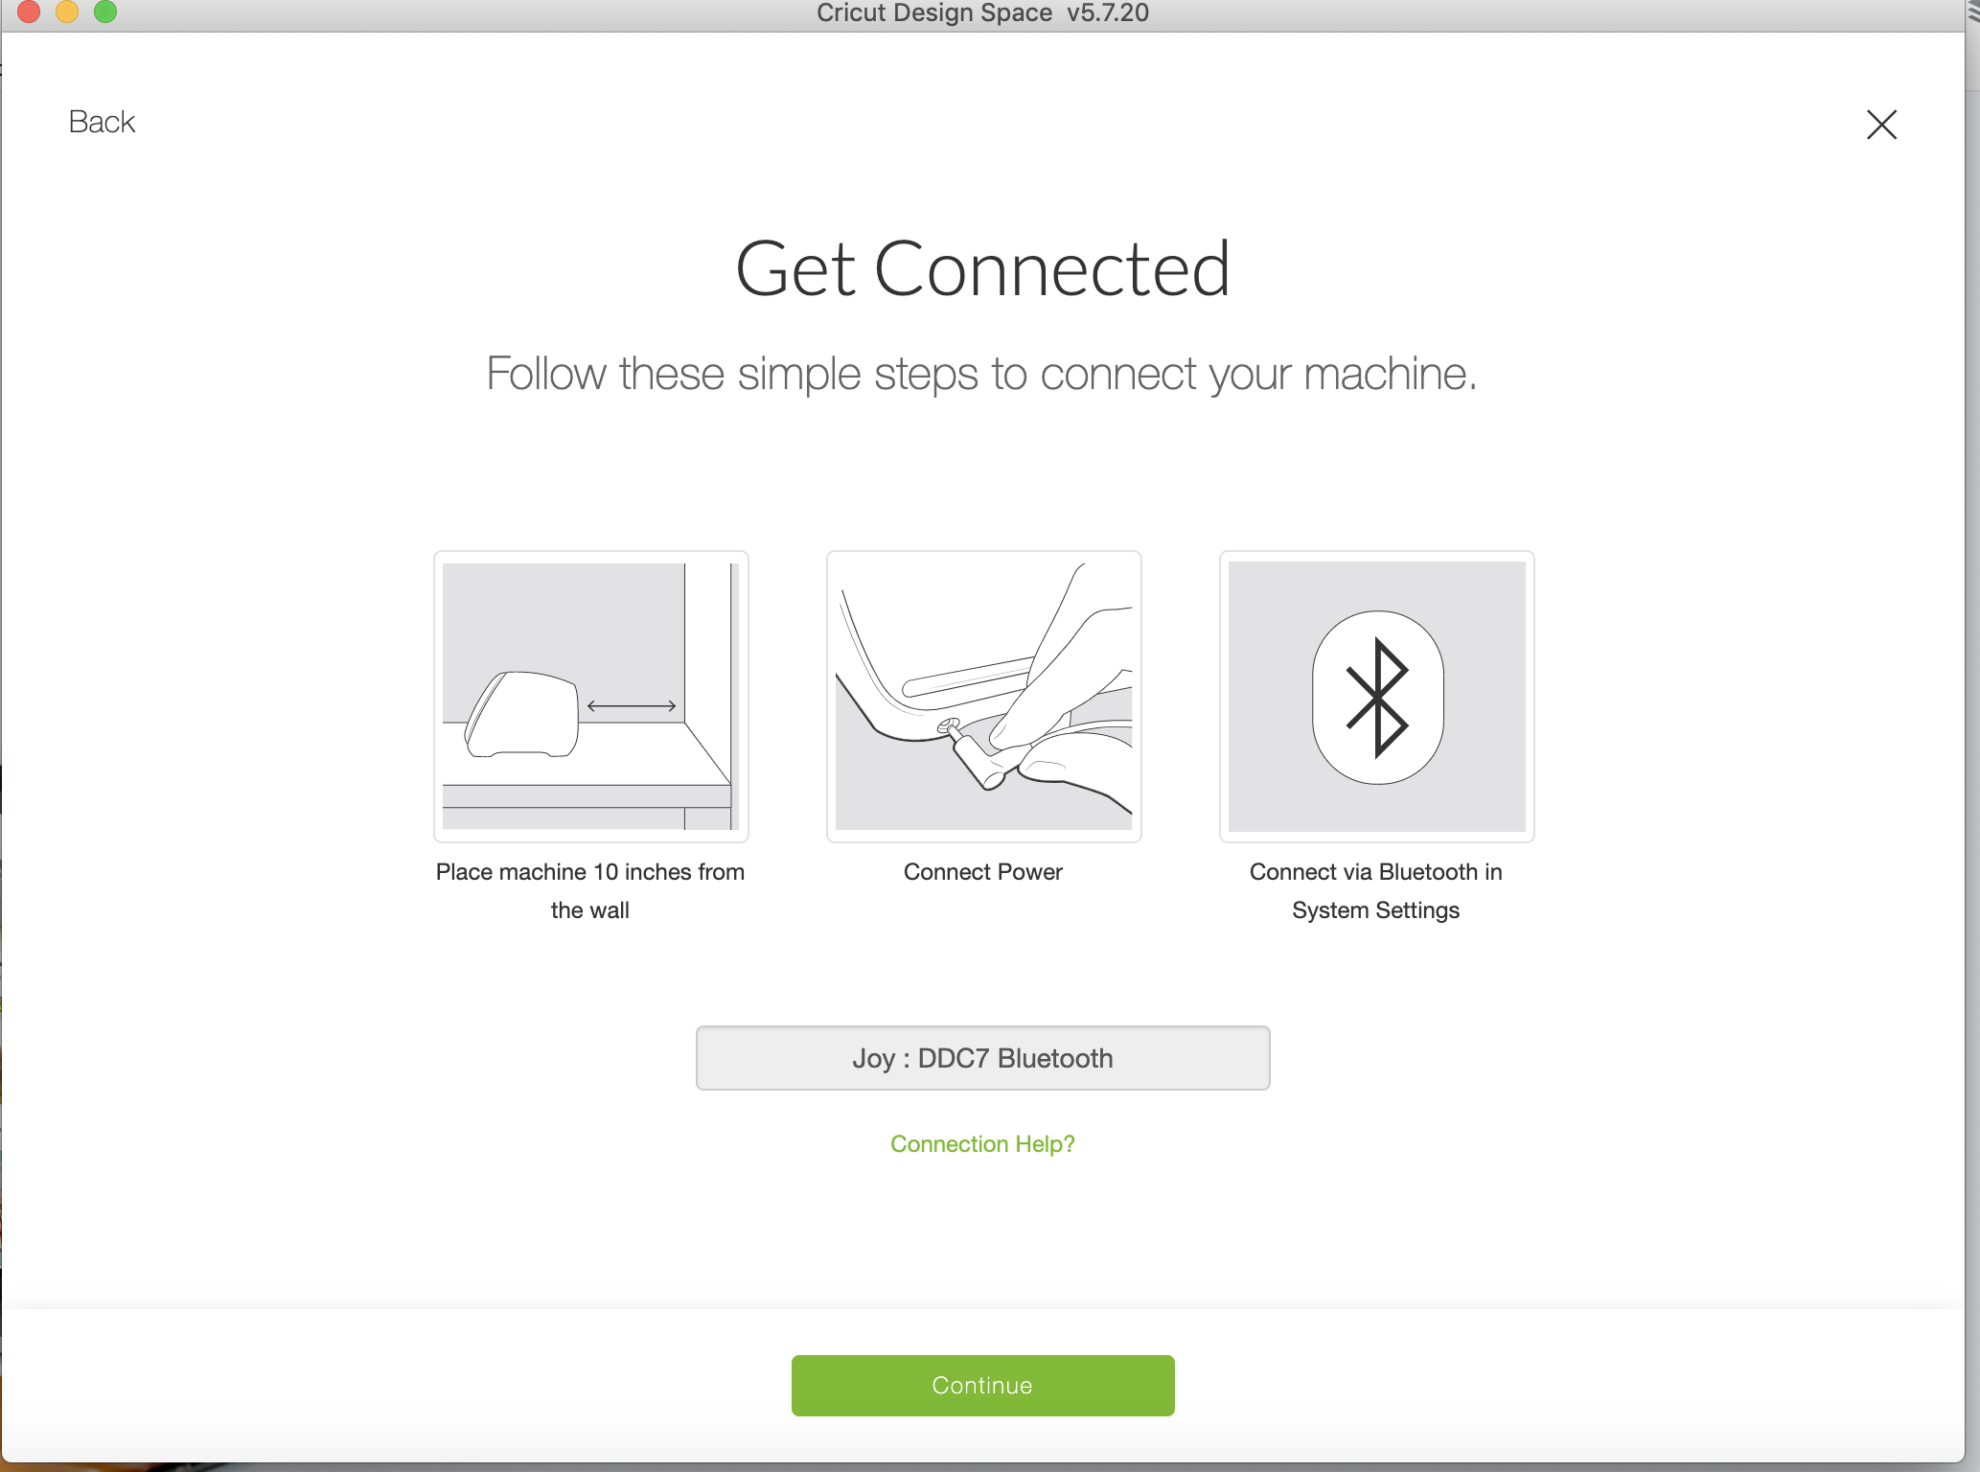
Follow the prompt to get connected. Once you powder your machine up you’ll need to connect the bluetooth.
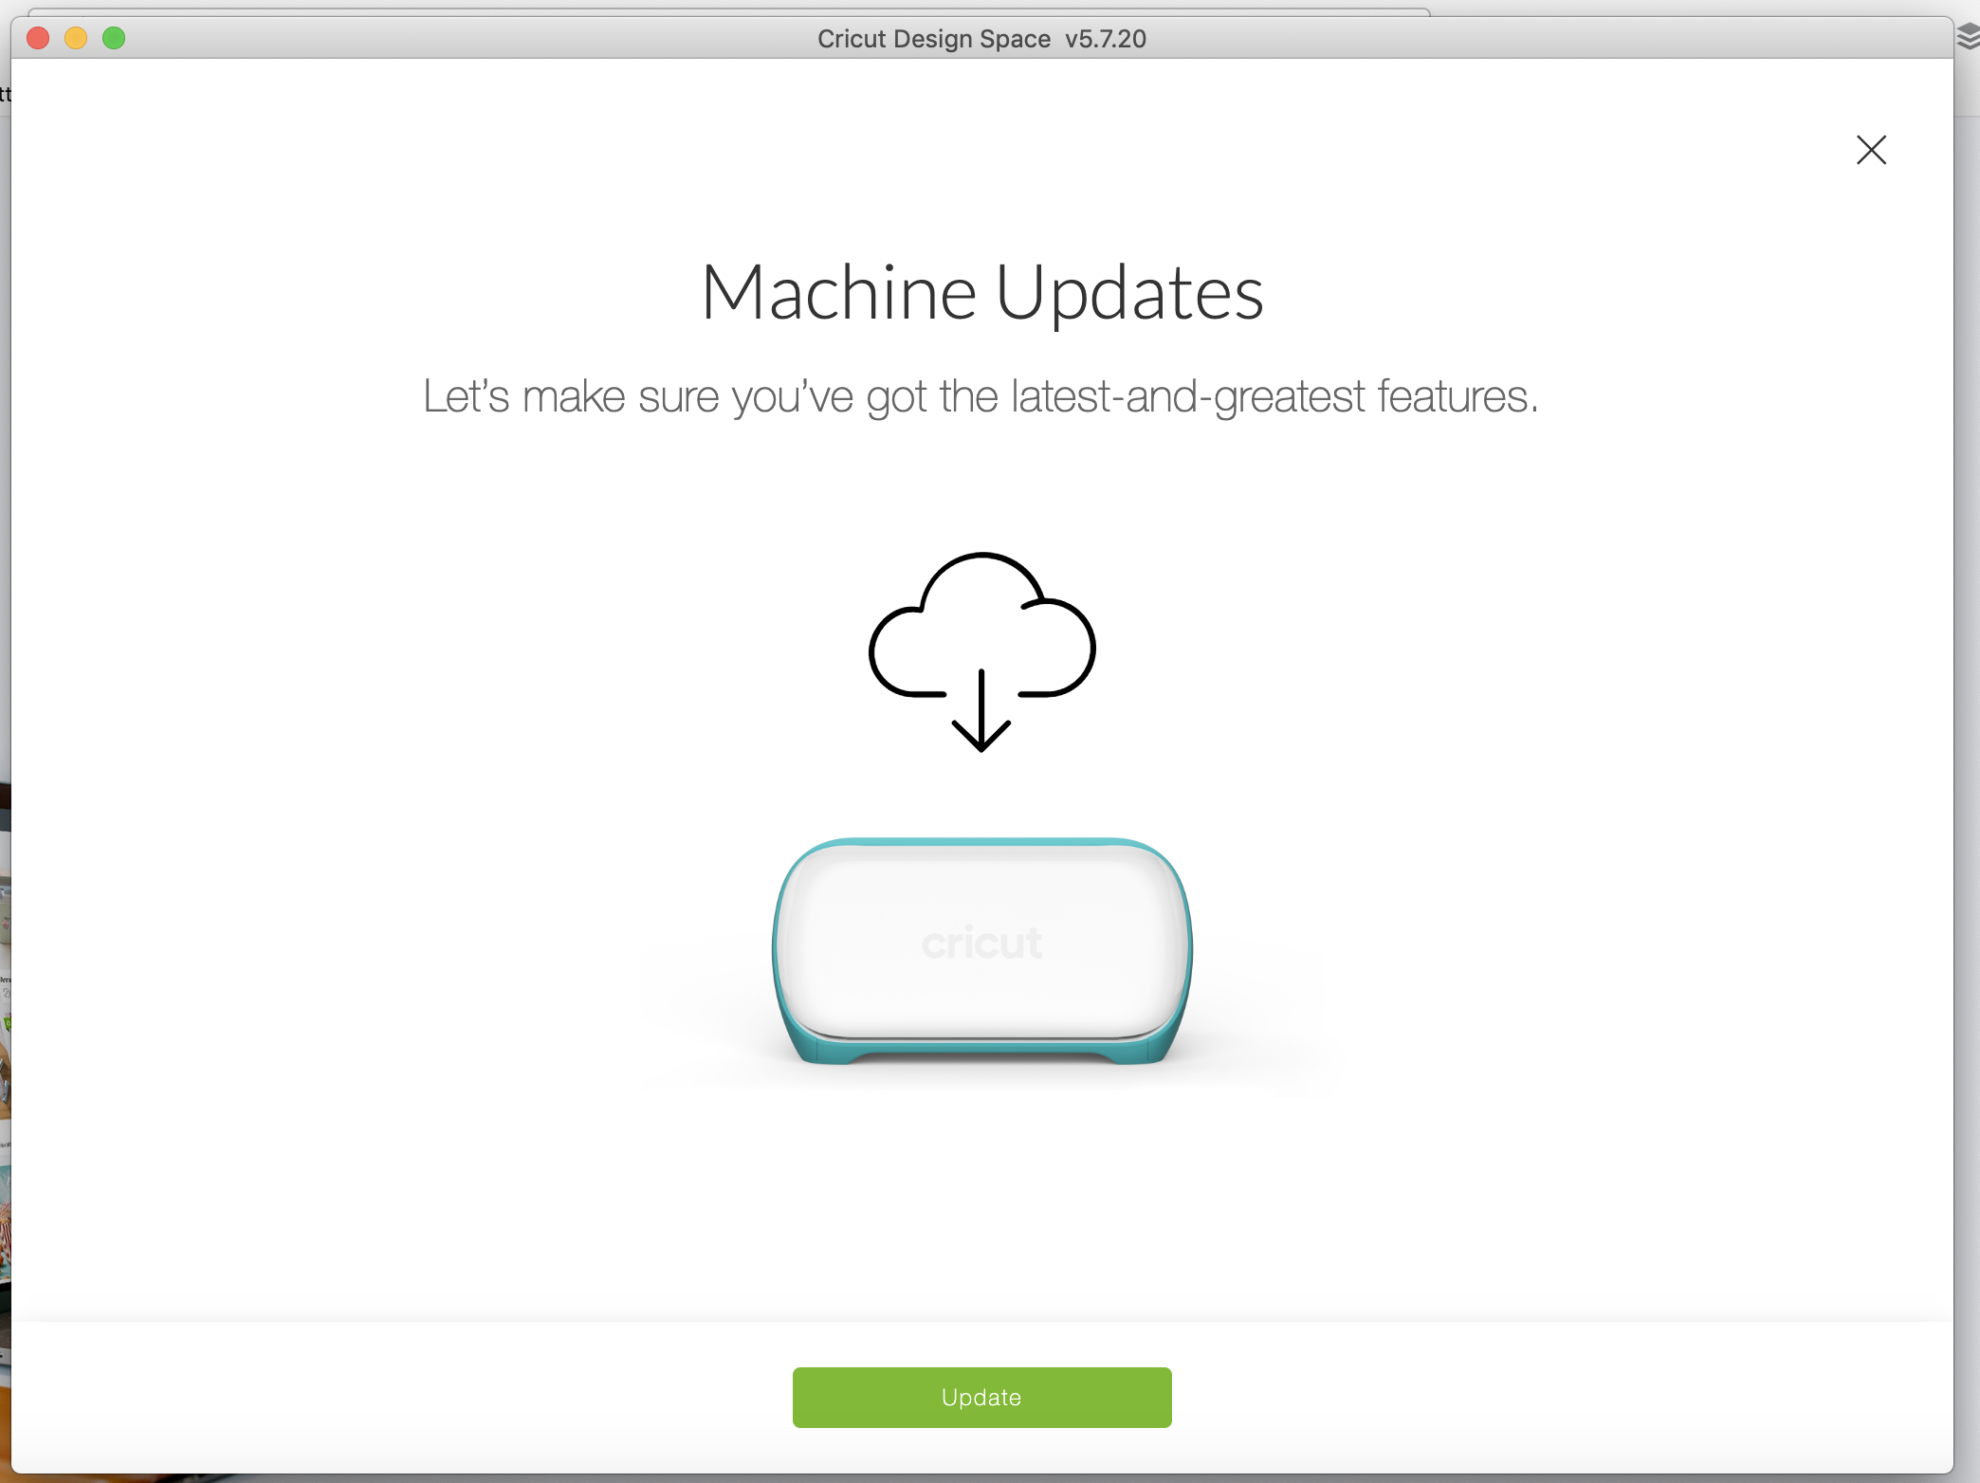
Once the Cricut Joy is connected it automatically prompted me to do a machine update. Not sure if this is something you’ll always be prompted with a new machine, but it was for me!
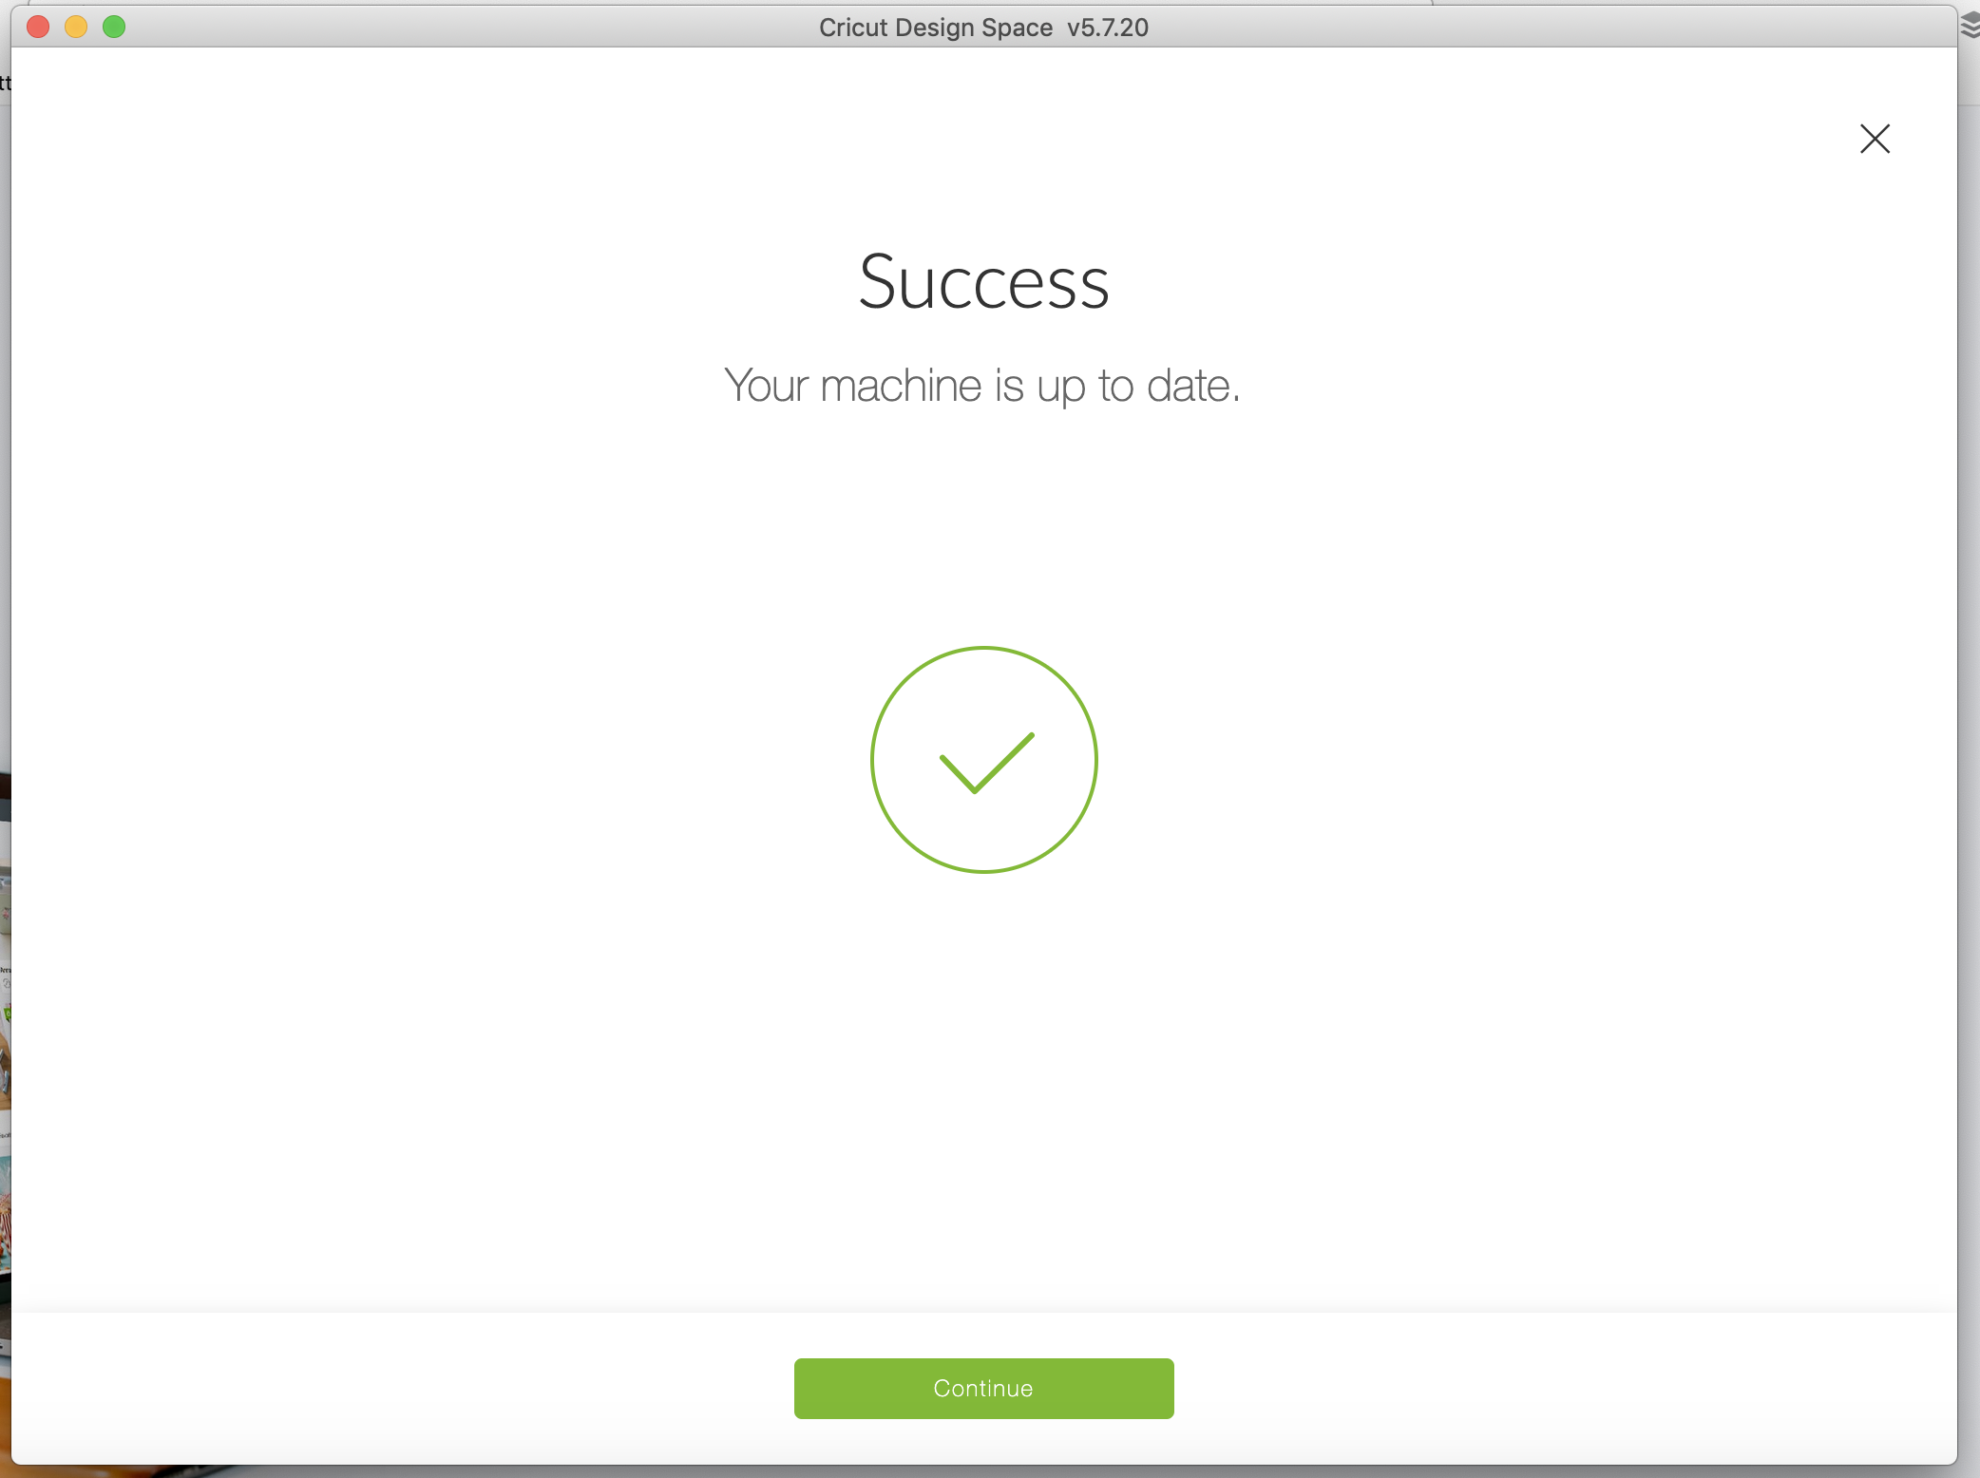
Once your update is complete you will receive this screen!
Making a test vinyl project using the Cricut Joy
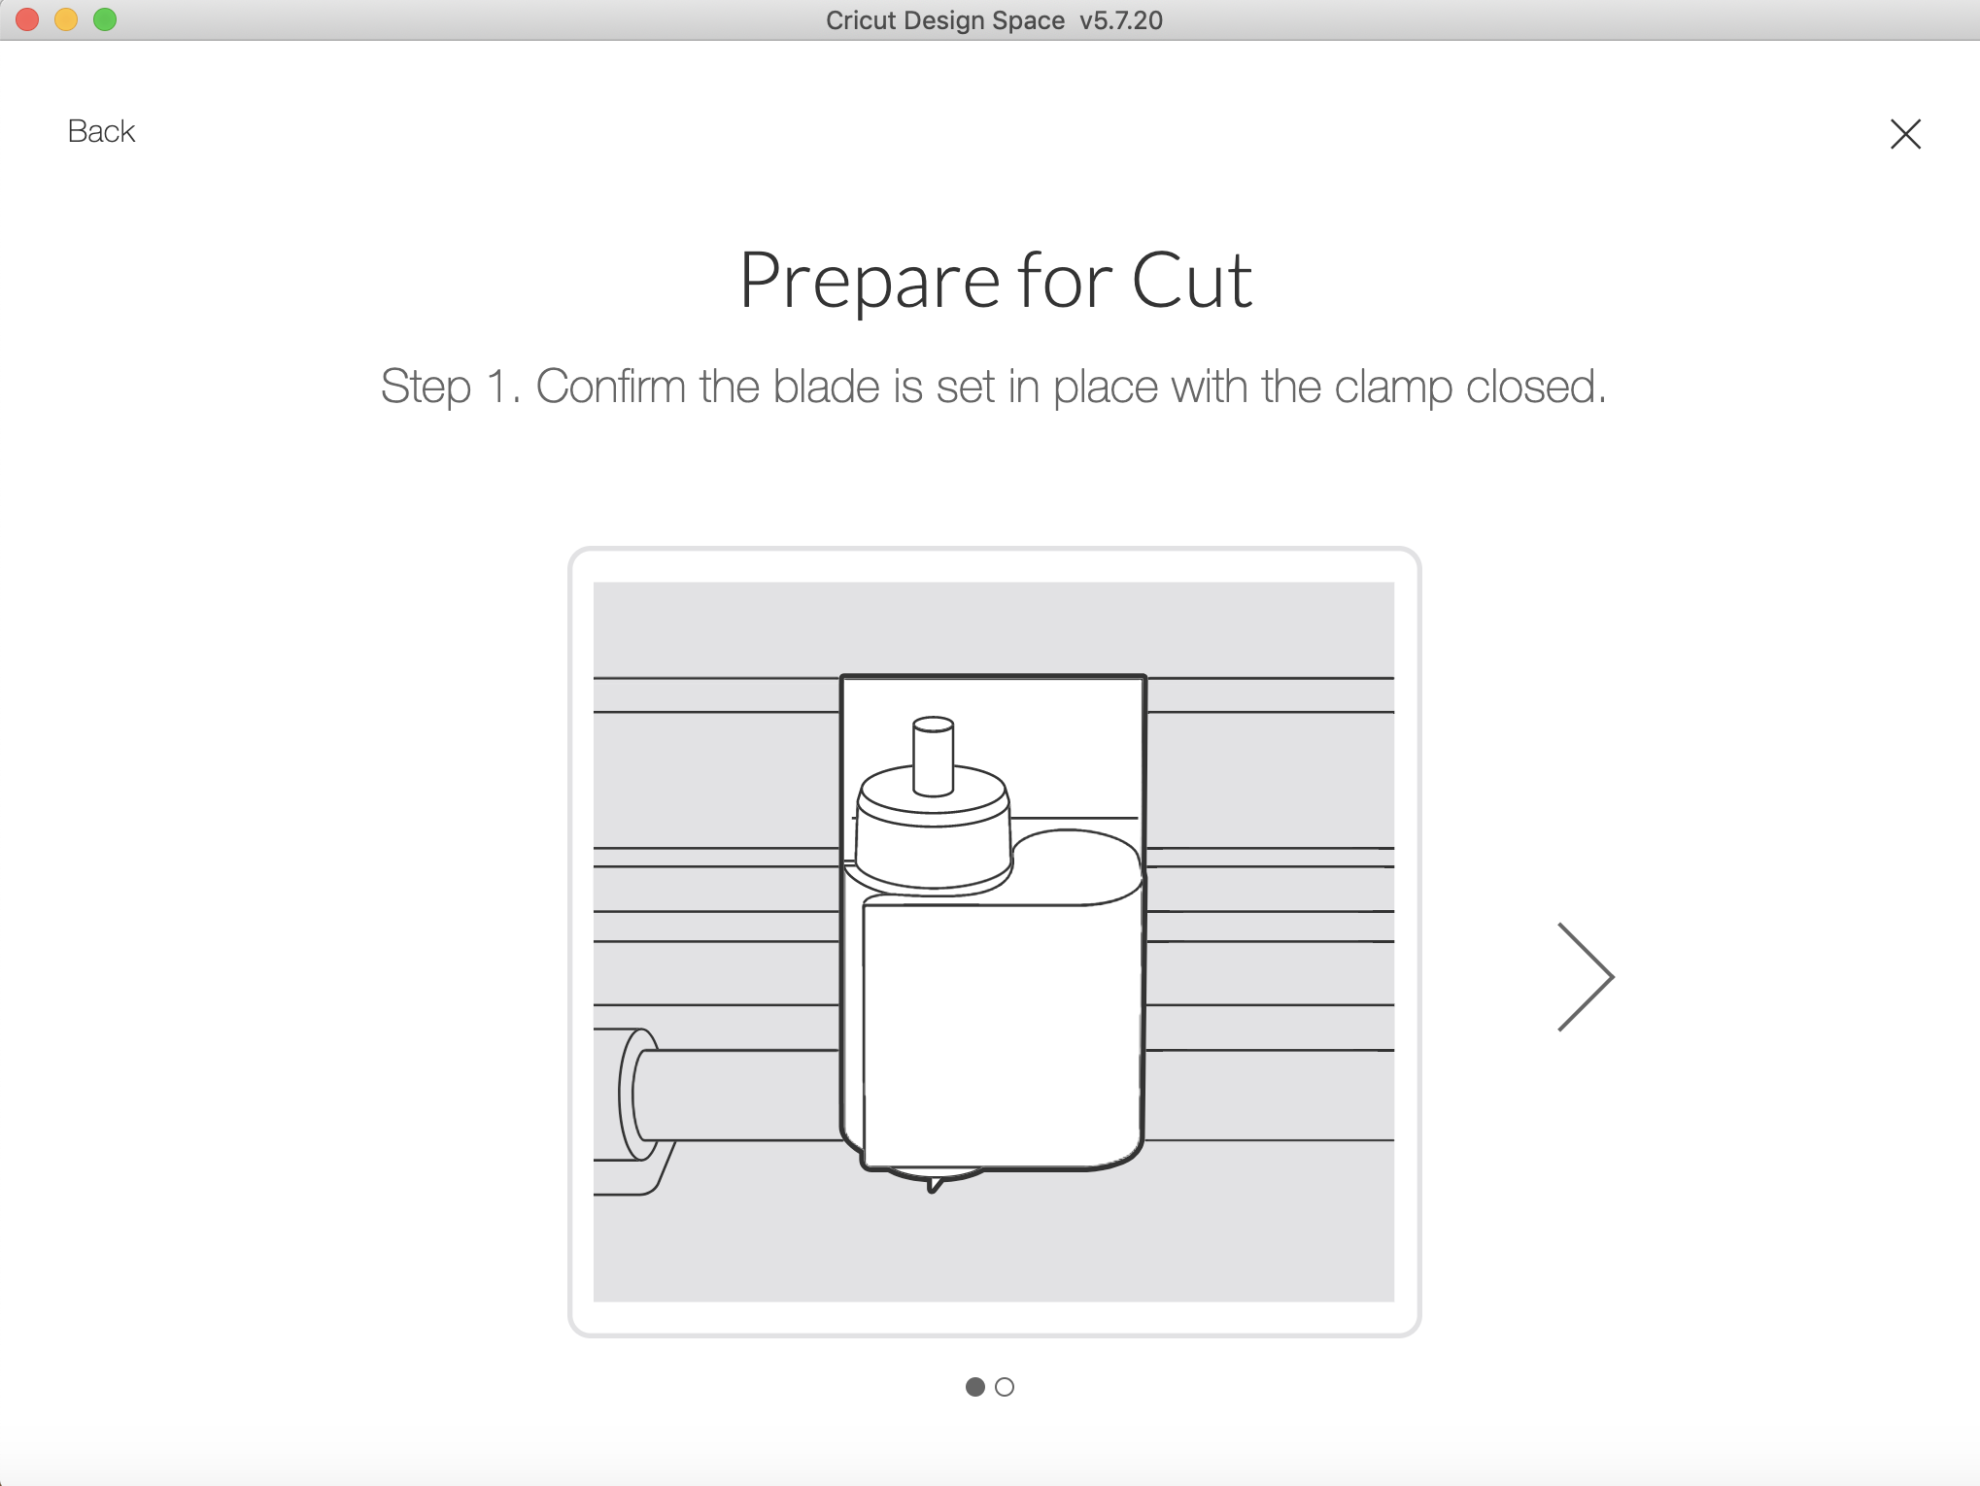
Now, it’s time to make the test cut! Make sure you place the blade in the machine and close the clamp!
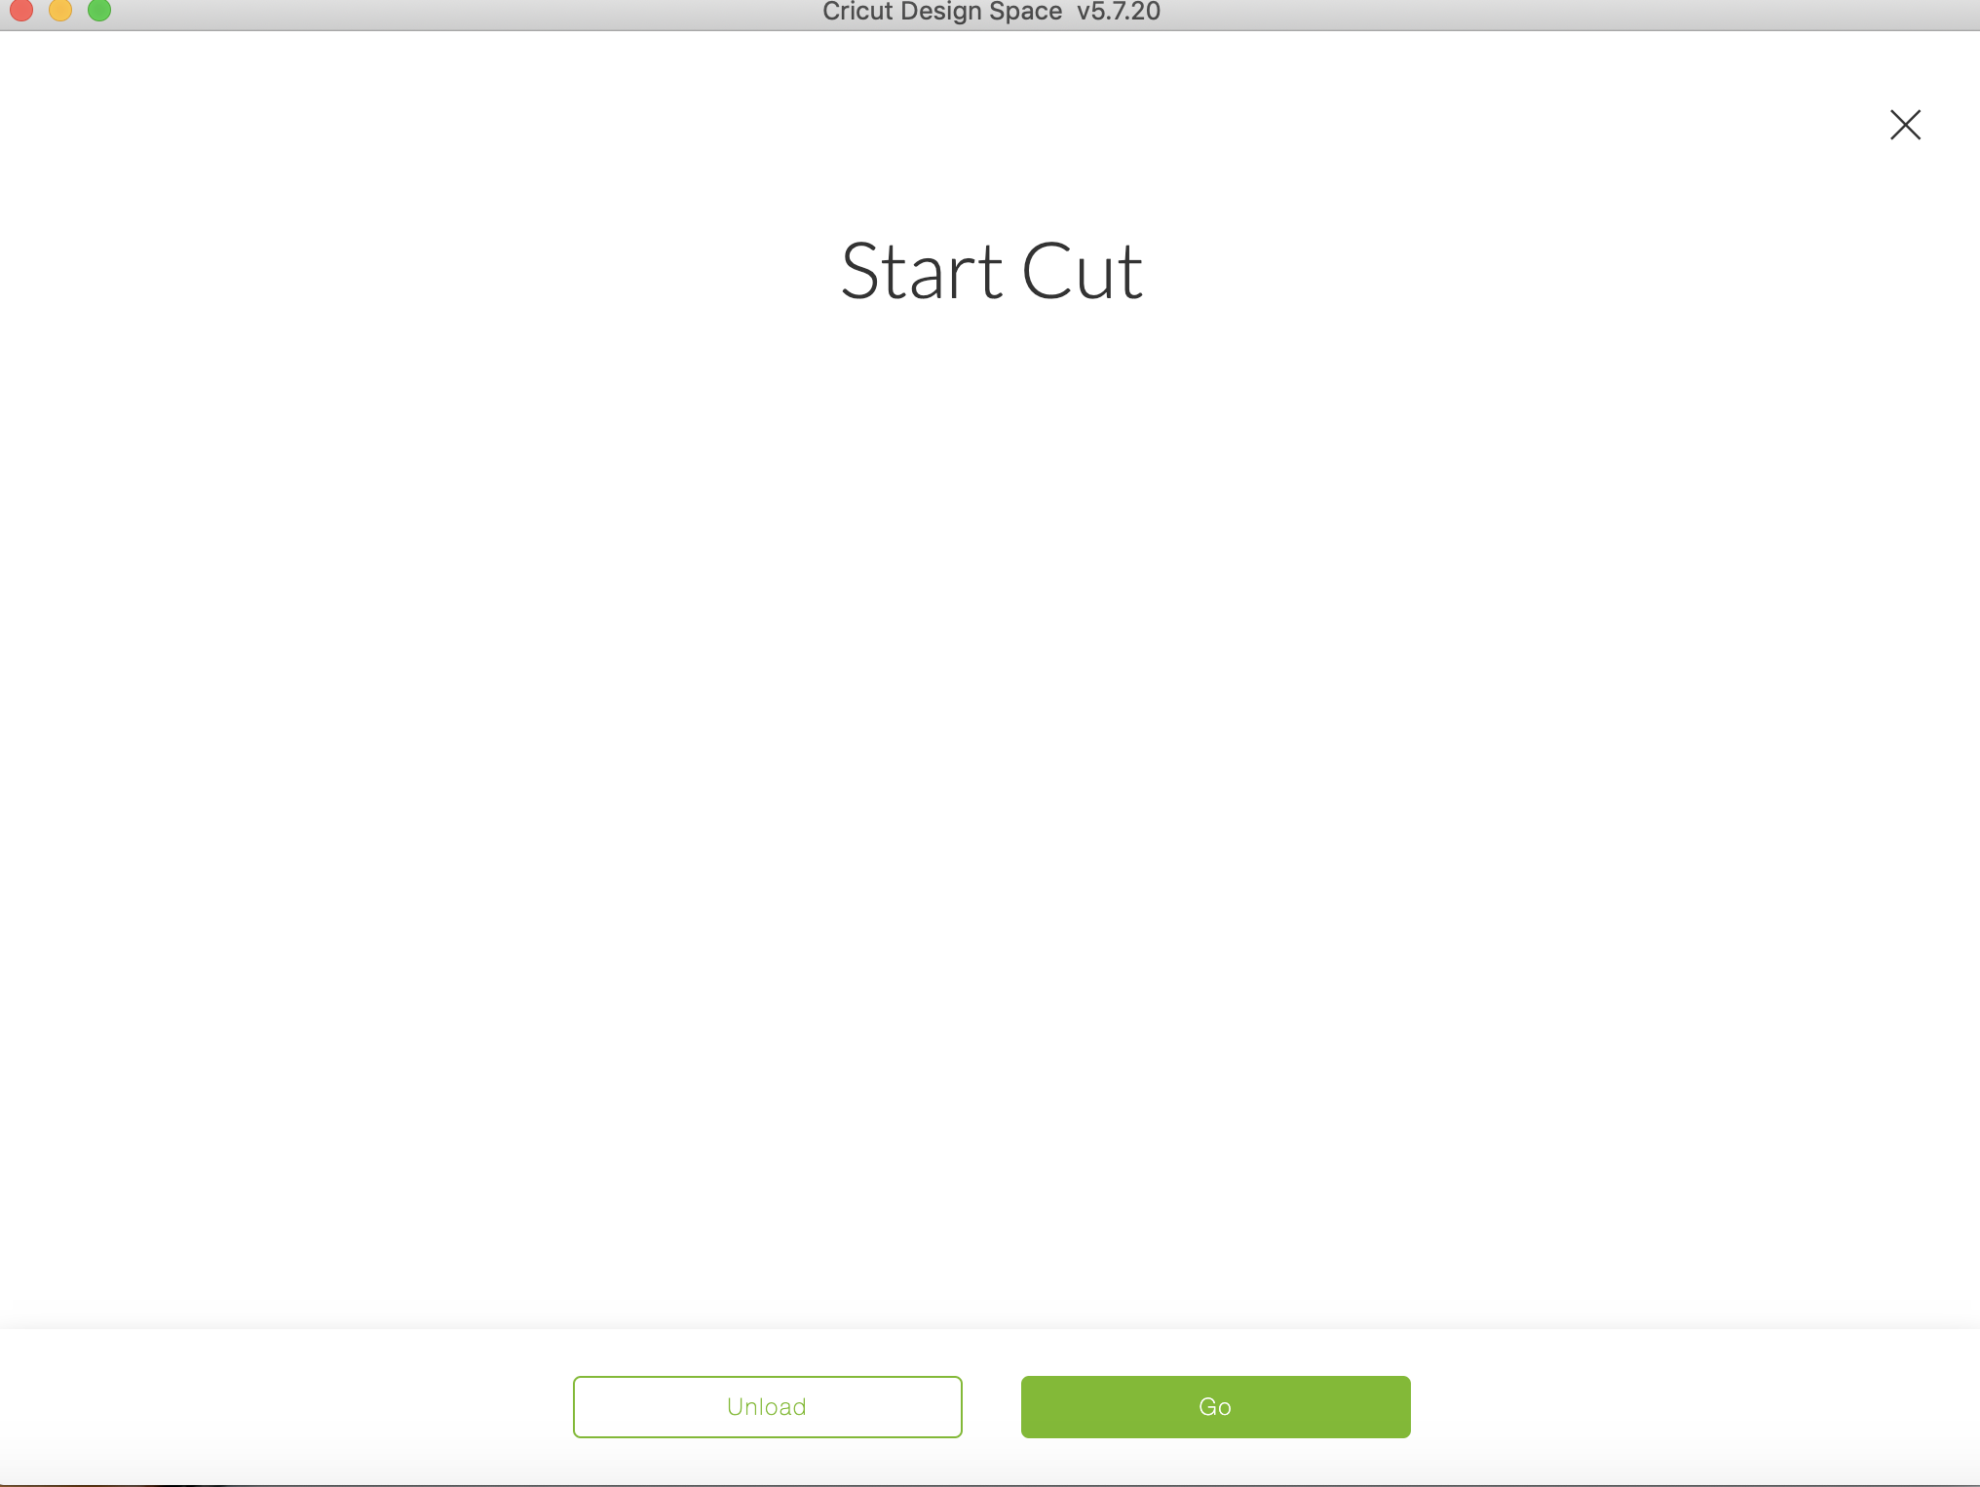
The machine will prompt you to start the cut!
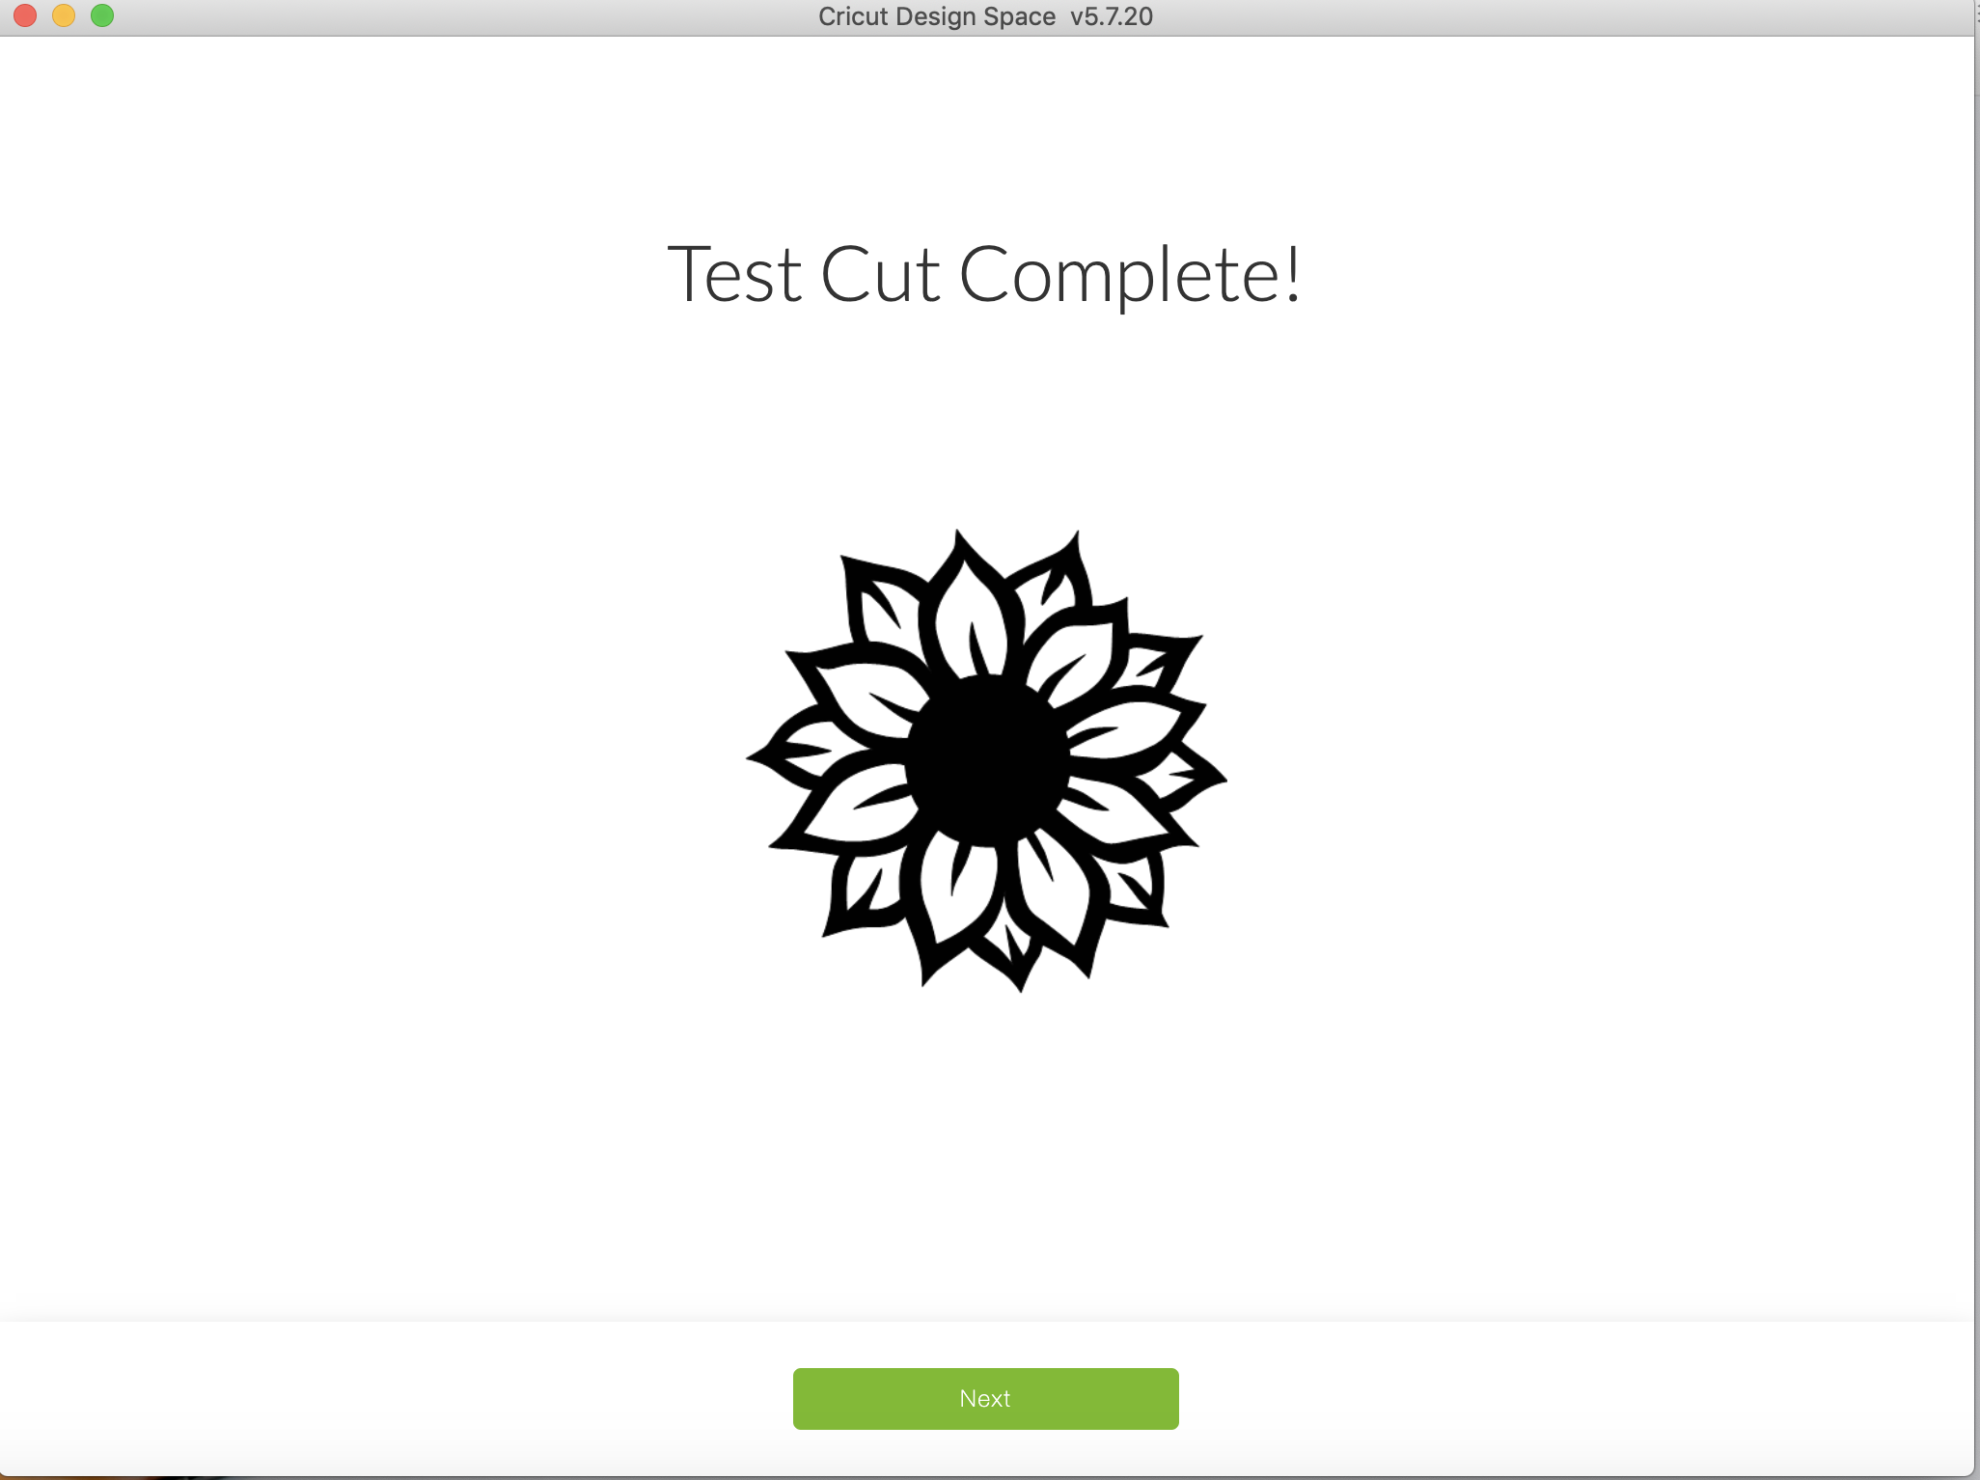
Once your test cut is complete it will prompt you to unload the cut!
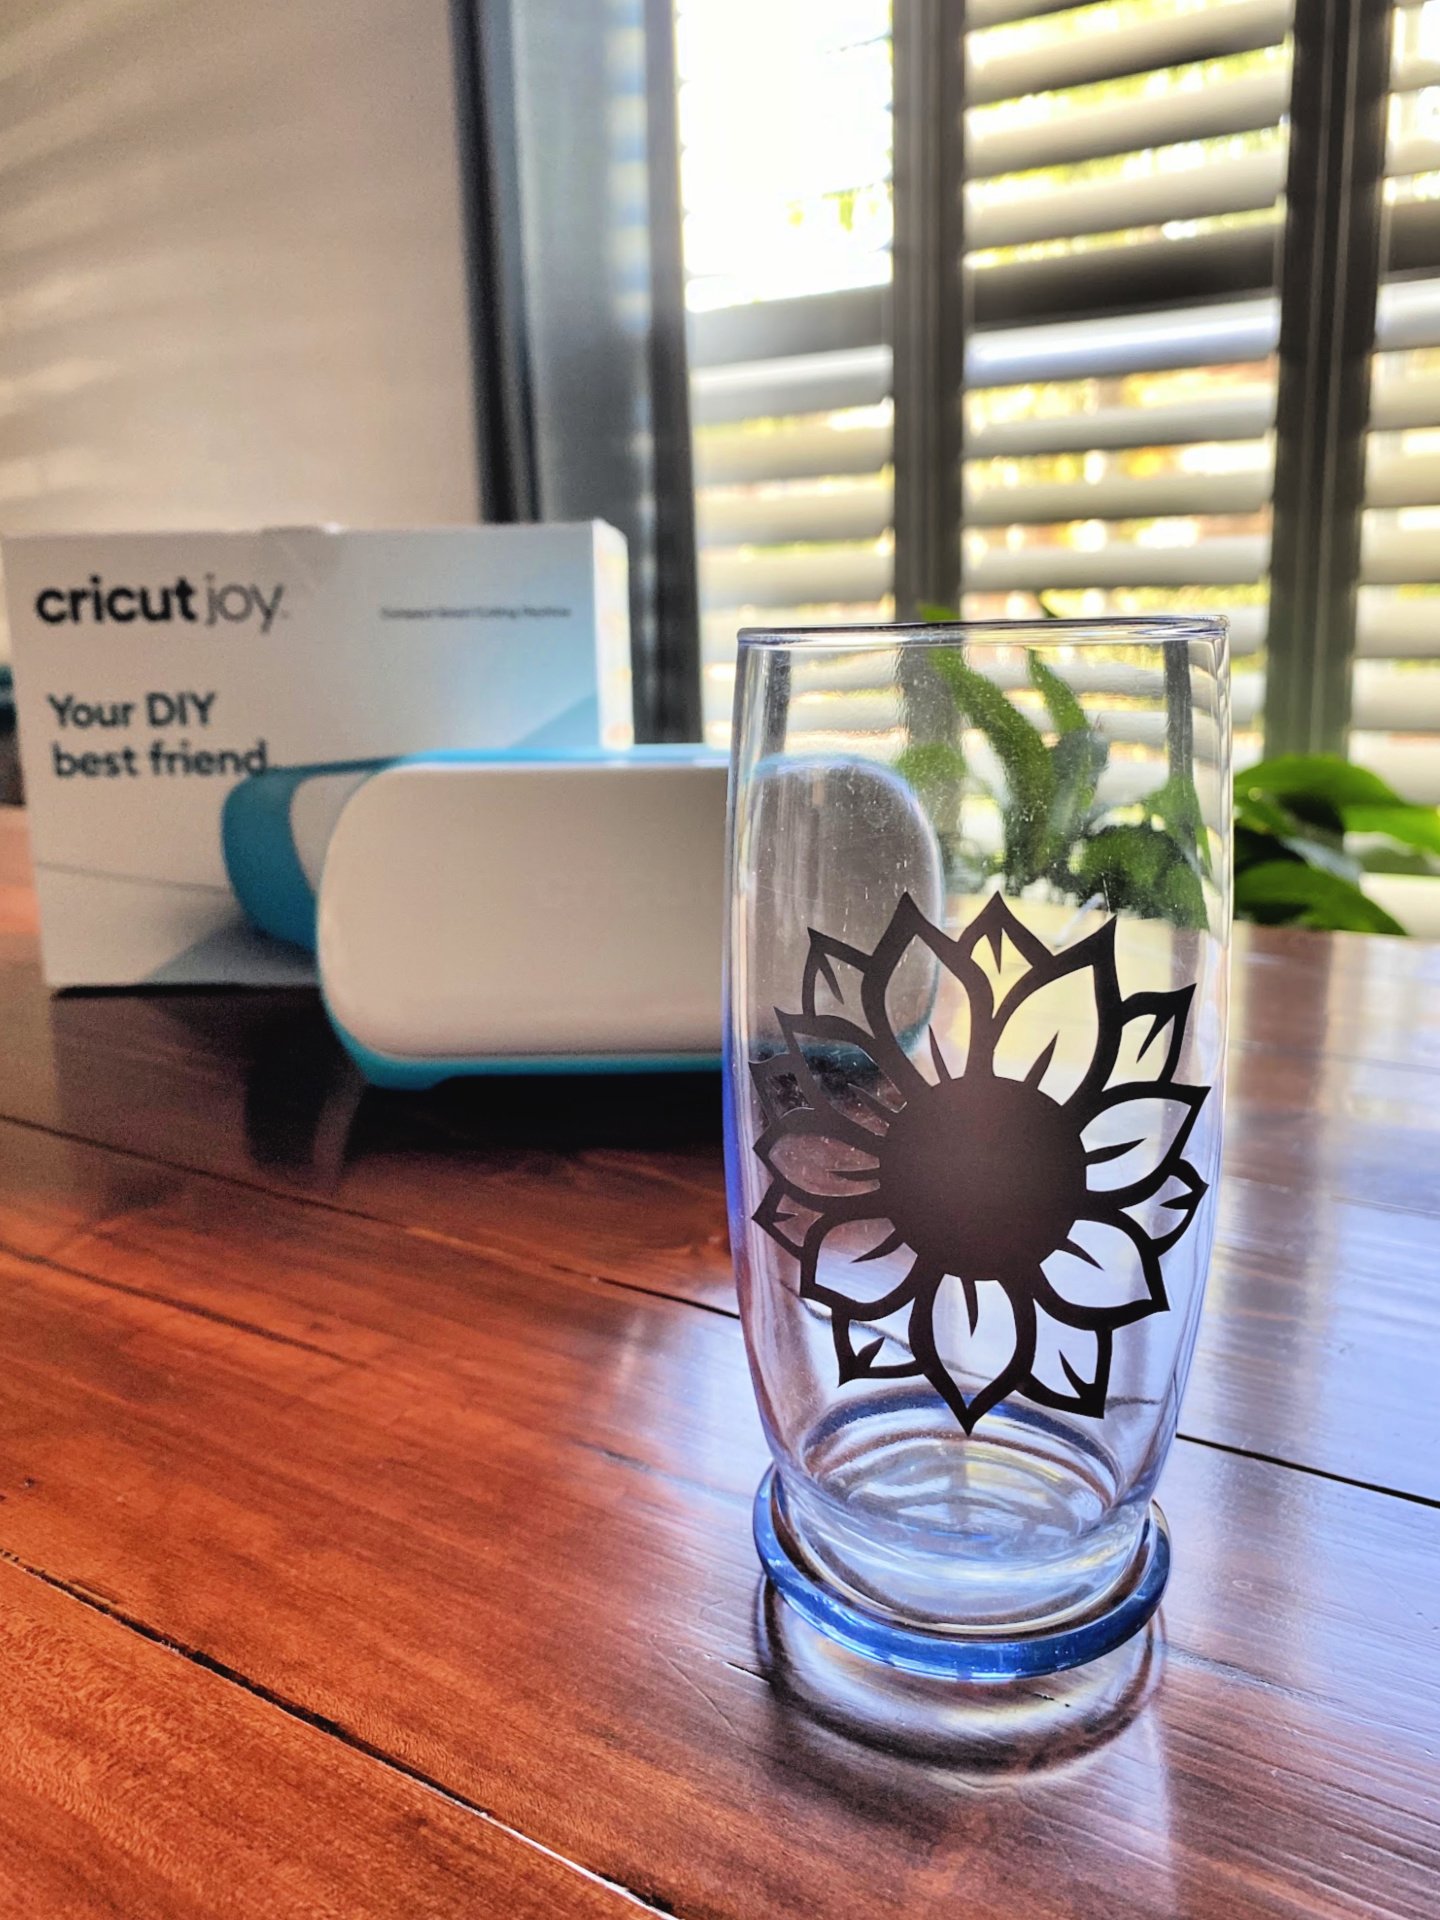
You will weed the negative out of the vinyl, and apply to a surface. I did not use transfer tape for this project. If you have it on hand you can use transfer tape to apply the vinyl.
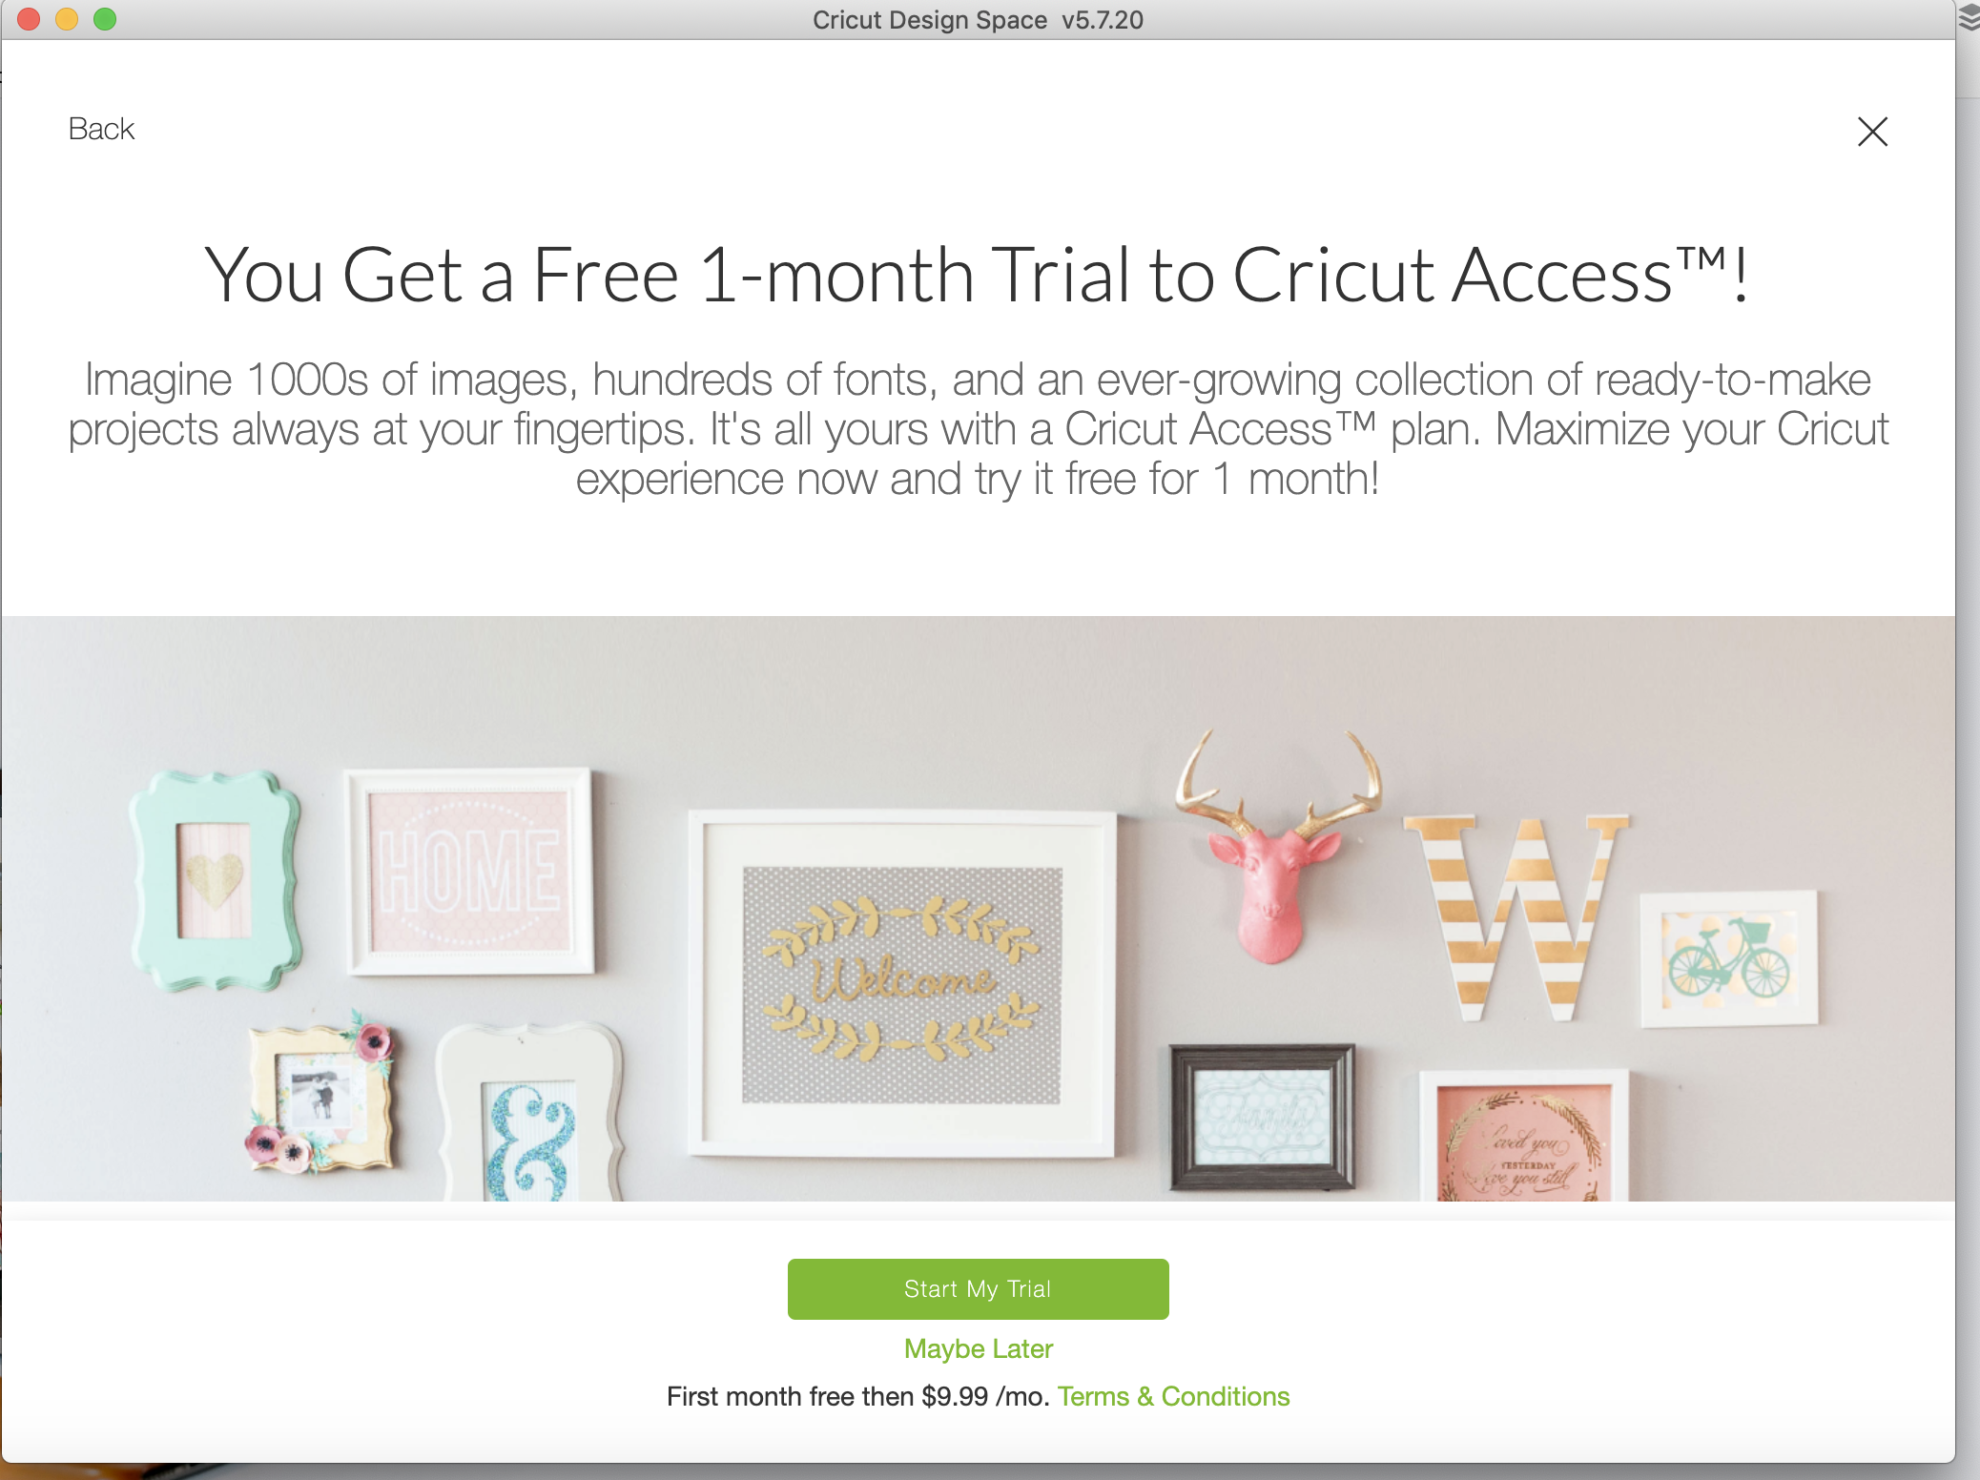
If you are new to Cricut you get a free 1-month trial to Cricut Access™!
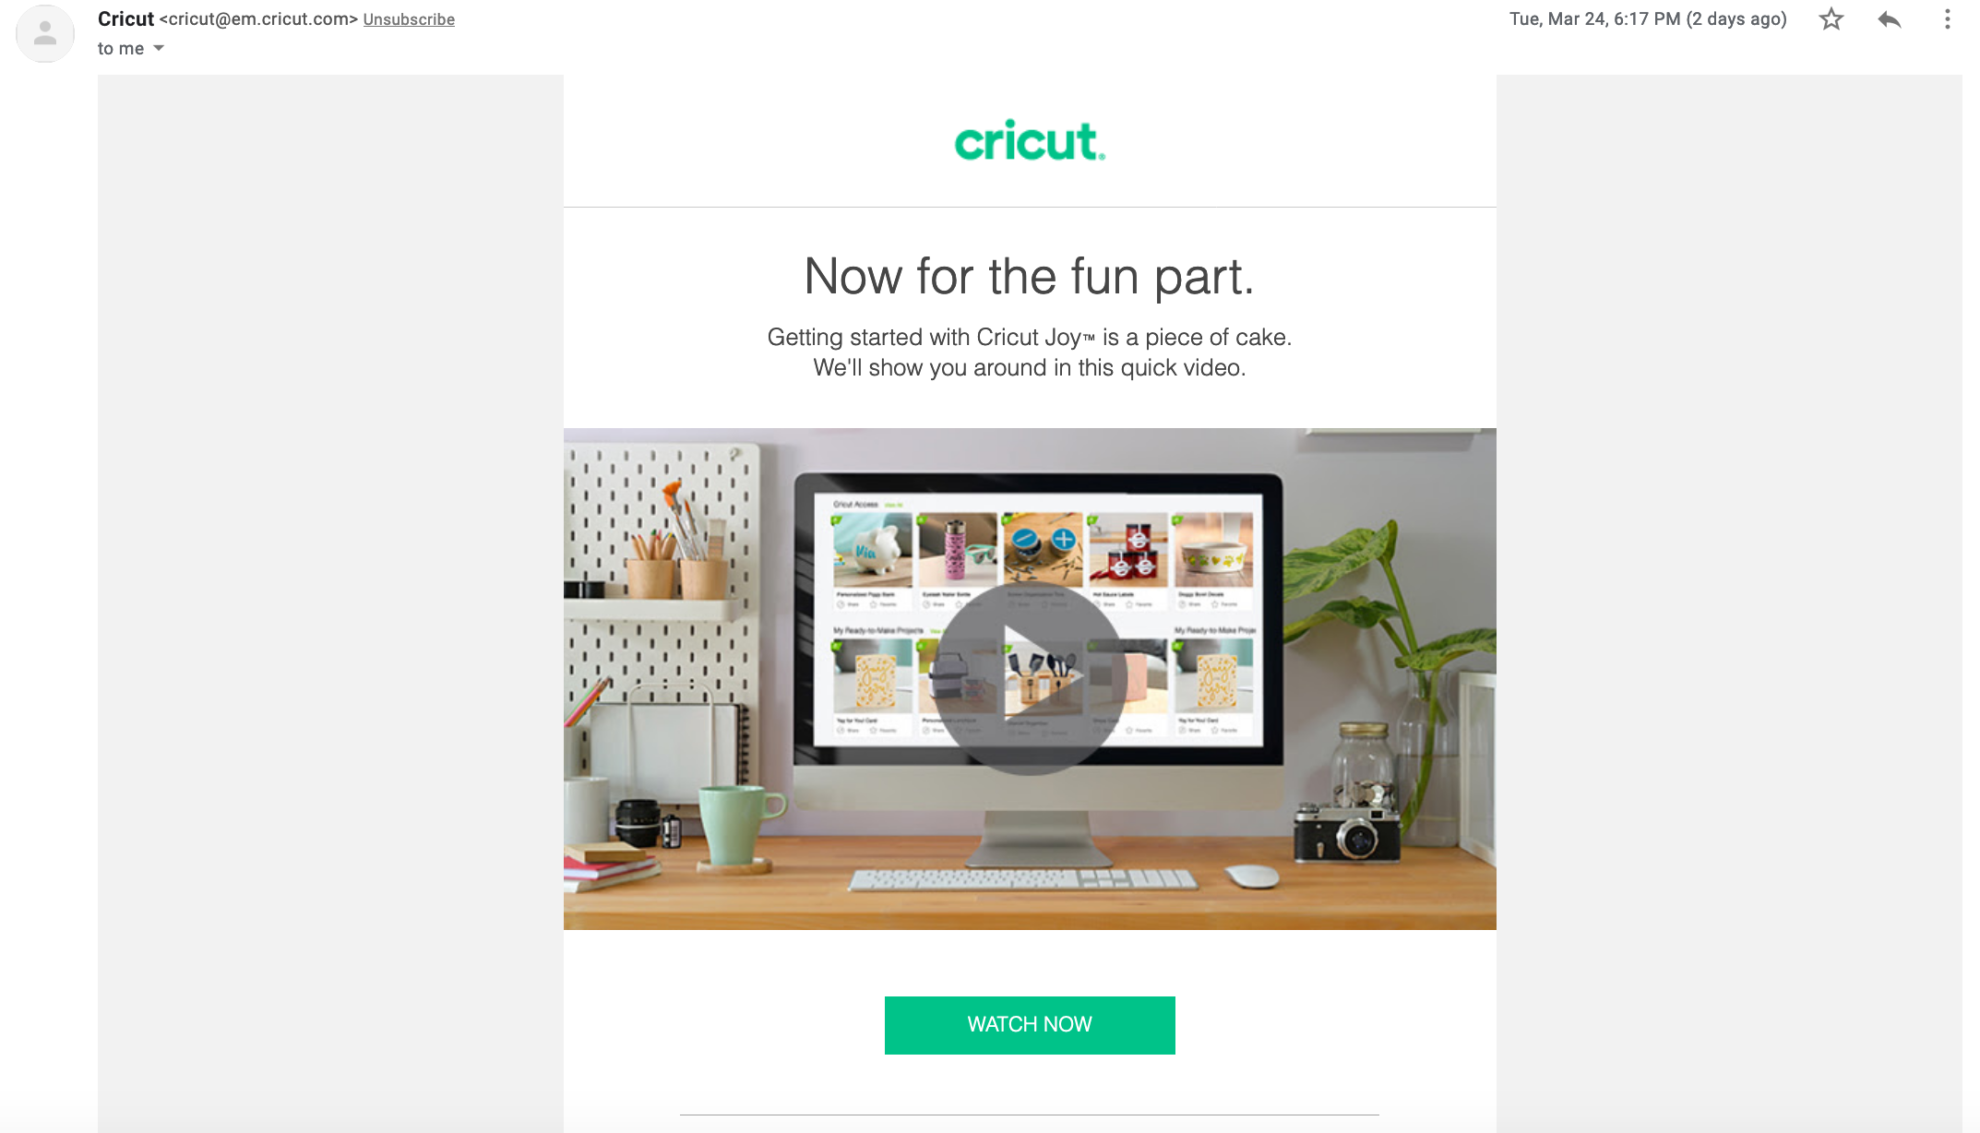
After you have connected your new machine. Cricut will send this video to your inbox to teach you more about the Cricut Joy!
Cricut Joy Projects
Here are a few projects I have made using my Cricut Joy
I hope that this gives you a little confidence to open up your Cricut Joy and get to creating!
Leave A Reply!