This is a sponsored post written by me on behalf of Cricut. All opinions are 100% mine.
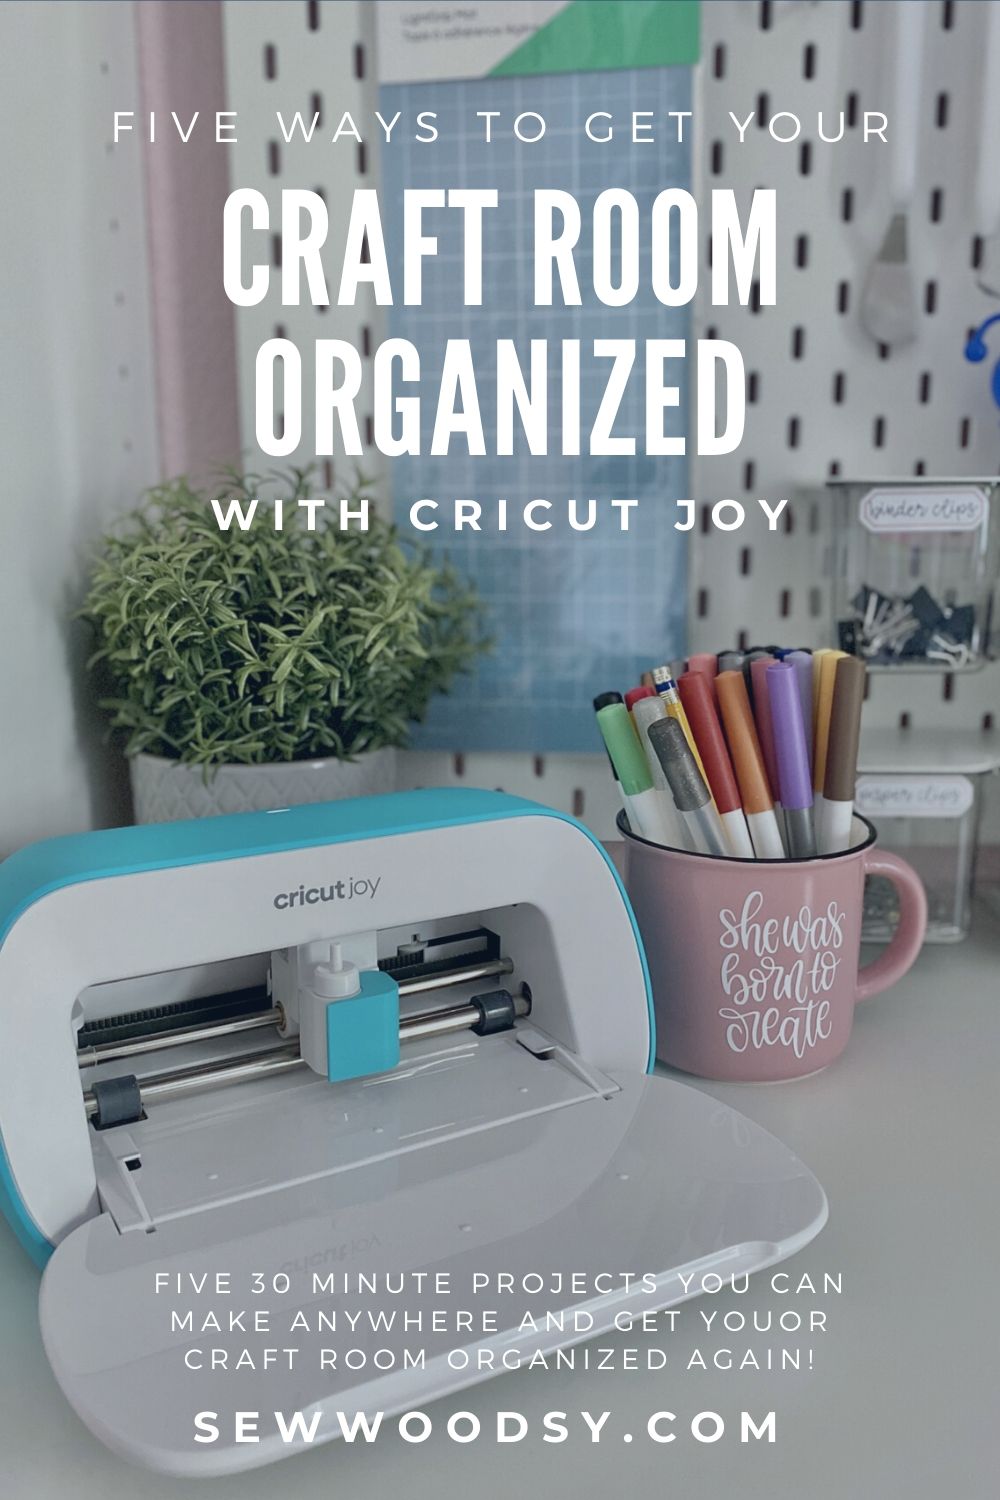
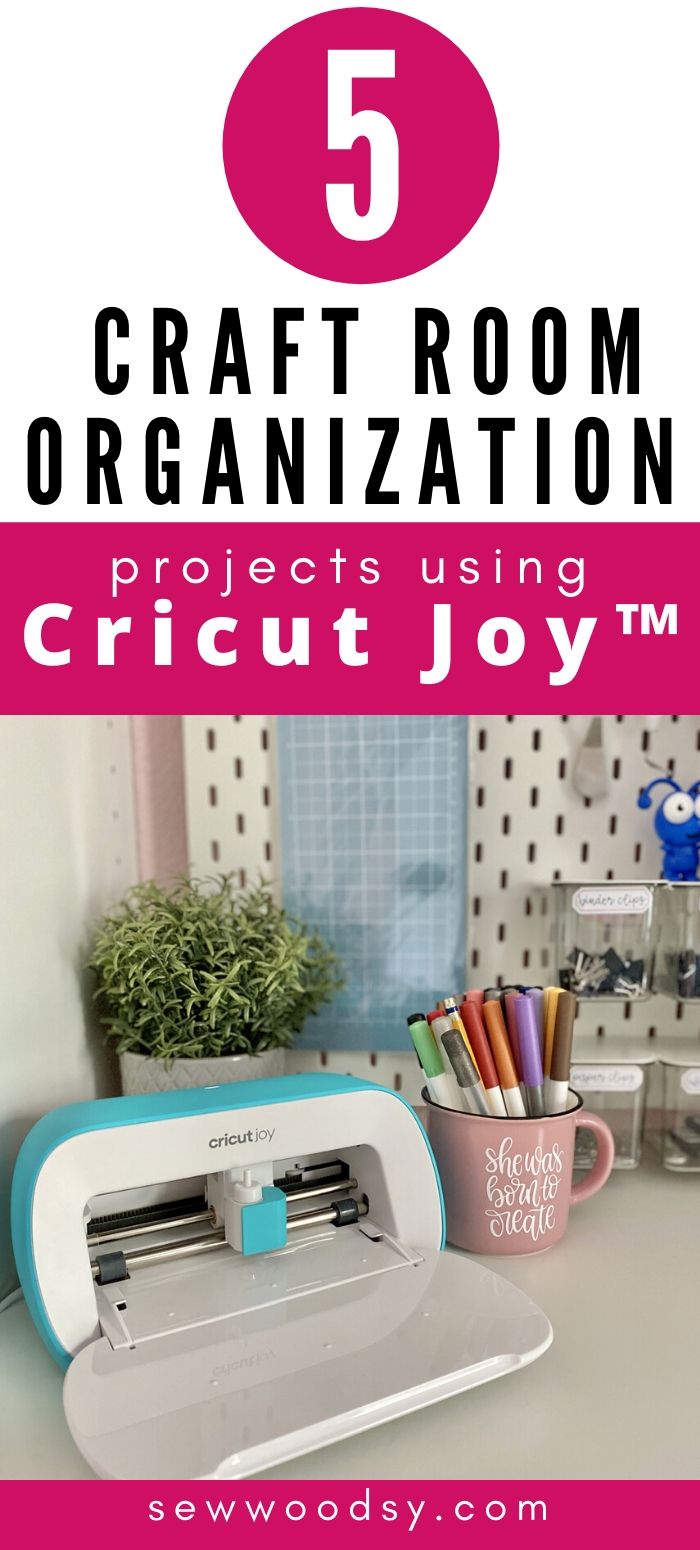
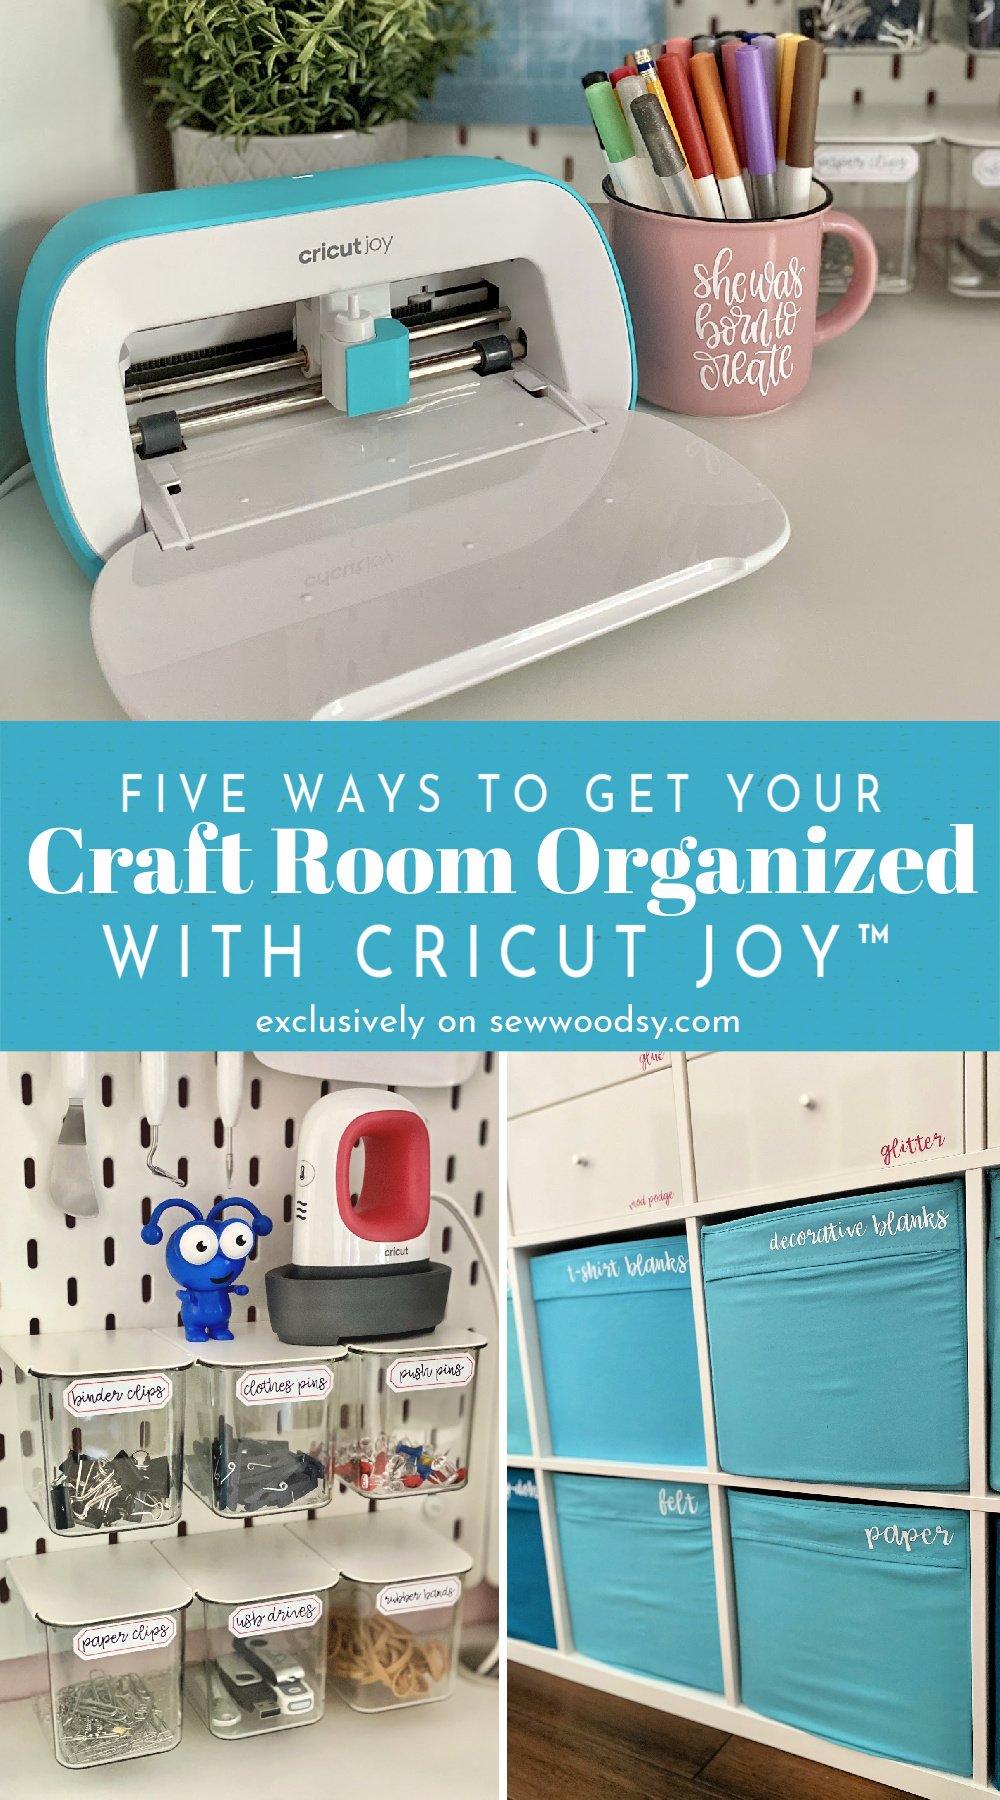
Does your craft room suffer from lack of organization? If you answered yes, I’m here to share with you Five ways to get your Craft Room Organized with Cricut Joy!
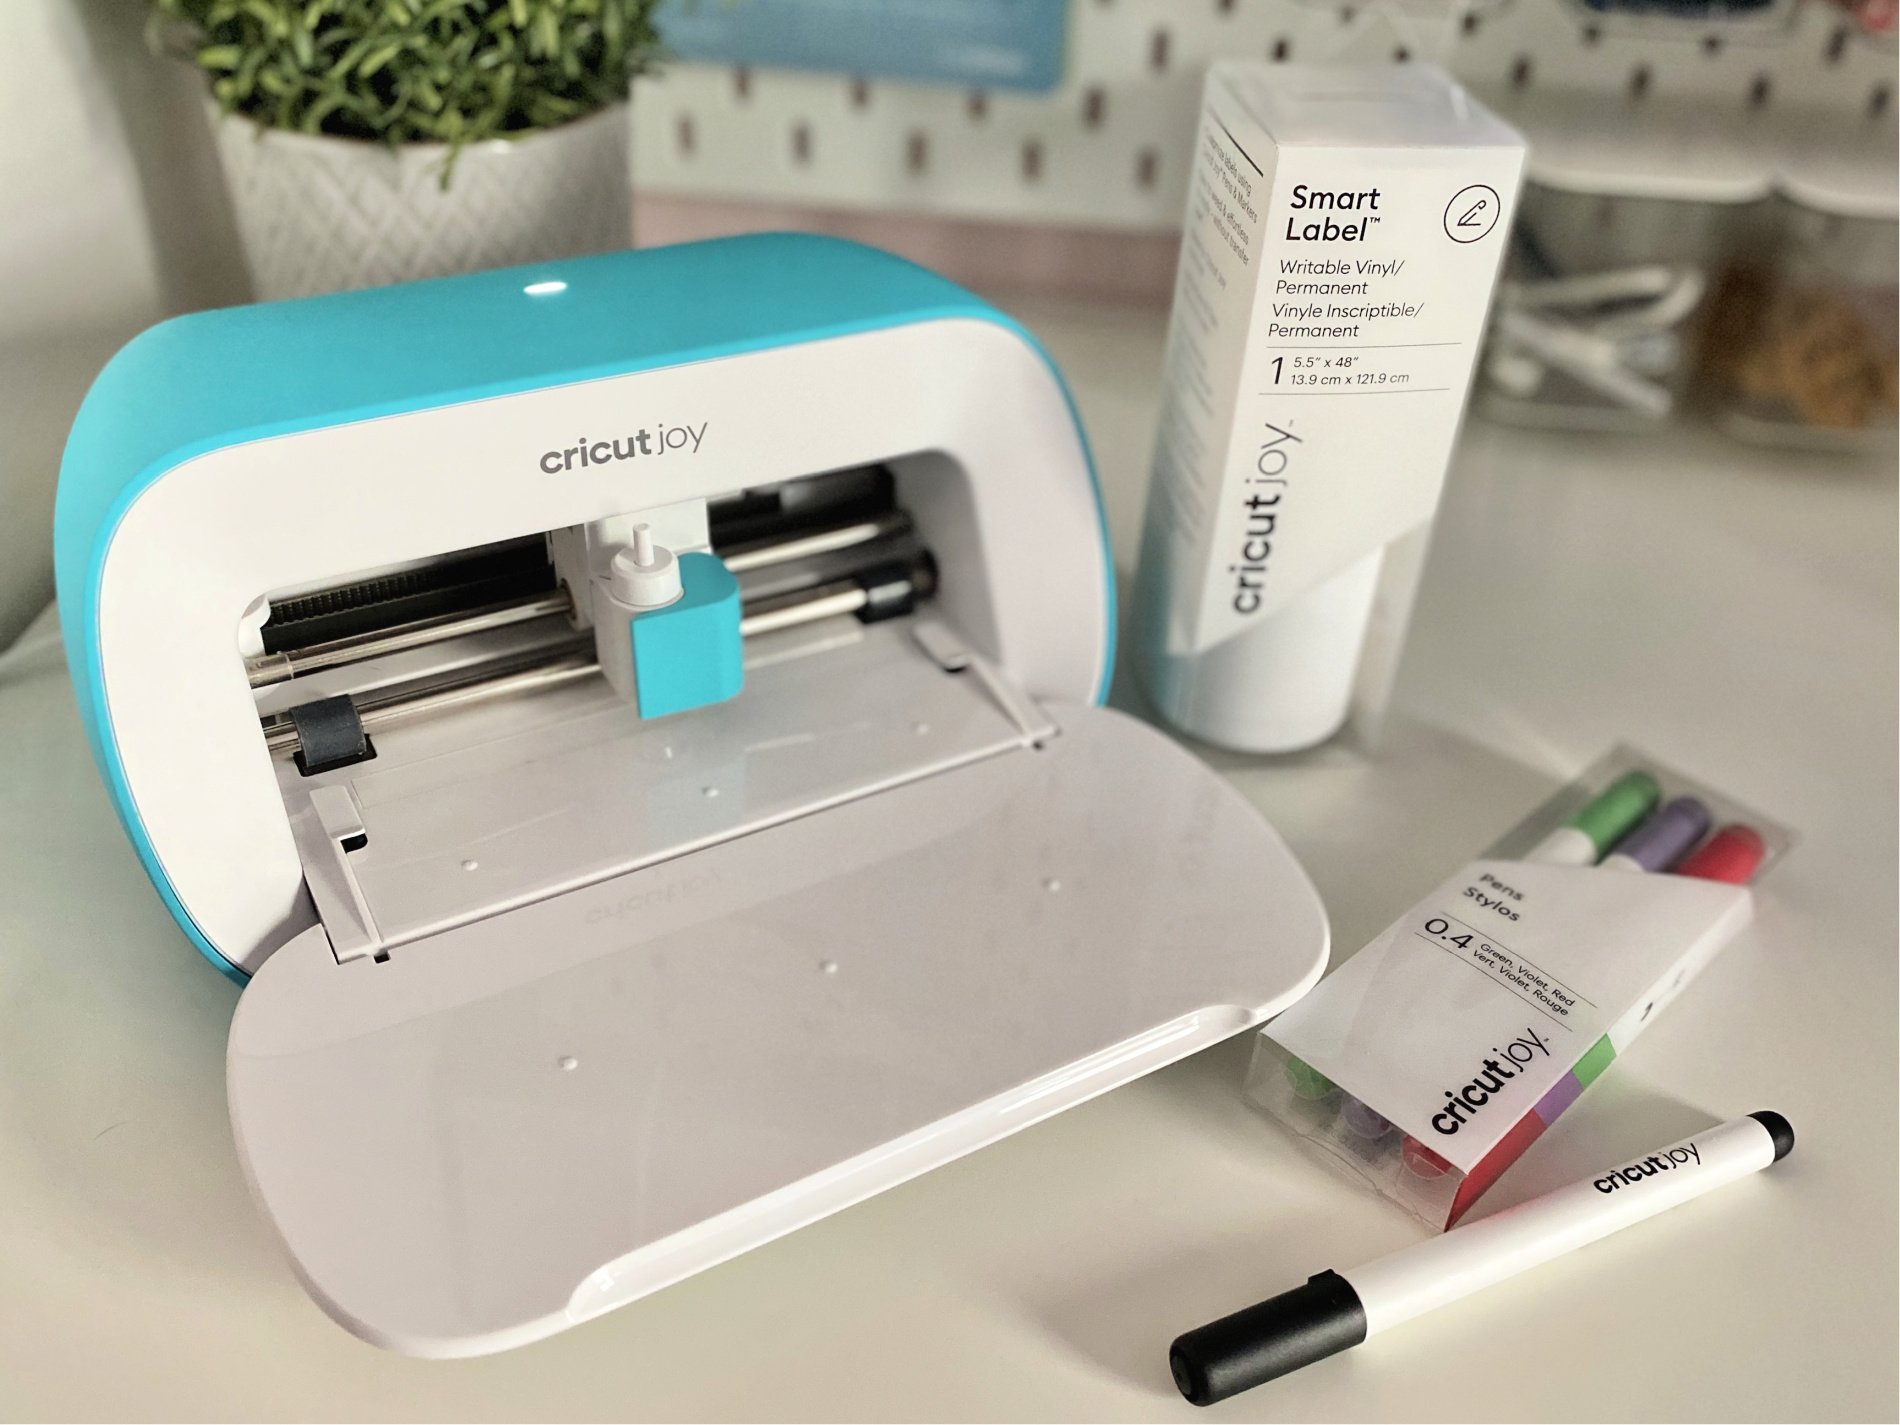
If you are new here you might not know that I’ve been a long time Cricut user. I love my Cricut machines. When Cricut announced earlier this year that they were launching their smallest machine to date I knew I needed to add the Cricut Joy to my collection! I love my Cricut Explore Air 2 and my Cricut Maker, but sometimes I don’t want to have to pull it out and set it up.
Cricut Joy is the perfect companion to quickly and easily personalize anything with one cut and one color, in 15 minutes or less. It is fun, functional, and simple to use. Practical, everyday projects have never been more accessible or easier! If you already have a Maker or Air 2, Cricut Joy opens additional creative possibilities with unique features and is the perfect companion for quick, mat-free projects and long cuts.
In this post you will learn the following
Cricut Joy Highlights
- Compact & Portable – Cricut Joy is Cricut’s smallest smart cutting machine ever! It fits in a cubby or looks great on a counter. Cricut Joy packs away easily and sets up instantly, making it super easy to move from room to room. Not having to transport a mat, combined with the smaller material size, makes the whole system compact and portable. No craft room required.
- Bluetooth Only – That’s right, no more plugging in cords to your computer. This smart cutting machine can only be cut by Bluetooth. If you own a Mac make sure you check out my Cricut Joy set-up tutorial here where I show just how to sync the Bluetooth!
- Mats optional – Cricut Joy has a full suite of brand-new materials that do not require a mat. This is great when you want to craft fast. No cutting materials and placing on a mat. Fewer steps = faster results. The new Smart vinyl comes in extended sizes, with up to 20’ repeated cut capability, and no need to switch out multiple mats. This means you can cut a very long sign in one go. No more needing to slice and cut your design in multiple runs!
5 Cricut Joy Organization Projects
Now that you’ve learned a little more about the Cricut Joy I’m excited to share with you 5 Cricut Joy Organization Projects that you can make in minutes. I made all five of these projects from start to finish in an afternoon! They are quick and easy and will easily transform your craft room in minutes.
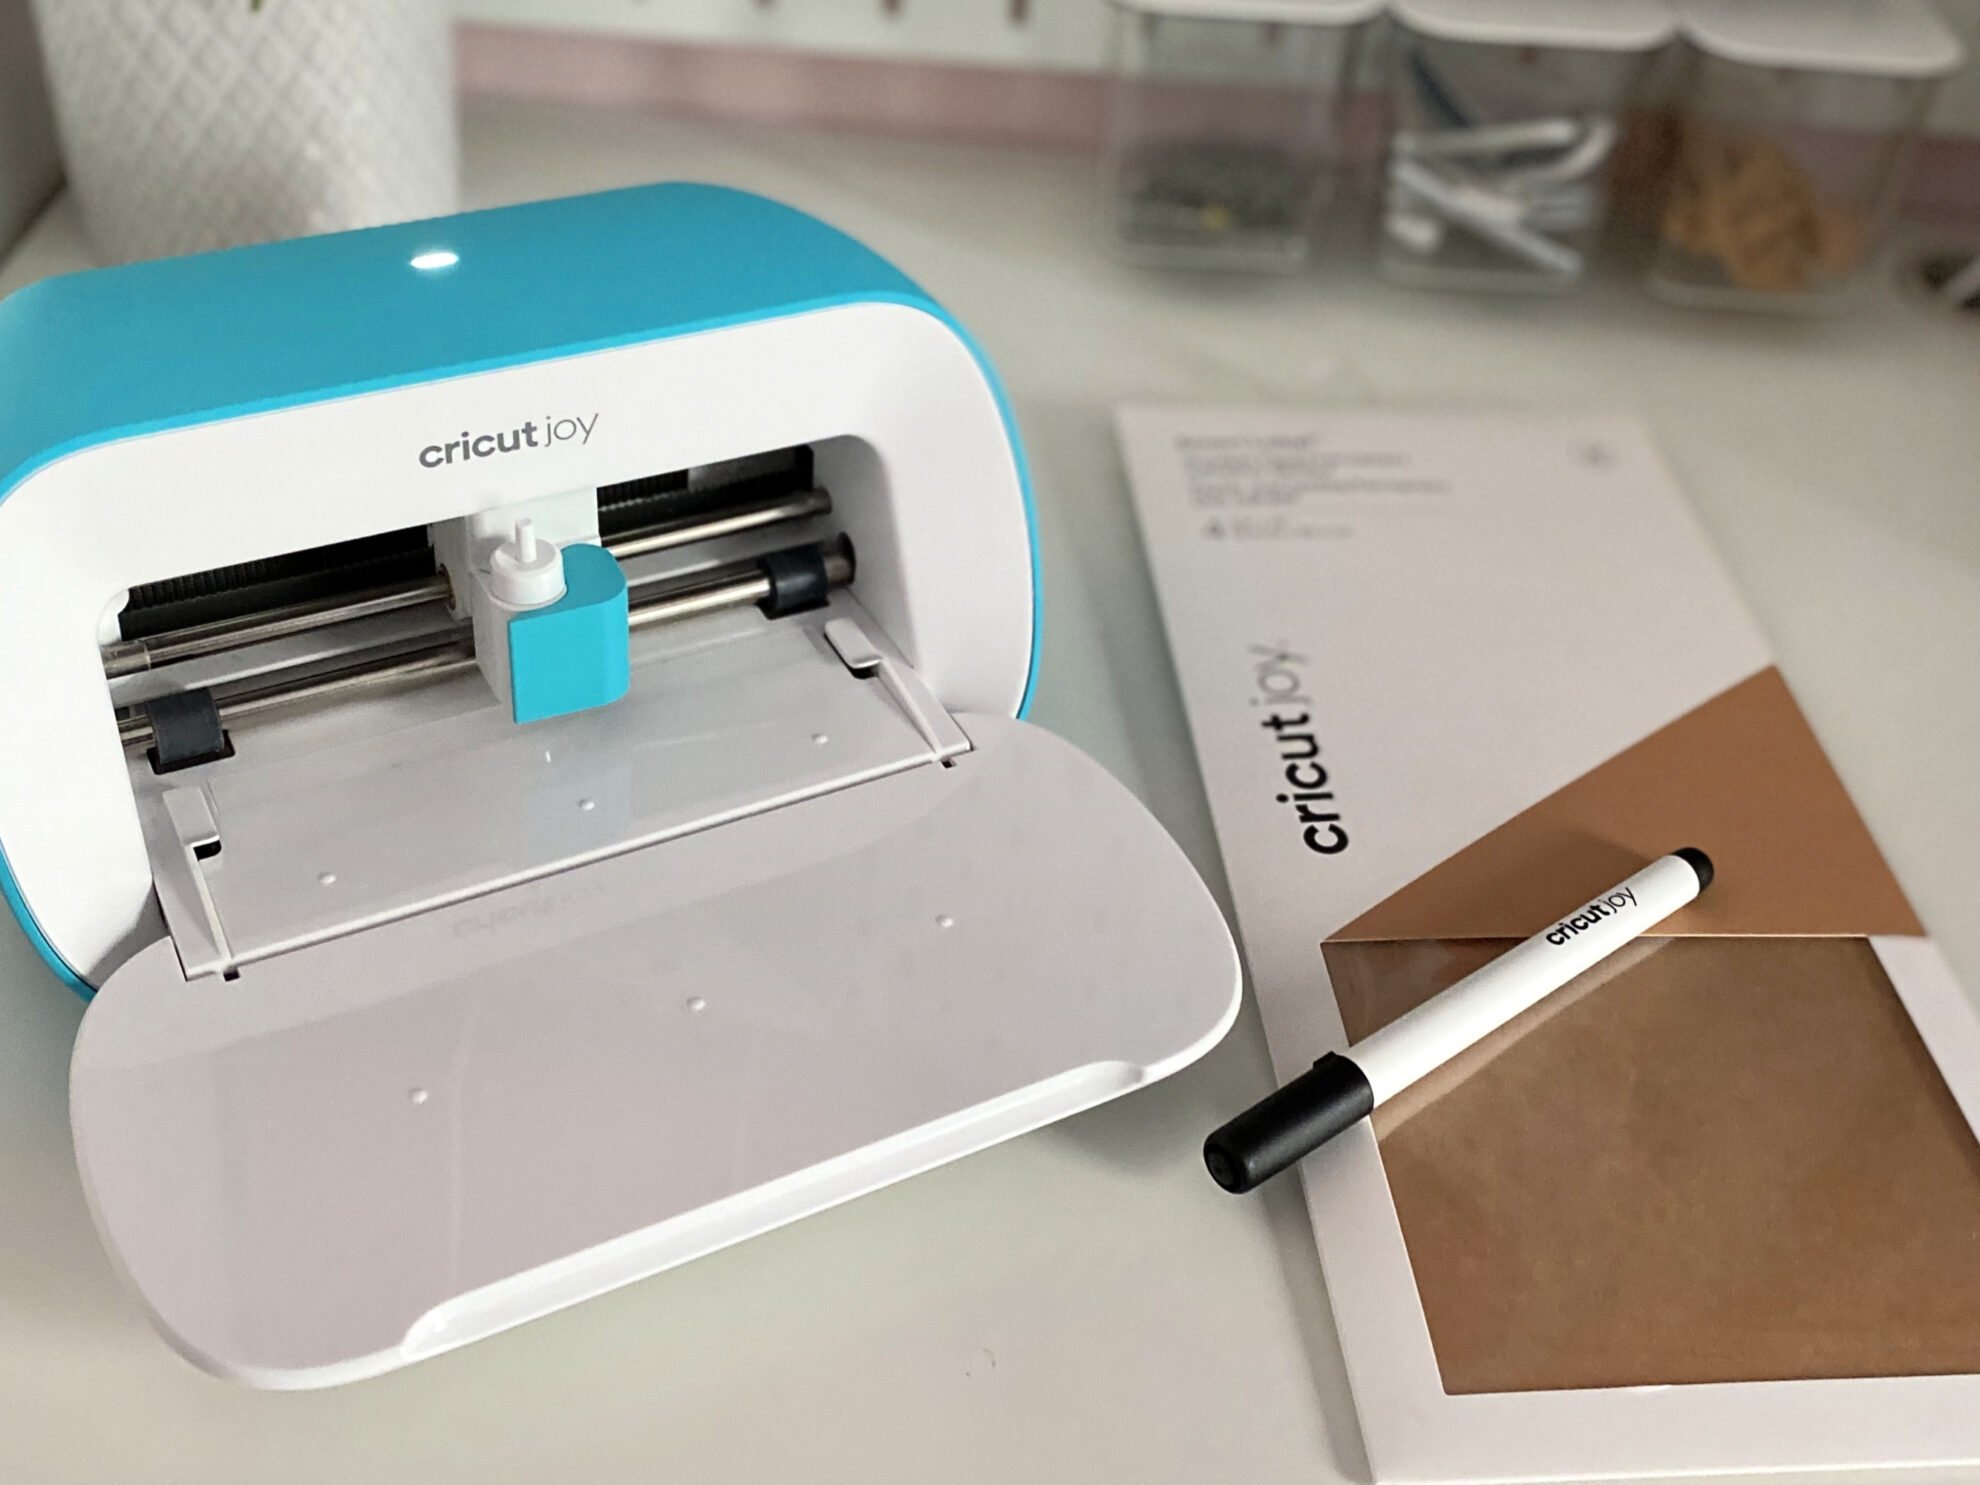
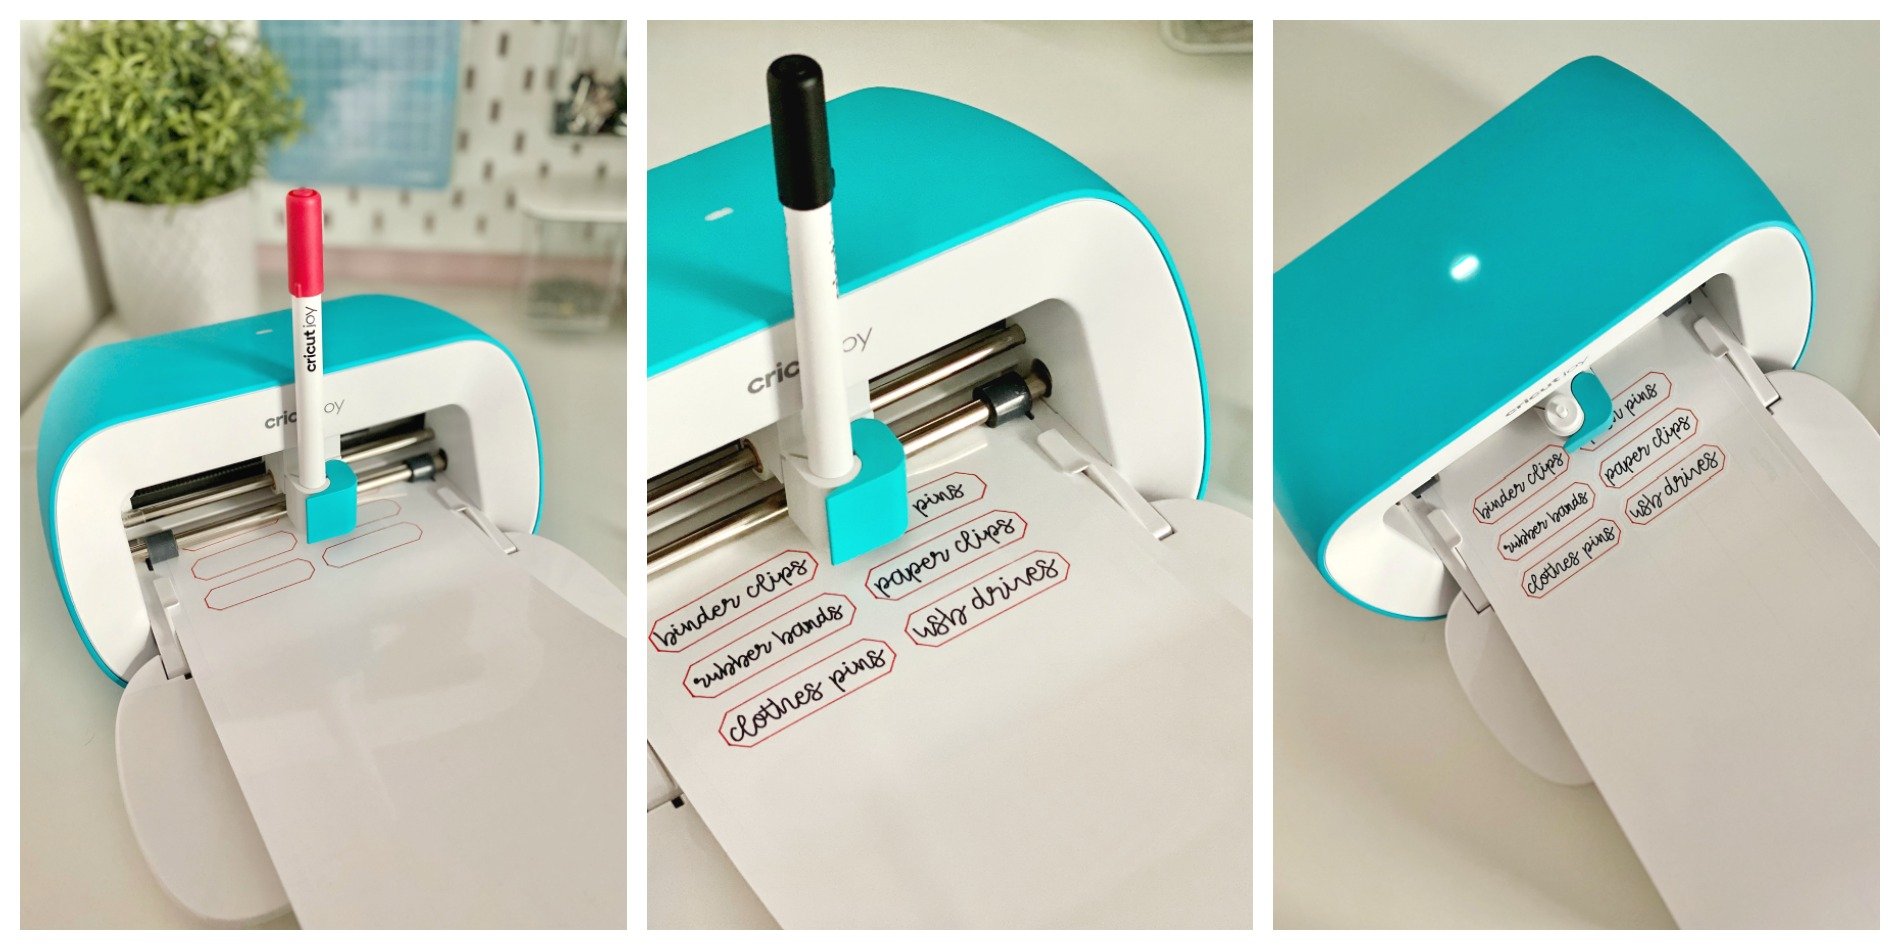
File Folder Labels
For this project you need the following supplies:
- Cricut Joy™ Smart Label™ Writable Paper
- Cricut Joy™ Fine Point Pens
- File Folders
- Cricut Design Space File:File Folder Labels
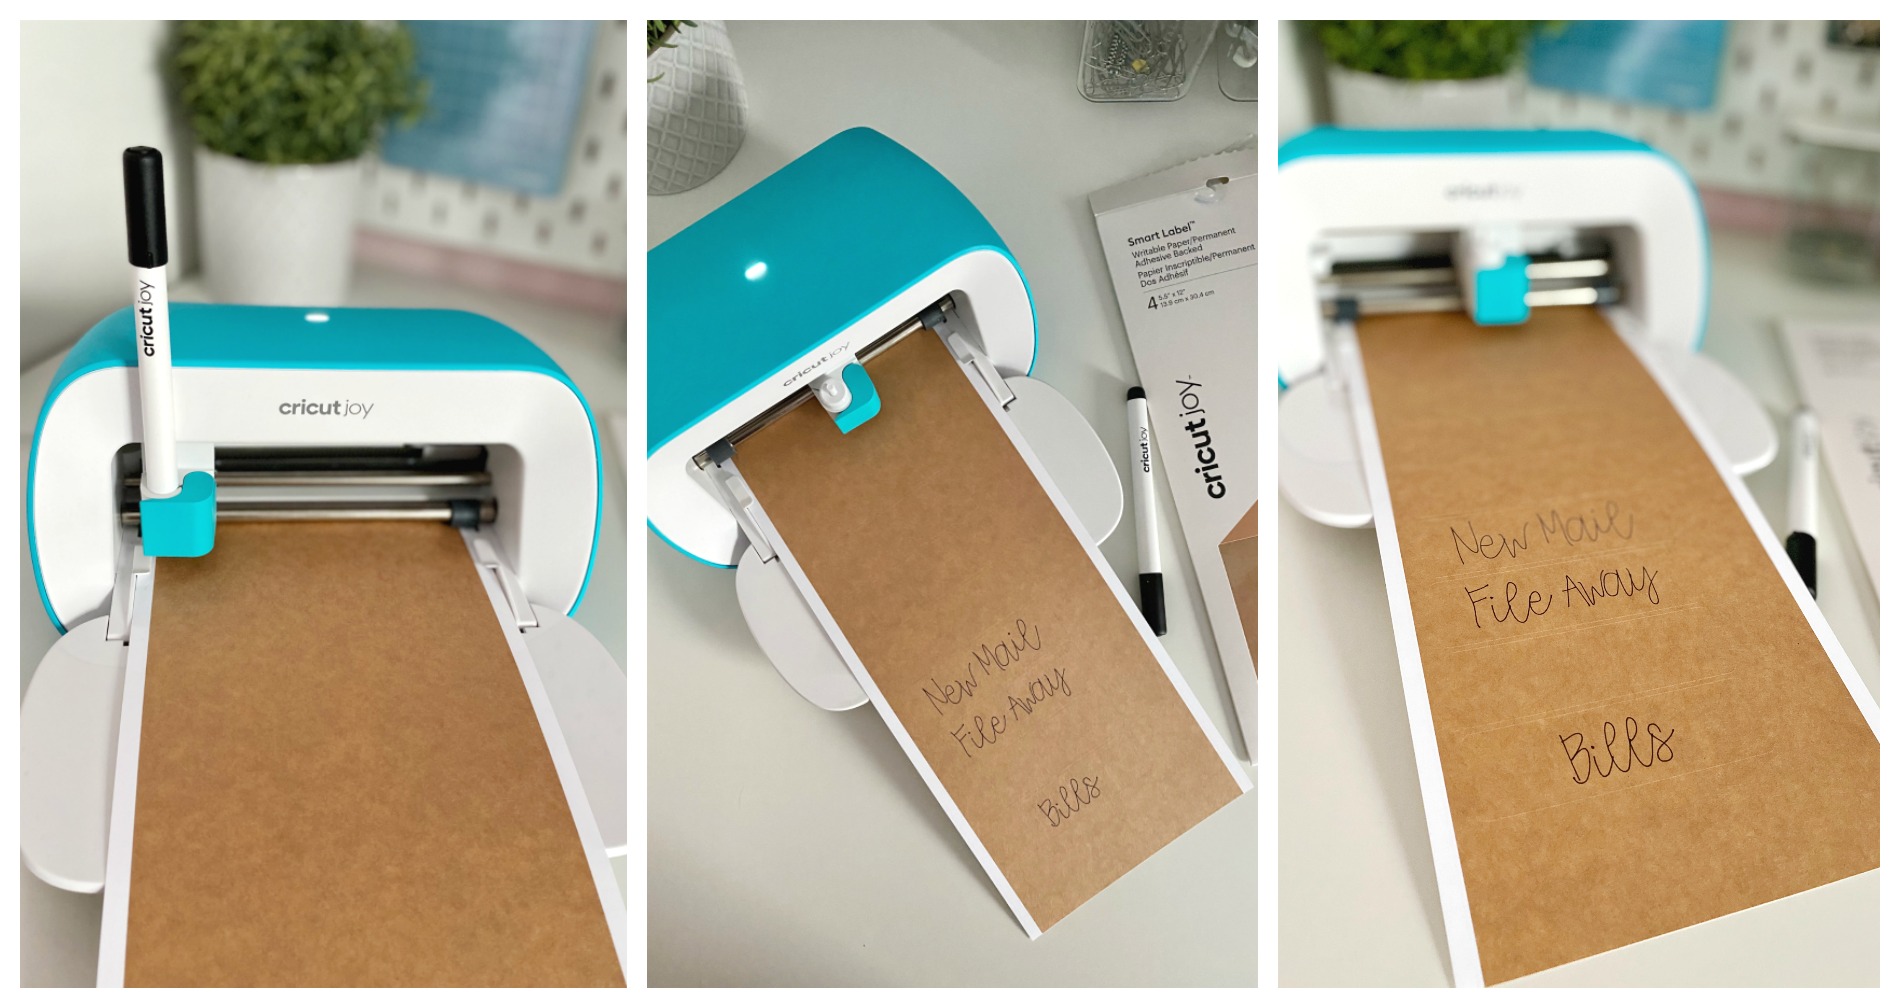
Open the File Folder Labels project in Cricut Design Space. Place the Writable Labels into the Cricut Joy. Cricut Design Space will prompt you to use the pen first, followed by the blade.
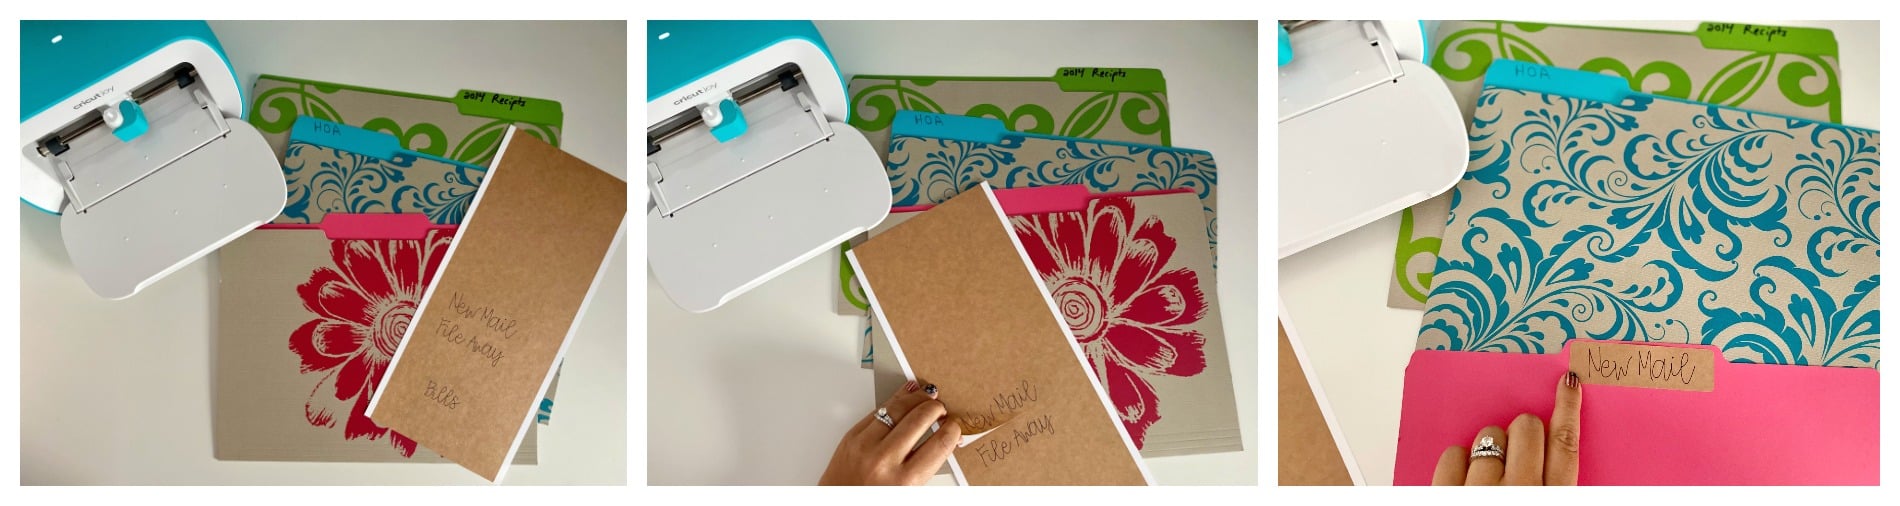
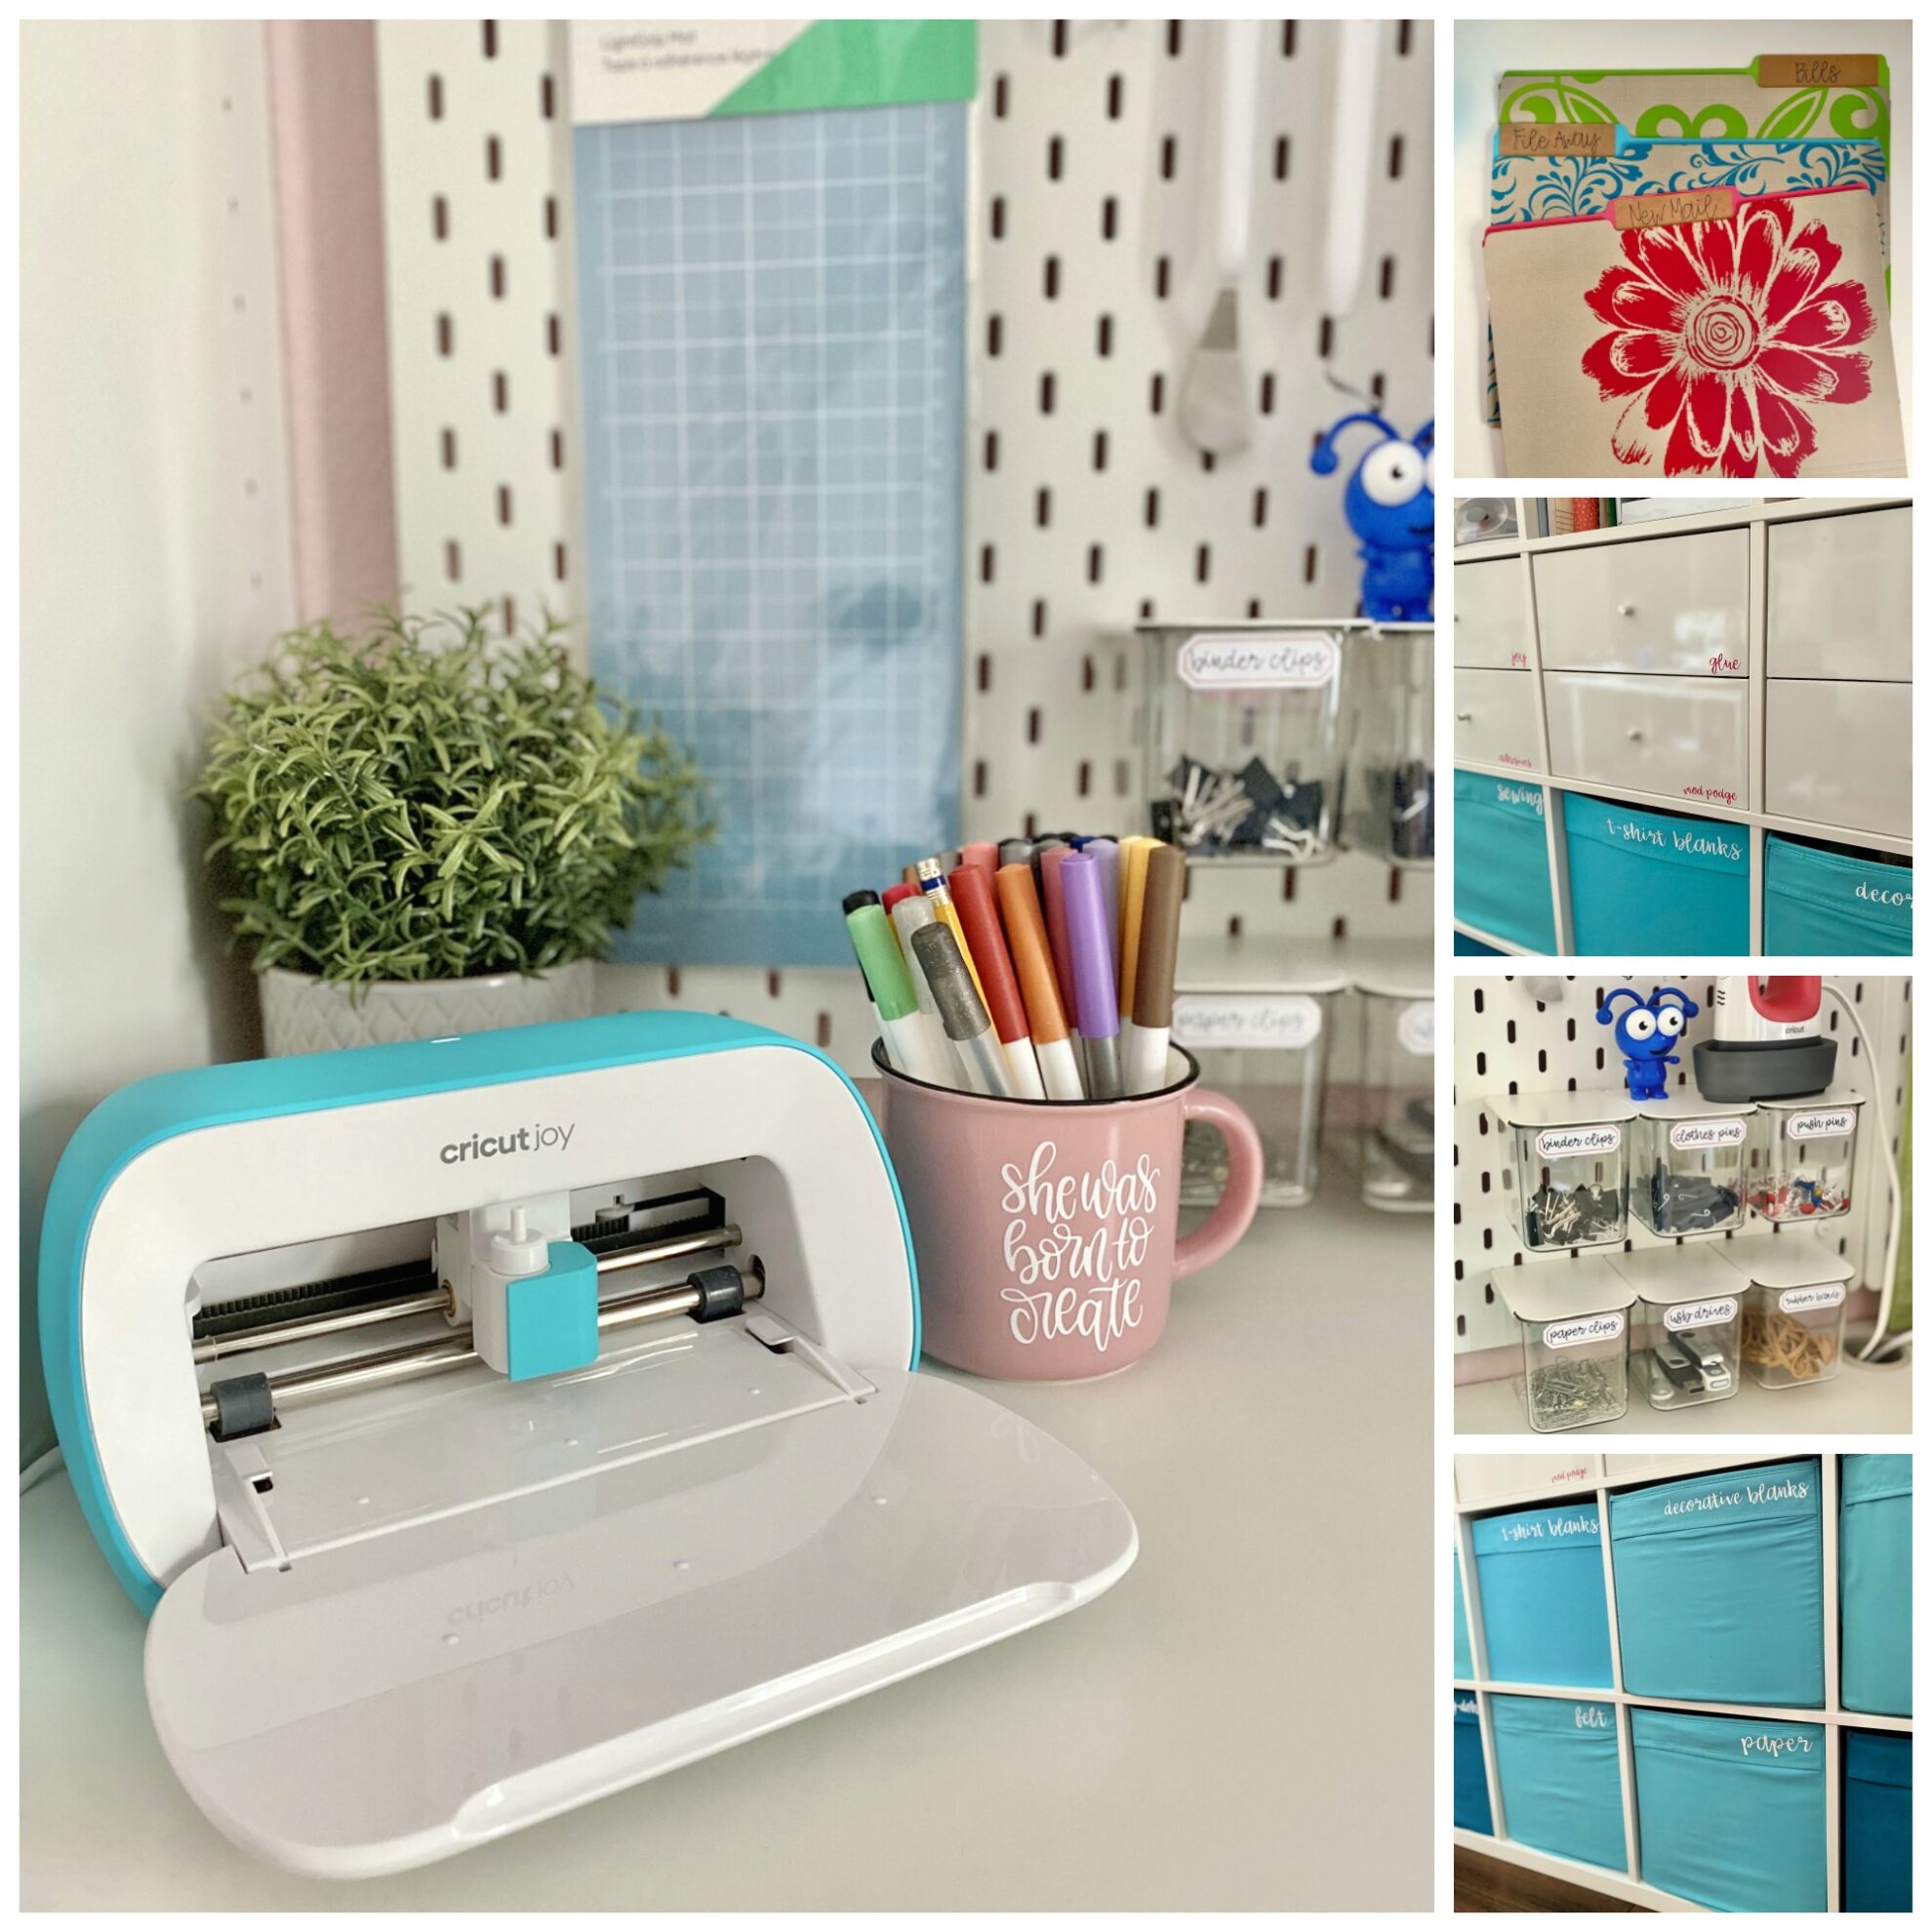
Once the labels are done, peel off and stick over written on folders.
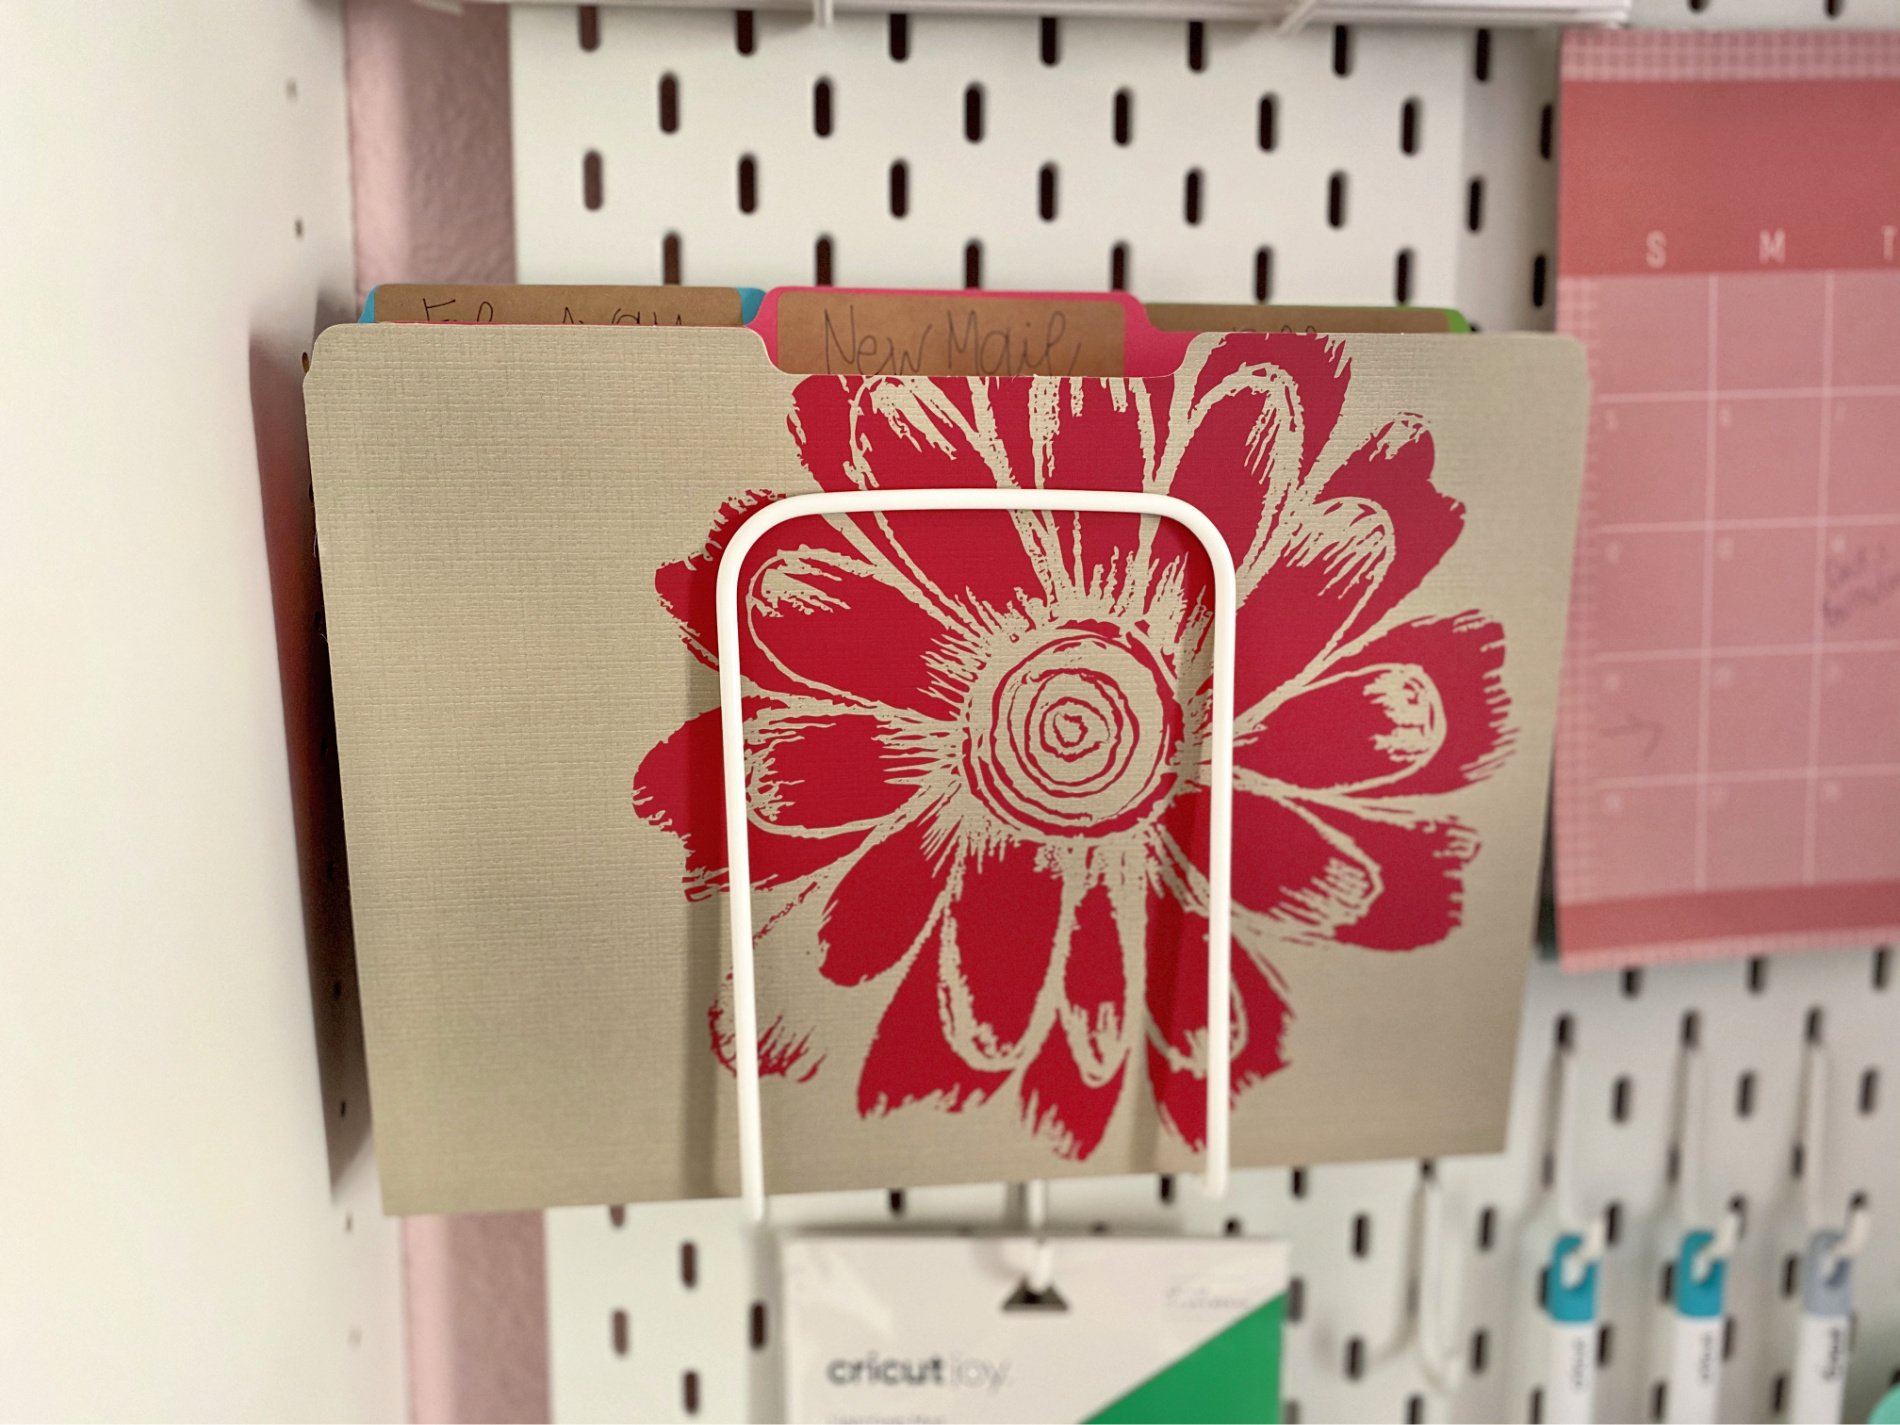
The perfect way to up-cycle old folders for any office!
Iron-On Vinyl for Soft Bins
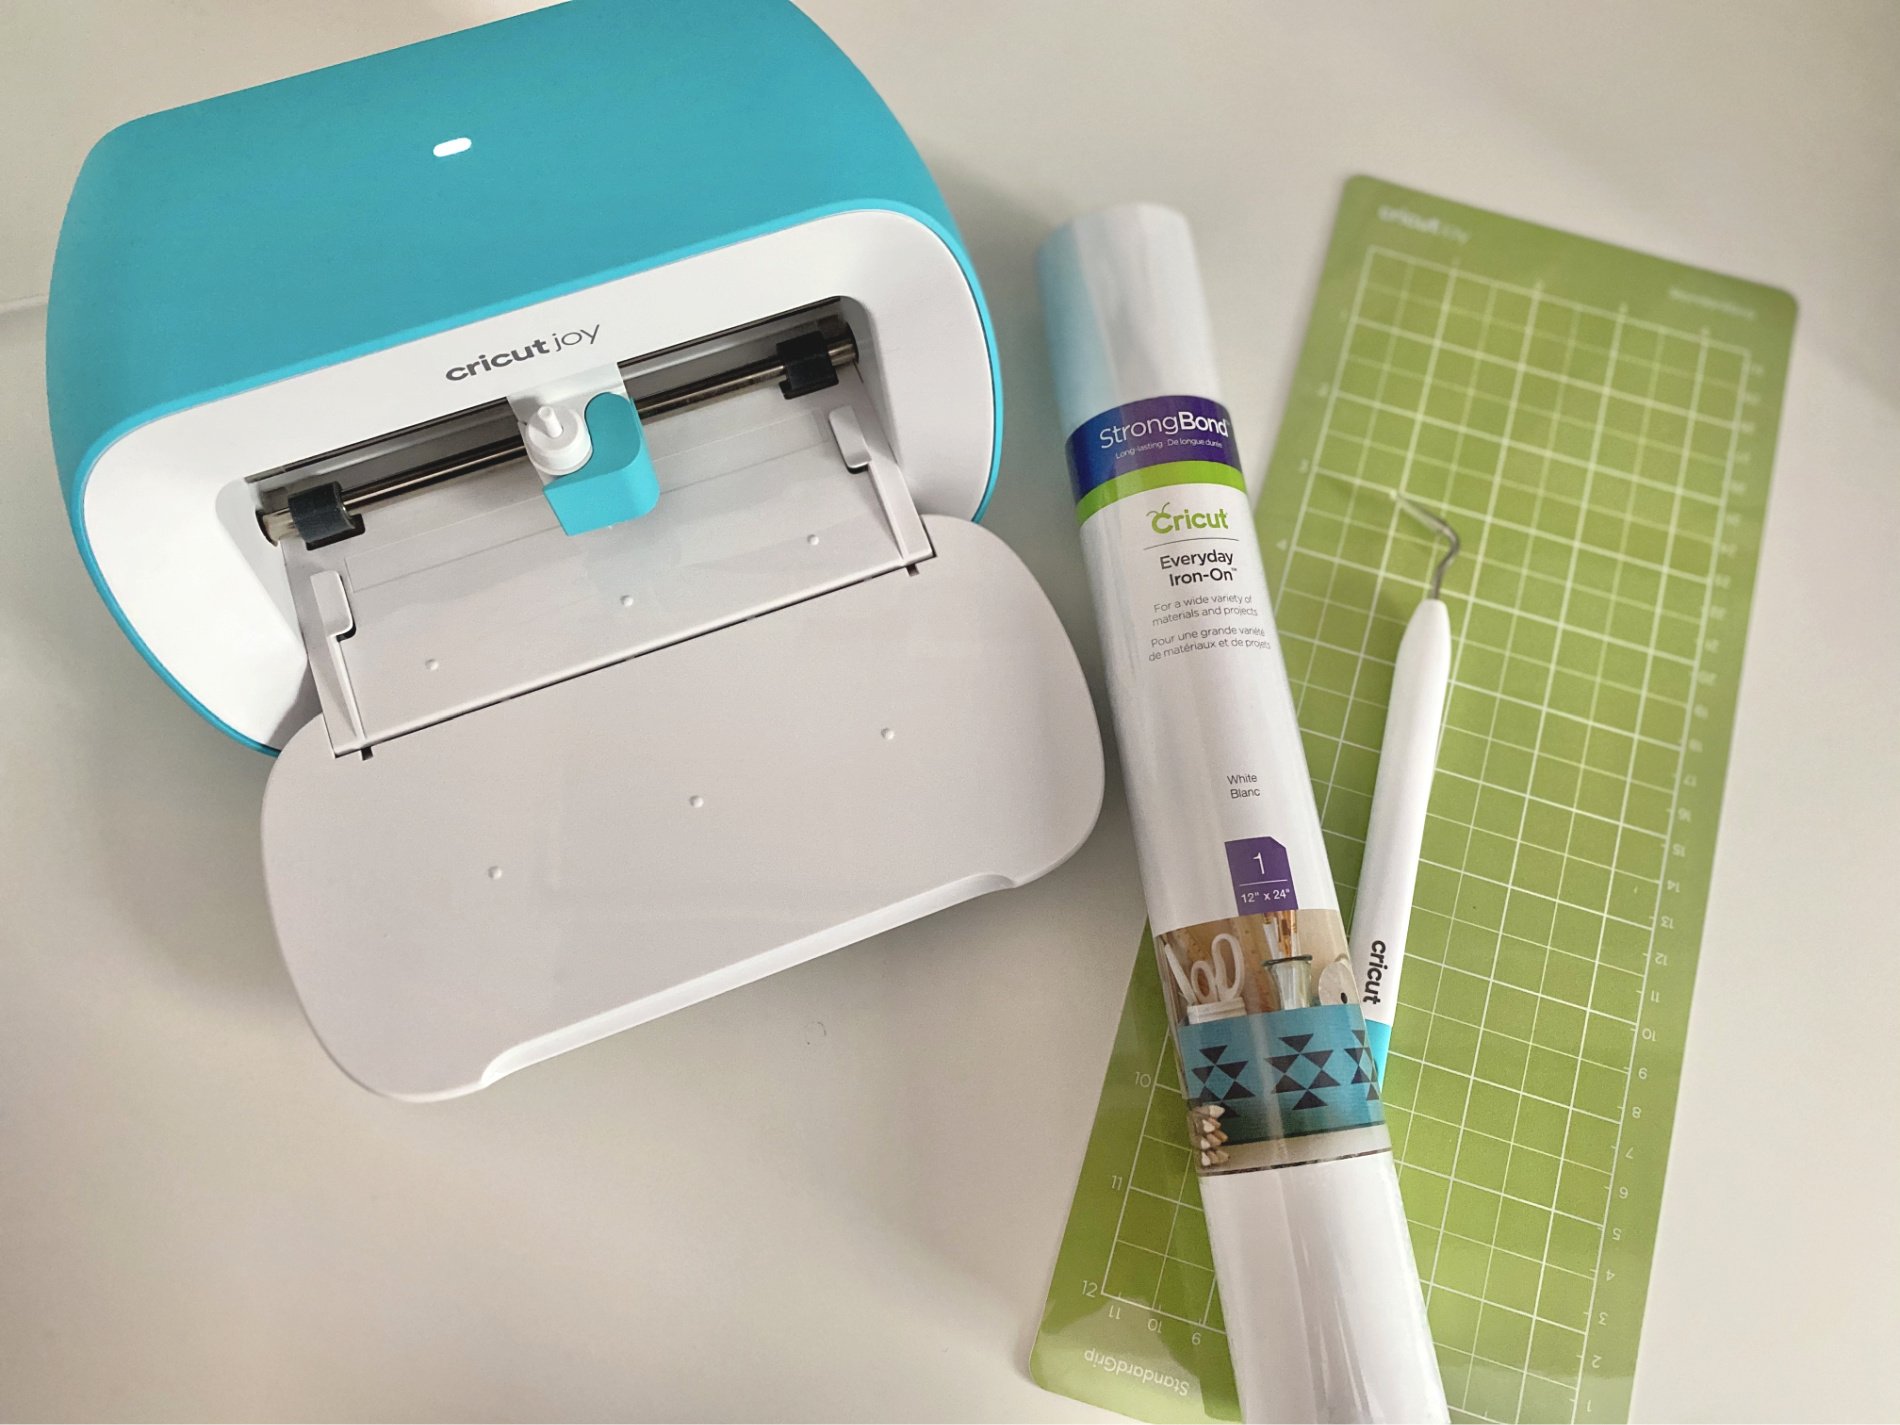
For this project you need the following supplies:
- Cricut Design Space File: Labels for Soft Bins
- Cricut Iron-On Vinyl
- Cricut Joy™ StandardGrip Mat
- Cricut EasyPress Mini
- Cricut Joy Tools

I used scraps for this project. The smaller mat worked perfect for this project. I cut the words in Cricut Design Space and then weeded out all the negative.
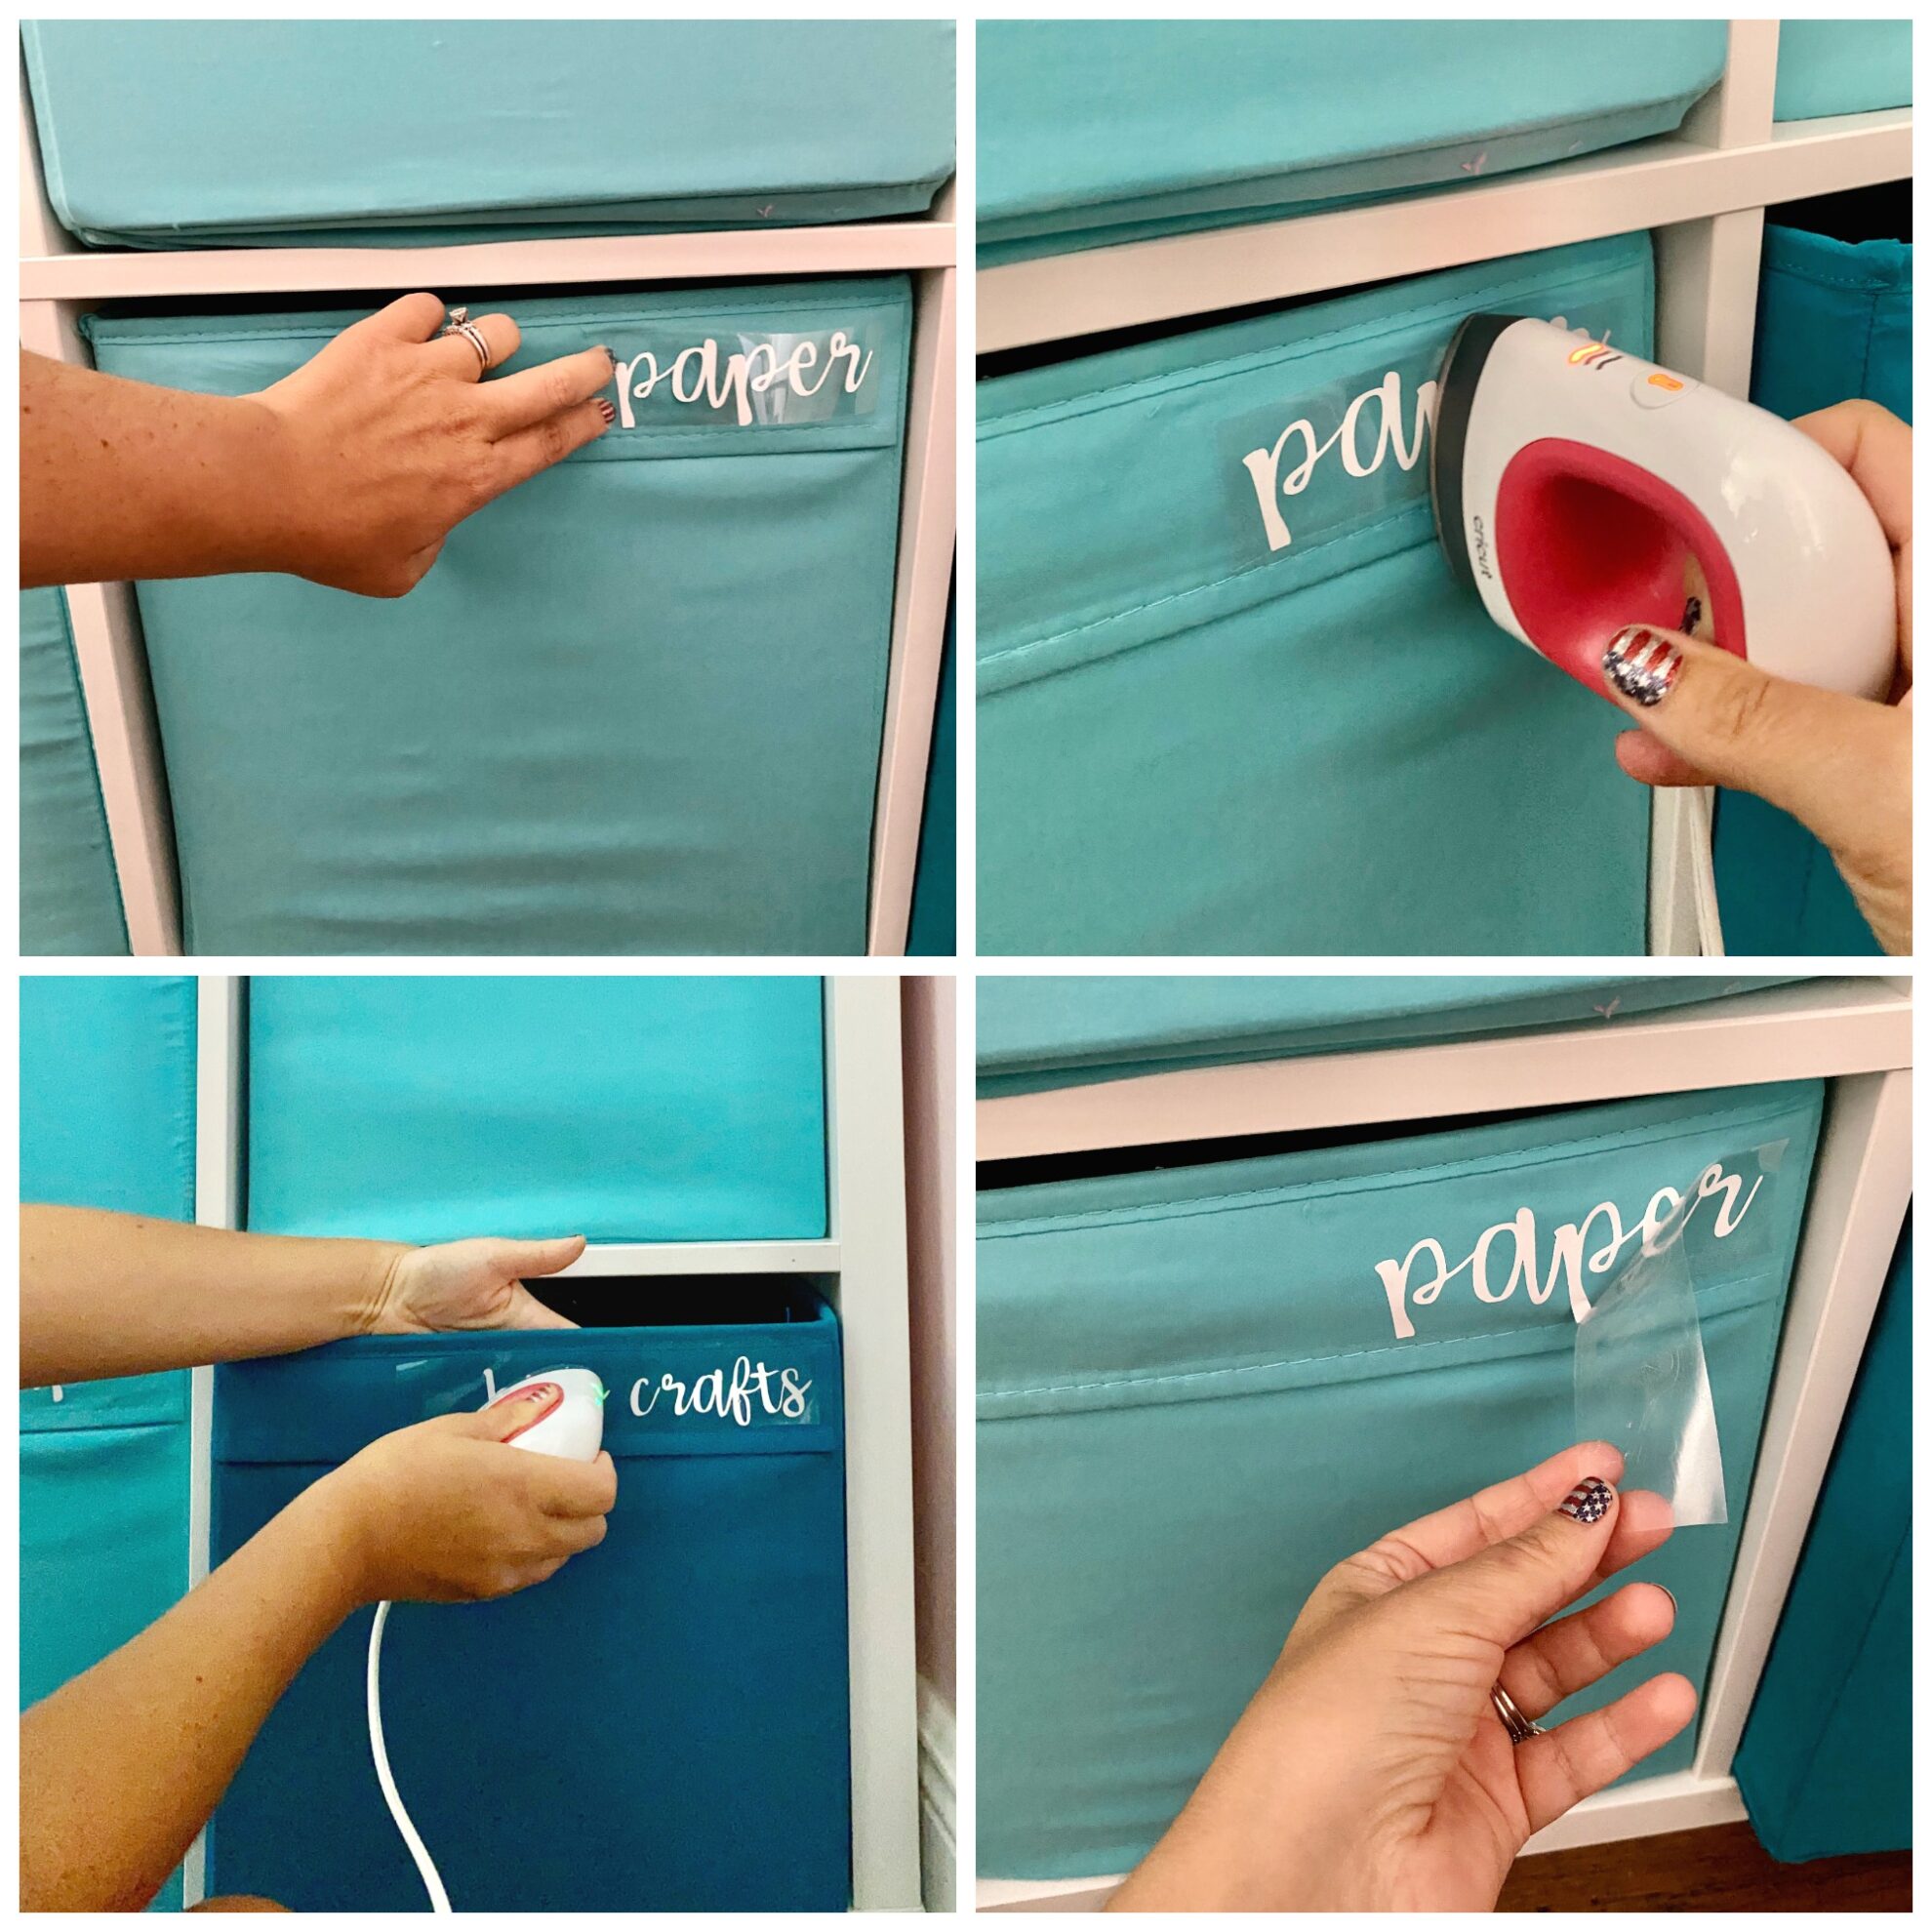
I heated the Cricut EasyPress Mini to the hottest setting. I carefully held the design to the box. Then I placed my EasyPress Mini on top of the design. Slowly running it back and forth for about 20 seconds until it was adhered. I let it cool for a few seconds then carefully pulled the plastic off the design. I repeated until all of them were completed.

This is a project I’ve wanted to do for a while now and have yet to do it. I love how these turned out!
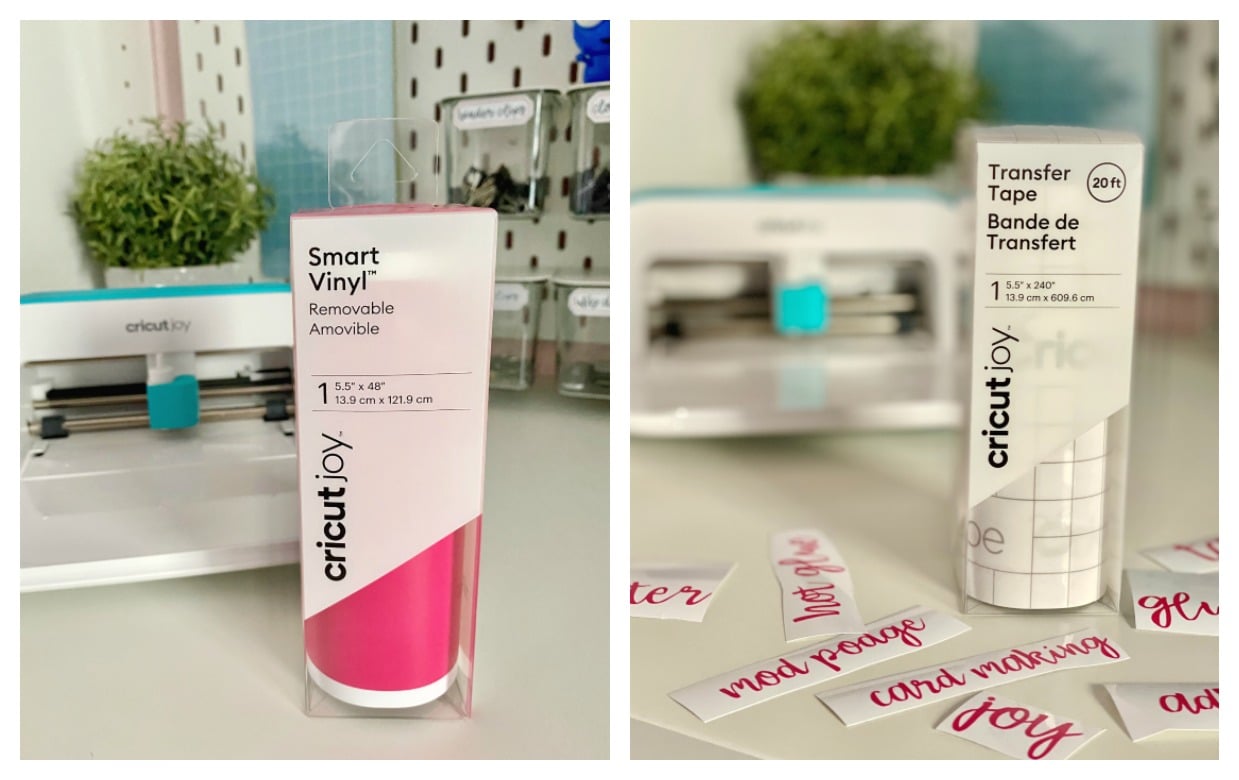
Vinyl Decals for Craft Drawers
For this project you need the following supplies:
- Cricut Design Space File: Vinyl Decals for Craft Cabinet
- Cricut Joy™ Smart Vinyl™ – Removable
- Transfer Tape
- Cricut Joy Tools
Select the Vinyl Decals for Craft Cabinet Design Space file. Load the Smart Vinyl™ into the Cricut Joy™. Follow the prompts on the screen, and let the machine cut.
Weed the negative off the vinyl.
Cut the words from the sheet of vinyl. Apply transfer tape onto the vinyl word. Then place on to cabinet. Squeegee where needed.
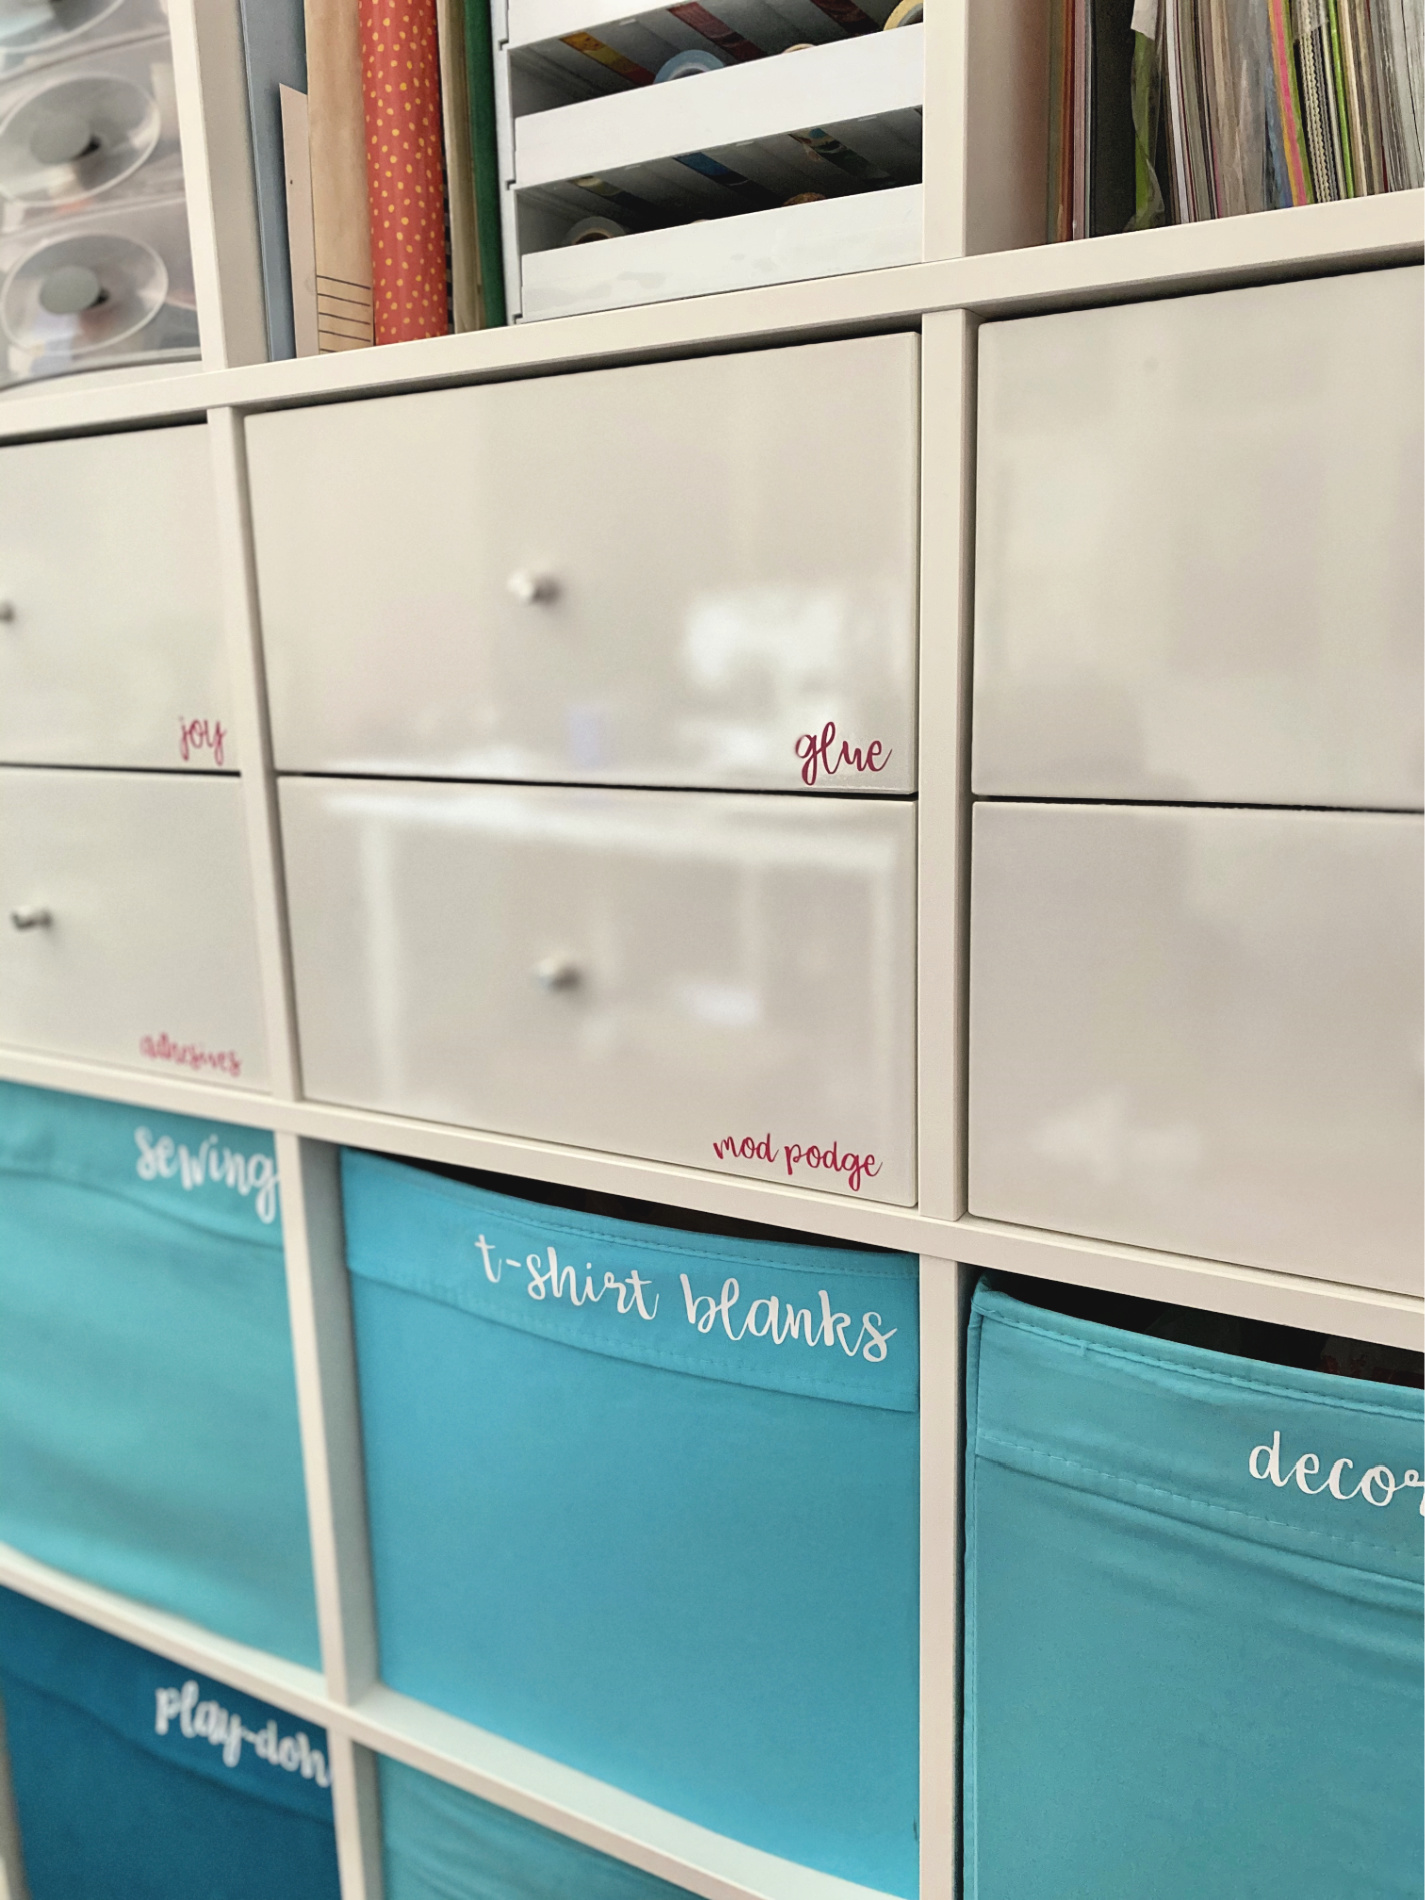
This is another project I’ve wanted to do to my craft room for a while now. I love how it turned out and best of all it took less then 30 minutes to create!
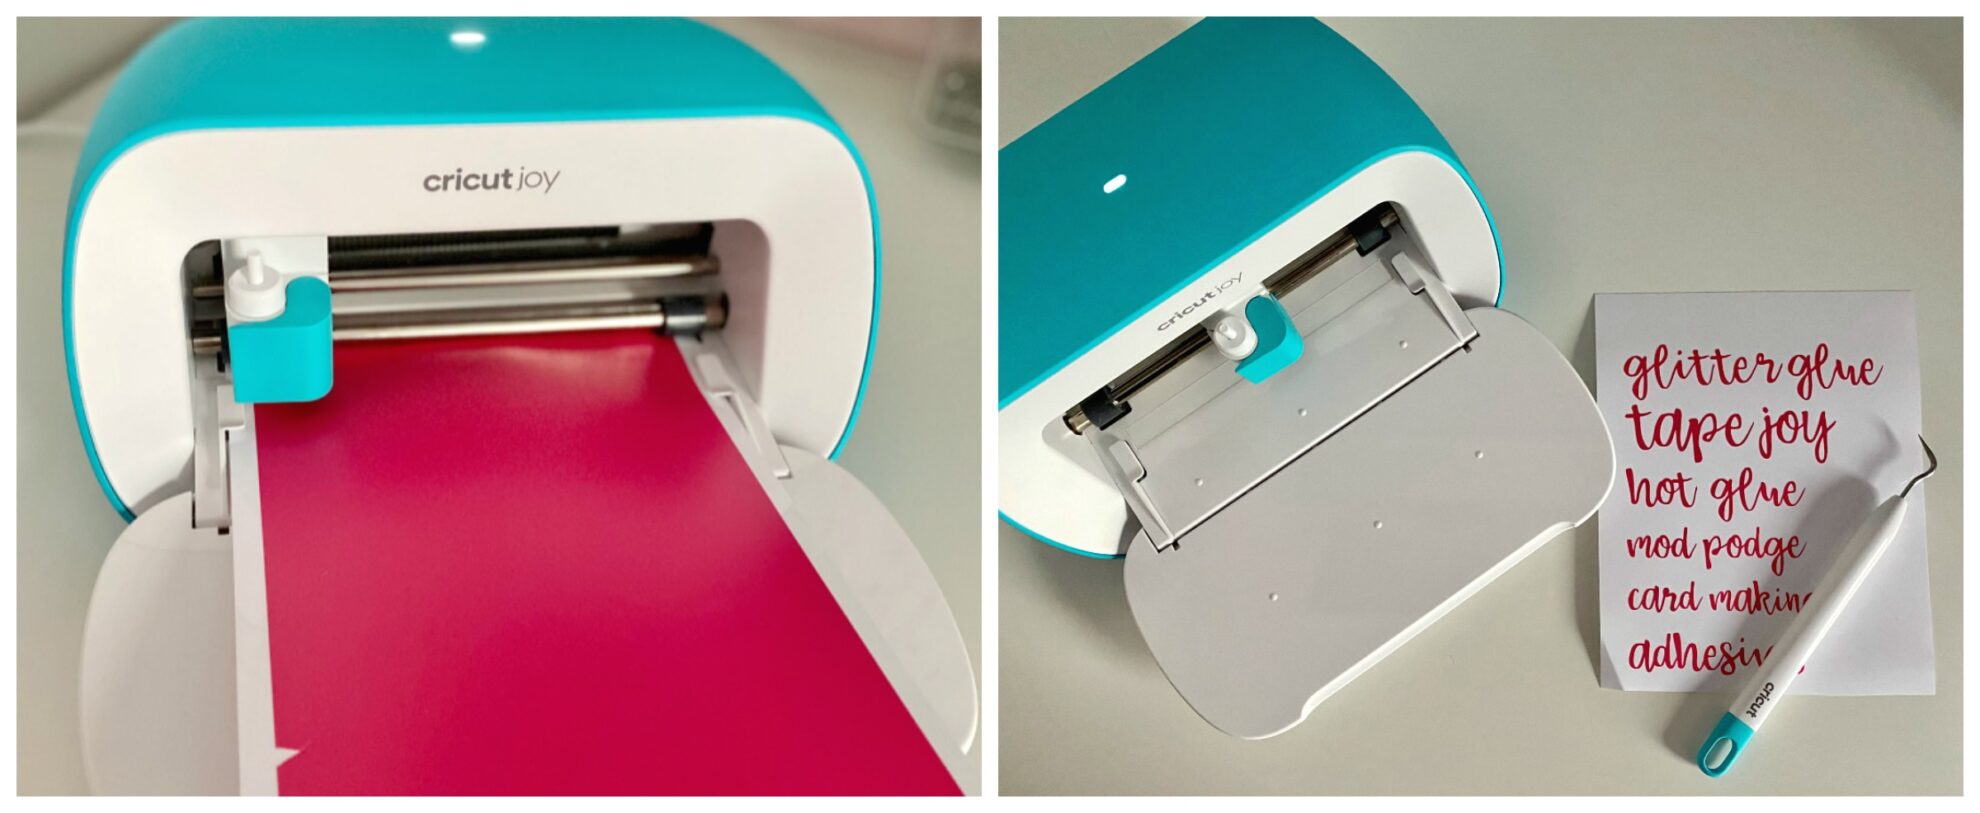
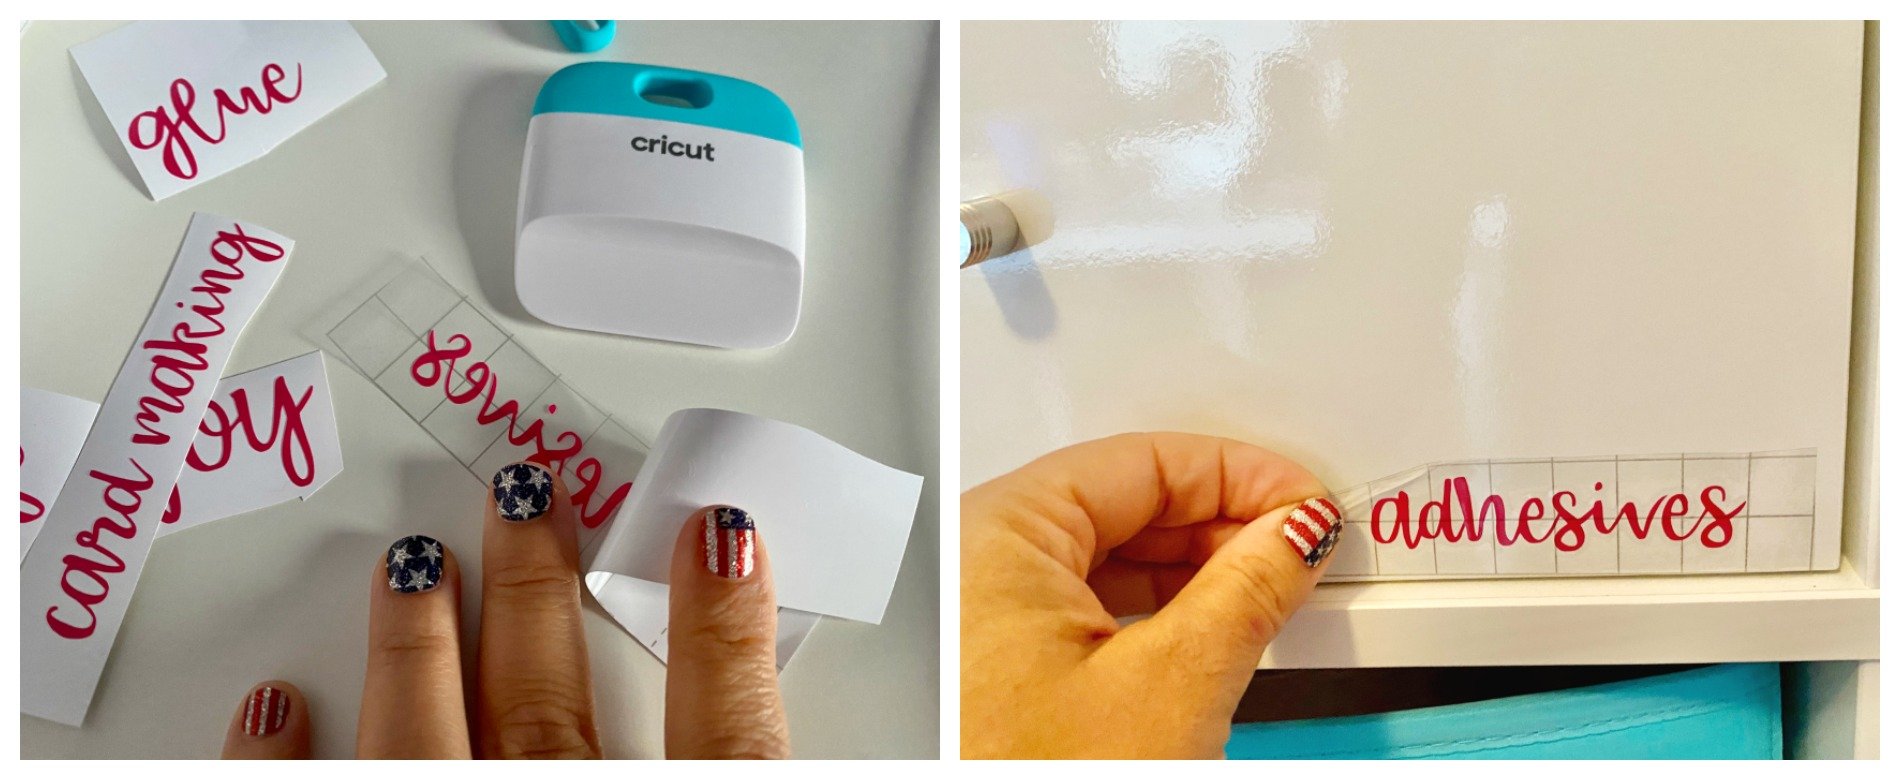
Writable Labels for Jars
For this project you need the following supplies:
- Cricut Joy™ Smart Label™ Writable Vinyl
- Cricut Joy™ Fine Point Pens
- Jars
- Cricut Design Space File: Writable Labels for Jars
It’s very important to note that you cannot use the the Cricut Joy™ Gel Pens or Metallic Markers on the Writable Vinyl.
This project requires you to be nearby as you will need to switch out two different colored markers and the blade as pictured above.
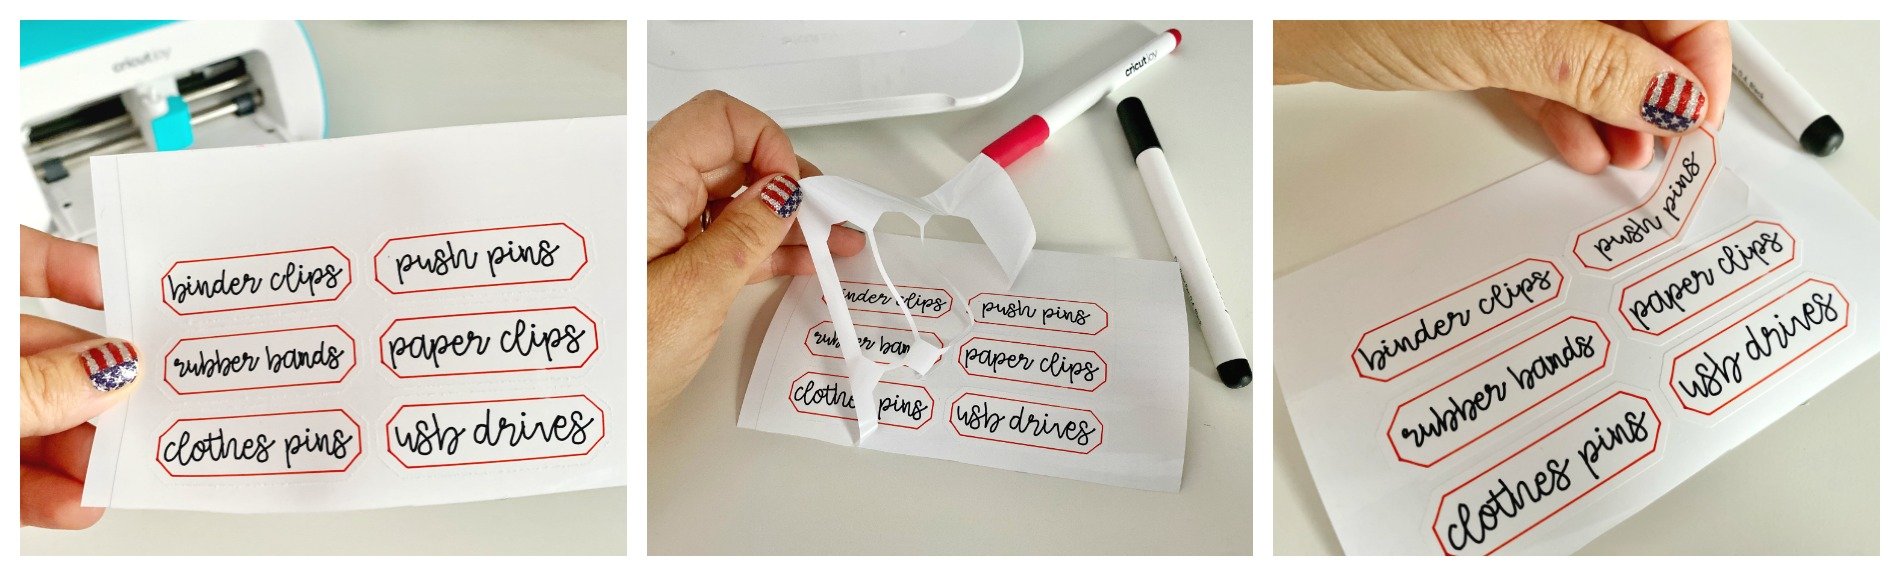
Next, remove the vinyl negative, peel and place on your jars!
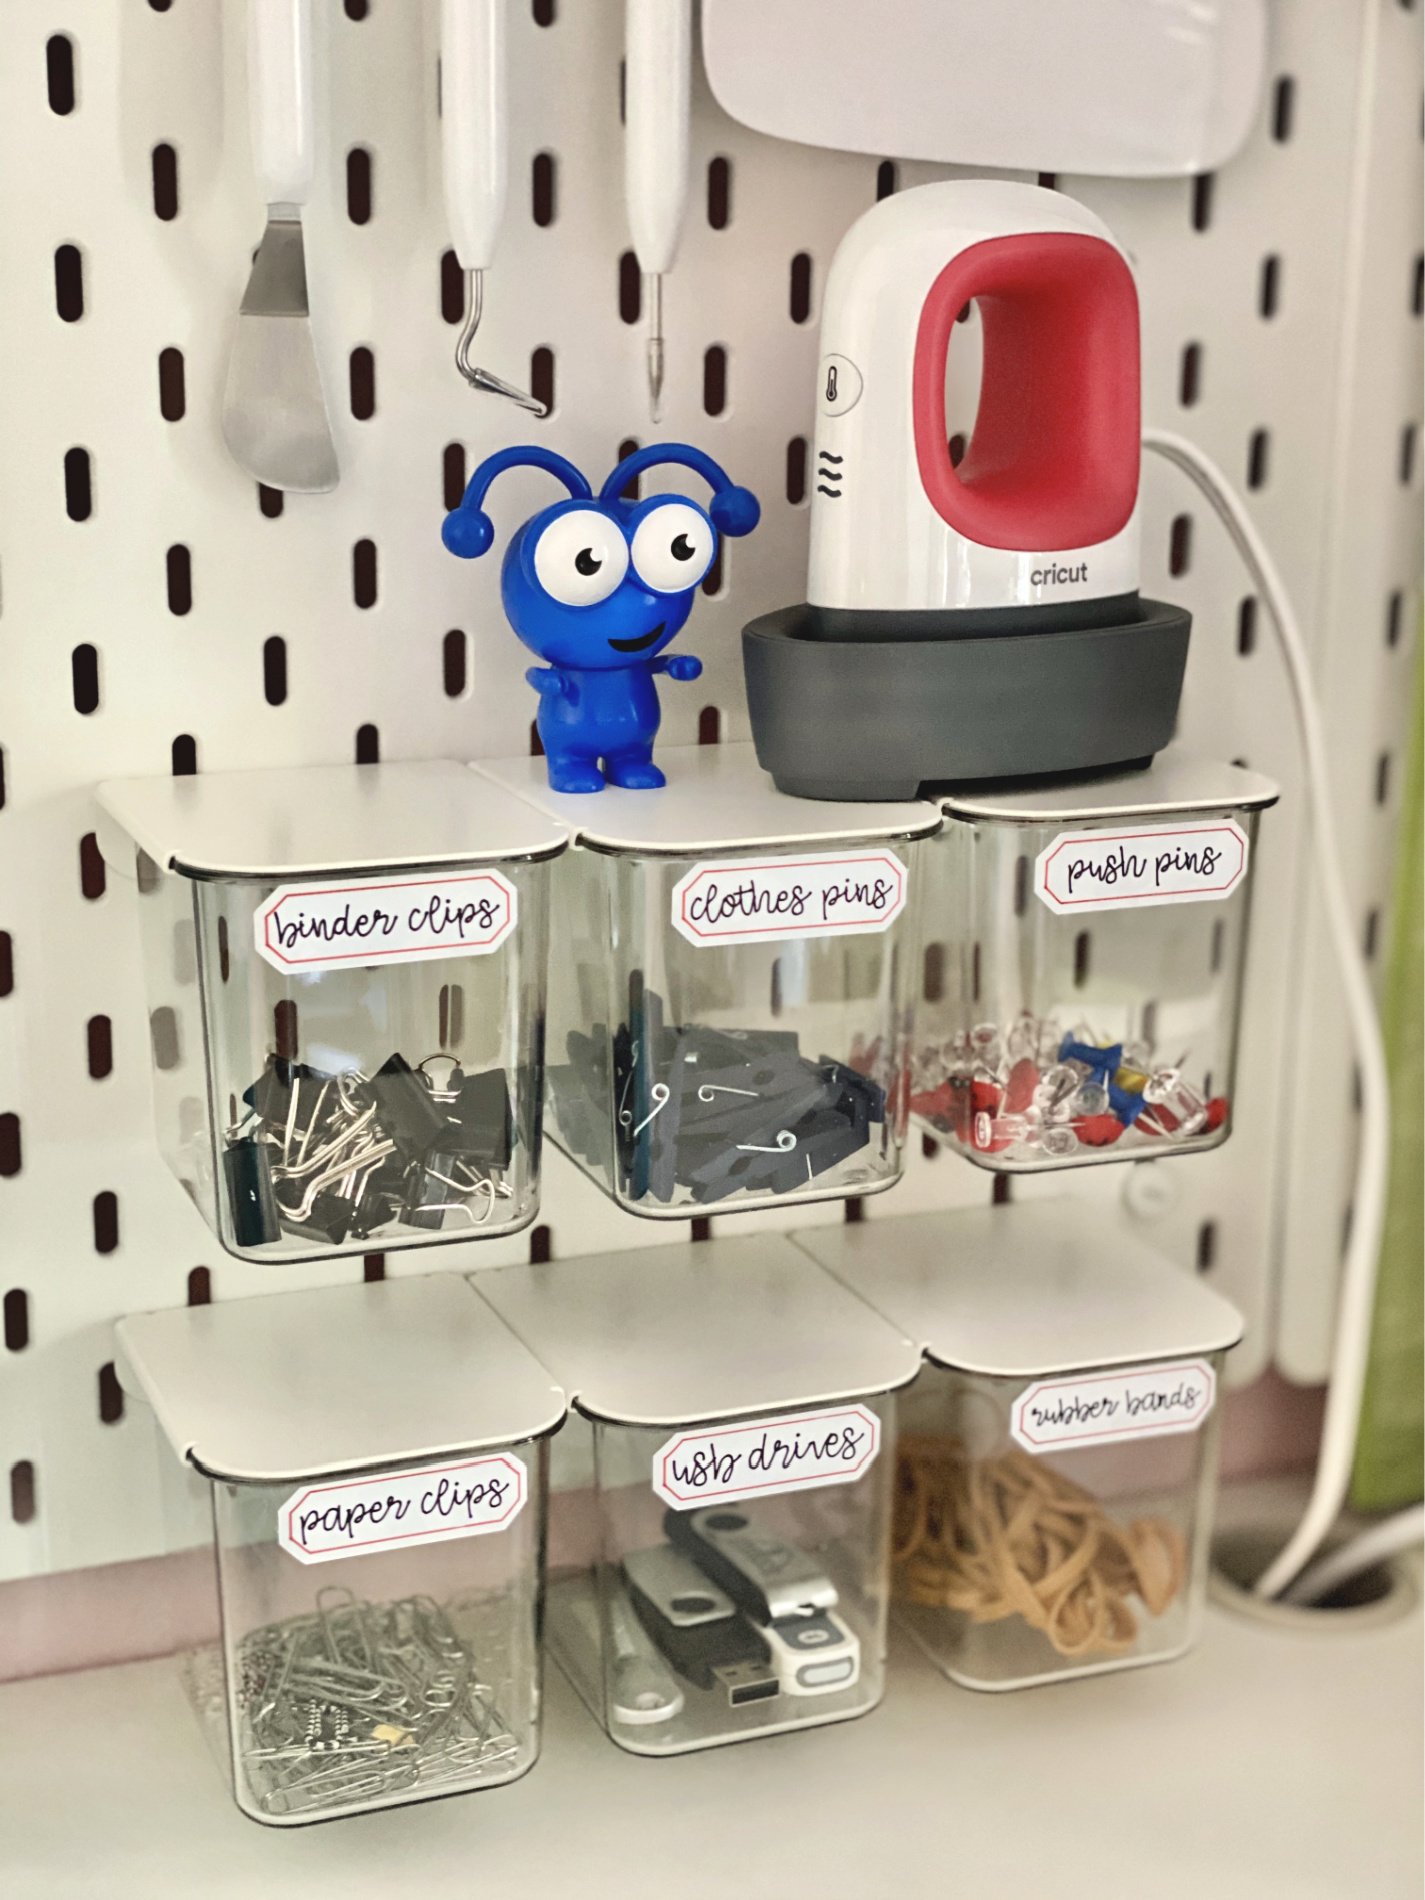
This is what the end result looks like. I absolutely loved how they turned out. This is probably my favorite of my 5 craft room organization projects.
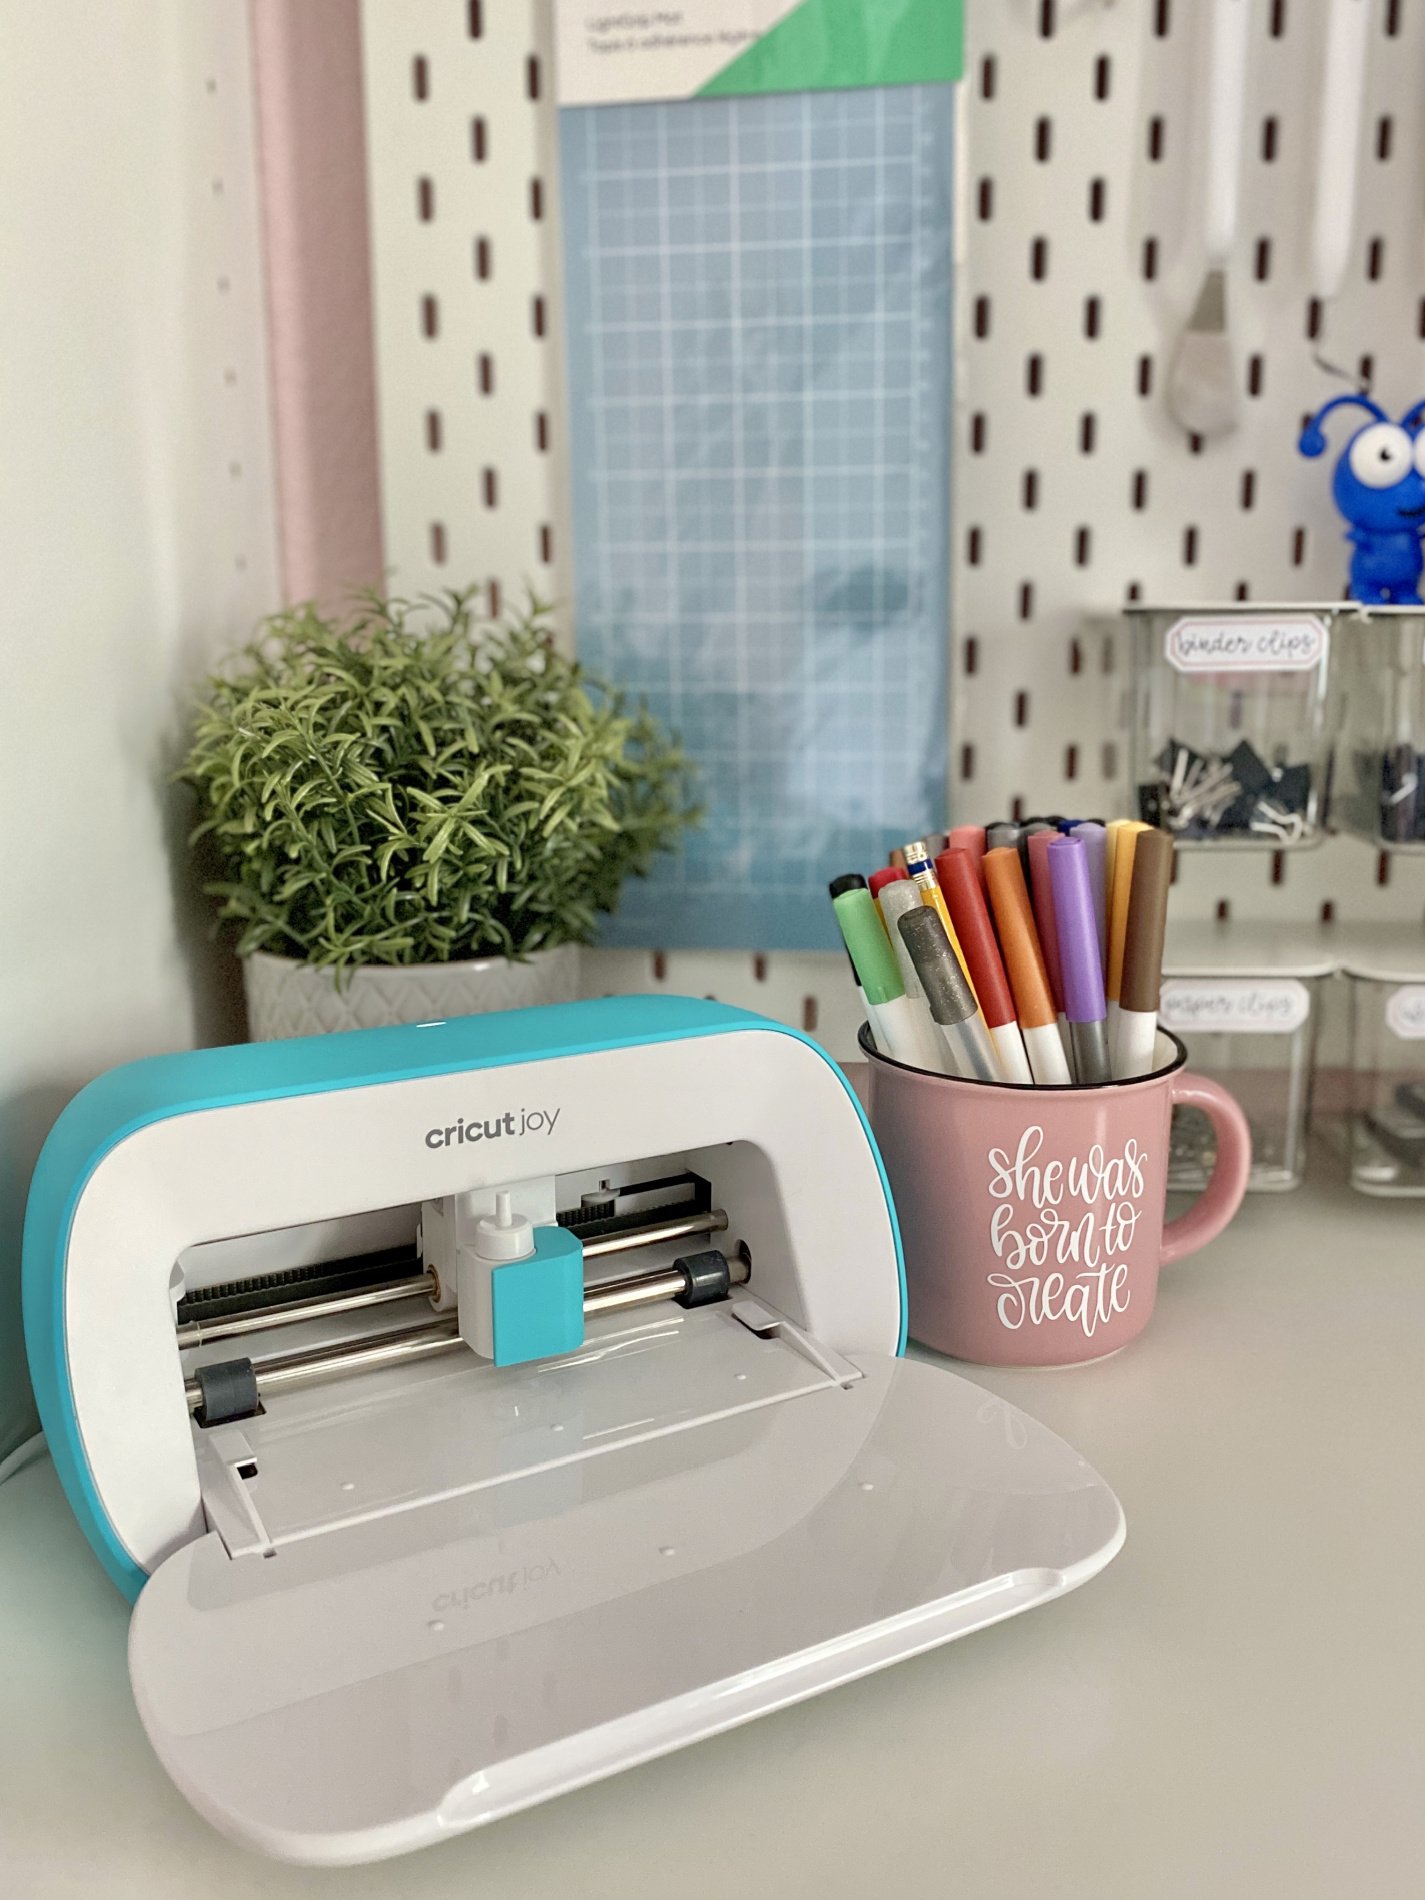
Vinyl Decal for Mug
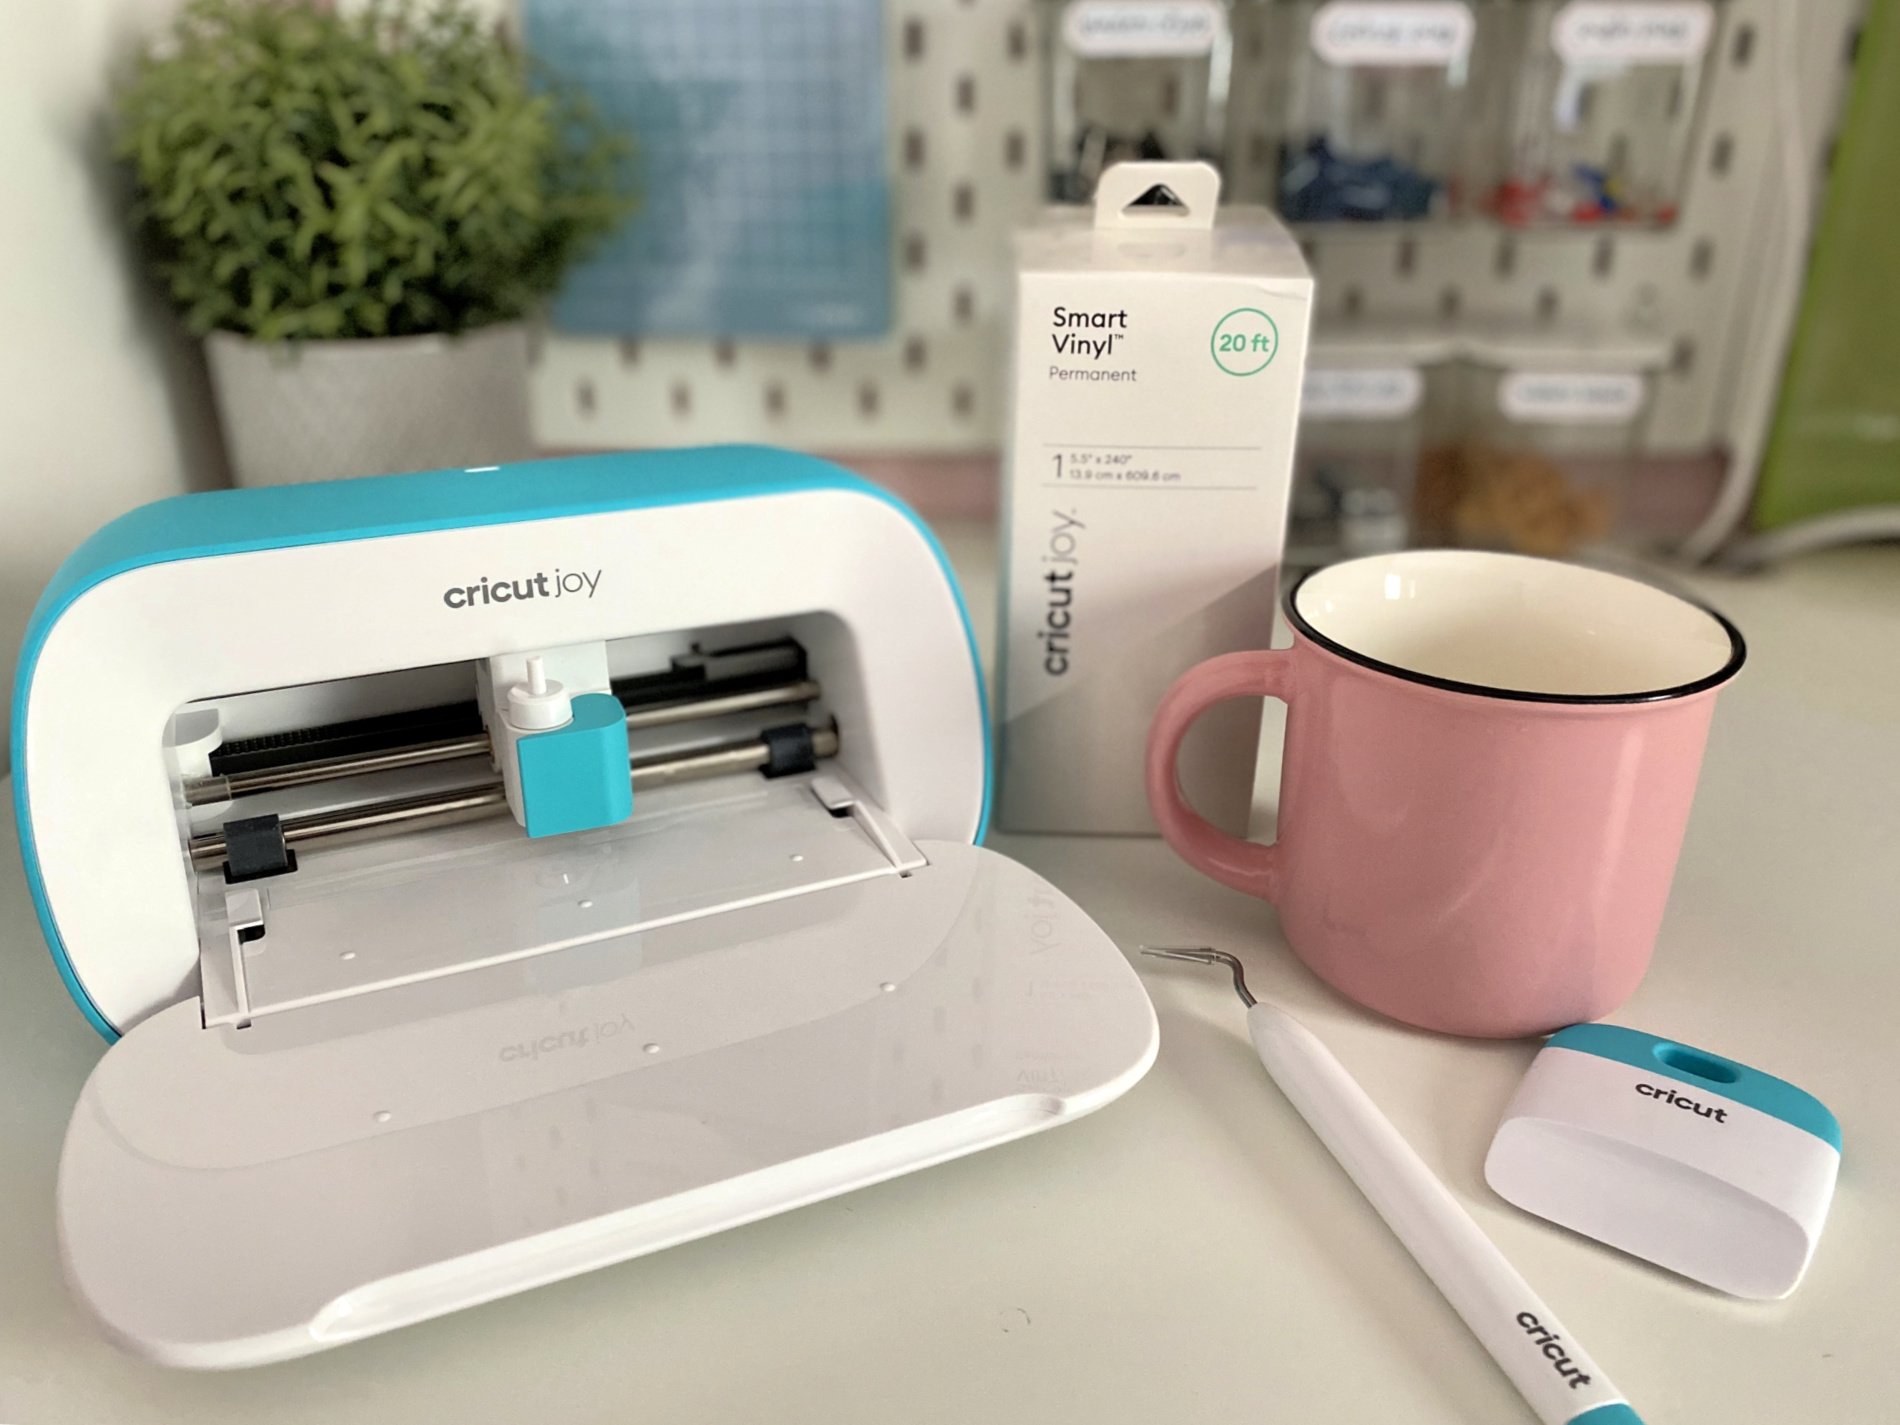
For this project you will need:
- Cricut Joy™ Smart Vinyl™ – Permanent
- Cricut Joy™ Bulk Transfer Tape
- Cricut Joy Tools
- Mug
- Cricut Design Space File: She Was Born To Create Design
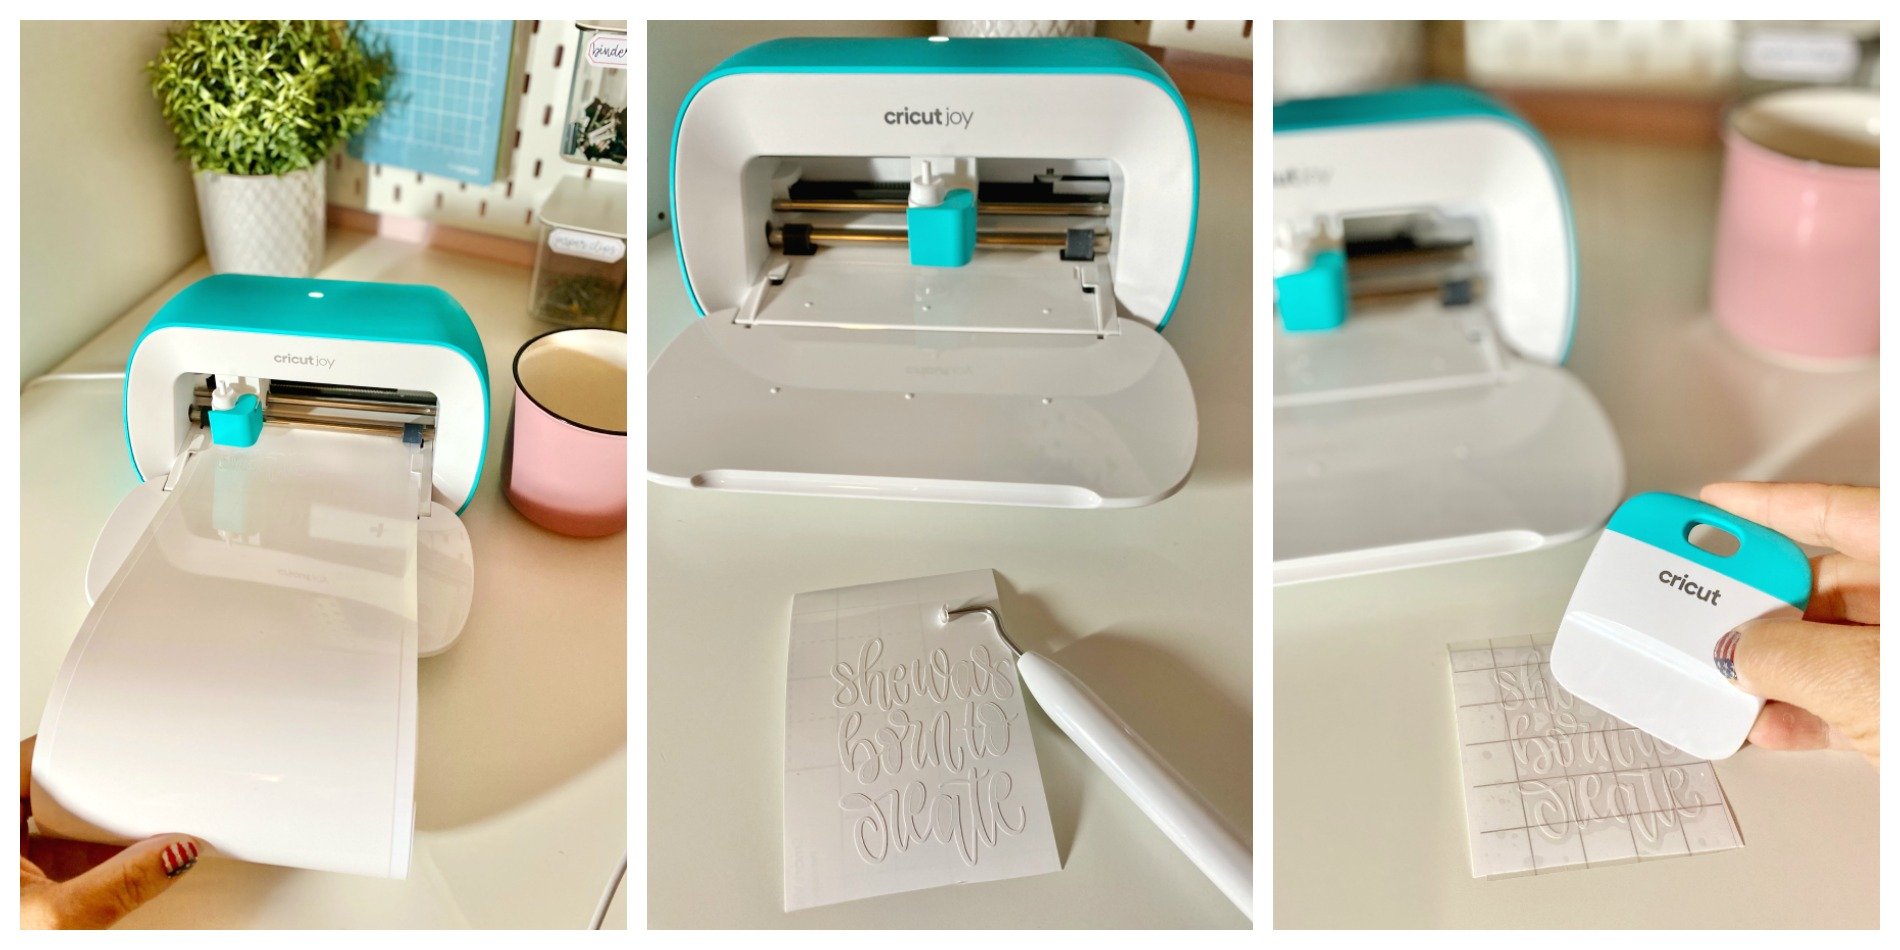
Follow the instructions per the screen in Cricut Design Space. Load the Smart Vinyl directly on to the machine. Cut the Smart Vinyl. Once cut, begin to weed the negative from the vinyl. Place transfer tape on top of weeded image. Use the squeegee to press the transfer tape on to the design.
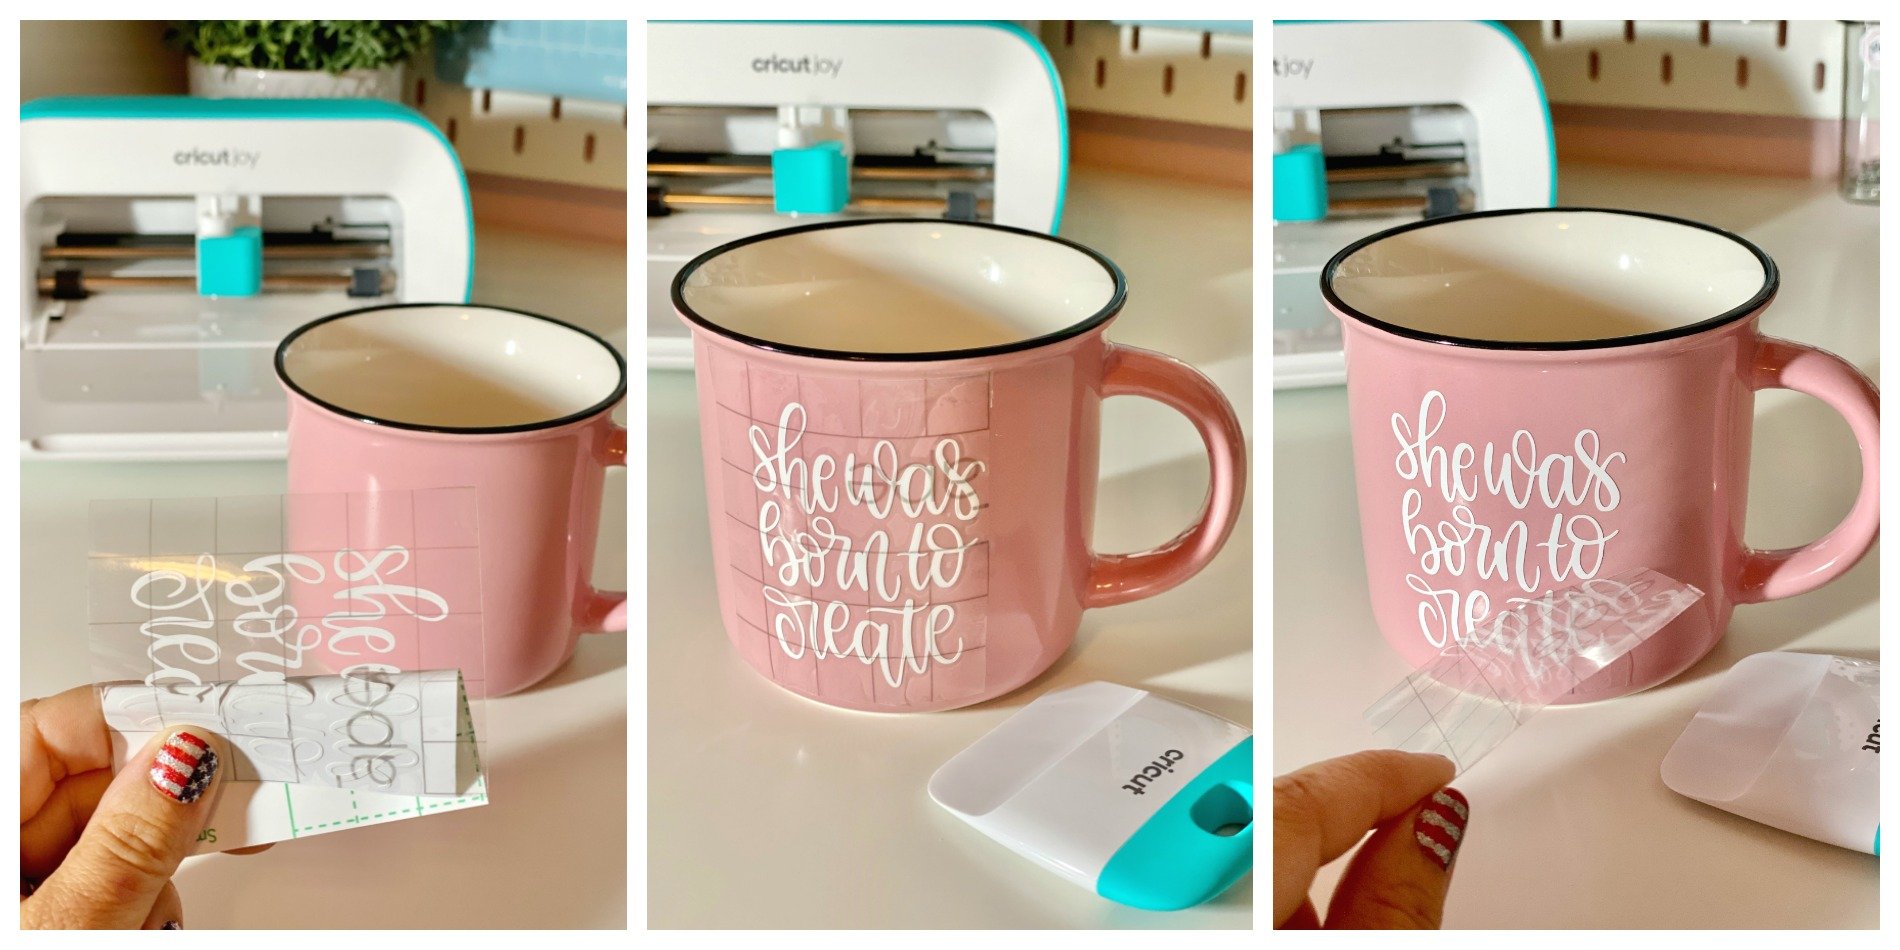
Carefully, remove the transfer tape from the paper. I found that this thicker vinyl paper makes it a little more difficult to remove from the paper to the tape. By peeling the white paper backing away is what I found most helpful and worked best. Take your time and have patience.
Add the image directly to the mug. Squeegee out any bubbles that might occur. Remove the transfer tape.
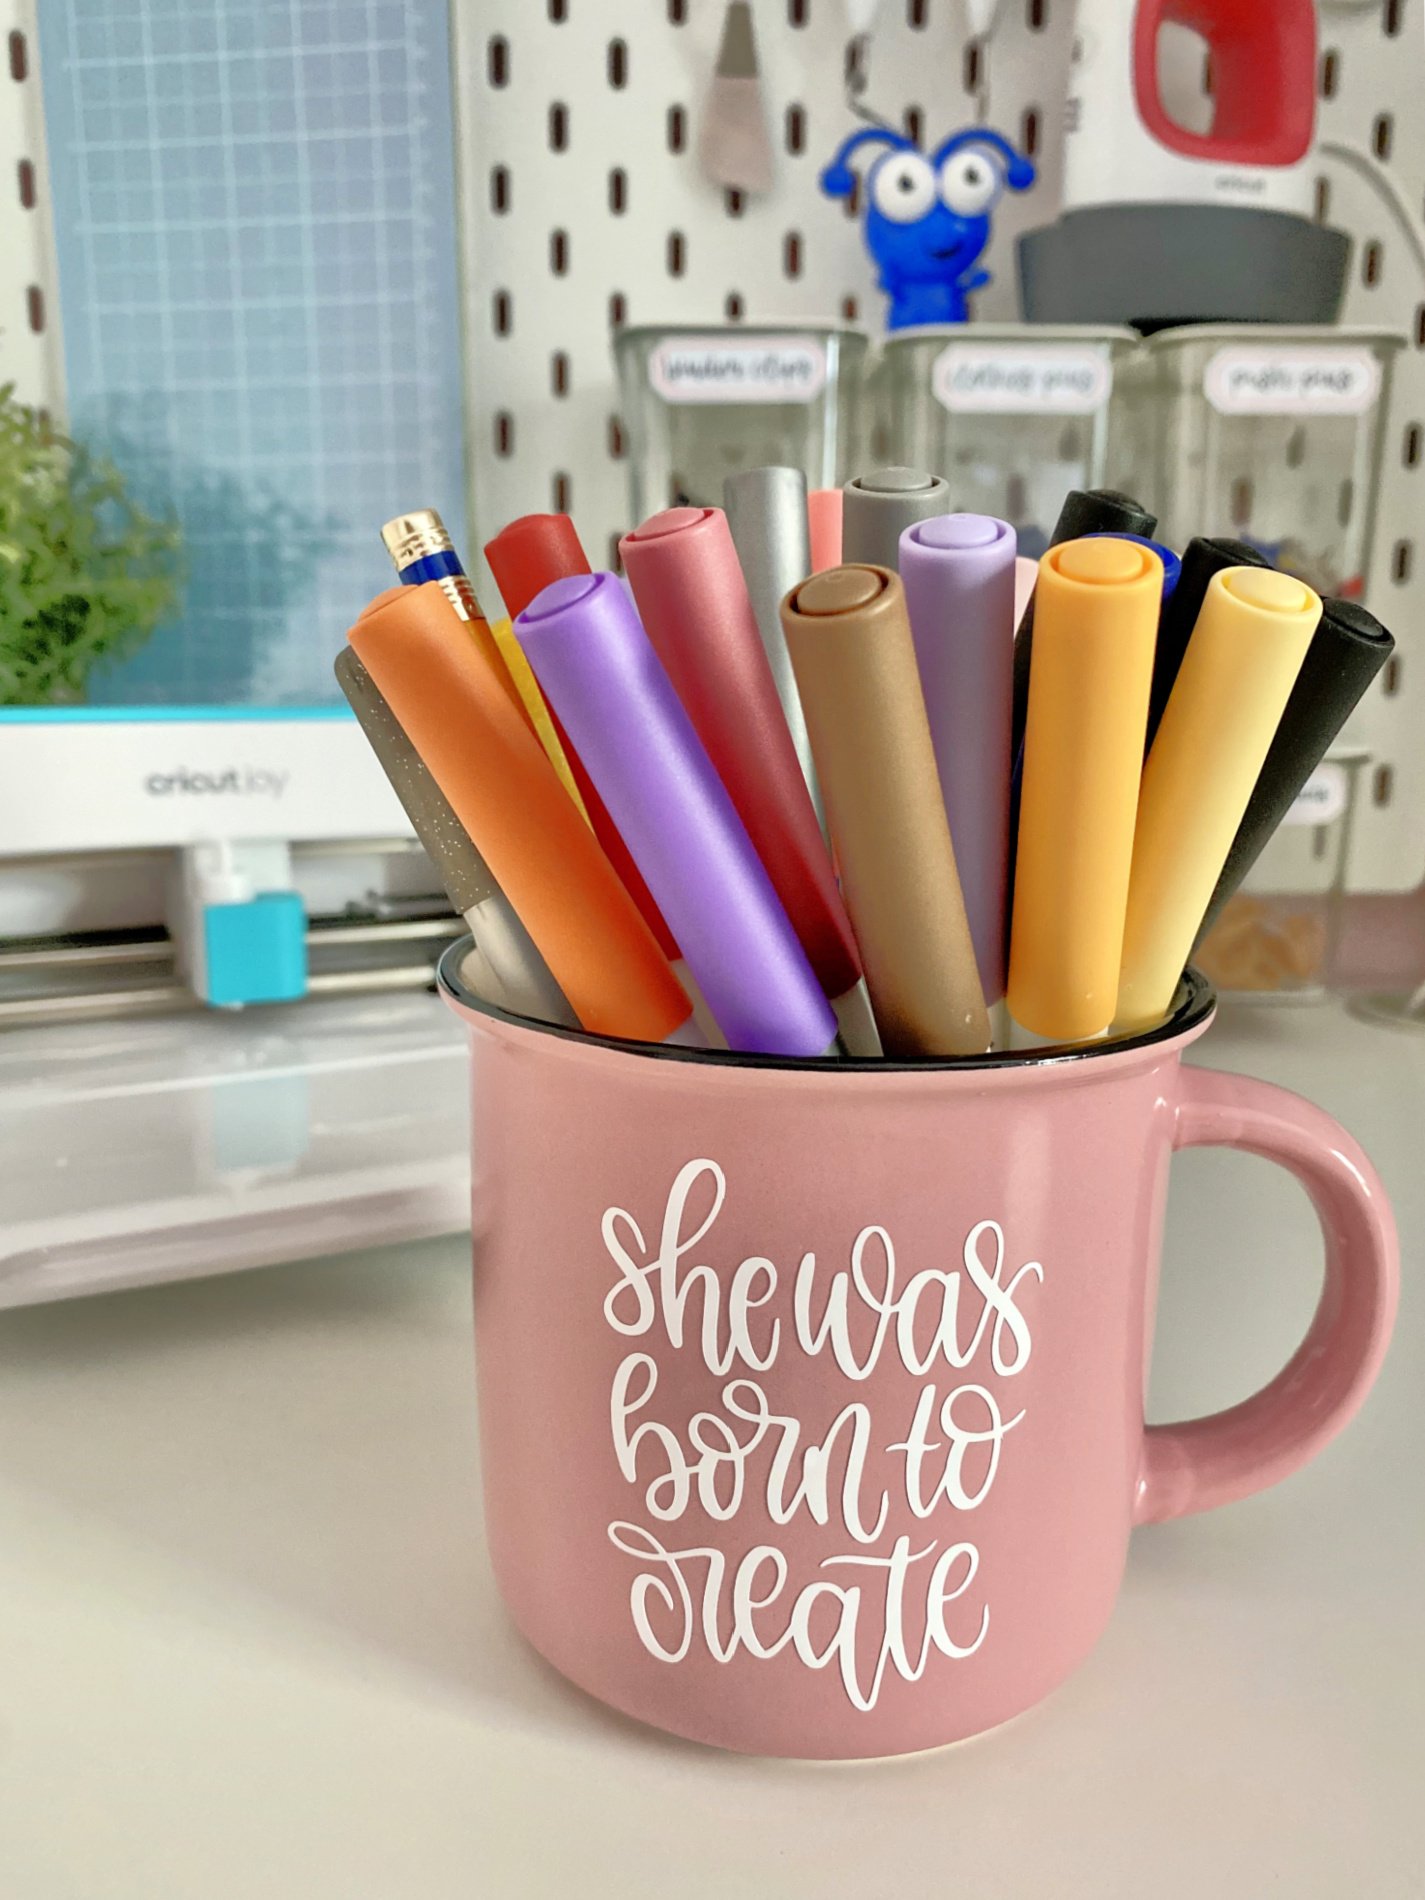
I placed pens in my cup since I’m waiting on more containers to come in stock for my new Ikea Peg Board System!
Q&A
To me this answer is simple. Why not? I don’t know about you but I have all my machines packed away in a cabinet. The Cricut Joy is not nearly as heavy and I can craft right in my kitchen while cooking dinner! If I want to whip up a quick card or even a vinyl decal I can do it in minutes with the Smart materials and the ease of use of this little portable cutting machine!
Yes, with the new Smart Label Writable Vinyl you can write directly on the vinyl using your Cricut Joy pens. Just know that it is not recommended to use the Cricut Joy Gel Pens or Metallic Markers. They will smear and not give a crisp finish look.
I feel like all my Cricut machines are like my children. But I’ll be honest (and not because I work with Cricut), my Cricut Joy is officially my new favorite machine. I’m a busy work-from-home-mom and rarely ever have time to craft. I find myself whipping up cards or quick projects on the go now. Something I have not done for fun in a long time!
This goes to show you don’t really need a craft room or a lot of space to own and create with the new Cricut Joy.
More Cricut Joy Post
If you want to see more post regarding the Cricut Joy you can find them here.
For more information on the Cricut Joy learn more on Cricut.com. The Cricut Joy is available online and in-store at most major craft retailers.
Disclaimer: There are affiliate links in this post. That means if you purchase from a link I make a small percentage at no additional cost to you. Thank you for supporting Sew Woodsy!
