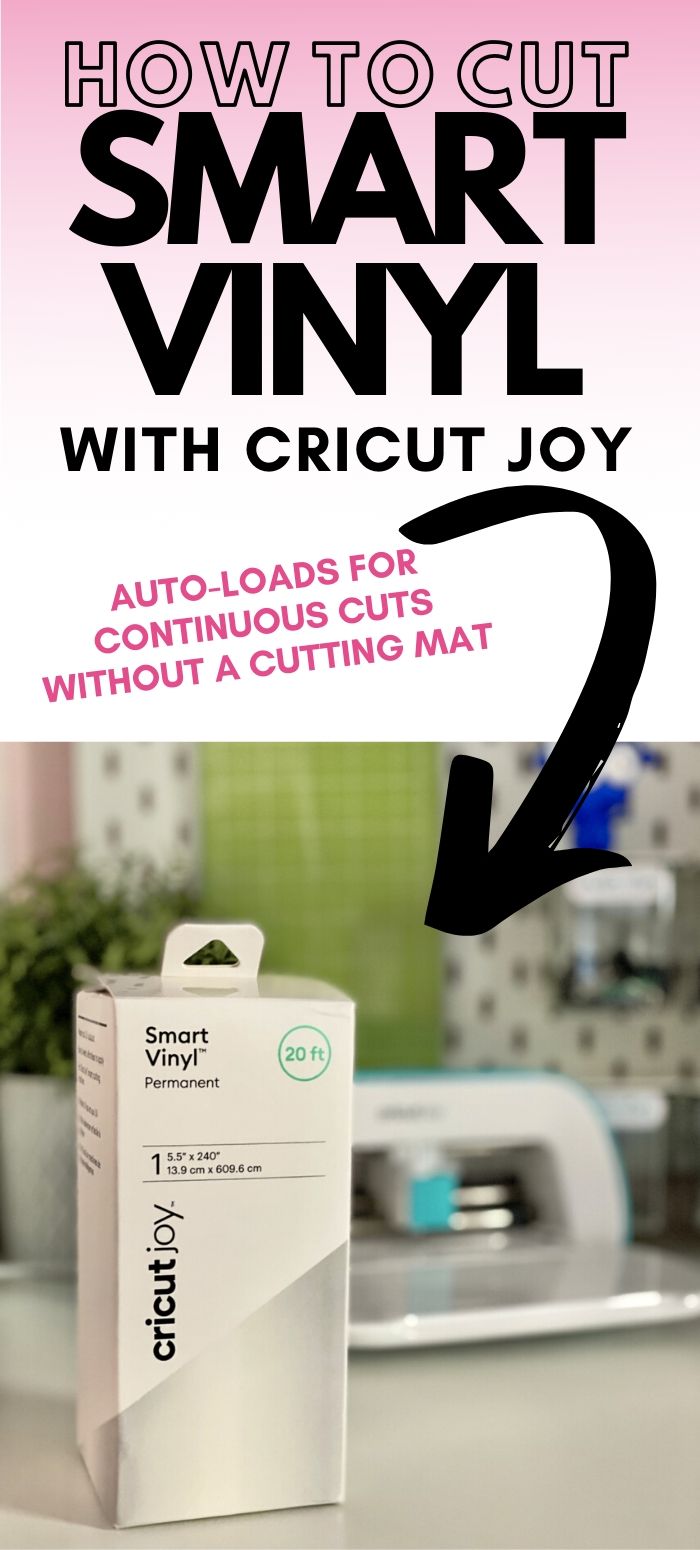
Did you just get a Cricut Joy and interested on How to Cut Smart Vinyl with Cricut Joy? I’m here to break down step-by-step how easy it is to use, what supplies you’ll need and the tips and tricks I learned along the way!
Vinyl is one medium that I don’t use nearly as much as I do with Iron-On Vinyl. With that being said I move much slower at applying then those who whip up weekly projects. In the past I’ve used vinyl on glass, bottles, and even personalized sand buckets.
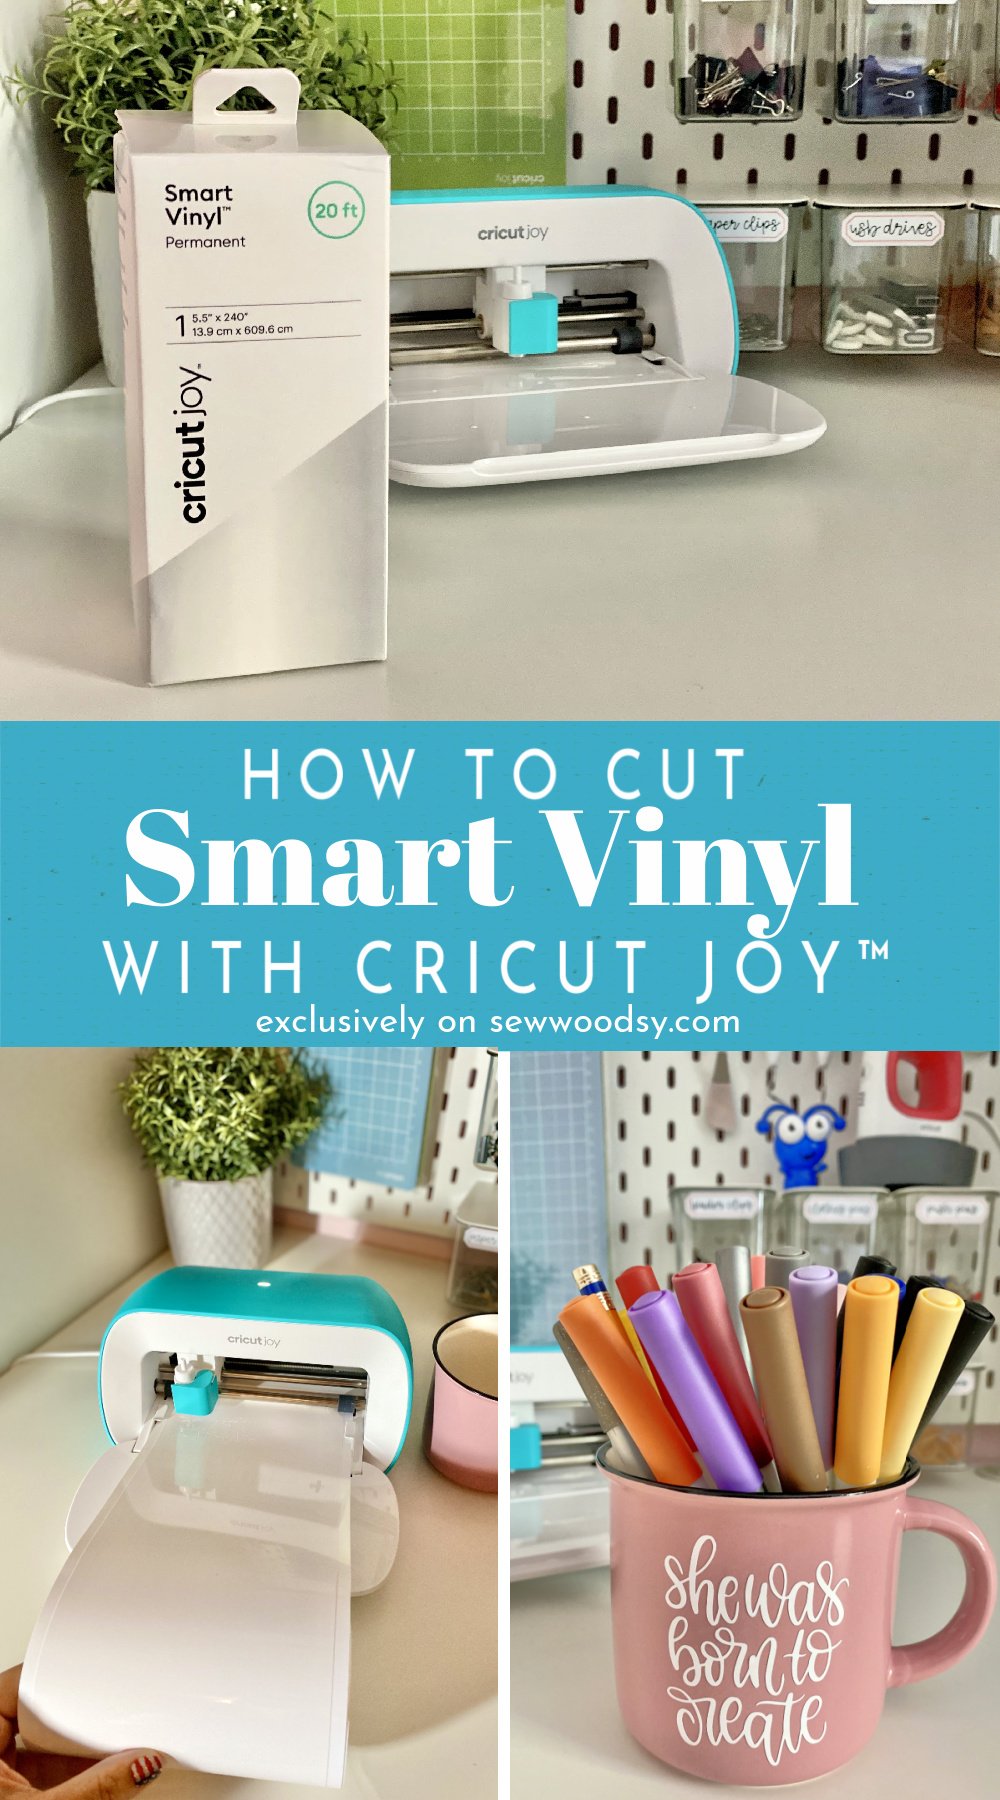
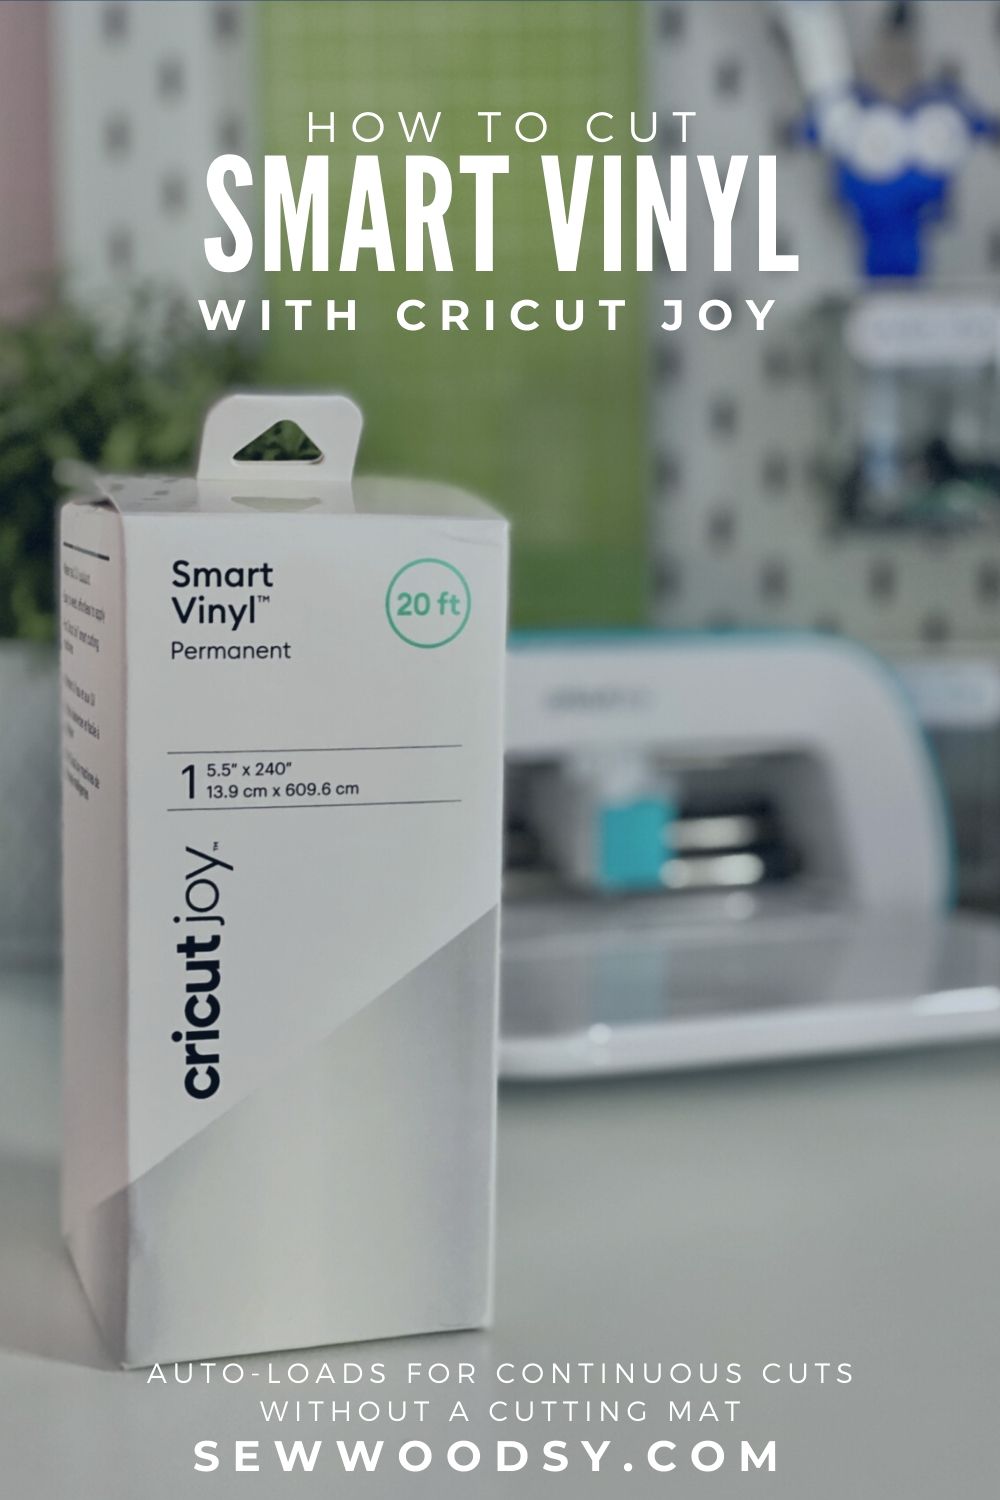
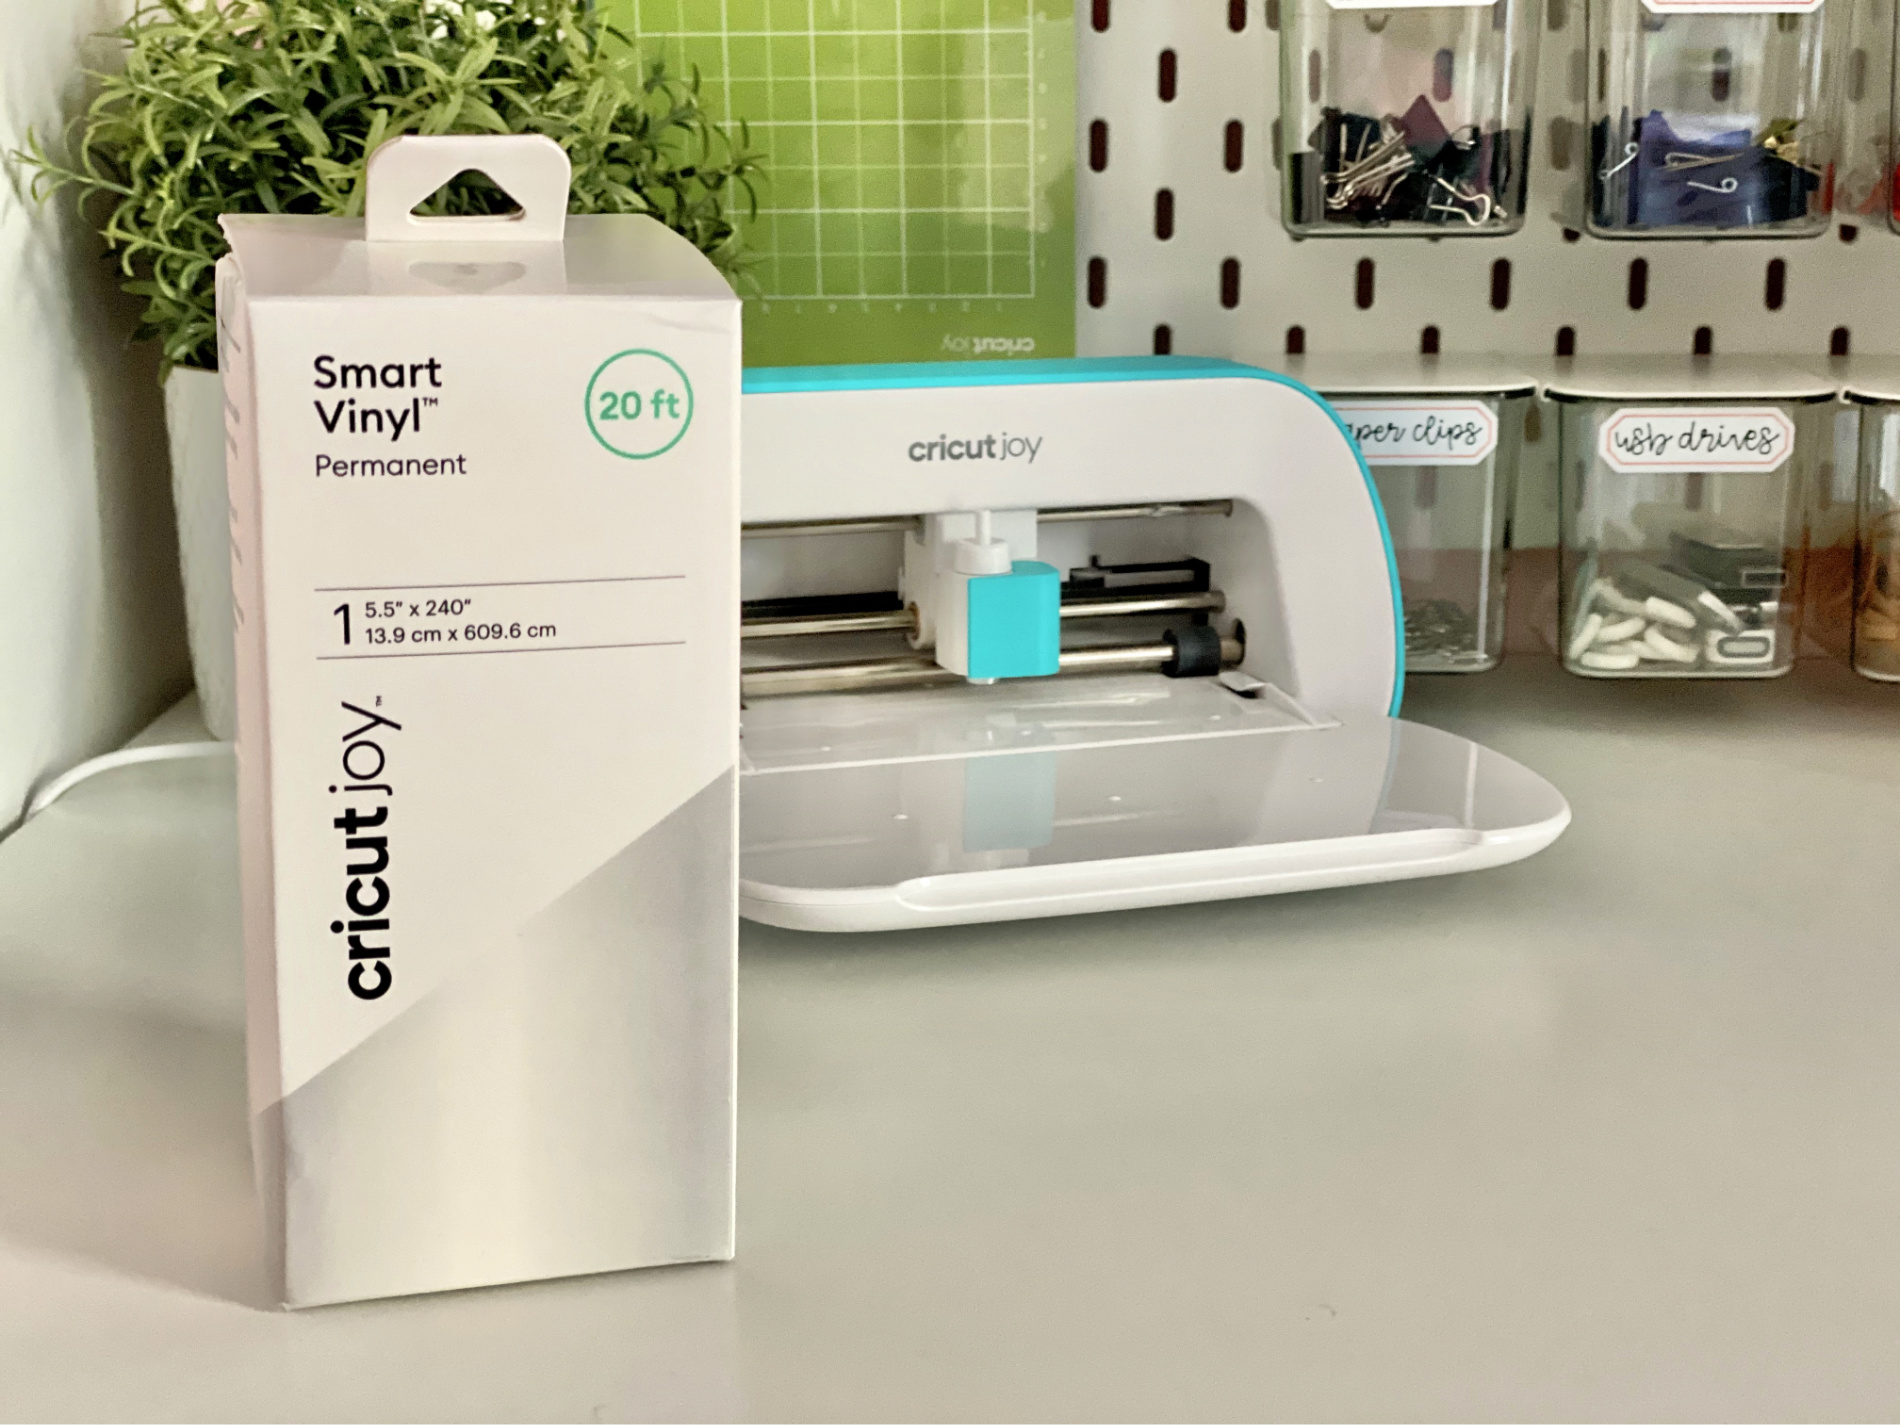
I love how easy the Smart Vinyl™ is to use. My favorite part is that I don’t need a mat! They even sell 20 foot long Smart Vinyl that you can run simultaneously through the Cricut Joy to make amazing signs and patterns.
How to cut Smart Vinyl™
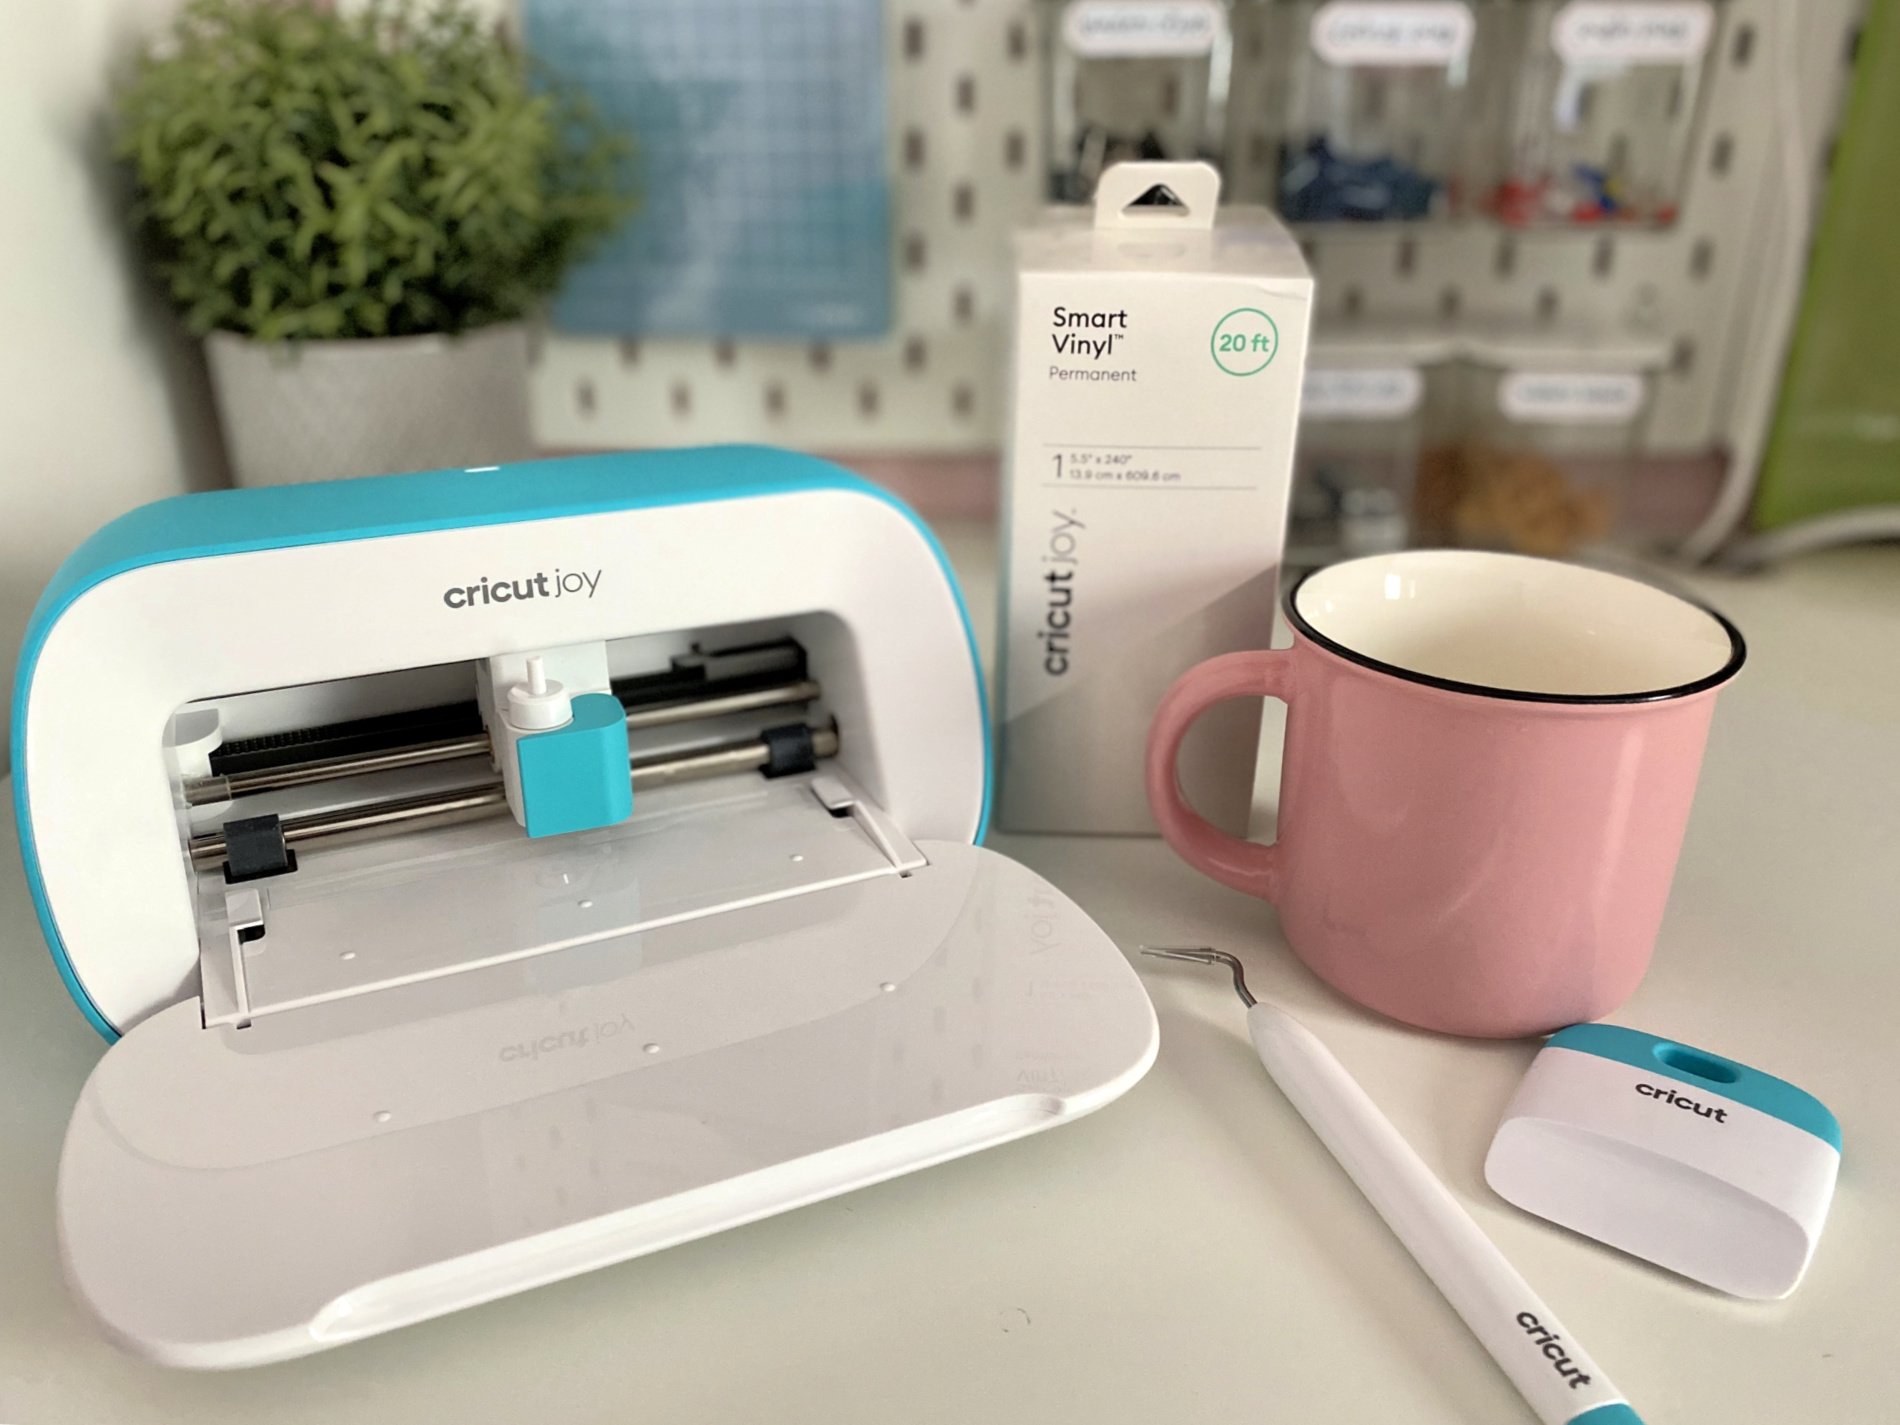
Supplies
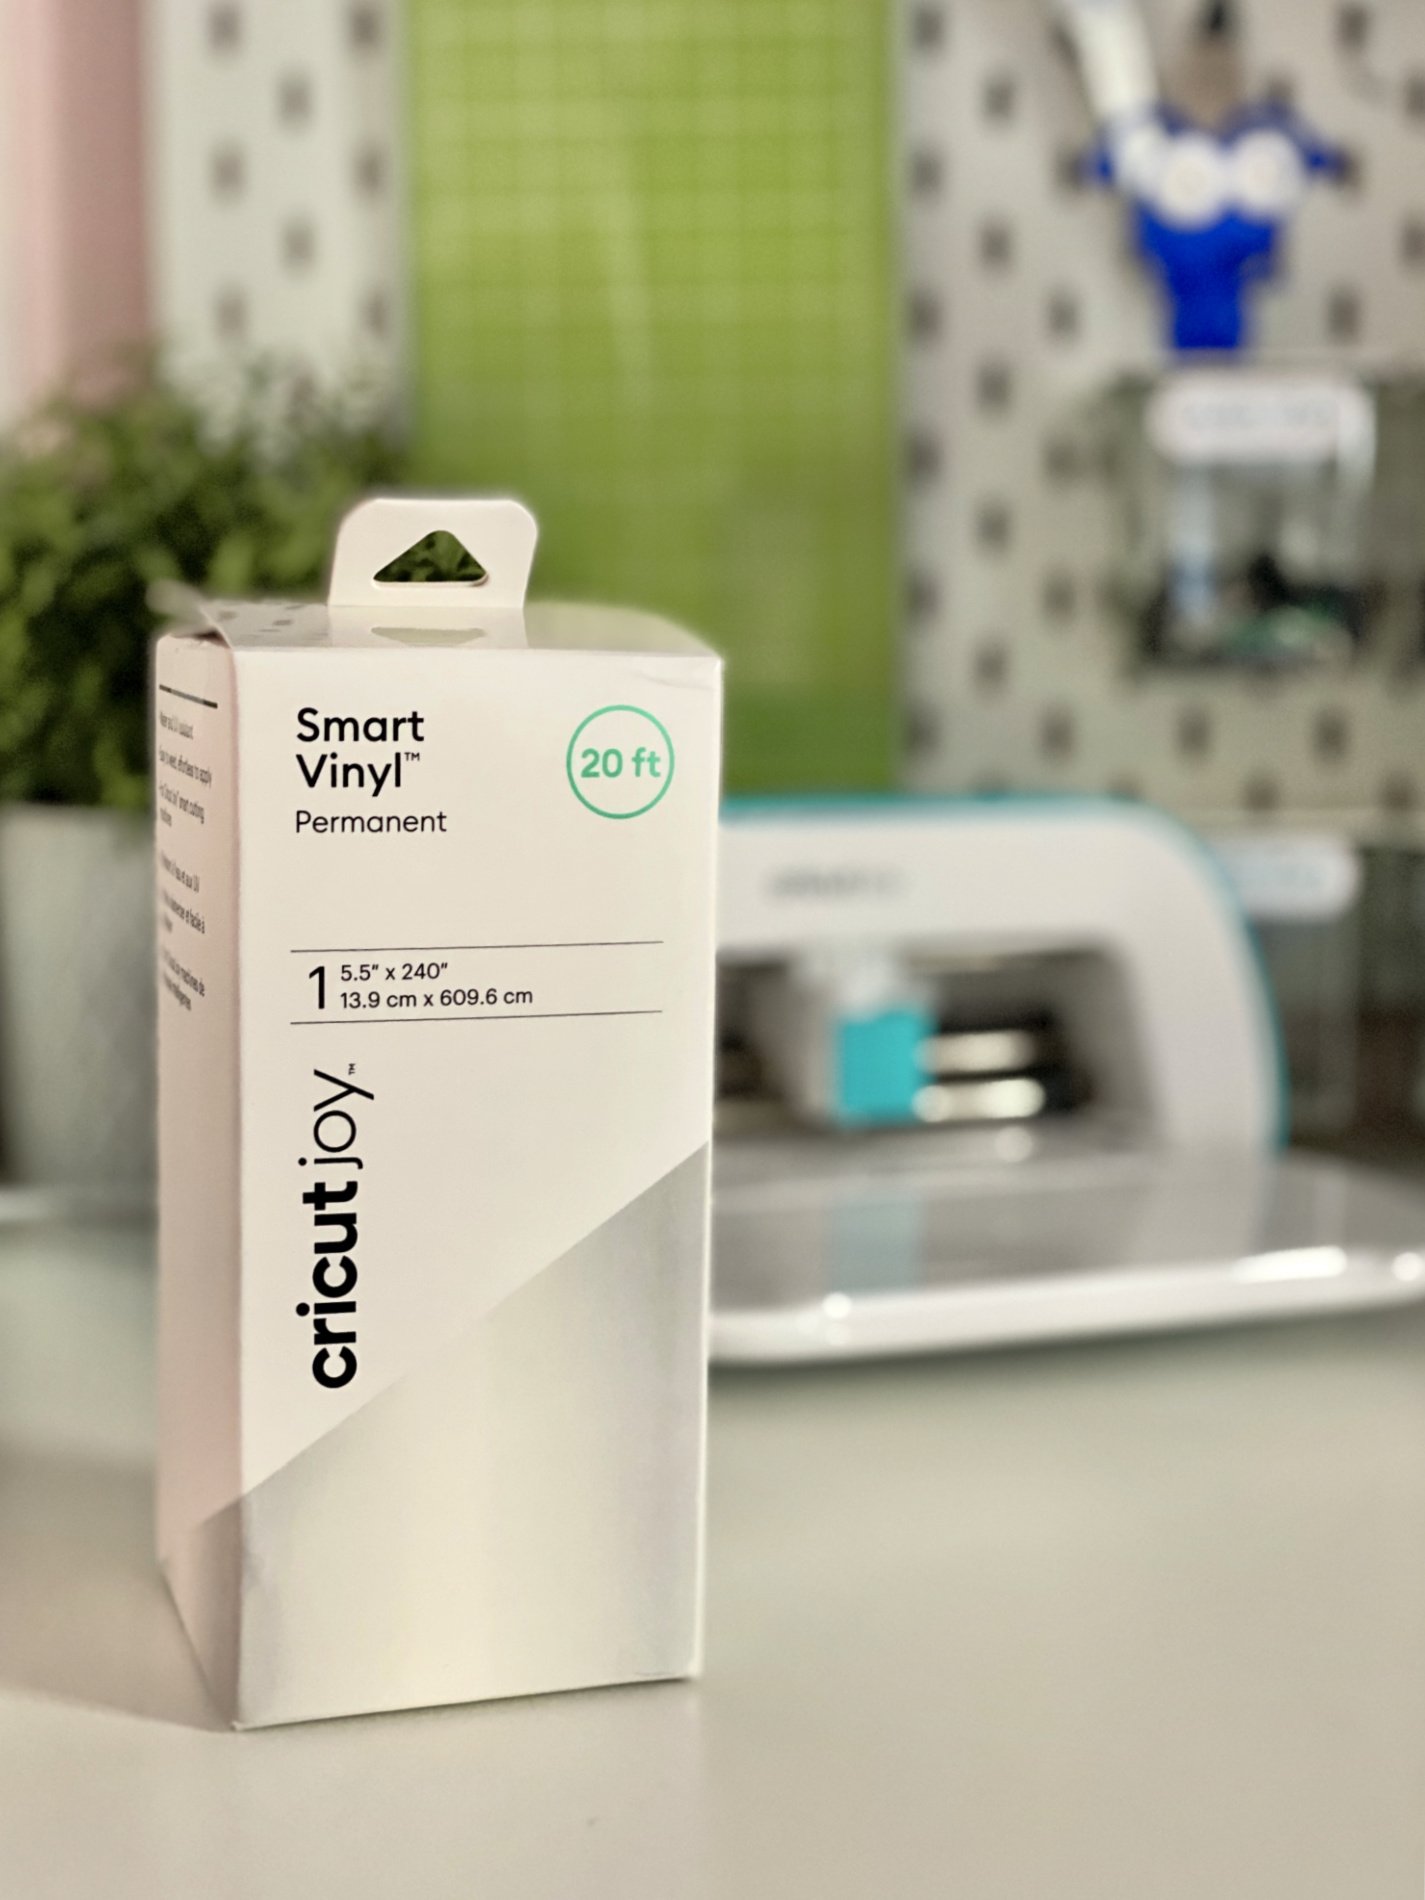
- Cricut Joy™ Smart Vinyl™ – Permanent
- Cricut Joy™ Bulk Transfer Tape
- Cricut Joy Tools
- Mug
- Cricut Design Space File: She Was Born To Create Design
Time needed: 15 minutes
Vinyl Decal for Mug
- Customize
Customize your design in the Cricut Joy app or Design Space, then select Make It.
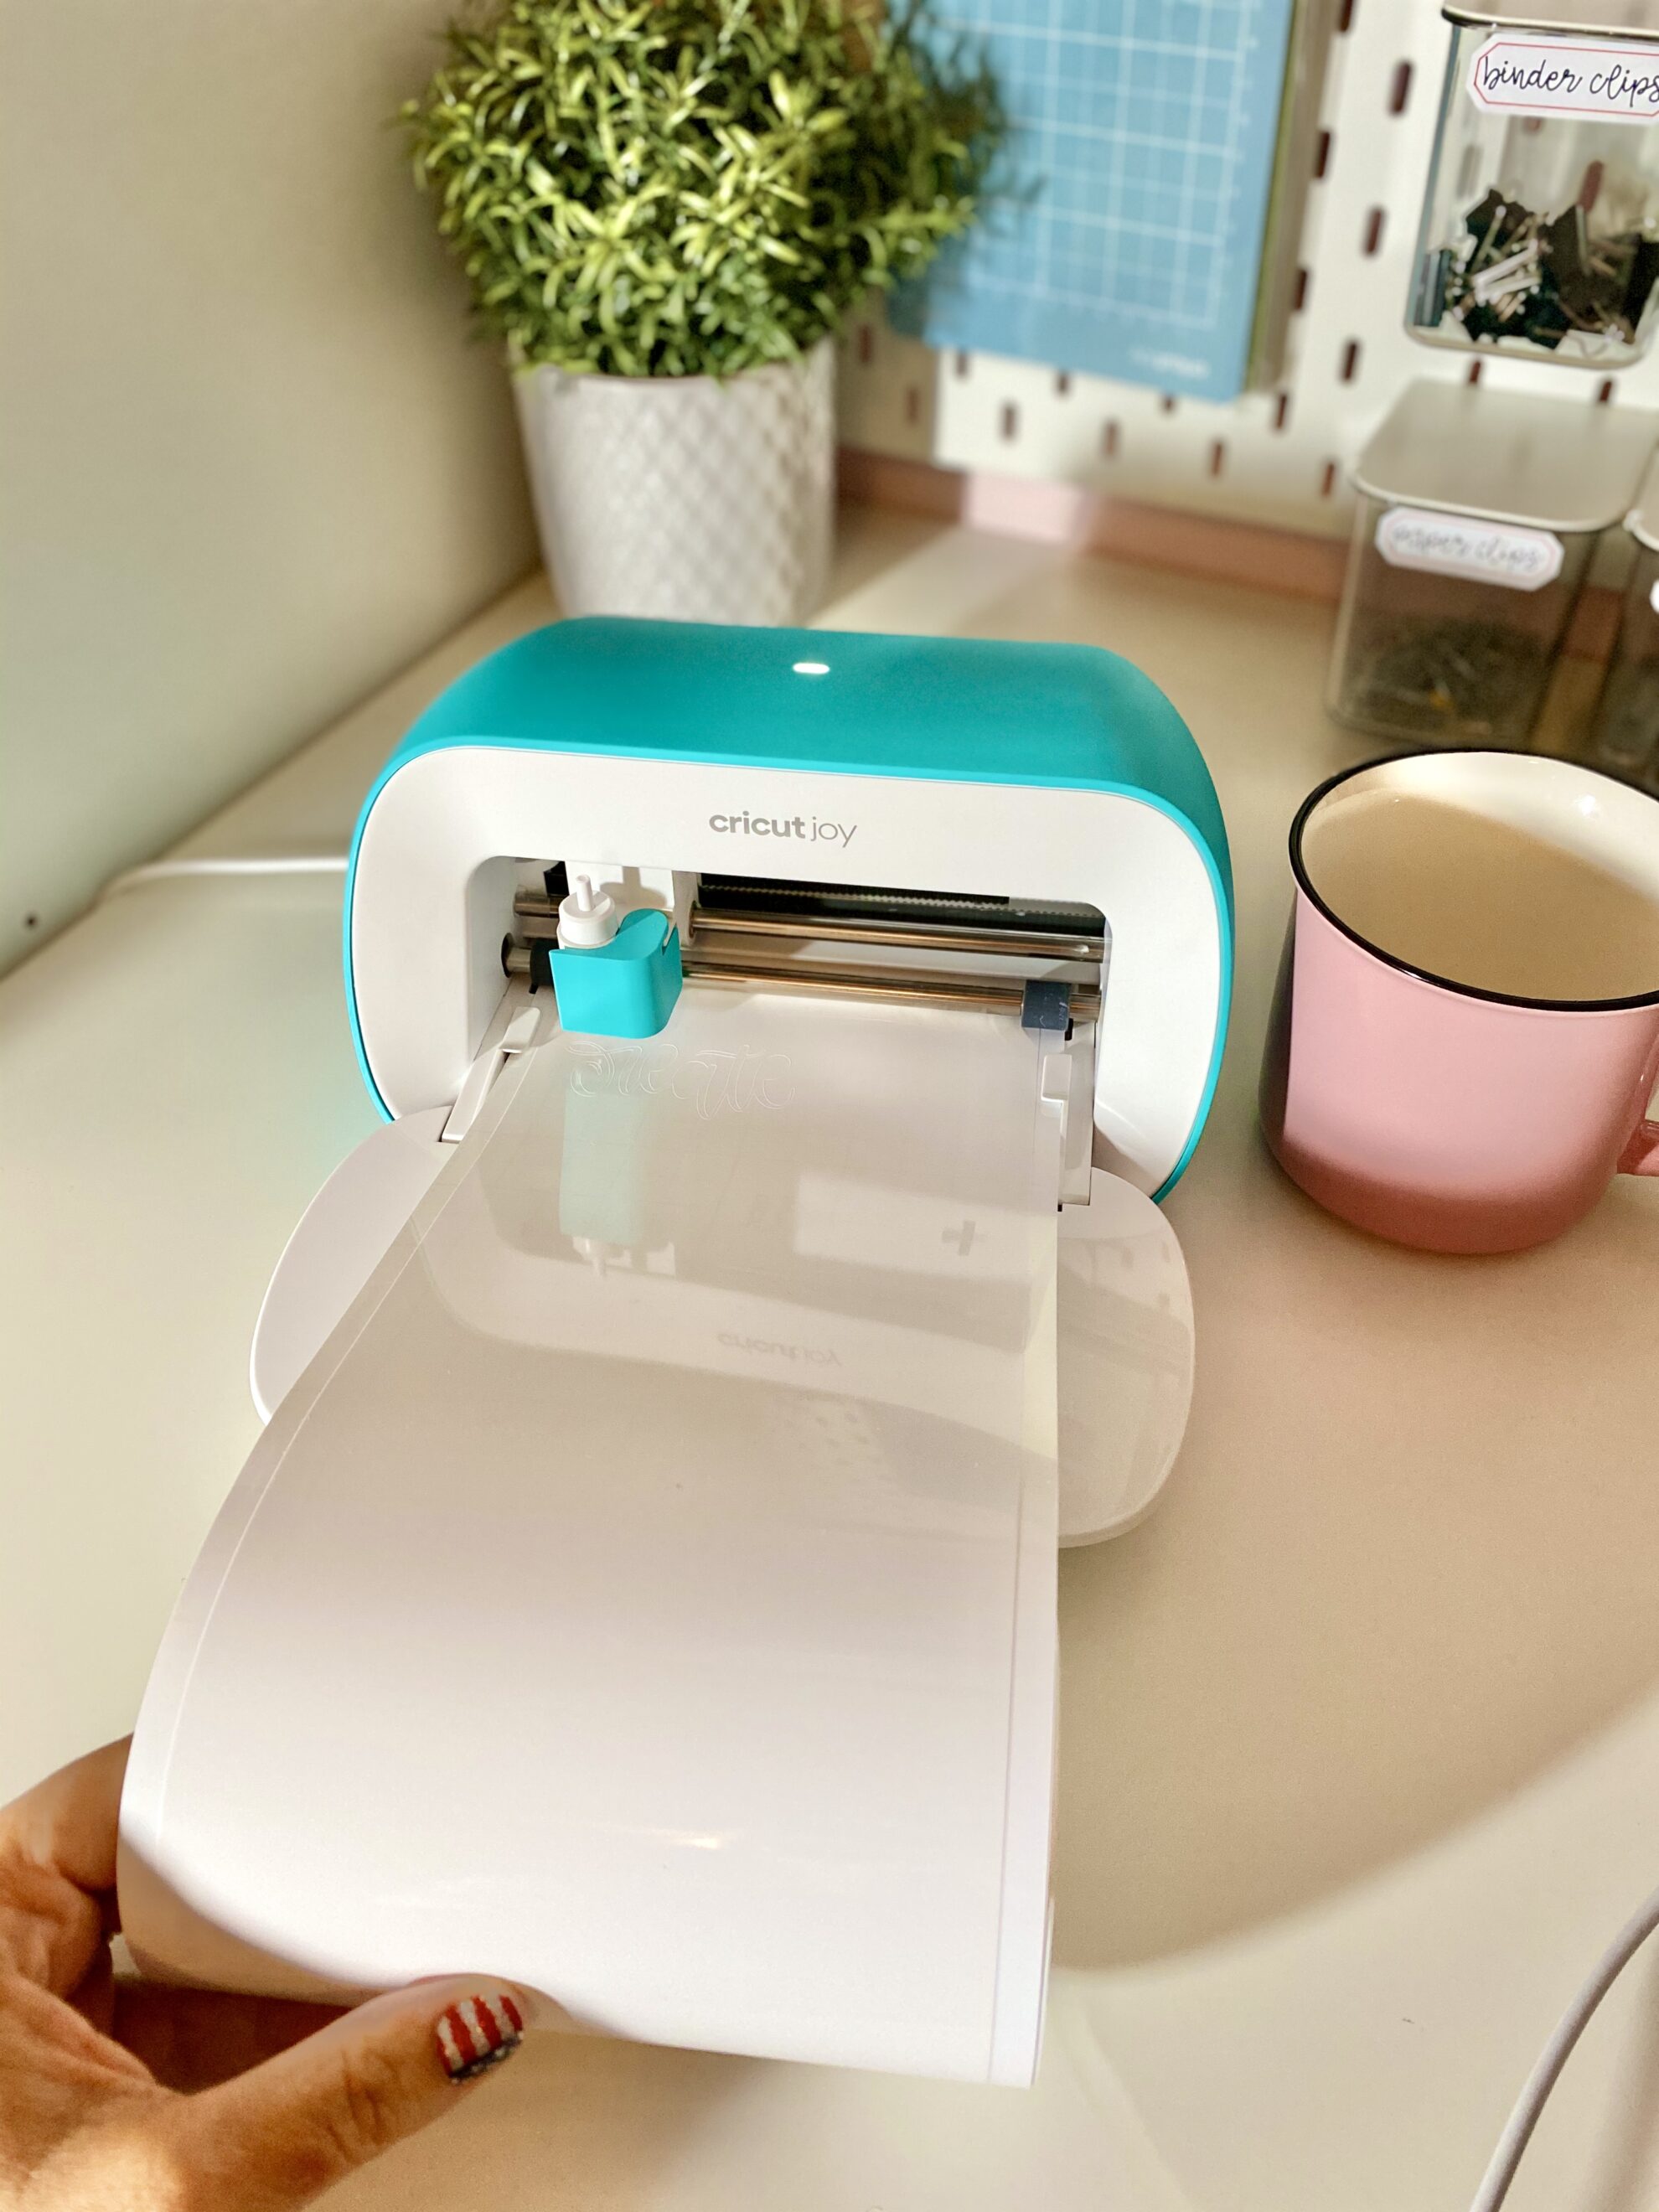
- Without Mat
Select your material load style (Without Mat) and your specific material type.

- Insert
Using both hands, insert material under guides. Continue feeding into machine until rollers grip material. ((For best results, make sure your material has a straight edge.))
- Measures
Once machine senses materials under the rollers, it measures your material to ensure there’s enough for your project.
Pro tip: Leave 10 inches of space behind your machine and guide vinyl into a roll as it feeds out the back of your machine. ((Smart Materials may bow in the middle when loading. If your material isn’t lying flat by the end of the measuring process, select Unload in the software, then reload. )) - Go
Select Go and watch the magic happen!
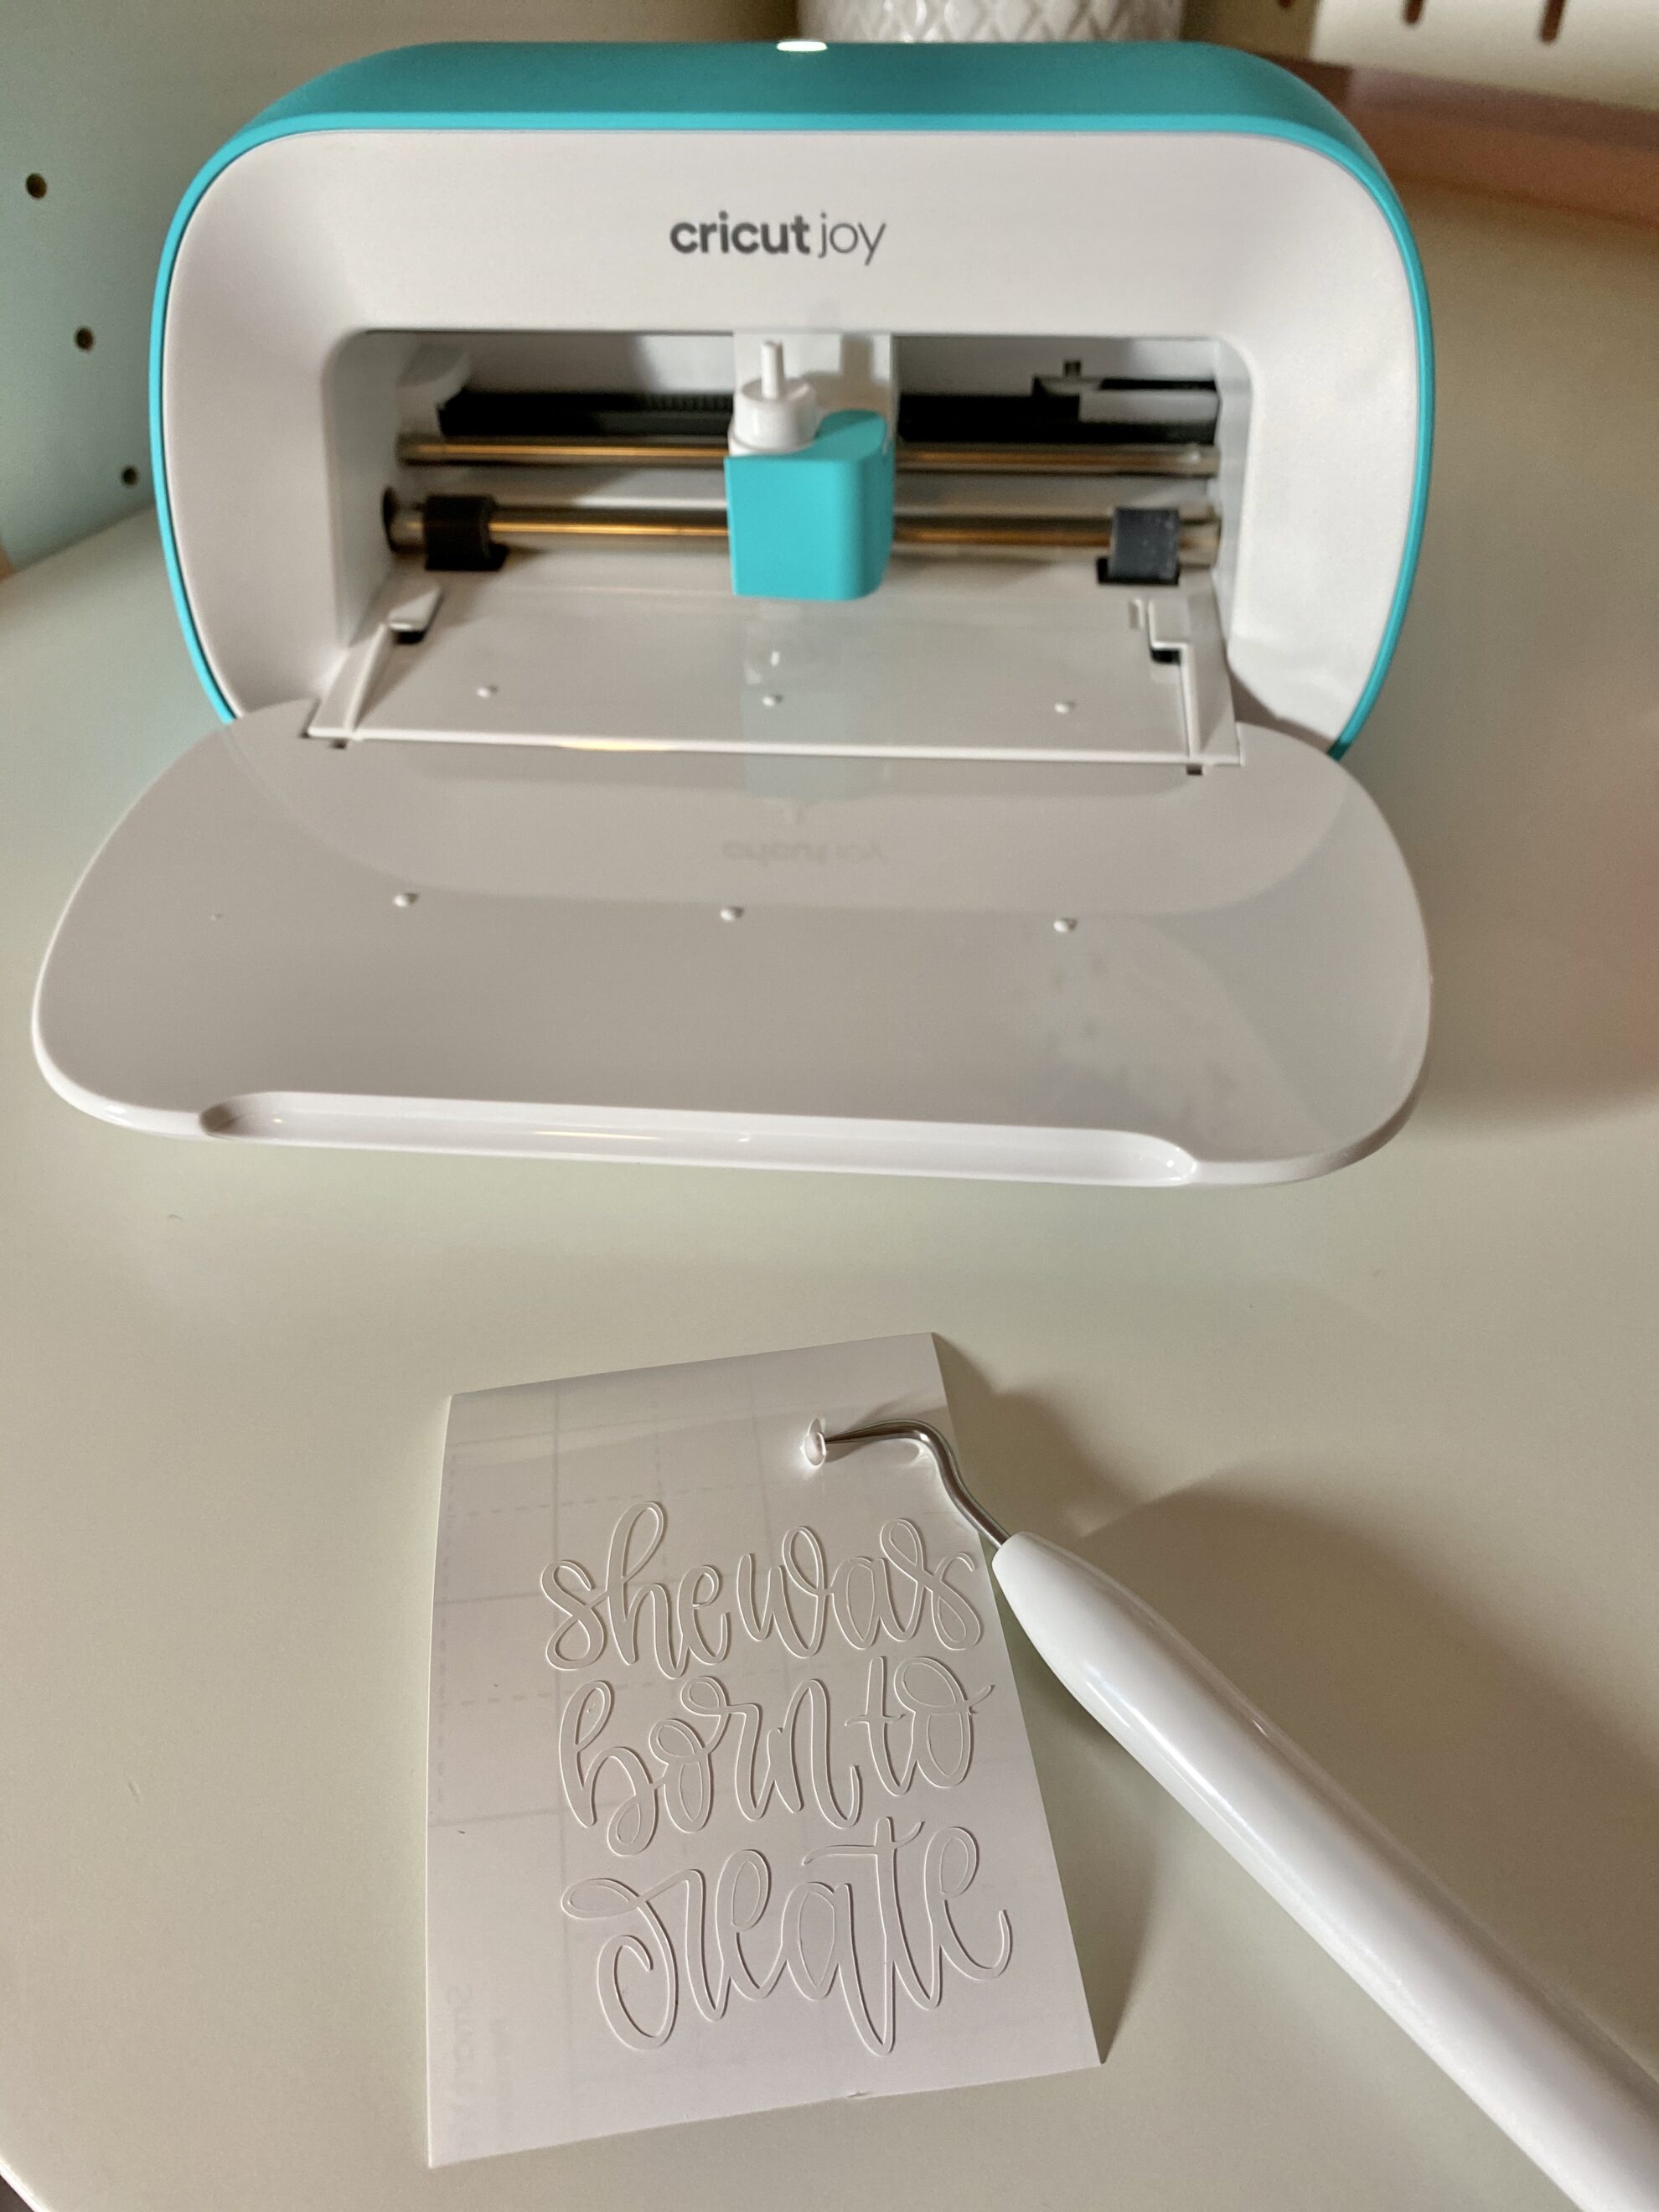
- Unload
When the cut is complete, select Unload.
- Weed
Use a weeder to remove excess vinyl from in and around your design, leaving design on the liner.
- Transfer Tape
Peel liner from Transfer Tape.
To place Transfer Tape on your design carefully follow these steps: Attach a small area of Transfer Tape to your design. This can either be the center or one end of your design.
-Use a Scraper to burnish Transfer Tape onto your design, working outward from where you attached the small area.
-Flip design and burnish.
- Peel
Make sure project surface is clean and dry.
Peel vinyl liner away from Transfer Tape and design. If vinyl doesn’t separate from the liner, simply burnish liner back onto the vinyl and peel away again. - Transfer Design
To transfer design to your project surface carefully follow these steps: Attach a small area of design onto your surface. This can either be the center or one end of your design.
Use a Scraper to burnish design onto your surface, working outward from where you attached the small area. - Peel Transfer Tape
Peel Transfer Tape away from design.
Work carefully. If vinyl peels up with Transfer Tape, simply burnish Transfer Tape and vinyl back down to the project surface and peel away again.
For best results, peel Transfer Tape at an acute angle.
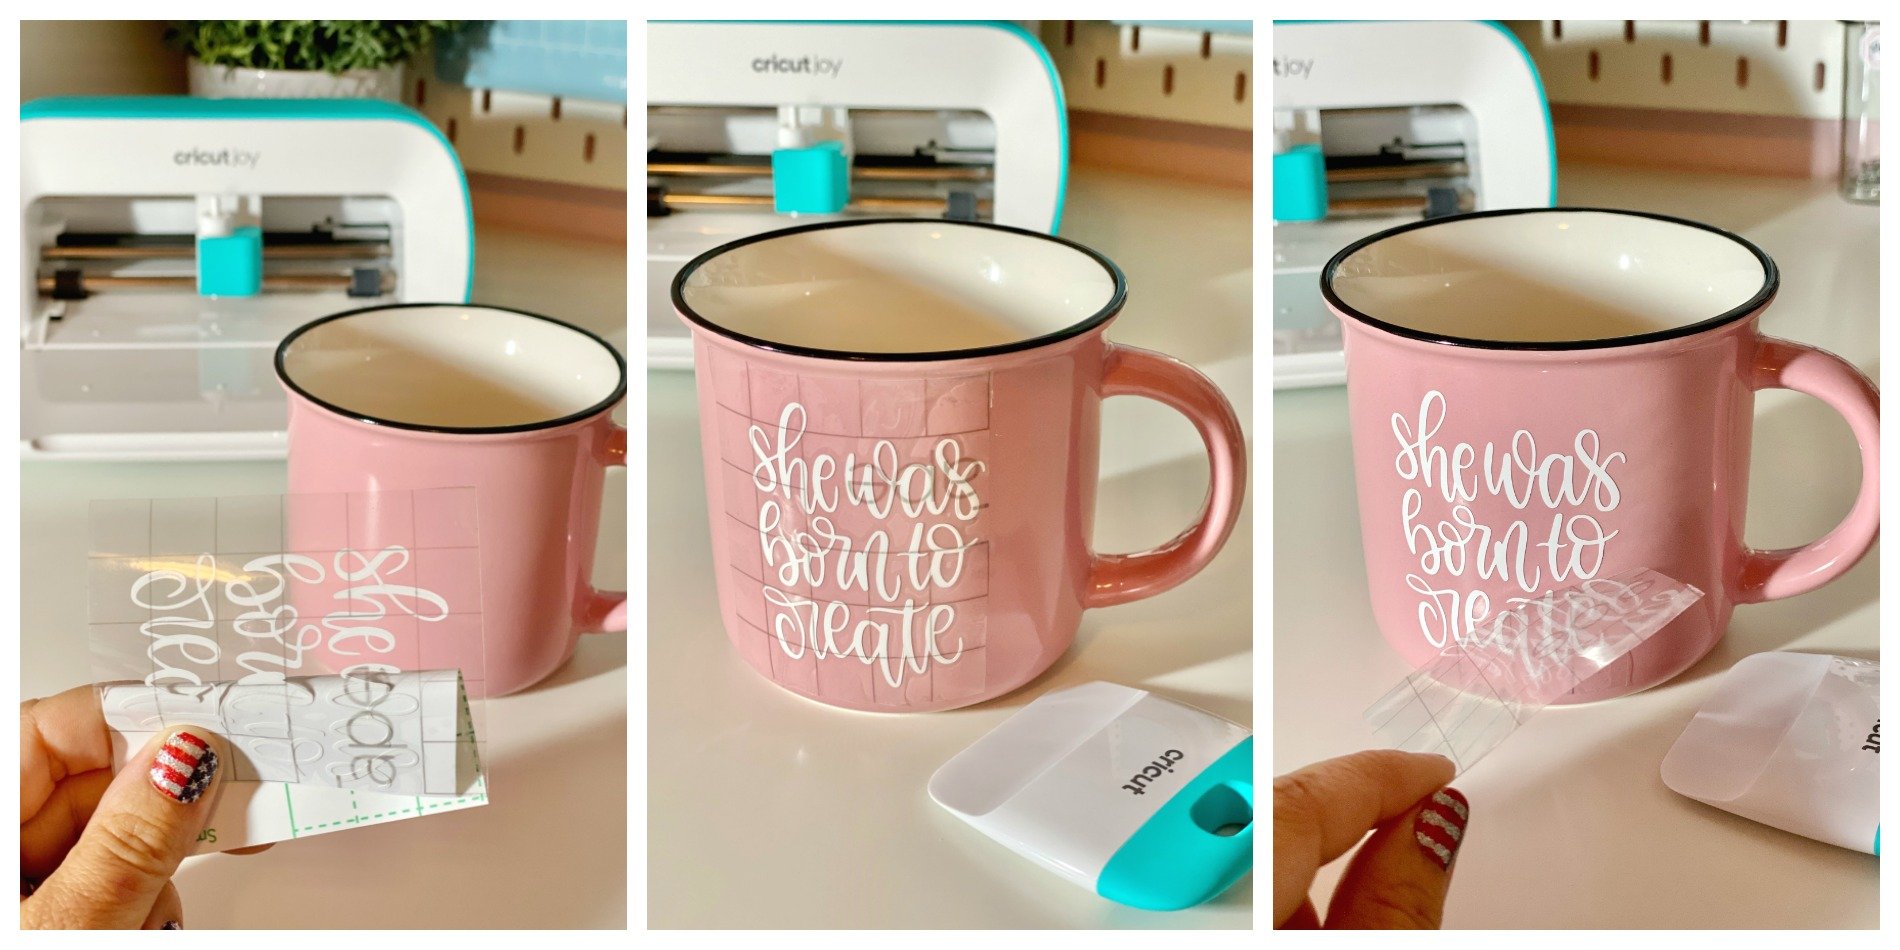
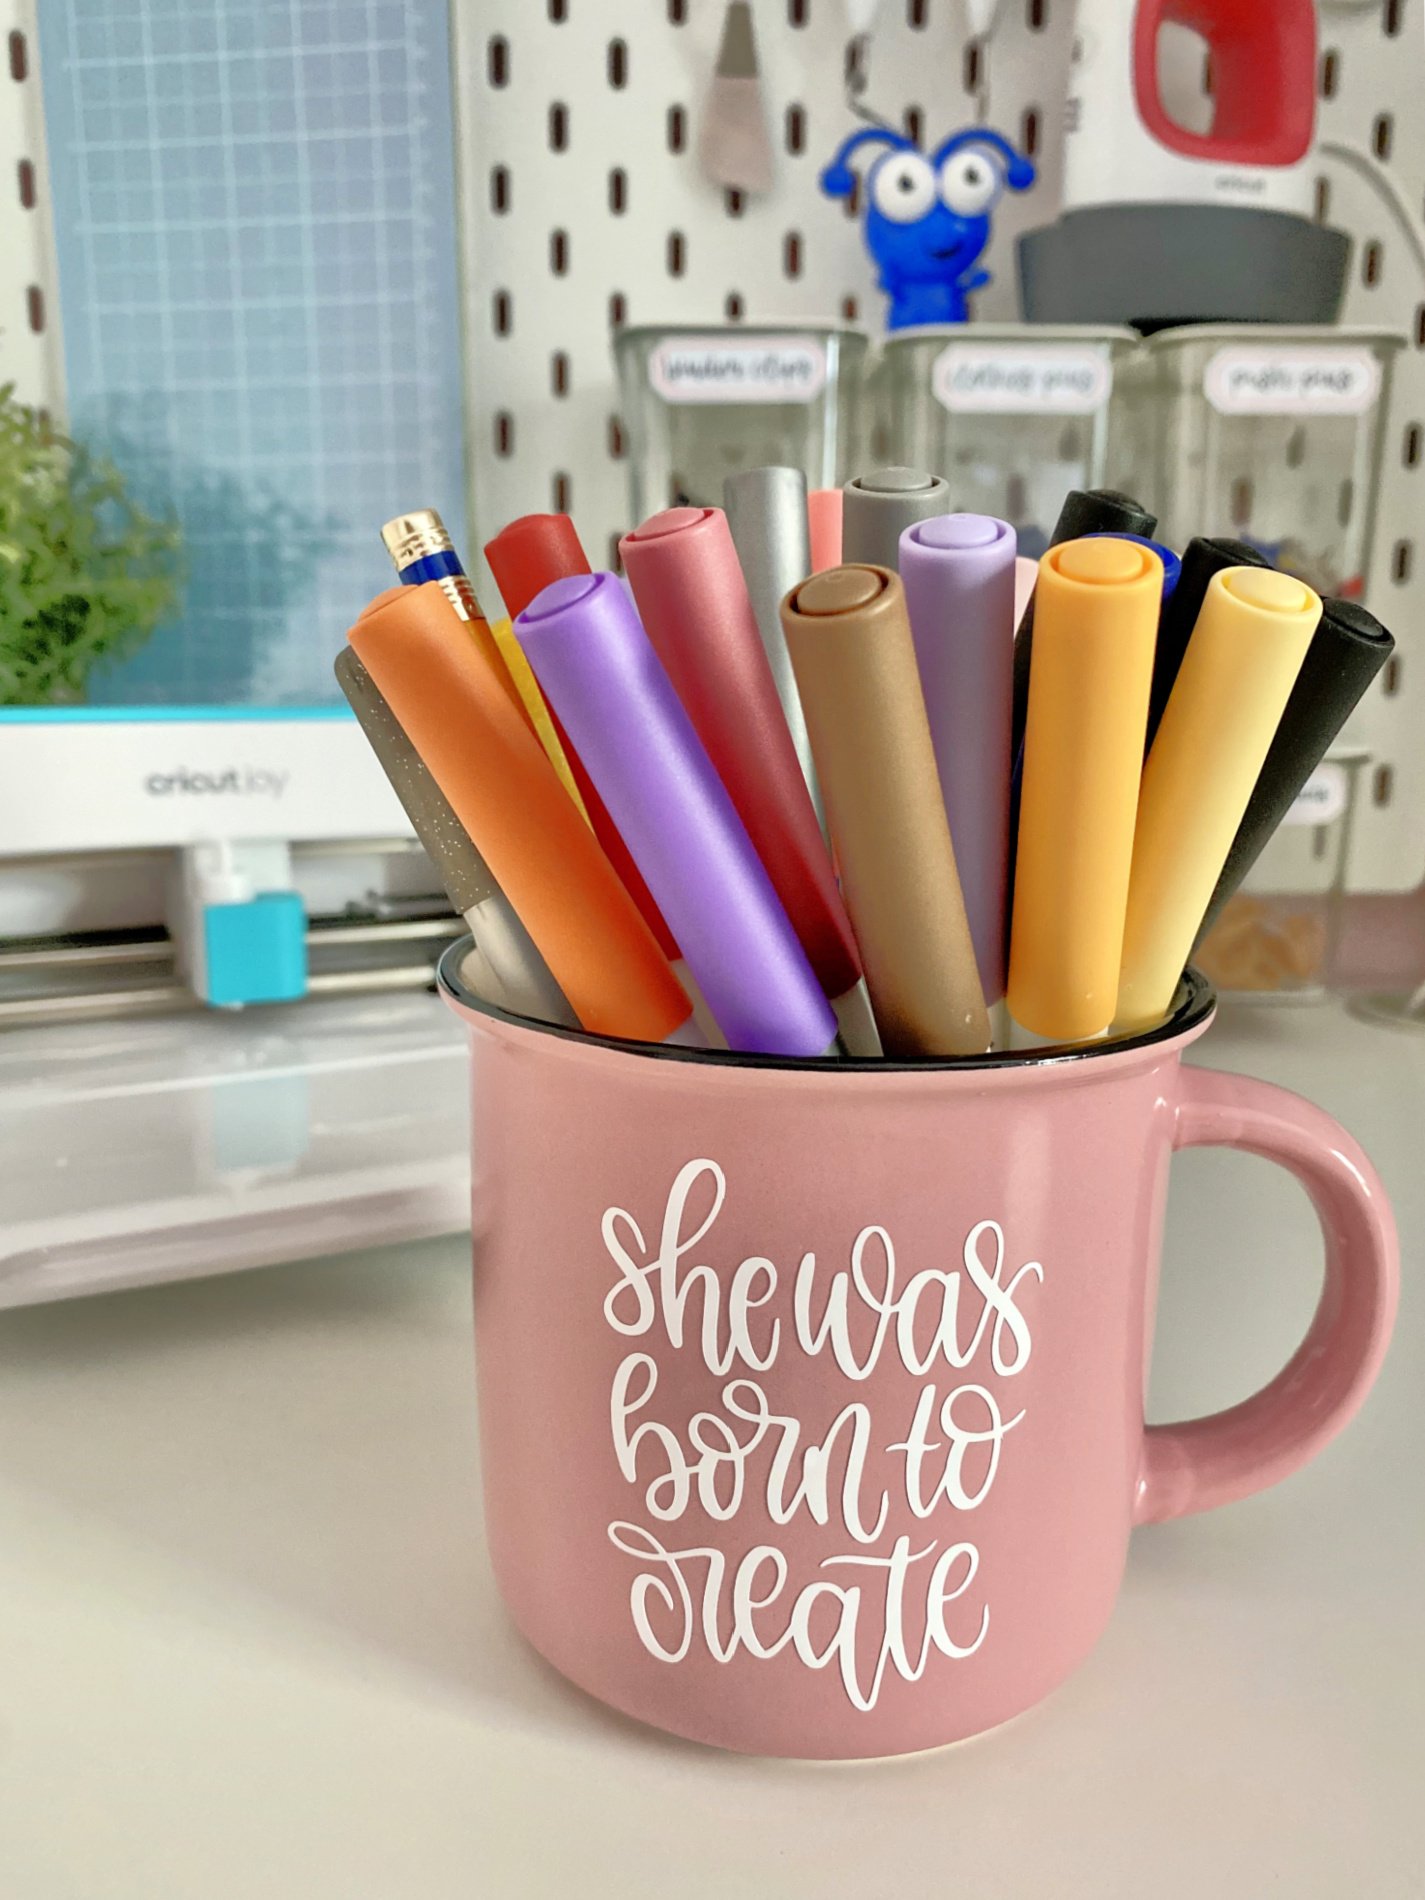
This is the end result! Since I used the permanent vinyl I can clean this muh with ease knowing it’s not going anywhere. I placed pens in my cup since I’m waiting on more containers to come in stock for my new Ikea Peg Board System!
FAQs about Cricut Joy Smart Vinyl
You can use any vinyl you would like. The beauty of the Smart Vinyl
This clever crafting vinyl work without a cutting mat, so you can just load the material directly into your Cricut Joy machine and go. Smart Materials come in a variety of material types, including Smart Vinyl, Smart Iron-On, Smart Label Writable Paper, and Smart Label Writable Vinyl.
Yes, you can use short pieces placed on a mat even if you don’t own a Cricut Joy.
Permanent Cricut Vinyl is ideal for projects that need to weather the storm, from mailboxes to mugs, to outdoor signage and more. It’s a water-resistant and UV-resistant film with an adhesive that can last for up to 3 years. Removable Cricut Vinyl is just that. It easily can be removed. Ideal for projects that will not need to be washed or cleaned. Think on an indoor sign, on an interior wall, interior bookcase, etc.
Cricut Joy Projects
Here are a few other Cricut Joy posts to read through.
- Unboxing the Cricut Joy
- How to setup the Cricut Joy
- 5 Ways to Get Your Craft Room Organized with Cricut Joy
Cricut Specials
Here are the most current Cricut deals just for Sew Woodsy readers!
- Free Shipping on orders of $99 or more with promo code JULSHIP
- Save 30% off on Select Vinyl! Valid through 7/14
- Save 30% off on Select Craft Tools! Valid through 7/14

If you are new to the Cricut Joy I hope you found this helpful and ready to jump into your first project using Smart Vinyl™ with the Cricut Joy!
Disclaimer: There are affiliate links in this post. That means if you purchase from a link I make a small percentage at no additional cost to you. Thank you for supporting Sew Woodsy!
Leave A Reply!