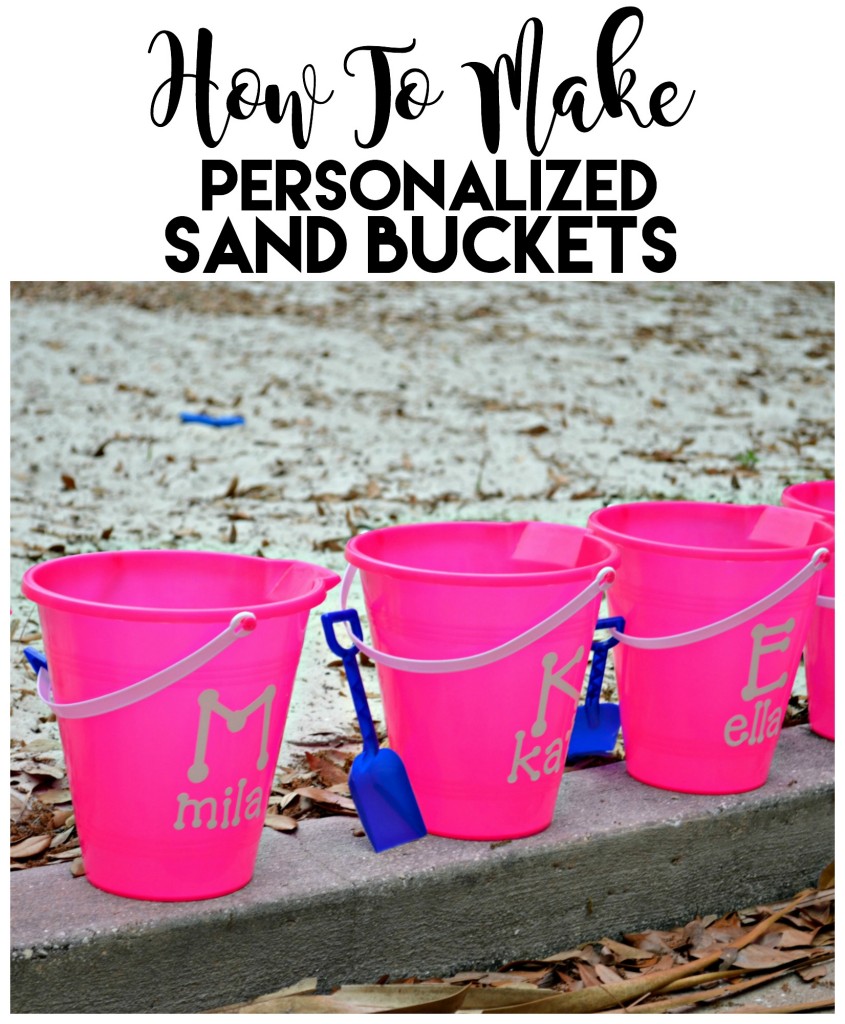
Looking for an inexpensive and creative party favor to give out? Learn How To Make Personalized Sand Buckets for all your guests!
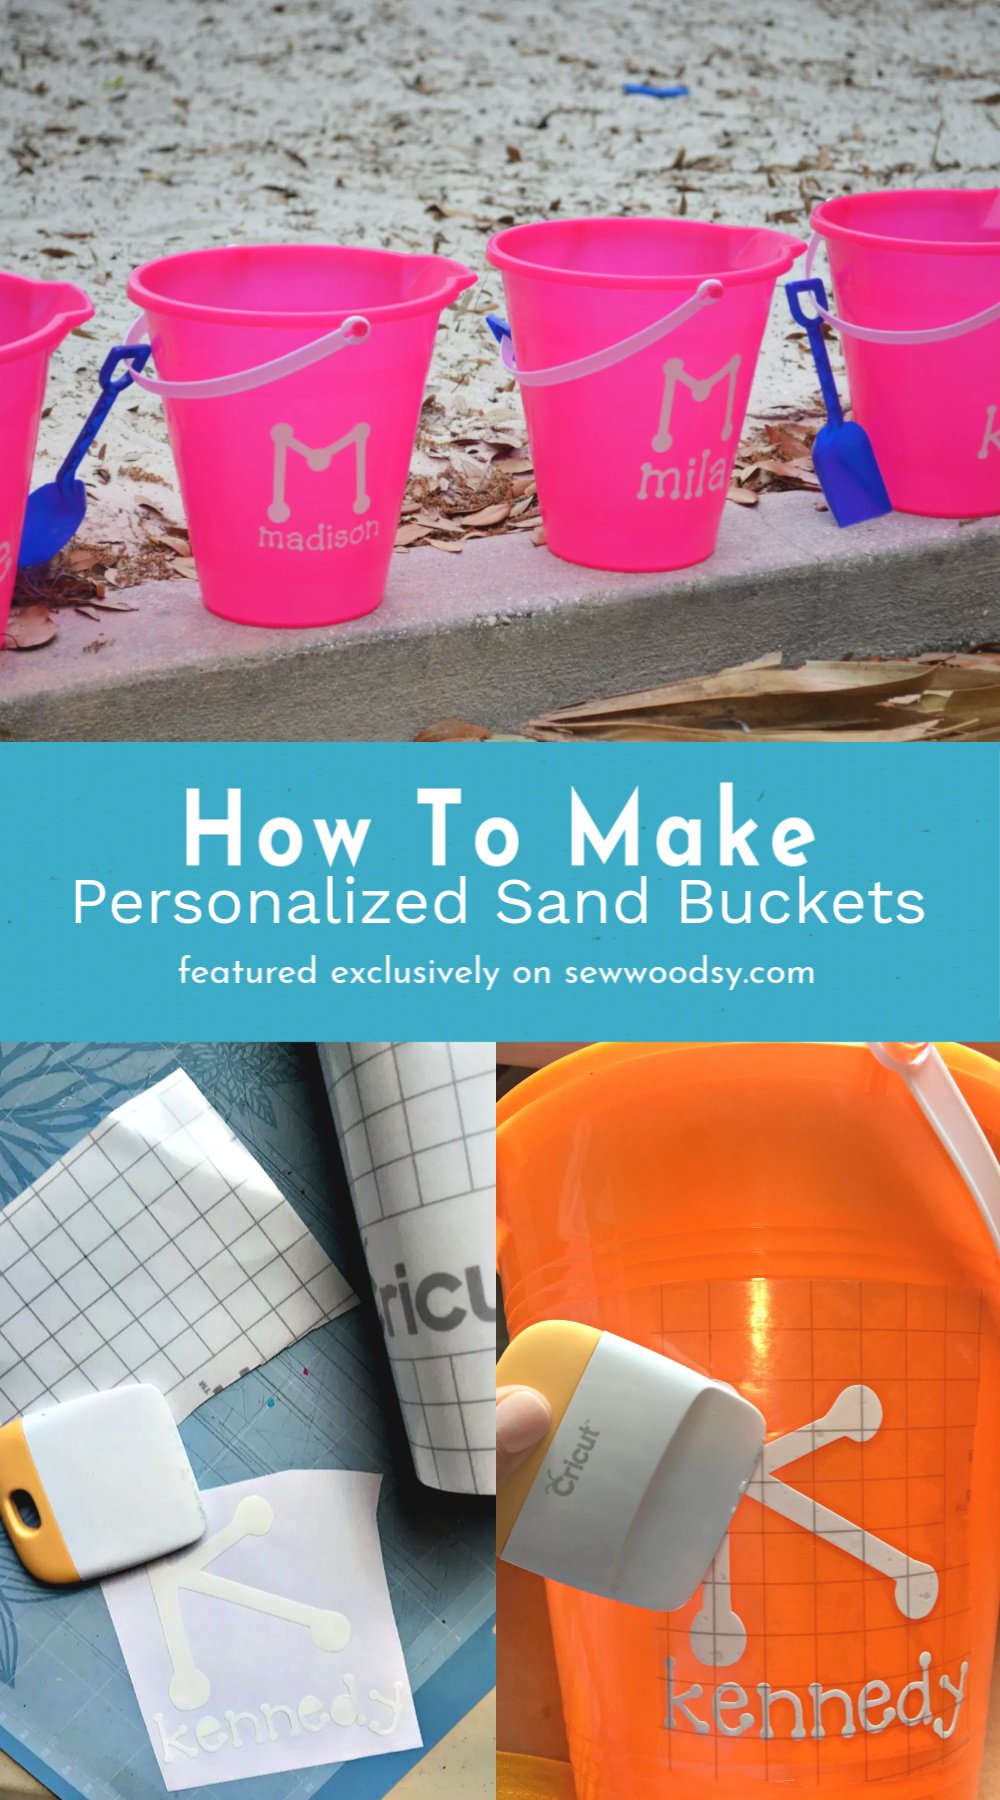
I’m slow going (per normal) with sharing Ryder’s Birthday party stuff. I didn’t do as much as I did for his first birthday; however, I did make the cutest customized sand buckets as favors for his friends. I loved how these turned out. I’m going to preface we had over 40 children as his playground party this year. So I worked on these over the span of 2 weeks. But if you have less children these won’t take as long to make.
I order a case of 48 buckets from the Dollar Tree; however, during the summer months they typically have these buckets (so no need to make a custom order). I used the new bulk white vinyl and transfer tape from Cricut. This is the best bang for your buck and now I have plenty of material for many more projects!
Supplies:
- Cricut Explore
- Cricut Design Space™
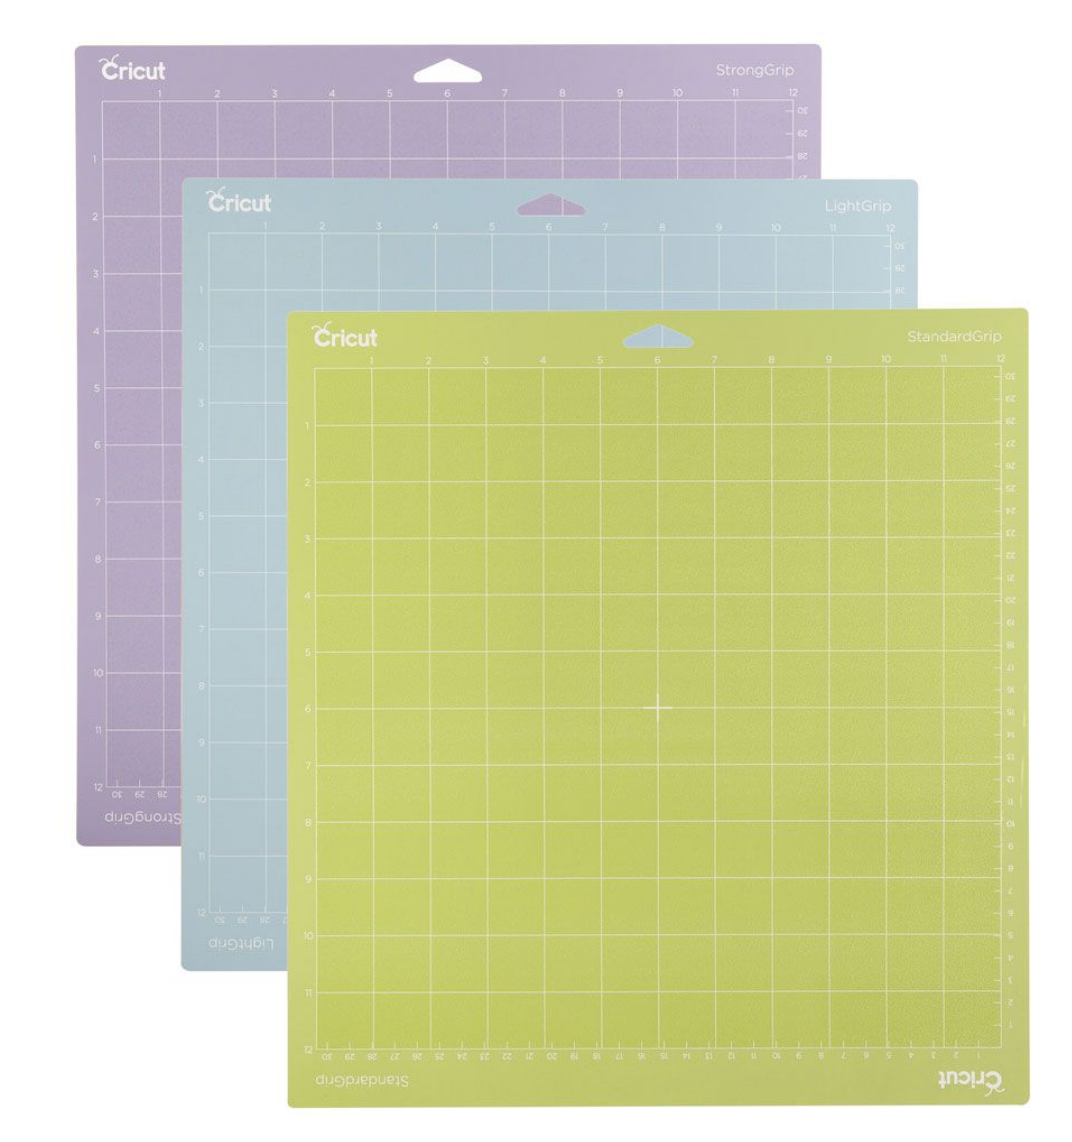
- Cricut Mat
- Cricut White Vinyl
- Cricut Transfer Tape
- Cricut Basic Tools Set
- Sand Bucket
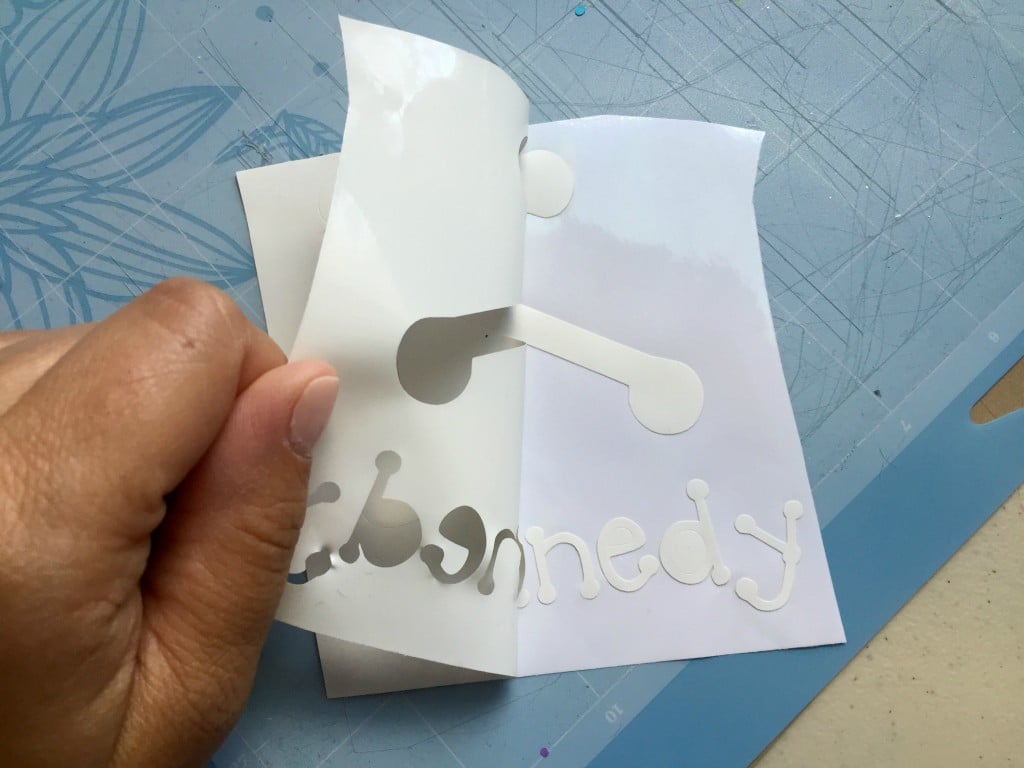
I had over 40 names on my Cricut Design Space dashboard. I used the Fontopia font. I made the large first initial and then I added the full name underneath.
I selected group then weld and then the name cut together. I did this every single time until all 40 names were done! Make sure you select the vinyl setting when you go to cut. Once you cut the name you’ll want to weed out the negative! I simply peal back the vinyl and then weed out the circular areas (Like the d and e).
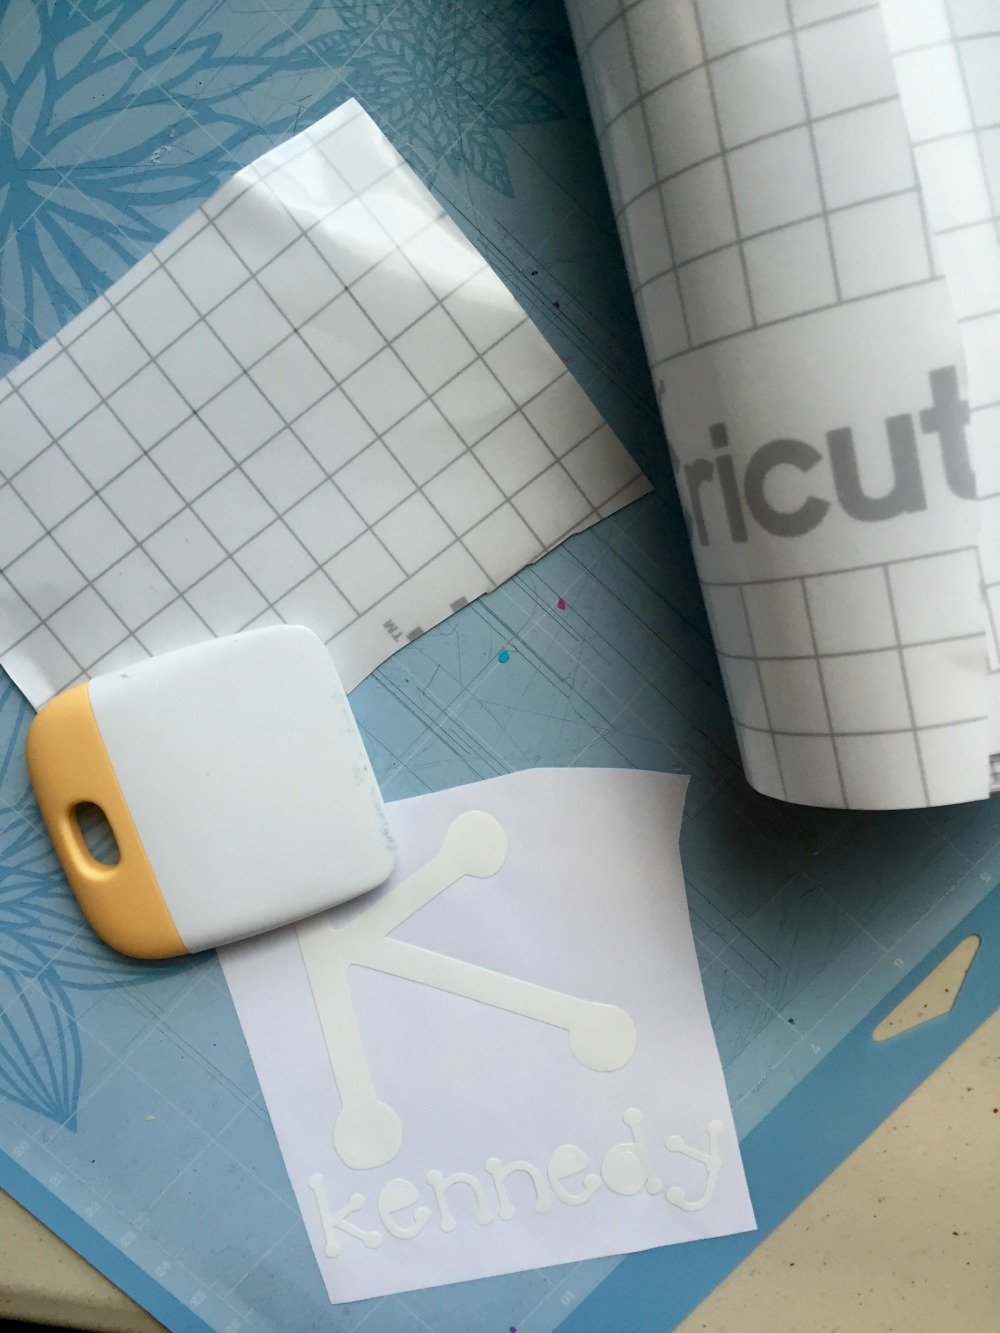
Next up, get the transfer tape ready.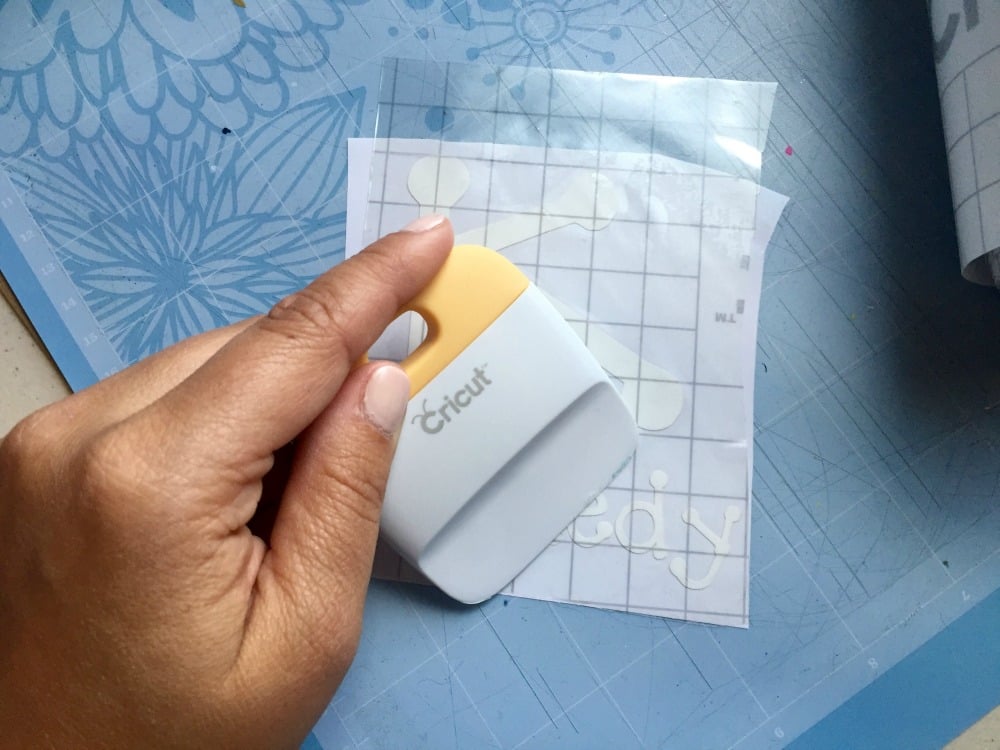
Place the transfer tape on top of the vinyl. Then, using the squeegee gently scrape the transfer tape on to the letters. 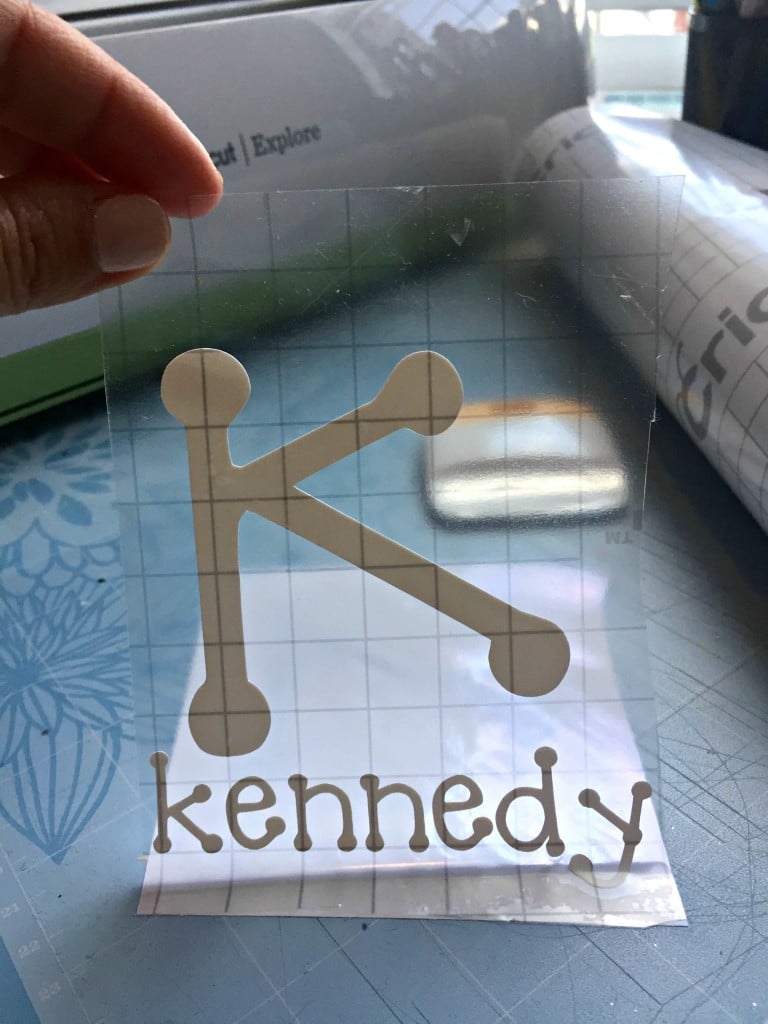
Then carefully pull up the transfer tape and all your letters should stick! *Note: If the letters don’t easily stick and it’s hard to peal it off the paper you need new transfer tape. It’s old and it should easily stick!
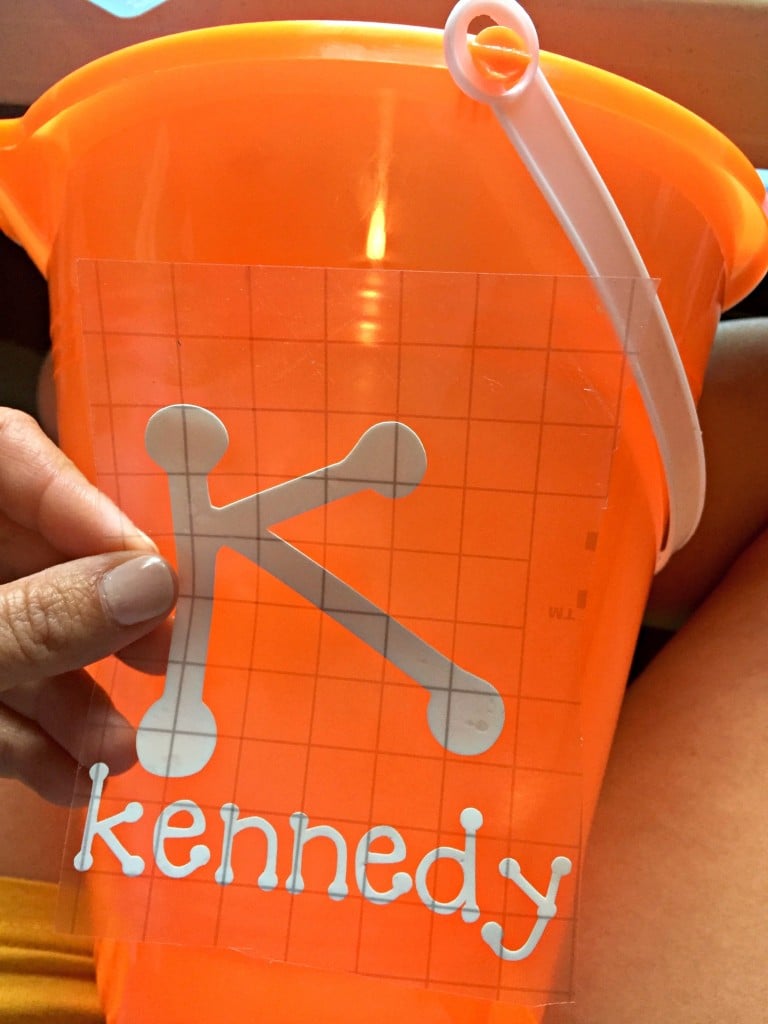
Now, carefully take the transfer tape and place it on the sand bucket. 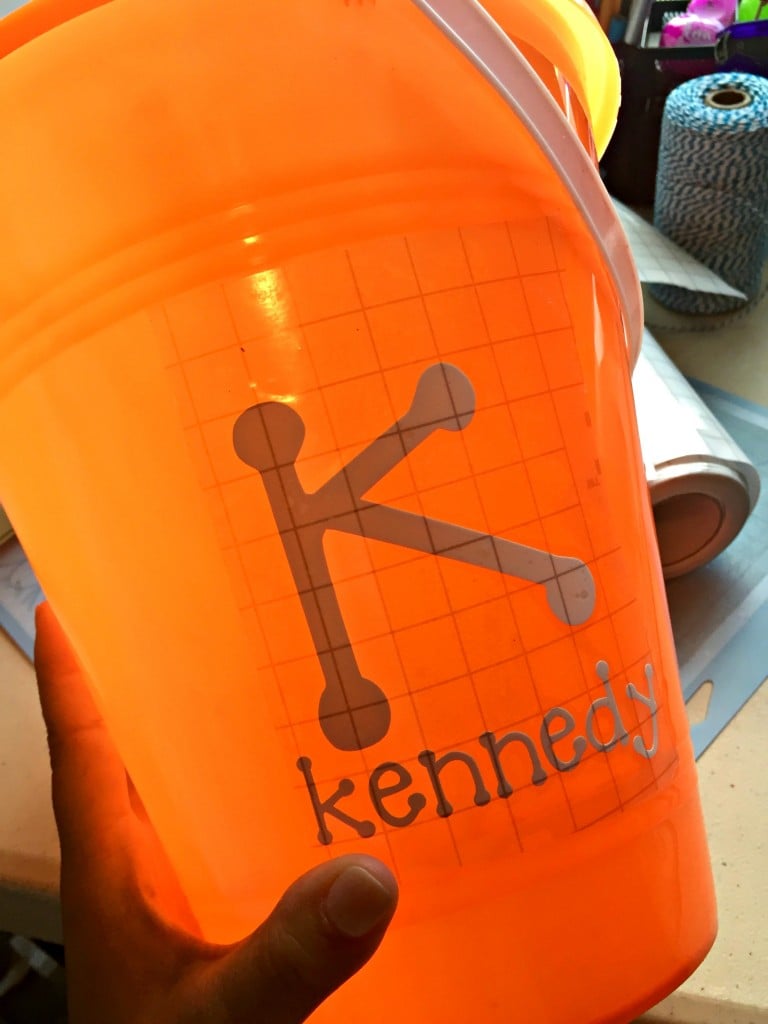
I like to place the transfer tape starting in the middle and then work my way out. I find that this method works best when working with curved surfaces! 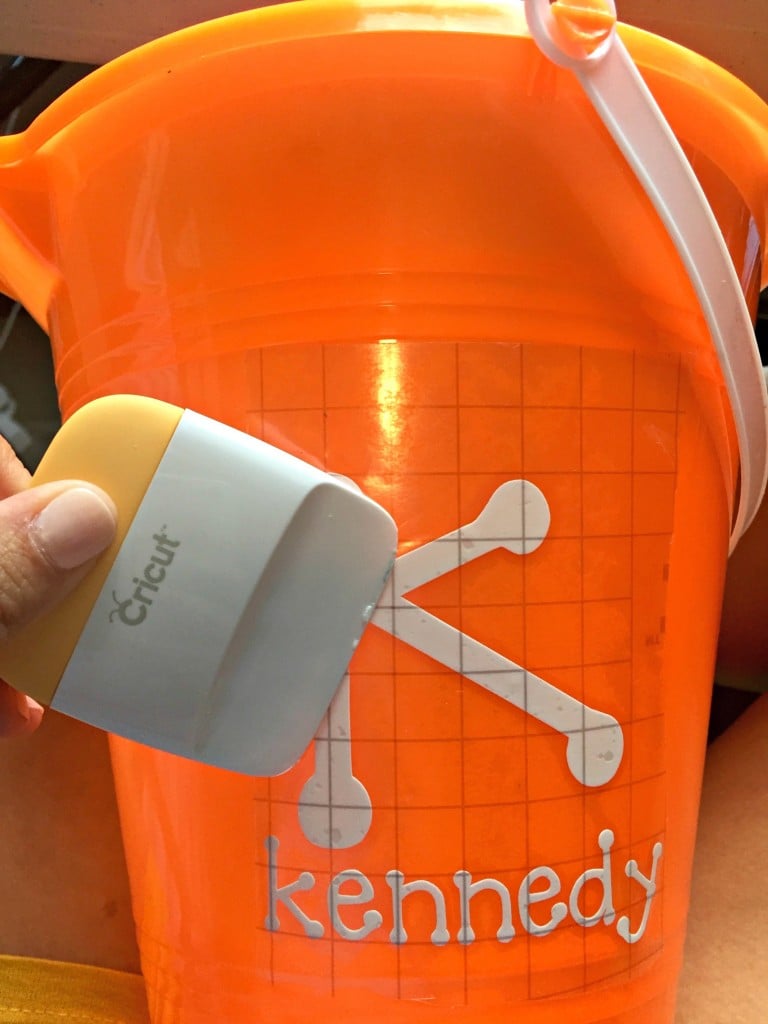
Now take the squeegee and smooth out the letters on to the bucket. 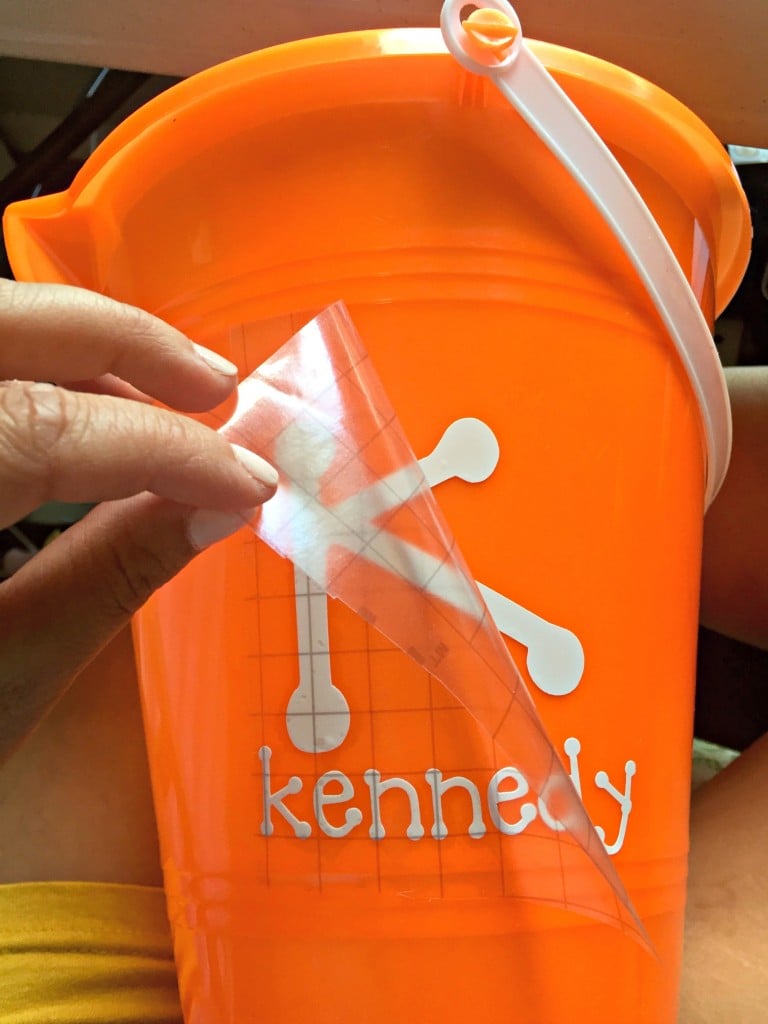
And peal off the transfer tape! That’s it! Now on to 39 more in my case!
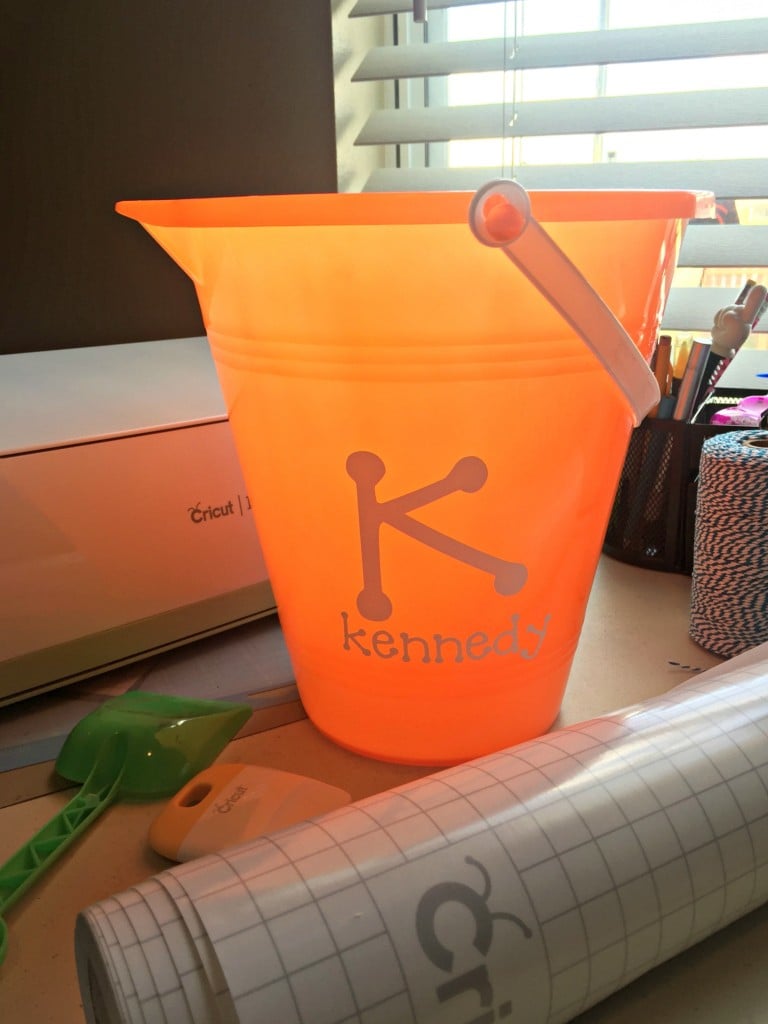
I absolutely loved how these turned out and all the parents loved that their kids had a customized bucket!
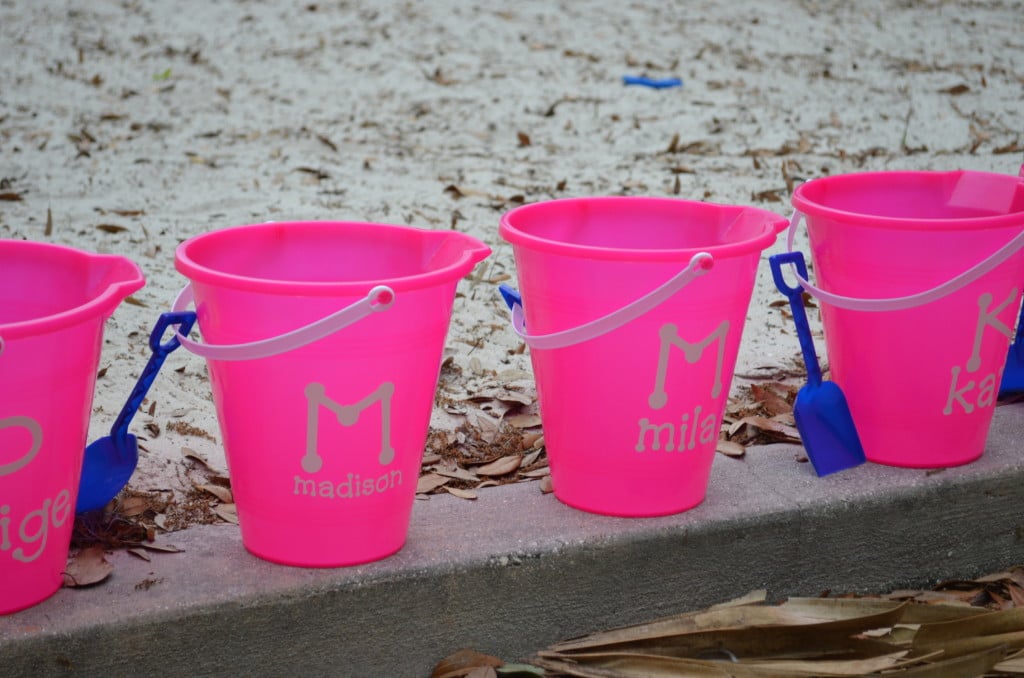
I totally spaced in the moment and failed to take a photo of ALL the buckets lined up. My friend and my mom decided to line them up by colors. I only took pictures of the pink buckets the day of Ryder’s party.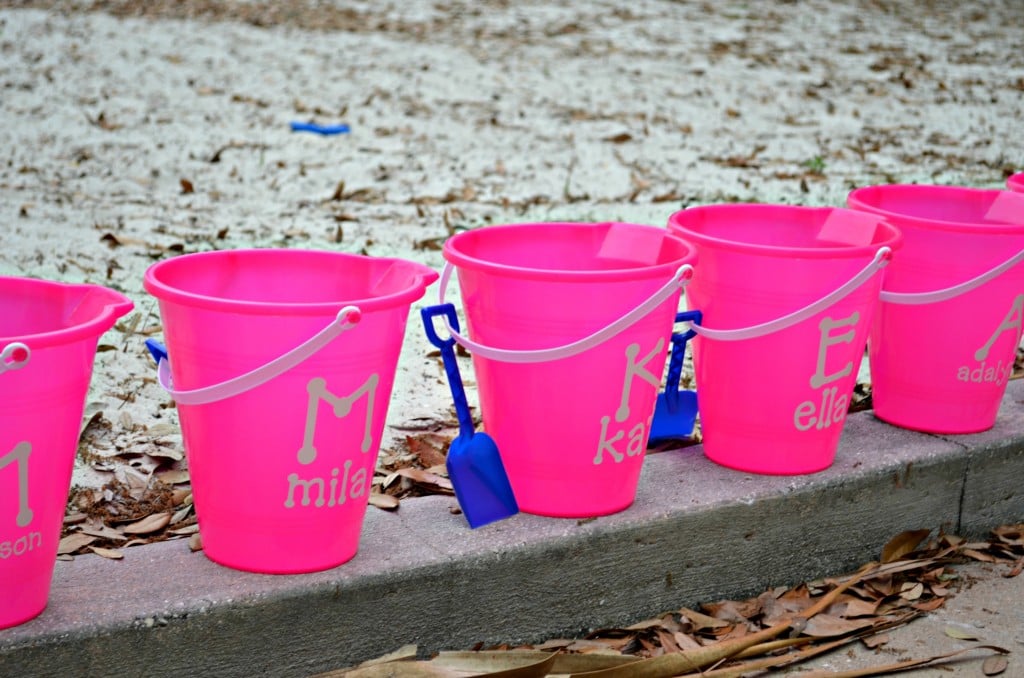
If your looking for a fun custom favor OR just something fun to make your kiddos this summer this is the easiest project to do! Just a little time and patience and you’ll have a personalized sand bucket!
Party Favor Ideas
Looking for more inexpensive and easy-to-DIY party favors? Check out a few other tutorials.
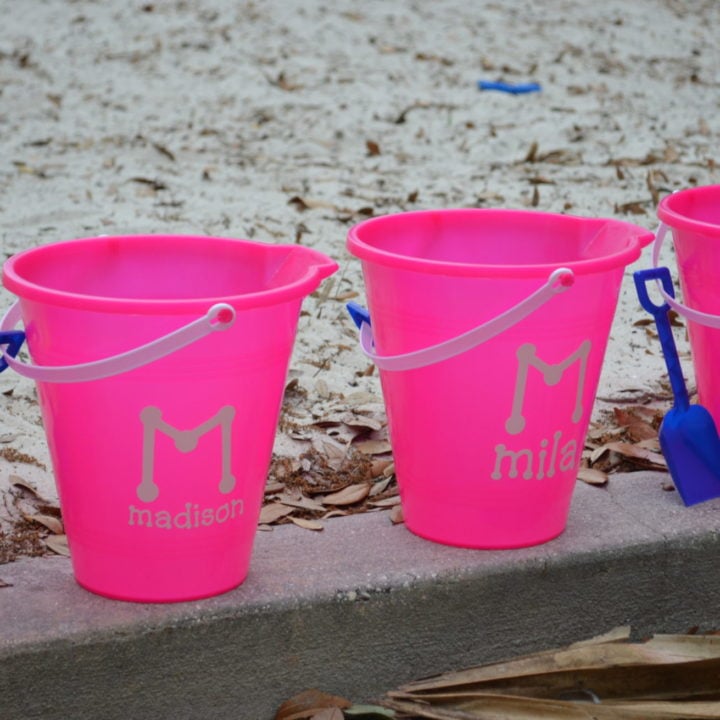
How To Make Personalized Sand Buckets
Looking for an inexpensive and creative party favor to give out? Learn How To Make Personalized Sand Buckets for all your guests!
Materials
- Cricut Mat
- Cricut White Vinyl
- Cricut Transfer Tape
- Plastic Sand Bucket
Tools
- Cricut Explore
- Cricut Design Space
- Cricut Tools
Instructions
- I used Cricut Design Space to create the names. I used the Fontopia font. I made the large first initial and then I added the full name underneath. I selected group then weld and then the name cut together. I did this every single time until all 40 names were done! Make sure you select the vinyl setting when you go to cut. Once you cut the name you’ll want to weed out the negative! I simply peal back the vinyl and then weed out the circular areas (Like the d and e).
- Place the transfer tape on top of the vinyl. Then, using the squeegee gently scrape the transfer tape on to the letters.
- Then carefully pull up the transfer tape and all your letters should stick! *Note: If the letters don’t easily stick and it’s hard to peal it off the paper you need new transfer tape. It’s old and it should easily stick!
- Now, carefully take the transfer tape and place it on the sand bucket.
- I like to place the transfer tape starting in the middle and then work my way out. I find that this method works best when working with curved surfaces! Now take the squeegee and smooth out the letters on to the bucket.
- Peal off the transfer tape! You are all done.
Notes
You can also use any other type die-cutting machine to make these personalized sand buckets.
Recommended Products
As an Amazon Associate and member of other affiliate programs, I earn from qualifying purchases.
Disclaimer: There are affiliate links in this post. That means if you click on the link and purchase something I will receive a small percentage. It does not cost you anything extra.

