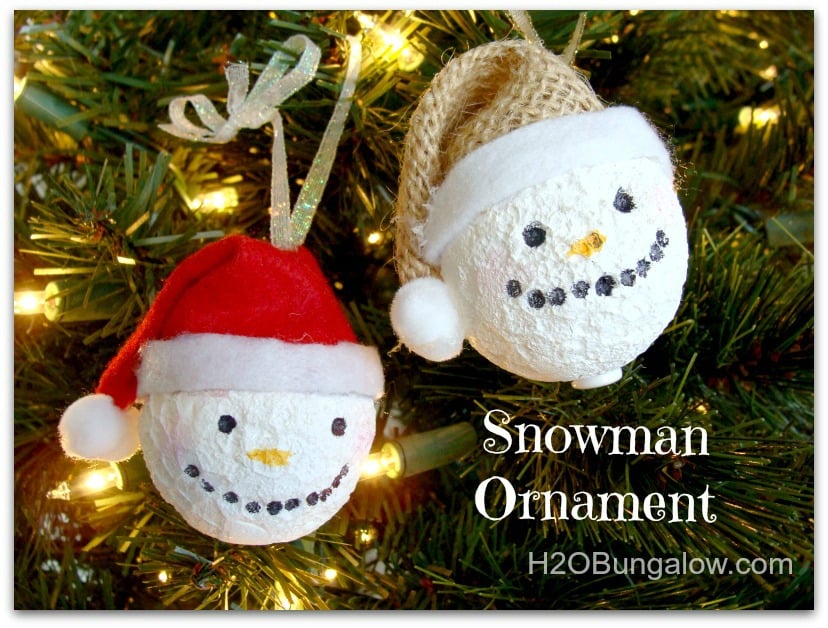
Day 9 of the 12 Days of Handmade Ornaments! Today, my friend Wendi is sharing how to make these adorable Snowman Ornaments! Only a few more days to enter to win the Cricut Giveaway going on during our 12 day-long event!
Hi! I’m Wendi from H2OBungalow. My family moved to a small bungalow on a Florida barrier island. This was a huge lifestyle change. Out with the fancy cars and work suits and on with the flip-flops and dolphins swimming by our back yard. I blog about a whole lot of DIY that covers everything from remaking our home and lifestyle to learning to simplify and be green, all while working hard to create a lifestyle with style!
This year I’m remaking my entire tree and all of my Holiday and Christmas decorations. Having a hall pass to completely redo everything has been a blast. But, I’m thrifty too and like to renew what I already have like these Holiday Candle Wraps or DIY Mercury Glass or how I made a 50-year-old vase look like new in my How to Easily Clean Silver post.
Our new home in Florida has a casual vibe. I want my holiday decorations to reflect our new relaxed style. Even though we’re coastal, I had to have a few snowmen. After all, what’s a Christmas tree without a few snowmen? I knew I could make my own little snowmen ornaments and I’d like them better than anything I could buy.
These little snowman ornaments fit the bill and are so easy to make. If you can work a glue gun and use spray paint you can make these ornaments!
Supplies you’ll need:
- Styrofoam ball – the smooth kind. I found mine at the Dollar Tree.
- Thin wire
- A small button
- White spray paint
- Red felt or burlap for the hat
- White felt for the hat trim
- Small pom-poms
- A Sharpie and or craft paint for the face
Tools:
- Glue gun
- Pliers
- Scissors
- Wooden skewer not necessary but it’s handy
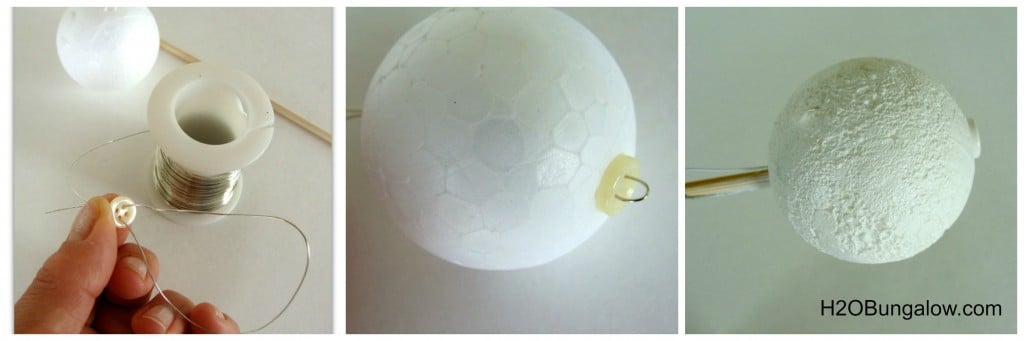
Start your ornament by putting a hole through your ball. A wooden skewer works well for this step. Next, cut a length of wire 6 inches longer than the ball. String the wire through the ball with the button on the end. Notice that the wire will be folded in half and the button is just an anchor so the wire doesn’t pull through your ornament.
Now your going to create a snow like texture on your snowman ornament with the spray paint. Paint your ornament holding the spray paint can about 3″ from the ball. It’s easy to paint the sides evenly by putting it back on the skewer. You’ll want to give it a generous coating. The paint will react with your styrofoam and give it a snow like texture and will dry pretty quickly.
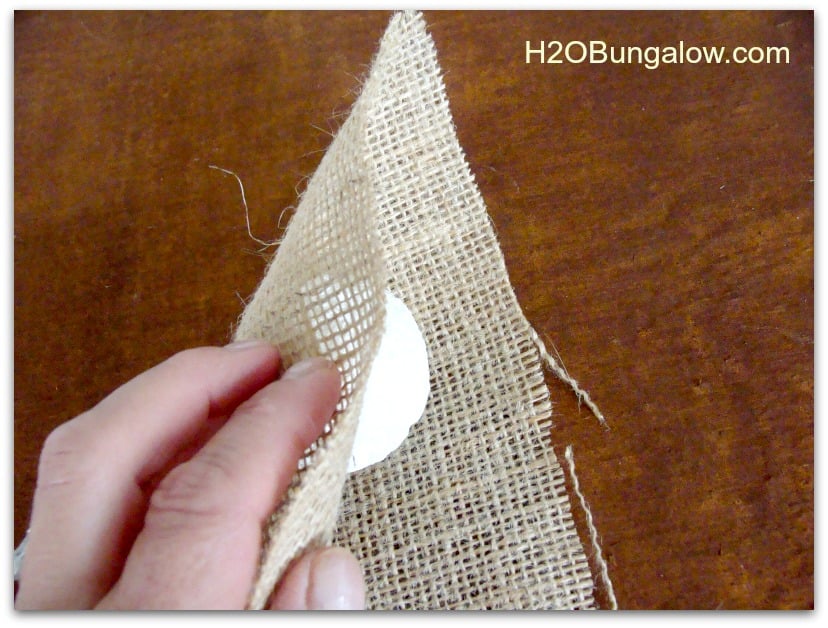
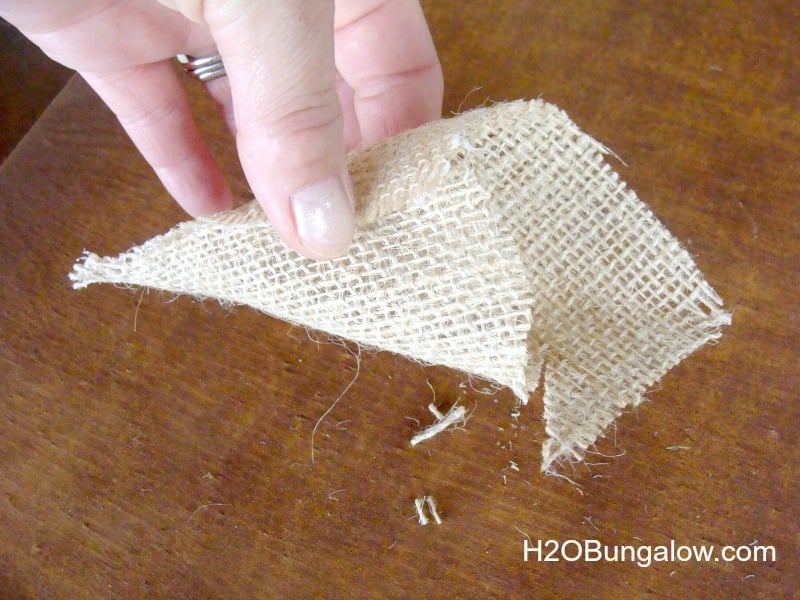
 Next you’ll measure (eyeball) the fabric for your snowman hat. I took a square piece and folded it over the styrofoam ball. Your hat will rest on the top 1/4 of the ball and you’ll need the hat to have enough length to fold it over like a Santa hat.
Cut your fabric. Glue the long edge with your hot glue gun.
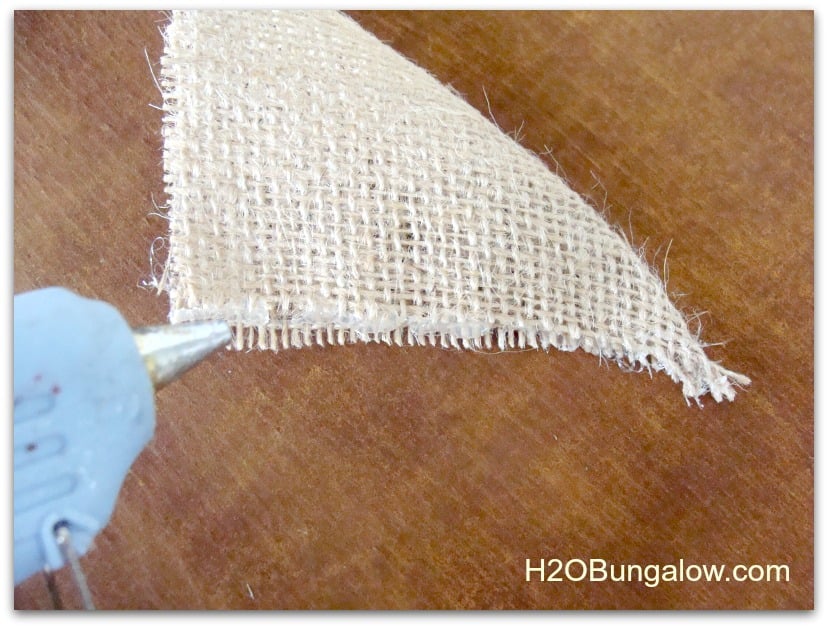
Place the hat on your styrofoam ball to see where to trim the pointy edges. You’ll trim to make the hat sit at the top 1/4 of the ball and the fabric.
 Place the hat on your snowman’s head with the glued seam off to the side where your hat will flop over (like a Santa hat). Trim where needed. The flop fold will completely hide your seam. Lastly, place and poke the wire out of the hat like the below picture. This will become the hanger for your ornament.
 Now your ready to glue the hat onto your styrofoam ball. Glue it down with your glue gun. Next, glue a strip of white felt for the hat trim all the way around the hat. Position it to just cover the raw edge of your hat. Fold the hat down so your glued edge is hidden and secure it with a dab of glue. Place one or two pompoms on the tip of the hat. Notice how It’s starting to look cute!
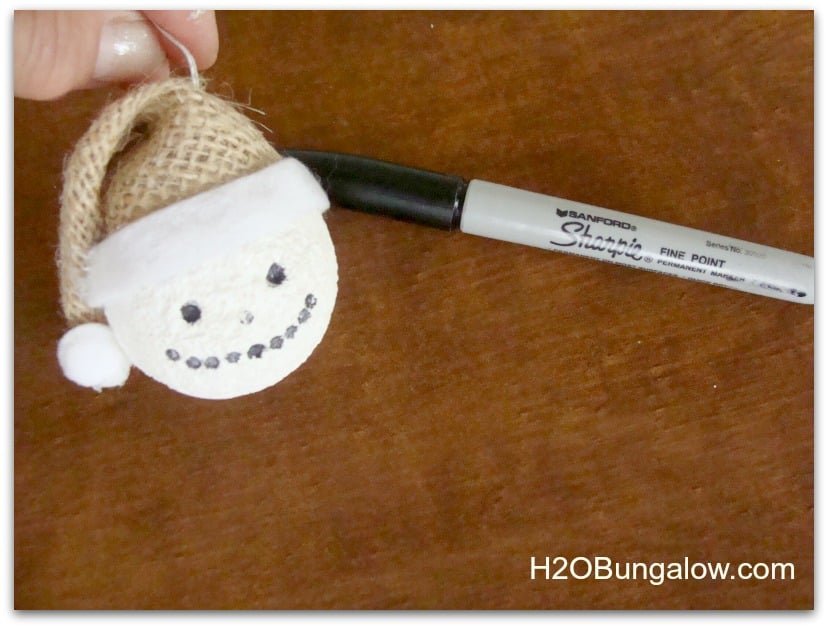
Draw your face with a sharpie, add rosy cheeks or paint on a carrot nose.
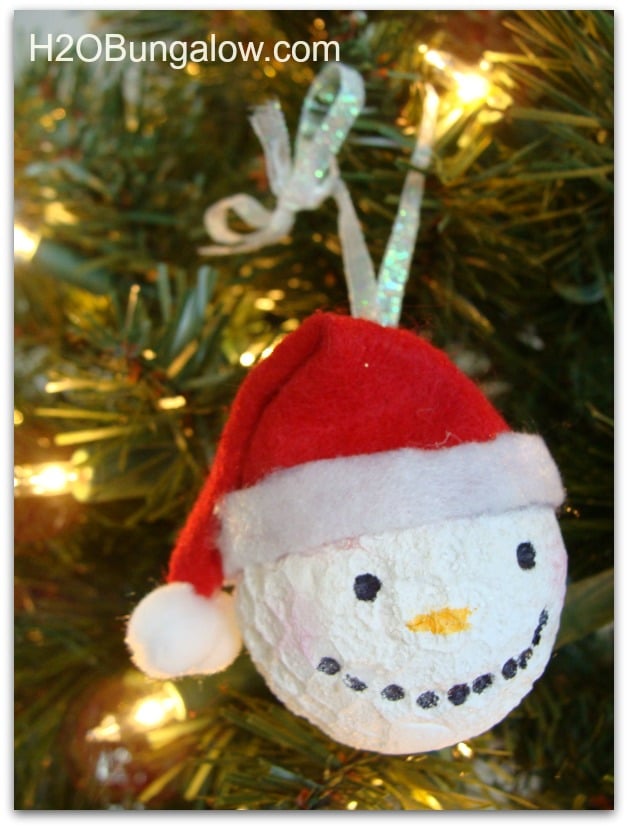
To make a loop for a ribbon, you’ll take a pair of pliers or even a pencil to wind the wire sticking out of the hat into a loop. String a piece of ribbon through the loop.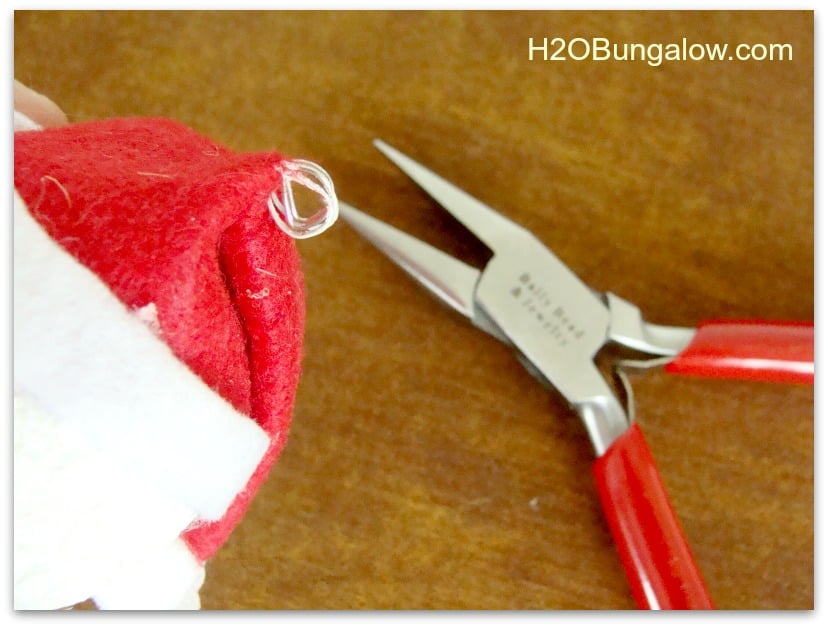 That’s it! Your cute little snowman is ready to hang. Here’s a few pictures of mine.
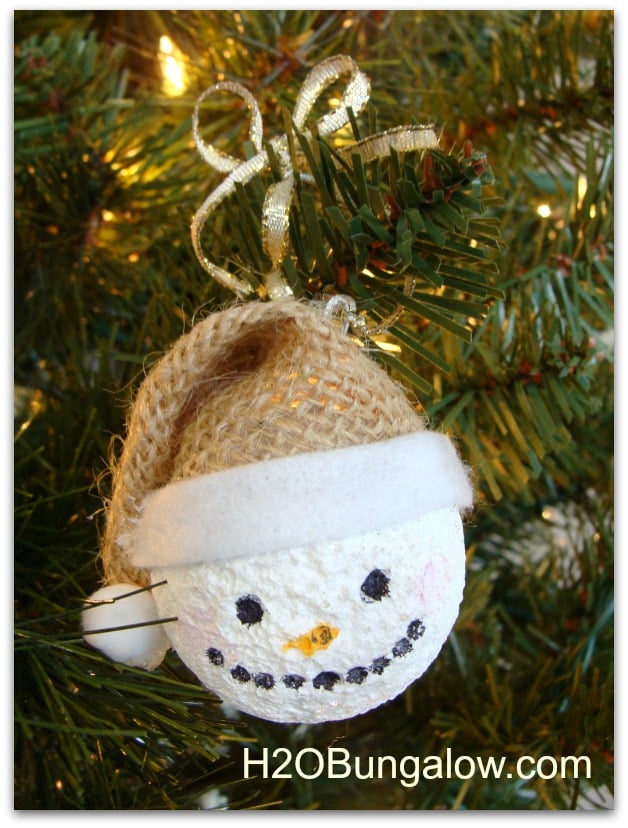
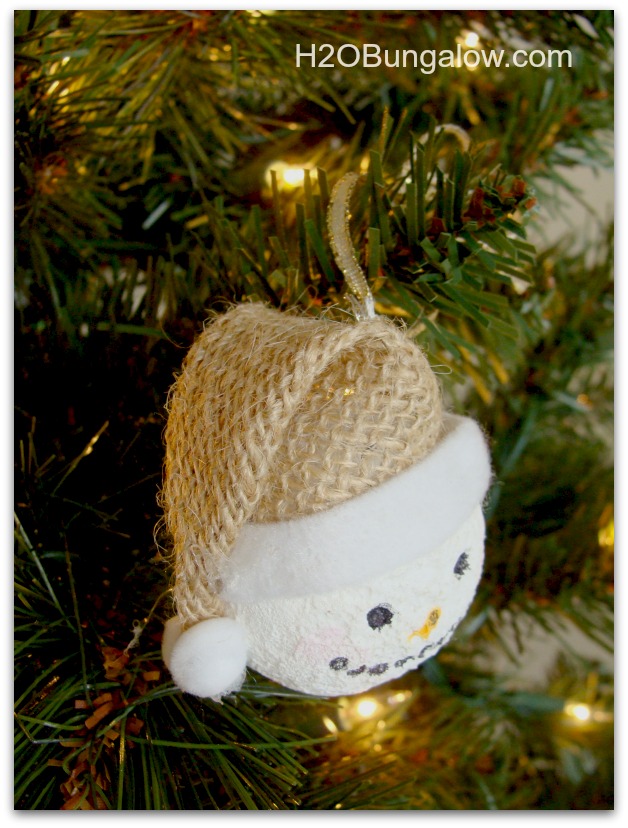
I love the hats! I made a few with red felt hats and a few with burlap. I like them both.
I think these would be so cute as a family. You could print the name for each family member across the white felt hat brim. Possibly even change the hat material to fit each personality.
Thanks for reading my little snowman ornament tutorial. He was easy and quick to make. I hope you make a few and enjoy them as much as I’ve enjoyed sharing how to make them!
Which hat fits your style, the burlap or the red felt?
Comments & Reviews
Bobbi Ann says
So very CUTE.
F.U.N.
Wendi @ H2OBungalow says
Katie,
Thanks so much for including me! I had a lot of fun getting creative for this post. Happy Holidays!
Katie says
Thanks for joining in on the fun Wendi!
Kelly of Simply Kelly Designs says
These are so cute! My kids would love to make these!!!
Katie says
I know I love them!!! I want to make them!