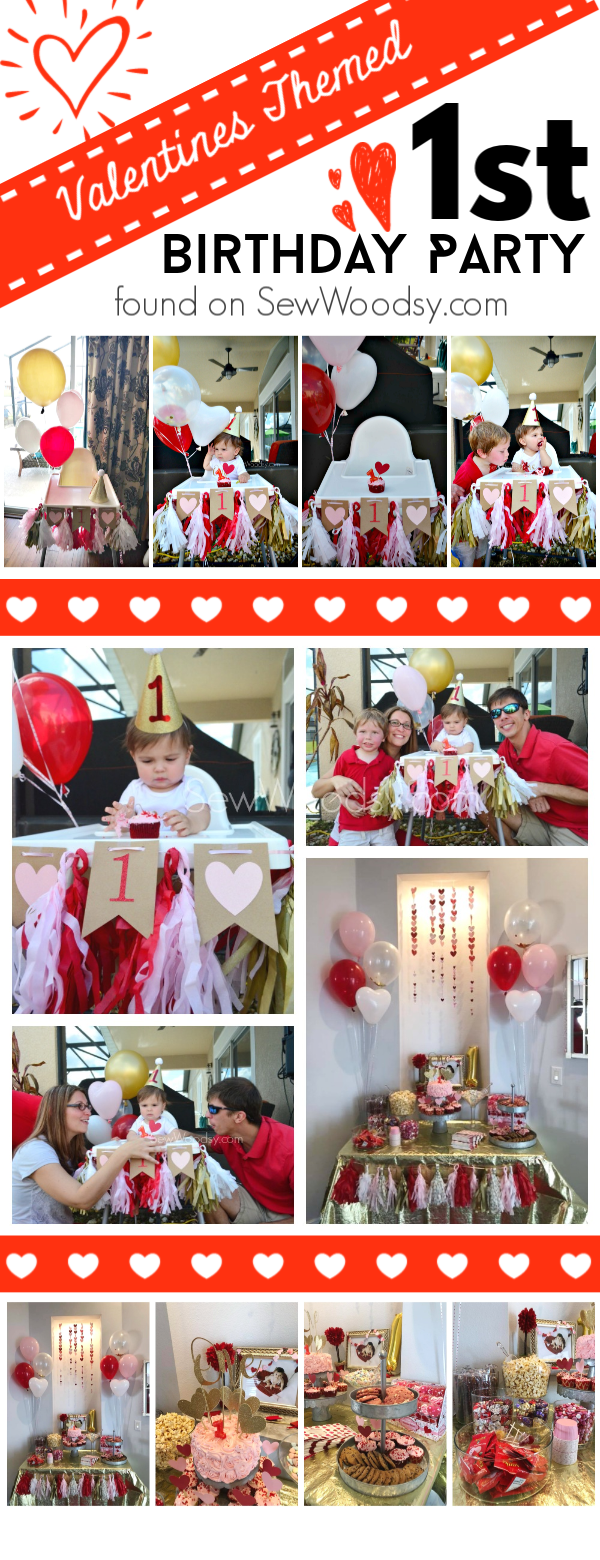
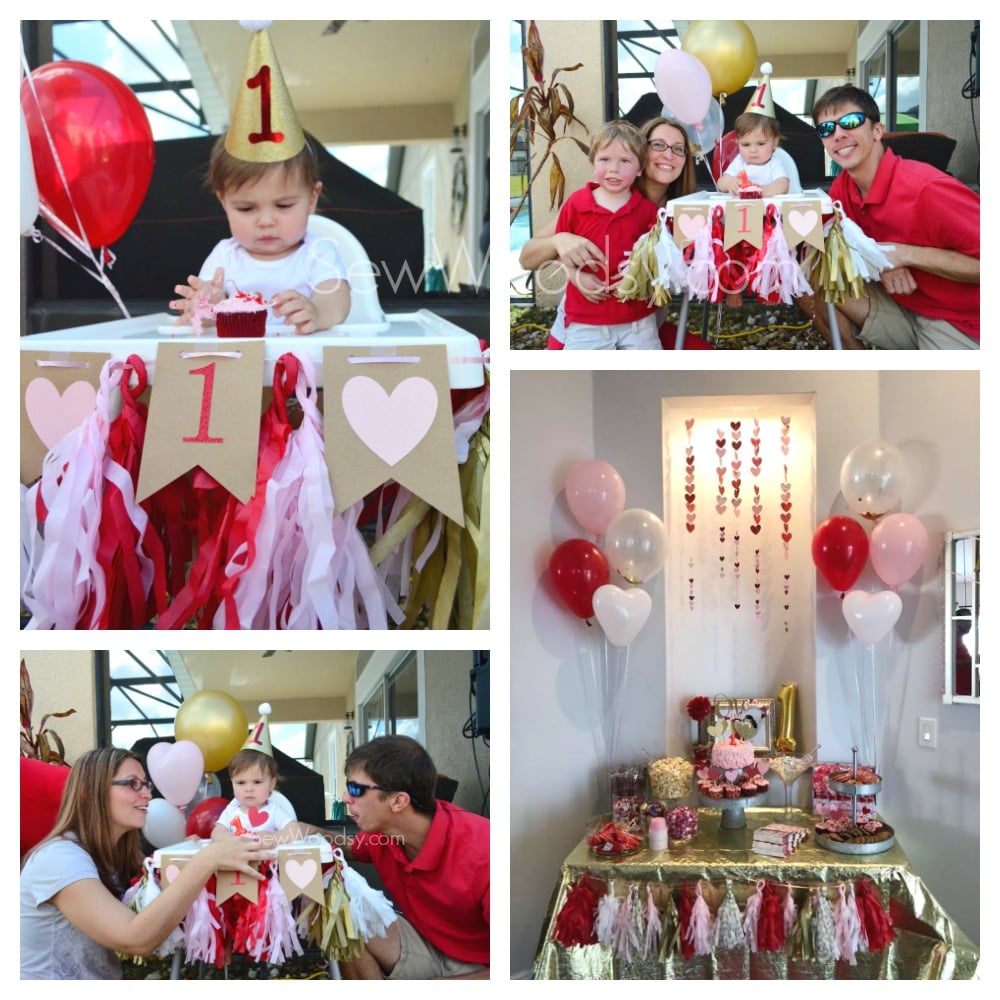
I’m sharing how I created a Valentines Themed First Birthday Party for my daughter using both store bought and homemade decorations! Plus some basic party tips and tricks I’ve learned throughout the way.
DIY Tissue Paper Tassels
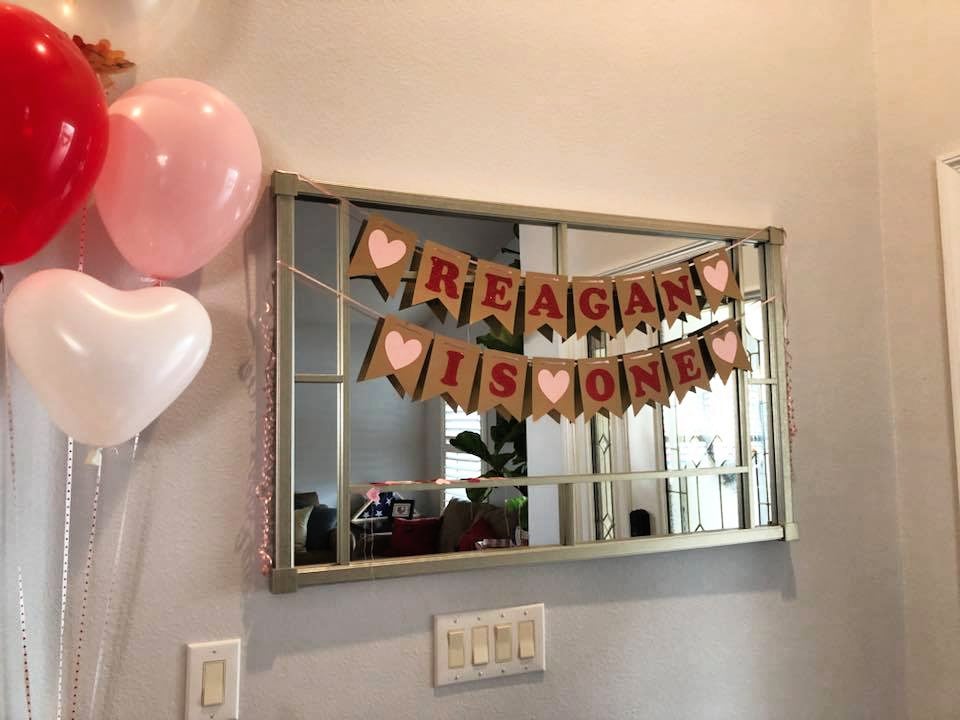
How to make a Birthday Banner
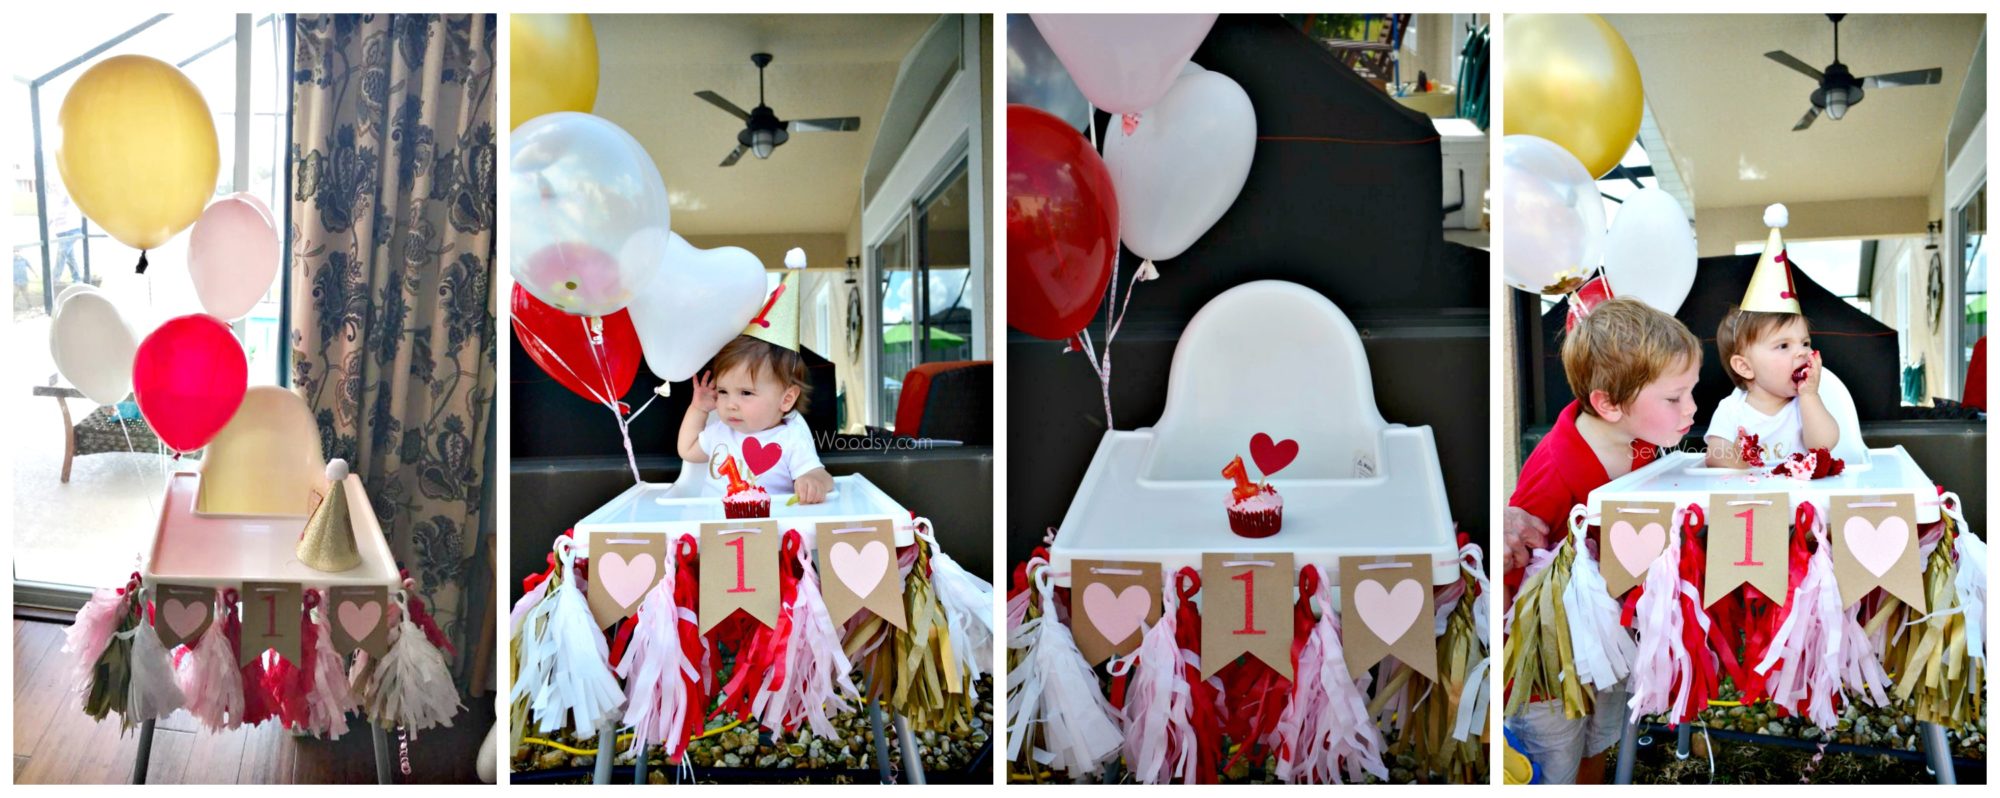
How to make a 1st Birthday High Chair Banner
 DIY Cone Birthday Party Hat
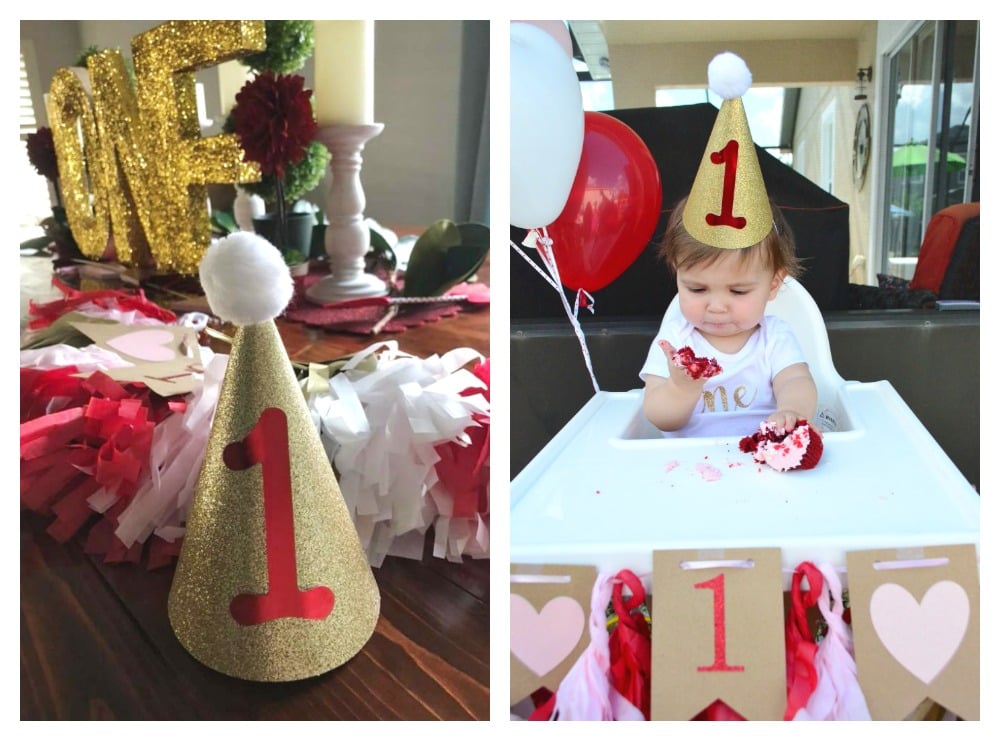 DIY Cone Birthday Party Hat
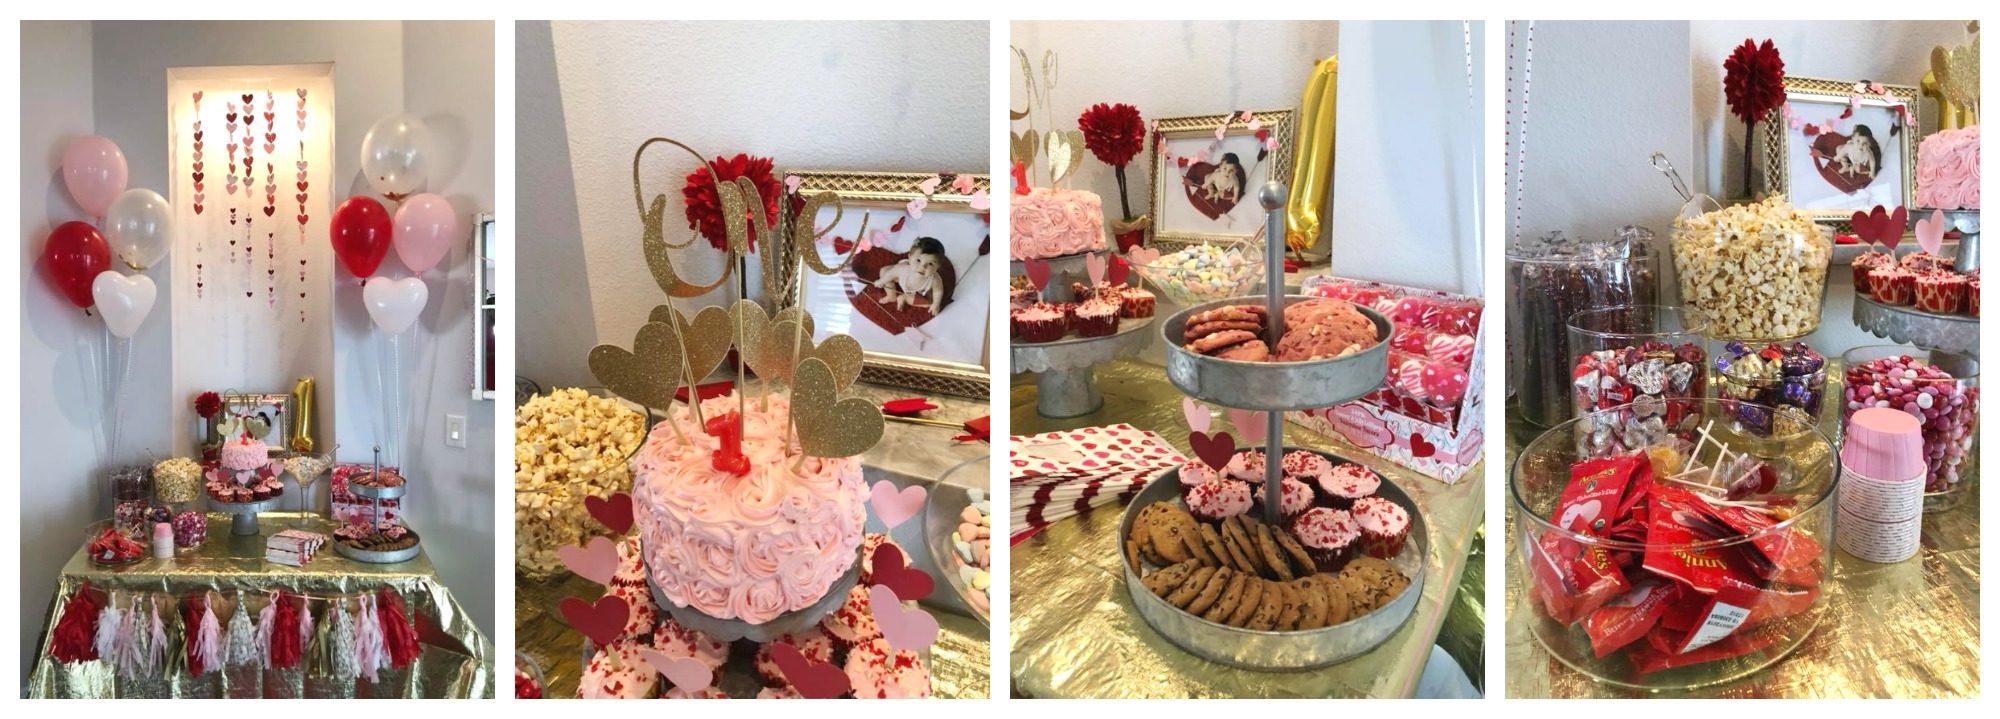
DIY Dessert Table as Party Favors
- Kettle corn popcorn
- Strawberry cheesecake cookies
- Chocolate chip cookies
- Hershey’s kisses
- Hershey’s Reese
- Chocolate dipped pretzel rods
- Lollipops
- Fruit snacks
- Raisins
- Gummy lollipops
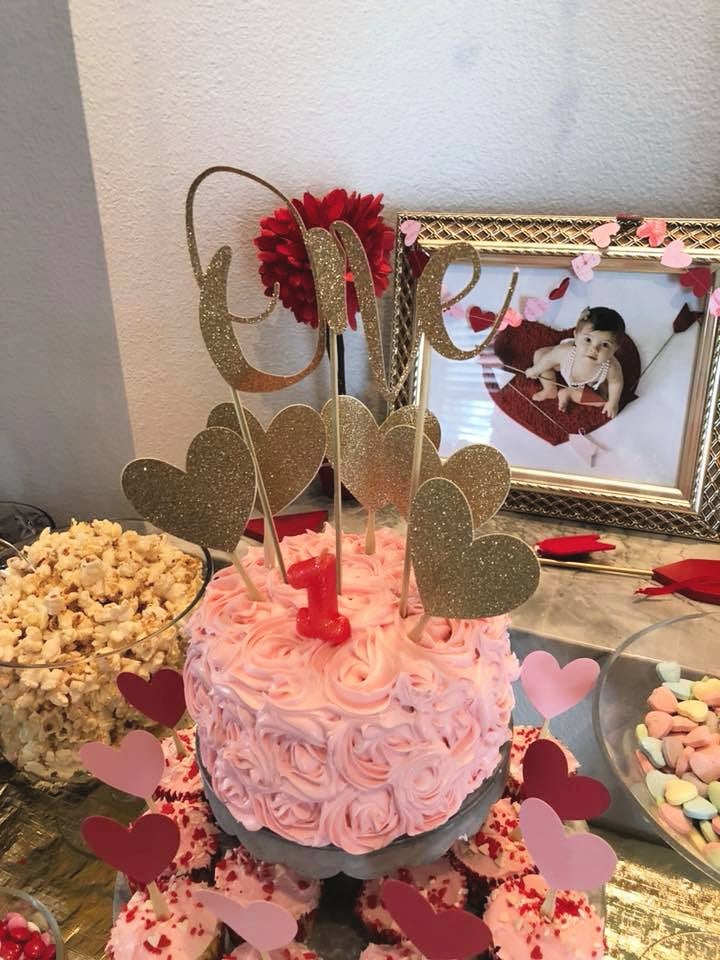
DIY Cake + Cupcakes
We have started a tradition in our home to make our kids Birthday cakes. It’s truly been a team effort. This might have been the first cake I’ve done all on my own. I made a small 2-tier 8-inch round cake and 24 cupcakes. The cake was super easy (vanilla box mix + canned frosting). I even shared a recipe on Katie’s Cucina on how to pipe canned frosting! Since we were both dairy free I needed to stay compliant and believe it or not most boxed cakes and frostings are dairy free! I used my Cricut to make the glittered “one” cake topper. It’s in the “Magnolia Sky” font. I hot glued two wood skewers to the back of the cut-out. I also glued paper hearts onto appetizer skewers that I placed on top of the cake. For the cupcakes I used some of the hearts to add as cupcake toppers!
How do you make glittered letters?
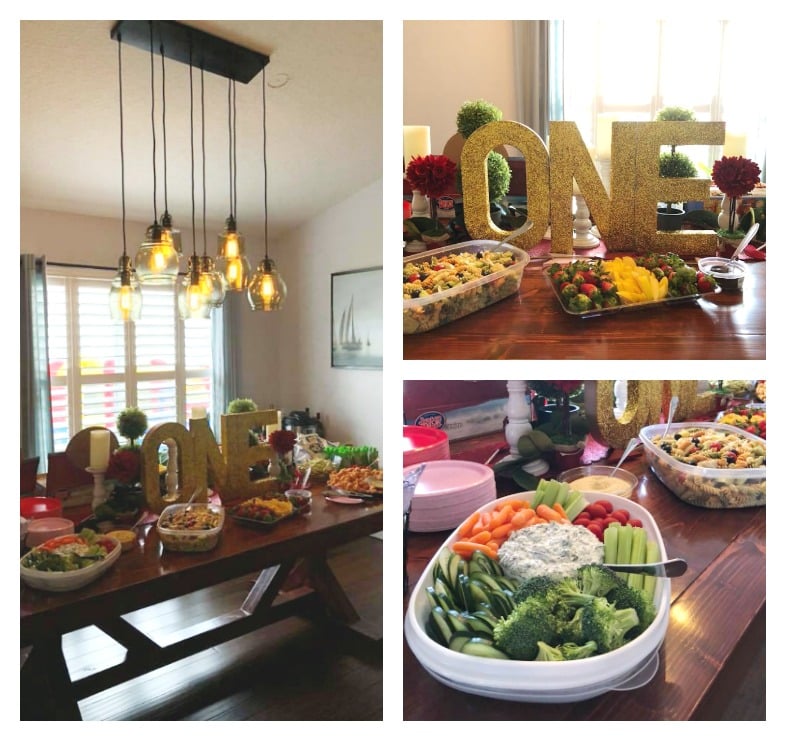
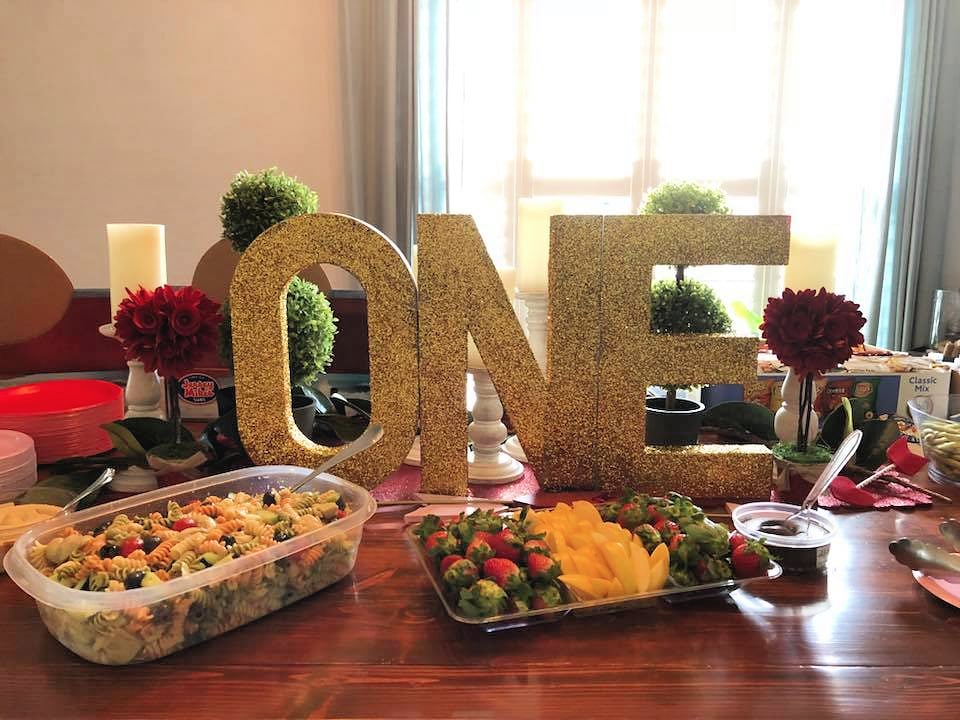
What kind of food do you serve at a 1st birthday party?
- Ordered subs from Jersey Mike’s
- Variety of chips
- Vegetable tray with spinach dip
- Hummus and pita chips
- Pasta salad
- Fruit tray
- Chocolate hummus and strawberries
- Heart shaped Peanut butter and jelly sandwiches
- Snap Crisp
- Veggie straws
- Applesauce pouches
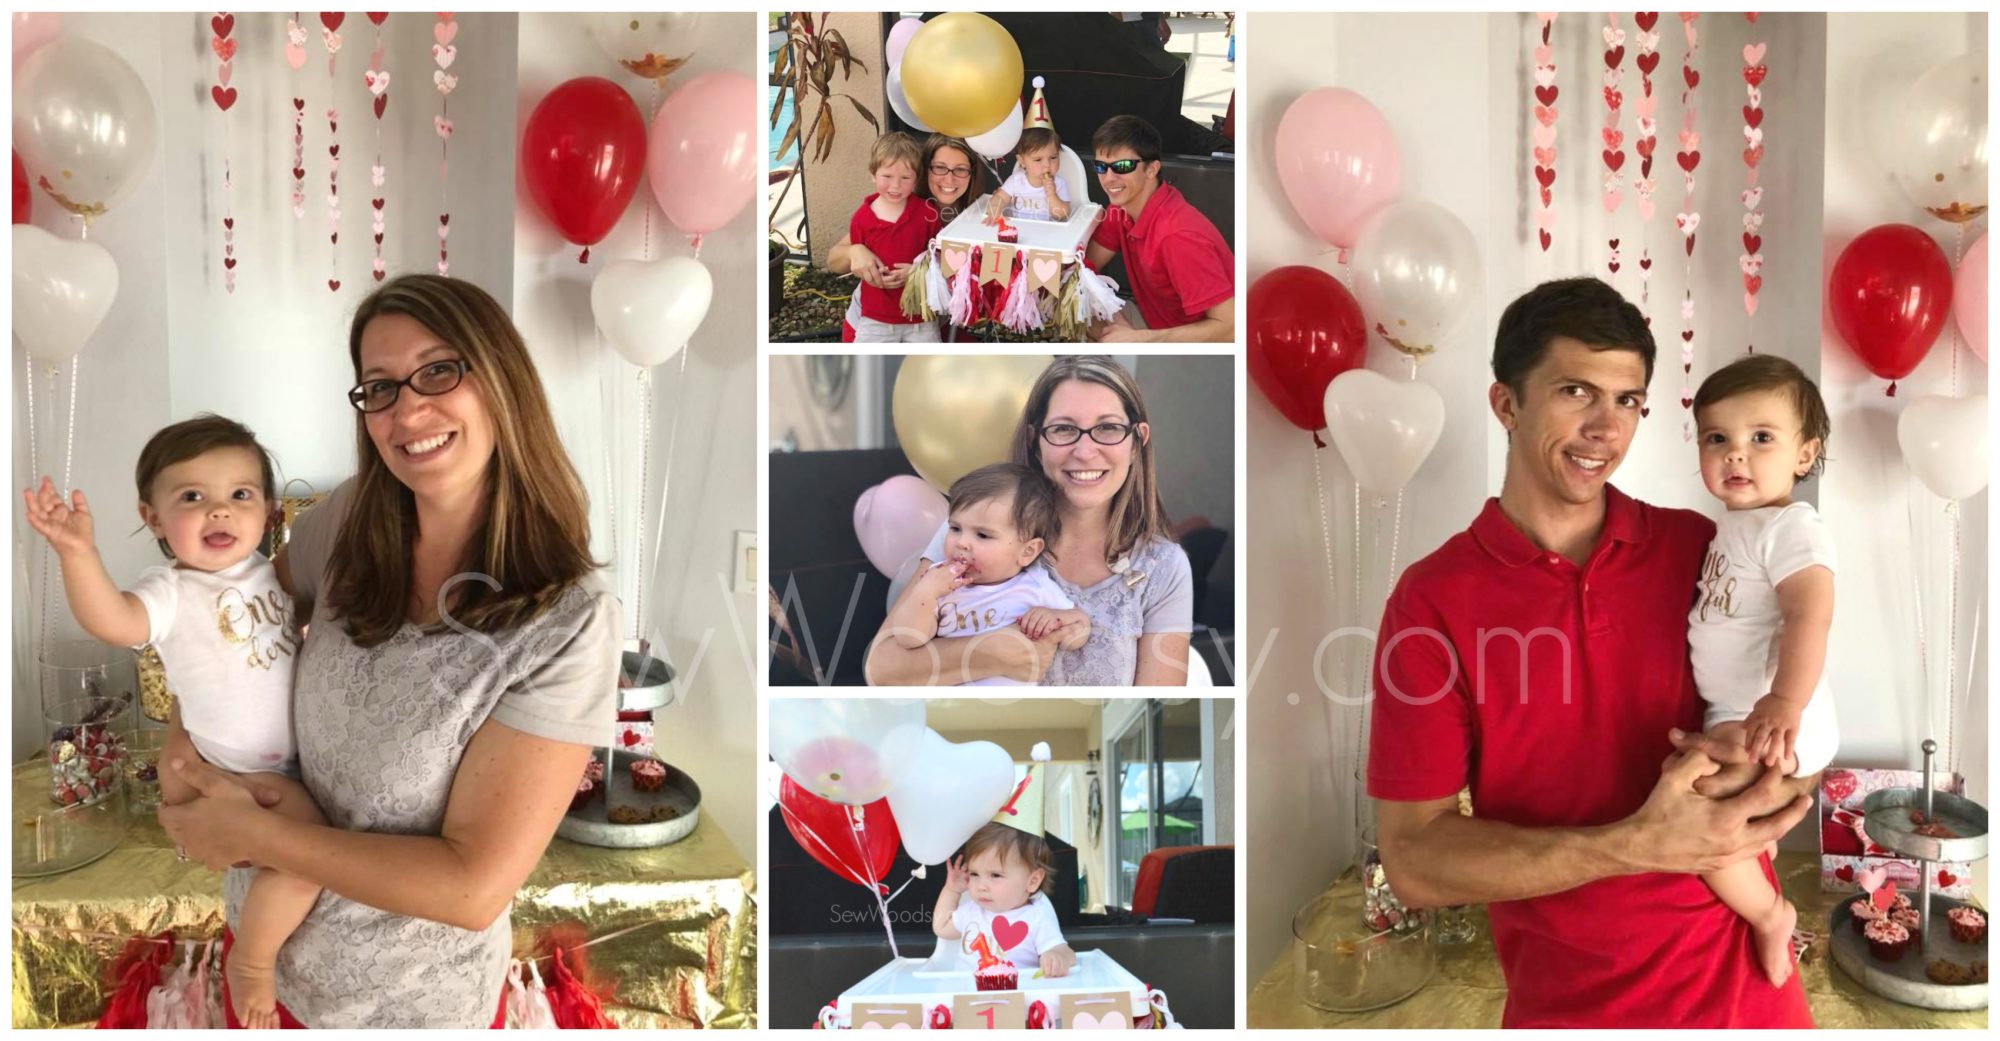
Balloons!
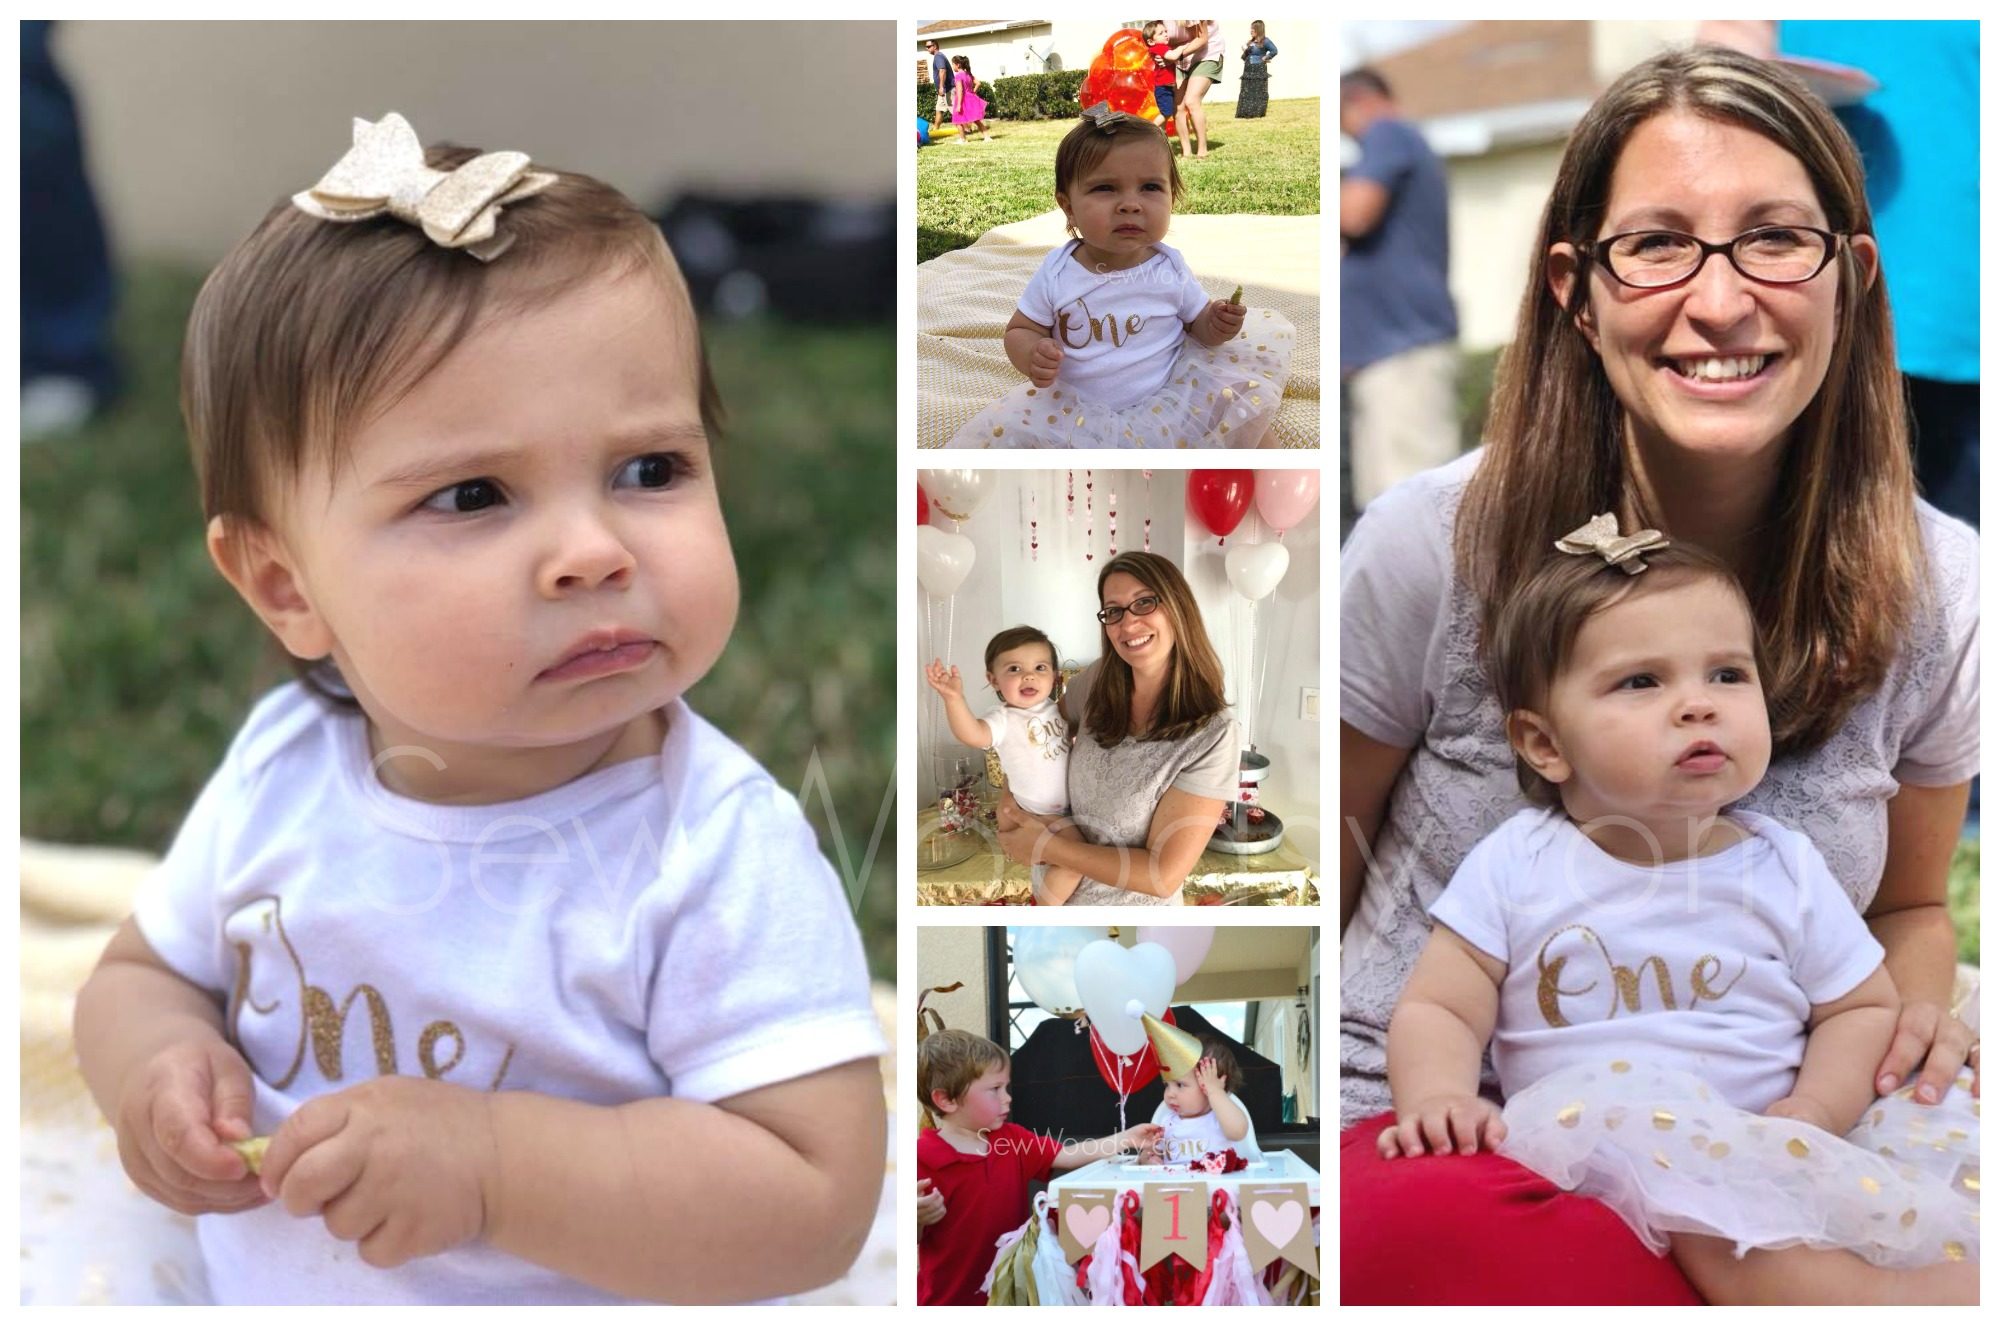
DIY “One” Onesie
- Cricut Maker
- Cardstock for Banners
- Iron-On Vinyl for shirts
- Heart Shaped Latex Balloons
- Heart Curling Ribbon
- Gold Confetti Balloons
- Helium Tank
