Learn how to make this adorable Toddler Girls DIY Spider Web Dress using the Cricut Maker and Iron-On Vinyl in less then 30 minutes time. The perfect dress to wear for any Halloween festivity!
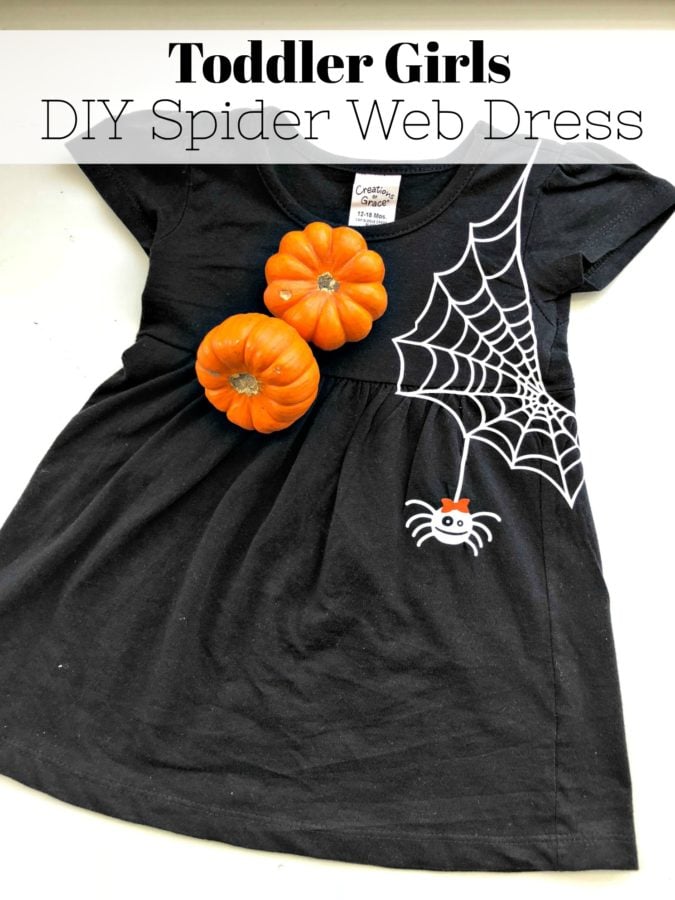
While going through a massive box of blank t-shirts, pillow covers, and onesies I stumbled across this blank black dress I must have picked up during one of my many trips to Hobby Lobby. Man, am I happy I found this dress for two reasons. One, it’s black and perfect for Halloween. Two, it’s my daughters current size! I knew I had to make her something else for Halloween and the first thing that came to mind was a sort of play on spider webs. So off, I went designing at 11:00 at night. I’ve become some sort of a night owl now that both my kids sleep through the night. It’s like my old self is coming back; however, my new self hates the early morning wake up calls, EVERY morning. I digress…
I’m excited to share with you how easy it is to make this Toddler Girls DIY Spider Web Dress. If you own a Cricut machine and have access to Cricut Design Space you can make this dress in under 30 minutes. I will be honest and tell you that I didn’t document most of the process, because I wasn’t sure how this dress was gonna come out and if I even wanted to share it. However, once I saw it on her–I knew I wanted to share it!
Supplies to make the Toddler Girls DIY Spider Web Dress:
- Cricut Maker
- “Toddler Girls DIY Spider Dress” file found on Cricut Design Space™
- Cricut Mat
- Cricut Iron-On Vinyl; white
- Cricut Tools
- Cricut BrightPad
- Black T-shirt Dress
- Cricut EasyPress 2 6×7
- Cricut EasyPress™ Mat (optional)
- Cricut Iron On Protective Sheet (optional) or Muslin Cloth
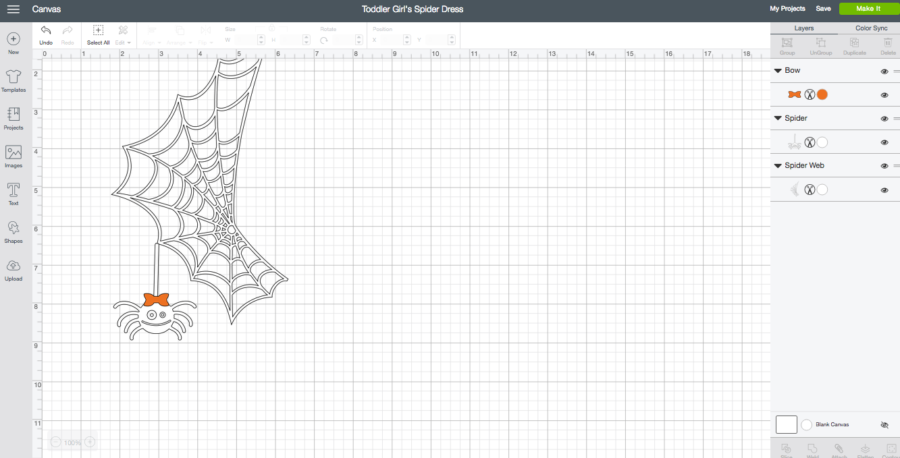
Here is the design I created. All are part of Cricut Access. So if you have Cricut Access you can create this dress for free!
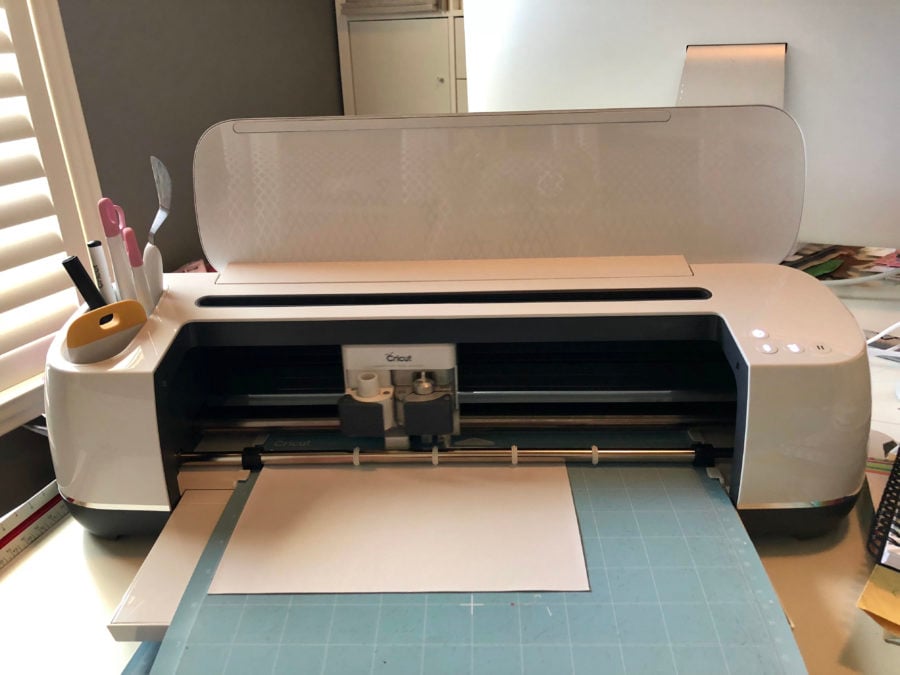
Next, cut the design using your Cricut Maker. Always, remember to “mirror” your image before you cut.
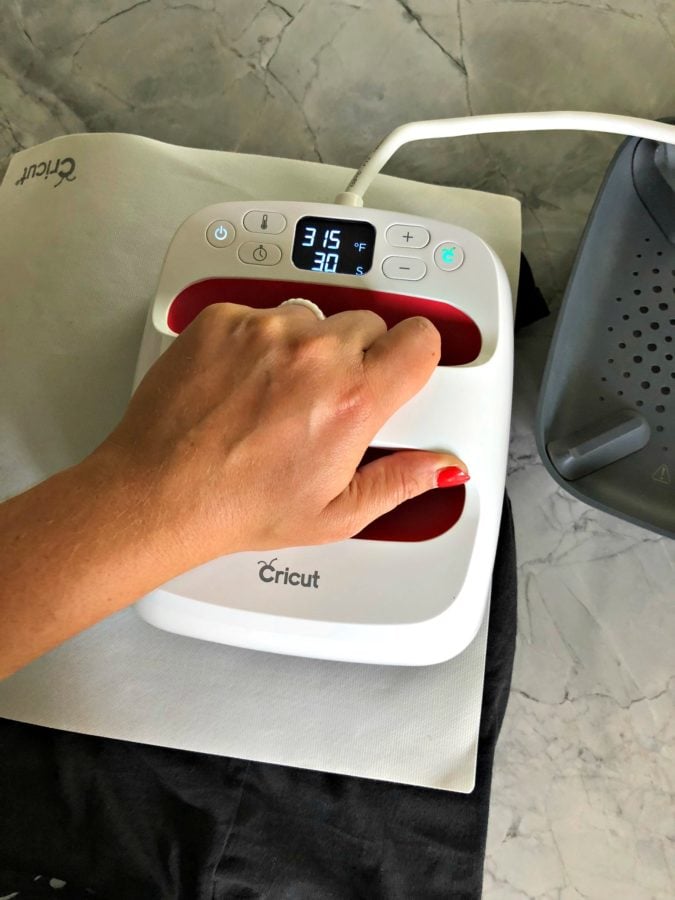
Next, you’ll weed the negative iron-on vinyl. Then, it’s time to press. I used the new smaller 6×7 Cricut EasyPress 2 to press this dress. I always reference the Cricut EasyPress chart. If you use it on your phone you can use the interactive chart which in my opinion is even better then the chart on the website!
The trick with this dress is that you will need to press it on it’s side. I also placed the Cricut EasyPress™ Mat inside the dress to give me more support when I went to press the dress.
The hardest part was making sure that their were no wrinkles when I went to place the spider web on the dress. You could weld the spider to the spider web before you go to cut. However, I found that it was easier to work on the spider web and then add in the spider. Plus the bow! That’s a separate piece as well.
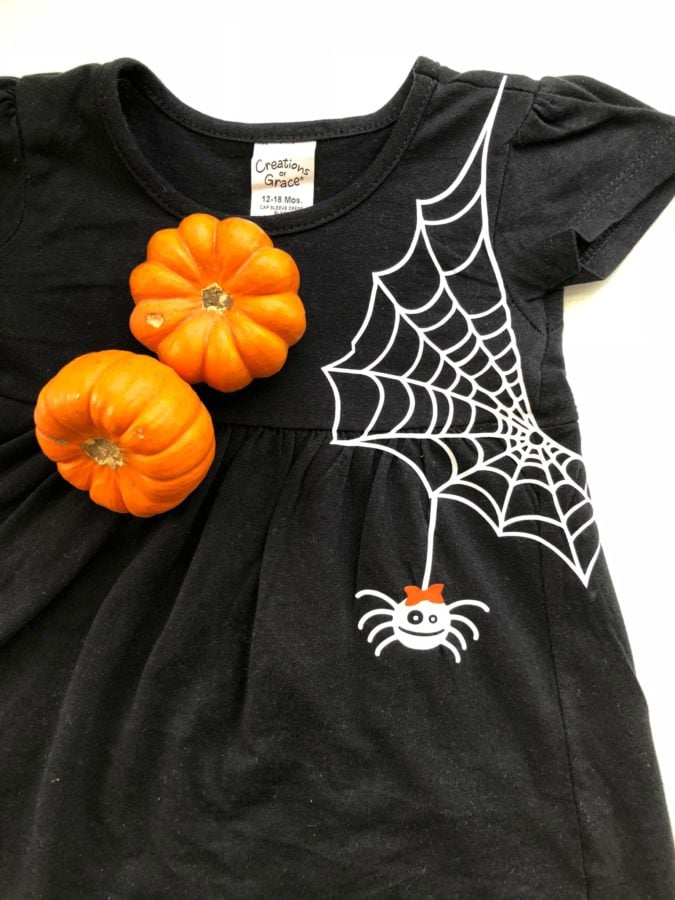
Easy as that you have the cutest little Halloween dress for your toddler.
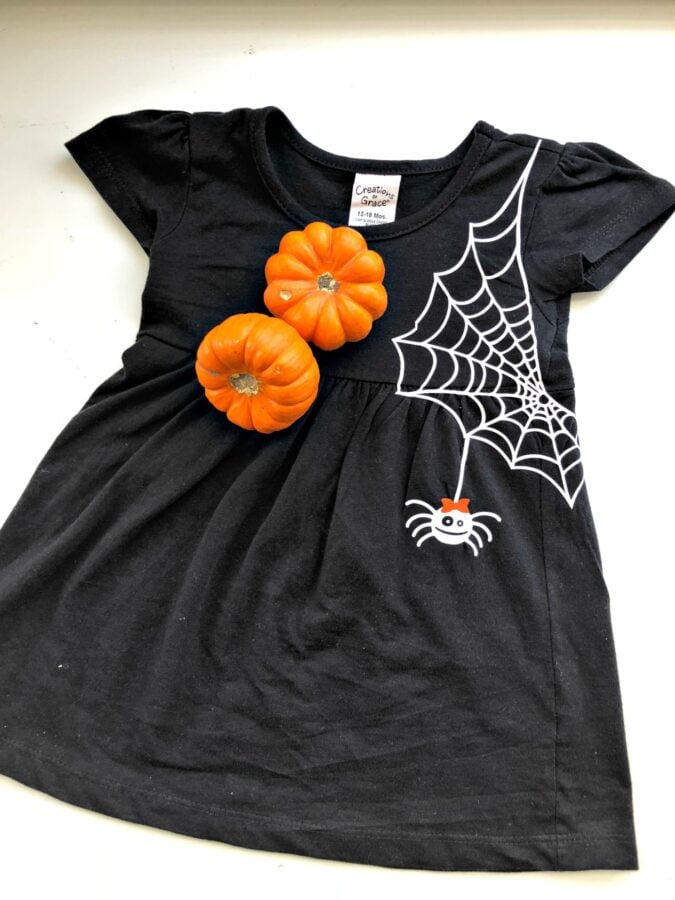
I didn’t have a chance to photograph this dress before she wore it–so the pumpkins aren’t just for decoration–it’s hiding her stain you’ll see in the next picture!
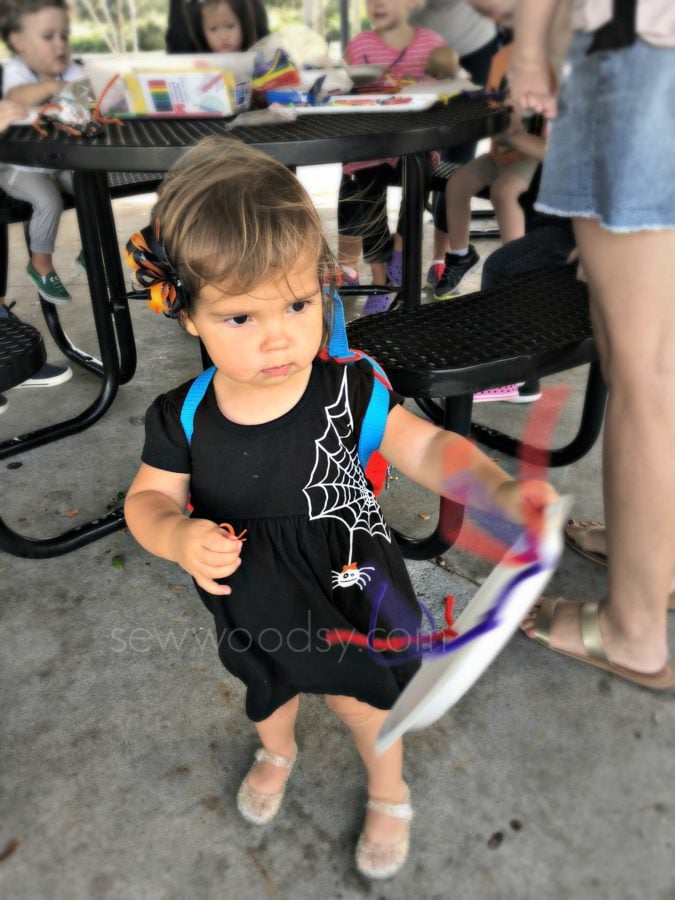
Love how this dress turned out, and how the web contours to her body!
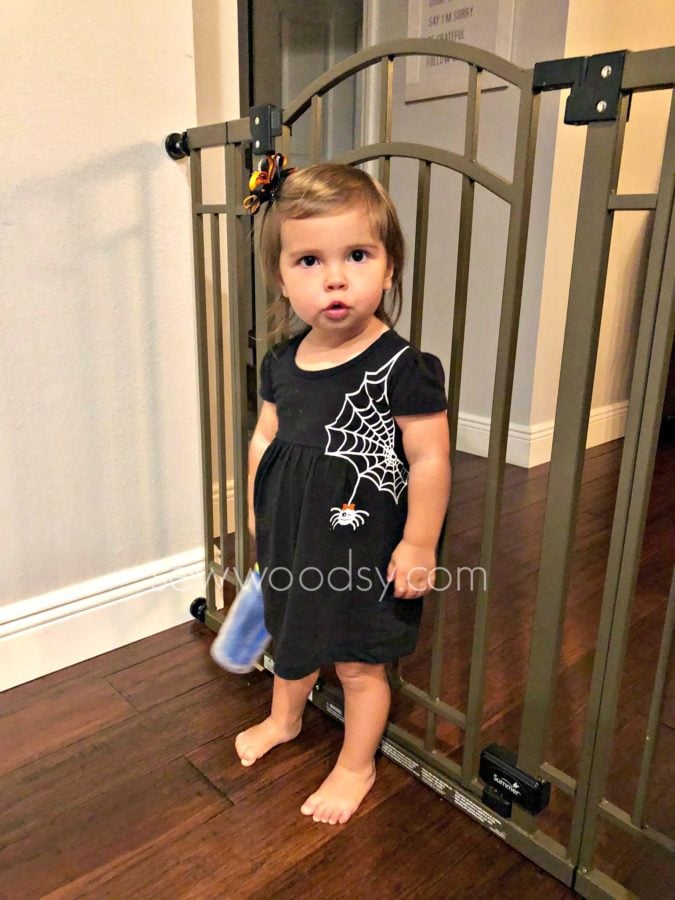
This is the best photo I could get of her modeling her little dress for me.
Looking to DIY more Halloween projects with your Cricut?
Here are a few of my favorite Cricut Halloween projects that I shared last year!
- So Franken Cute – DIY Halloween Shirt
- Will Trade Sibling for Candy
- Toy Story Alien Trick or Treat Bucket
- “Witch Better Have My Candy” Halloween Pillow
Cricut currently has a Halloween flash sale! 50% off materials, accessories, and more! Valid 10/24/18-10/30/18.

Leave A Reply!