• Skip to primary navigation
  • Skip to main content
  • Skip to primary sidebar

Sew Woodsy logo

  • DIY
  • Crafts
  • Cricut
  • Travel
  • About
menu icon
go to homepage
search icon
Homepage link
  • Home
  • Thanksgiving
  • DIY
  • Cricut
  • Travel
  • About Us
    • Email
    • Facebook
    • Instagram
    • Pinterest
    • Twitter
    • YouTube
  • ×

    Sew Woodsy » Holiday

    Published: Oct 14, 2018 · Modified: Jan 29, 2019 by Katie · This post may contain affiliate links.

    So Franken Cute – DIY Halloween T-Shirt

    Sharing is caring!

    69 shares
    • Facebook
    • Twitter

    Make this adorable So Franken Cute – DIY Halloween T-Shirt with my free PNG file and your Cricut. The perfect 30-minute Cricut craft project! 

    So Franken Cute - DIY Halloween T-Shirt

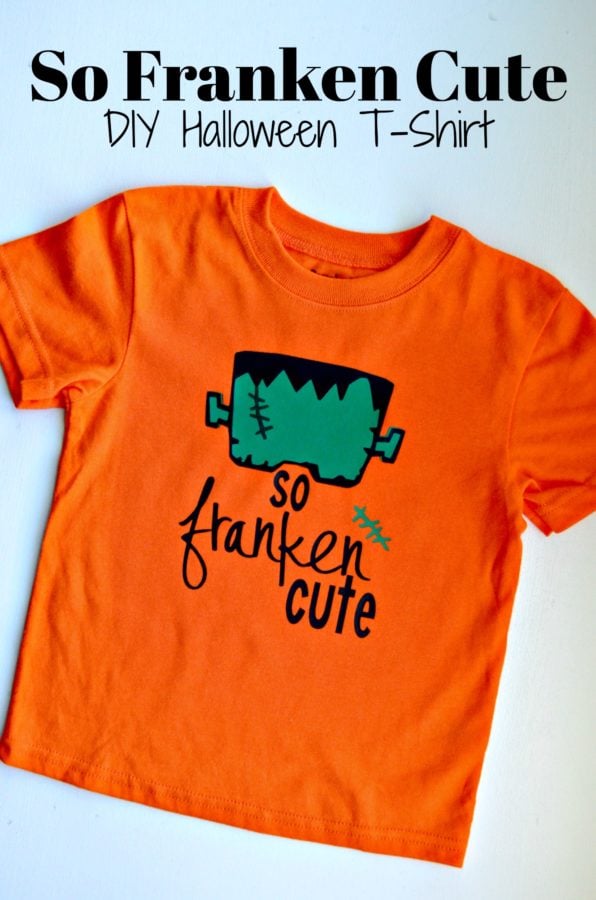
    I made this So Franken Cute – DIY Halloween T-Shirt last year for my son. Sadly, I made it just a few days before Halloween! I loved it so much and he only got to wear it twice. I’m happy though, that I documented the t-shirt making process. Luckily, he still fits in it this year and has already worn it a few times. If you’ve never layered Iron-on Vinyl before this is the project for you! It only requires 3 layers and is done from start to finish in under 30 minutes with a big thanks to the Cricut Maker!

    Supplies:

    • Cricut Maker
    • “So Franken Cute” file found on Cricut Design Space™
    • Cricut Mat
    • Cricut Iron-On Vinyl; black, dark green, and kelly green
    • Cricut Tools
    • Cricut BrightPad
    • T-shirt
    • Cricut EasyPress
    • Cricut EasyPress™ Mat (optional)
    • Cricut Iron On Protective Sheet (optional) or Muslin Cloth

    So Franken Cute - DIY Halloween T-Shirt Cricut Design Space Screen Shot

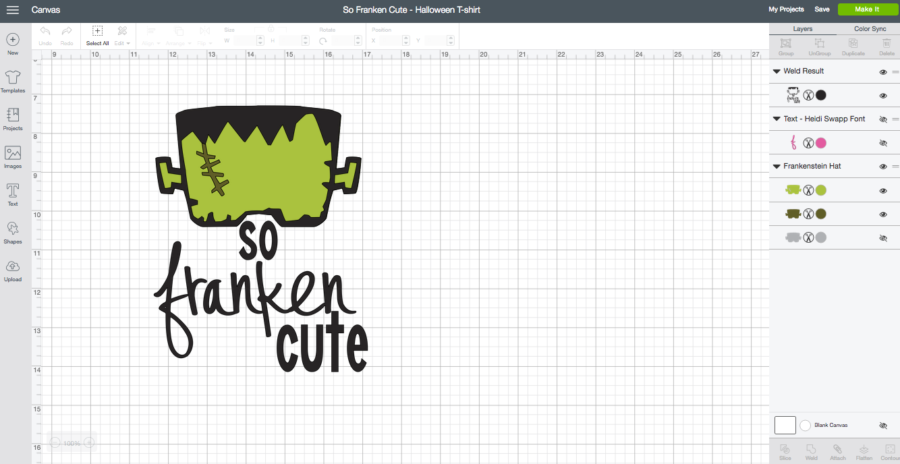
    Log on to Cricut Design Space™ and find my So Franken Cute file I designed in CDS! If you have an Access membership this will be free for you! If you don’t have an account you may have to pay a few dollars for the files.

    Cricut Maker cutting Iron On Vinyl

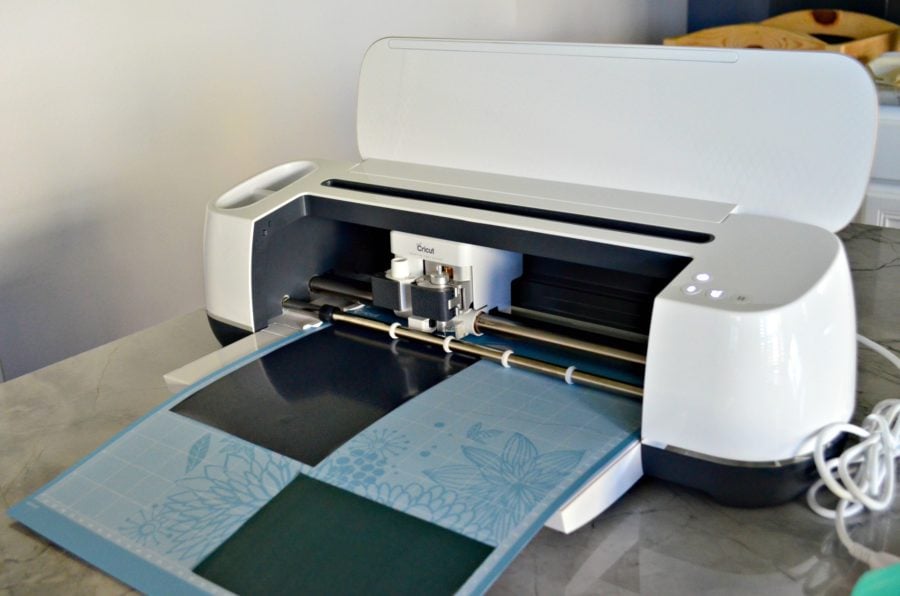
    First, you start by cutting out the Iron-On Vinyl on the Cricut Maker. I love to look on the preview mat in Design Space to see how large each cut is. This is the perfect time to use scraps!

    Cricut BrightPad with So Franken Cute Design

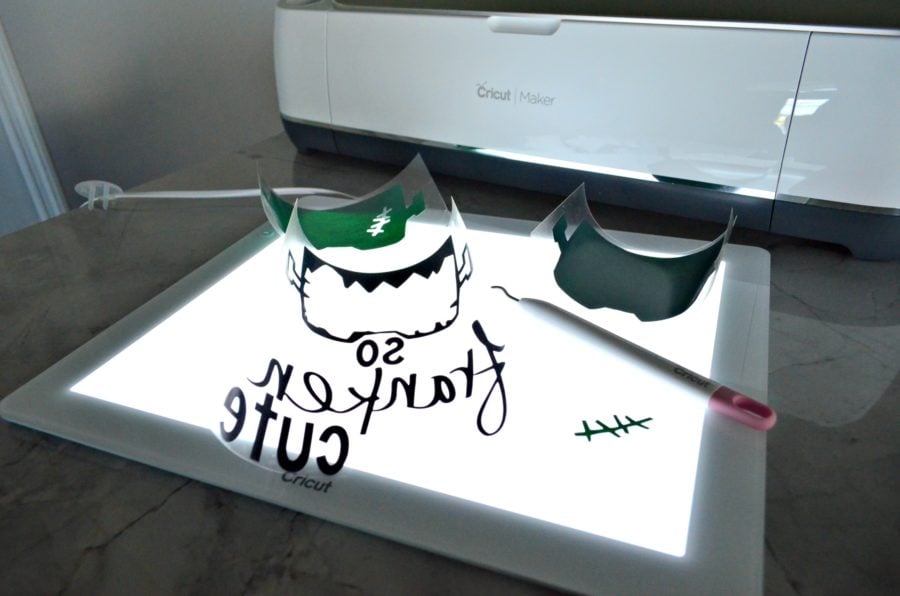
    Next, you weed the negative from the design. I love my Cricut BrightPad for this reason!

    So Franken Cute Layer 1

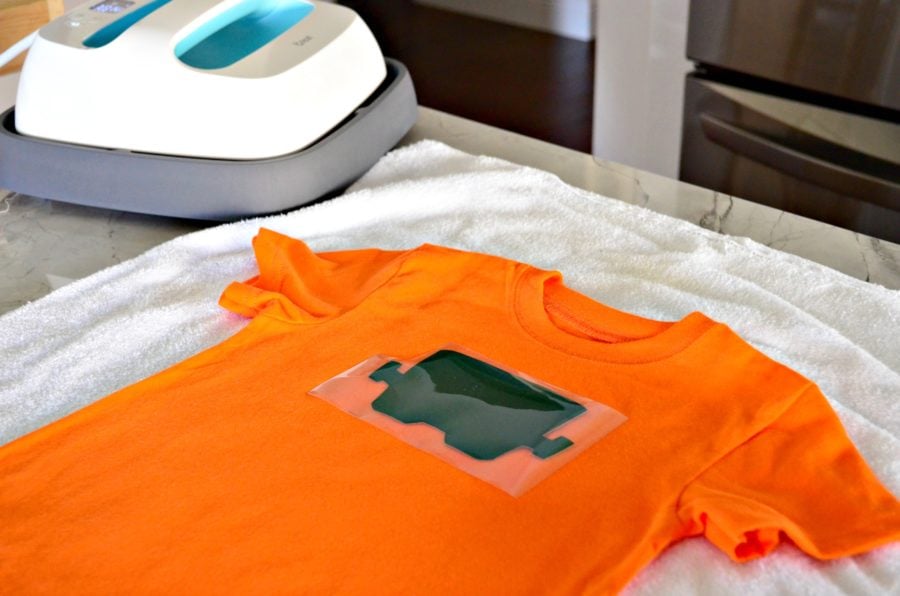
    Next, it’s time to grab your Cricut EasyPress and begin the layering. First you start with the dark green head layer.

    So Franken Cute Layer 2

    Next, you add on the bright green layer on top. Make sure you carefully align the two colors together.

    So Franken Cute with Cricut EasyPress

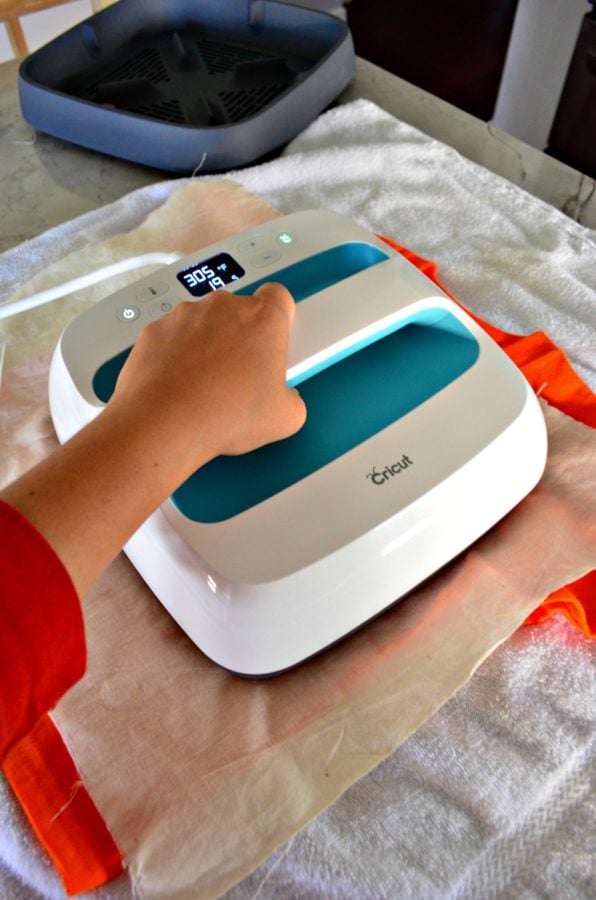
    305 degrees Fahrenheit for 30 seconds is the EasyPress recommendation. I always reference the Cricut EasyPress chart. If you use it on your phone you can use the interactive chart which in my opinion is even better then the chart on the website!

    So Franken Cute Layer 3

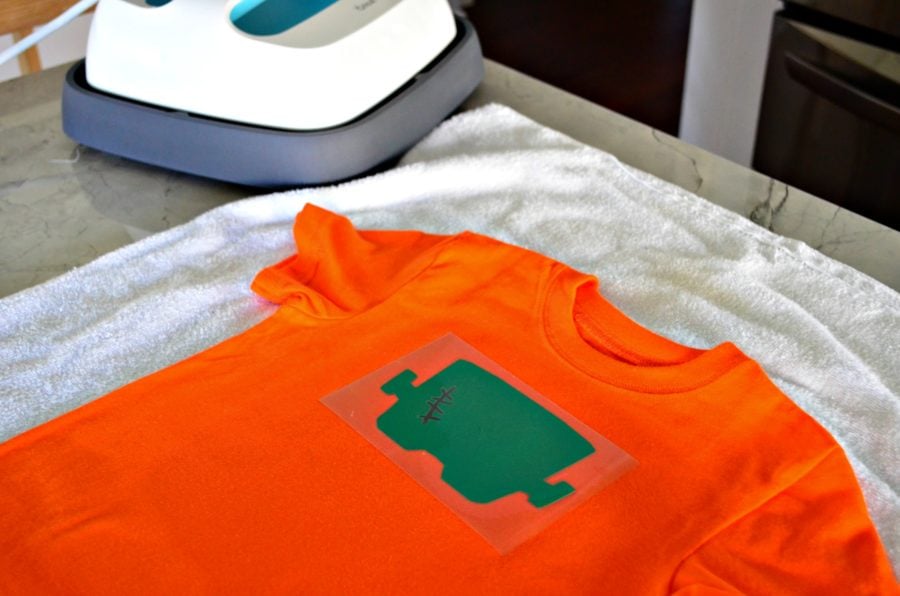
    Next, you add on the black and the additional stitches. *A rookie move and one I have to point out–make sure you have enough clearance on the stitch from the text. I’ve ironed on top of plastic before and then had a very incomplete design. So if you can’t make this work in one smooth swoop then go ahead and add a fourth step.

    So Franken Cute Pulling Of Plastic from Iron On Vinyl

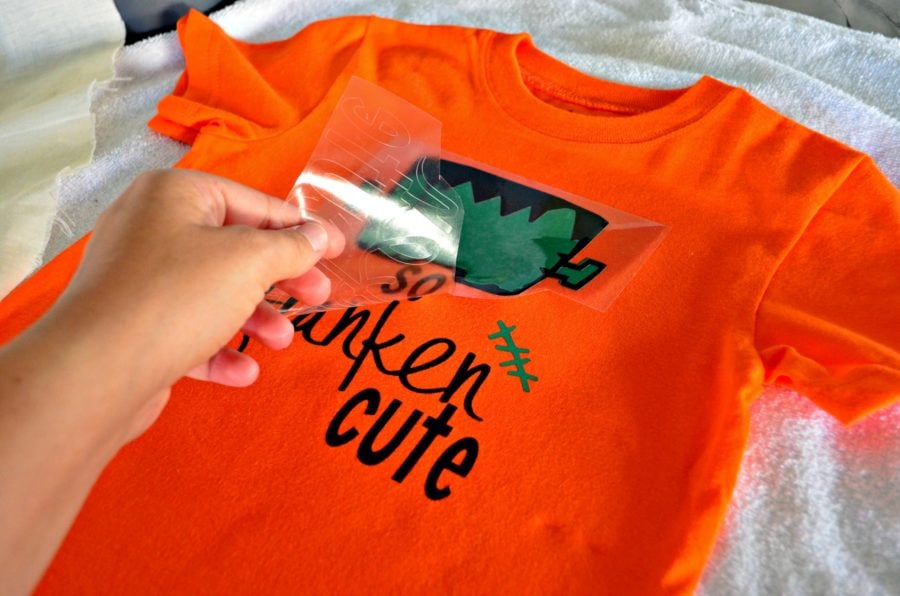
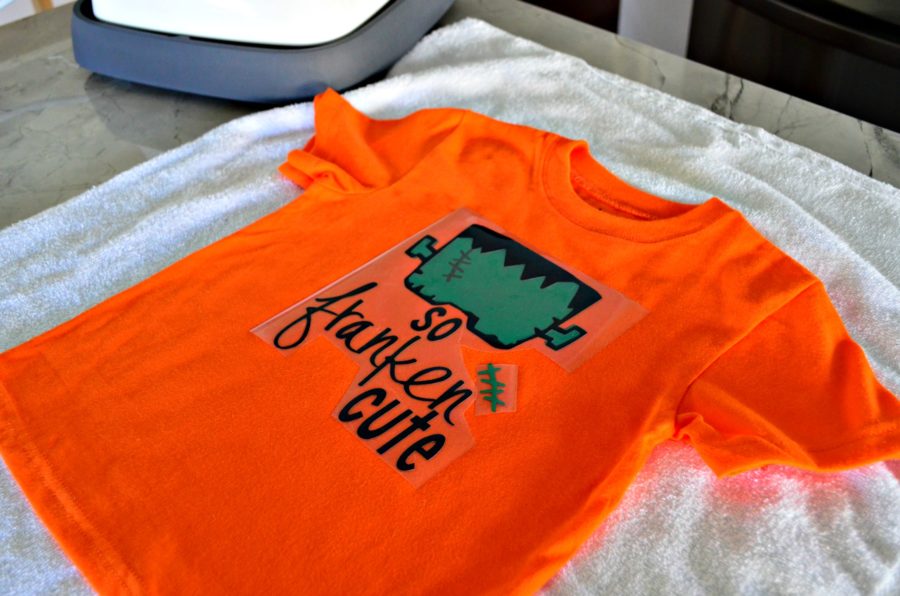
    I always recommend doing a warm peal of the plastic (as does Cricut). It’s not burning your hands hot, but it’s also not cold! It comes off easily, too.

    So Franken Cute DIY Halloween Shirt

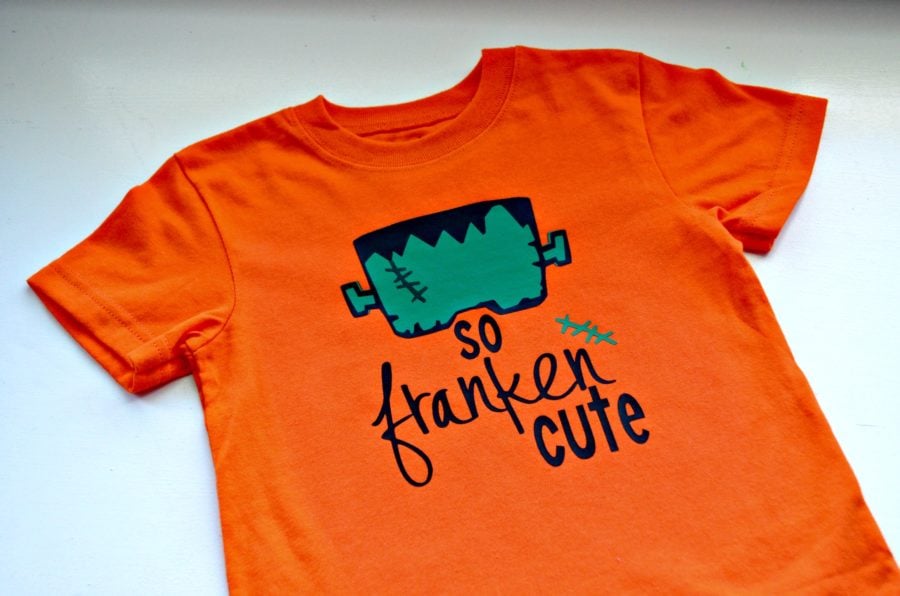
    Easy as that… you have the cutest Frankenstein inspired Halloween shirt for your little guy or ghoul!

    Looking to DIY more Halloween projects with your Cricut?

    Here are a few of my favorite Cricut Halloween projects that I shared last year!

    • Will Trade Sibling for Candy
    • Toy Story Alien Trick or Treat Bucket
    • “Witch Better Have My Candy” Halloween Pillow

    Cricut currently has a Halloween flash sale! 50% off materials, accessories, and more! Valid 10/24/18-10/30/18.

    Shop new arrivals from Cricut!

    « No Sew Dinosaur Costume using the Cricut Maker
    Toddler Girls DIY Spider Web Dress »

    Reader Interactions

    Leave a Reply Cancel reply

    Your email address will not be published. Required fields are marked *

    Primary Sidebar

    • Email
    • Facebook
    • Instagram
    • Pinterest
    • Twitter
    • YouTube
    Male and female hugging on each other in the woods.

    Hi, we're Katie & Jon! Welcome to our home away from home!

    Sew Woodsy is a lifestyle blog focusing on crafts, home DIY projects, family, travel and all things life. Get comfy and join us on our adventure!

    More About Us →

    9 different logos from various media outlets where Sew Woodsy has been featured on.

    Easter Projects

    • Kids Easter Basket Ideas
    • 25 Easter Basket Ideas for Toddlers
    • Free Easter Coloring Pages
    • 17 Easter Craft Ideas

    Trending

    • How to Create a Natural Log Pathway + Video
    • Tips & Tricks on Installing Butcher Block Countertops
    • How to Host a Baby Shower at Work
    • How to Use Heat n Bond

    Male and female hugging on each other in the woods.

    Hi, we're Katie & Jon! Welcome to our home away from home!

    Sew Woodsy is a lifestyle blog focusing on crafts, home DIY projects, family, travel and all things life. Get comfy and join us on our adventure!

    More About Us →

    9 different logos from various media outlets where Sew Woodsy has been featured on.

    Easter Projects

    • DIY Follow the Bunny Pillow Cover
    • Bunny Kisses & Easter Wishes Burlap Garden Flag
    • Easter Bunny Family Pillow
    • DIY Easter Bunny Onesie with Name

    Trending

    • How to Create a Natural Log Pathway + Video
    • Tips & Tricks on Installing Butcher Block Countertops
    • How to Host a Baby Shower at Work
    • How to Use Heat n Bond

    Footer

    ↑ back to top

    9 different logos from various media outlets where Sew Woodsy has been featured on.

    About

    • About Us
    • Privacy Policy
    • Accessibility Statement

    Newsletter

    • Sign Up! for emails and updates

    Contact

    • Contact
    • Work with us
    • Advertise

    Copyright © 2010 - 2022 Sew Woodsy