Create adorable DIY Minnie Mouse Paper Plates for the your next Minnie Mouse themed Birthday party using a Cricut, Cardstock, double-stick tape, and paper plates!
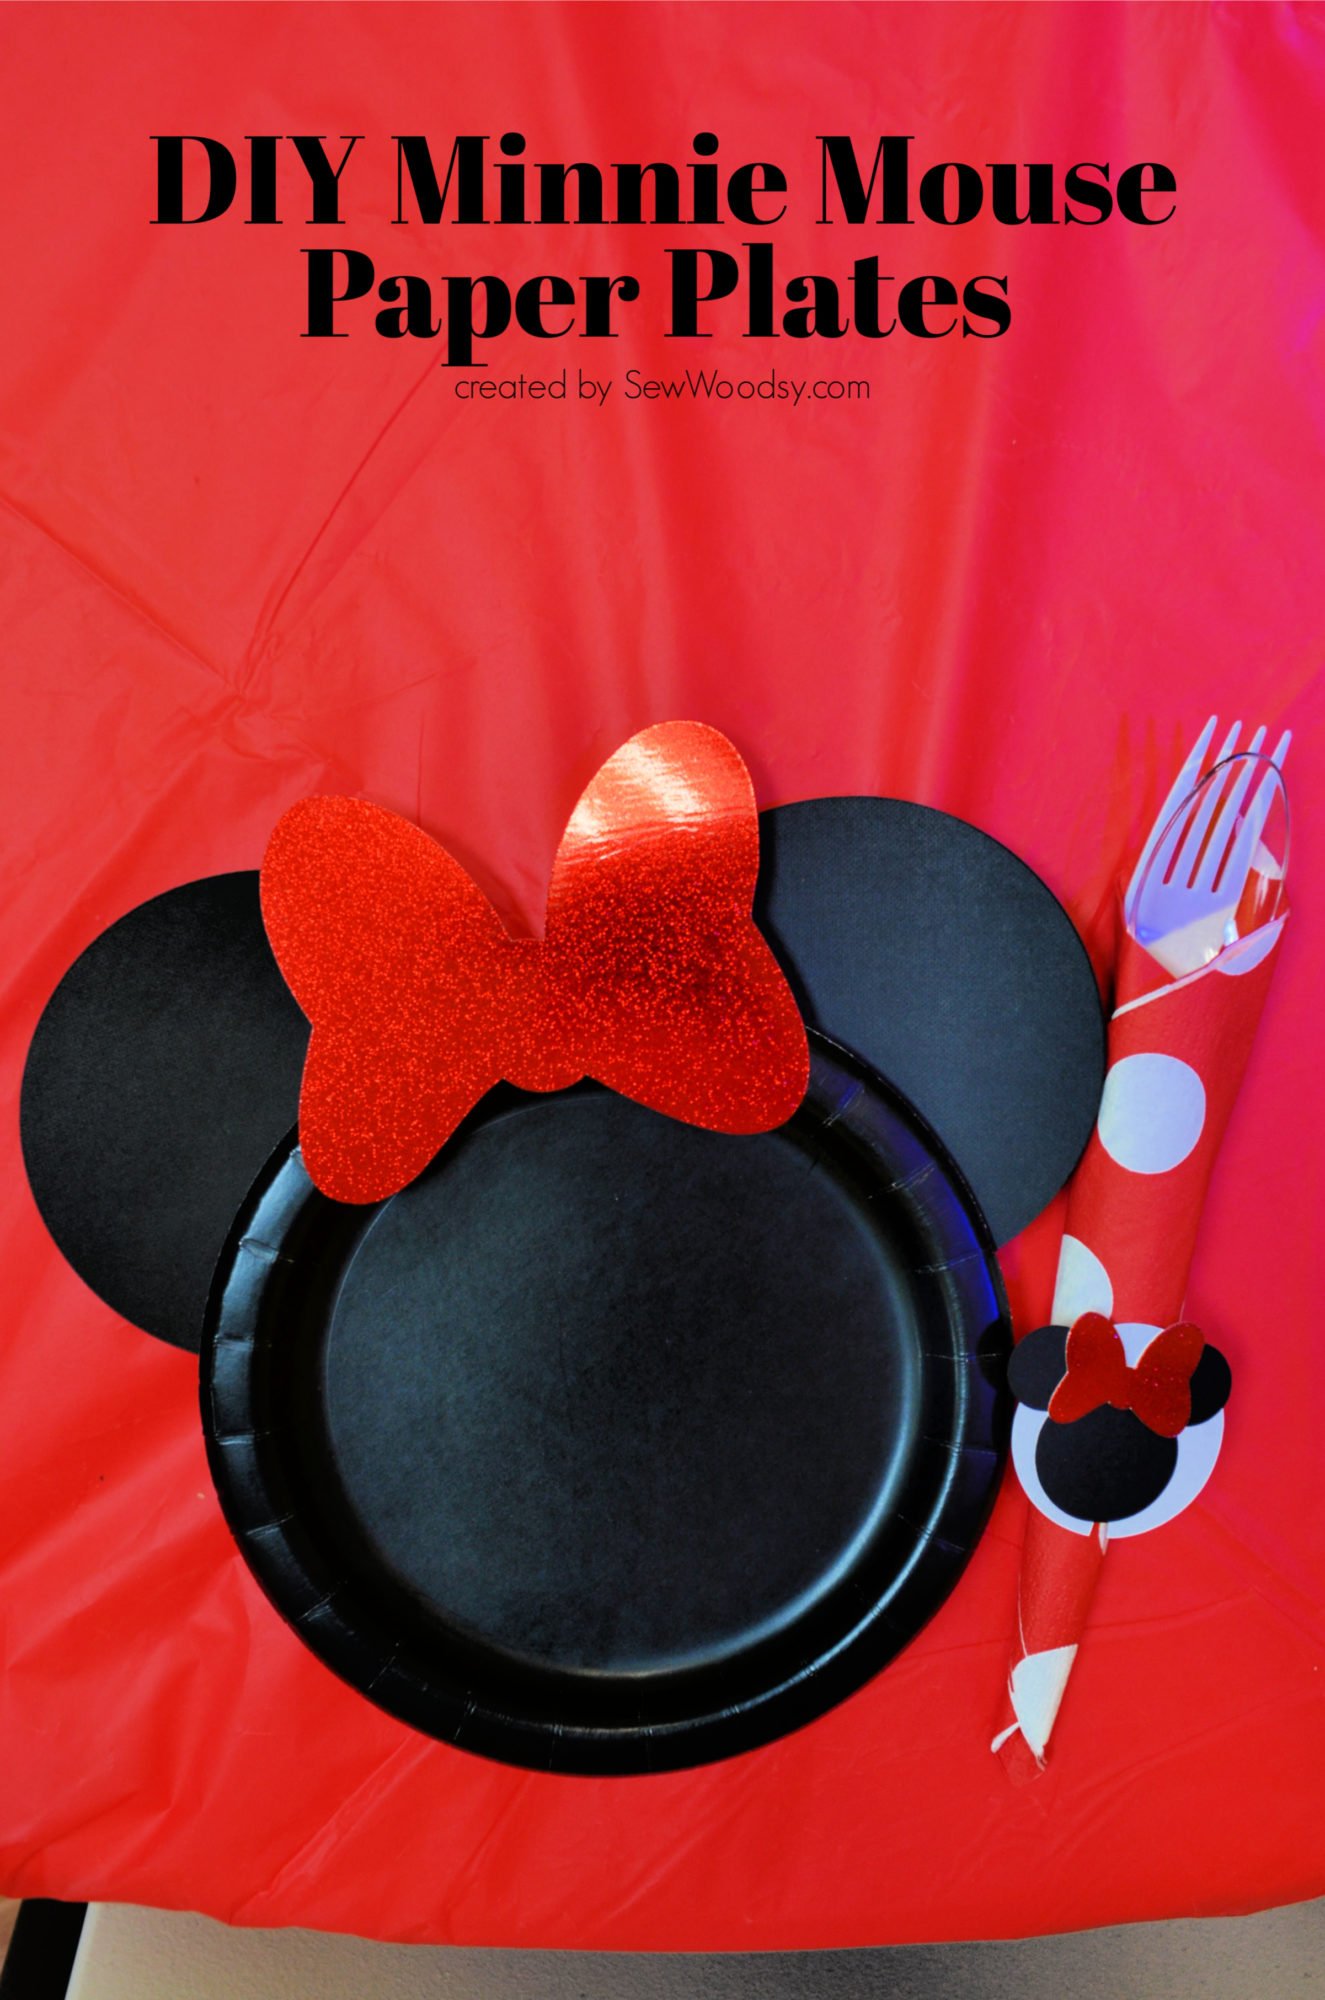
I’m so excited to share how I made these adorable DIY Minnie Mouse Paper Plates for my daughters Minnie Mouse Birthday party last month. After doing a little “Googling” I saw others who had transformed paper plates. I knew I wanted to do this for the tables in our party room. With the help of the Cricut Maker, Black Paper Plates, Black and Red cardstock, and some Double-Sided Tape I was in business in no time. This is honestly, such an easy but impactful party decoration to add to your Minnie Mouse themed Birthday party. Of course, if you are having a Mickey Mouse themed party just don’t add the bow!
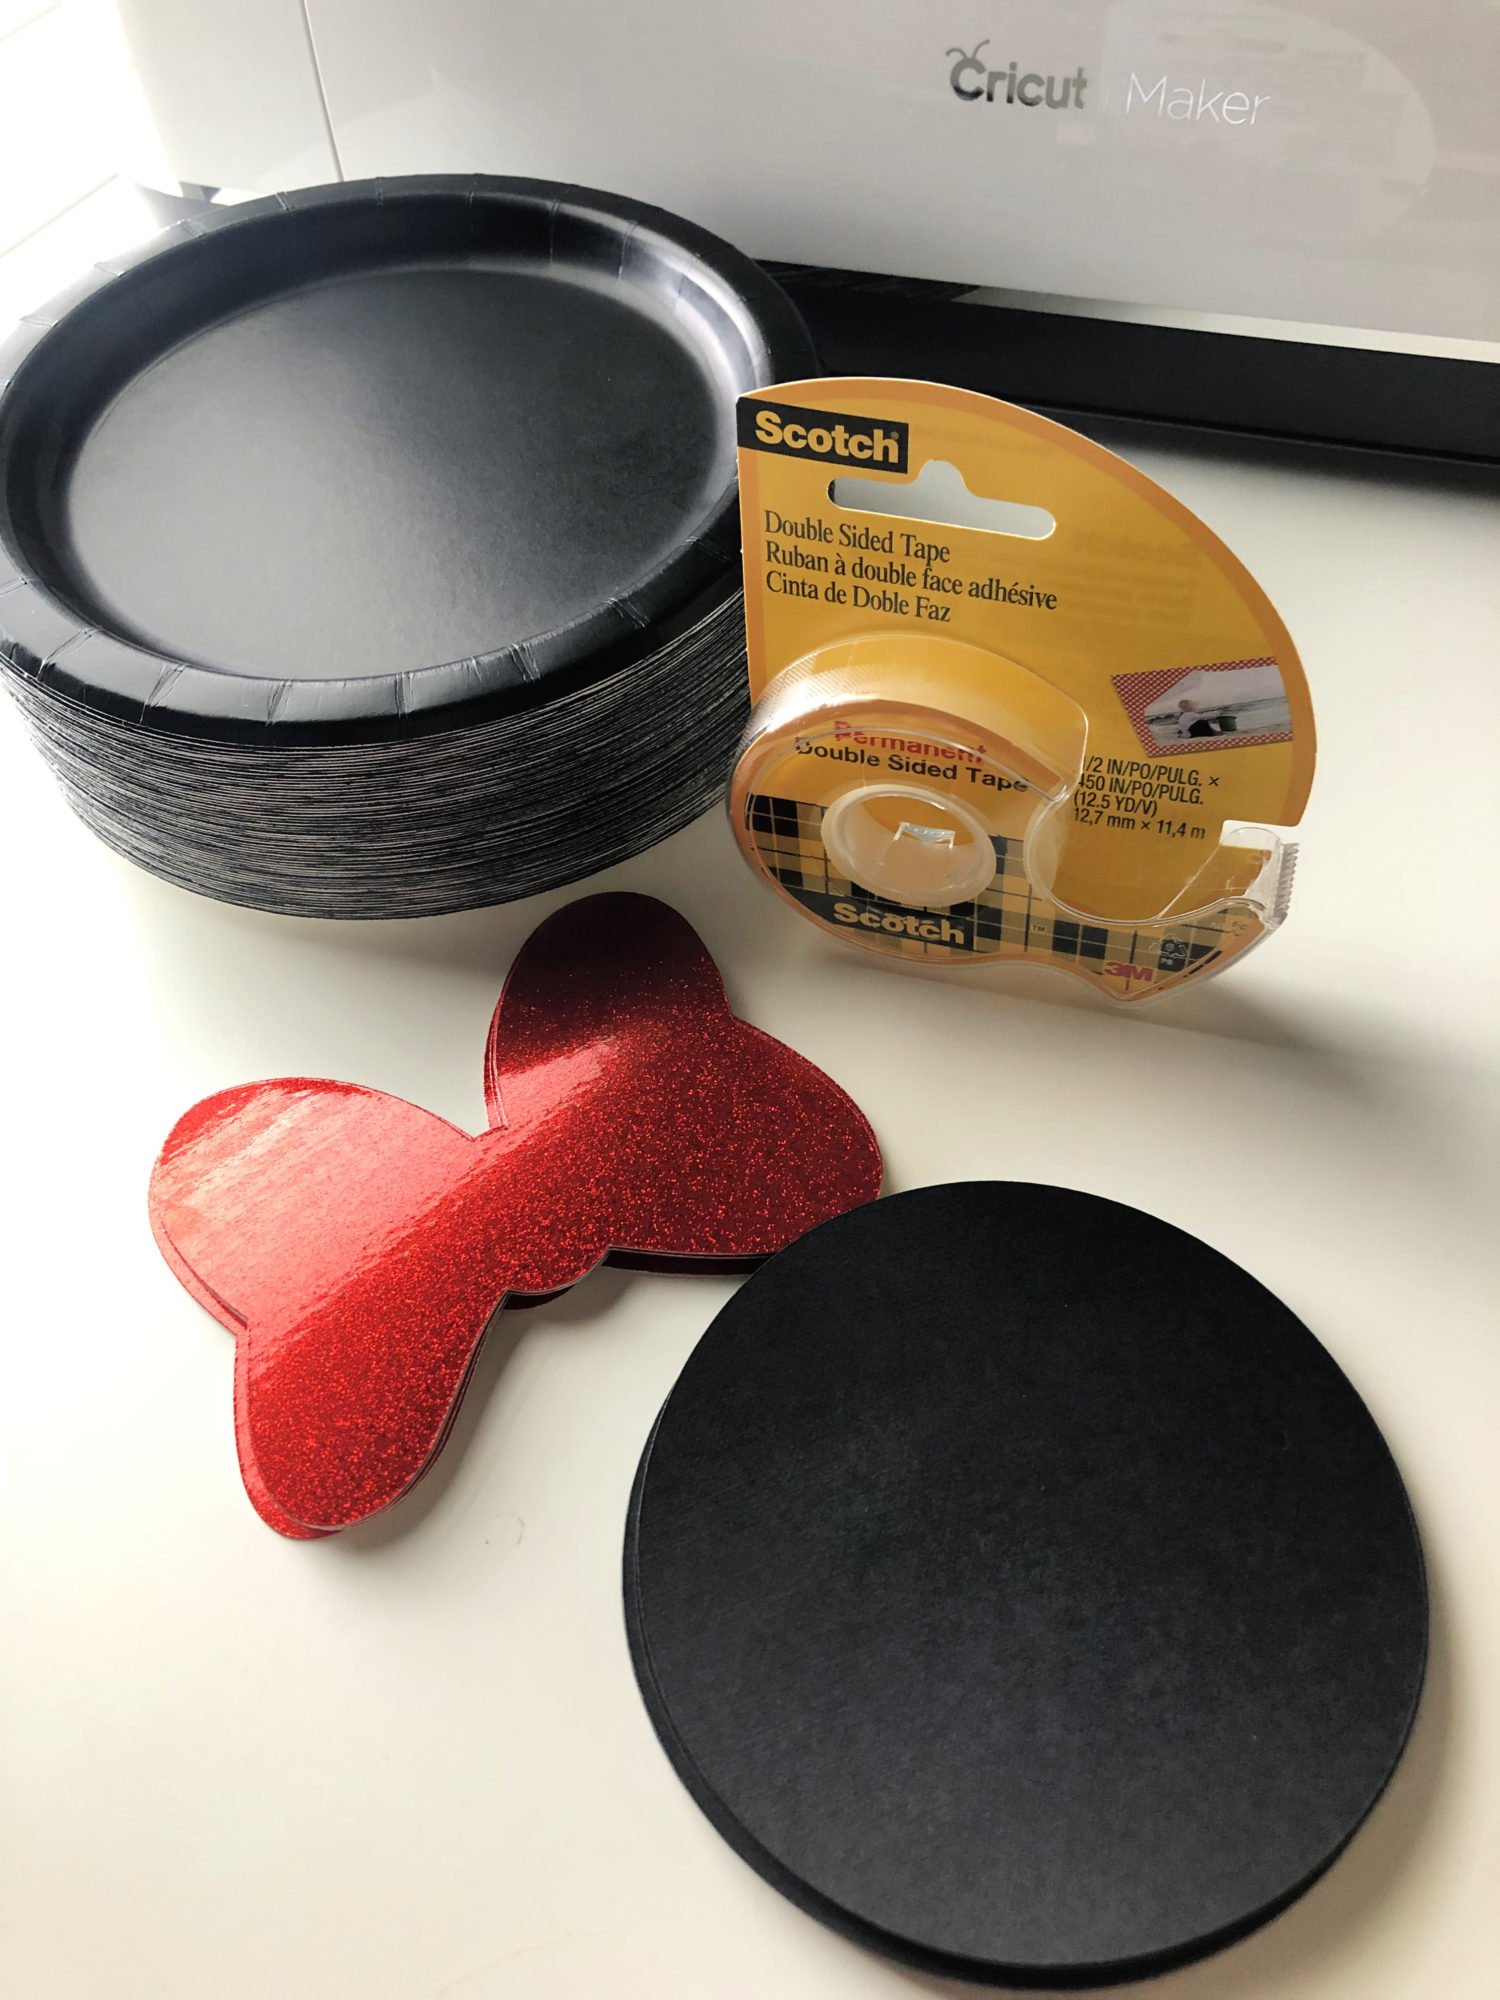
Supplies needed to make DIY Minnie Mouse Paper Plates:
- Cricut Maker
- Cricut Design Space® + DIY Minnie Mouse Paper Plates file
- Cricut Mat
- Cricut Black Cardstock
- Cricut Shimmer Paper, bedazzler sampler
- Black Paper Plates
- Double-Sided Tape
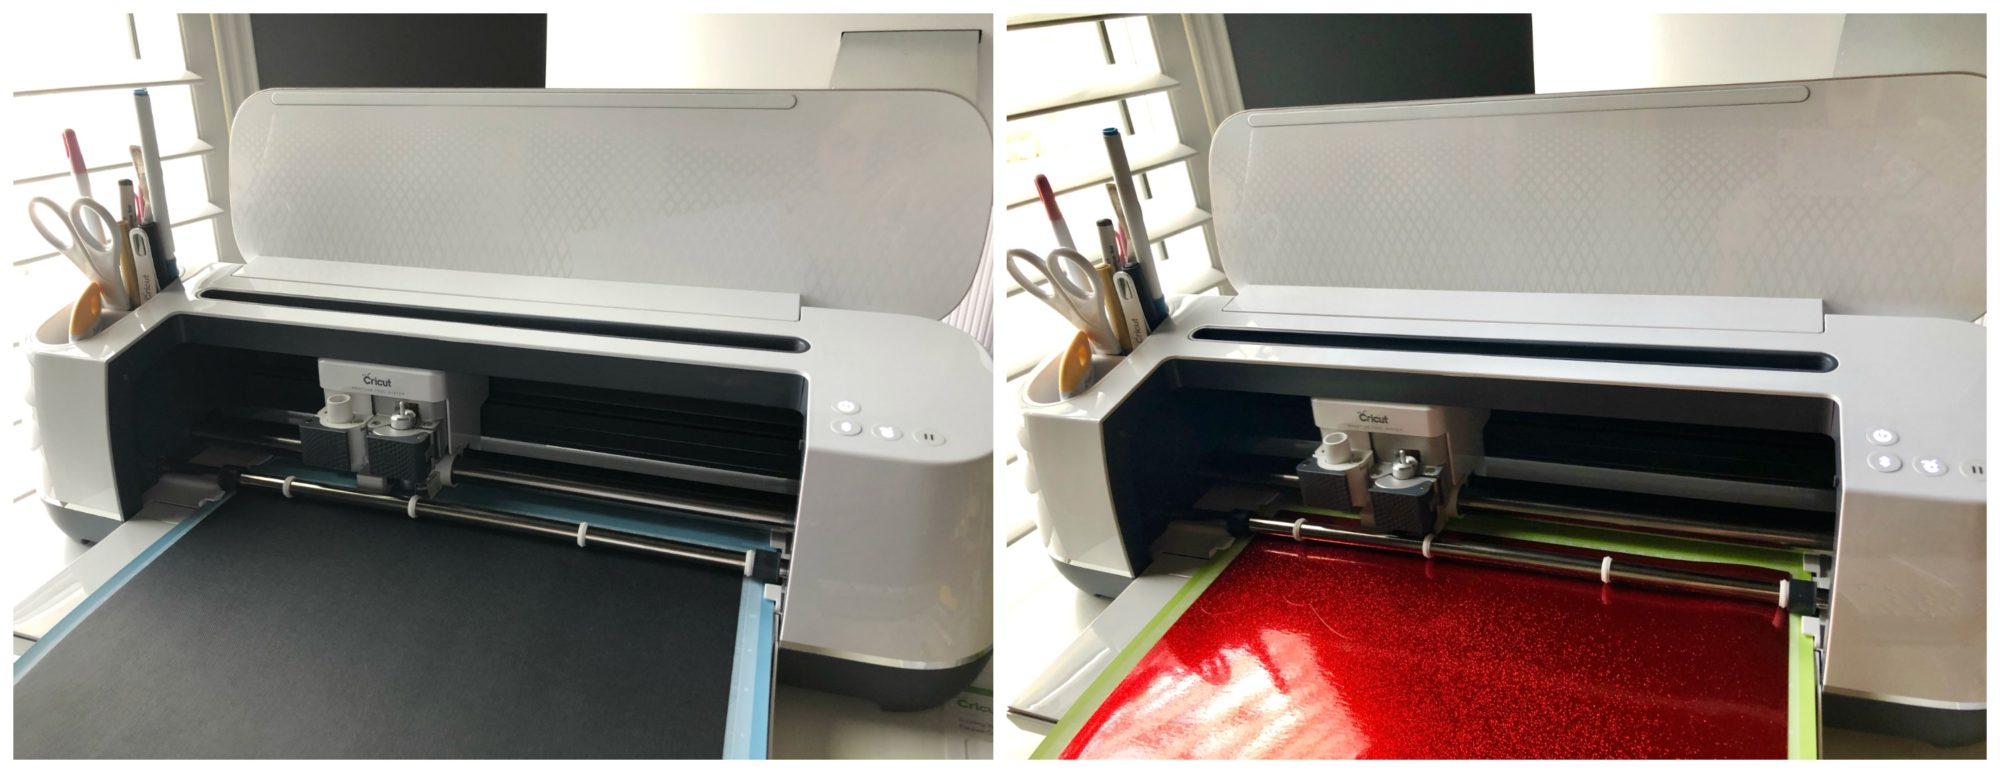
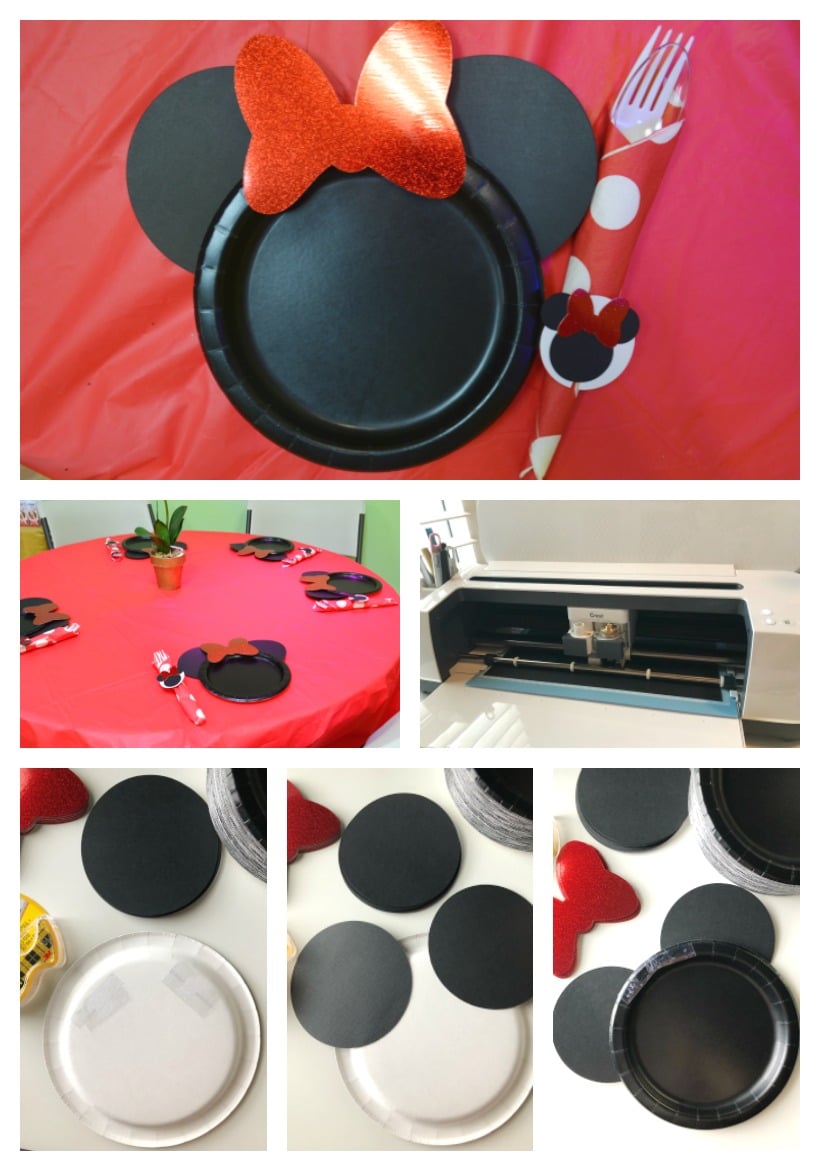
First, you need to cut your circles and red bows using your Cricut Maker. If you own a Cricut–I’ve done all the heavy lifting for you and created a cut-file! Just click on this Minnie Mouse Paper Plates file.
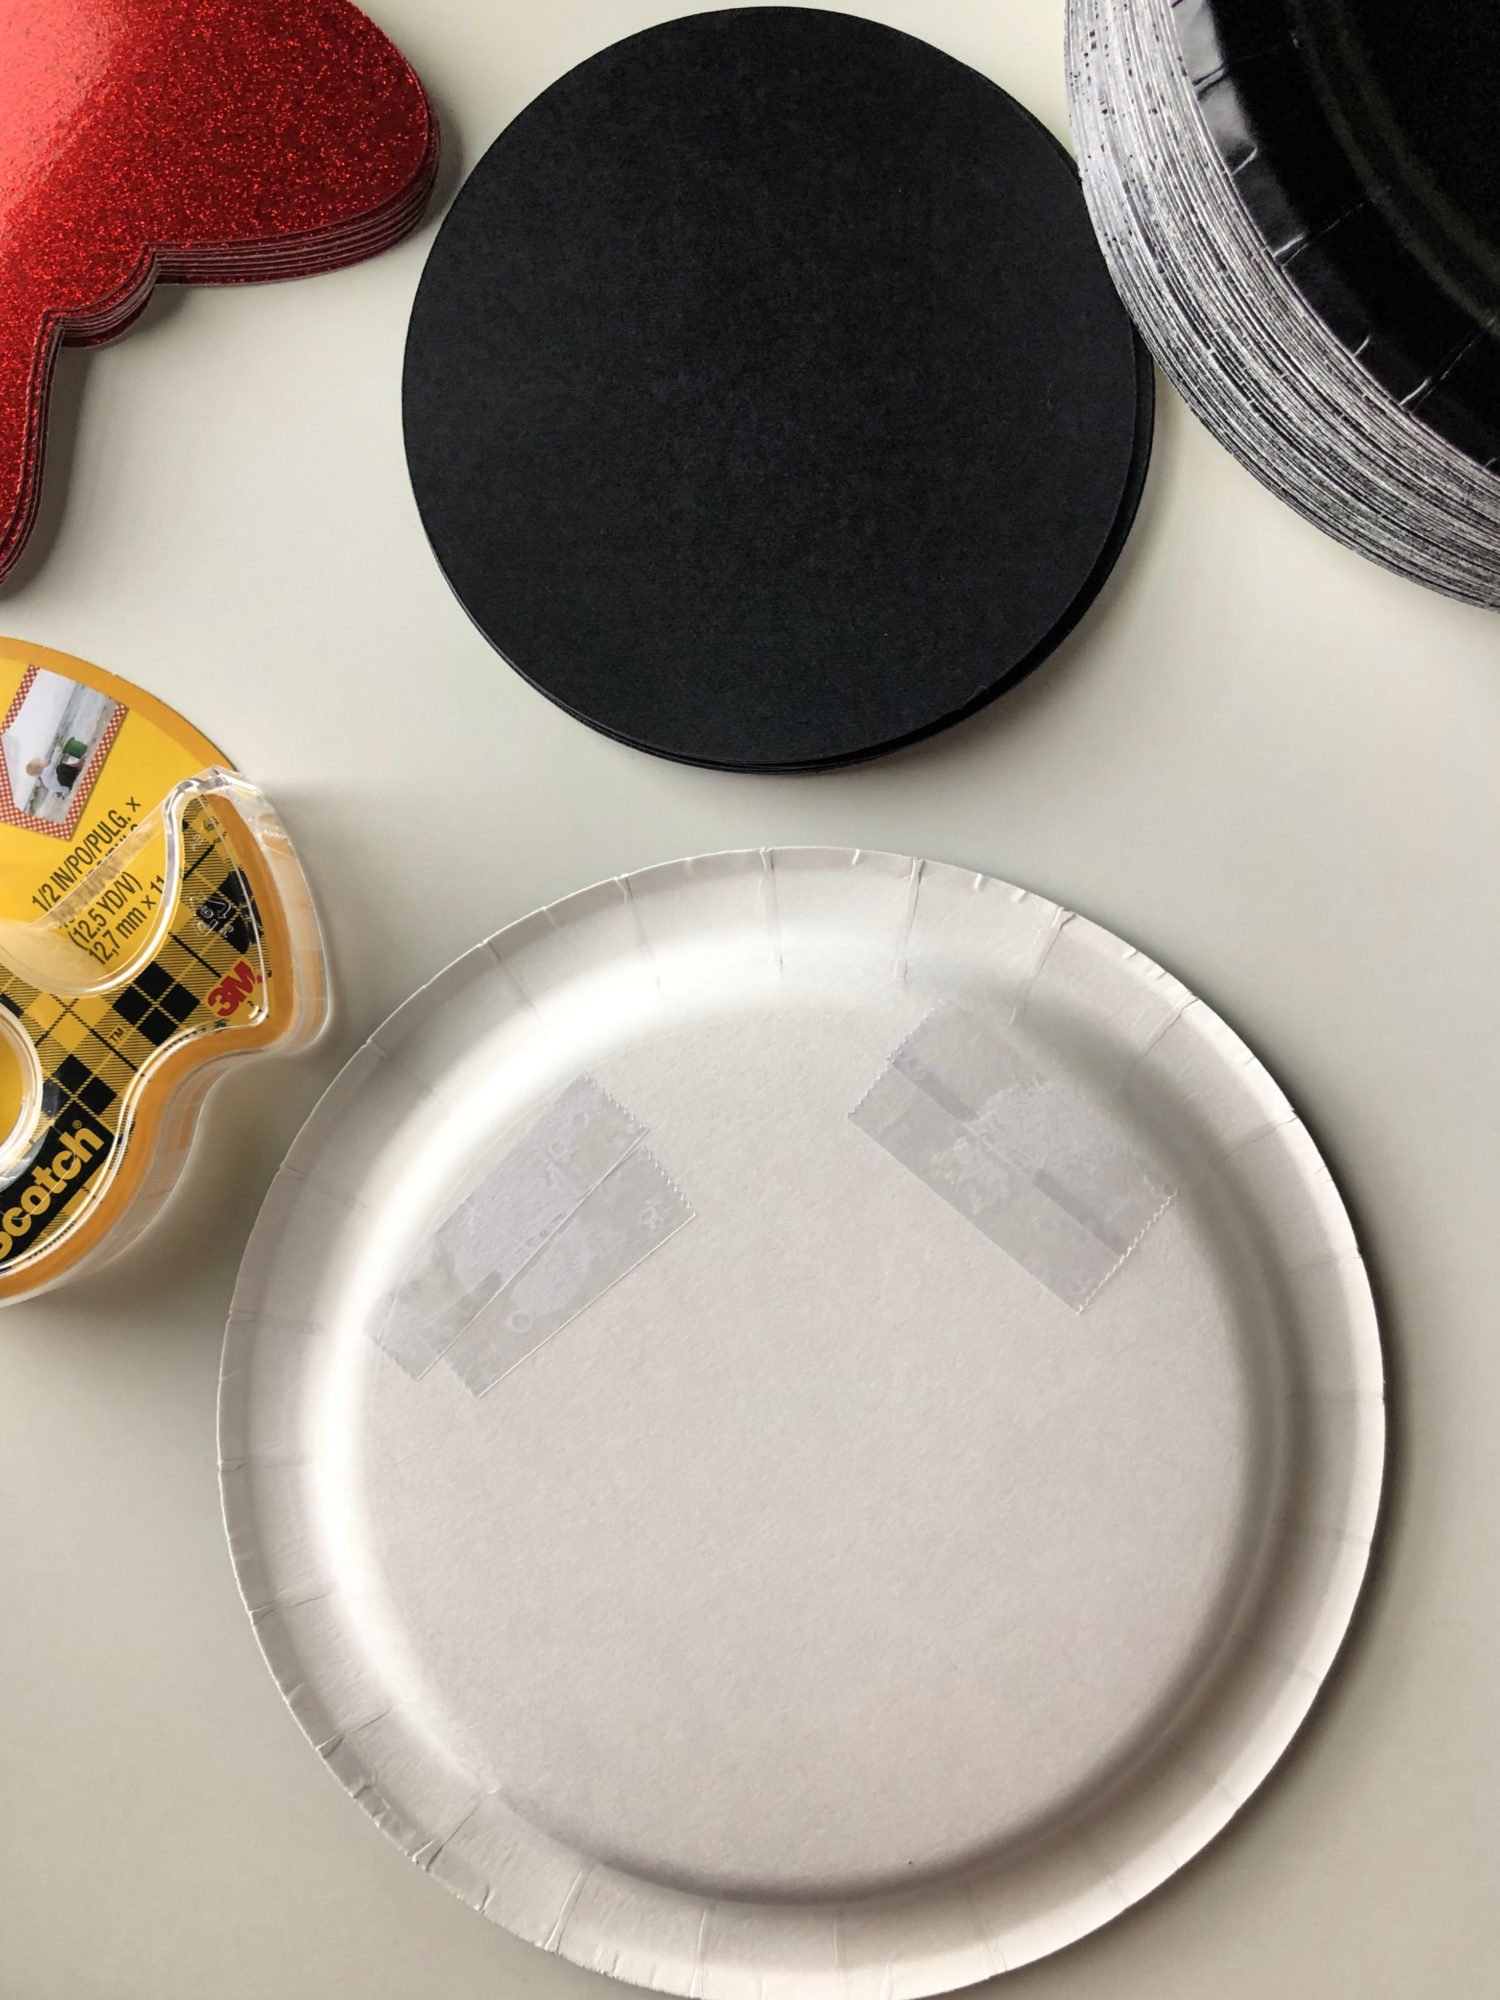
Step 1
Once you’ve cut your circles and bows it’s time to assemble. First, place two pieces of Double-Sided Tape on each side of the plate (as pictured above).
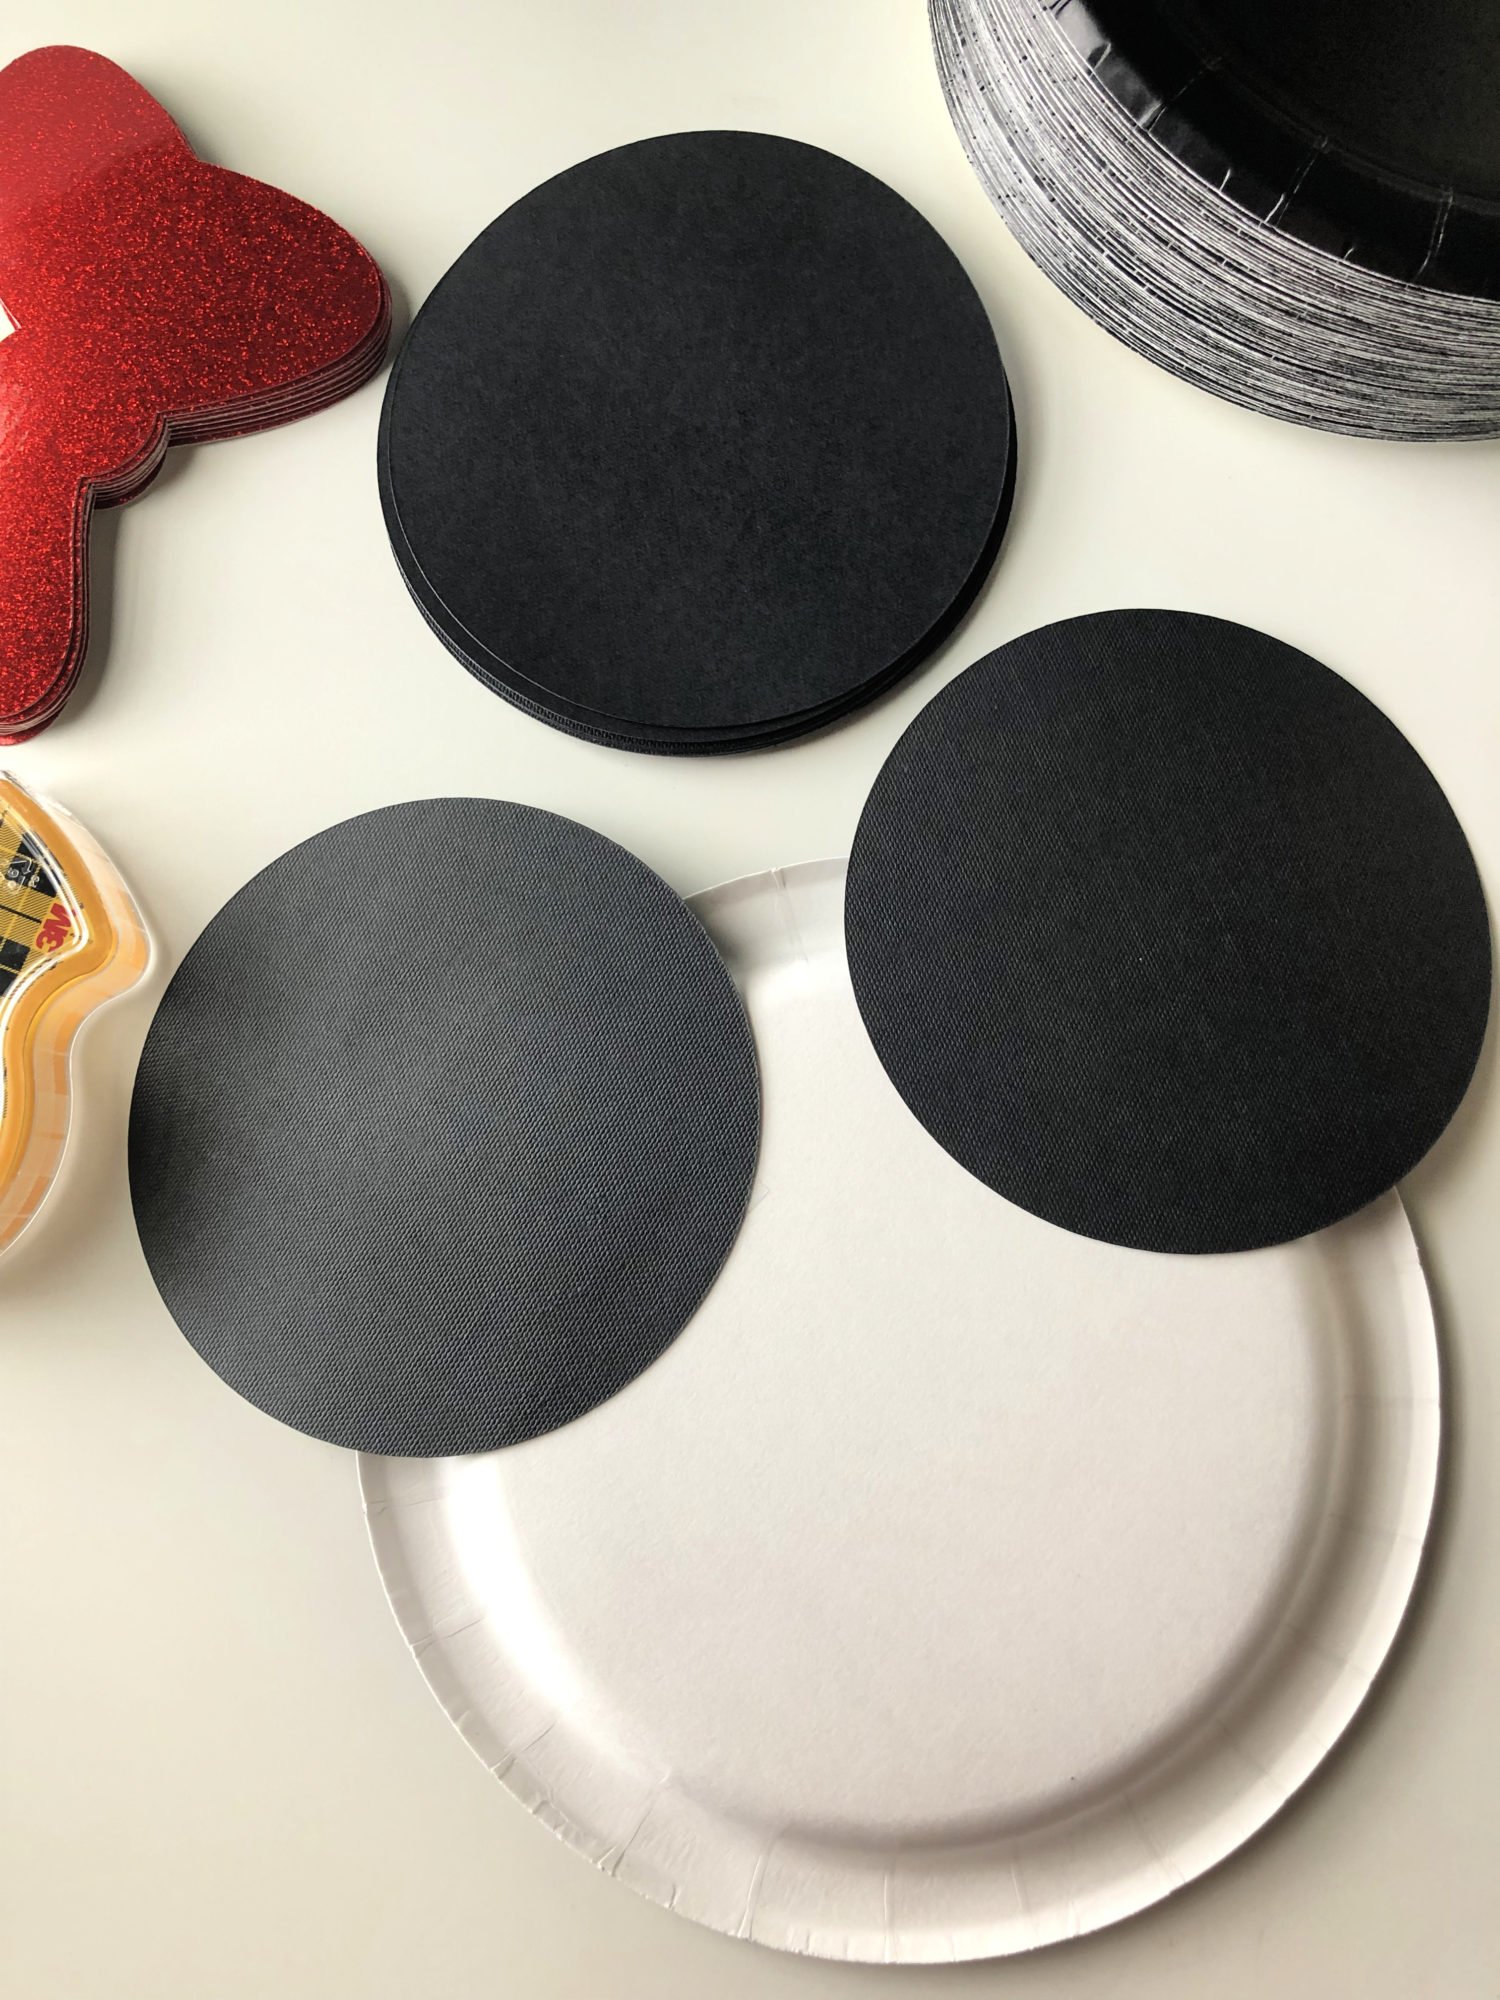
Step 2
Next, place the two black circles on the tape.
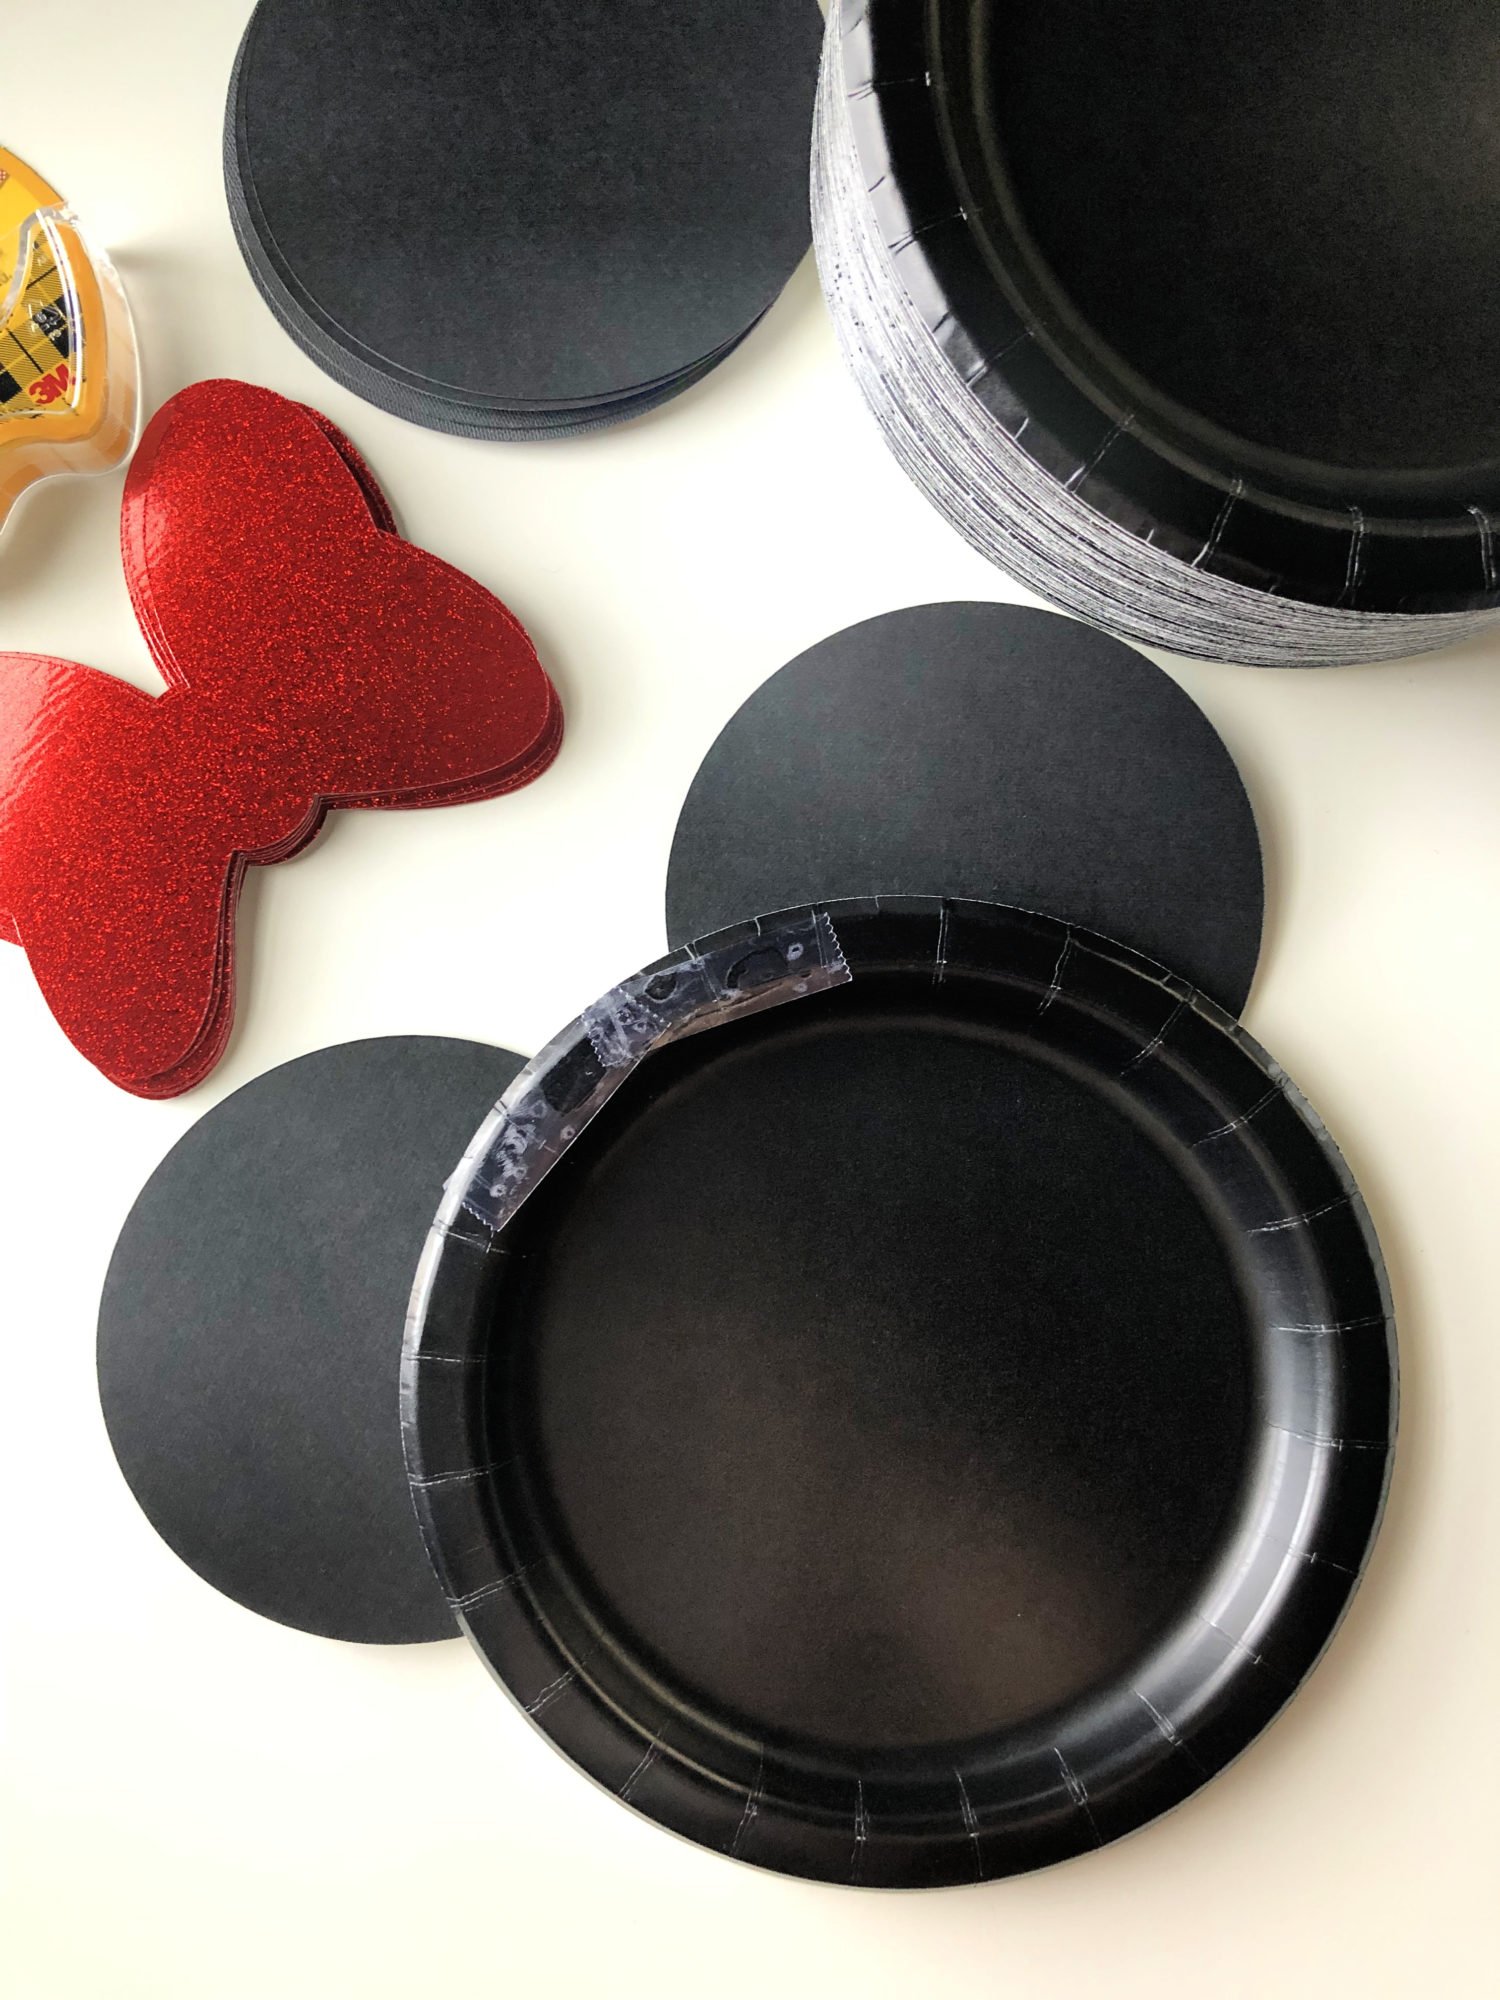
Step 3
This is how it will look once you turn it over. Then, place two pieces of Double-Sided Tape in the middle where the bow will go.
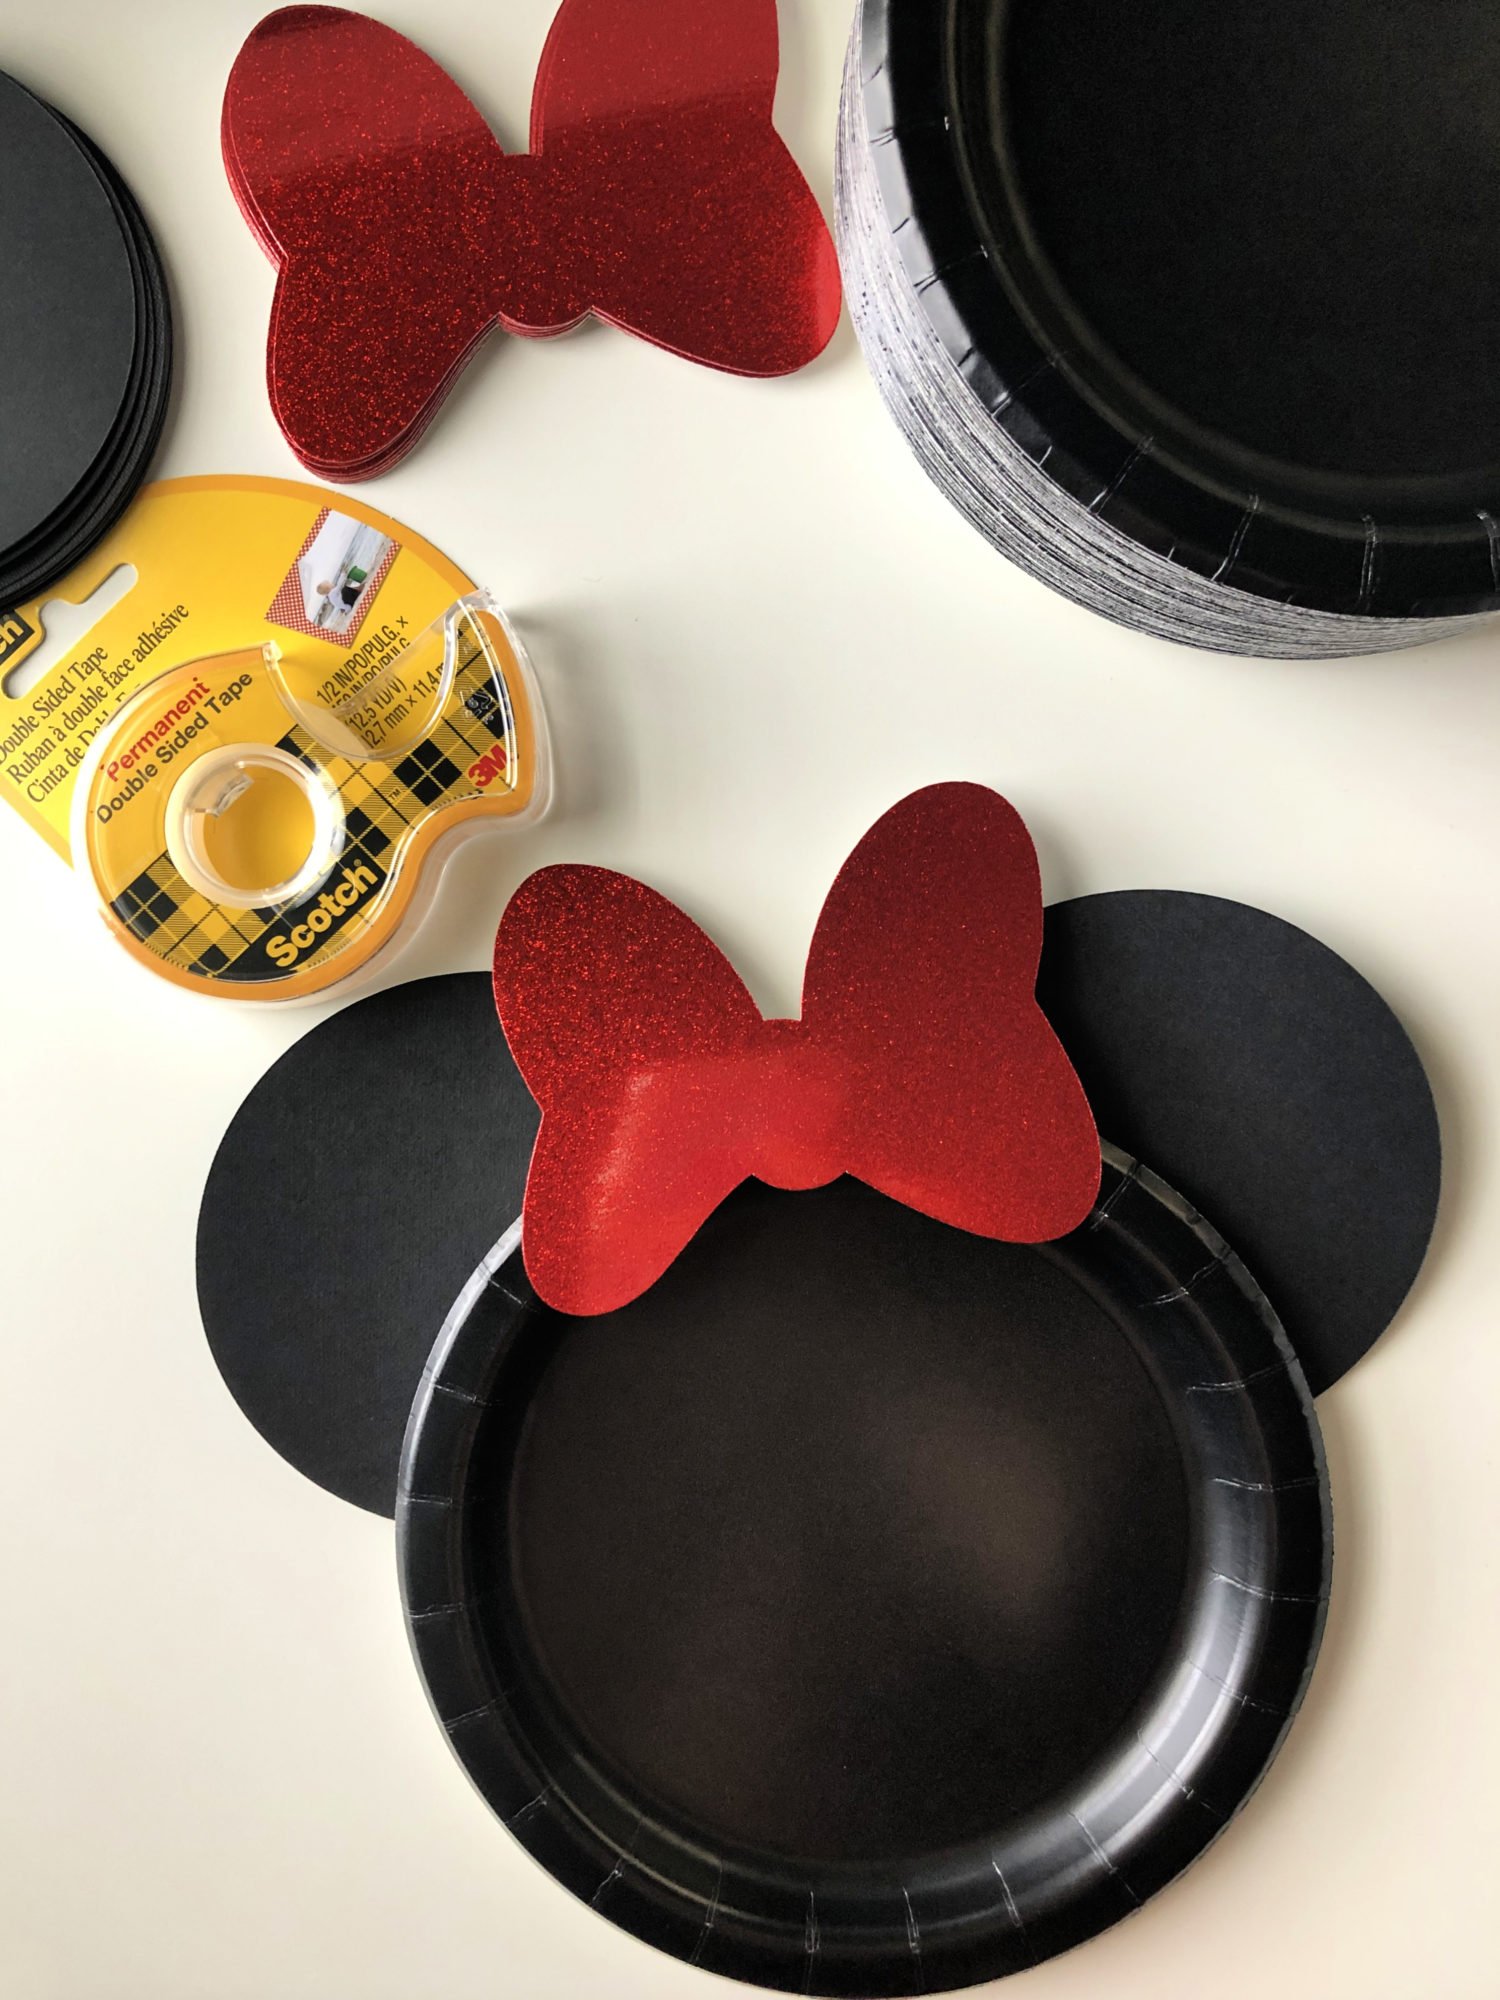
Step 4
Then, add on the red shiny bow! Repeat until you have as many plates done as you desire. I ended up doing over a dozen for my daughters party and it took me maybe 30 minutes if that from start to finish.
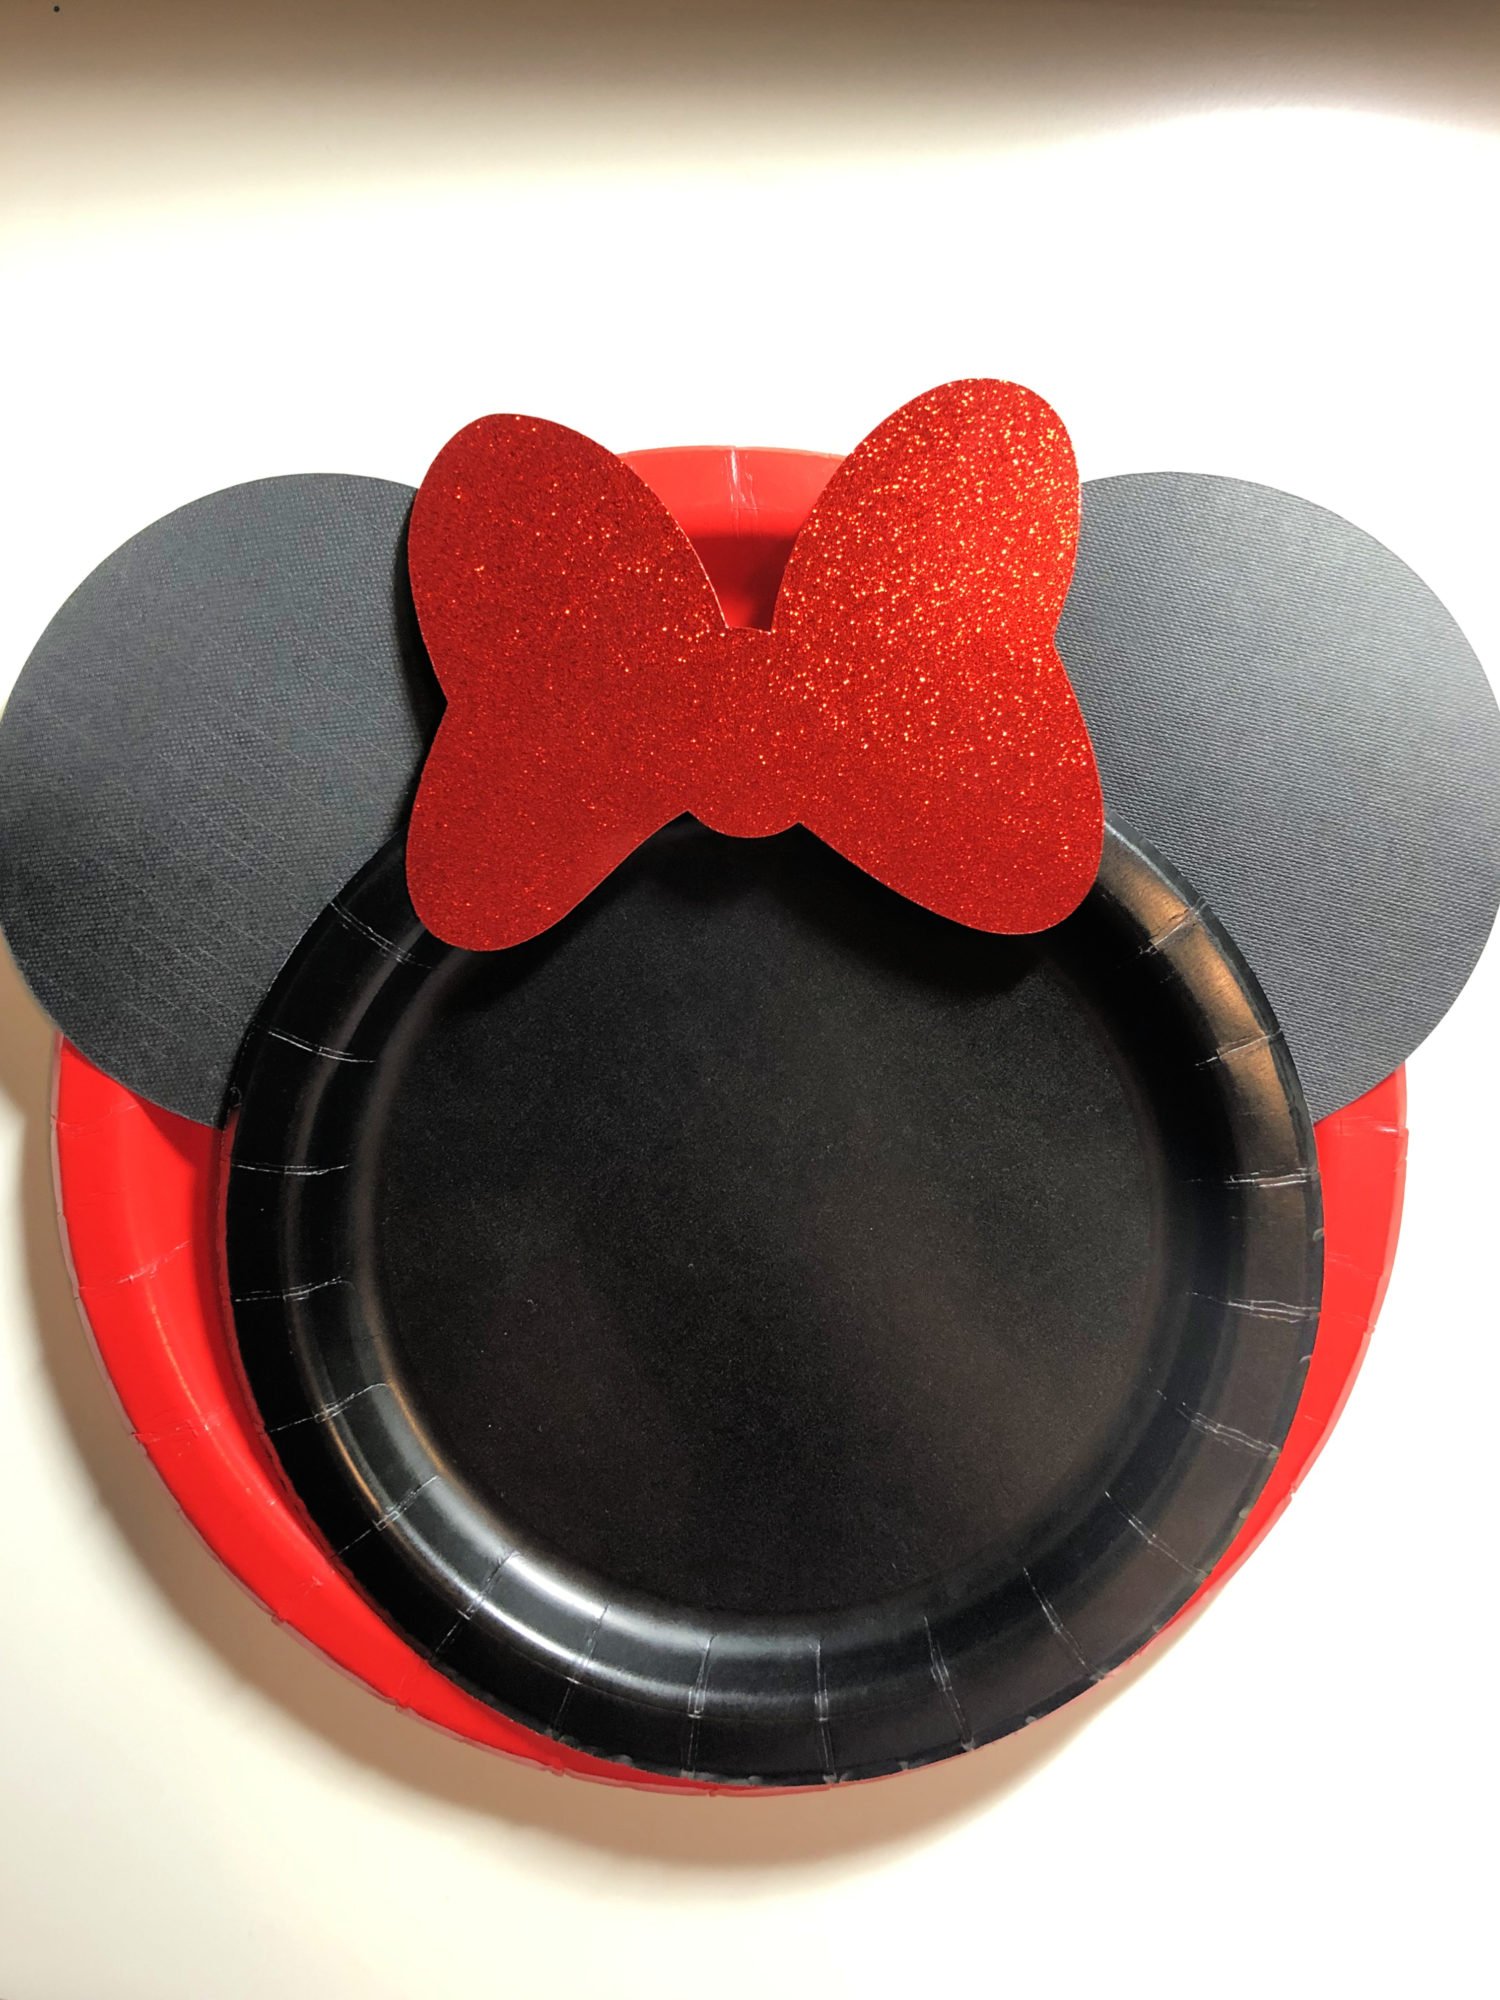
Here is the finished product! I loved how these turned out!
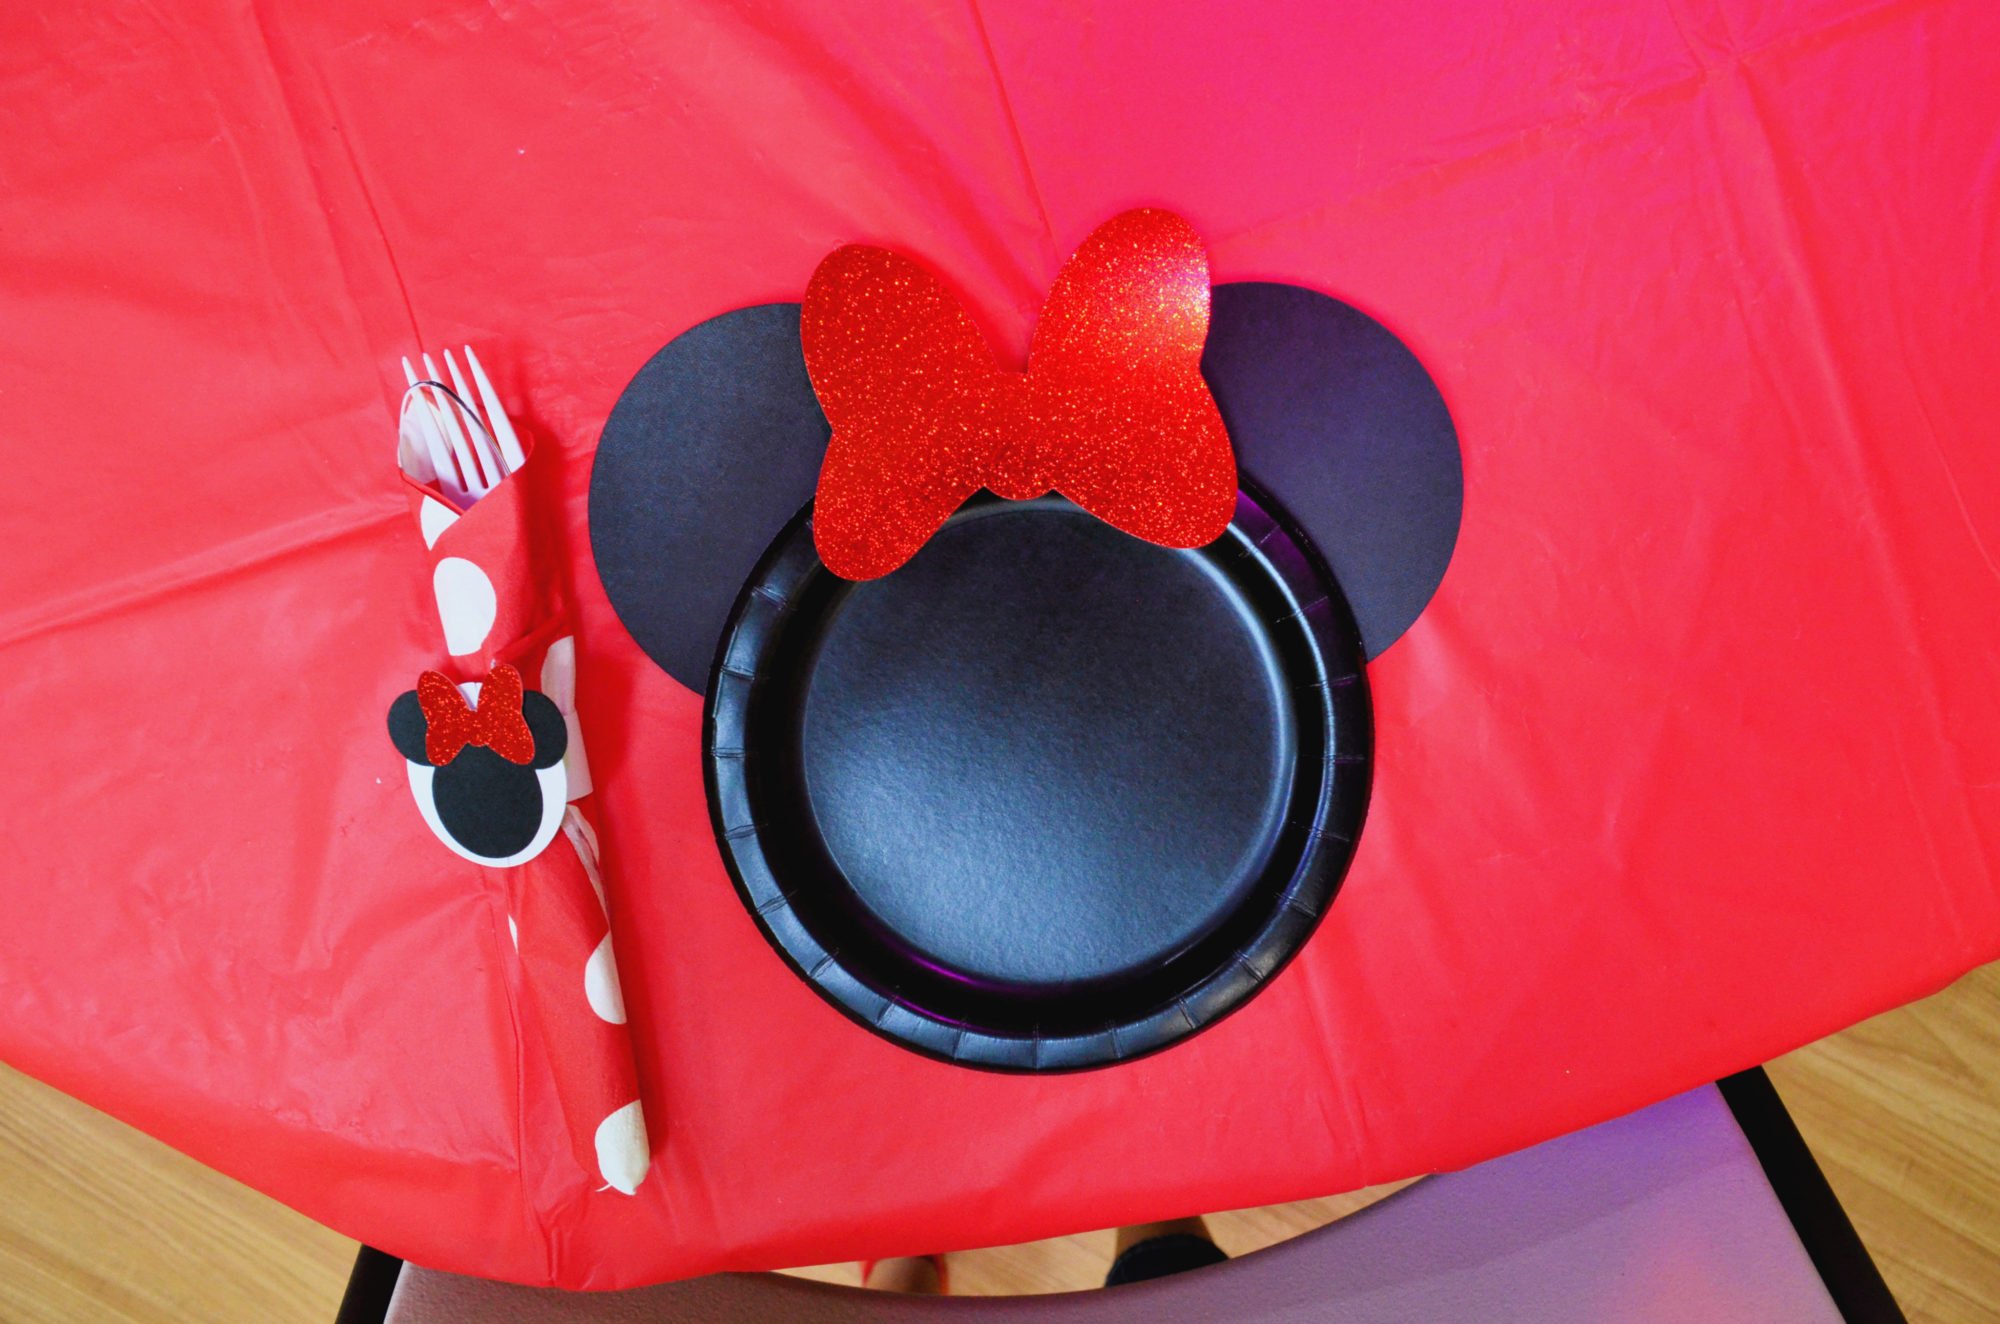
Because I used a red table cloth I opted to not use a red plate underneath the Minnie Mouse table cloth!
If you love how these plates turned out make sure you grab the Cricut Design Space file for DIY Minnie Mouse Paper Plates here!
Leave A Reply!