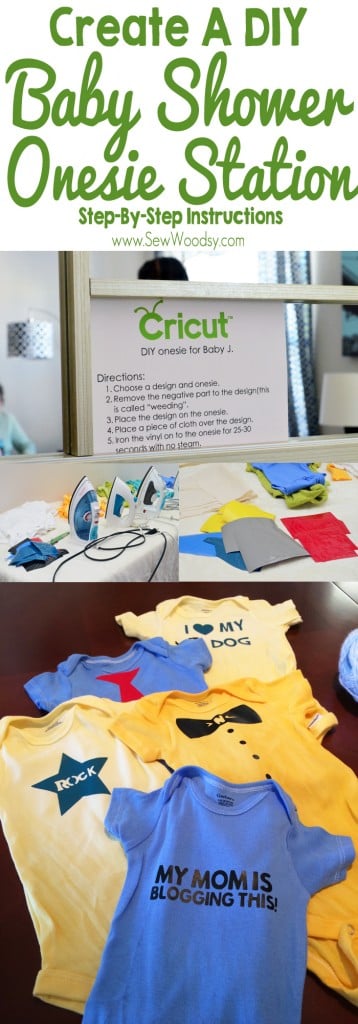
If you are hosting a baby shower you’ll love this creative idea to get the guest involved by creating a Baby Shower Onesie Station! Essentially, every guest will create a custom onesie for you to keep!
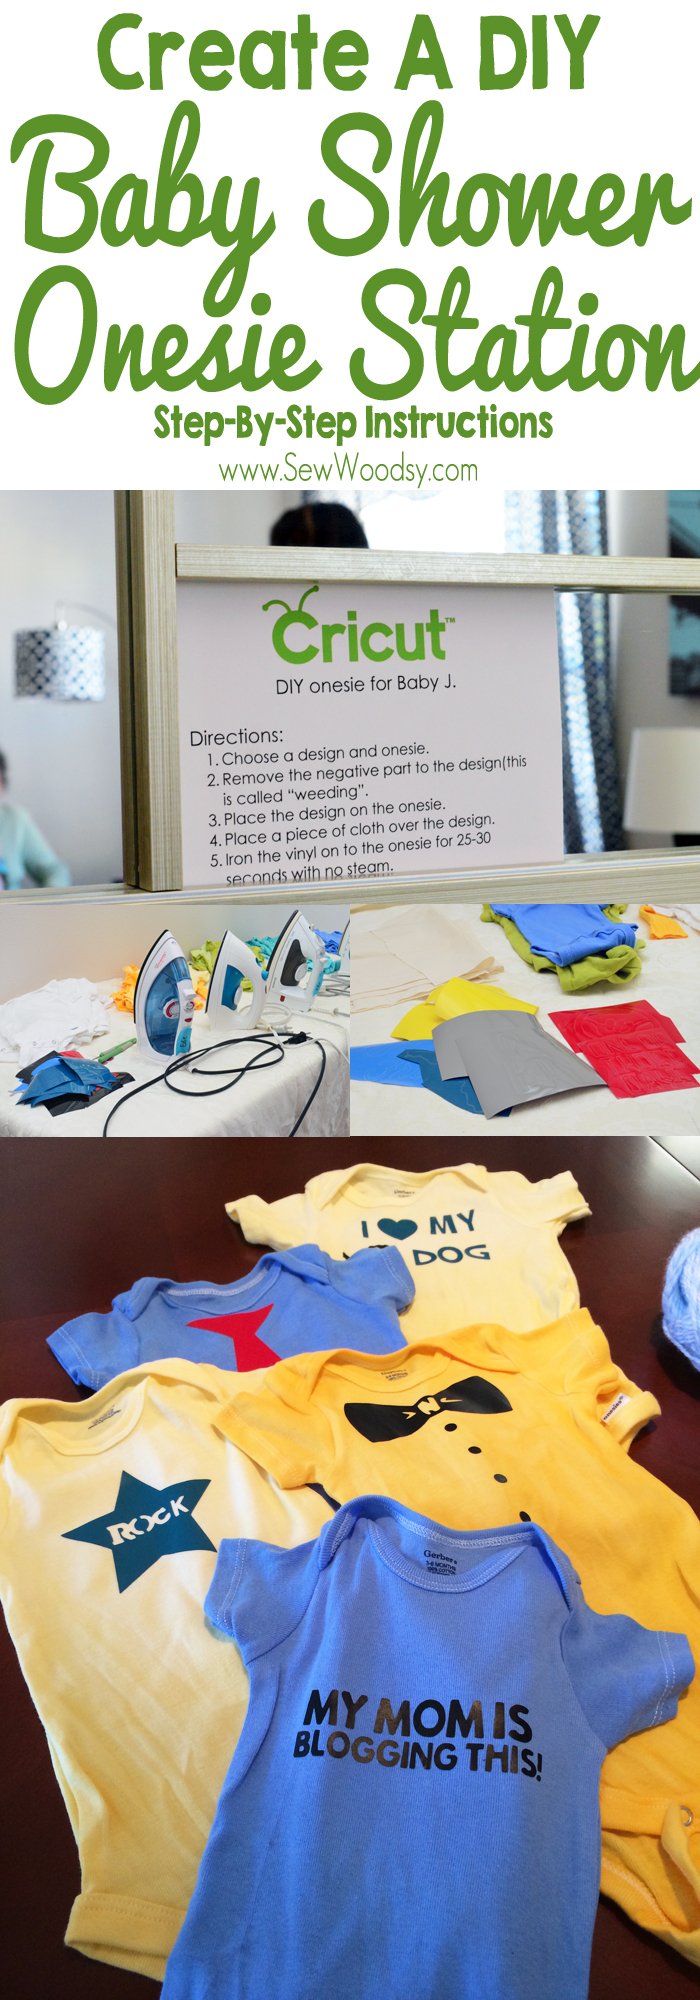
For my first born, I had a whale themed baby shower. Since I am a crafter, I wanted a Baby Shower Onesie Station. I thought it would be a fun way to let the guest make a special little onesie for our little one. If you are throwing a work baby shower make sure you check out that post.
The wonderful folks at Cricut sent me a wide variety of Iron-On Vinyl to help make this possible! Gone are the days of puffy painted onesies. Let’s get real–who really puts their kid in the puffy paint onesies that Aunt Sally made at your shower? I’ve had multiple friends have them done at their baby showers and they are lucky to have maybe 5 onesies that they actually like and dress their baby in.
That’s when it occurred to me to do an iron-on onesie station. I would still have a lot of control on what was going on the onesies yet everyone could still “make them”. It was a win-win. And yes, if you haven’t realized yet–I’m a bit of a control freak.
Baby Shower Onesie Station: Table of contents
Tips when working with dye:
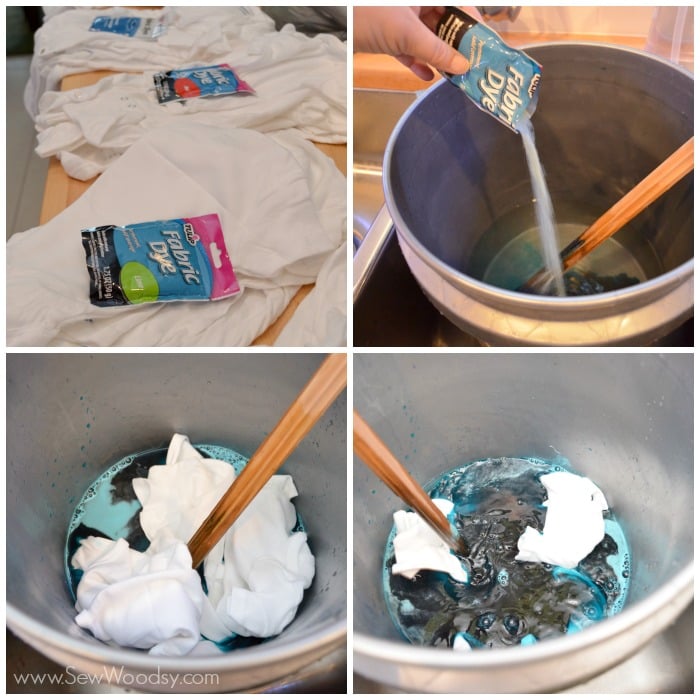
First up, I dyed my onesies. We had 30 people attending and I had 35 onesies available so at least everyone could make one. Not everyone made one, some made a few, others didn’t make any. I chose to make blue, green, yellow, and turquoise onesies. I tried for red but it came out a deep pink, so I just saved those onesies for my friends who are expecting girls! I spent about a week working on dying onesies in batches. About one color a day. I also had one package of white onesies for those who like the traditional onesie color.
- Make sure you wear gloves.
- Make sure you cover your work surface with towels/newspaper so that the surface is not dyed as well. In this case it was my brand new butcher block countertops.
- I used a scrap piece of wood as my stirring stick. You can also use a paint stick from the hardware store.
- Make sure you don’t just throw the onesies in the dye. Take the time to unfold each of them–if not they will be splotchy even after soaking for 20+ minutes.
- Wash the onesies after you have dyed them. Don’t worry about washing in baby detergent since you’ll want to wash them again before they go on the baby (all those germs from your guest–doesn’t mix well).
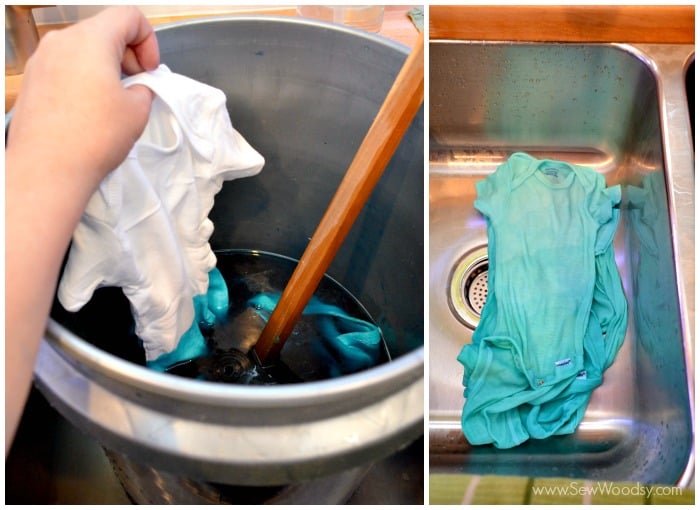
I also did a few dip dyed in each color. Those took longer because I physically had to stand there and hold the onesies in the bucket. Was it worth it… yes! I love how the dip dyed ones turned out. I’m sure Jon could have figured out a contraption for me, but it wasn’t worth him spending any additional time on my project.
Iron-On Vinyl Cut Outs
After the onesies were dyed it was time to make the cut-outs using the Iron-On Vinyl.
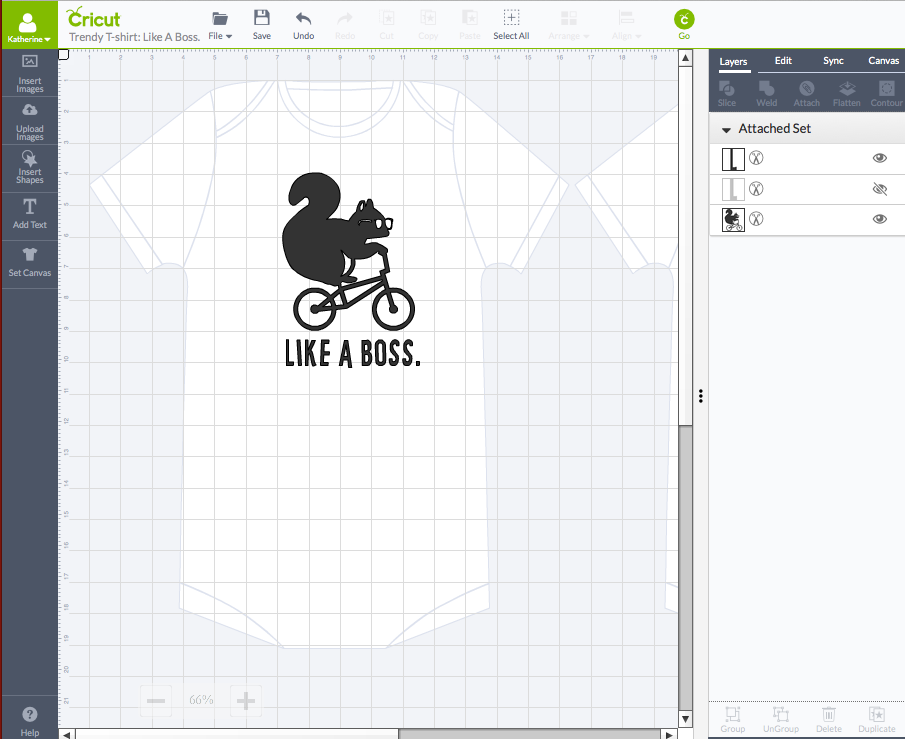
It is IMPERATIVE that you remember to click the “MIRROR” button before you cut the Iron-On Vinyl.
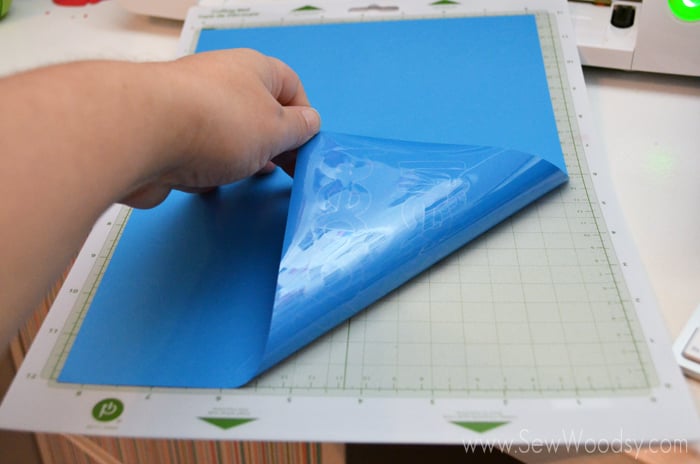
Once I had my designs picked out it was time to cut my Iron-On Vinyl. This tutorial was created back when I used Cricut Craft Room. Now you can check out other post that will help you using the various newer machines out on the market.
I decided to cut out the images and then let my guest “weed out” the negative parts. I felt that this was a fairly simple task for them to do. Everyone did a great job. Although, in hind sight I wish I would have had a few more tools and maybe one more table set up so that my guest could make more at once. But it seemed to work out well. We had a few people at the table throughout the 2-3 hour shower.
Here is what you’ll need to make the baby shower onesie station happen
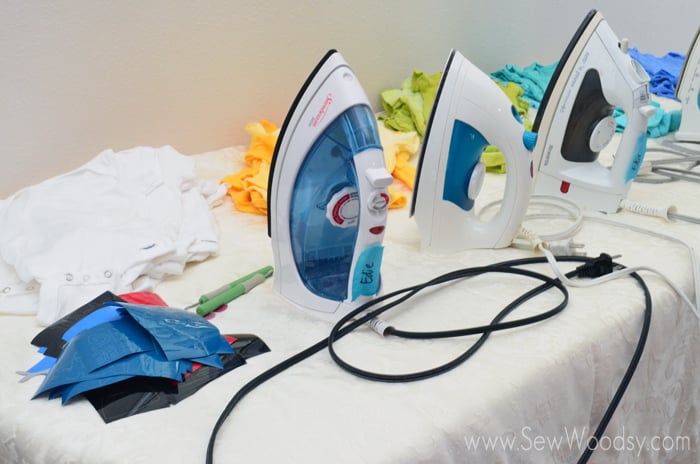
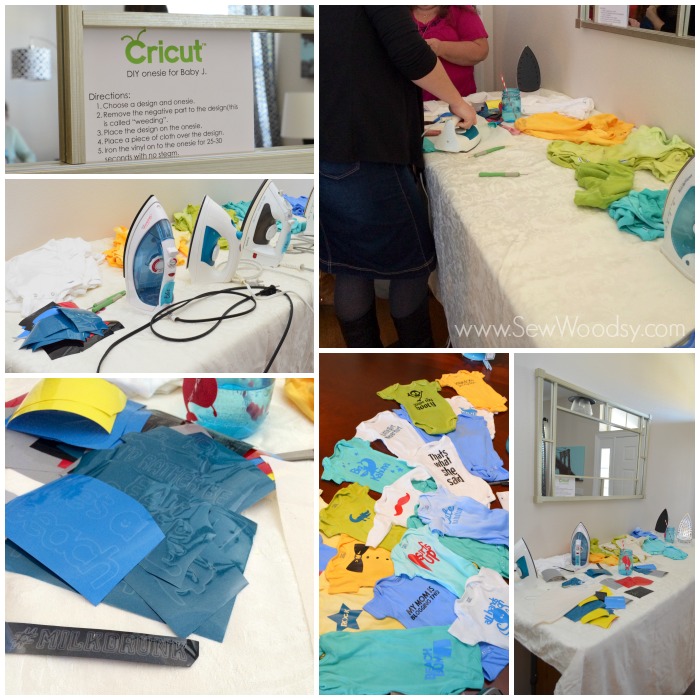
We had a few irons on a table, along with the design, and onesies.
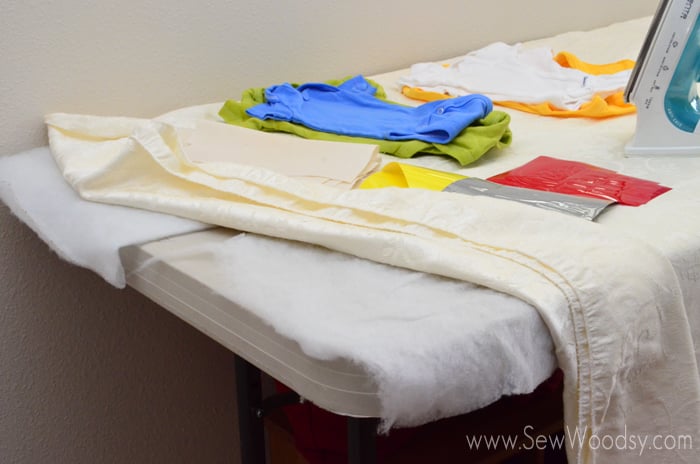
The day of the party we placed a table that had adjustable legs so that the table was not waste high (I’m 5’1 and it was almost chest high on me). I placed a piece of batting underneath the table.
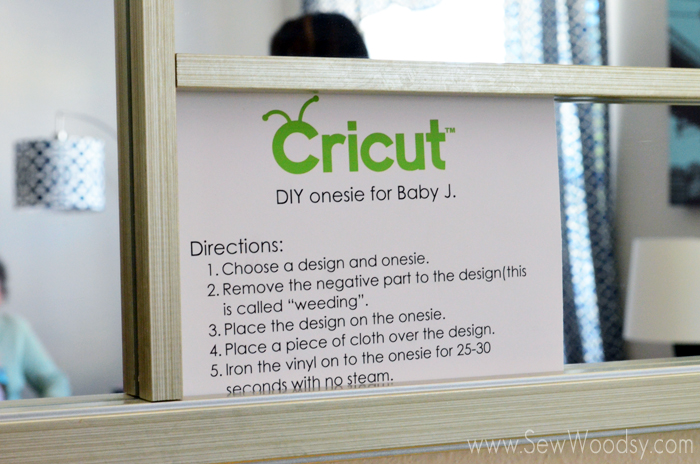
I created basic instructions that I placed in the mirror above the table. This helped for anyone who was not familiar with how to apply the Iron-On vinyl on to the onesies.
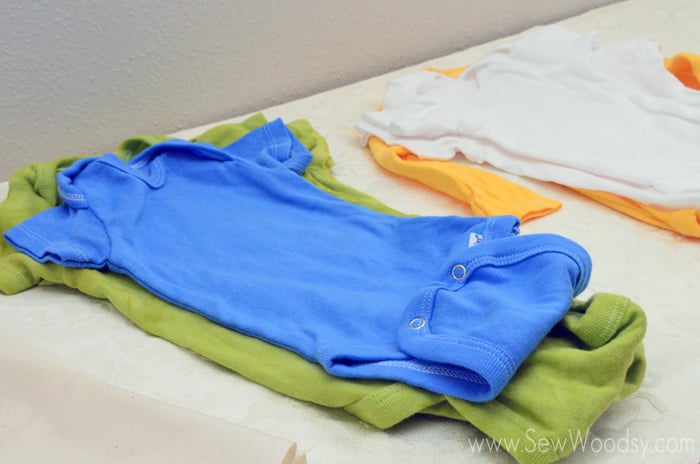
I laid out a variety of onesies in different piles (sorted by color not size but you can do whatever you’d like). Pictured above is just an example of how I laid out the onesies. These photos were taken after the party with the remaining onesies I had left.
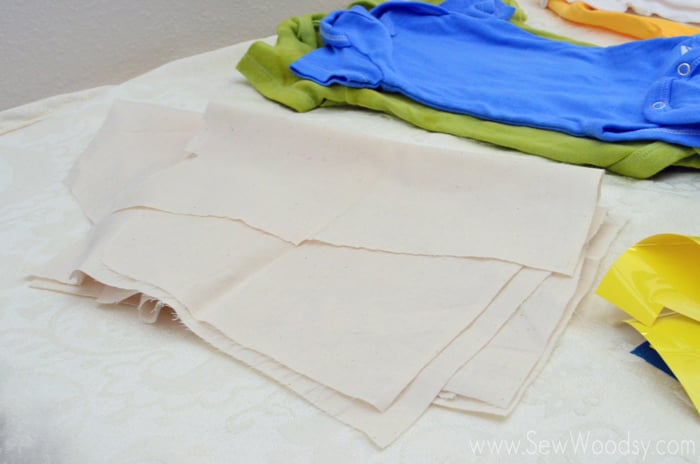
I cut pieces of muslin for everyone to use when they applied the iron-on vinyl on to the onesie.
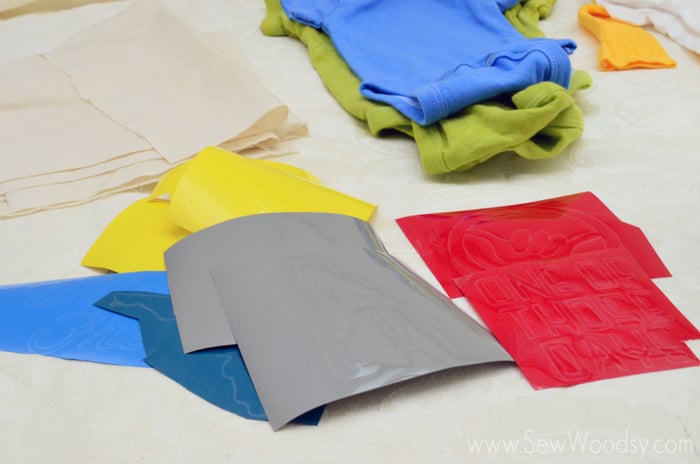
I had a stack of vinyl cut out that my guest could choose from.
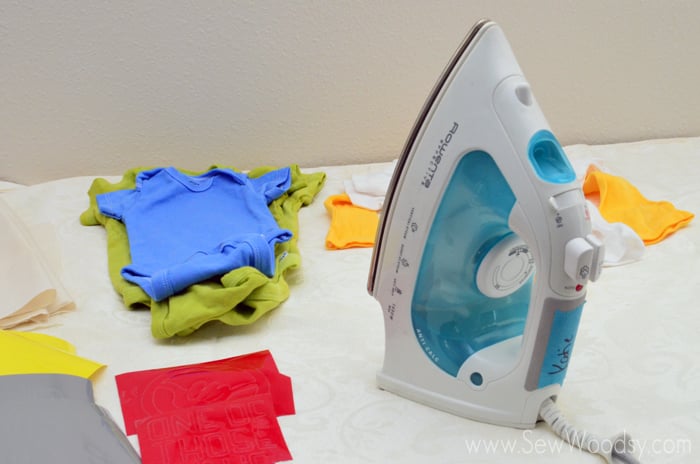
I asked a few friends to bring an iron for the onesie station. I placed a piece of tape with their name on the iron handle so that everyone got their iron back at the end of the party. If you have time before the shower do a test run of the irons. We had 4 irons plugged in and they kept tripping the breaker. The first time it happened was when Jon was out picking up the catering and well let’s just say that we were trying to get it back up and running but had to wait for him to get back home.
Onesie Bar
Here was the onesie bar in action and some of the onesies created. I only snapped one photo the entire time people were making onesies. I wish I would have remembered to take more photos, but to be honest I’m glad I could just sit back and enjoy the day! It looked like a cyclone hit the table at the end. So to me that means it was a success.
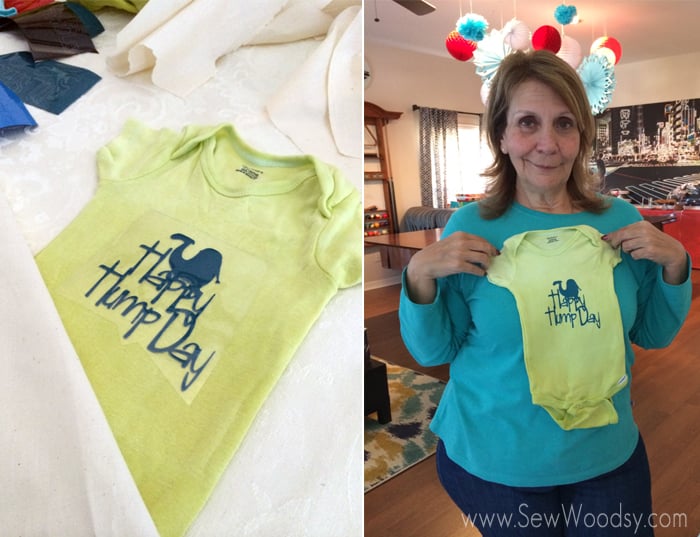
After the baby shower, Jon, my mom (pictured above) and myself all spent a little time at the onesie table making the baby some cute onesies. My mom chose the happy hump day one because she loves the commercial.
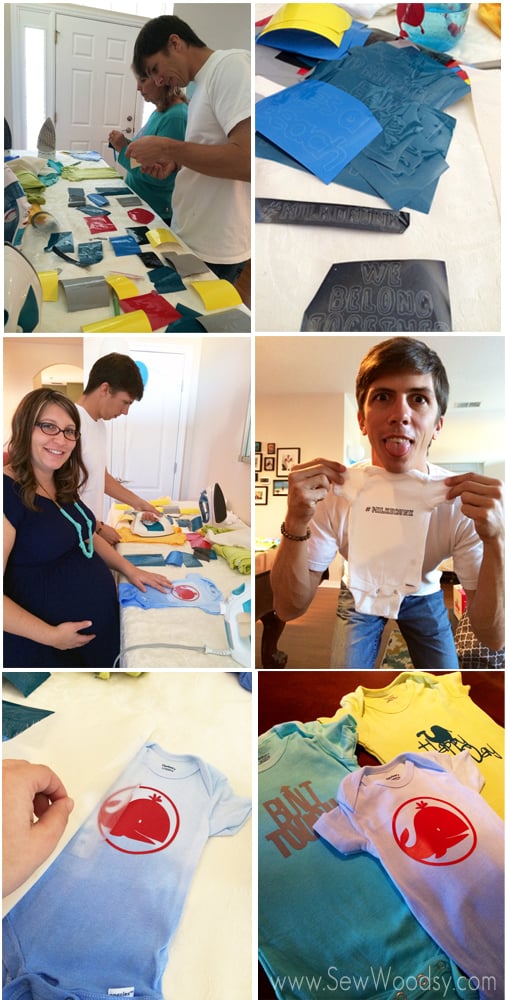
Jon made 3 onesies for the baby–he couldn’t stop making onesies, and then requested that I cut some other Iron-On vinyl for other onesies he wants to make. I can see us dyeing some more onesies for the baby… but i think we will wait until he starts wearing all the onesies that were created at the baby shower before we make any more.
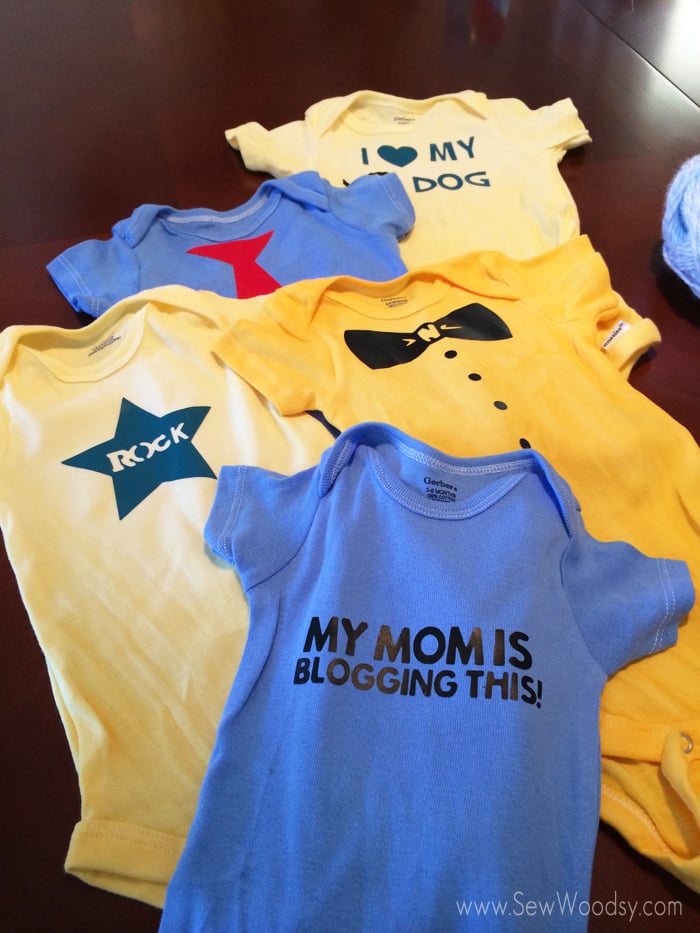
Here are a few of the onesies up close.
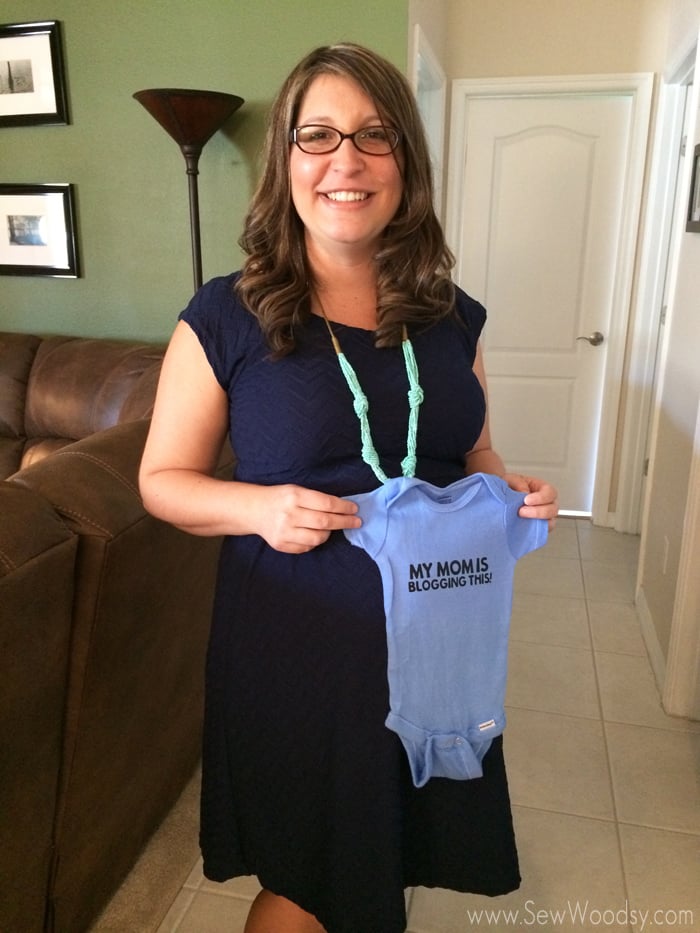
I think my absolute favorite onesies is “My Mom is Blogging This”.
Looking for supplies to create your own Baby Shower Onesie Bar? Click on the links to buy a Cricut Machine and the Iron-On Vinyl now!
Cricut Baby Shower Projects
Here are a few of my favorite Cricut Baby Shower projects.
Cricut Baby Crafts
You might be looking to make a few baby crafts for a new baby in your life. Here are a few of my favorite projects!
- 25 Personalized Gifts Made with Cricut
- DIY Like A Boss Trendy Baby Onesie
- Hello My Name Is Baby Onesie
- Fearfully and Wonderfully Made Onesie
Disclaimer: I received Iron-On Vinyl for free, but was not compensated or required to blog about the onesie station. Just wanted to share with the world! There are affiliate links in this post.
