Step into the eerie world of DIY paper crafting as you watch your walls come alive with a swarm of intricately cut black spiders, all thanks to the magic of the Cricut machine.
I love to cut paper using my Cricut to make a statement wall! I cut paper fish for my son’s room and paper butterflies for my daughters room. Years ago, I received a package of large paper spiders. I’ve used them year after year.
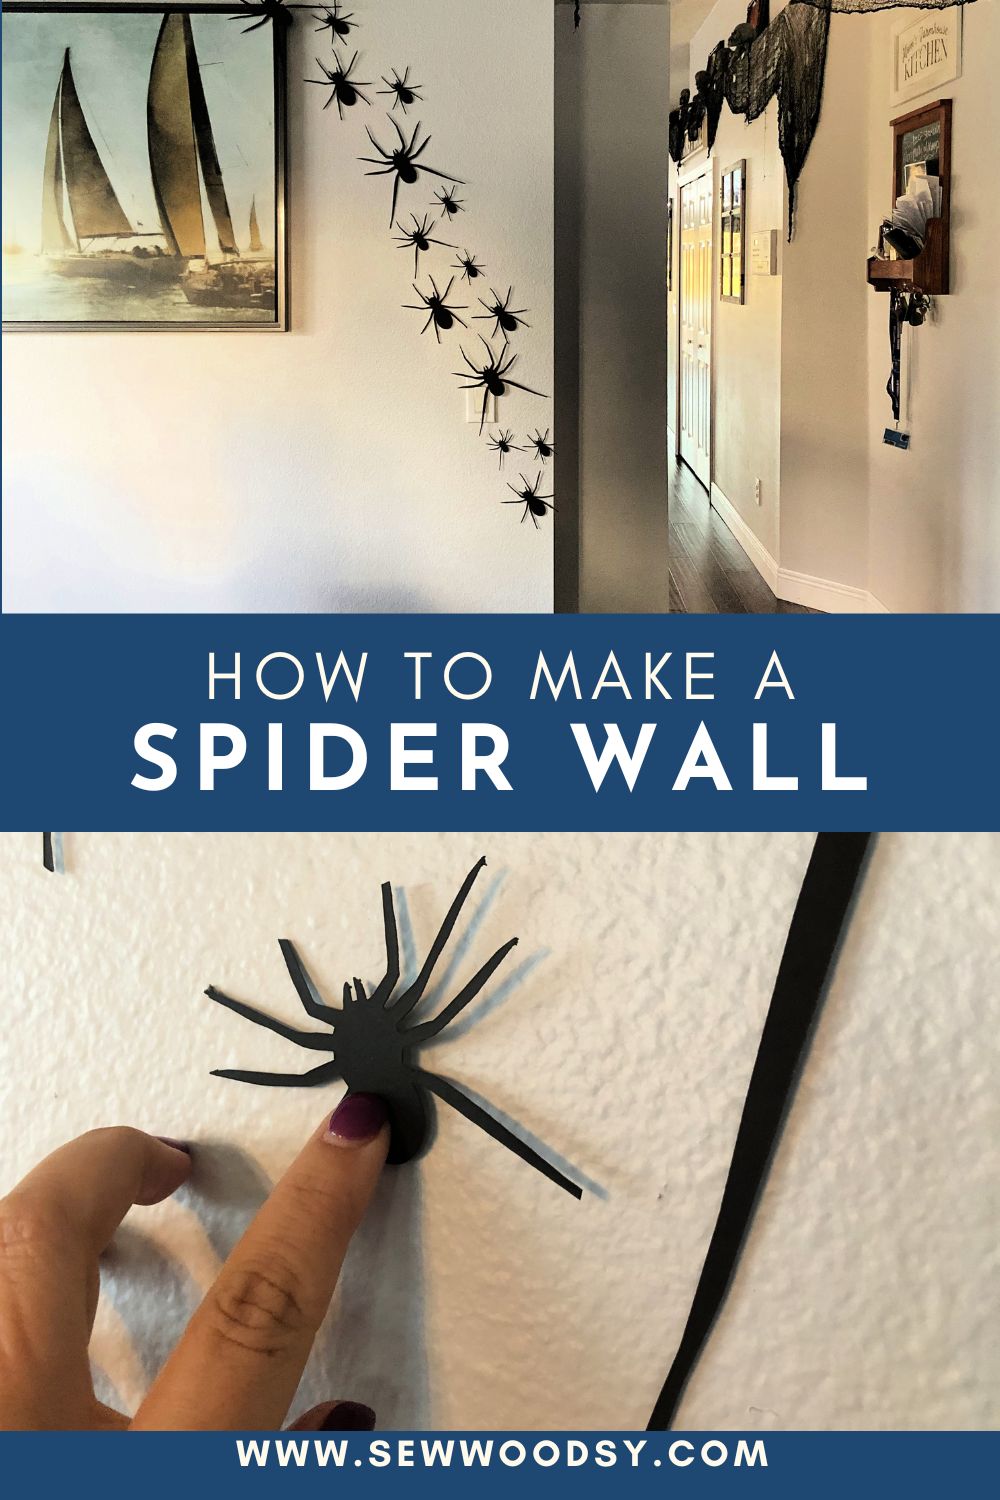
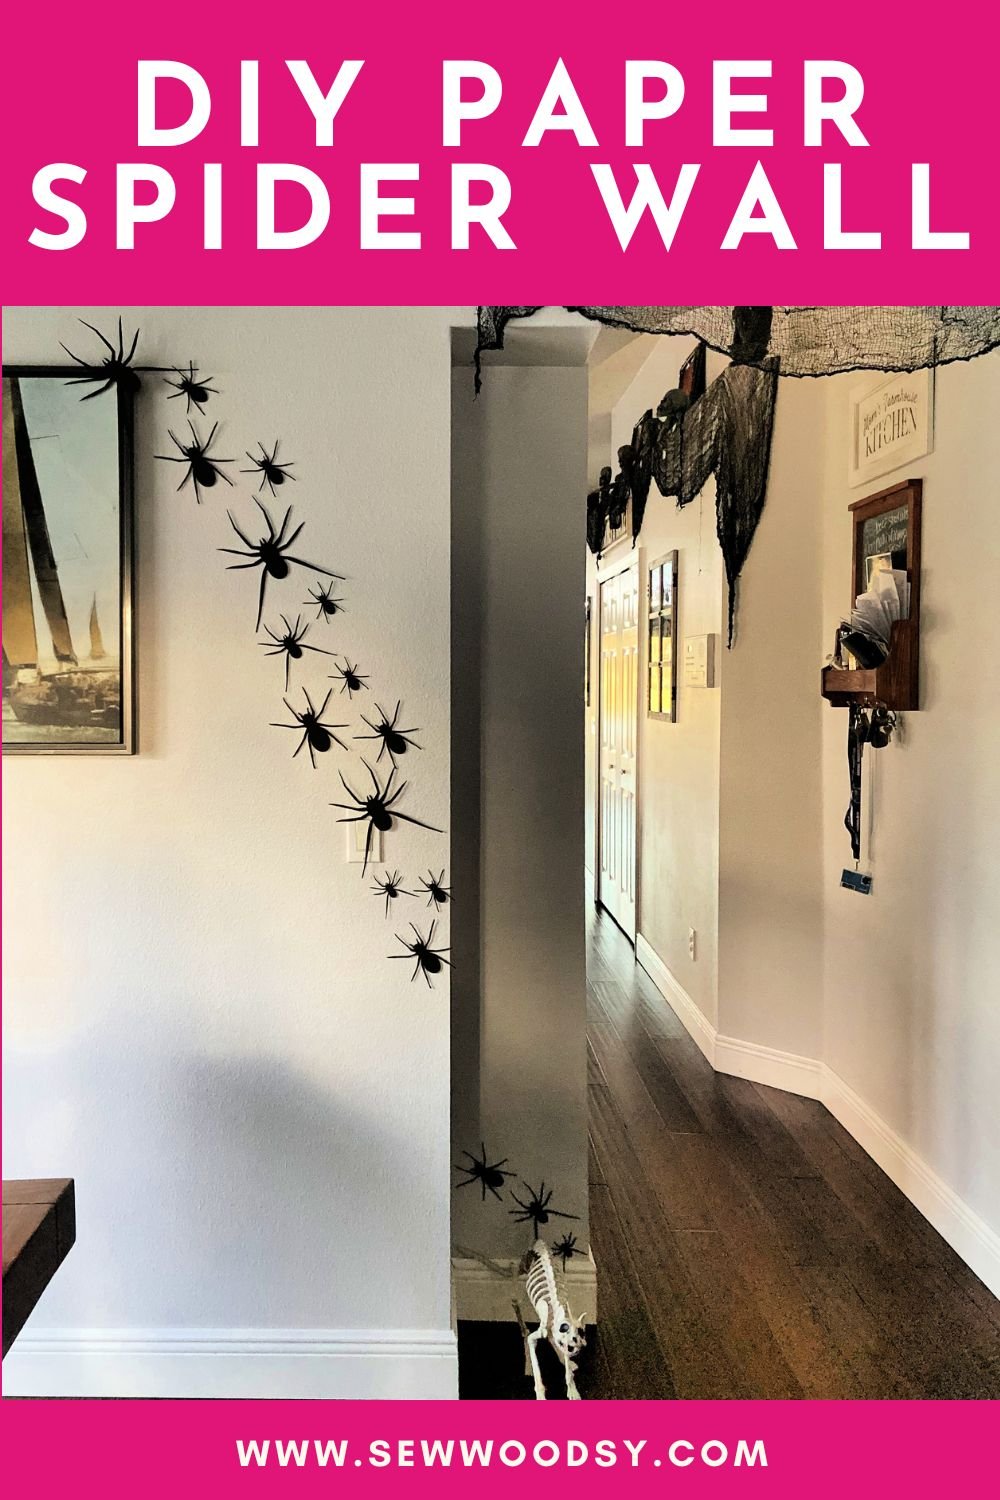
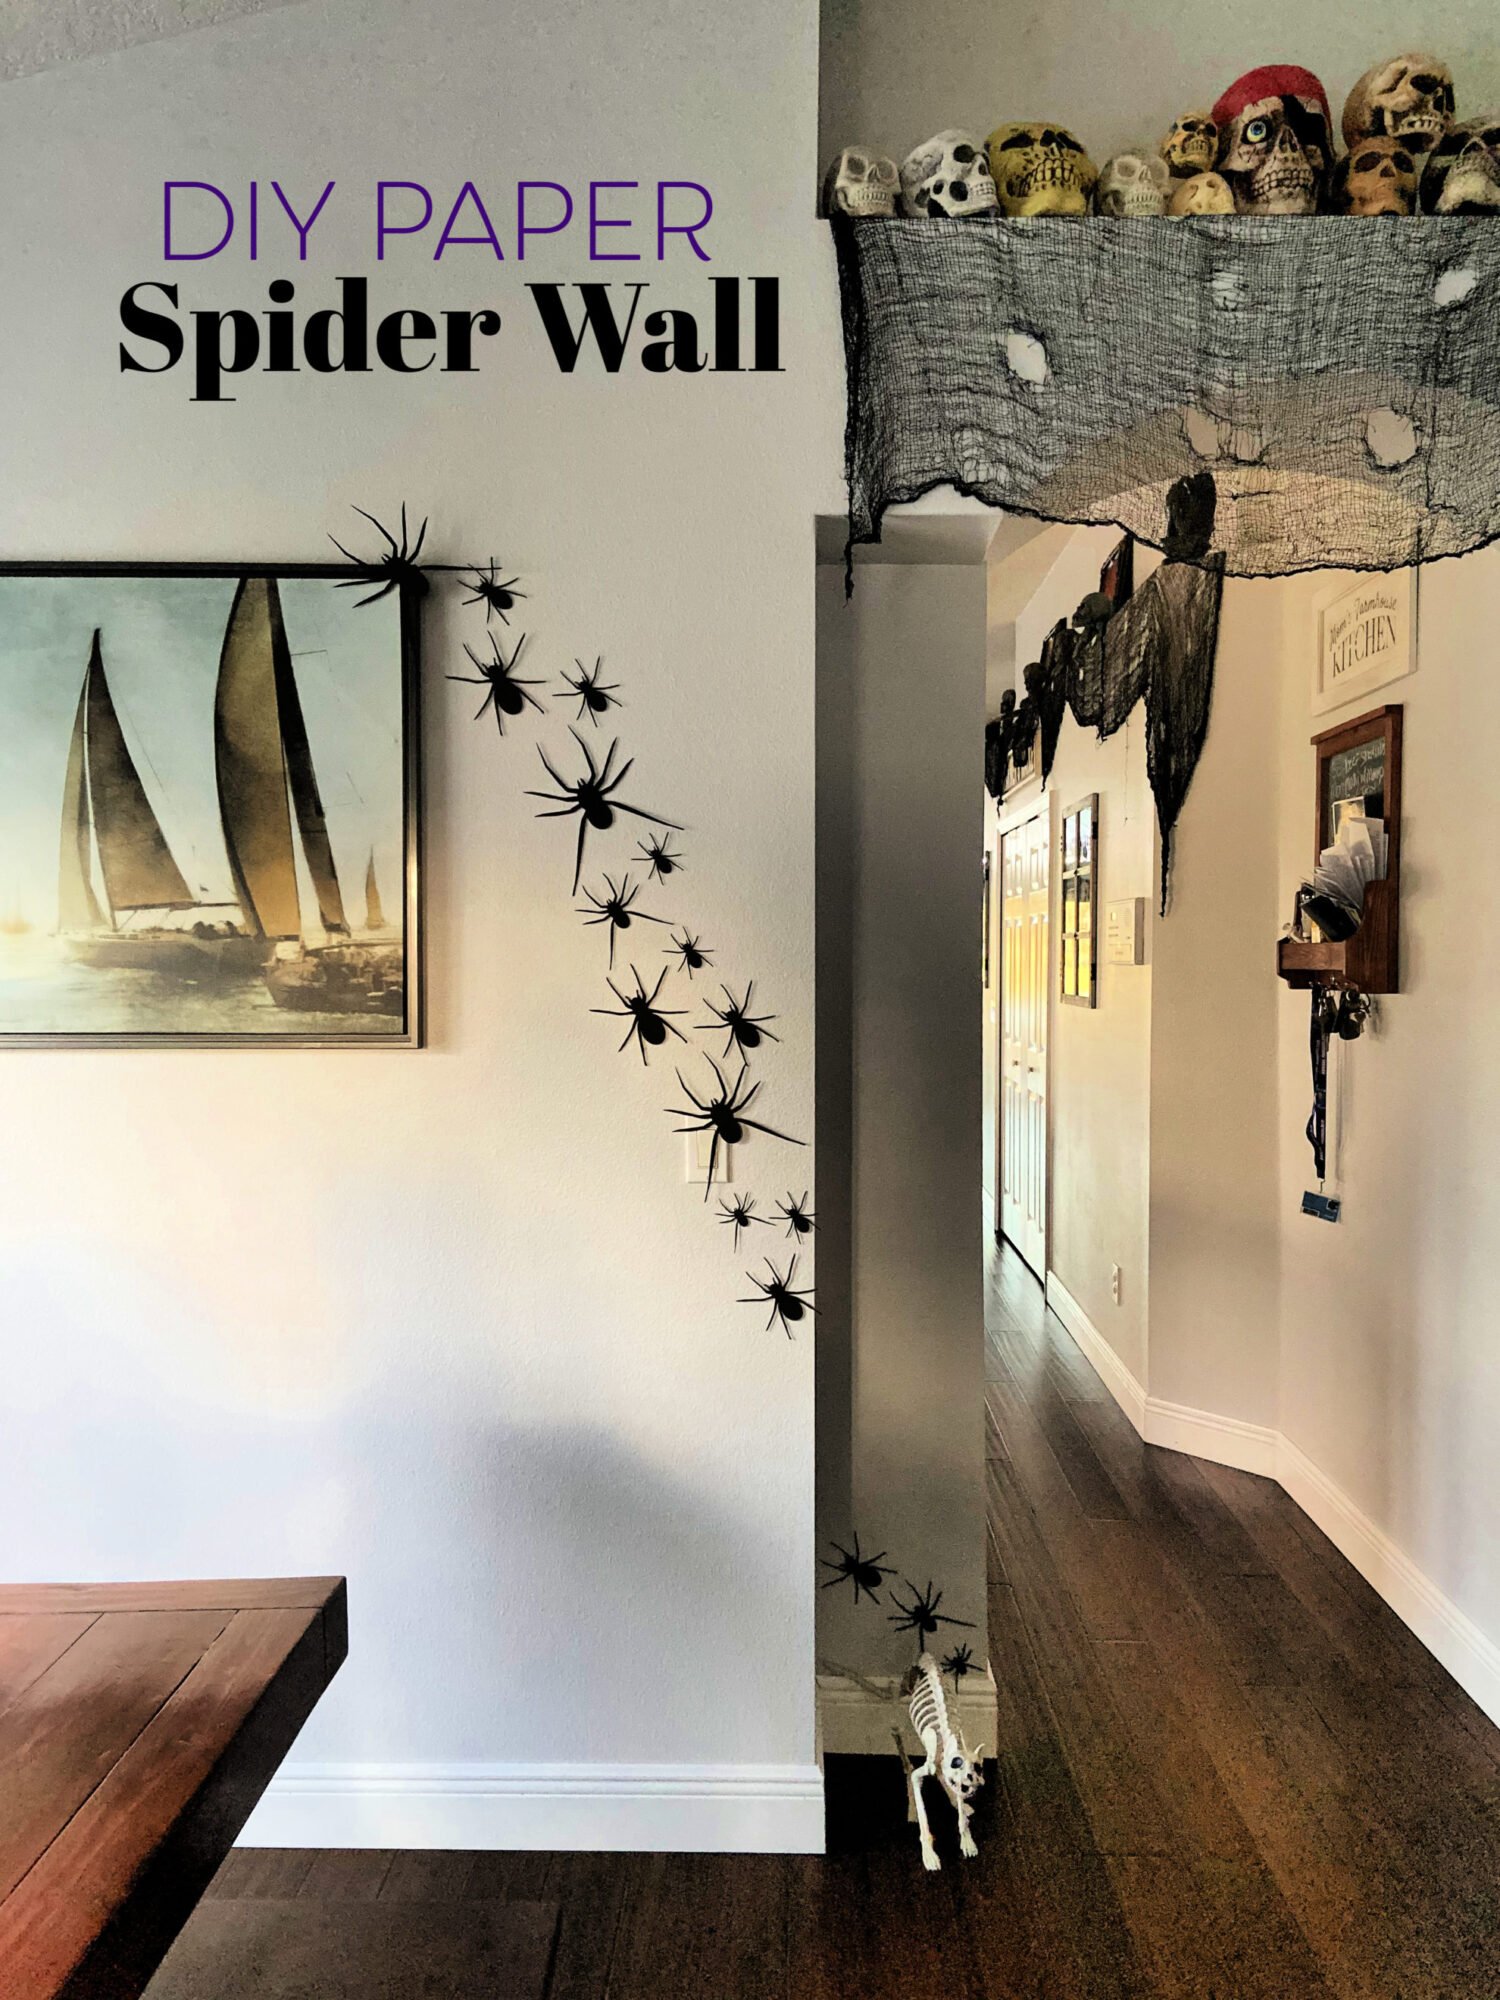
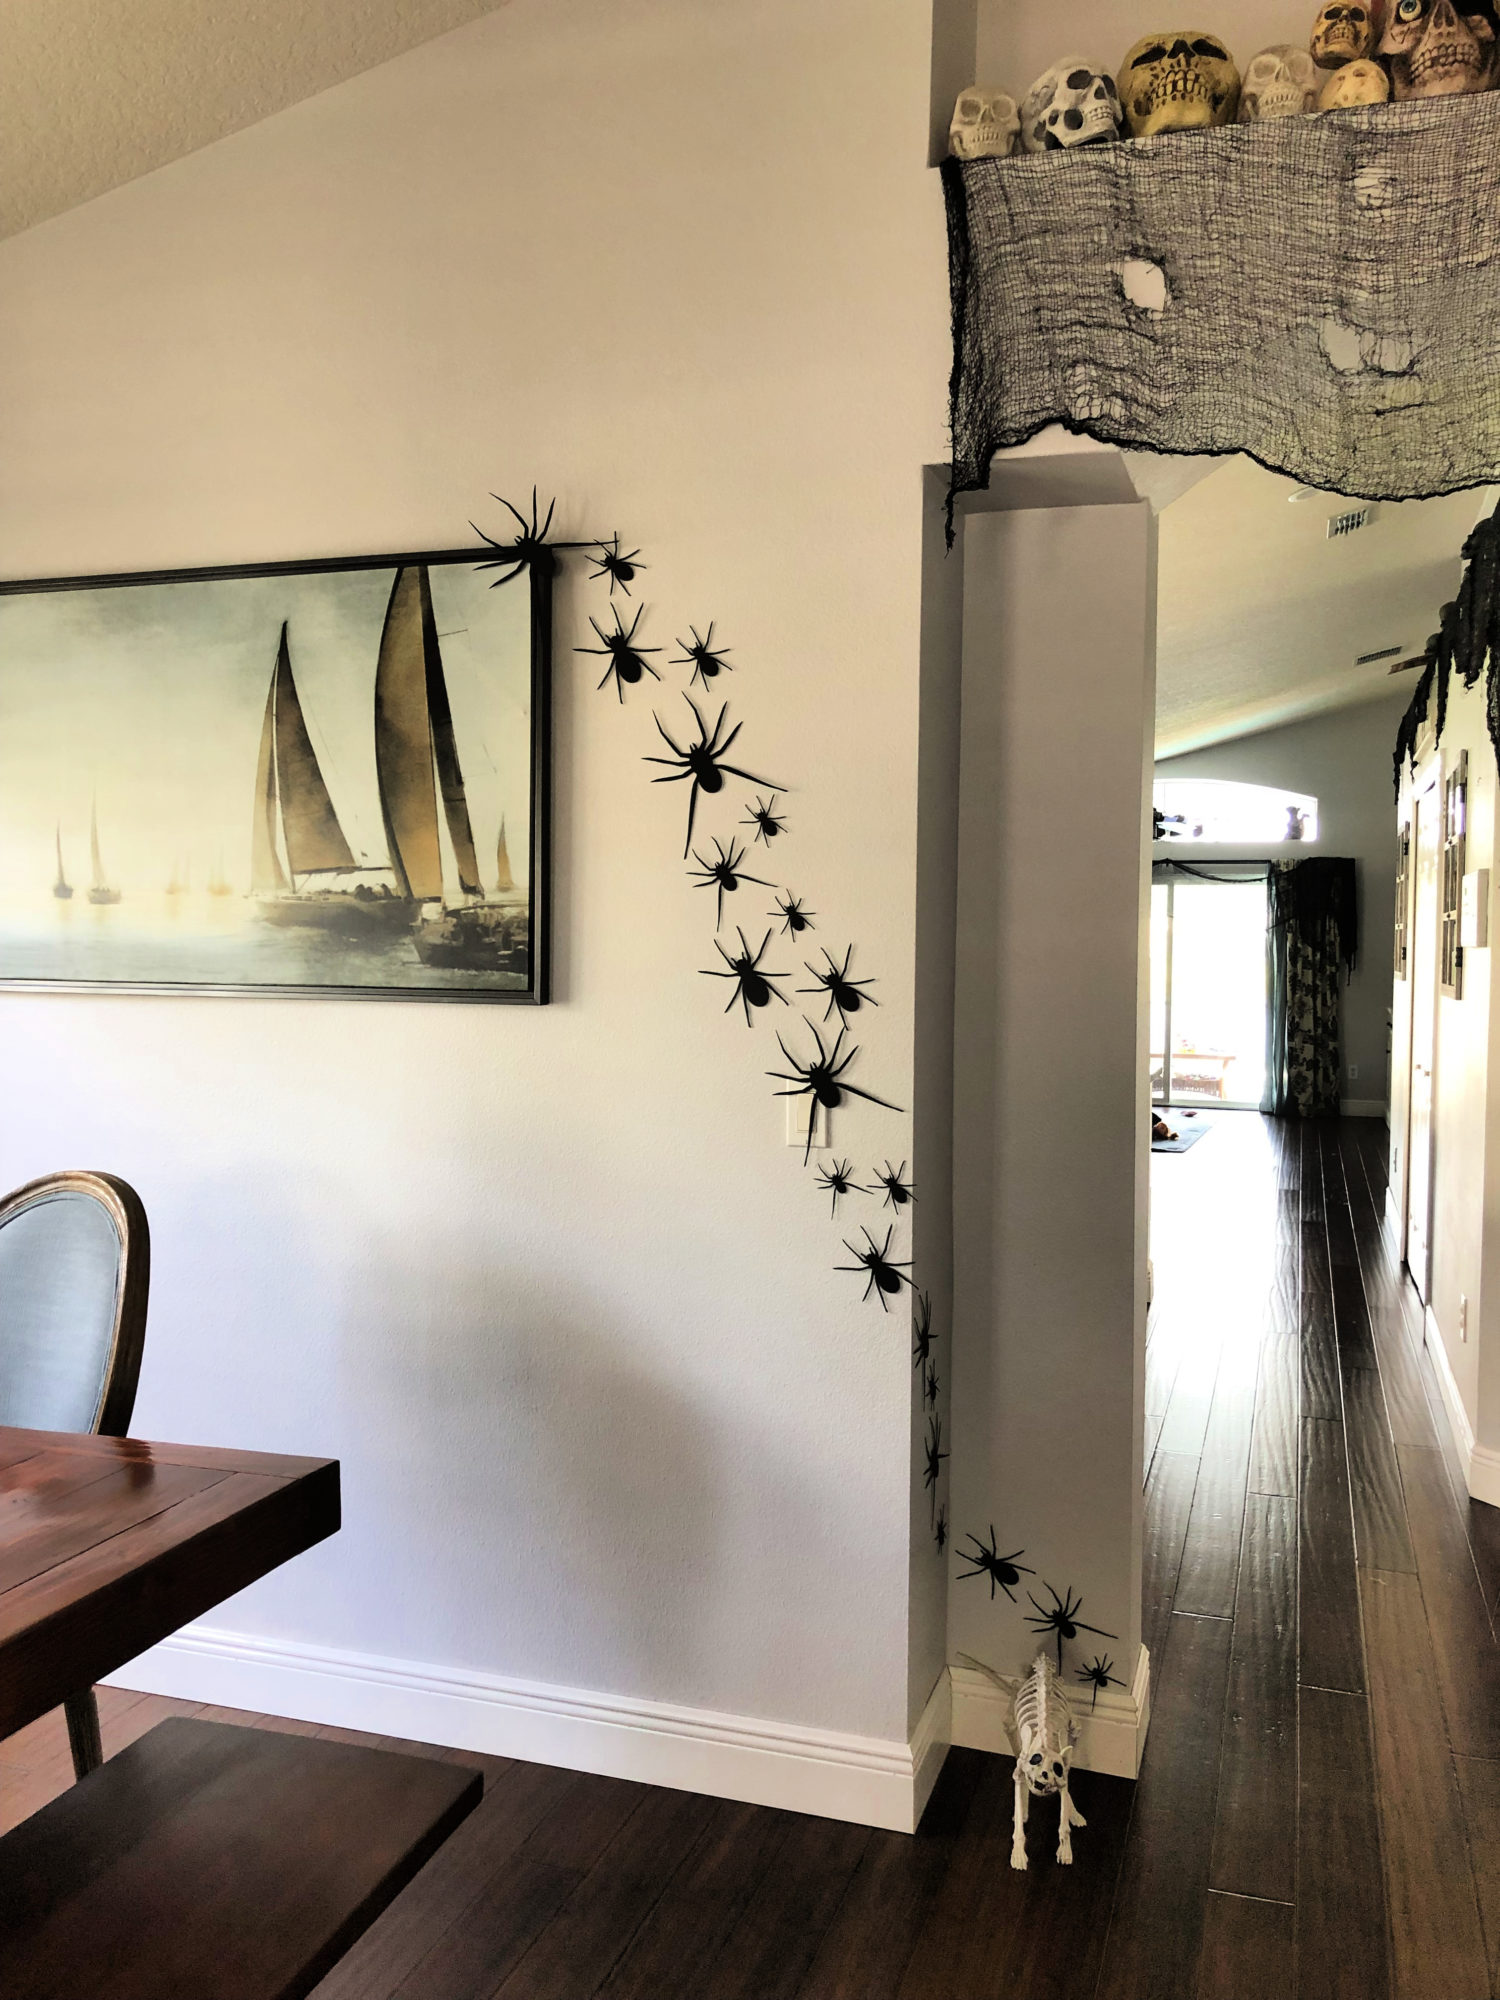
I finally decided to make paper spiders of all sizes to create a creepy crawly wall. We kind of have a theme this year outside of our house which includes a giant spider web and a ton of spiders. I wanted to have the theme run into our house so I created this statement wall of spiders running up the wall. It’s one of the first things my guest will see when they walk in.
Table of contents
Supplies
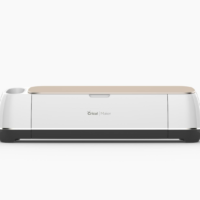
- Cricut Maker
- Spider file located in Cricut Design Space®
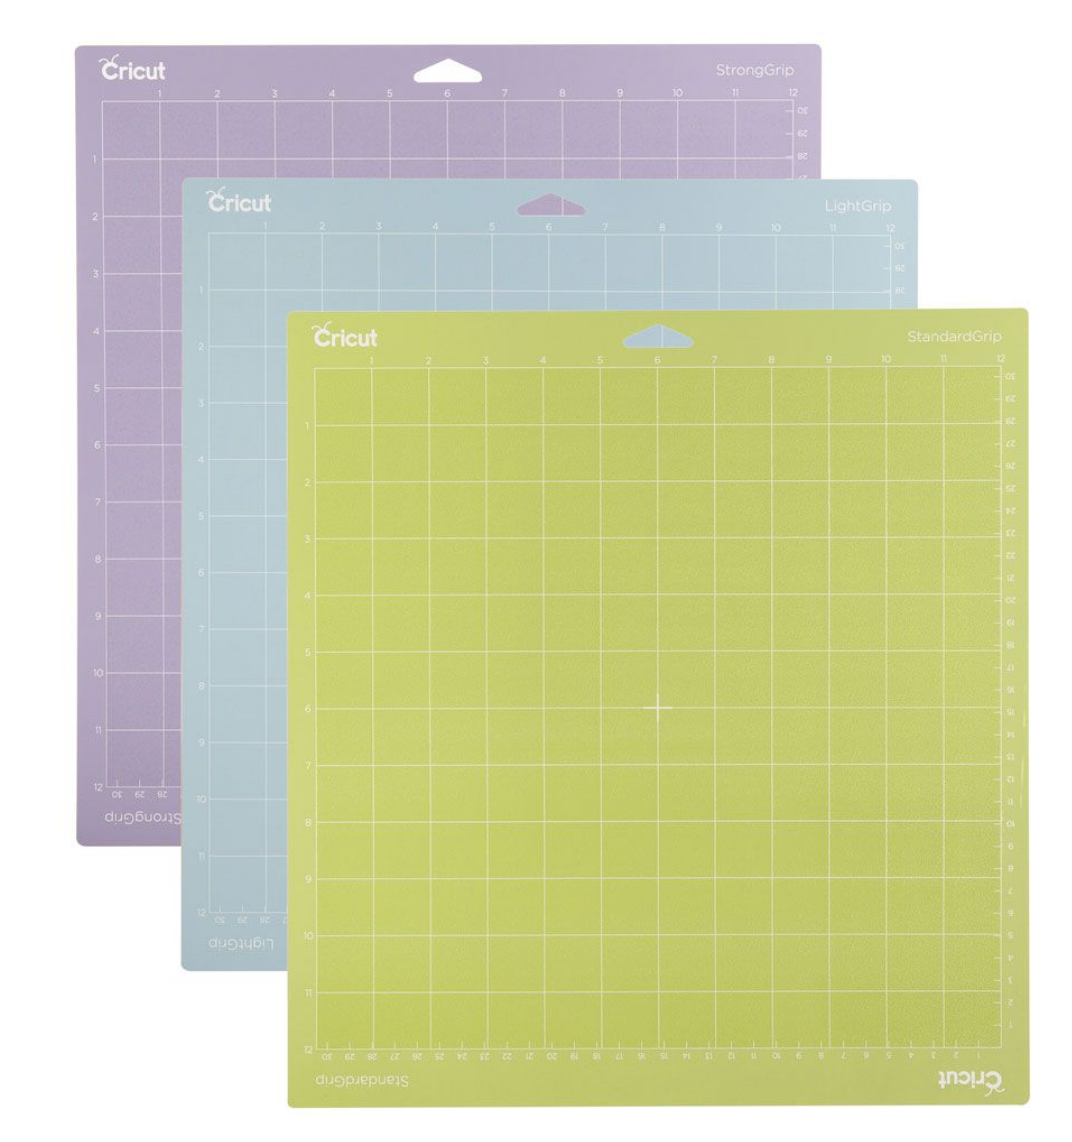
- Cricut Light Grip Mat
- 10 sheets of Cricut Black Kraft Board
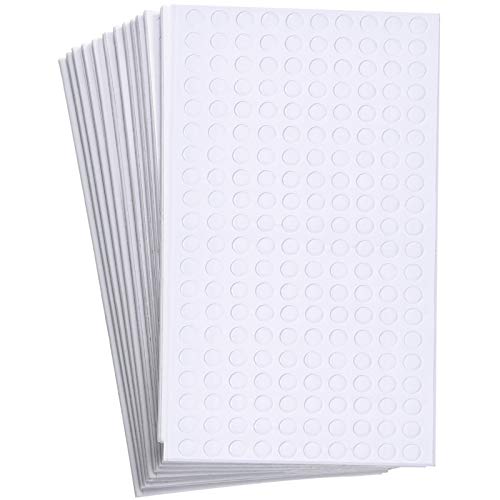
- 3-dimensional dot stickers
Directions
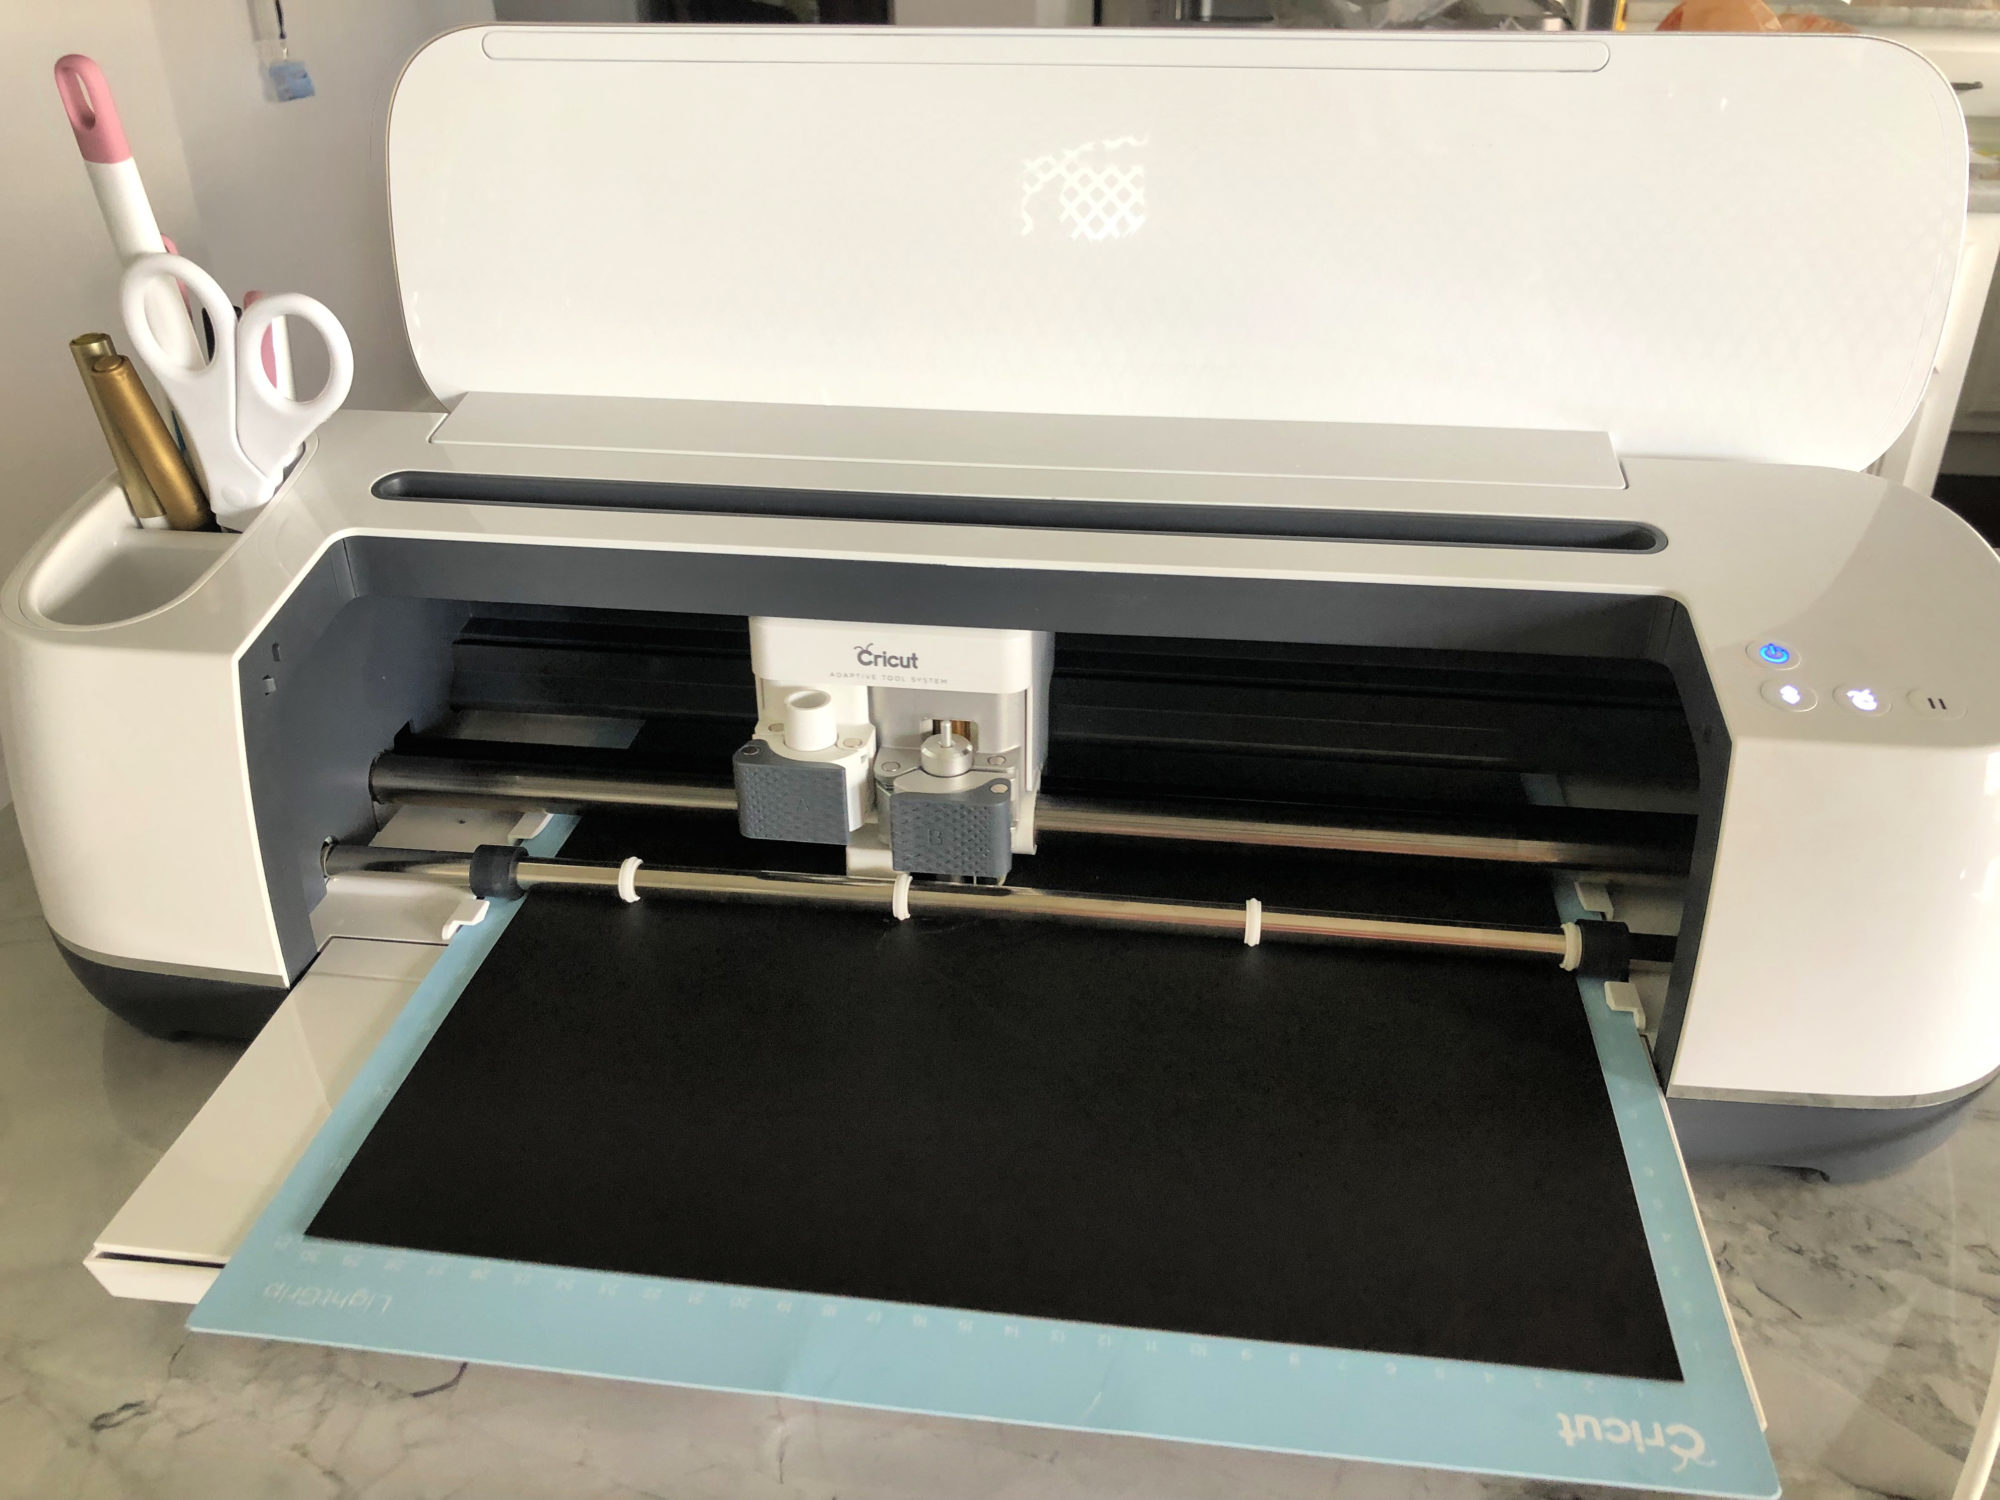
Once you’ve logged into Cricut Design Space and grabbed the spider file you’ll want to cut the spiders. Load your machine with Cricut Black Kraft Board on a Light Grip Mat. Then let your Cricut Maker do the work!
Note: You can cut these using a Cricut Explore Air 2. You do not need any fancy blades. The basic blade that comes with the machine is what is needed for this project.
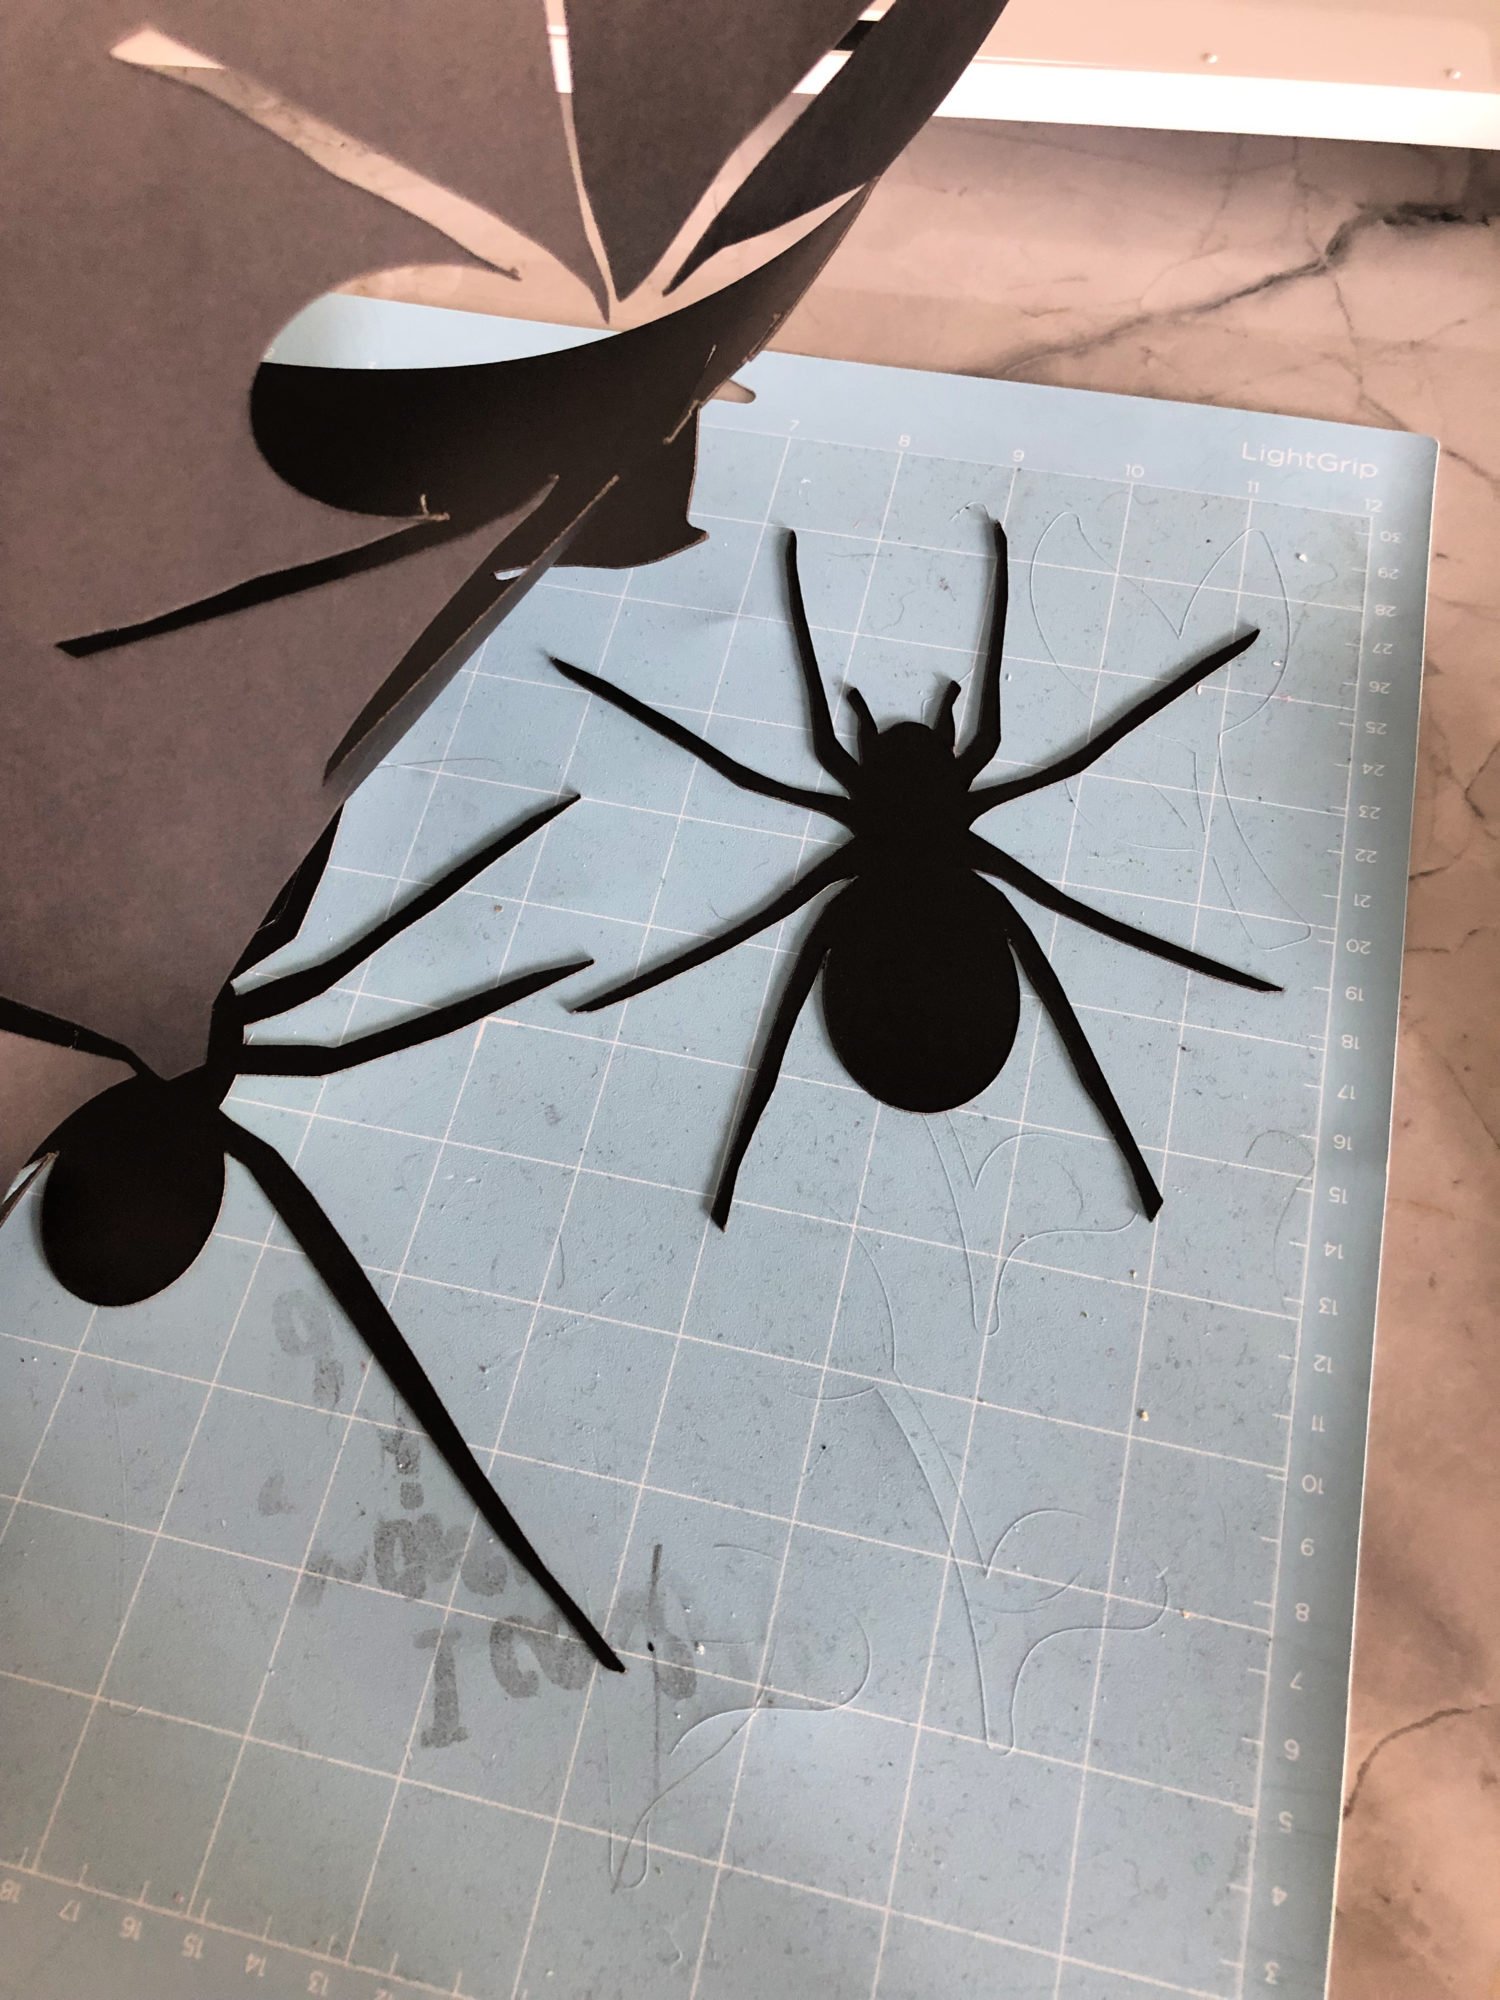
Carefully, remove the paper spiders from the mat.
PRO TIP: I find that if you bend the mat they remove without any curling.
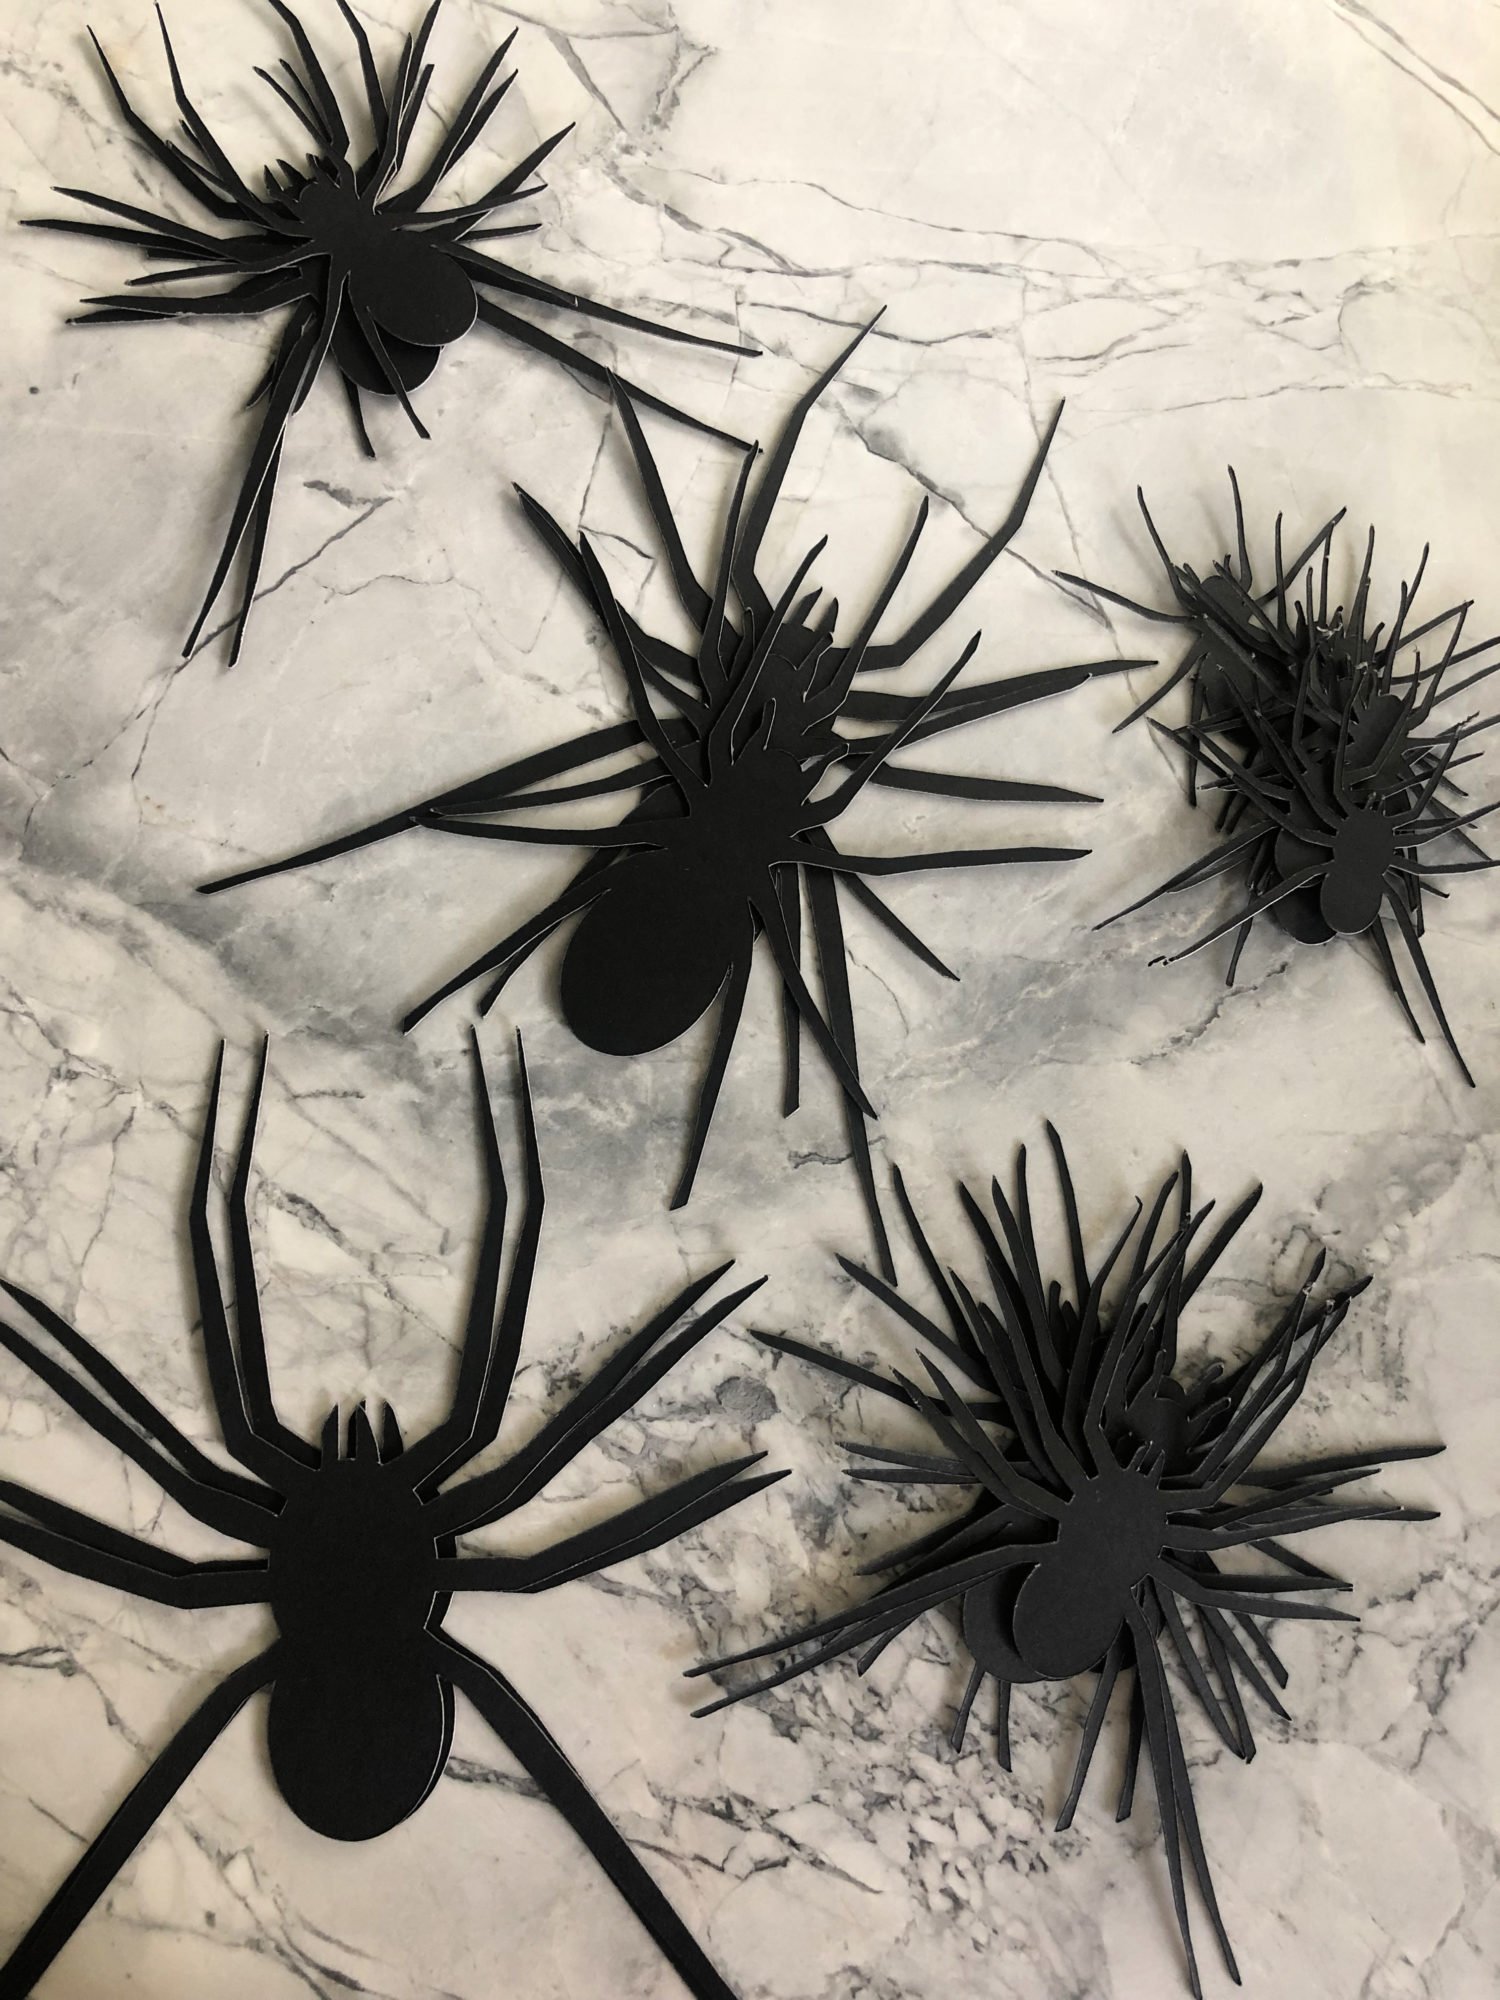
Here is what my stacks of spiders looked like.
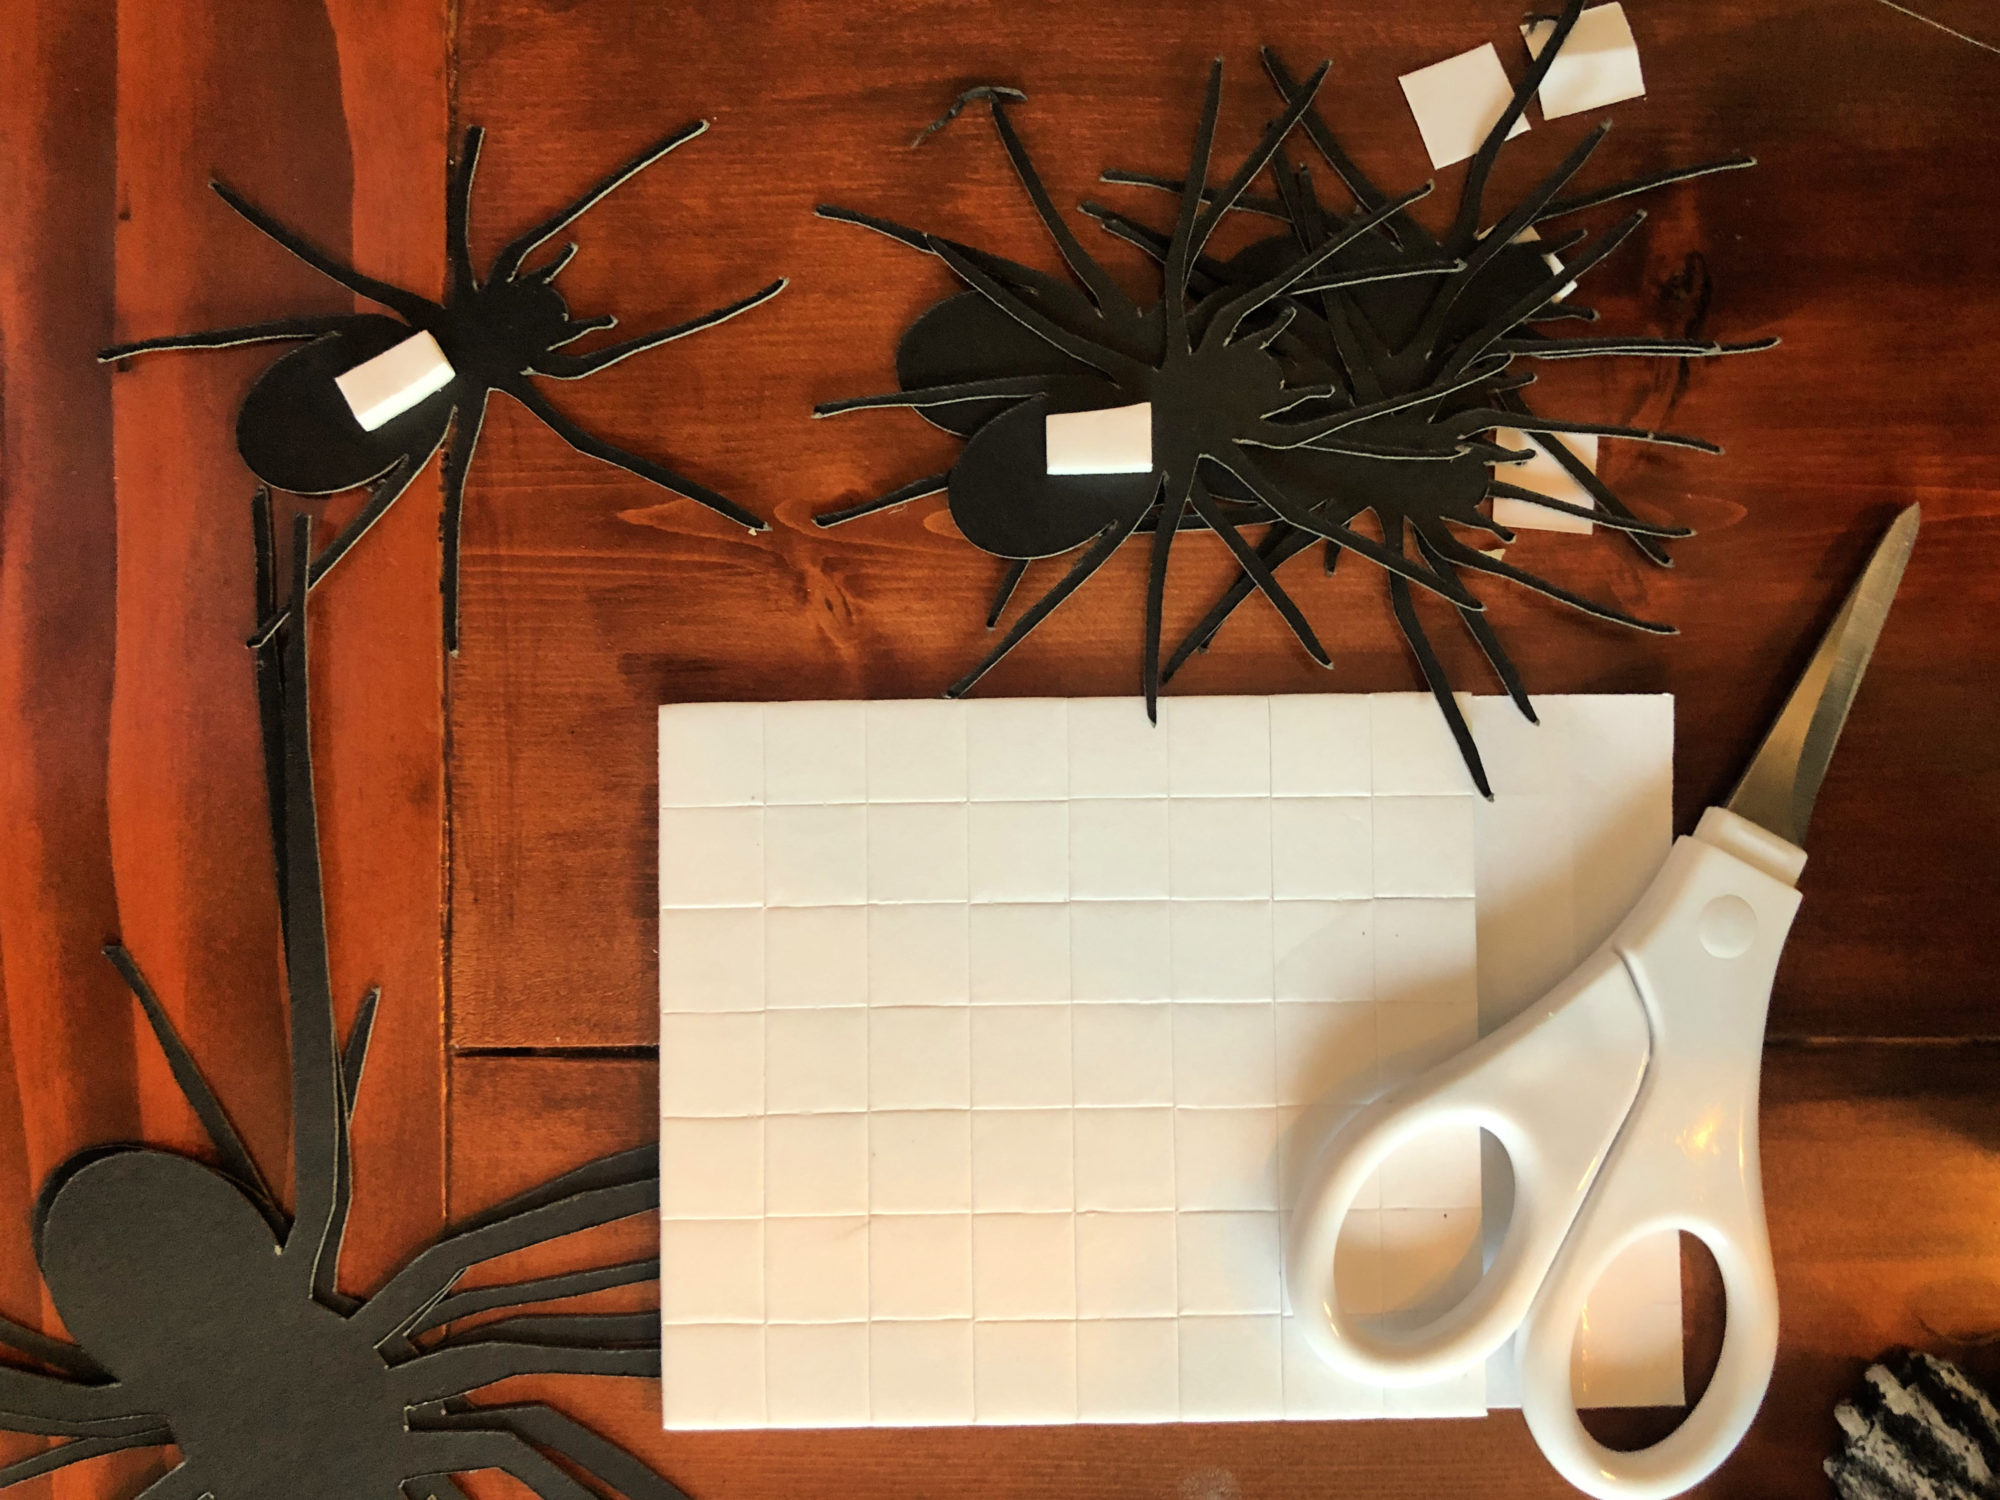
Next, start adding the 3-dimensional dot stickers to the backs of the spiders. I used a scissor to cut some of the dot stickers in half for the smaller spiders.
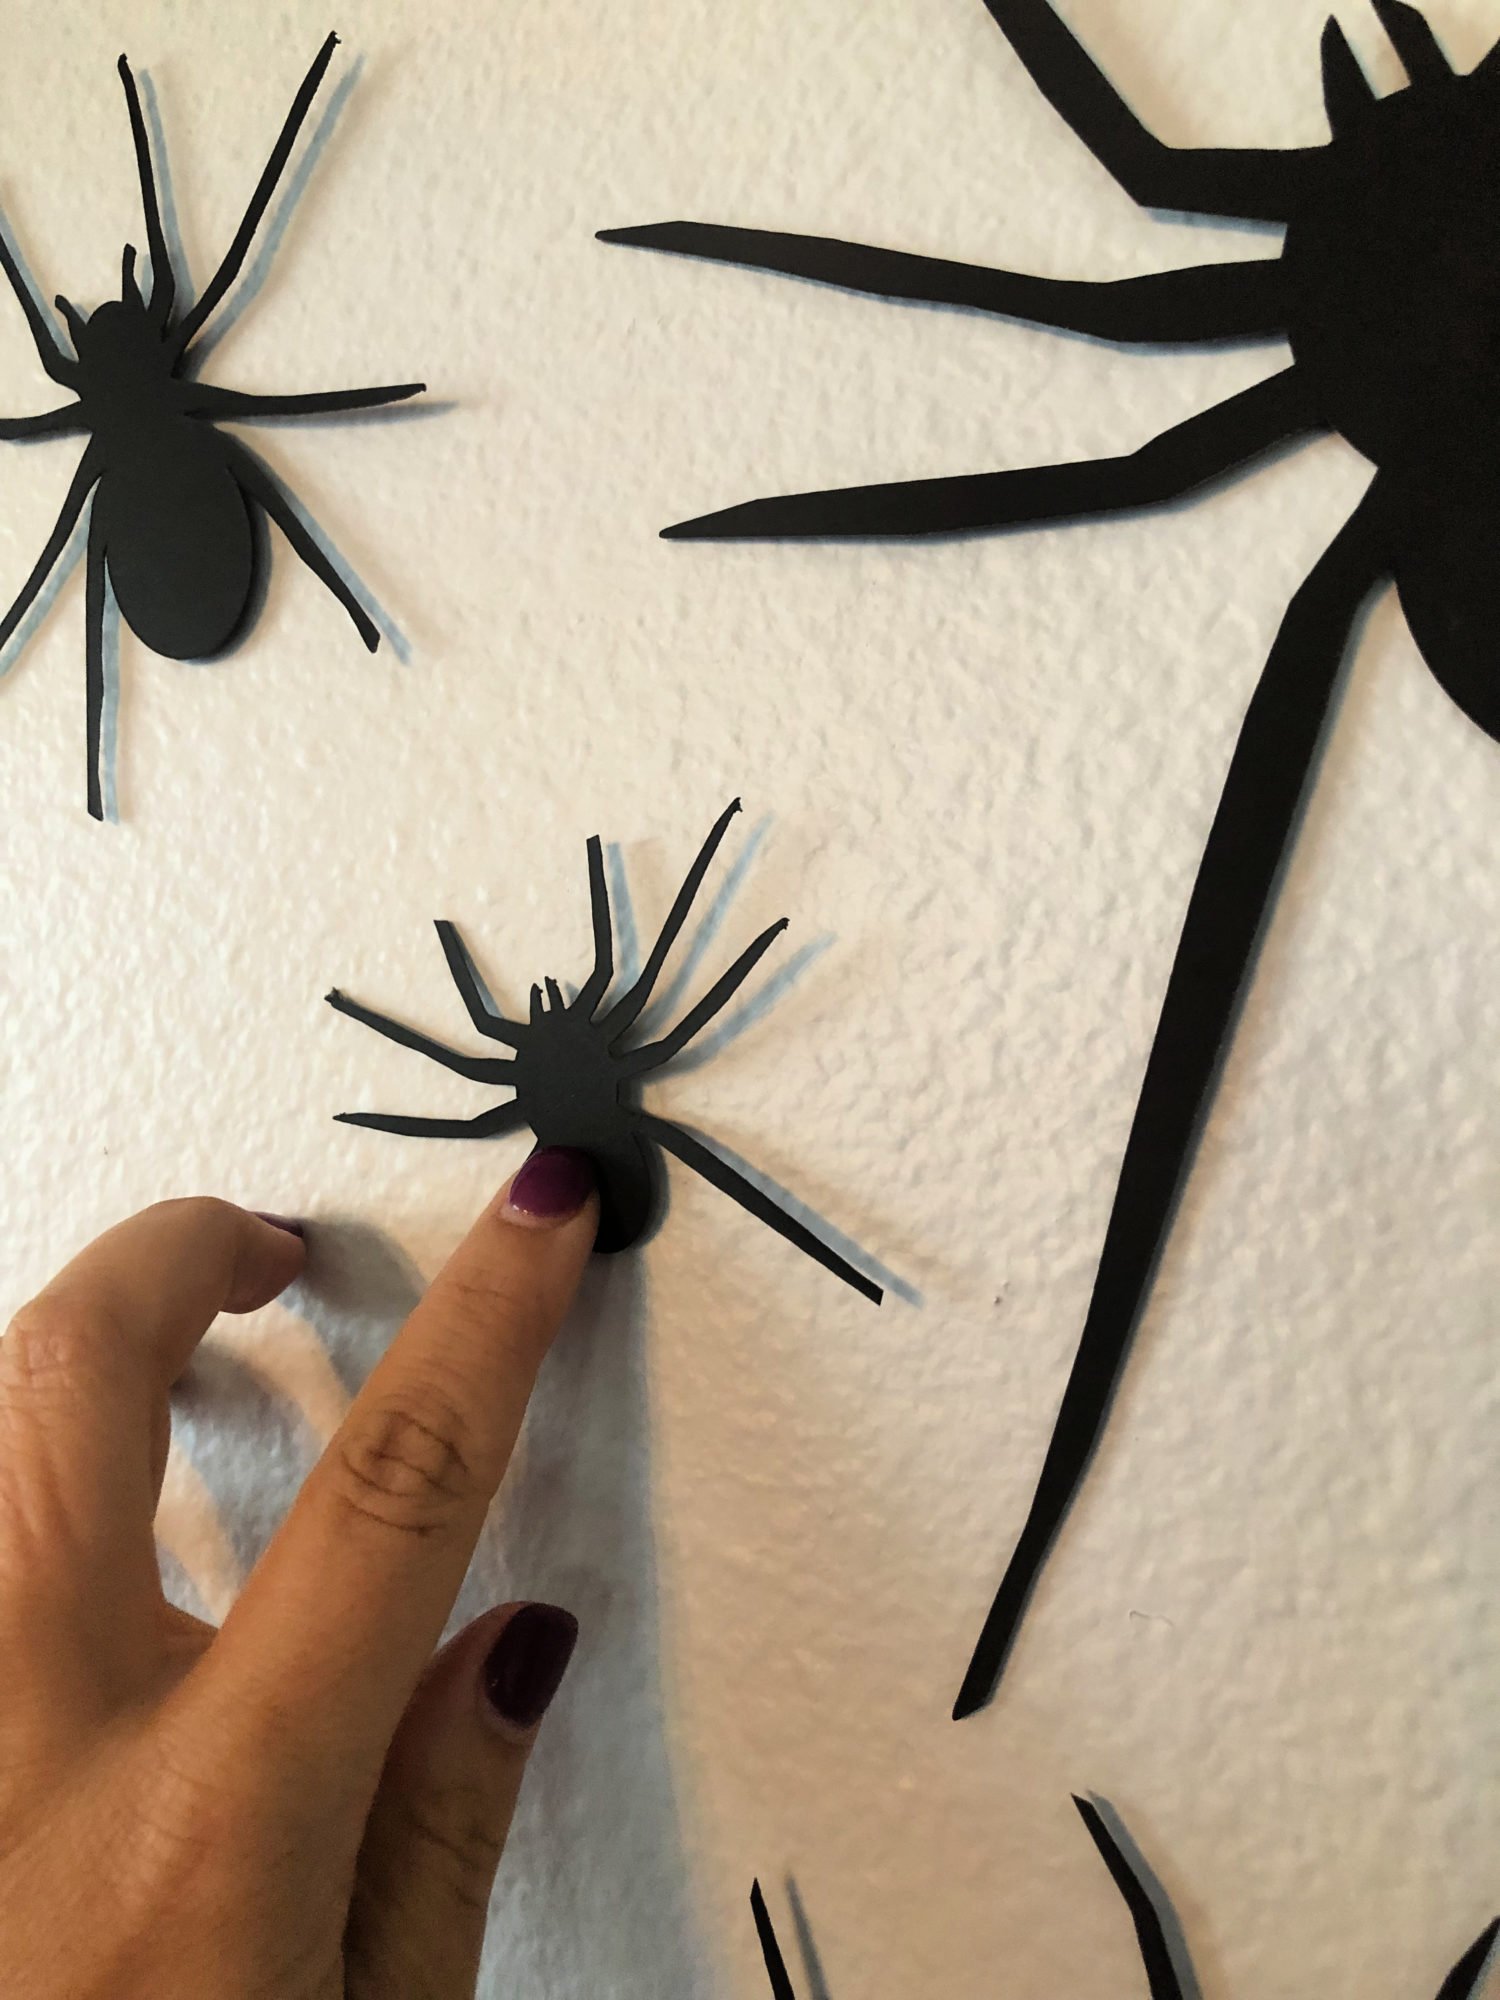
Now, it’s time to decorate!
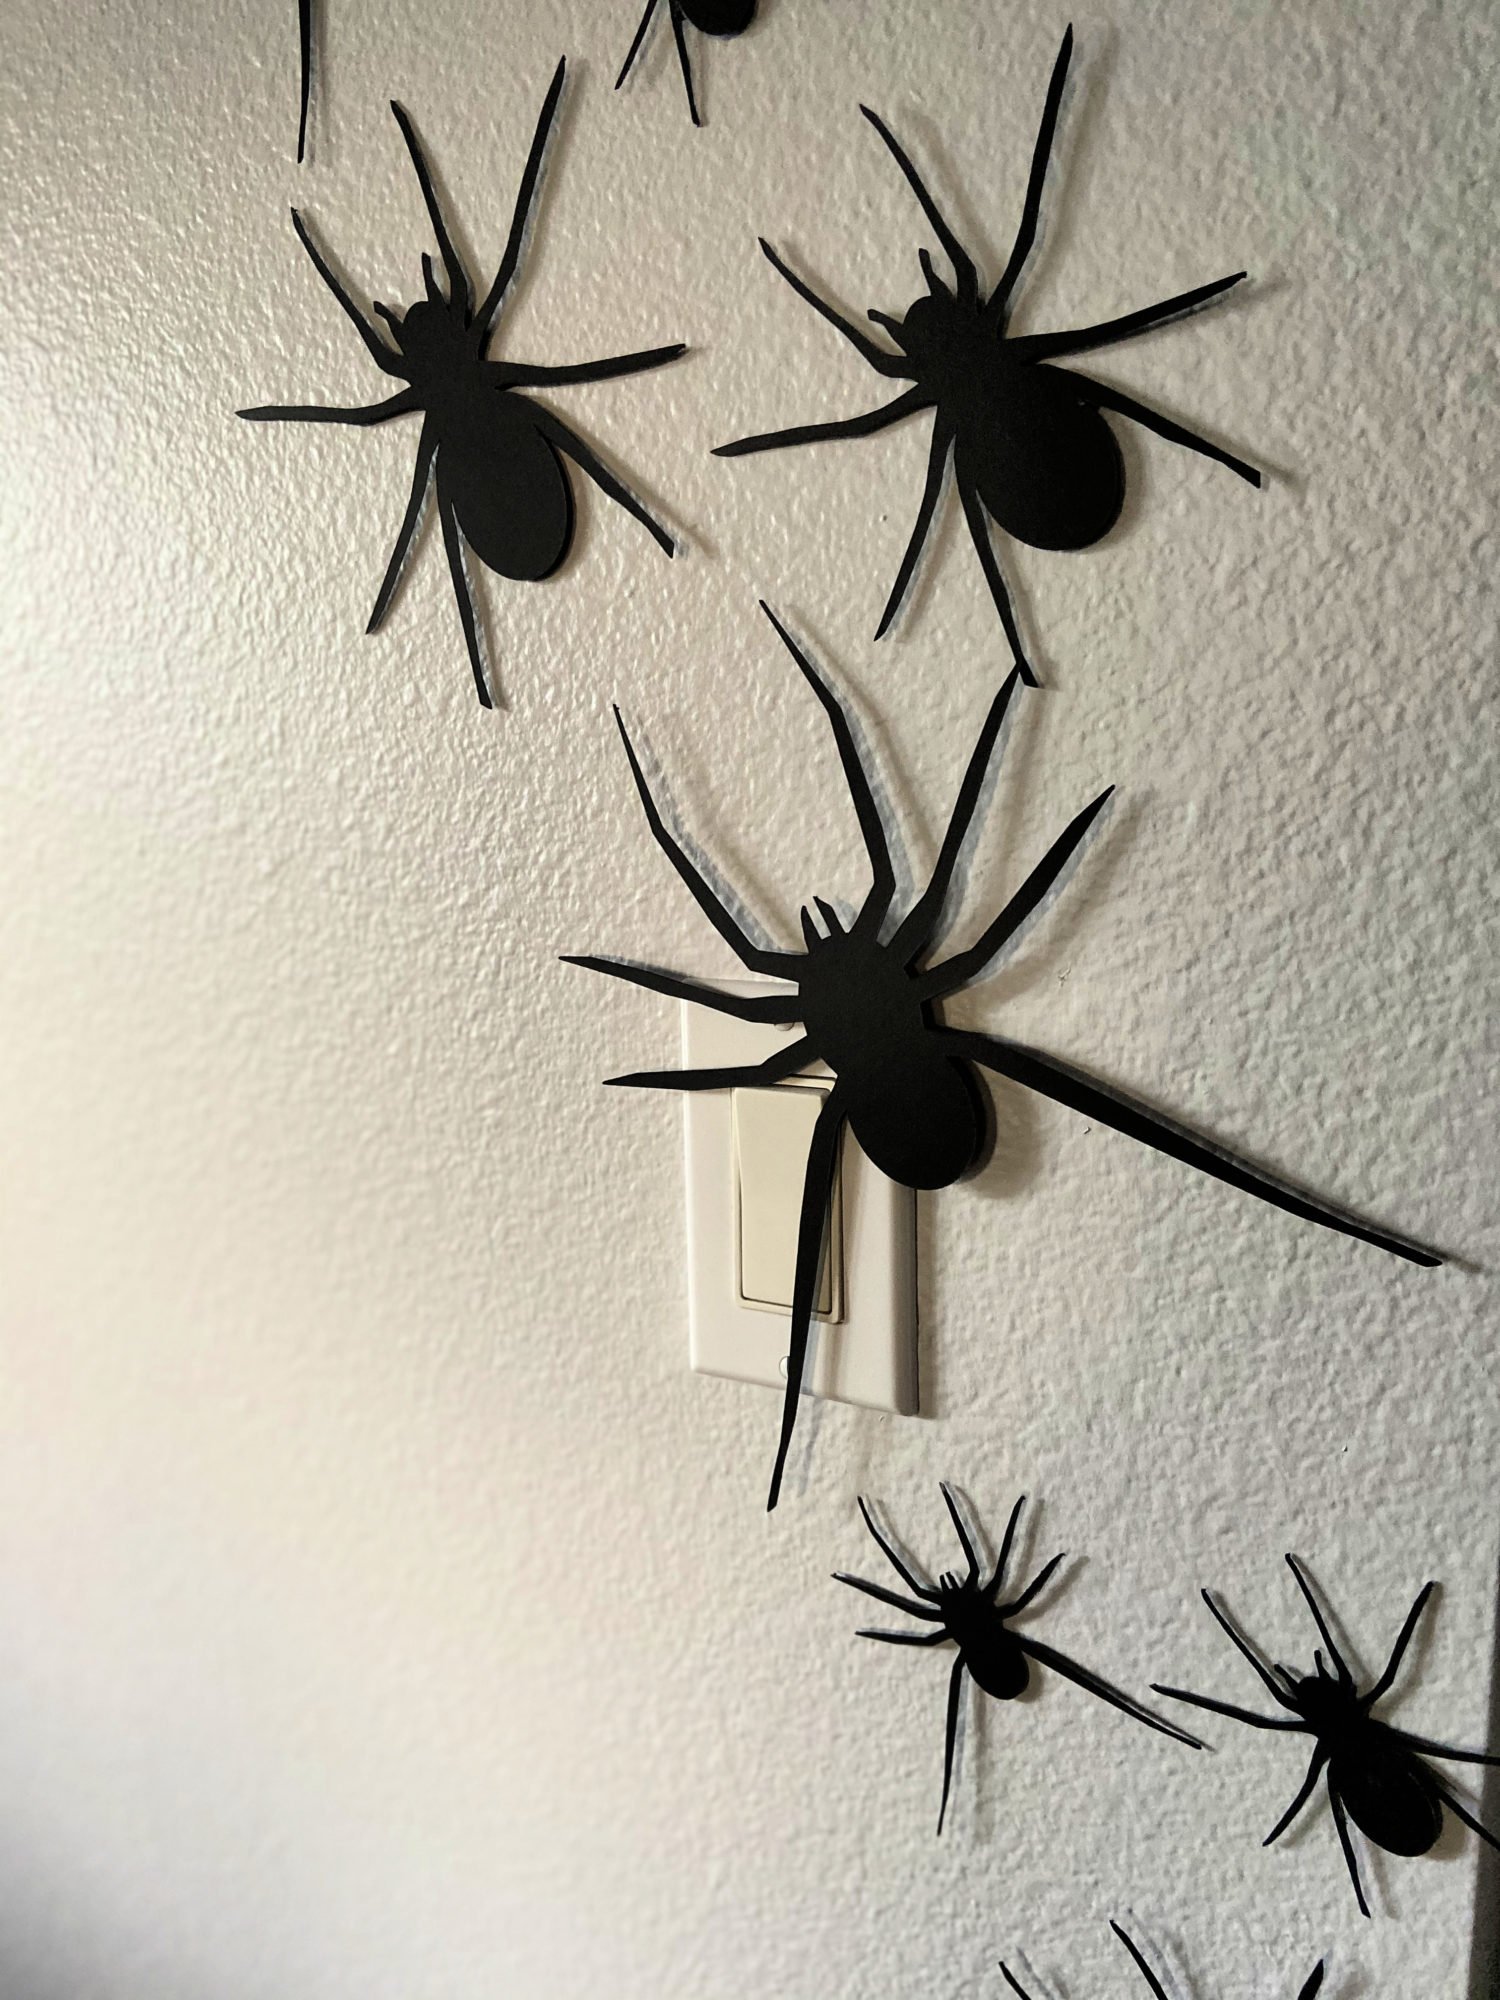
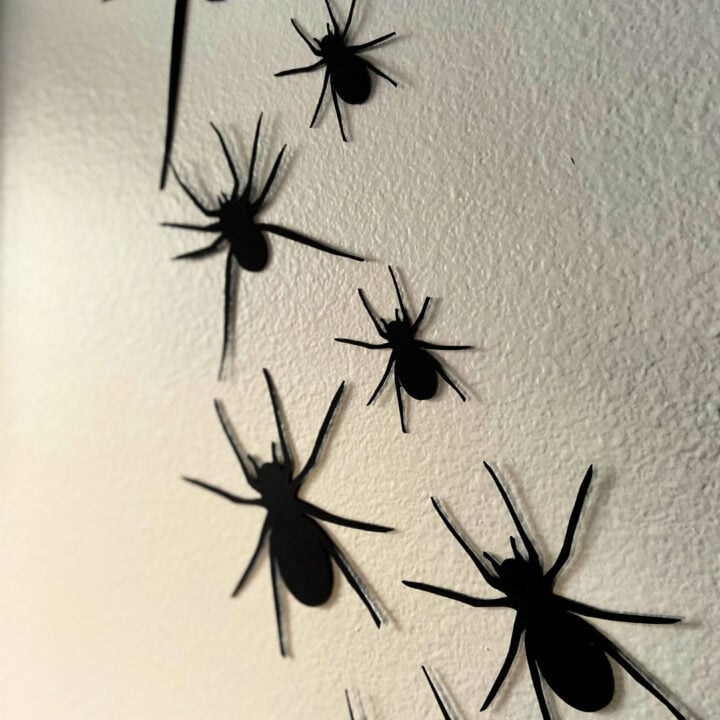
Here is a close up of how they turned out. I draped one around my light switch to work it into the wall pattern.
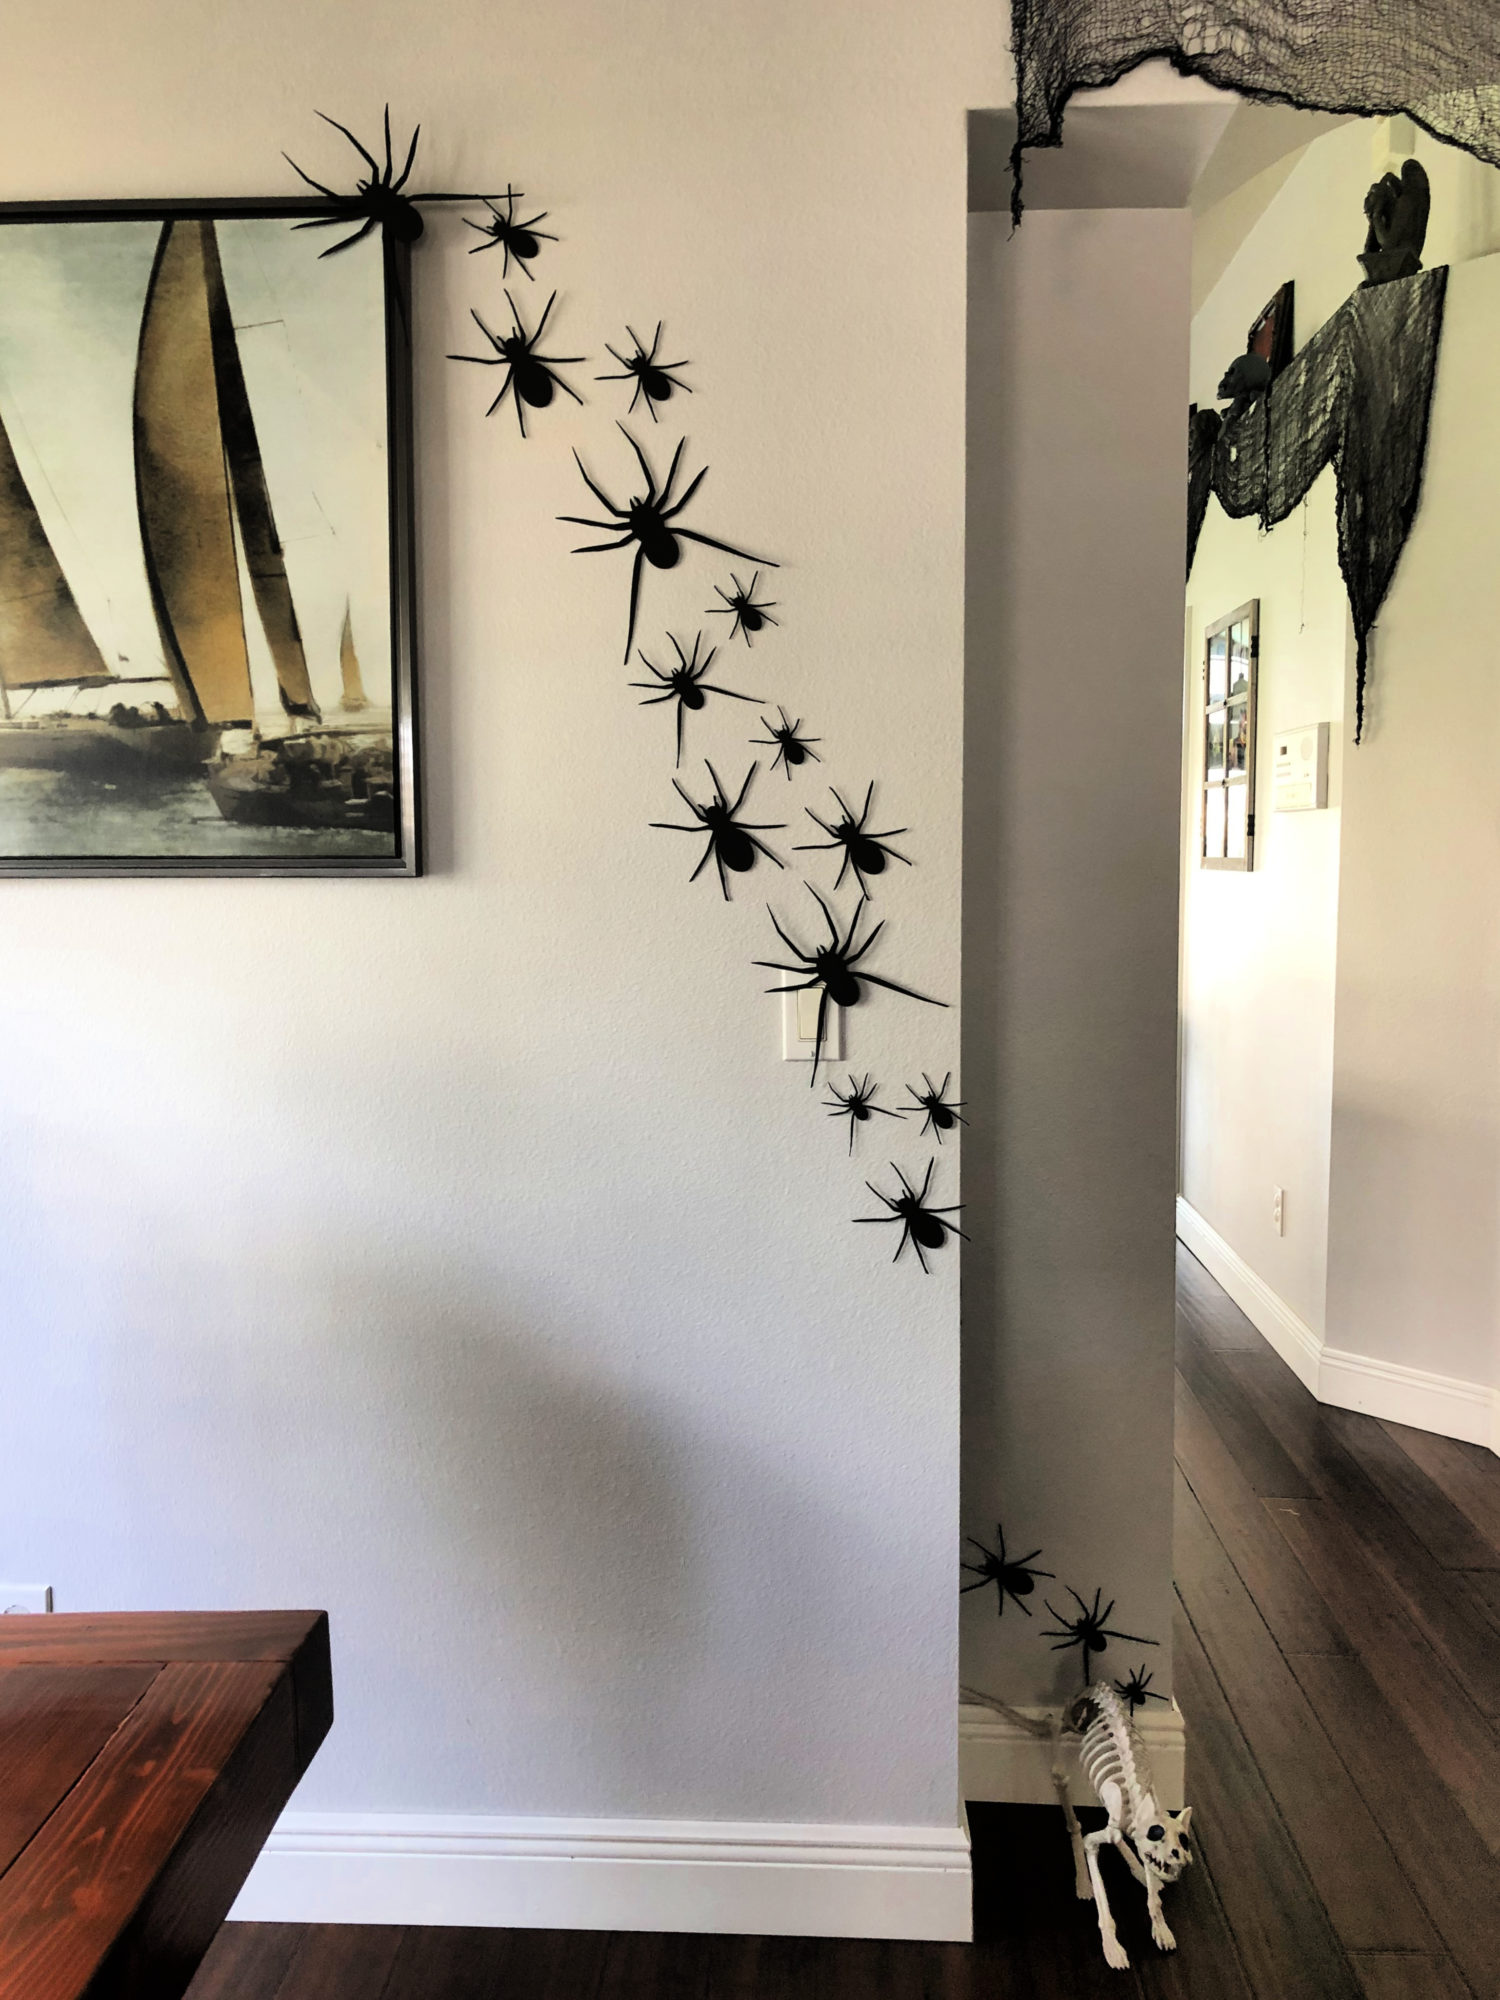
To give extra dimension and creepiness I wrapped the spiders around the wall.
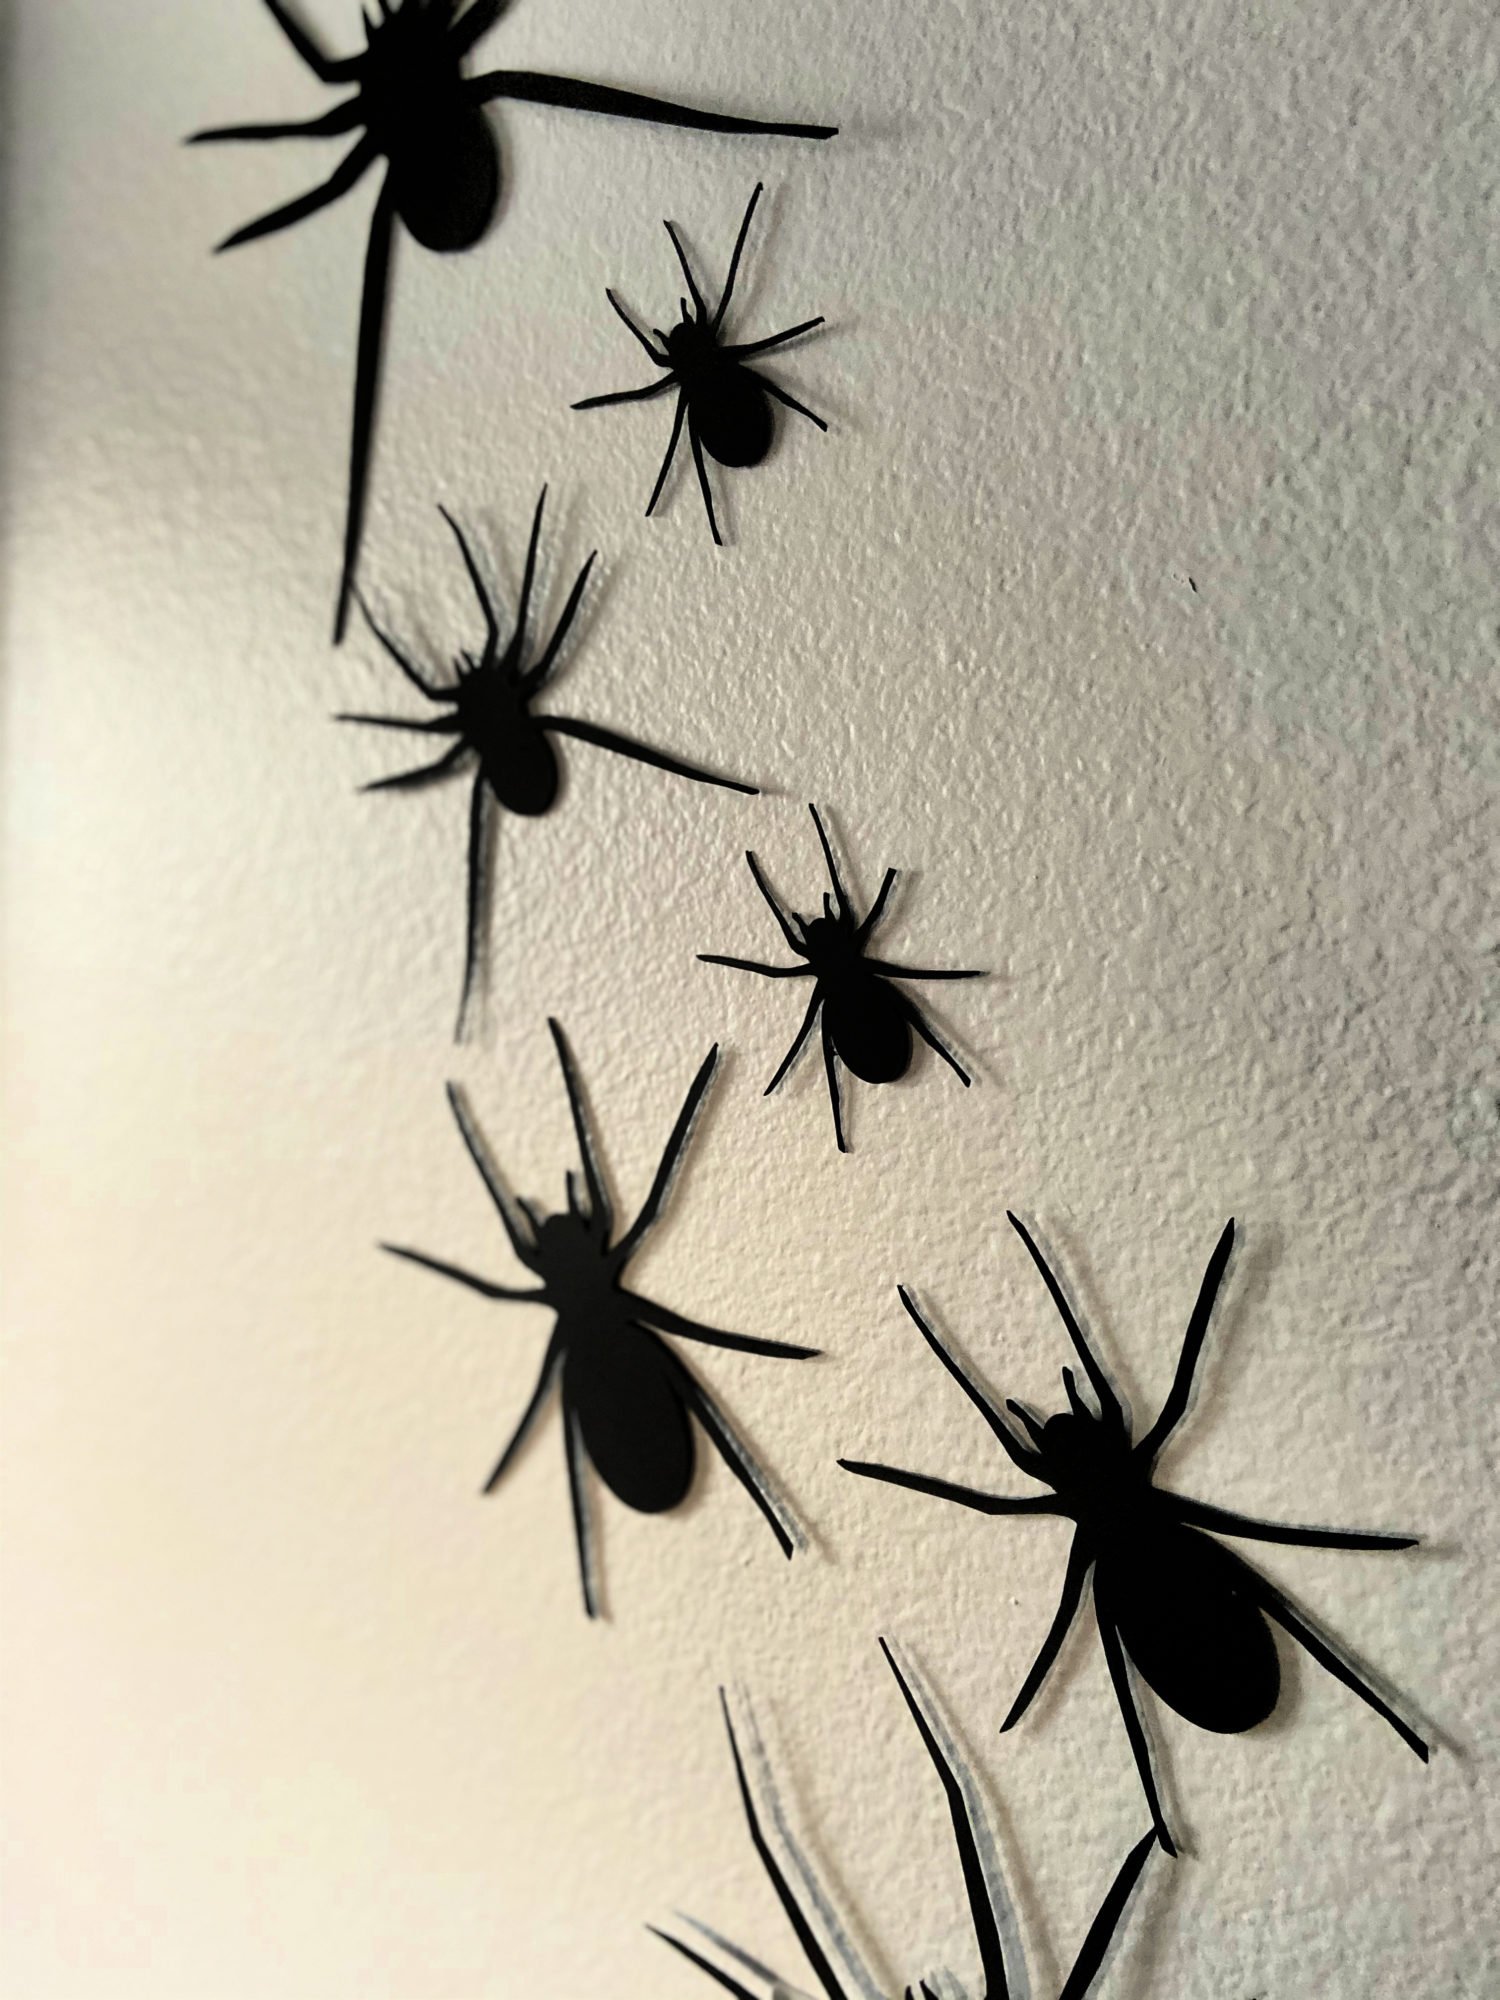
Here is another up close of the paper spiders. I absolutely love how this wall turned out. It took me about a half hour from start to finish and cost me only time since I had the materials on hand!
FAQs
To create a DIY paper spider wall, you’ll need black cardstock, a Cricut machine, spider-shaped cut files, adhesive, and a cutting mat.
Yes, you can design your own spider shapes if you have the necessary software and skills. Alternatively, you can find spider cut files online and upload into Cricut Design Space.
Absolutely! You can choose any color of construction paper to match your decor. Get creative and make your paper spider wall uniquely yours.
Use removable adhesive or double-sided tape to attach the paper spiders to your wall. This will make it easy to take down without leaving marks or residue.
Tips and Tricks
Here are a few tips and tricks I found helpful when creating a spider wall.
Cricut Machine – You can cut these using a Cricut Explore Air 2. You do not need any fancy blades. The basic blade that comes with the machine is what is needed for this project.
Removing without Curling – I find that if you bend the mat they remove without any curling.
Use High-Quality Paper: Invest in high-quality construction paper to ensure your paper spiders look crisp and elegant. Thicker paper may be more durable and less likely to curl.
Test Cut Settings: Before cutting a large batch of paper spiders, do a test cut with a small piece of paper to ensure the Cricut machine is set to the right speed and pressure settings.
Organize Spider Placement: Plan the arrangement of your paper spiders on the wall before sticking them down. Start from the center and work your way out for a balanced look.
Vary Spider Sizes: Create a dynamic and interesting spider wall by using different spider sizes. A variety of sizes adds depth and dimension to your design.
Cricut Halloween Projects
Here are a few of my favorite Cricut Halloween Projects:
DIY Paper Spider Wall
Step into the eerie world of DIY paper crafting as you watch your walls come alive with a swarm of intricately cut black spiders, all thanks to the magic of the Cricut machine.
Materials
- Spider file located in Cricut Design Space®
- 10 sheets of Cricut Black Kraft Board
- 3-dimensional dot stickers
Tools
- Cricut Maker
- Cricut Light Grip Mat
Instructions
- Log into Cricut Design Space and find a spider file that you like.
- Load your machine with Cricut Black Kraft Board on a Light Grip Mat. Then let your Cricut Maker do the work.
- Carefully, remove the paper spiders from the mat.
- Next, start adding the 3-dimensional dot stickers to the backs of the spiders. I used a scissor to cut some of the dot stickers in half for the smaller spiders.
- Now, it’s time to decorate!
Notes
- Cricut Machine - You can cut these using a Cricut Explore Air 2. You do not need any fancy blades. The basic blade that comes with the machine is what is needed for this project.
- Removing without Curling - I find that if you bend the mat they remove without any curling.
Recommended Products
As an Amazon Associate and member of other affiliate programs, I earn from qualifying purchases.
Leave A Reply!