Make this adorable So Franken Cute – DIY Halloween T-Shirt with my free PNG file and your Cricut. The perfect 30-minute Cricut craft project!
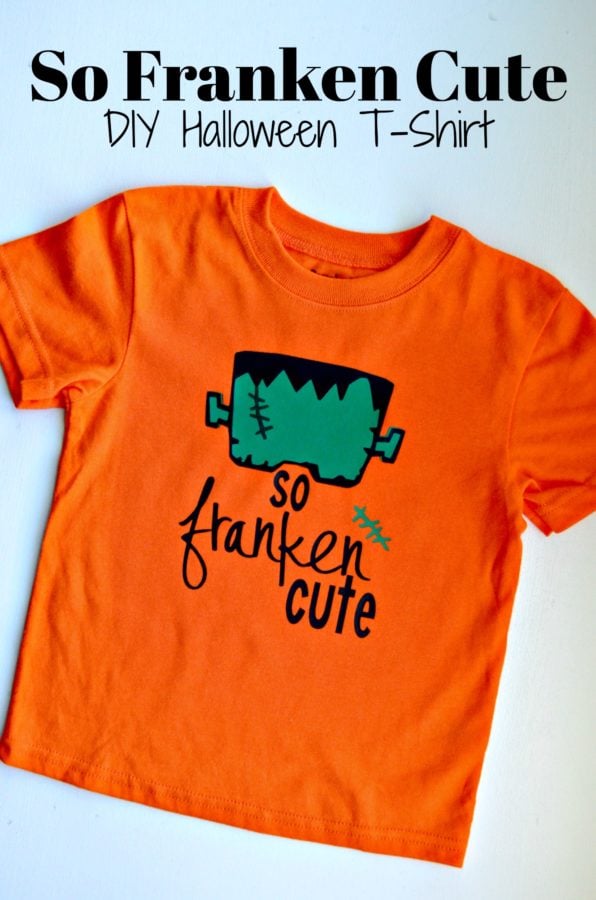
I made this So Franken Cute – DIY Halloween T-Shirt last year for my son. Sadly, I made it just a few days before Halloween! I loved it so much and he only got to wear it twice. I’m happy though, that I documented the t-shirt making process. Luckily, he still fits in it this year and has already worn it a few times. If you’ve never layered Iron-on Vinyl before this is the project for you! It only requires 3 layers and is done from start to finish in under 30 minutes with a big thanks to the Cricut Maker!
Supplies:
- Cricut Maker
- “So Franken Cute” file found on Cricut Design Space™
- Cricut Mat
- Cricut Iron-On Vinyl; black, dark green, and kelly green
- Cricut Tools
- Cricut BrightPad
- T-shirt
- Cricut EasyPress
- Cricut EasyPress™ Mat (optional)
- Cricut Iron On Protective Sheet (optional) or Muslin Cloth
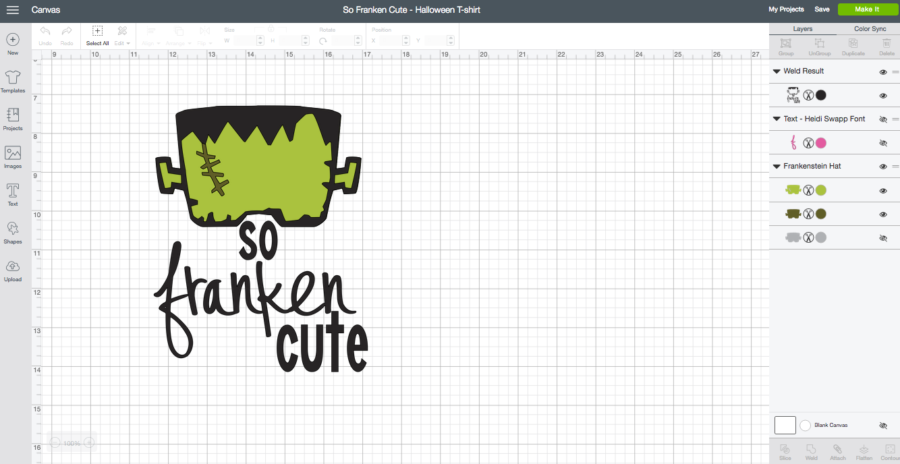
Log on to Cricut Design Space™ and find my So Franken Cute file I designed in CDS! If you have an Access membership this will be free for you! If you don’t have an account you may have to pay a few dollars for the files.
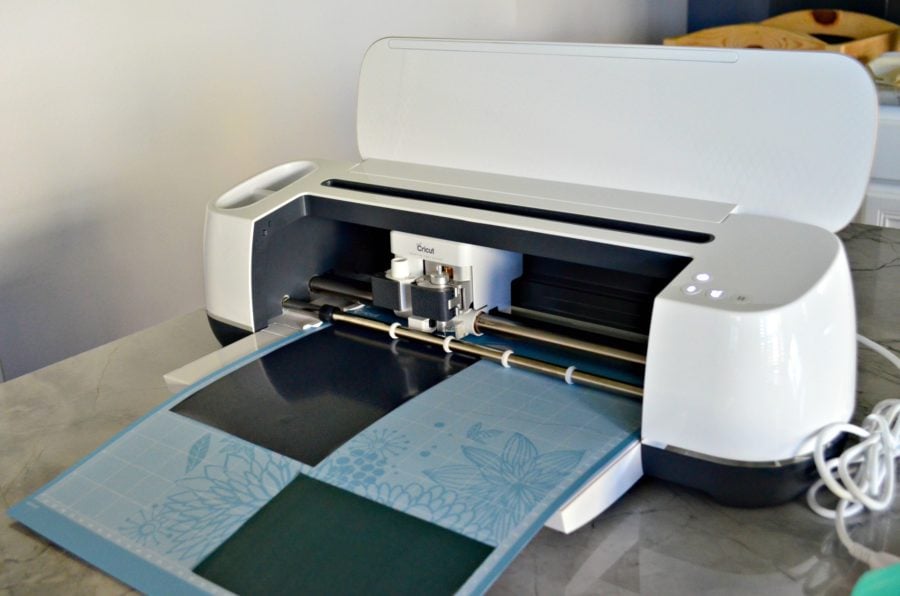
First, you start by cutting out the Iron-On Vinyl on the Cricut Maker. I love to look on the preview mat in Design Space to see how large each cut is. This is the perfect time to use scraps!
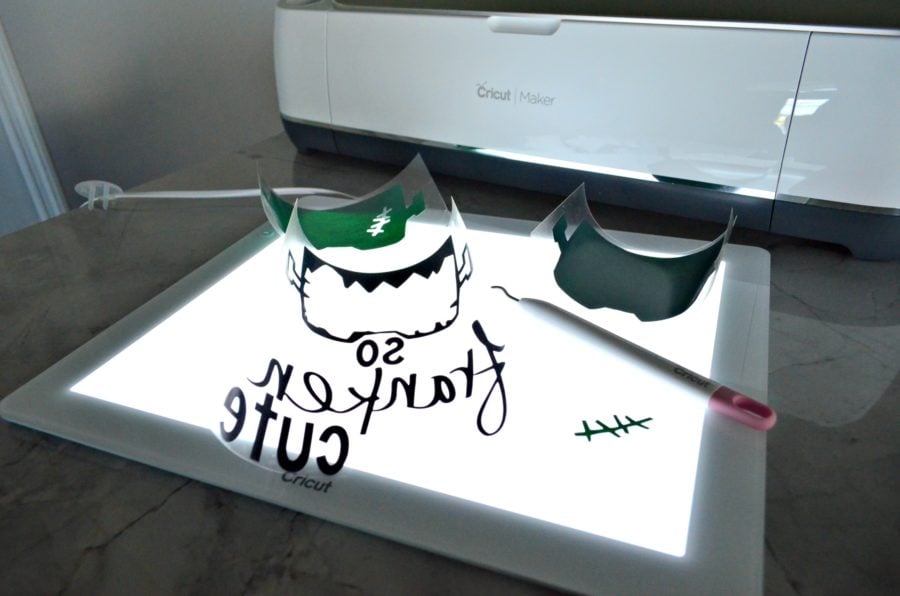
Next, you weed the negative from the design. I love my Cricut BrightPad for this reason!
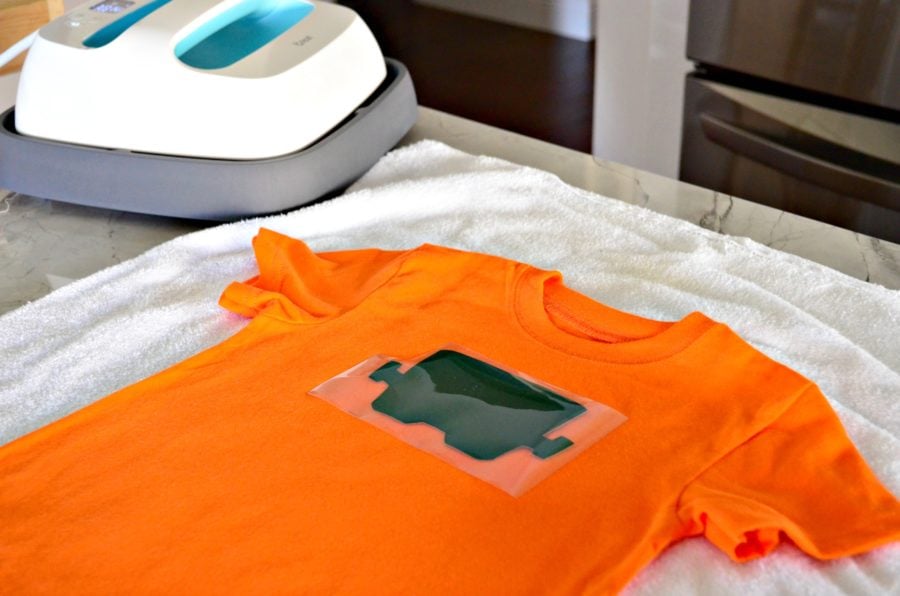
Next, it’s time to grab your Cricut EasyPress and begin the layering. First you start with the dark green head layer.
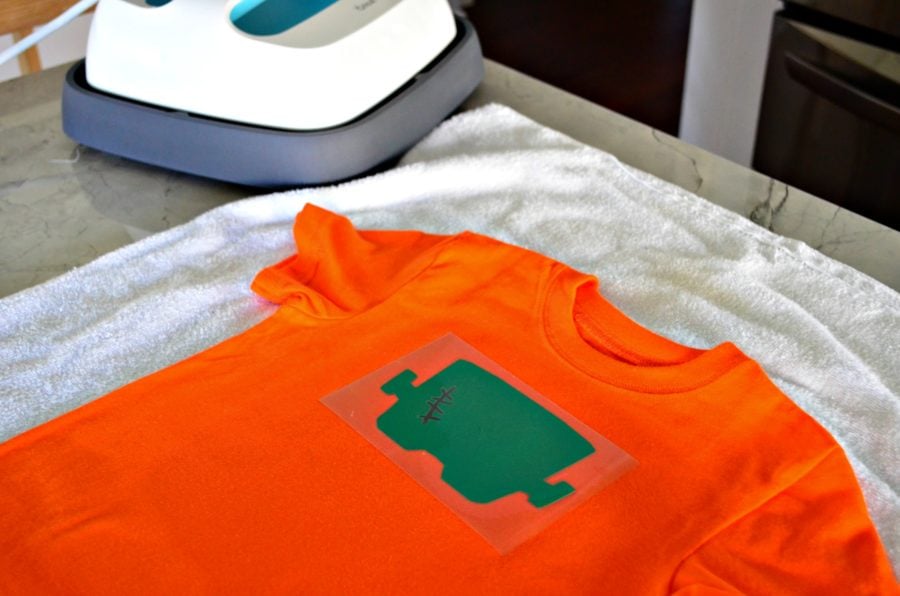
Next, you add on the bright green layer on top. Make sure you carefully align the two colors together.
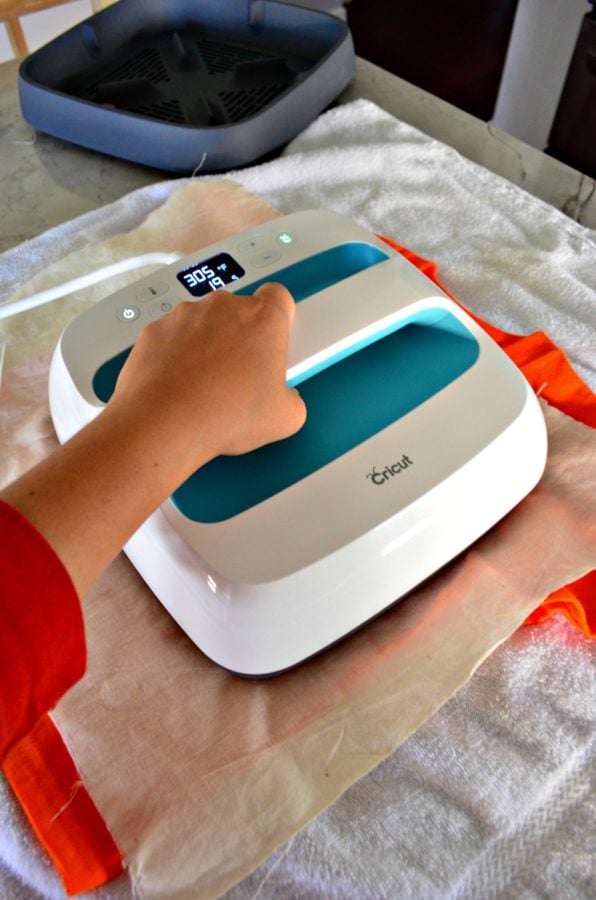
305 degrees Fahrenheit for 30 seconds is the EasyPress recommendation. I always reference the Cricut EasyPress chart. If you use it on your phone you can use the interactive chart which in my opinion is even better then the chart on the website!
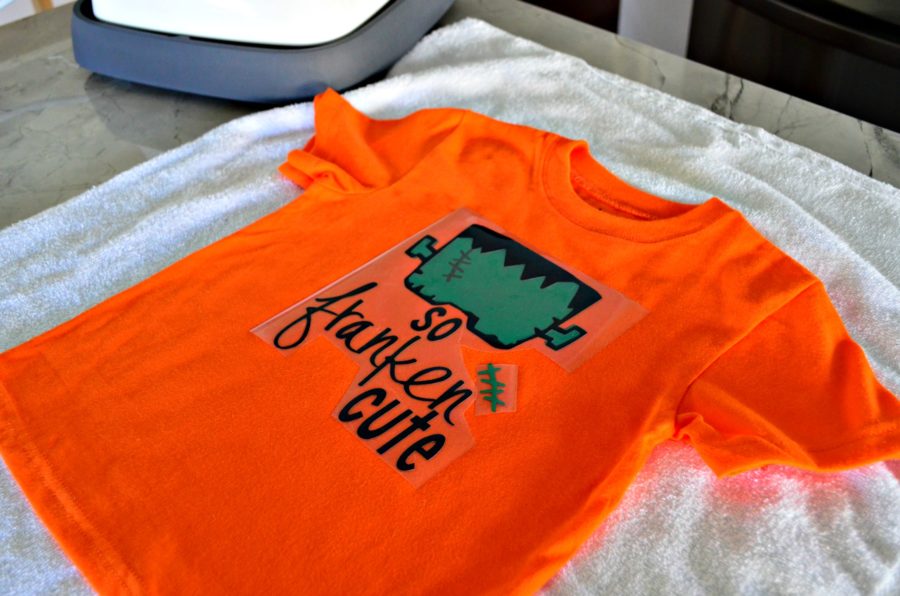
Next, you add on the black and the additional stitches. *A rookie move and one I have to point out–make sure you have enough clearance on the stitch from the text. I’ve ironed on top of plastic before and then had a very incomplete design. So if you can’t make this work in one smooth swoop then go ahead and add a fourth step.
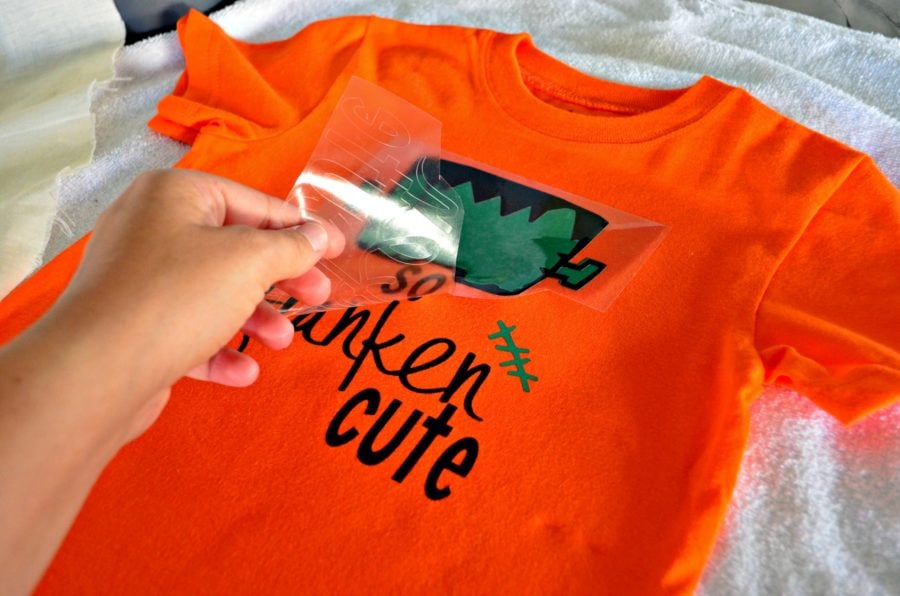
I always recommend doing a warm peal of the plastic (as does Cricut). It’s not burning your hands hot, but it’s also not cold! It comes off easily, too.
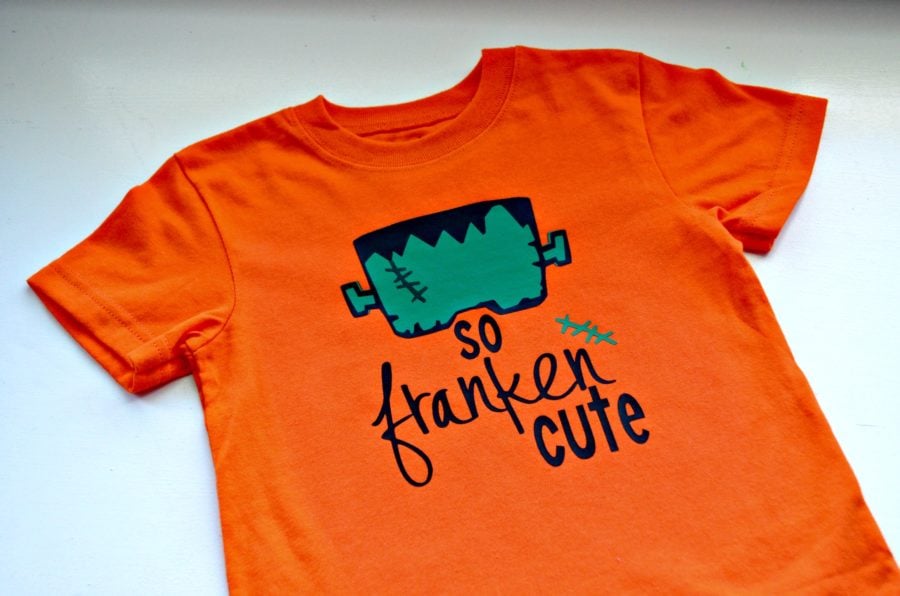
Easy as that… you have the cutest Frankenstein inspired Halloween shirt for your little guy or ghoul!
Looking to DIY more Halloween projects with your Cricut?
Here are a few of my favorite Cricut Halloween projects that I shared last year!
- Will Trade Sibling for Candy
- Toy Story Alien Trick or Treat Bucket
- “Witch Better Have My Candy” Halloween Pillow
Cricut currently has a Halloween flash sale! 50% off materials, accessories, and more! Valid 10/24/18-10/30/18.

Leave A Reply!