Installing butcher block countertops can be a rewarding DIY project that adds warmth and character to your kitchen. Here are some tips and tricks for the installation process, as well as answers to frequently asked questions:
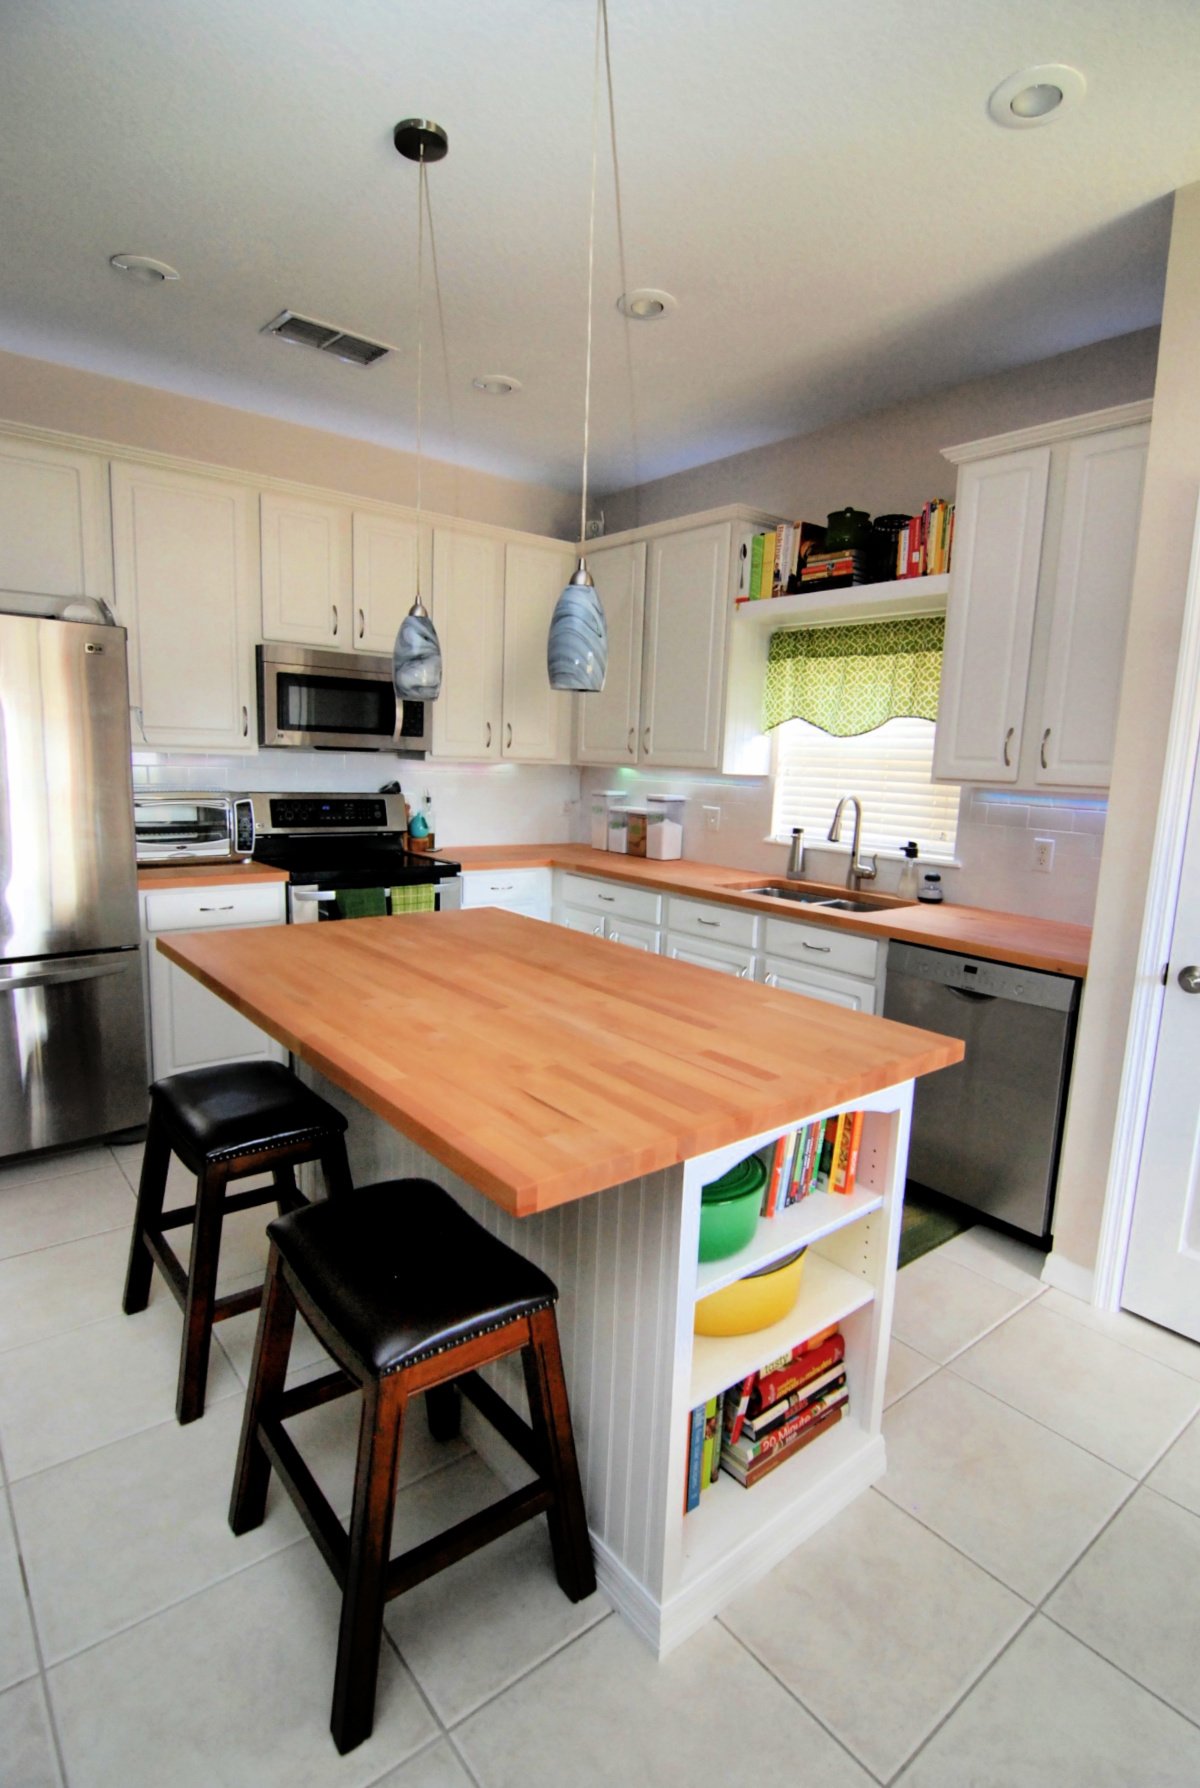
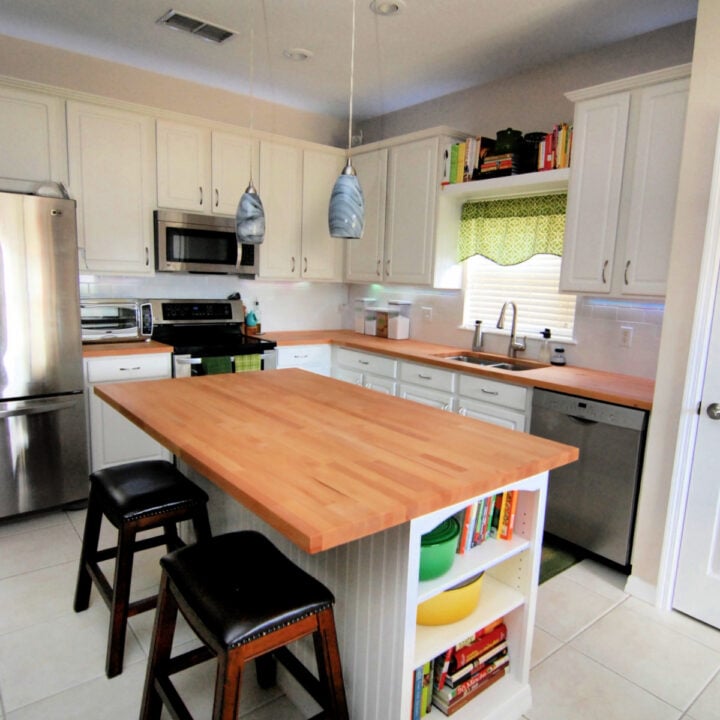
In our first house, we revamped our kitchen. It wasn’t in bad shape, it just wasn’t what we liked. We kept the guts of the kitchen; the cabinets and appliances and removed the formica countertops, installed an undermount sink with the amazing Moen MotionSence faucet, and tiled the backsplash. We also added some extra cabinet space.
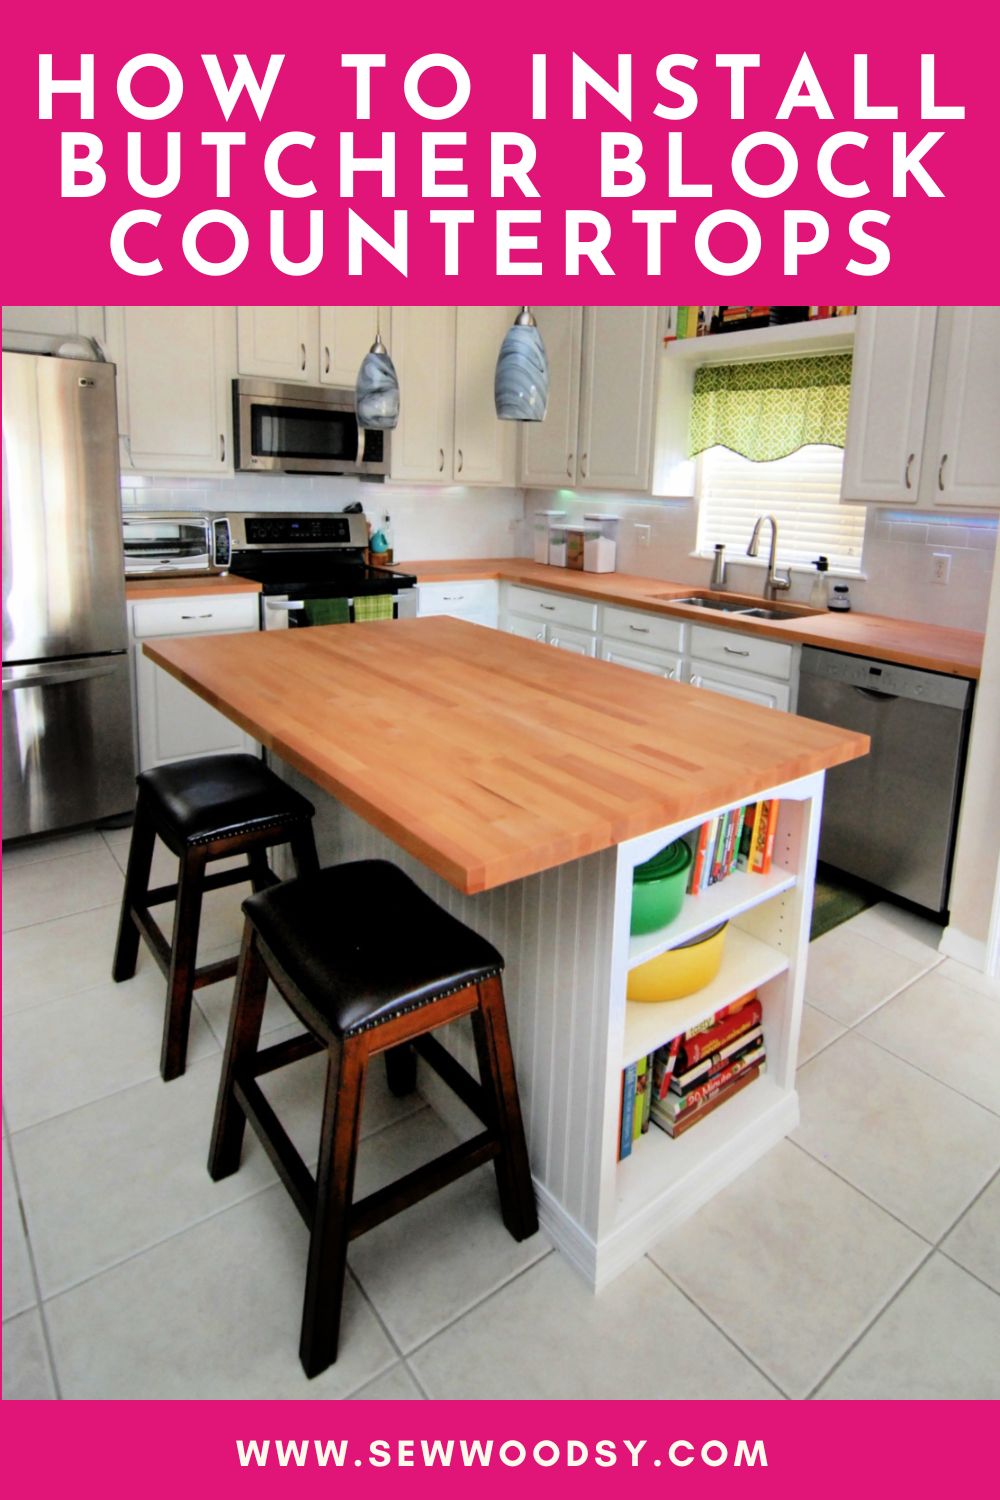
I’m sharing how to install Ikea butcher block countertops plus a few of the tips and tricks we found useful when we installed our butcher block. Talk about pressure… One mess up and it could be very costly!
Table of contents
Supplies
Here are just some of the supplies you will need to install Ikea Butcher Block Countertops.
- Measuring Tape: For accurate measurements of your countertop space.
- Circular Saw: To cut the butcher block to the desired size and shape.
- Jigsaw: For making precise cuts, such as sink cutouts.
- Router: To create smooth edges and profiles.
- Drill: For pre-drilling holes and attaching the countertop to the base cabinets.
- Screws: Depending on the instructions and recommendations, you might need screws for attaching the countertop.
- Clamps: To temporarily hold the countertop in place during installation.
- Sandpaper: Various grits for sanding the countertop and creating a smooth finish.
- Wood Filler: To fill any gaps or imperfections in the countertop seams or edges if needed.
- IKEA Butcher Block Countertop: Purchase the IKEA butcher block countertop in the size and style you need.
- Wood Adhesive: If required, for joining sections of countertop together.
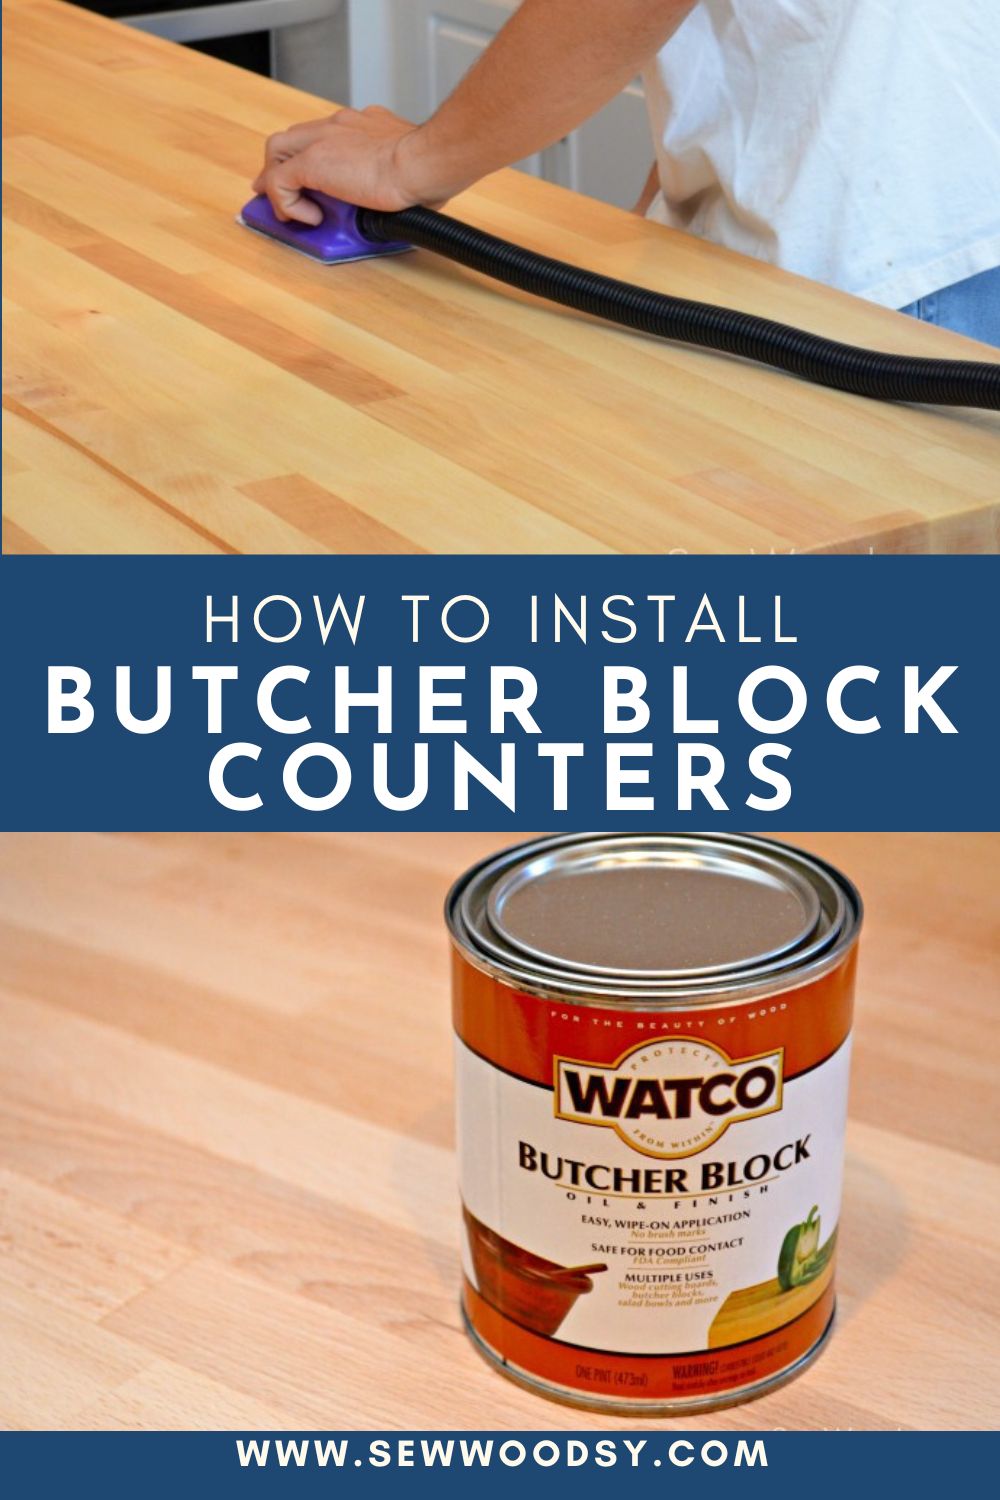
- Finish: Food-safe finish such as mineral oil or wood conditioner for sealing and protecting the wood surface. We used Watco Butcher Block oil and finish.
- Screws: Appropriate screws for attaching the countertop to the base cabinets, if not provided with the countertop.
- Wood Glue: For securing sink cutouts or making any necessary repairs.
- Wood Strips or Supports: If needed, to provide additional support underneath the countertop.
- Caulk or Sealant: For sealing gaps between the countertop and the wall.
- Level: To ensure the countertop is installed evenly and correctly.
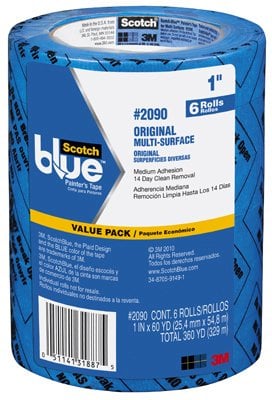
- Painter’s Tape: To prevent chipping when cutting the countertop.
- Safety Gear: Gloves, safety goggles, and a dust mask for protection while working with tools and wood.
How to Measure Countertops
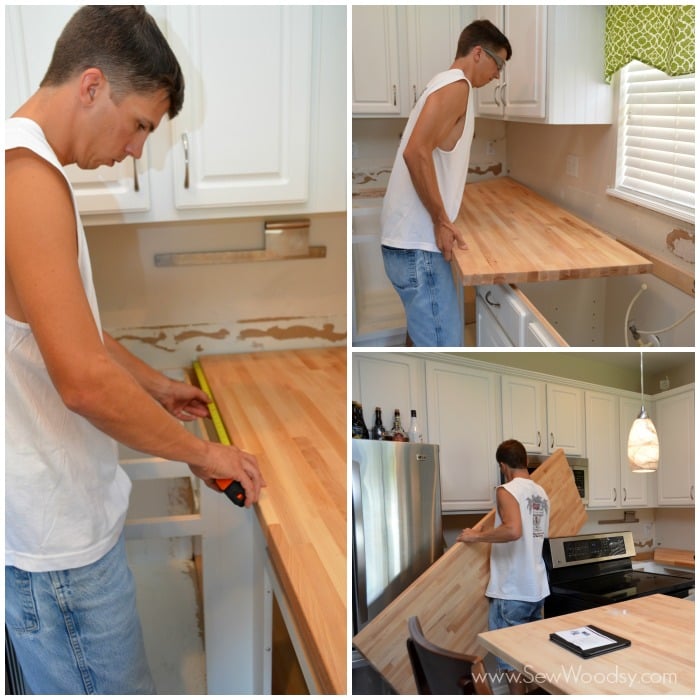
The first thing to do is measure, measure and measure! We knew that he needed to join two pieces together to span the long side of the kitchen. I wanted to make sure the joint was over a cabinet and not around the sink because we were also installing an under mount sink. When he knew where this joint was going to be, it was time to concentrate on the corner. My husband knew he wanted to do two 45 degree cuts rather then a butt joint.
Join Butcher Block Countertops
He brought the other side of the counter in to start measuring out my 45 degree cuts. It important to check the angle on the wall to make sure its 90 degrees to make sure your 45 degree cuts will work. He cut one side then matched up the other countertop to see how they were going to match up.
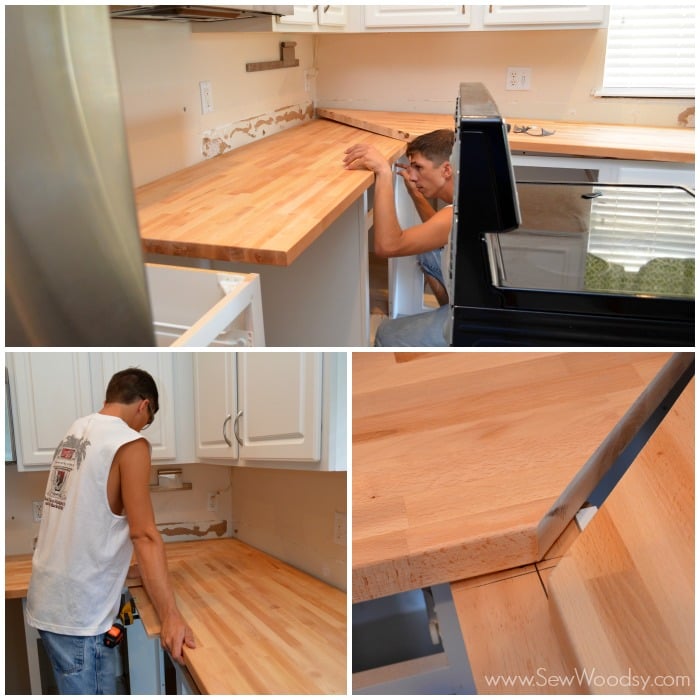
NOTE: It is important to cut the butcher block with a sharp fine tooth blade and use a straight edge to keep your cuts straight.
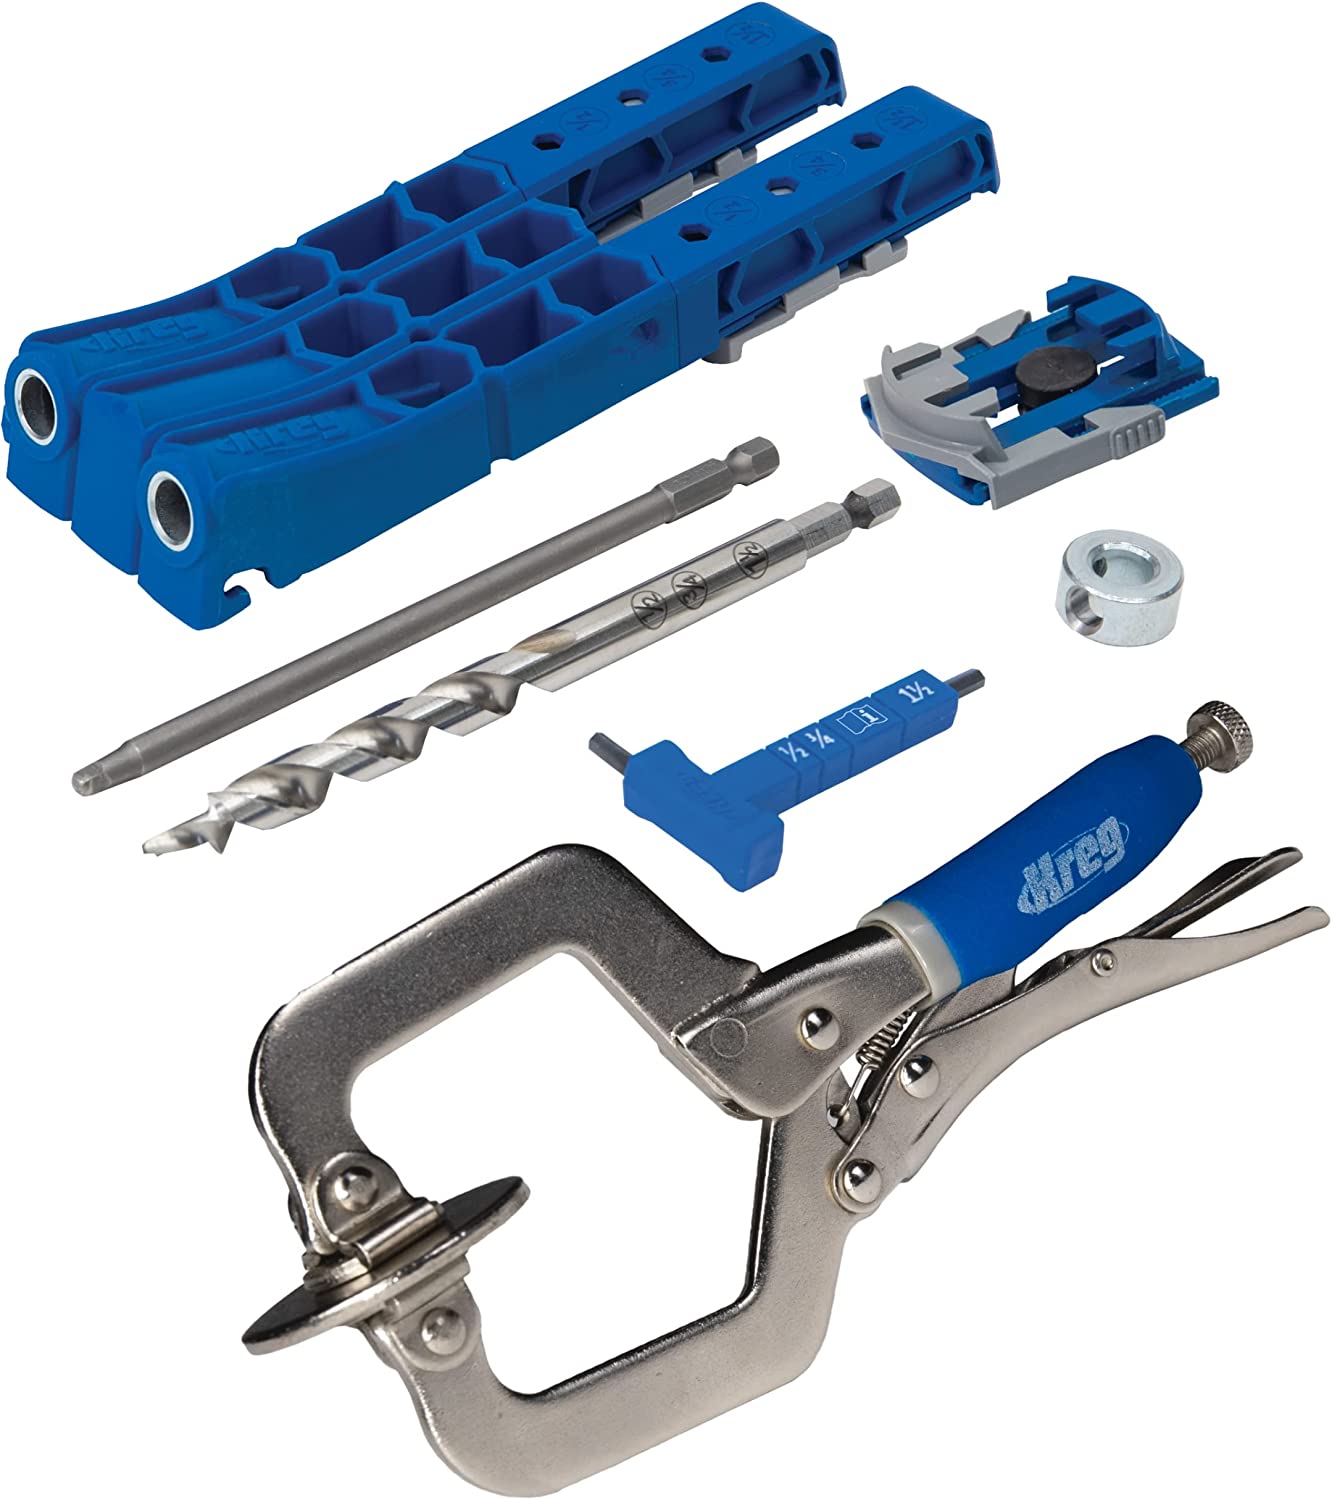
Above you can see he added a template to see where the counter would intersect outside of the cabinet. Next, he made the cut on the other counter and lined up the cut to see if they matched up perfectly. After that, all he had left was to cut the other ends to the desired length. Finally, he had to attach all of the joints using the Kreg Jig. He made 1-1/2″ pocket holes and used 2″ pocket screws.
He also glued the joints with a waterproof glue, and added sawdust from the cuttings to make the glue match the color of the butcher block. Jon opted to do this instead of using wood filler. It’s a great trick anyone can do especially if they don’t have any wood filler to match the color exactly.
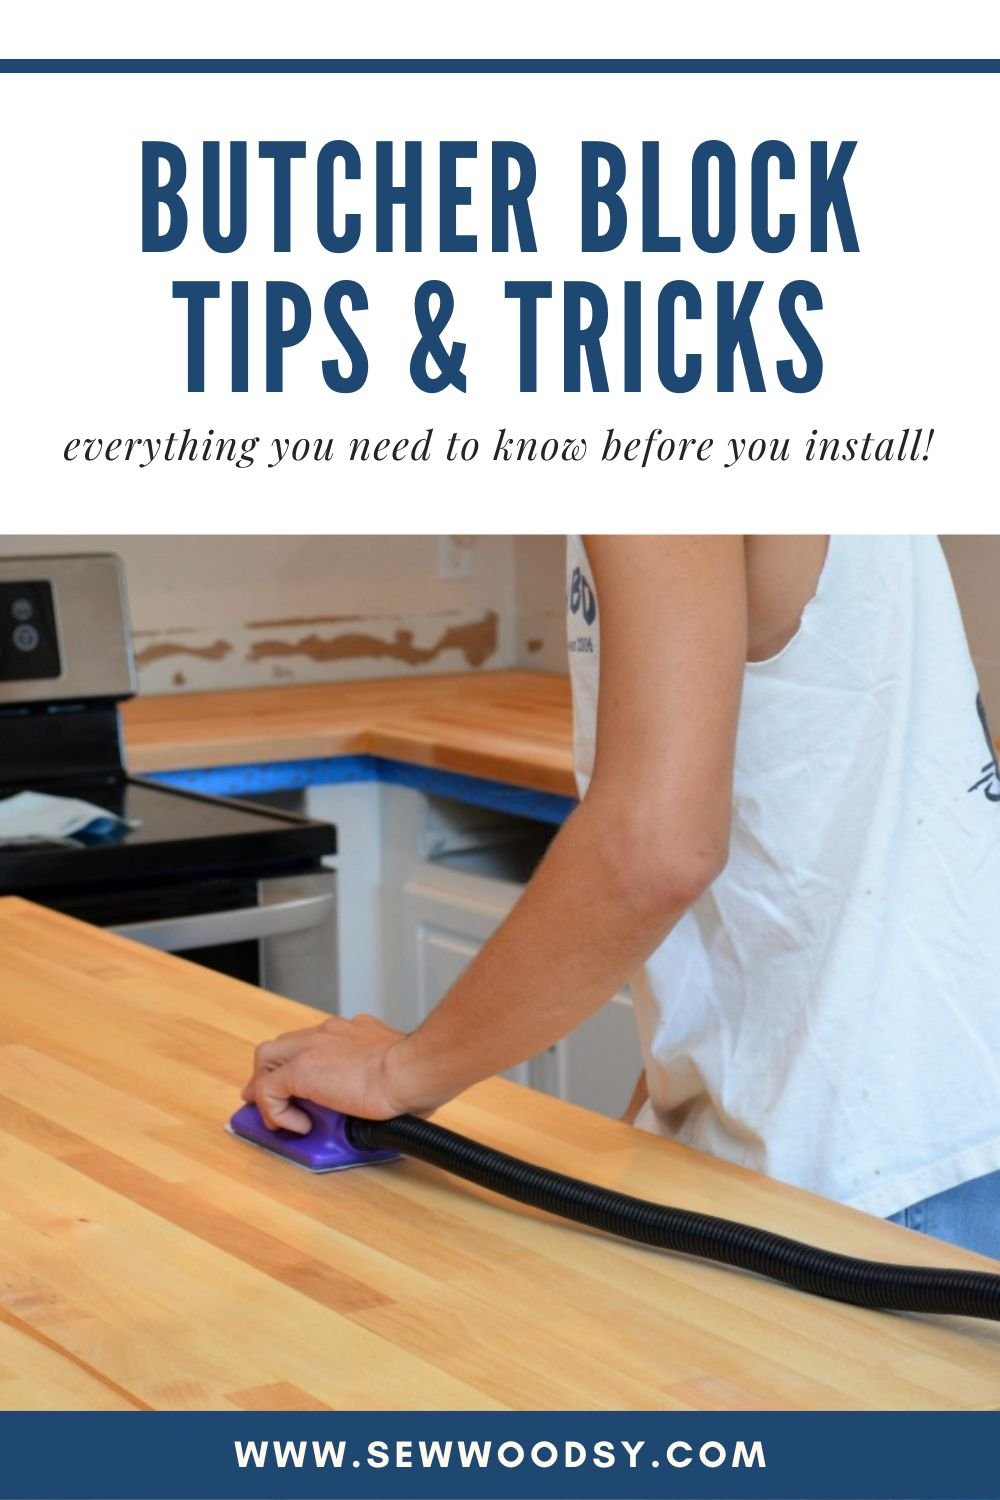
Sanding Butcher Block
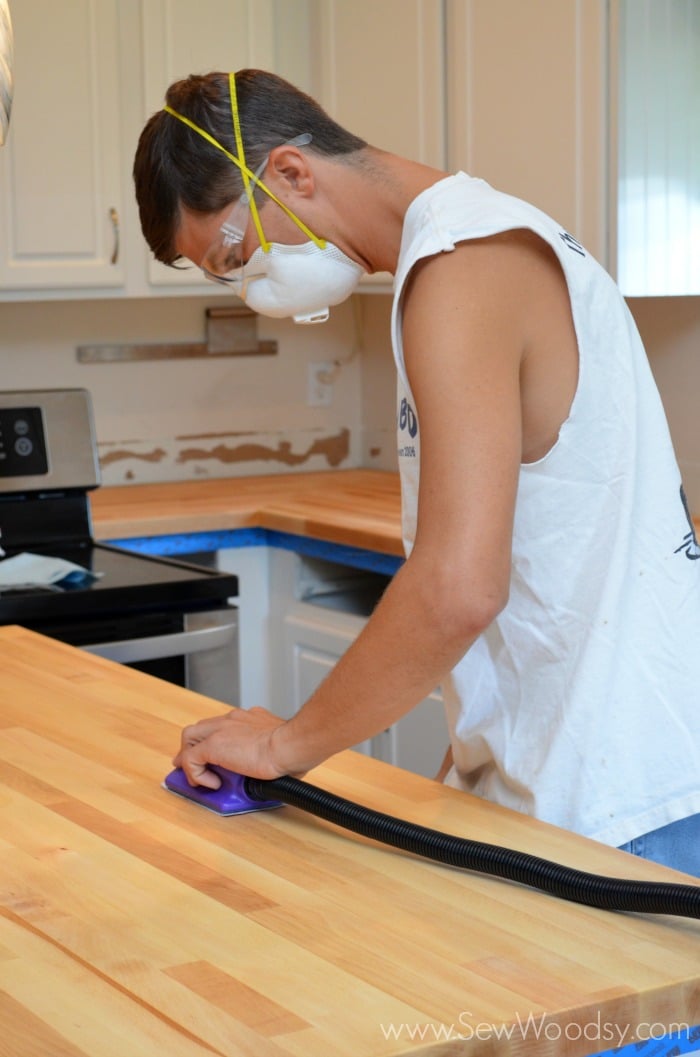
Once all the counters were cut, joined, and in place it’s time to sand. He gave the counters a light sanding before he applied the butcher block sealer. This is to ensure they will soak up the sealer.
Note: You will want to use a finer grit sanding paper for a smooth finish. Since this project was being sanded in the house Jon used a handheld sander that attached to our shop vac.
How to Seal Butcher Block
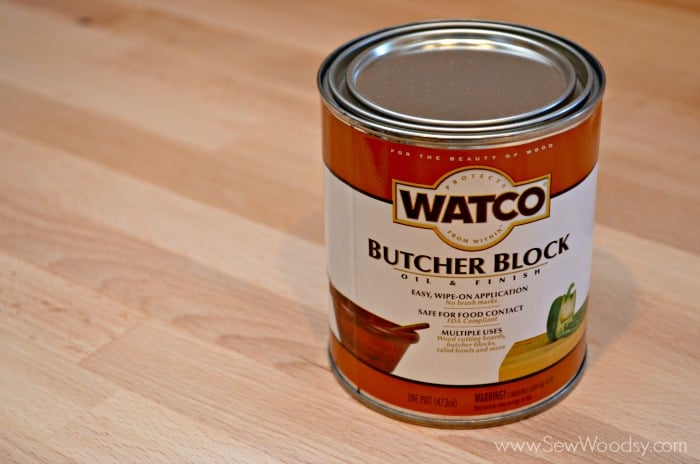
For our butcher block countertops we used the Watco Butcher Block oil and finish. This was very easy to apply with a rag.
Note: Make sure you apply this on a day when you plan to leave the house because it has a very strong odor. You’ll need to be out of the house for a few hours. When we did this part I was still in my first trimester and I spent a lot of time that weekend at my parents house away from the fumes.
Tips & Tricks
Here are a few of our tips and tricks that we learned during the process.
- Select the Right Material: Choose a high-quality butcher block material such as maple, oak, or cherry. Ensure the wood is properly sealed for kitchen use.
- Measure and Plan: Measure your countertop area accurately. Plan for overhangs, sink cutouts, and any other necessary modifications.
- Gather Tools and Materials: You’ll need a circular saw, jigsaw, drill, router, clamps, screws, adhesive, sandpaper, and a finish suitable for food-safe surfaces.
- Preparation: Clear the existing countertops and ensure the base cabinets are level and secure. If necessary, add extra support for heavy countertops.
- Cutting the Countertop: Use a circular saw to cut the butcher block to the desired size. Use painter’s tape on the cut line to prevent chipping.
- Sink Cutout: If you have an under-mount sink, create a template of the sink’s outline on the countertop. Use a jigsaw to carefully cut along the lines.
- Router Edges: Use a router to create rounded or beveled edges on the exposed sides of the countertop. This adds a finished look and prevents splinters.
- Sand the Surface: Sand the entire countertop surface, starting with coarse grit sandpaper and progressing to finer grits for a smooth finish.
- Sealing: Apply a food-safe finish that’s suitable for butcher block, such as mineral oil or a mix of mineral oil and beeswax. Apply multiple coats, allowing each to dry before the next.
- Installation: Place the butcher block on the cabinets, ensuring it fits properly. Use clamps to hold it in place and pre-drill holes for screws. Screw the countertop to the base cabinets.
- Seal Seams: Use wood filler to seal any gaps between the countertop and the wall. Sand and finish these areas to match the rest of the countertop.
- Regular Maintenance: Butcher block countertops require regular maintenance. Reapply a food-safe finish every few months and avoid excessive moisture exposure.
Butcher Block FAQs
While butcher block is more forgiving than other surfaces, it’s still recommended to use cutting boards to avoid deep cuts and maintain the countertop’s appearance.
Light stains can often be removed by sanding the affected area. For more stubborn stains, you might need to use a mixture of baking soda and water or a specialized wood stain remover.
It’s best to avoid placing hot cookware directly on the countertop, as extreme heat can damage the wood and finishes. Always use trivets or hot pads.
Clean the surface with a mixture of mild dish soap and warm water. Avoid using harsh chemicals. Dry the countertop thoroughly after cleaning to prevent water damage.
Lightly sand the countertop to remove any surface imperfections, then reapply a food-safe mineral oil or beeswax finish. This will restore the luster and protect the wood.
Remember that proper installation and maintenance will ensure the longevity and beauty of your butcher block countertops. If you’re not comfortable with any step of the installation process, it’s a good idea to seek professional help to avoid costly mistakes. However, if you are handy you can totally tackle this project and save a lot of money.
DIY Kitchen Remodel Projects
Looking to work on other parts of your kitchen? Check out these other post that can help you with your next DIY kitchen remodel.
If you install butcher block countertops, I would be honored and love for you to take the time to leave a star rating and comment! I spend hours developing and testing these projects, and always love to hear feedback and user experience!
Don’t forget to FOLLOW ME on Facebook, Pinterest, and Instagram, and subscribe to my email list!
How to Install Butcher Block Countertops
Installing butcher block countertops can be a rewarding DIY project that adds warmth and character to your kitchen. Here are some tips and tricks for the installation process, as well as answers to frequently asked questions.
Materials
- Butcher Block Countertop
- Screws
- Wood Adhesive
- Sandpaper
- Wood Filler
- Watco Butcher Block Oil and Finish
- Caulk
- Painter's Tape
Tools
- Circular Saw
- Jigsaw
- Router
- Kreg Jig
- Drill
- Measuring Tape
- Pencil
- Carpenter's square
- Level
Instructions
- Clear the existing countertops and ensure that the base cabinets are level and secure. If necessary, add additional support for the new countertop.
- Measure your countertop area accurately, including any overhangs, sink cutouts, and modifications. Plan where the seams will be placed, and mark the locations of any cutouts (sink, cooktop, etc.).
- Use a circular saw to cut the butcher block to the desired size. Apply painter's tape along the cut line to prevent chipping. Ensure that the cut is clean and accurate.
- If you have an under-mount sink, create a template of the sink's outline on the countertop. Drill a hole in each corner of the template and use a jigsaw to carefully cut along the lines.
- Use a router to create rounded or beveled edges on the exposed sides of the countertop. This adds a finished look and prevents splinters.
- Sand the entire countertop surface using progressively finer grits of sandpaper. Start with a coarse grit to remove any rough spots and then move to finer grits for a smooth finish.
- Apply a food-safe finish to the entire countertop, including the edges and any cutouts. Follow the manufacturer's instructions for application and drying times. Apply multiple coats, allowing each coat to dry before applying the next.
- Place the butcher block on the cabinets, ensuring that it fits properly. Use clamps to hold it in place temporarily. If you have seams, align them accurately.
- Pre-drill holes through the countertop and into the base cabinets. This will prevent splitting when you secure the countertop.
- Remove the clamps, and using screws that won't penetrate the top surface, secure the countertop to the base cabinets through the pre-drilled holes. Make sure the countertop is level and flush with the cabinets.
- Use wood filler to fill any gaps between the countertop and the wall. Sand the filled areas to match the rest of the countertop's surface, and apply the finish.
- Once the countertop's are secured and sanded apply the Watco Butcher Block oil and finish using a rag.
Notes
- Safety - Remember that safety is essential during the installation process. Wear appropriate safety gear such as goggles and gloves, and be cautious when working with power tools. If you're not confident in any step, consider seeking help from a professional to ensure a successful installation.
- Fumes - Make sure you apply the butcher block oil on a day when you plan to leave the house because it has a very strong odor. You’ll need to be out of the house for a few hours.
Recommended Products
As an Amazon Associate and member of other affiliate programs, I earn from qualifying purchases.