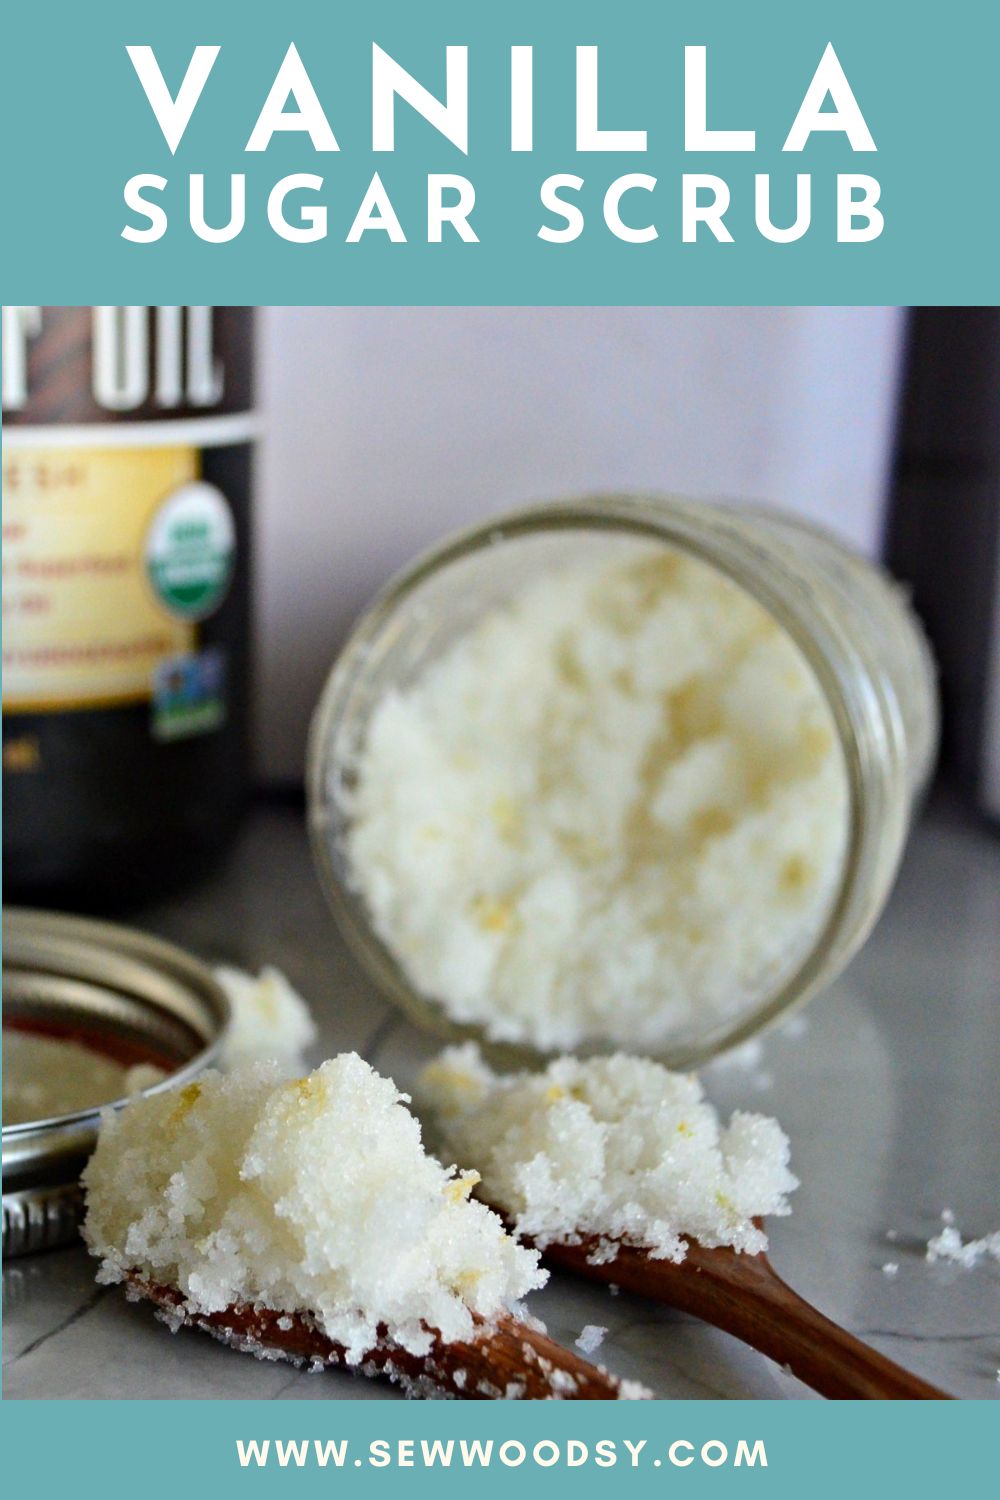
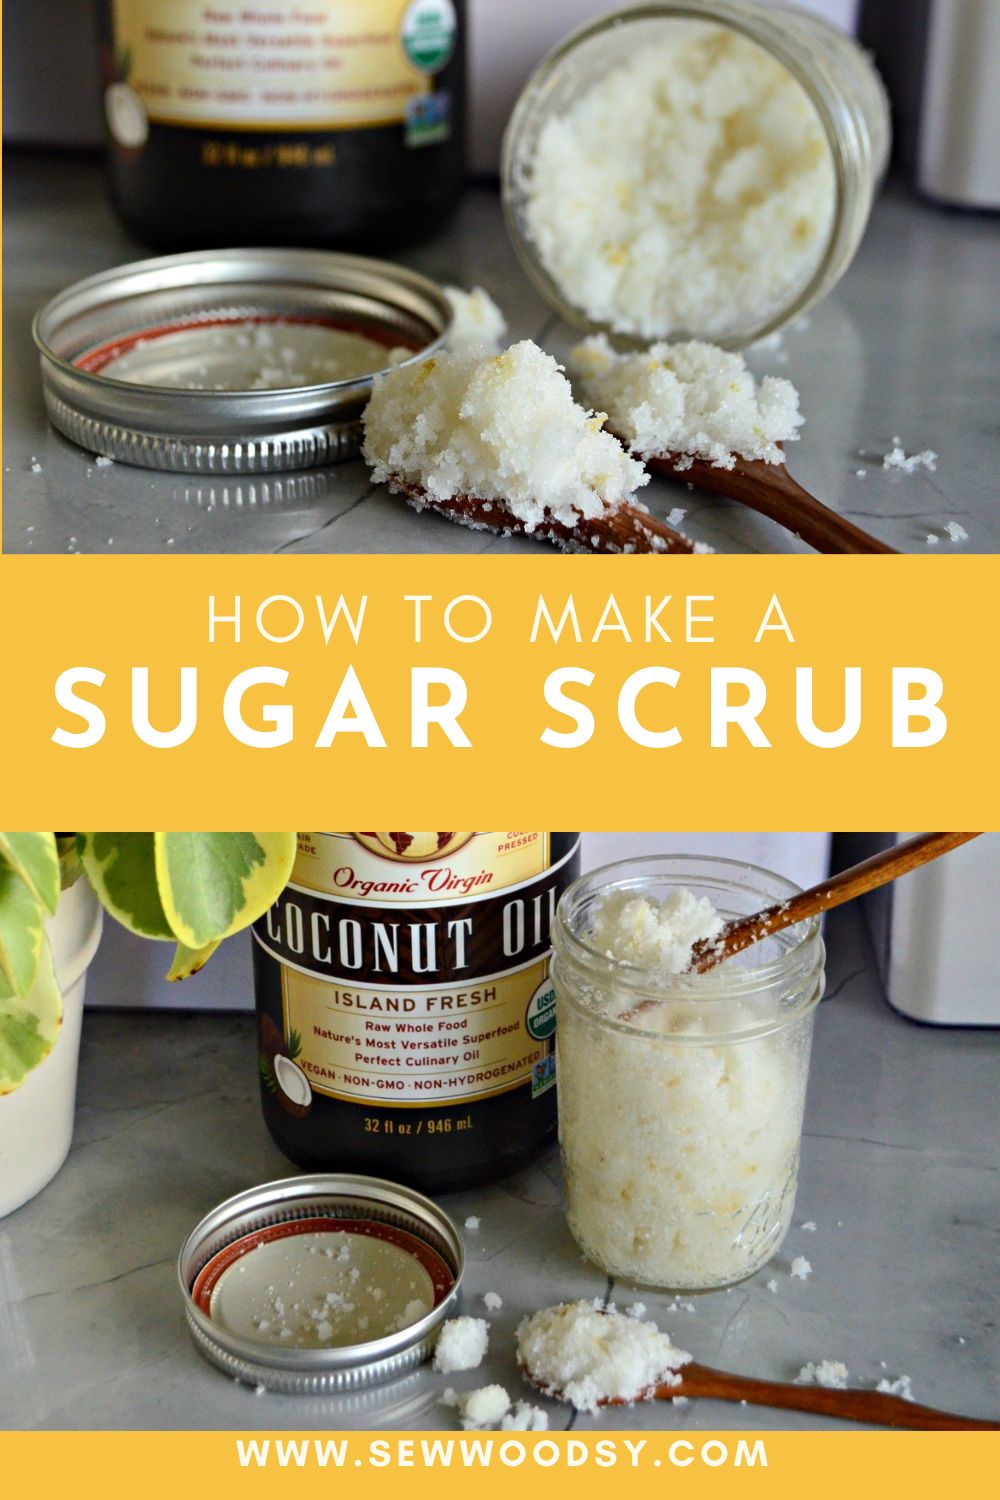
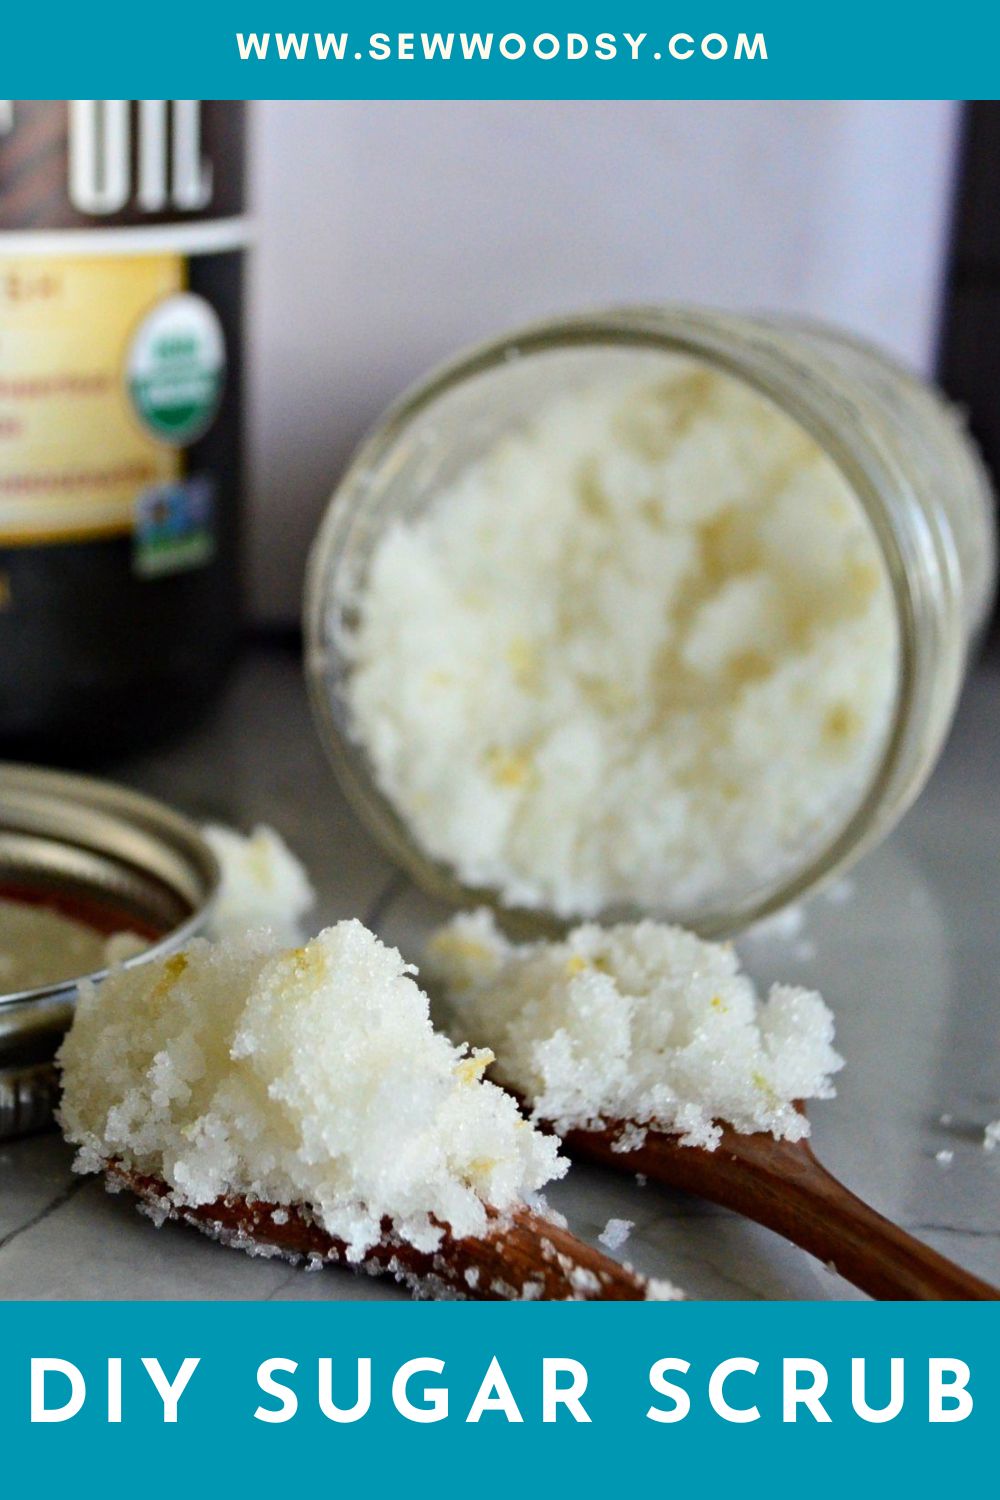
Pamper your skin with a luxurious DIY skincare treat that’s affordable, natural, and customizable – Homemade Sugar Scrub. Made from a simple mixture of sugar and oil, this gentle exfoliant will leave your skin feeling soft, smooth, and rejuvenated.
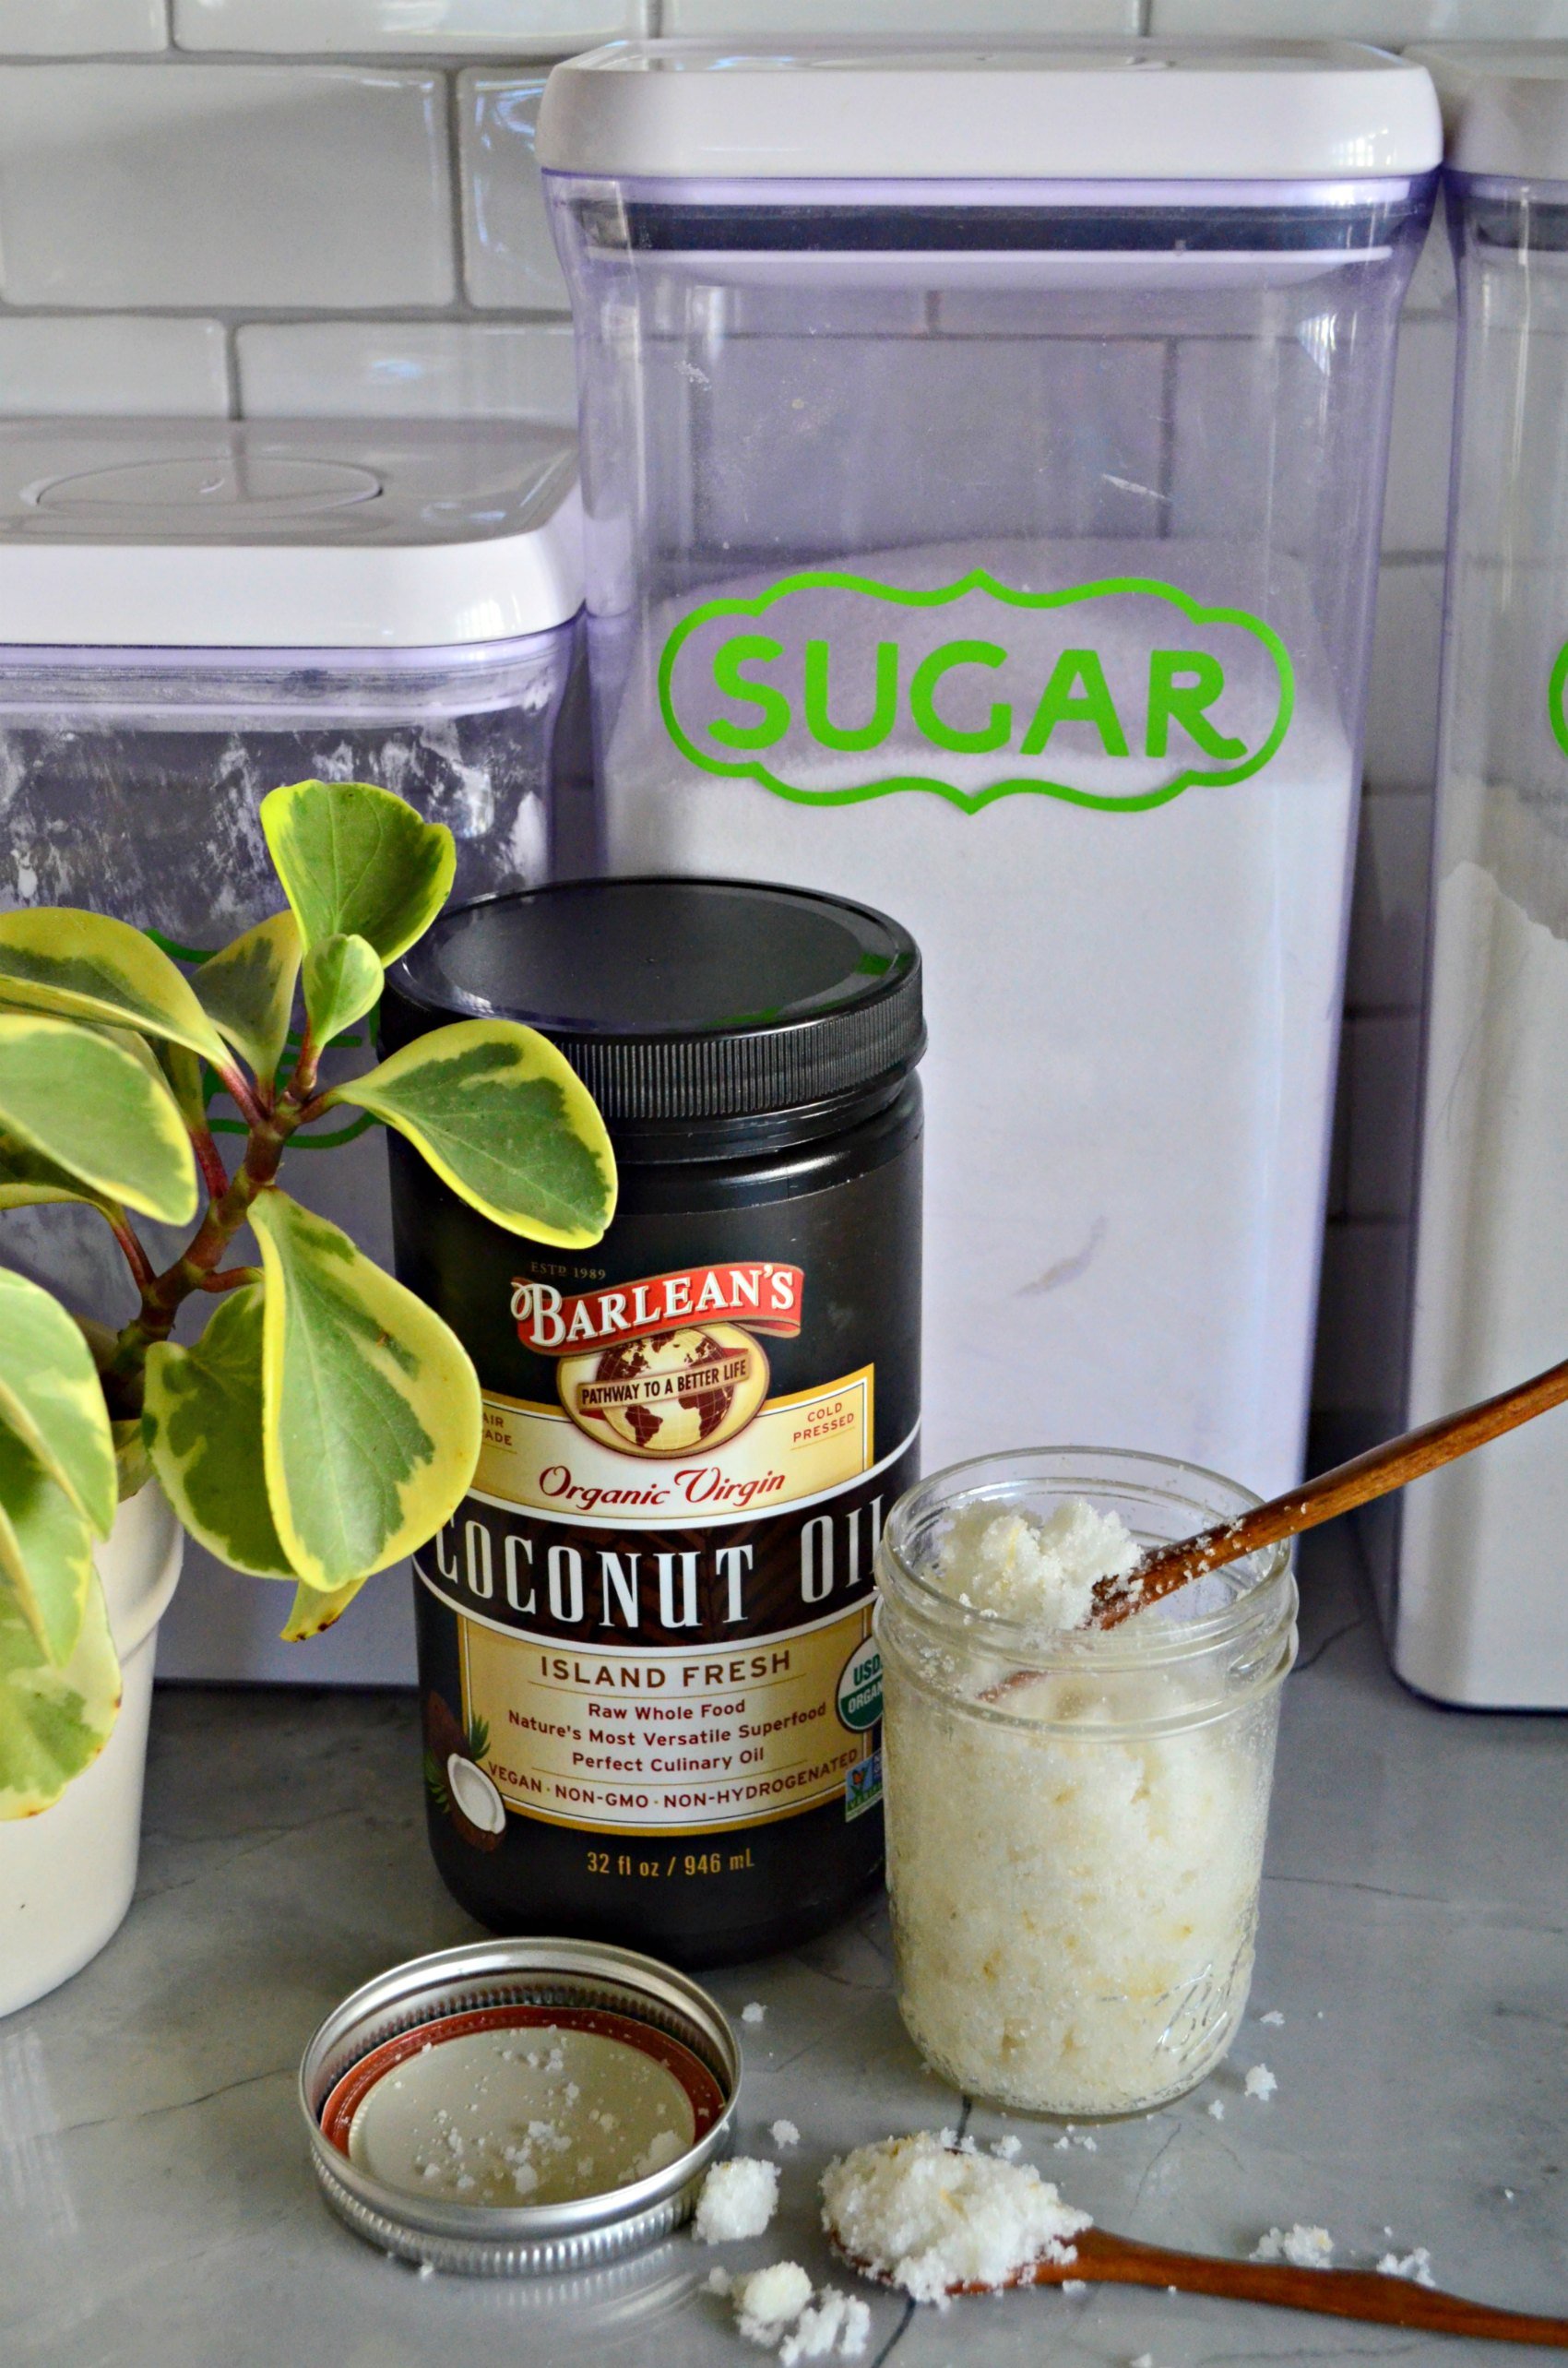
If you’re looking for an affordable and effective way to pamper your skin, homemade sugar scrub might be just what you need. This simple yet luxurious skincare treat can help to exfoliate, moisturize, and rejuvenate your skin, leaving it feeling soft, smooth, and refreshed. In this blog post, we’ll take a closer look at what homemade sugar scrub is, how it works, and the benefits of using it on your skin.
Making your own DIY sugar scrub is perfect for a little self care at home! They are one of my favorite go-to gifts to make and give for any occasion. I’ve made them as a bridal shower favor, teacher and neighbor gifts. I also make them for myself.
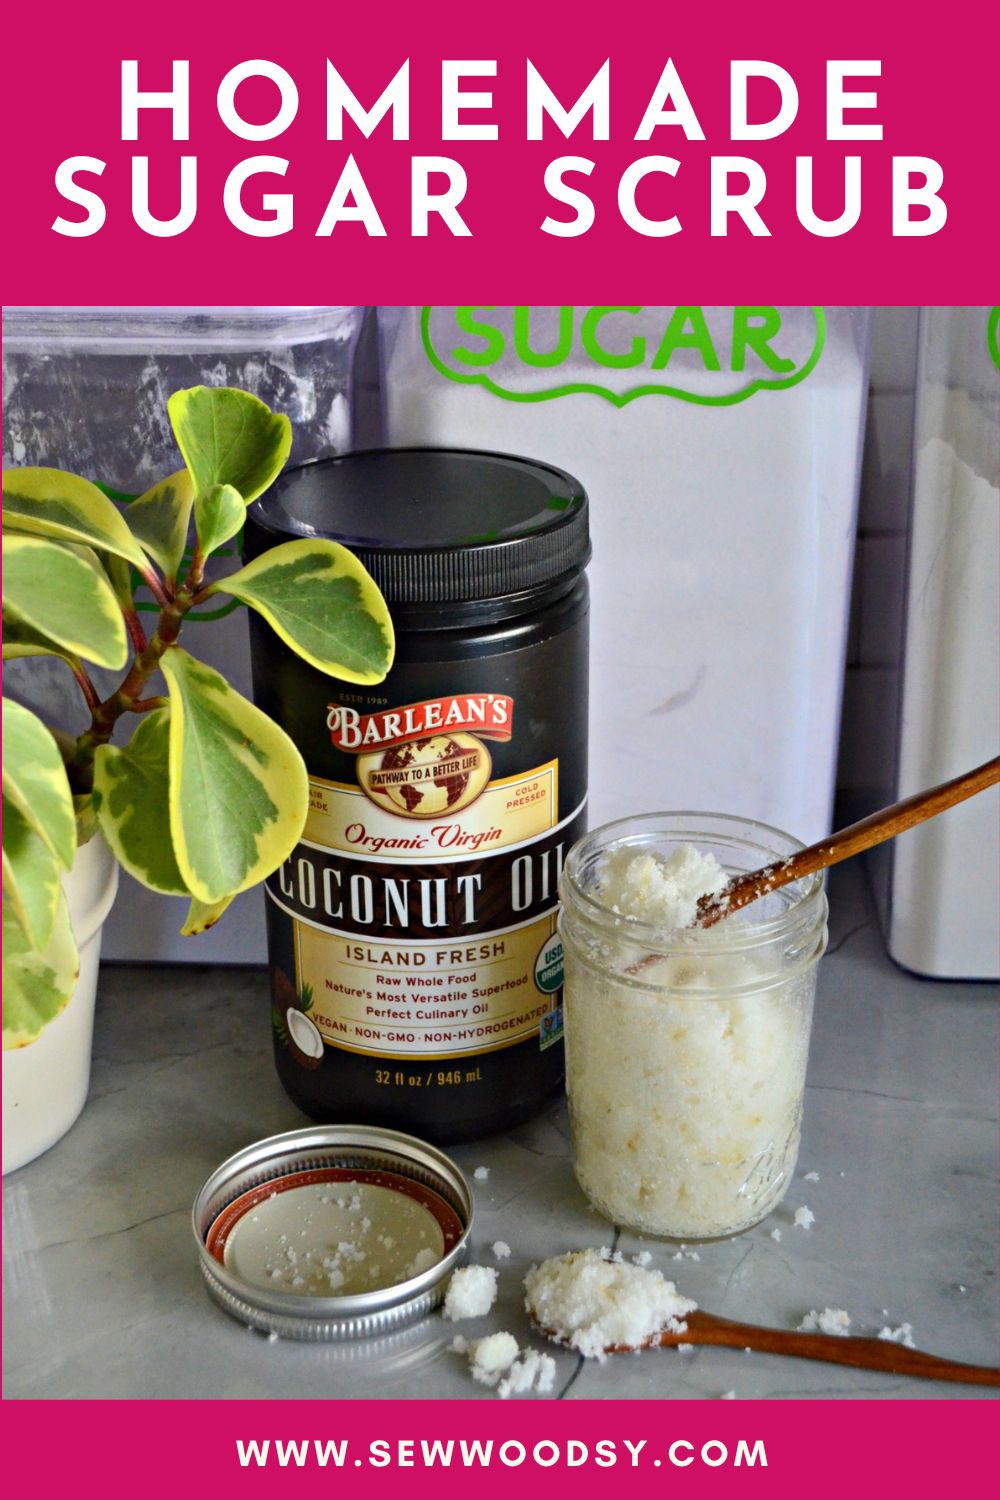
Nothing keeps your skin more hydrated them a homemade sugar scrub. I kept this one very simple with just 3 ingredients; however, you can easily change up the scent.
Table of contents
What is Homemade Sugar Scrub?
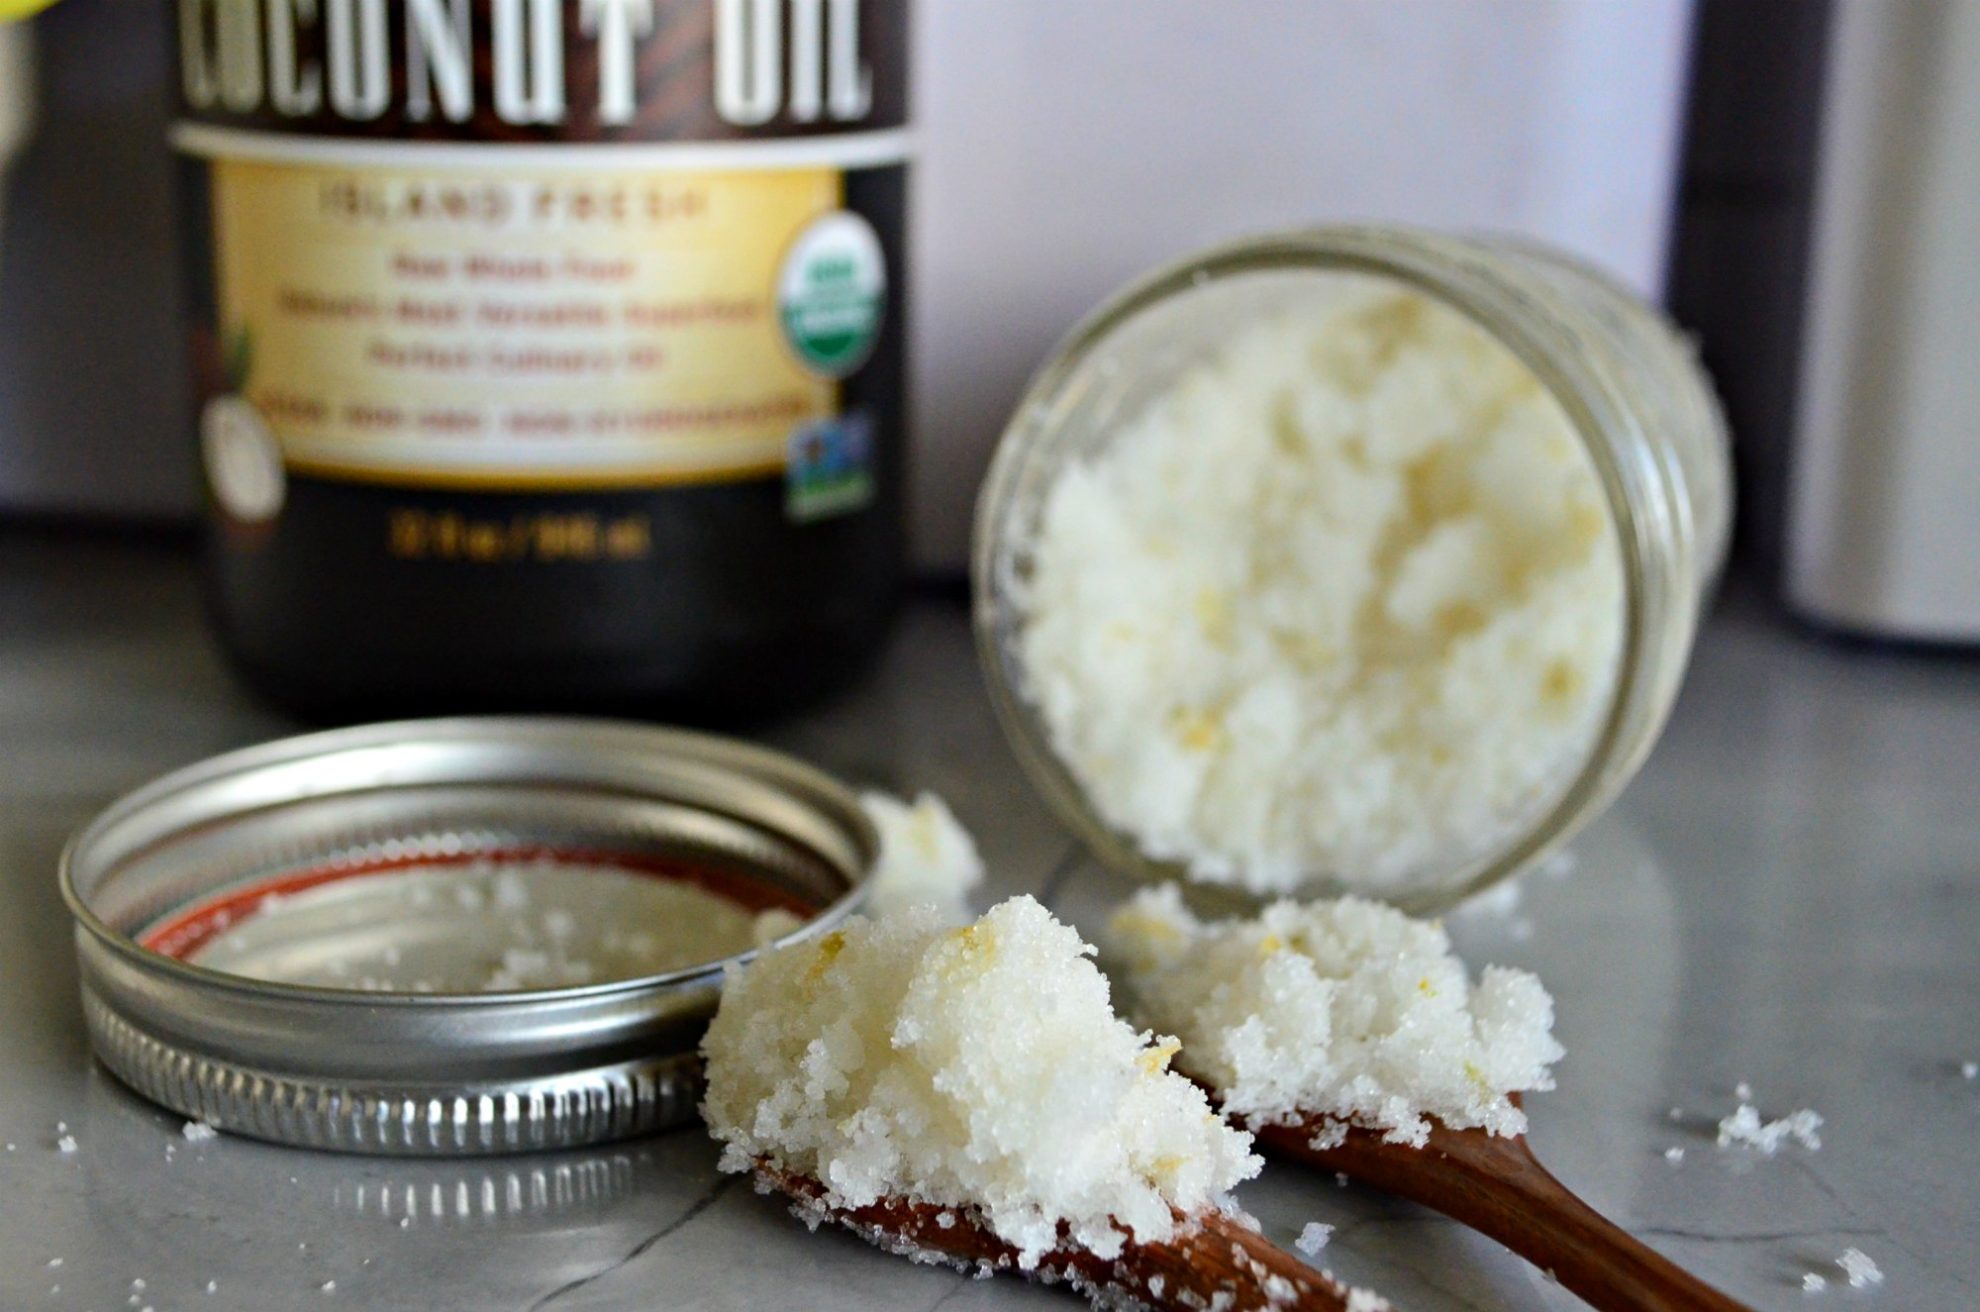
Homemade sugar scrub is a DIY skincare product made from a mixture of sugar, coconut oil, and other natural ingredients. The sugar acts as a gentle exfoliant, helping to remove dead skin cells and unclog pores, while the oil provides added moisture and nourishment to the skin. You can customize your sugar scrub with different oils, scents, and optional ingredients like essential oils or honey.
How Does Homemade Sugar Scrub Work?
Sugar scrubs work by gently buffing away dead skin cells, revealing fresh, new skin underneath. The granules in sugar scrub are small and gentle, making it suitable for use on most skin types. The oil in the sugar scrub provides added moisture to the skin, helping to keep it soft, supple, and hydrated.
Benefits of Using Homemade Sugar Scrub
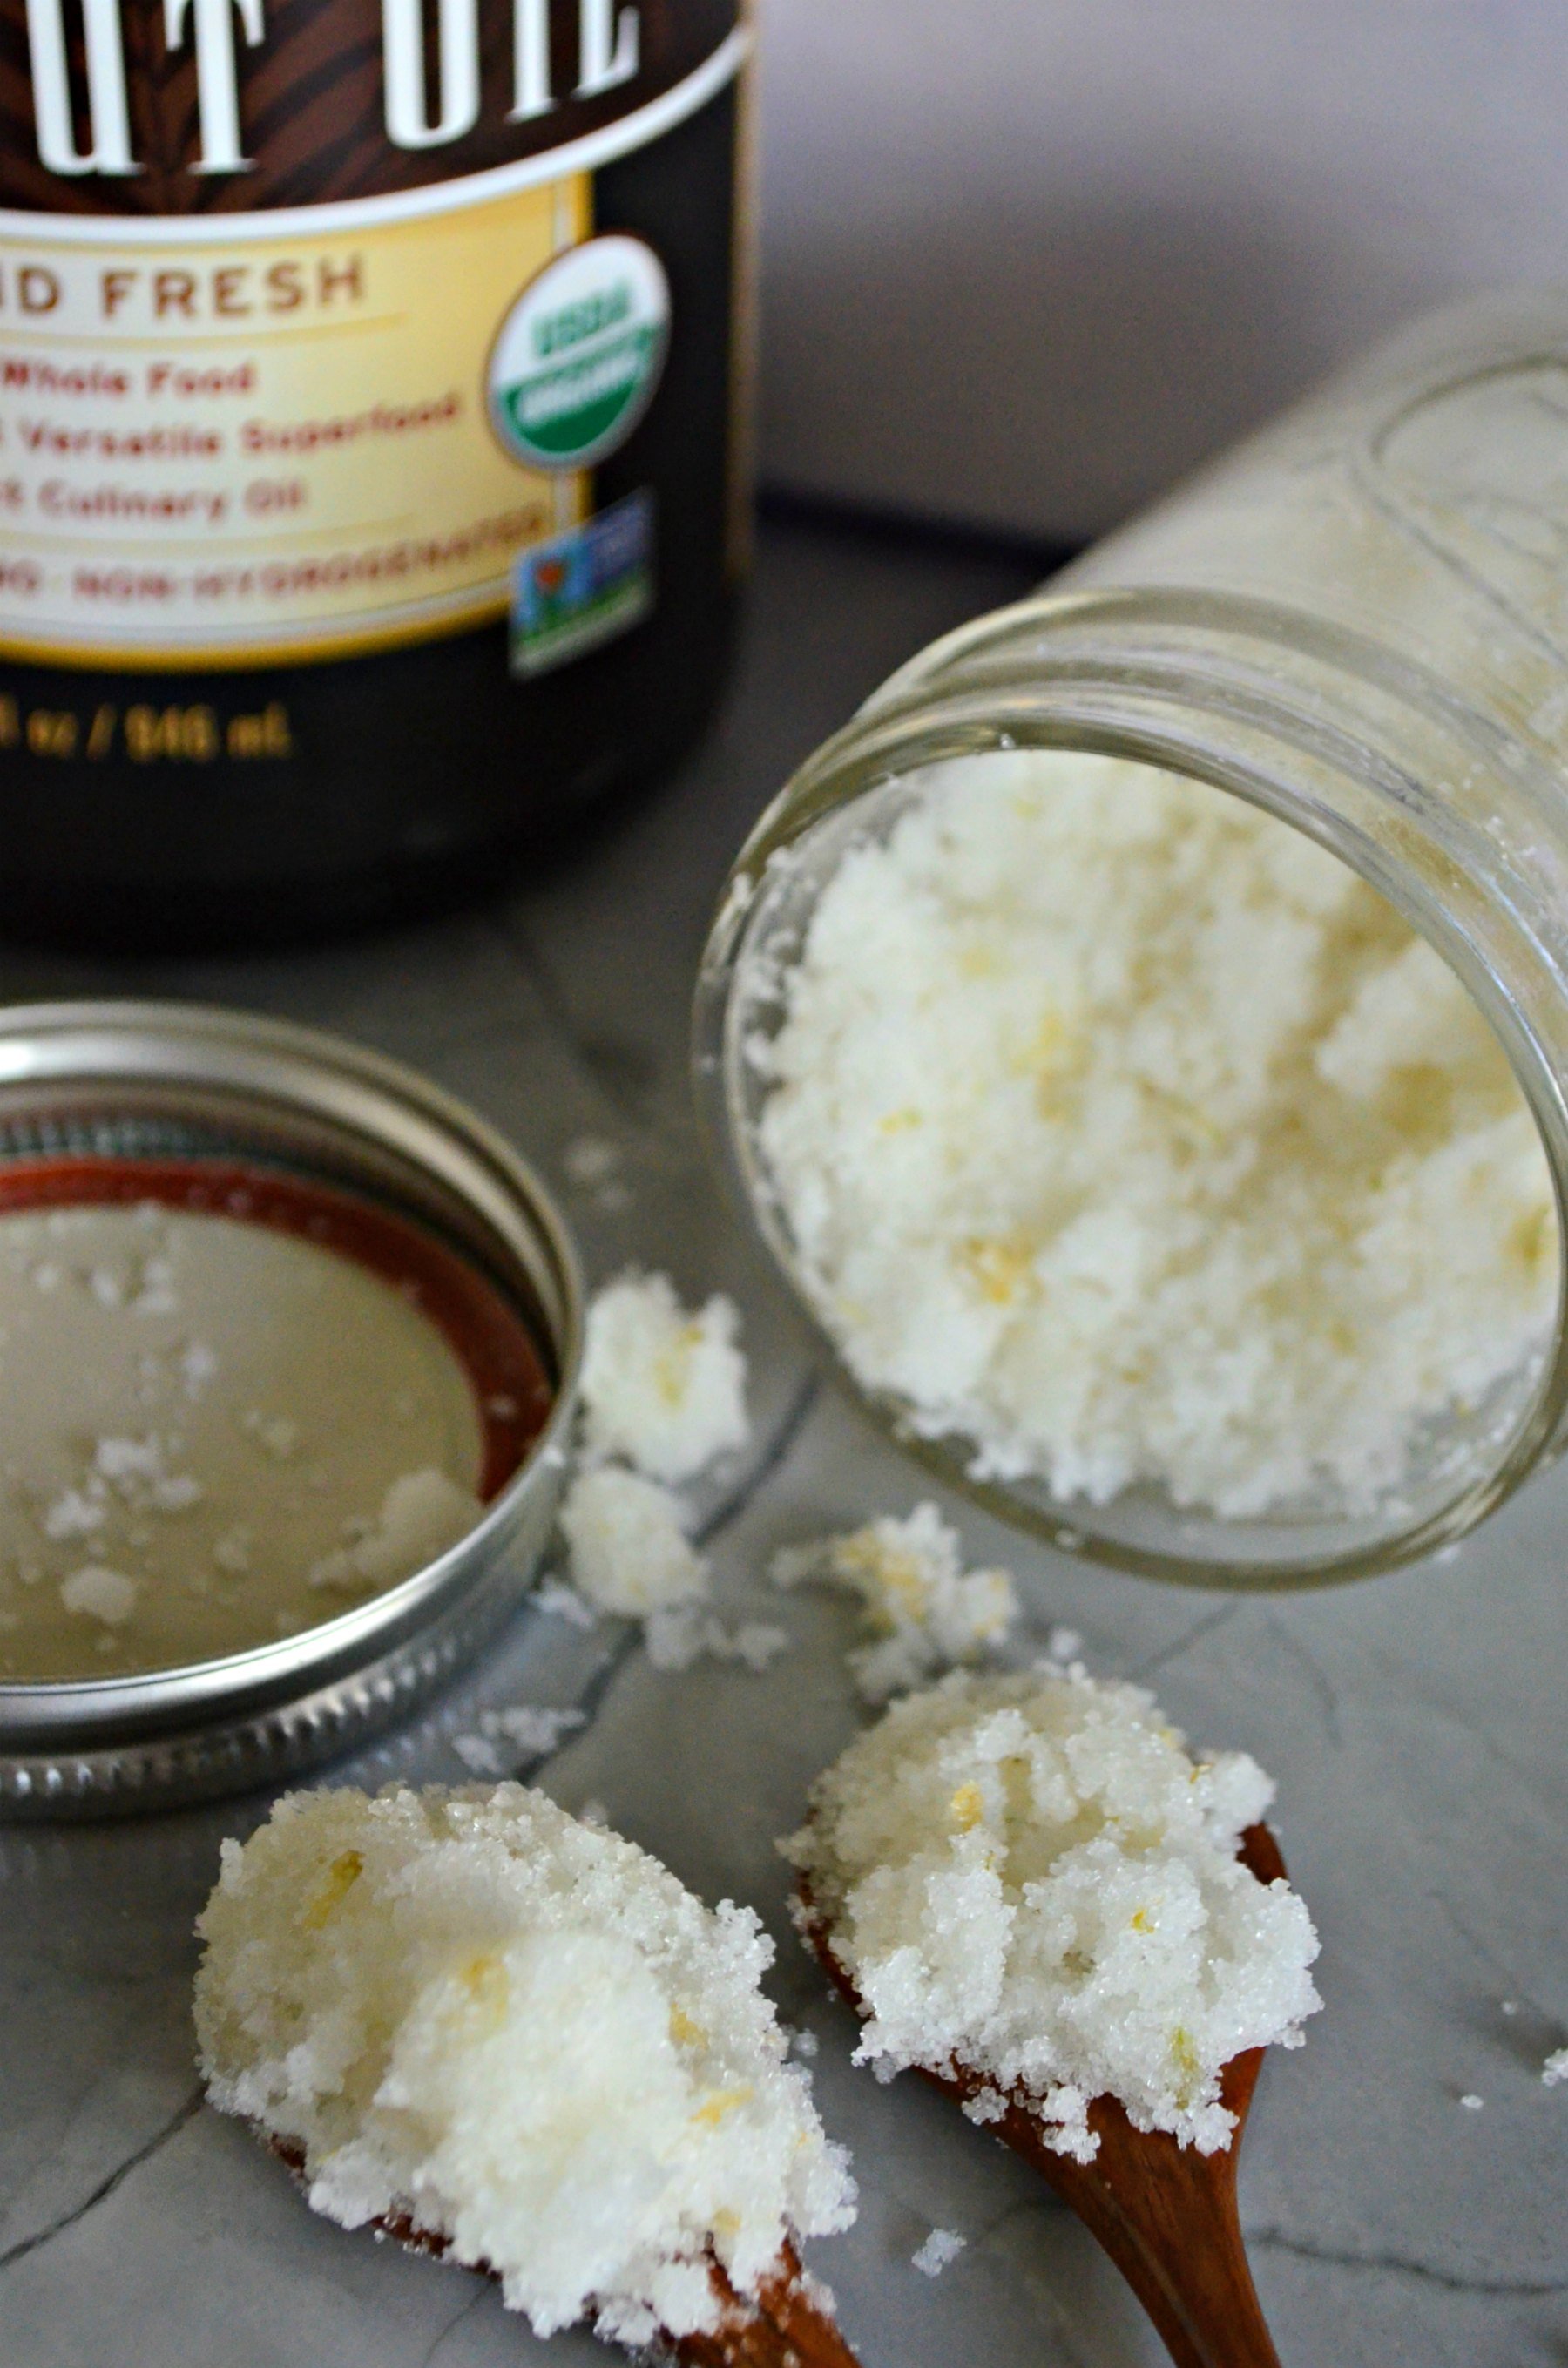
- Exfoliation: The main benefit of using homemade sugar scrub is that it helps to exfoliate the skin, leaving it feeling soft and smooth.
- Moisturizing: The oil in the sugar scrub provides added moisture, making it an excellent choice for those with dry or sensitive skin.
- Natural Ingredients: Homemade sugar scrub is made from natural ingredients, making it a safer and healthier option for your skin than many commercial products that contain harsh chemicals.
- Customizable: You can customize your sugar scrub with different oils, scents, and optional ingredients to create a product that is tailored to your specific skincare needs.
- Affordable: Homemade sugar scrub is an affordable skincare solution that can be made at home with just a few simple ingredients.
Sugar Scrub FAQs
Granulated white sugar or brown sugar are both good options for making a sugar scrub. However, brown sugar tends to be softer and gentler on the skin.
It is recommended to use a sugar scrub 1-2 times a week. Over-exfoliating can irritate the skin and cause redness or dryness.
Yes, you can use a sugar scrub on your face, but be gentle and avoid scrubbing too hard. Also, avoid using sugar scrubs if you have sensitive skin or any skin condition that could be aggravated by physical exfoliation.
Homemade sugar scrub can last up to 2-3 months if stored in a clean, airtight container and kept in a cool, dry place.
Homemade Sugar Scrub Tips & Tricks
Here are some of my favorite tips and tricks when making a homemade sugar scrub.
- Choose the right sugar: Use granulated white sugar or brown sugar, depending on your preference. Brown sugar is softer and gentler on the skin, while white sugar is more abrasive.
- Add carrier oil: Carrier oils like coconut oil, olive oil, or almond oil can help moisturize and hydrate the skin. They also make the sugar scrub easier to apply and spread.
- Add essential oils: Essential oils like lavender, peppermint, or tea tree oil can add fragrance and provide additional skin benefits. Be sure to choose essential oils that are safe for topical use and suitable for your skin type.
- Don’t use too much sugar: Using too much sugar can make the scrub too abrasive and harsh on the skin. Use a 1:1 ratio of sugar to carrier oil as a starting point and adjust accordingly.
- Use clean and dry utensils: Make sure all utensils and containers used in making the sugar scrub are clean and dry to prevent contamination and extend the shelf life of the scrub.
- Store properly: Store the sugar scrub in an airtight container and keep it in a cool, dry place away from direct sunlight. This will help prevent the oil from going rancid and keep the scrub fresh.
- Test on a small area first: Before using the sugar scrub on a larger area of your skin, test it on a small patch to make sure it doesn’t cause any adverse reactions or irritation.
Remember, everyone’s skin is different, so adjust the recipe as needed to suit your skin’s needs.
DIY Sugar Scrubs
Want to make some more sugar scrubs? Here are a few of my favorite scrubs to make.
If you make this homemade sugar scrub, I would be honored and love for you to take the time to leave a star rating and comment! I spend hours developing and testing these projects, and always love to hear feedback and user experience!
Don’t forget to FOLLOW ME on Facebook, Pinterest, and Instagram, and subscribe to my email list!
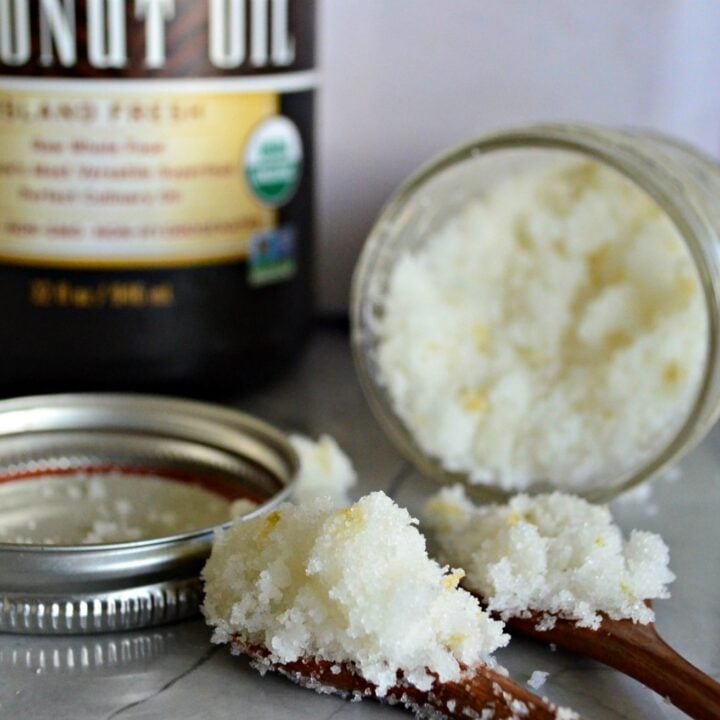
Homemade Sugar Scrub
Pamper your skin with a luxurious DIY skincare treat that's affordable, natural, and customizable - Homemade Sugar Scrub. Made from a simple mixture of sugar and oil, this gentle exfoliant will leave your skin feeling soft, smooth, and rejuvenated.
Materials
- ½ cup Coconut Oil, melted
- 1 cup white granulated sugar
- 1 teaspoon clear vanilla extract
Tools
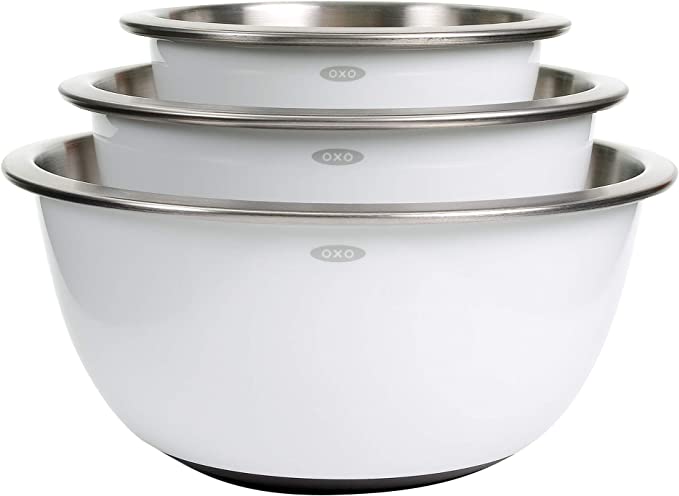
- Large Bowl
- Silicone Spatula
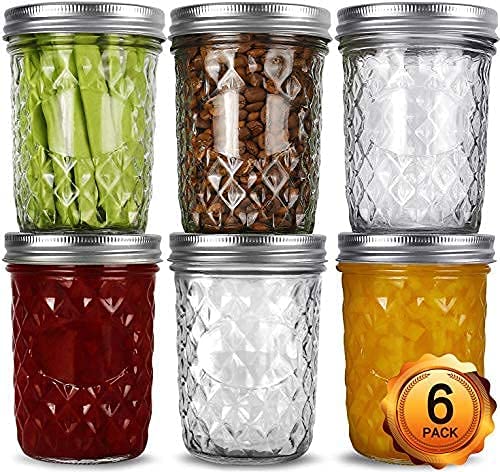
- Glass Jar
Instructions
- Heat the Coconut Oil until melted.
- Combine the coconut oil, granulated sugar, and vanilla extract in a large bowl. Mix until well incorporated.
- Transfer to glass jars and seal tightly. Use in the shower on your hands, knees, elbows and feet as often as needed.
Notes
Use clean and dry utensils: Make sure all utensils and containers used in making the sugar scrub are clean and dry to prevent contamination and extend the shelf life of the scrub.
Store properly: Store the sugar scrub in an airtight container and keep it in a cool, dry place away from direct sunlight. This will help prevent the oil from going rancid and keep the scrub fresh.
Test on a small area first: Before using the sugar scrub on a larger area of your skin, test it on a small patch to make sure it doesn't cause any adverse reactions or irritation.
Slippery: Be careful if using on your feet–they will be extremely slippery!
Recommended Products
As an Amazon Associate and member of other affiliate programs, I earn from qualifying purchases.

Leave A Reply!