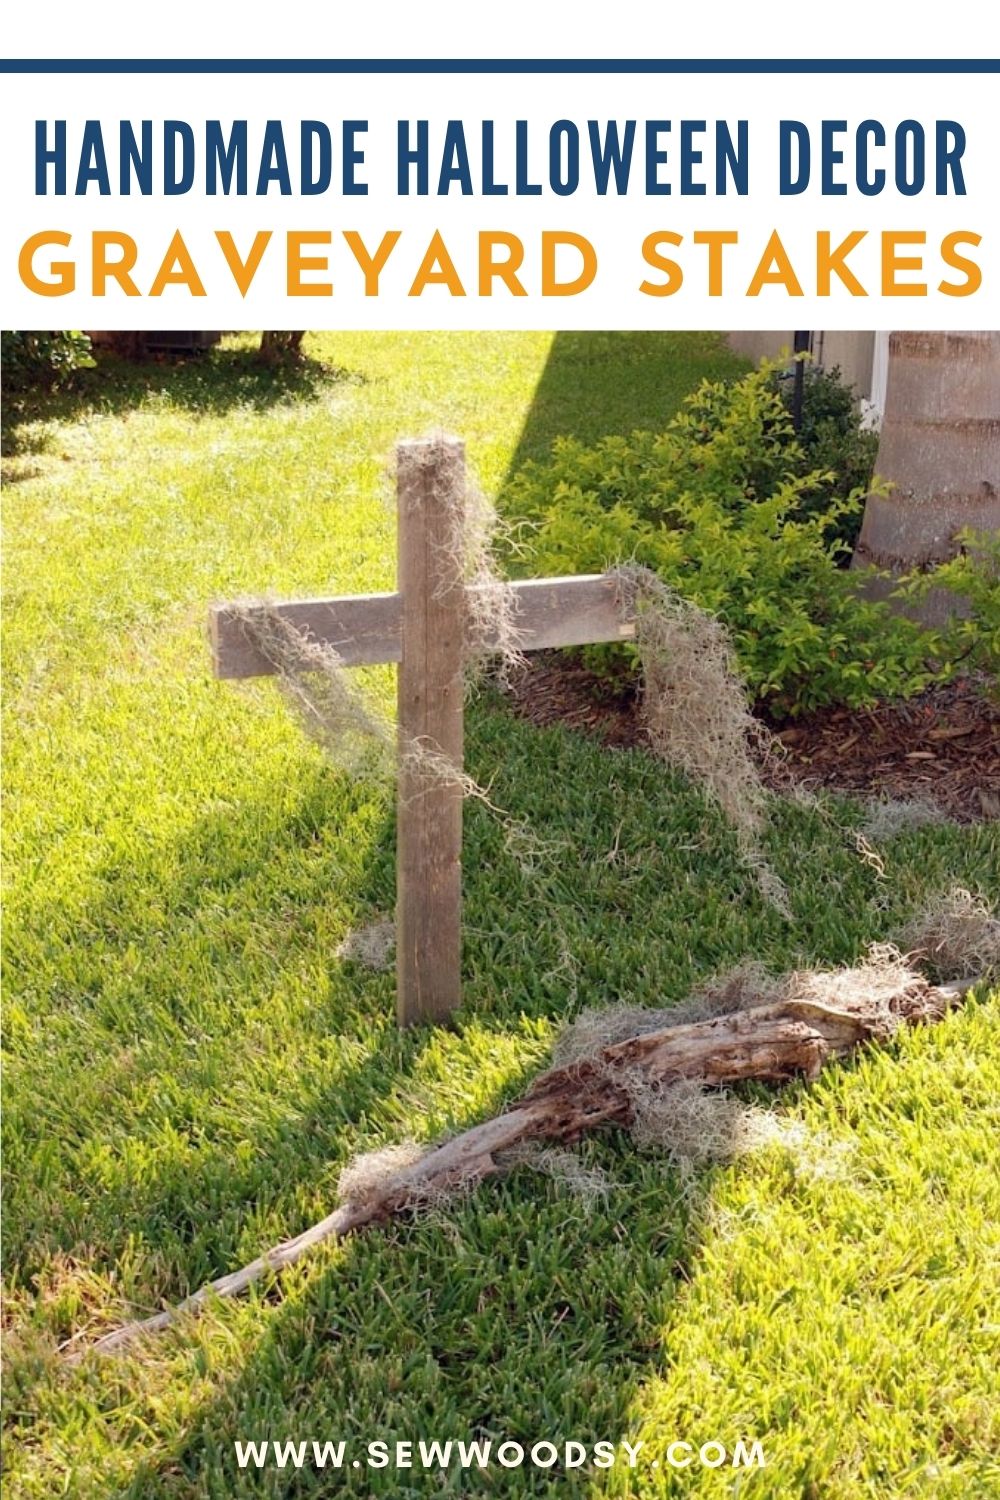
Make these inexpensive Halloween graveyard stakes using recycled wood to add a spooky element to your front yard. This project takes under an hour and makes a big impact on your outdoor decor.
If you are looking to add to your outdoor Halloween decor then this is an easy tutorial on how to make your own Halloween Graveyard Crosses. This is a beginner woodworking project that requires basic tools. If you don’t have a circular saw–don’t worry. You can use a different saw to make this project. It’s quite adaptable, and I’m sure you could get creative with it. The best part about this project is that it didn’t cost us a single dollar, just time! We gathered old pallets from a shipping company (since we were going for a rustic feel), and all the rest of the supplies we already had on hand!
Table of contents
Supplies
- Recycled wood (or old pallets)
- Drill
- 1-inch Screws
- Miter Saw
- Chisel
- hammer
How to Make a Wooden Cross for a Grave
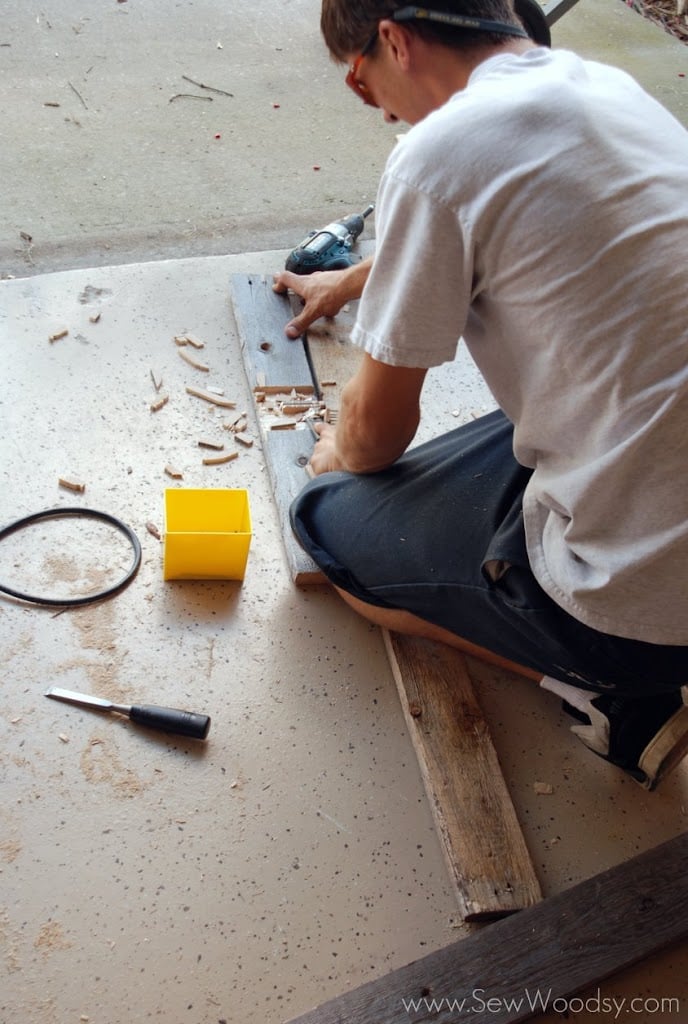
Gather your recycled wood. If you are using old pallets make sure to remove nails from the wood. Next you will want to cut your horizontal and vertical boards (which will form the cross).
SIZE – We made our crosses 3-1/2 foot tall by 2 foot 4 inches wide. Size can be adjusted to preference.
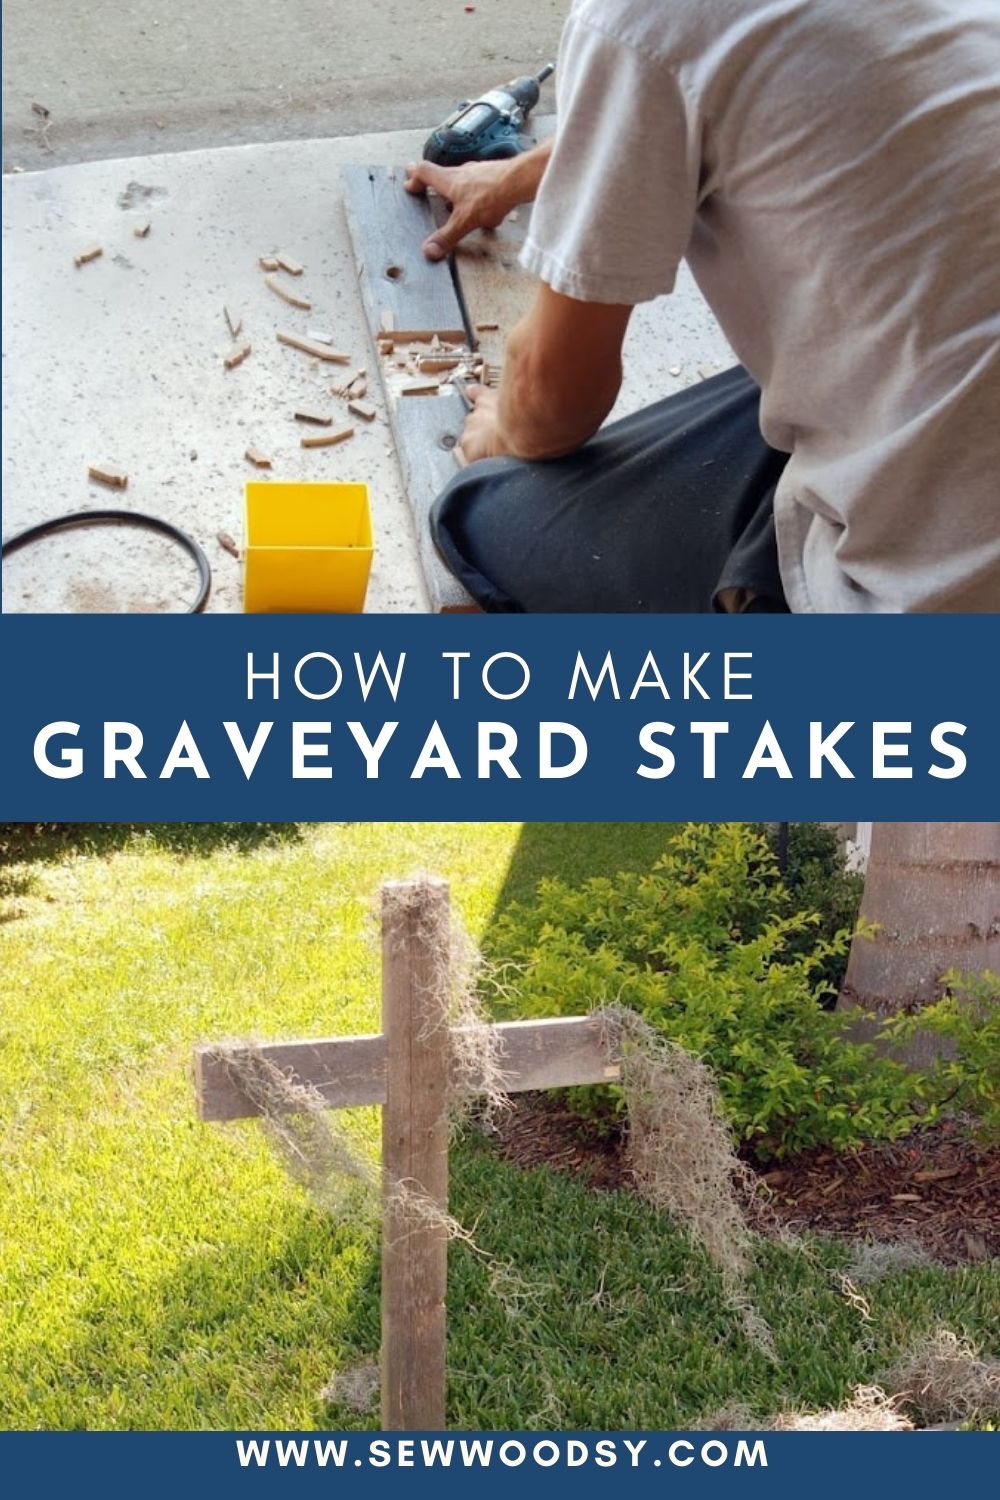
On the horizontal board you will want to find the center. *The width of the pallets we were using was 4 inches wide. Divide the center marking by the width of your board. In our case we marked two inches on each side of the center point. Using a circular saw you will want to cut a slot half the thickness of the board (in that 4 inch space) every quarter inch. This will make it easier to chisel the wood out. *You will repeat this step for the vertical portion of the cross; however, measure 10 inches down to mark the center then cut 4 inches.
Next, you will want to start chiseling out the slots.
This is what it will look like once you have both pieces chiseled out.
Next you will “lap” the two pieces of wood together (as pictured above).
Once you’ve ensured that the wood fits snug against each other you can begin to drill two screws into the wood around one inch apart.
Next, you will want to make the “stake” for the cross. This will allow the cross to be easily placed in the yard. Using a miter saw (or any other type of saw) cut a point at the bottom of the board.
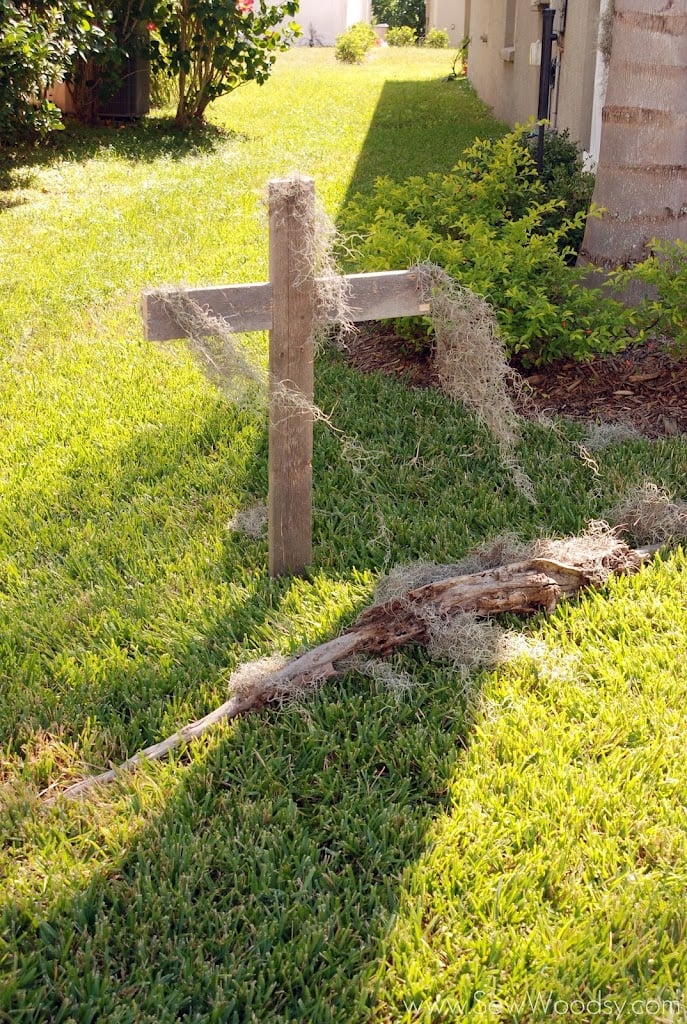
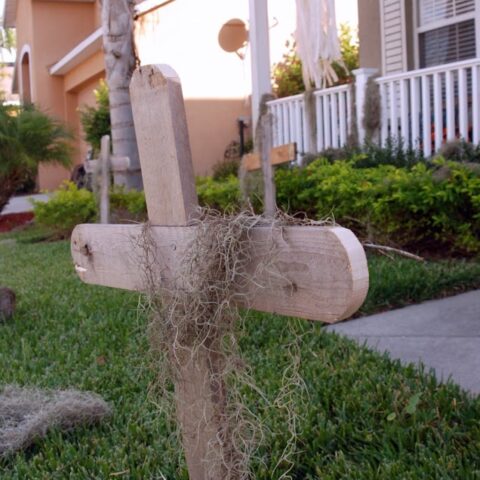
This is what your graveyard cross will look like.
Get your hammer ready and start hammering your Halloween Graveyard Crosses into your yard!

Mr. Woodsy went into the woods and found piles of moss and broken tree limbs which he used to help decorate our “graveyard” (for free)!
Optional Design: Round End
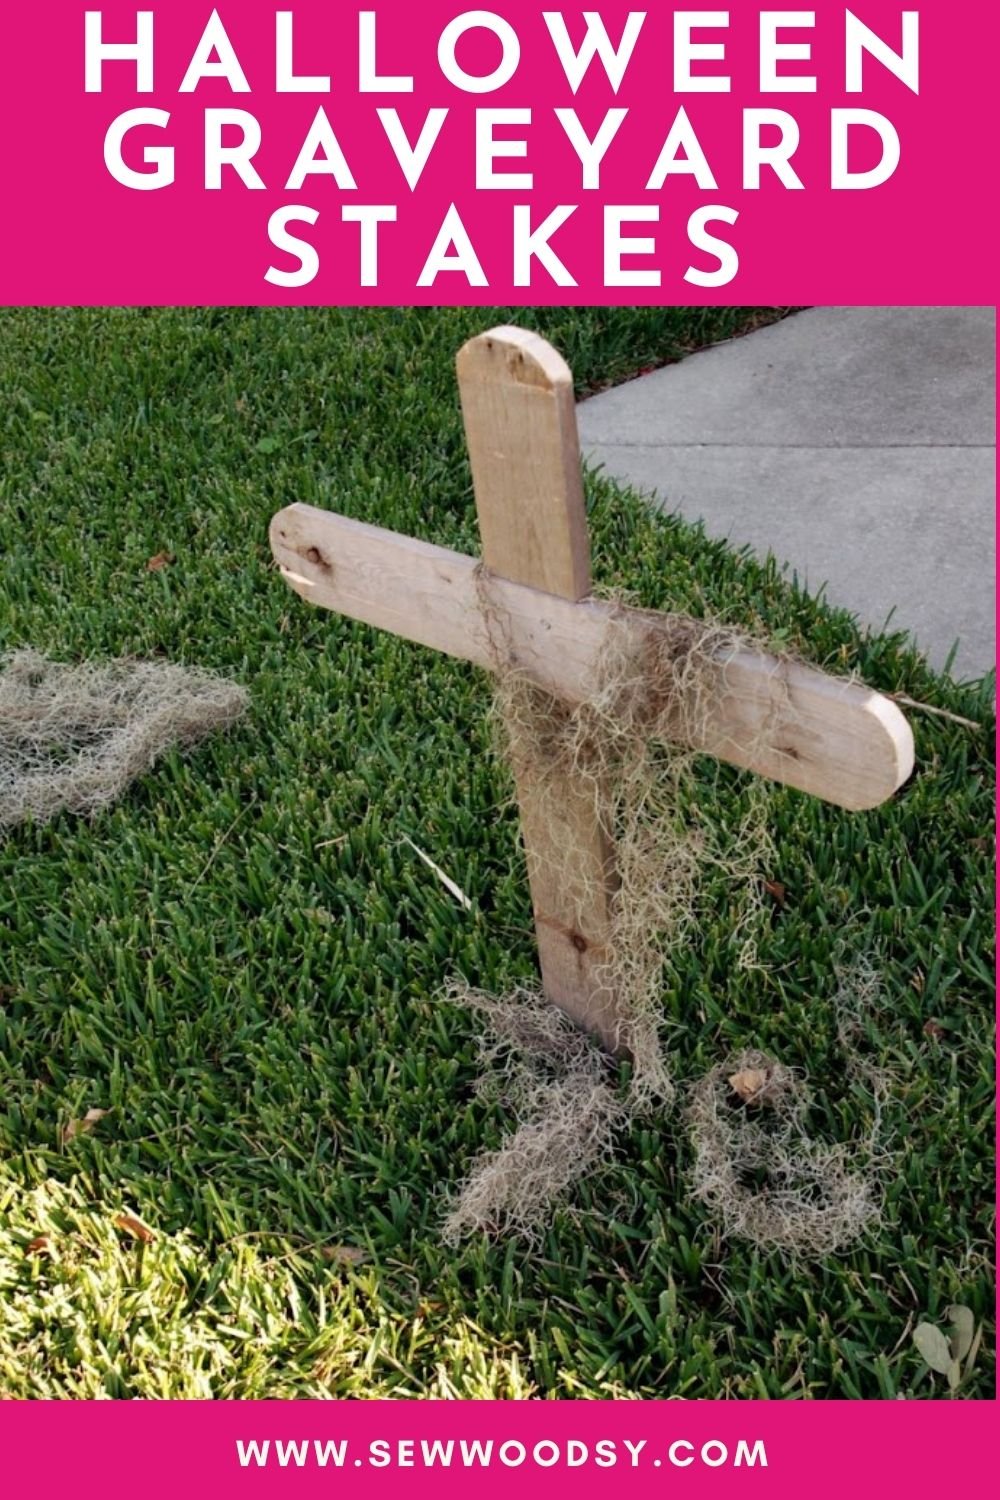
Of course, after Mr. Woodsy mastered the traditional graveyard cross he wanted to add rounded edges to a few of the crosses. He used his scroll saw to round the edges of the wood.
This is what the finished rounded-edge cross looks like.
Tips and Tricks
Working with wood pallets for Halloween decor is a fun and creative way to add a rustic touch to your decorations. Here are some tips and tricks to help you cut and work with wood pallets safely and effectively when making wood cross stakes or other decorations:
- Safety First: Wear appropriate safety gear, including safety glasses, gloves, and ear protection. Pallet wood can be rough, and you want to protect yourself from splinters and flying debris.
- Choose the Right Pallets: Look for pallets that are in good condition with minimal damage. Avoid those with broken or splintered wood, as this can make your project more challenging.
- Disassemble the Pallet: To create your wooden cross stakes or other projects, start by disassembling the pallet. Use a pry bar or a claw hammer to carefully remove the nails or screws.
- Plan Your Design: Sketch out your design on paper before you start cutting. This will help you determine the size and shape of the wood pieces you need.
- Measure Twice, Cut Once: Measure and mark your pallet wood pieces accurately before cutting to ensure your decorations are the right size. Double-check your measurements to avoid wasting materials.
- Use a Circular Saw or Reciprocating Saw: A circular saw or a reciprocating saw is ideal for cutting pallet wood. Set the depth of the blade to slightly deeper than the thickness of the wood to make clean, straight cuts.
- Secure the Pallet Wood: Clamp the pallet wood securely to a workbench or sawhorse to prevent it from moving while you cut. This will improve your safety and the accuracy of your cuts.
- Sand the Edges: Pallet wood can be rough, so sand the cut edges to smooth them out and remove any splinters. Sandpaper or a power sander can be useful for this. We did not do this but if you want a more finished look go right ahead and do this.
- Stain or Paint: Stain or paint your wood pieces to match your Halloween decor theme. This will not only protect the wood but also enhance the overall look.
- Weatherproof Your Decor: If your decorations will be displayed outdoors, consider applying a clear weatherproof sealant to protect the wood from the elements and extend their lifespan.
- Decorate Creatively: Be creative with your designs. Add spooky paint, cobwebs, and other Halloween-themed decorations to make your project more festive.
- Position Your Decorations: Stake your wood cross decorations securely in the ground or use them as wall decor, depending on your Halloween setup. Ensure they are stable and won’t tip over.
- Store for Reuse: If you’d like to reuse your decorations for future Halloweens, store them in a dry, cool place to prevent warping or damage.
Halloween Projects
Looking for more DIY Halloween Projects? Check out these projects we’ve made.
If you make these Halloween crows, I would be honored and love for you to take the time to leave a star rating and comment! I spend hours developing and testing these projects, and always love to hear feedback and user experience!
Don’t forget to FOLLOW ME on Facebook, Pinterest, and Instagram, and subscribe to my email list!
Halloween Graveyard Stakes
Make these inexpensive Halloween graveyard stakes using recycled wood to add a spooky element to your front yard.
Materials
- Recycled wood (or old pallets)
- 1-inch Screws
Tools
- Drill
- Miter Saw
- Chisel
- Hammer
Instructions
- Gather the recycled wood. If you are using old pallets make sure to remove nails from the wood.
- Cut your horizontal and vertical boards, which will form the cross. We made our crosses 3-1/2 foot tall by 2 foot 4 inches wide.
- Divide the center marking by the width of your board.
- Using a circular saw you will want to cut a slot half the thickness of the board (in that 4 inch space) every quarter inch. This will make it easier to chisel the wood out.
- Repeat this step for the vertical portion of the cross; however, measure 10 inches down to mark the center then cut 4 inches.
- Start chiseling out the slots.
- “Lap” the two pieces of wood together.
- Once you’ve ensured that the wood fits snug against each other, begin to drill two screws into the wood around one inch apart.
- Next, you will want to make the “stake” for the cross. This will allow the cross to be easily placed in the yard. Using a miter saw (or any other type of saw) cut a point at the bottom of the board.
- Use a hammer to hammer your Halloween Graveyard Crosses into your yard.
Notes
- Scroll Saw - use a scroll saw to round the edges of the wood to create a more traditional graveyard cross.
- Size - Size can be adjusted to preference.
